
You are using an out of date browser. It may not display this or other websites correctly.
You should upgrade or use an alternative browser.
You should upgrade or use an alternative browser.
Rich777's B16 engine build
- Thread starter Rich777
- Start date
Rich777
Active Member
- Joined
- Sep 27, 2007
- Messages
- 3,660
Nice build mate....if there is any other spammers let me know. LOTS of people spamming one word responses so they can meet the minimum to sell items on the forums.
Attention to detail on this build is awesome,
good work Rich.
 & thanks again to GTLVR82
Rich777
Active Member
- Joined
- Sep 27, 2007
- Messages
- 3,660
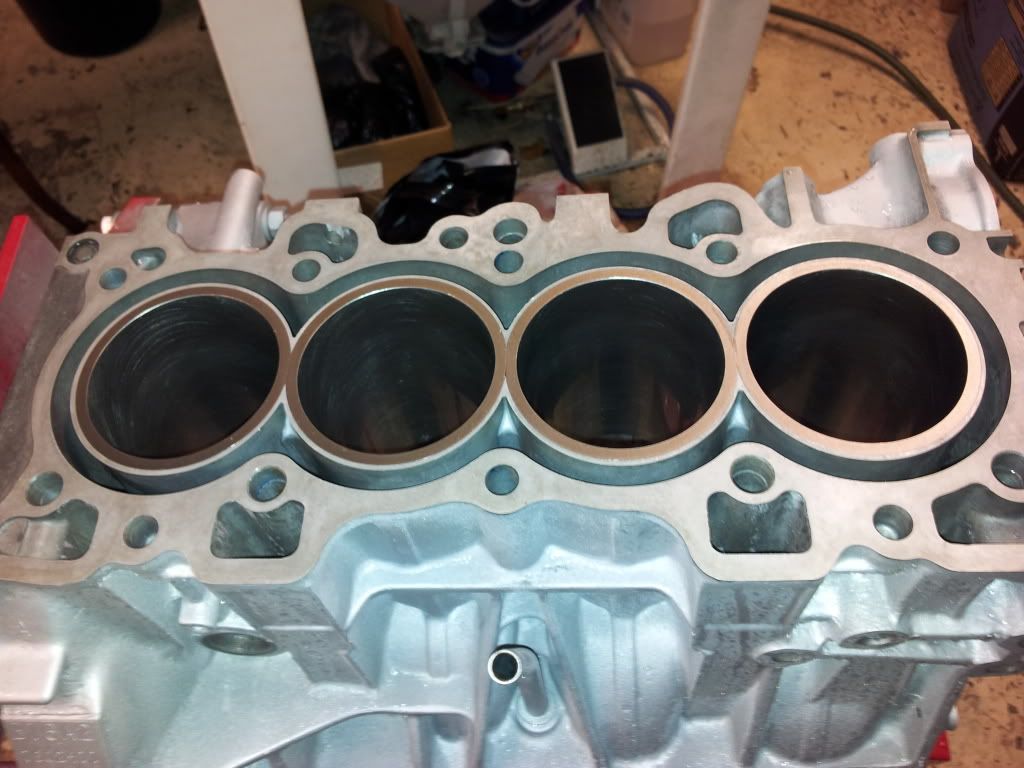
Pictures from yesterday,
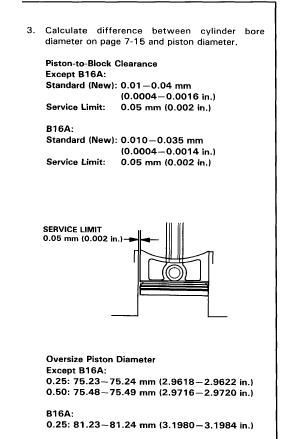
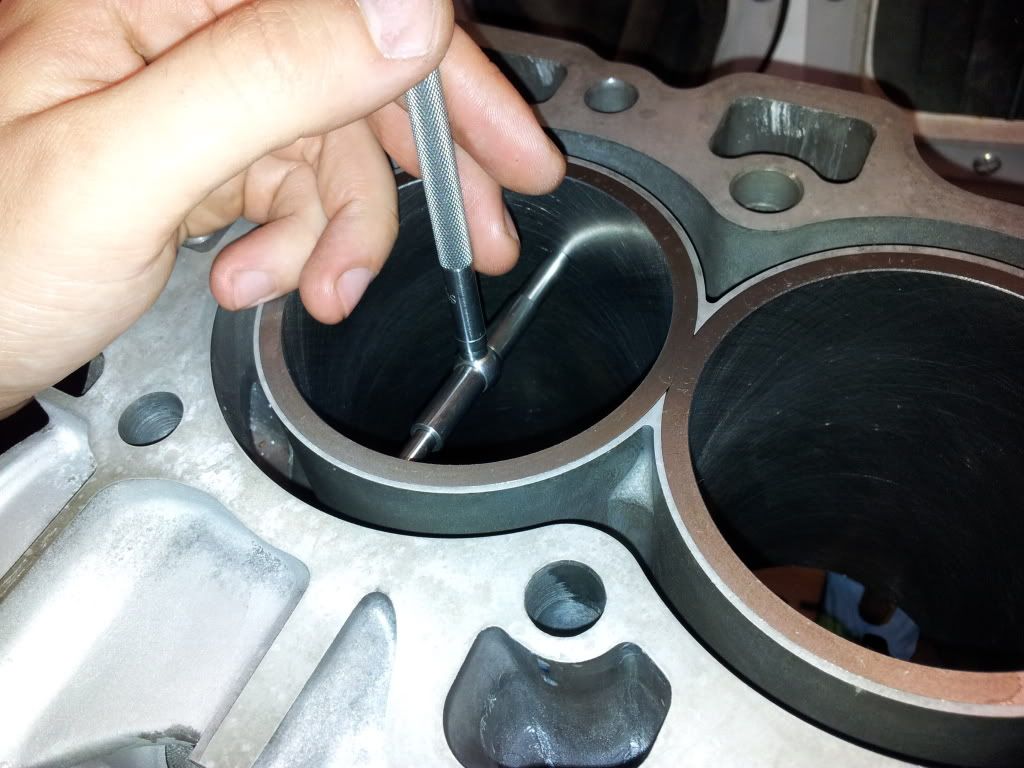
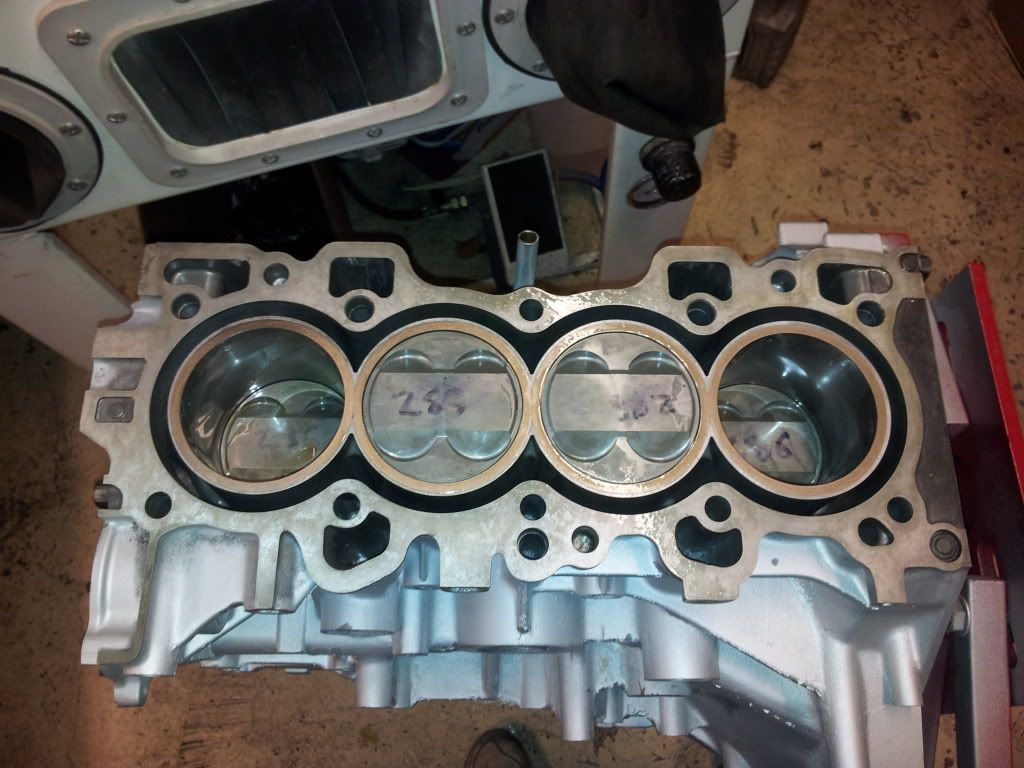
Piston to wall clearance.
I had this set to .0035 to play safe. Mahle recommended from .0019 - .0028. I would of most likely of been ok at there end clearance but a extra 7 tenths clearance won't hurt anything... specially if thing do get a bit hot.
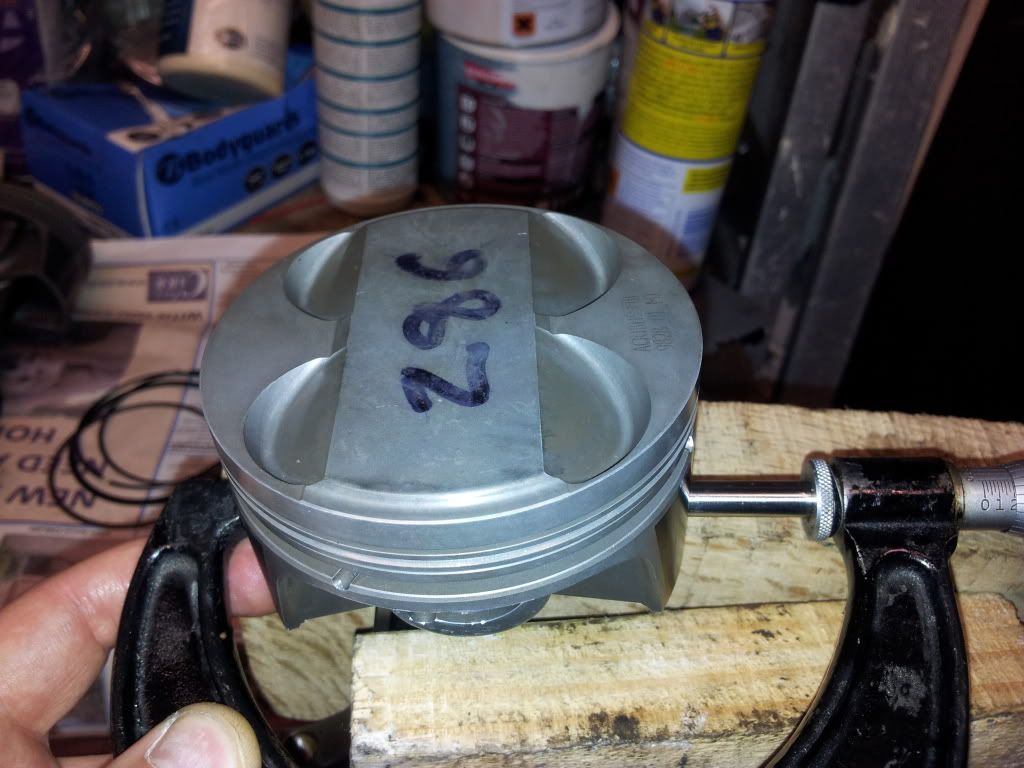
Ring end gaps.
After speaking to Mahle yesterday evening over Skype they recommended around .016-.018 for my application/power output on BOTH compression rings. They told me they've done a lot of in-house testing with similar applications to mine running both compression rings at the same gap with good results. So there for, i trust them. After all, where could i possibly get better advice from?
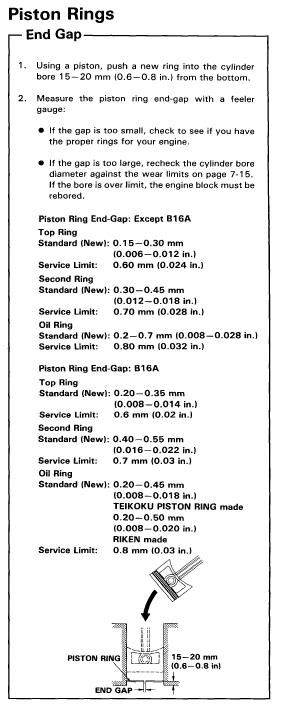
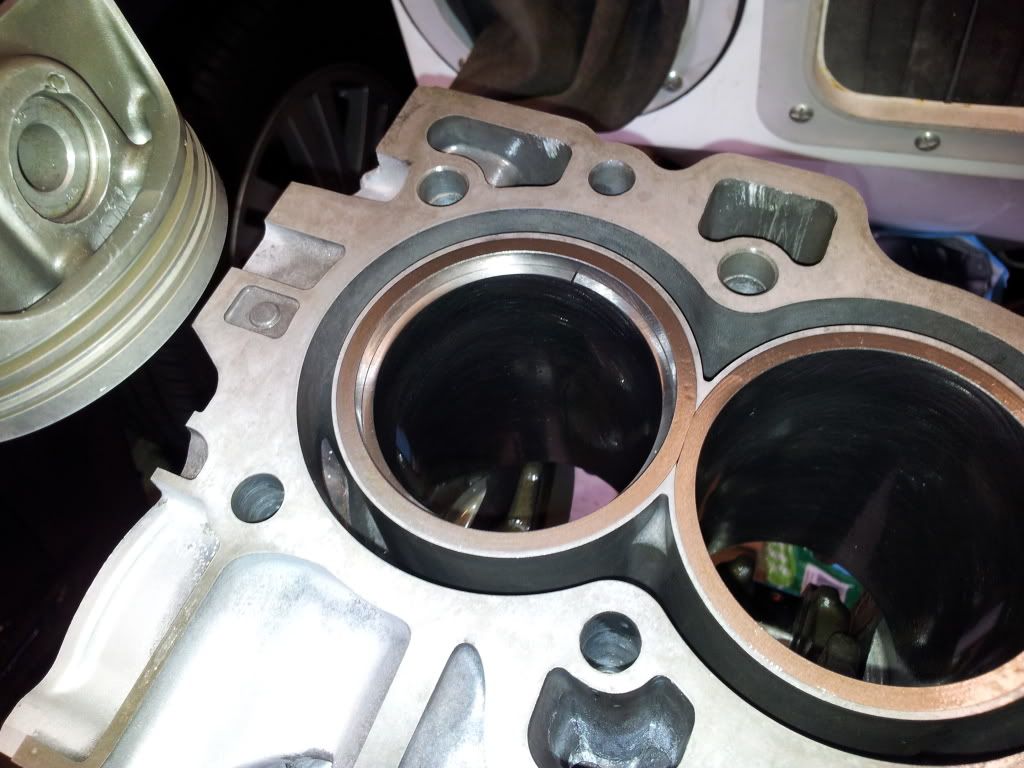
I thought i'd just label up the ring to bore anyway (even though they were all fine out the box).
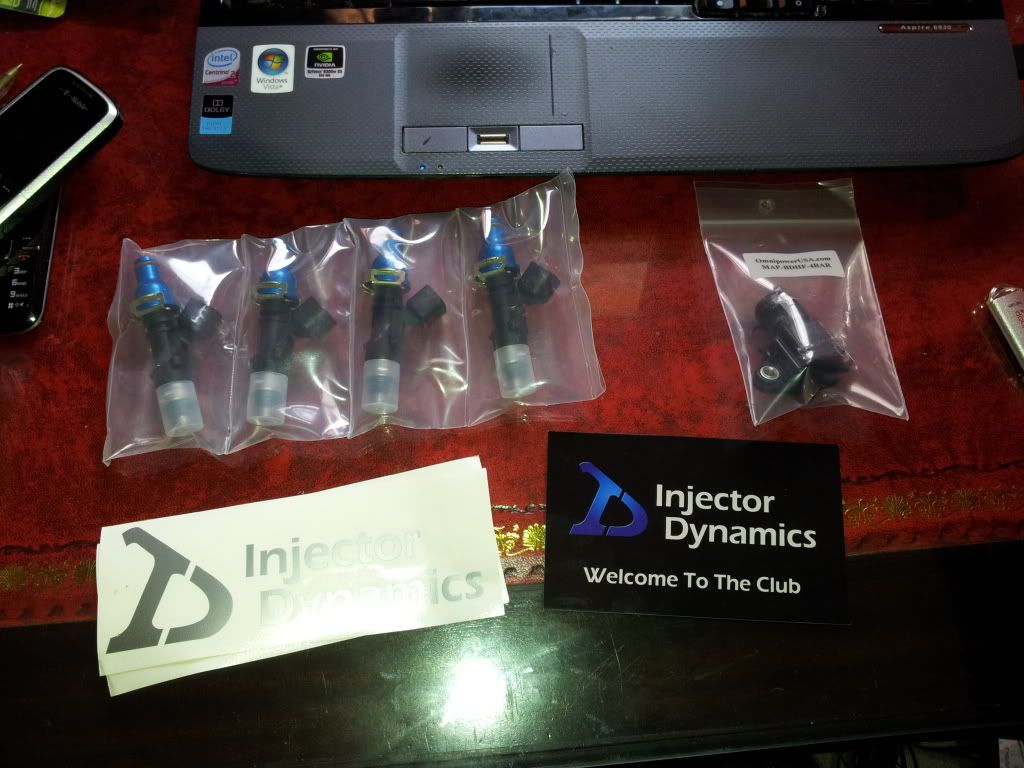
O yeah, and my ID1000's and 4 bar Omni Power map sensor come today).gif ":)) :))") So i am now part of the ID club lol...
So i am now part of the ID club lol...
Piston to wall clearance.
I had this set to .0035 to play safe. Mahle recommended from .0019 - .0028. I would of most likely of been ok at there end clearance but a extra 7 tenths clearance won't hurt anything... specially if thing do get a bit hot.
Ring end gaps.
After speaking to Mahle yesterday evening over Skype they recommended around .016-.018 for my application/power output on BOTH compression rings. They told me they've done a lot of in-house testing with similar applications to mine running both compression rings at the same gap with good results. So there for, i trust them. After all, where could i possibly get better advice from?
I thought i'd just label up the ring to bore anyway (even though they were all fine out the box).
O yeah, and my ID1000's and 4 bar Omni Power map sensor come today
So i am now part of the ID club lol...
Last edited:
Riddick666
Member
- Joined
- Jan 31, 2012
- Messages
- 263
Good build up! Cant wait to see the finnished product!

Rich777
Active Member
- Joined
- Sep 27, 2007
- Messages
- 3,660
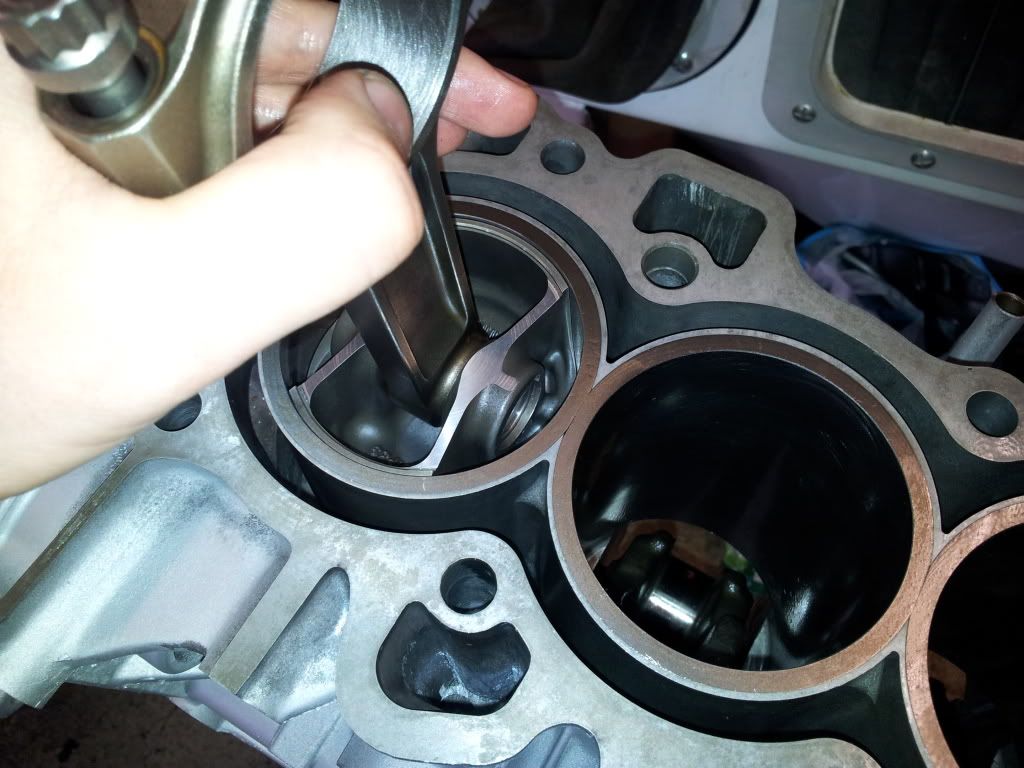
I did a bit of work on it tonight guys....
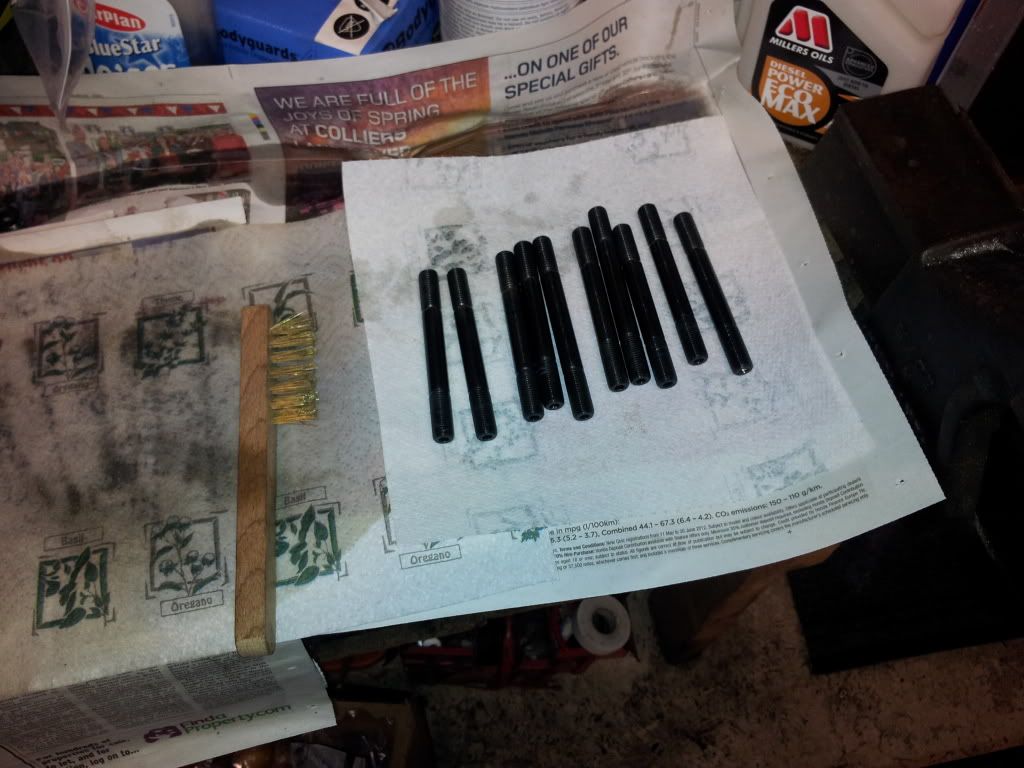
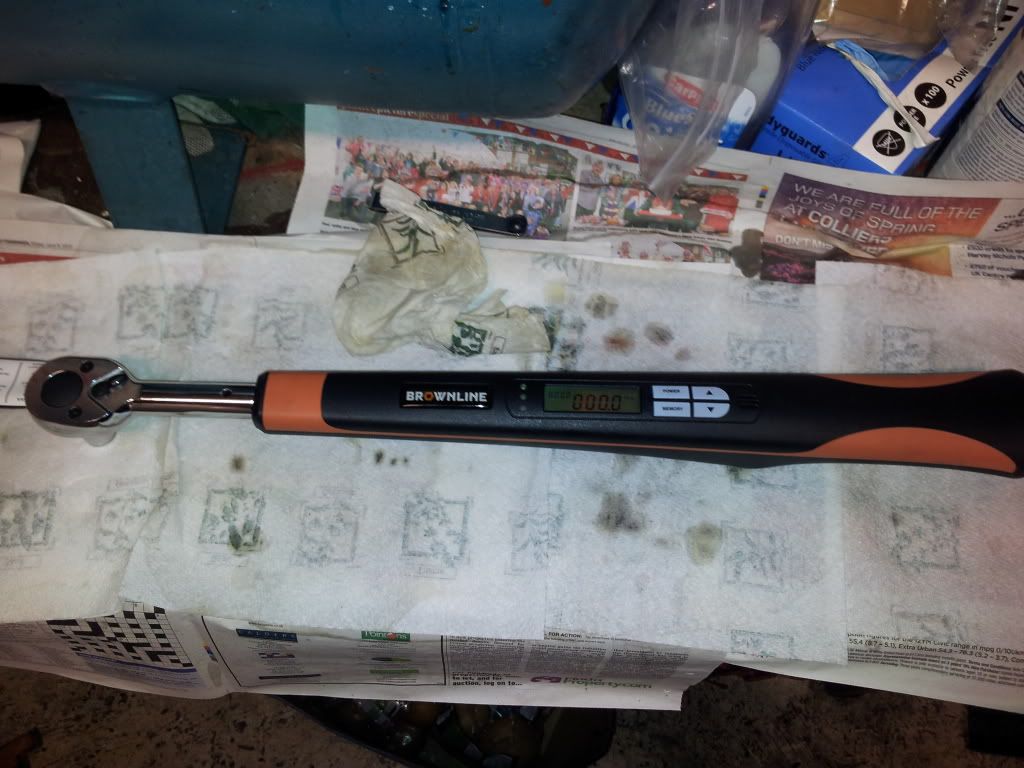
I rechecked the rod bolt free lenghts with the screw mic i modified. All free lenghts came out the same as they were originally (before been torqued up a few times..)
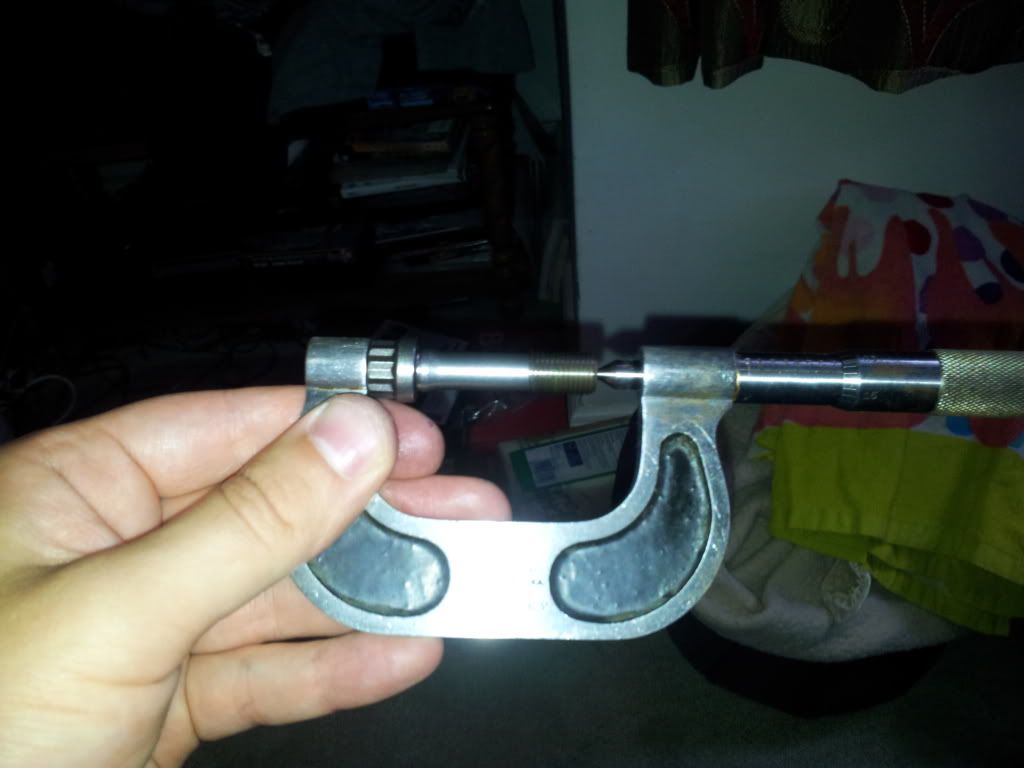
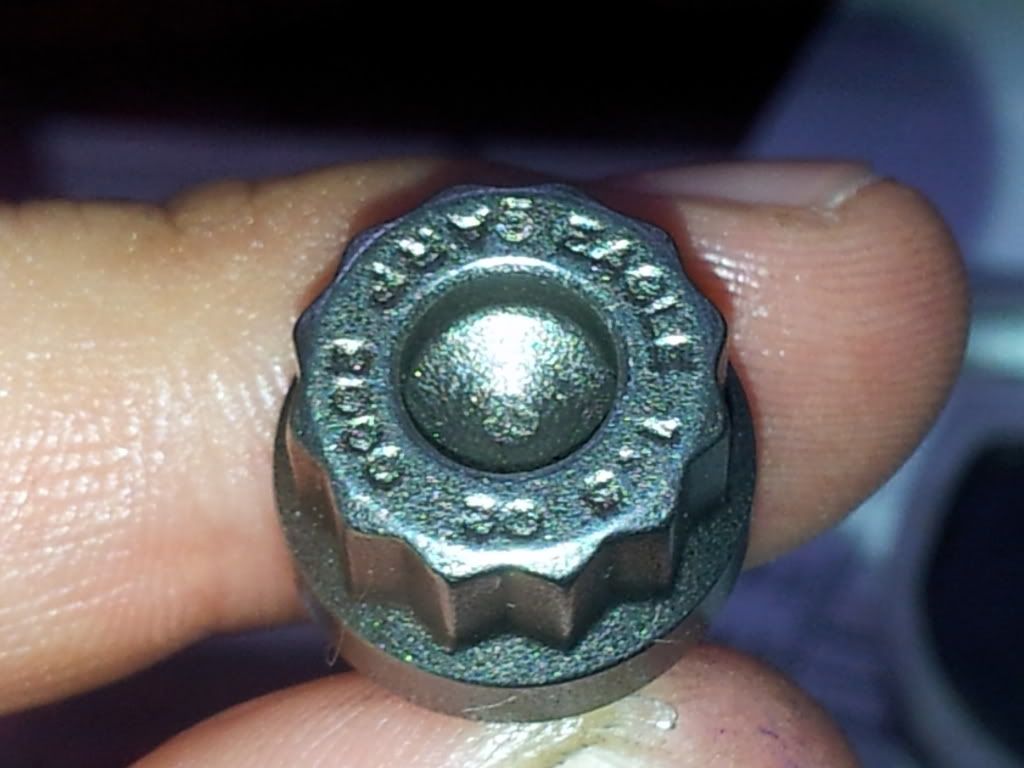
Also note the number 5 on the rod bolt. My Dad owns a engraving company and i kindly got him to lighty lazer engraved numbers 1-8 on the rod bolts
I also recheck the ring end gaps, installed the rings onto the pistons (with a ring expander) and installed the pistons and rods to check how the crank felt. The crank turned smoothly again, so i more or less know the bottom end is done now :thumbup: . Just a few more little things to do then i'm going to power wash it down again, clean everything individually and assemble.
I rechecked the rod bolt free lenghts with the screw mic i modified. All free lenghts came out the same as they were originally (before been torqued up a few times..)
Also note the number 5 on the rod bolt. My Dad owns a engraving company and i kindly got him to lighty lazer engraved numbers 1-8 on the rod bolts
I also recheck the ring end gaps, installed the rings onto the pistons (with a ring expander) and installed the pistons and rods to check how the crank felt. The crank turned smoothly again, so i more or less know the bottom end is done now :thumbup: . Just a few more little things to do then i'm going to power wash it down again, clean everything individually and assemble.
Rich777
Active Member
- Joined
- Sep 27, 2007
- Messages
- 3,660
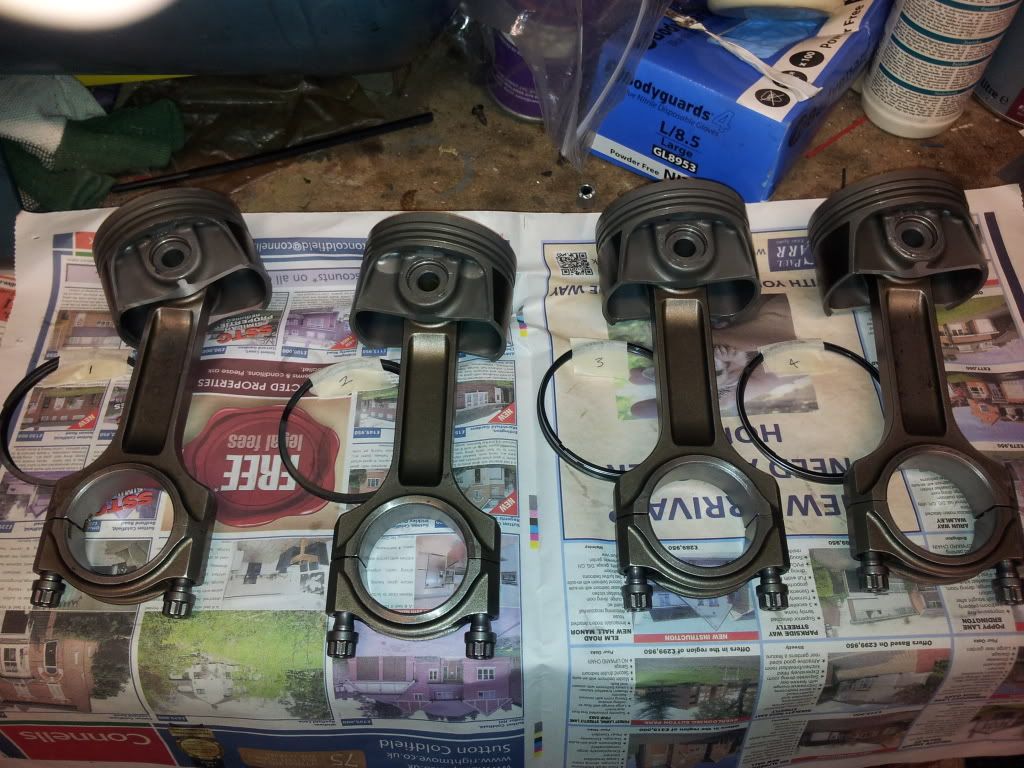
Here are the pictures from today...
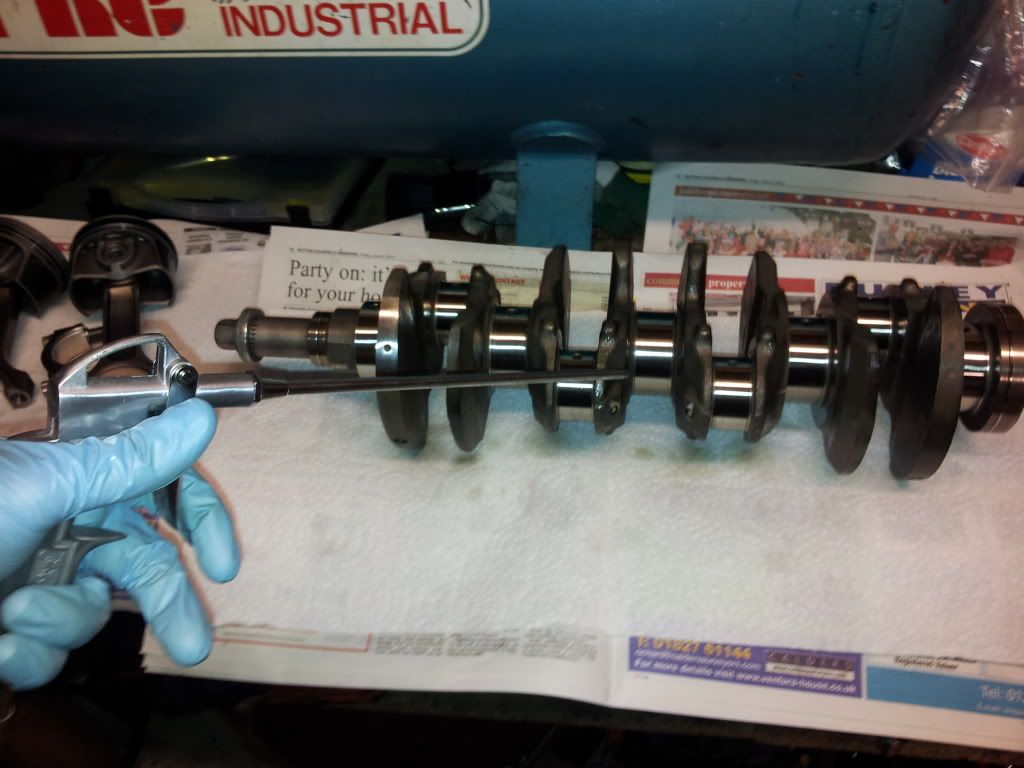
Rod end play :
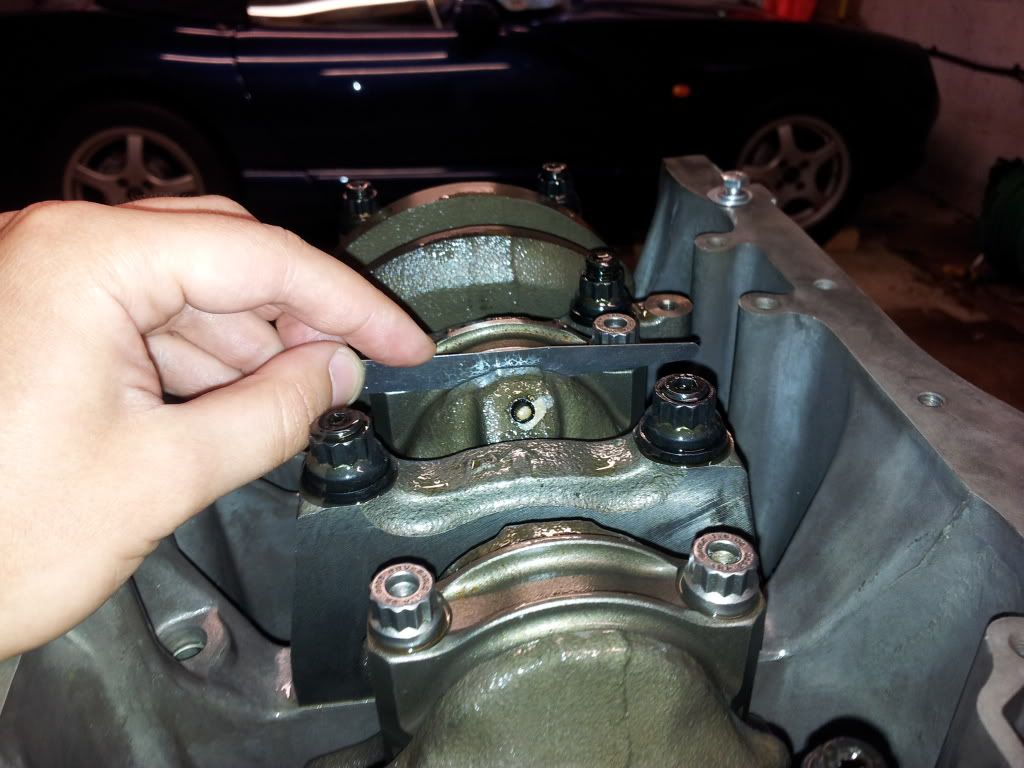
This come out at .011-.012
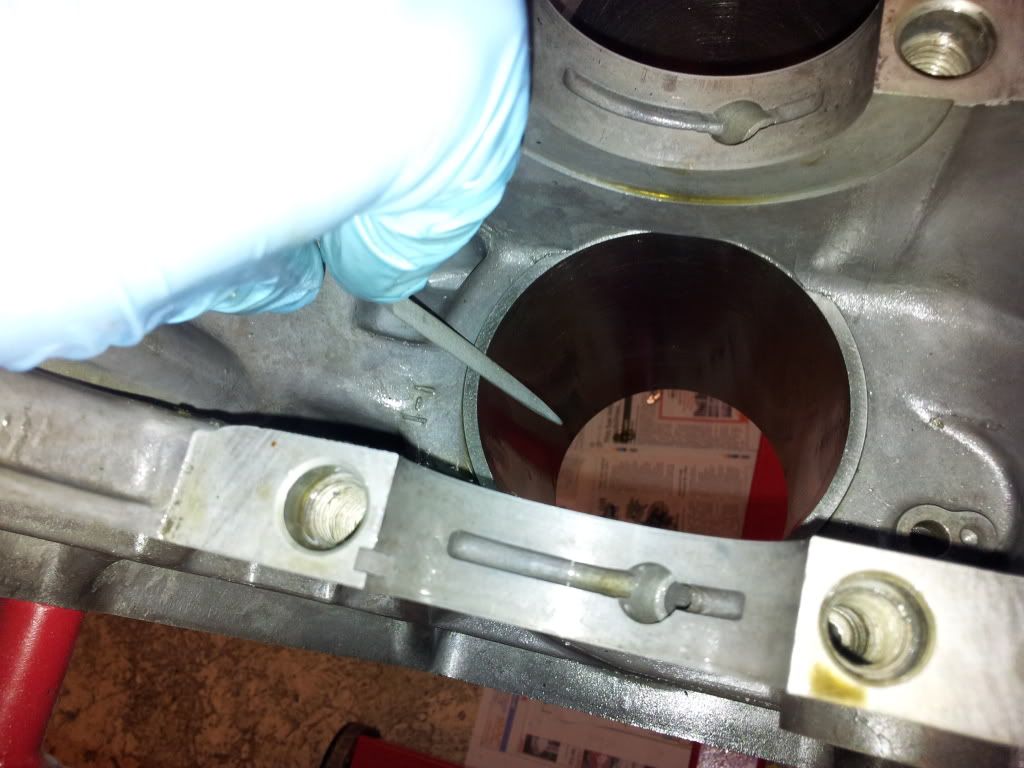
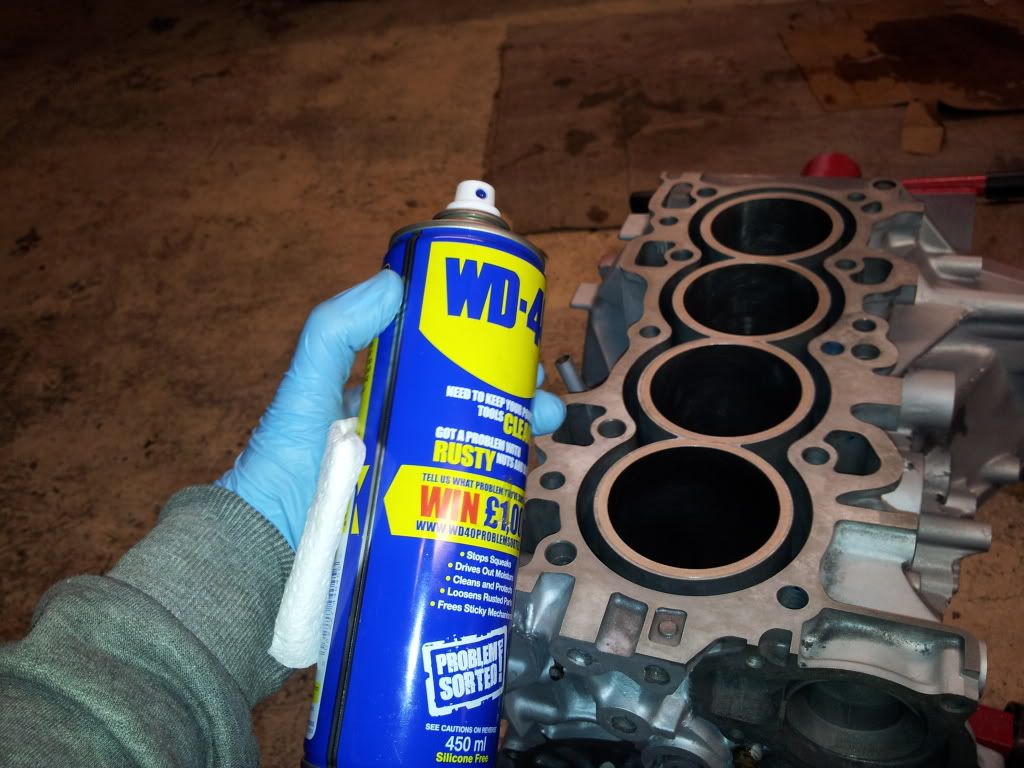
Here I filed down a few sharp edges at the bottom of the cylinders that i missed.
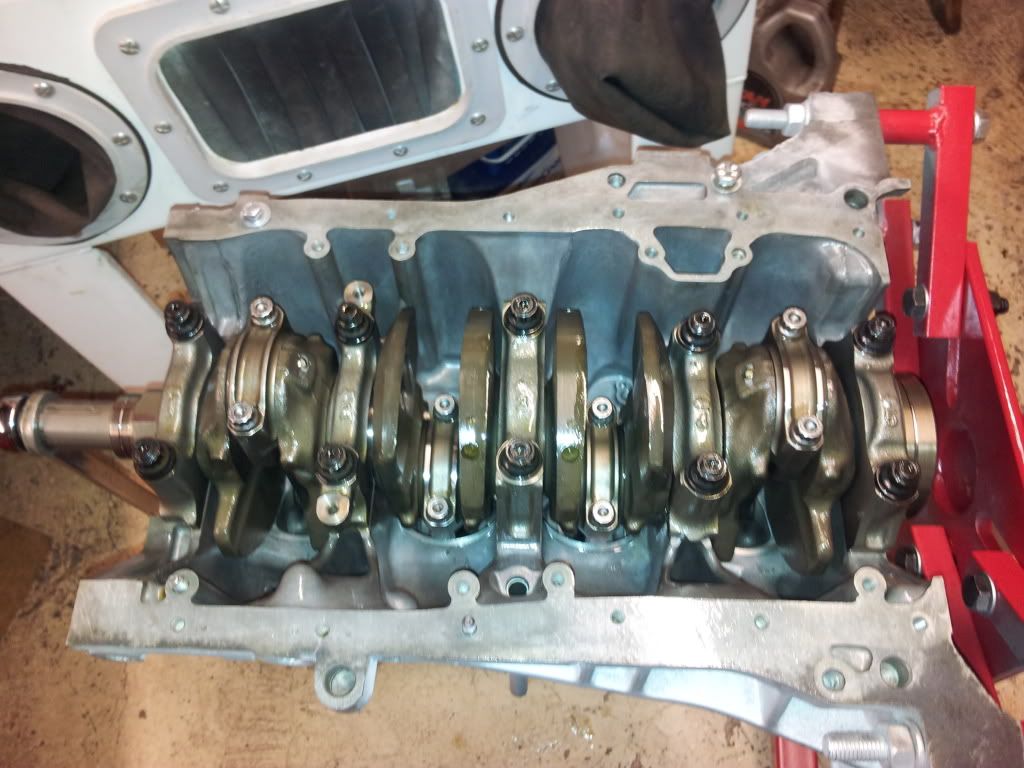
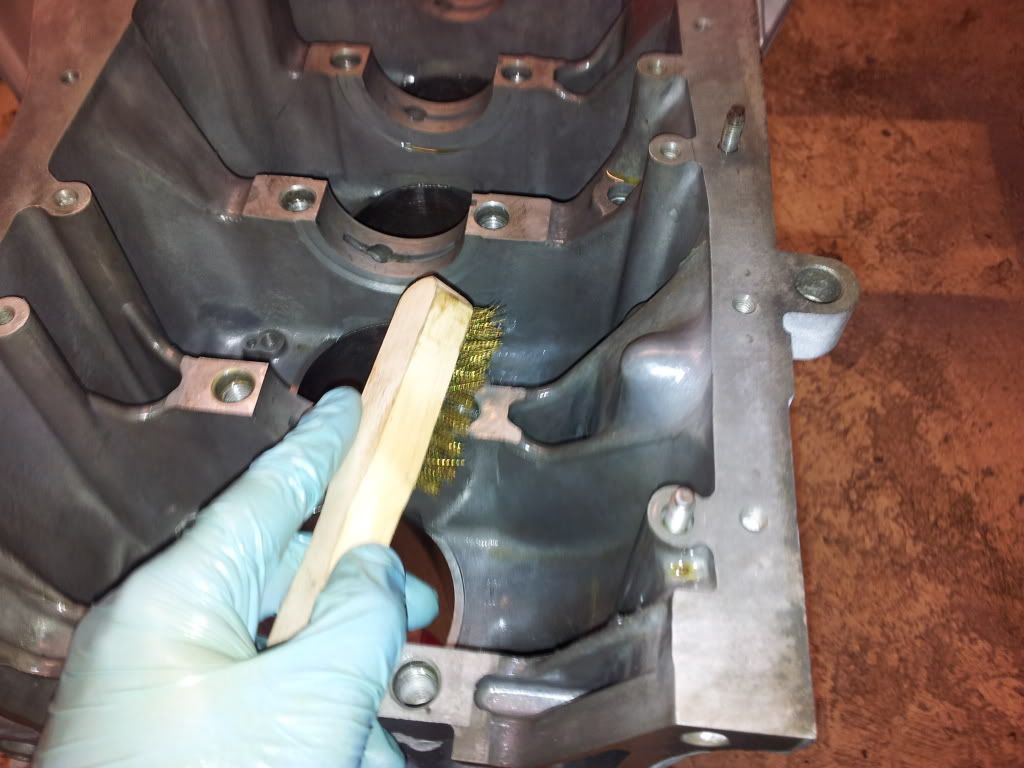
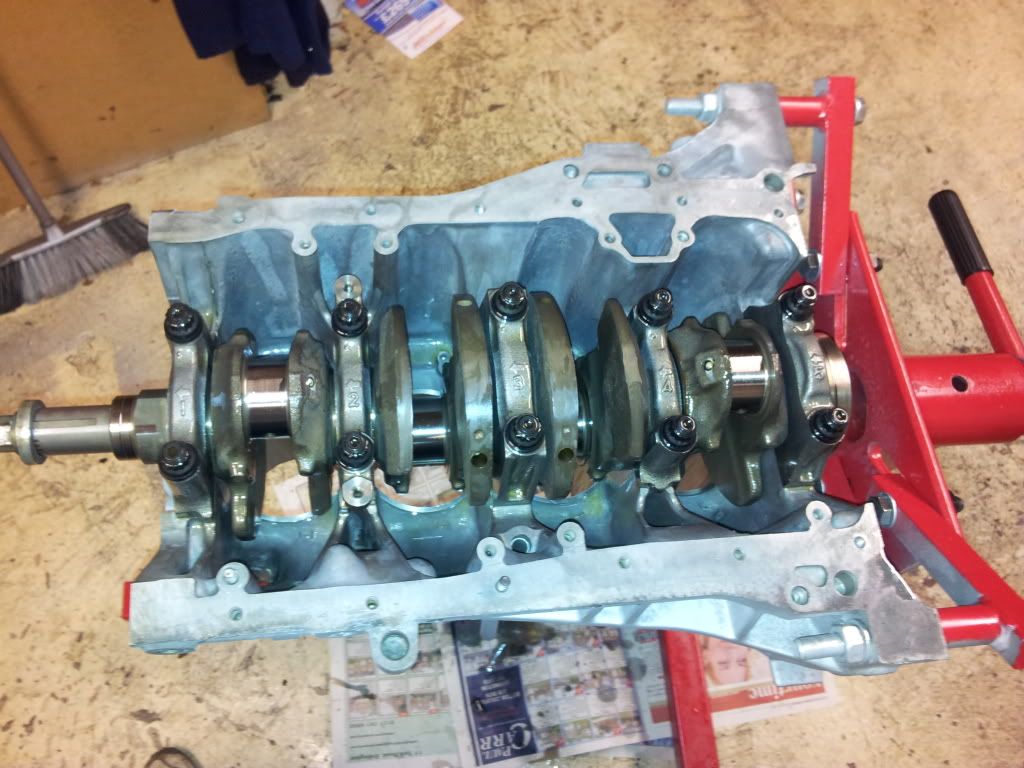
I gave the main bearing cap faces a good brush down with a wire brush to ensure they were SPOTLESS.
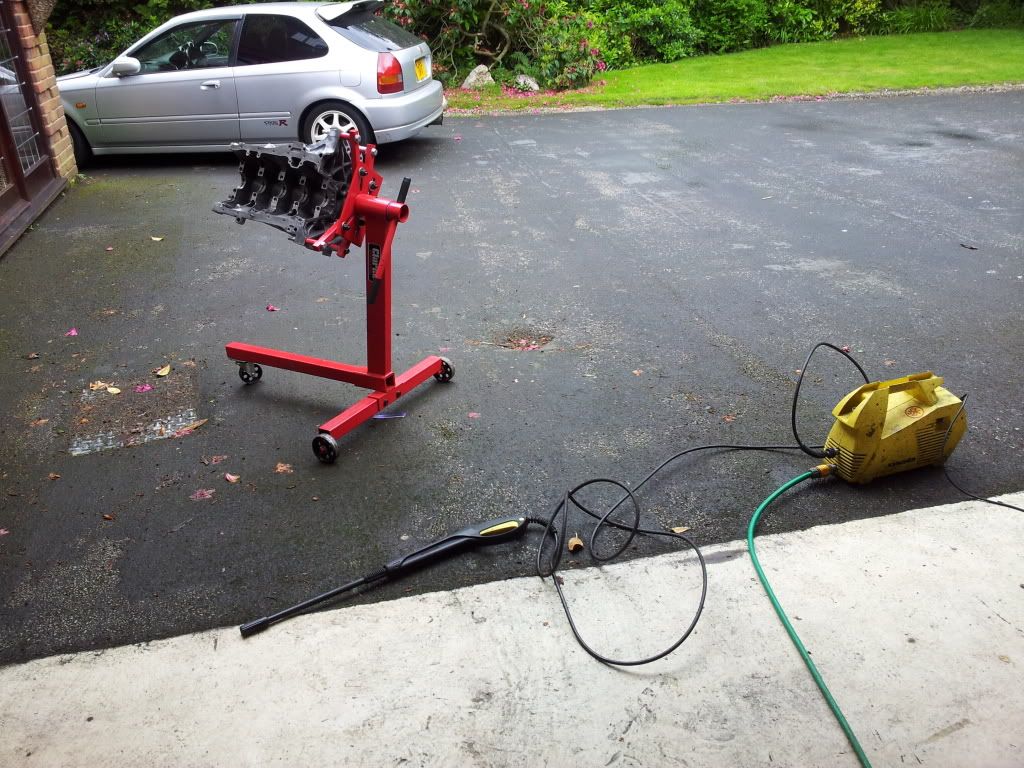
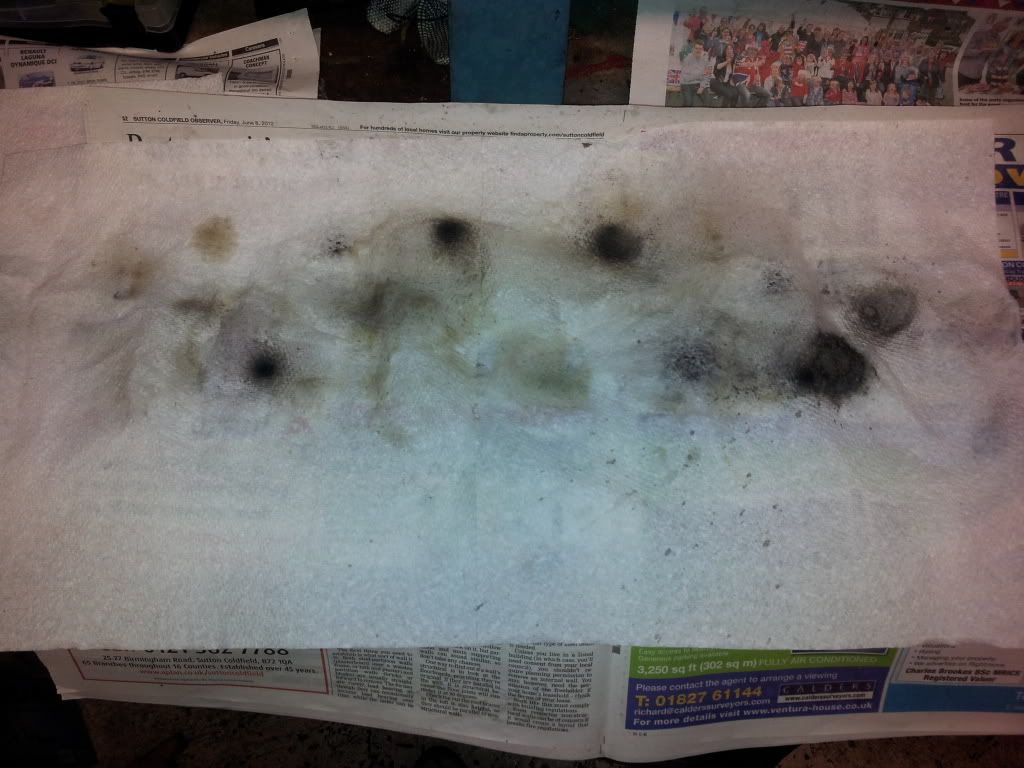
Gave her another clean down...
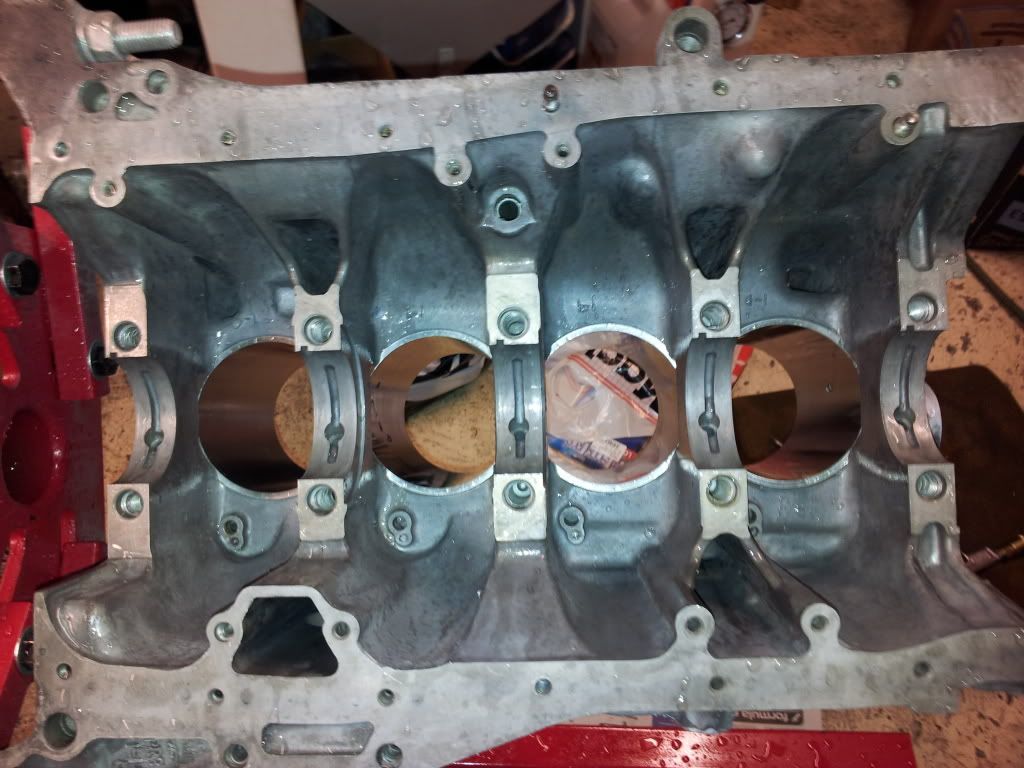
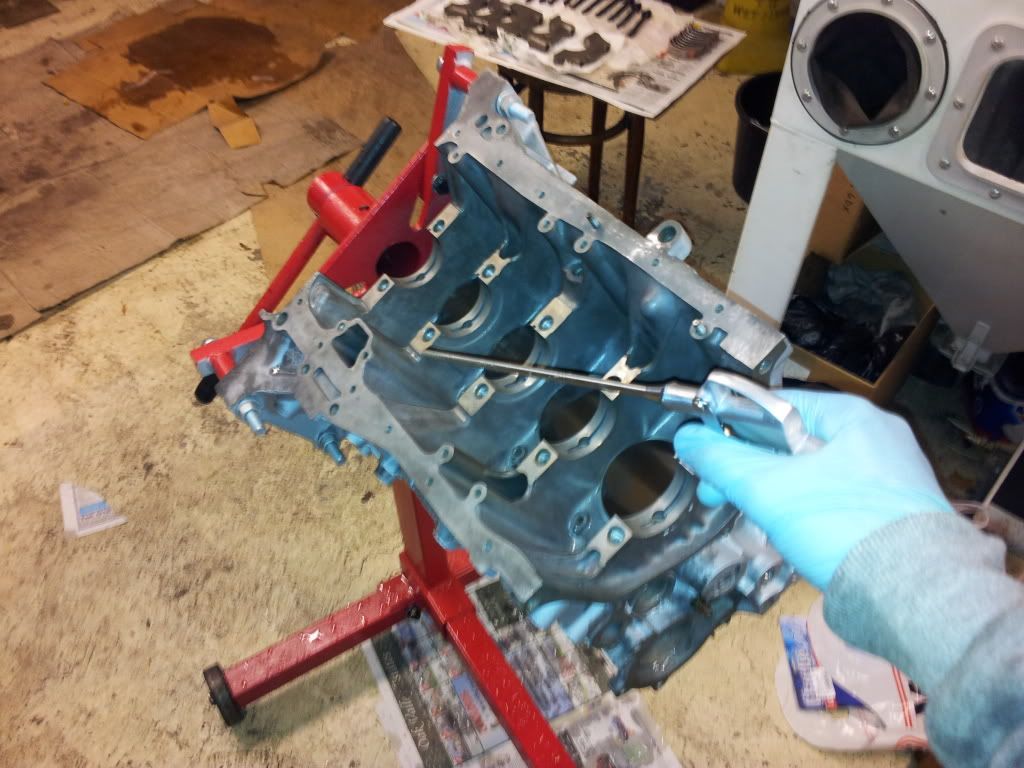

I gave the main studs a real good clean down to...
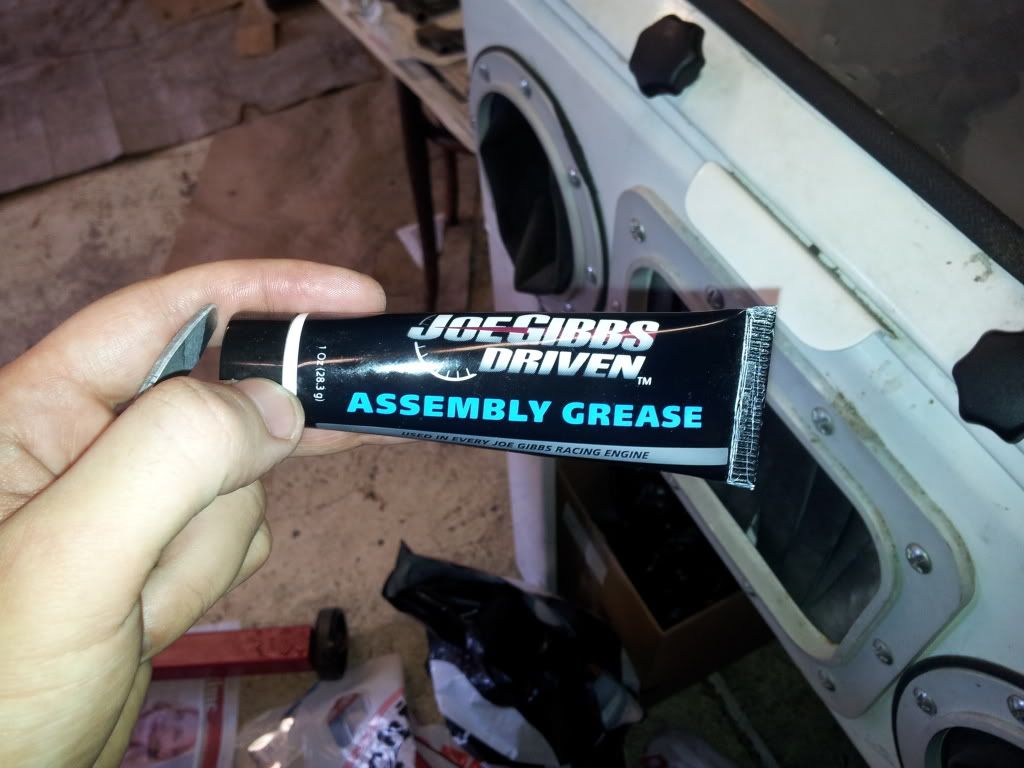
And started to assemble the bottom end...
Rod end play :
This come out at .011-.012
Here I filed down a few sharp edges at the bottom of the cylinders that i missed.
I gave the main bearing cap faces a good brush down with a wire brush to ensure they were SPOTLESS.
Gave her another clean down...
I gave the main studs a real good clean down to...
And started to assemble the bottom end...
great work again rich wd40 is a serious job is that your vsm in the back there aswell when do ya hope to have it fully assembled great to see this love to do this but ive only ever done a headgasket great to see learning few things also the diagrams help asll for those of us with much less knowledge lol
Bencrx
Member
- Joined
- Nov 9, 2011
- Messages
- 637
 Great build mate, alot of time, effort and care put into this. Would you say anyone could build an engine with the right tools and good rebuild manual or is it best to just leave it to a pro? Reason i ask is i am building my b18 and starting to get strapped for cash so contemplating taking my time and building it myself.
Rich777
Active Member
- Joined
- Sep 27, 2007
- Messages
- 3,660
The thing is, if you were to purchase all the right quality tools then it would probably cost more than to have it assembled professionally. I'd recommend you give it to a pro if this is your first shot and if you don't have the right tools. There's just sooooo much that can go wrong & its to easy to get caught out.
Last edited:
ramboteamjon
Well-Known Member
- Joined
- Apr 21, 2008
- Messages
- 3,010
Nice work Rich, as said great attention to detail! Sorry I aint been on in ages, just moved into my 1st house about 6 weeks ago and just settled now! Look forward to the rest of the build!
Look forward to the rest of the build!Bencrx
Member
- Joined
- Nov 9, 2011
- Messages
- 637
The thing is, if you were to purchase all the right quality tools then it would probably cost more than to have it assembled professionally. I'd recommend you give it to a pro if this is your first shot and if you don't have the right tools. There's just sooooo much that can go wrong & its to easy to get caught out.
Cheers for the advice, i may just have to hold out until i get some money together then
