- Joined
- Apr 15, 2006
- Messages
- 10,695
- Car(s)
- EK9/Civic
Damn, nice job Jokeshopbeard maybe you can create another thread showing us your intake ")

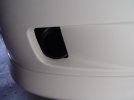
Yeah, I know, didn't realise the Spoon cover was a carbon/kevlar weave until after I'd brought it, been waiting on delivery for nearly 2 months & will be for sale as soon as it arrives, so first dibs available if anybody wants it...
Got my eyes on this cover: Envy Performance Ltd: Carbon Fibre Plug Cover since I cant seem for find a UK distributor for the Vision one you mentioned...
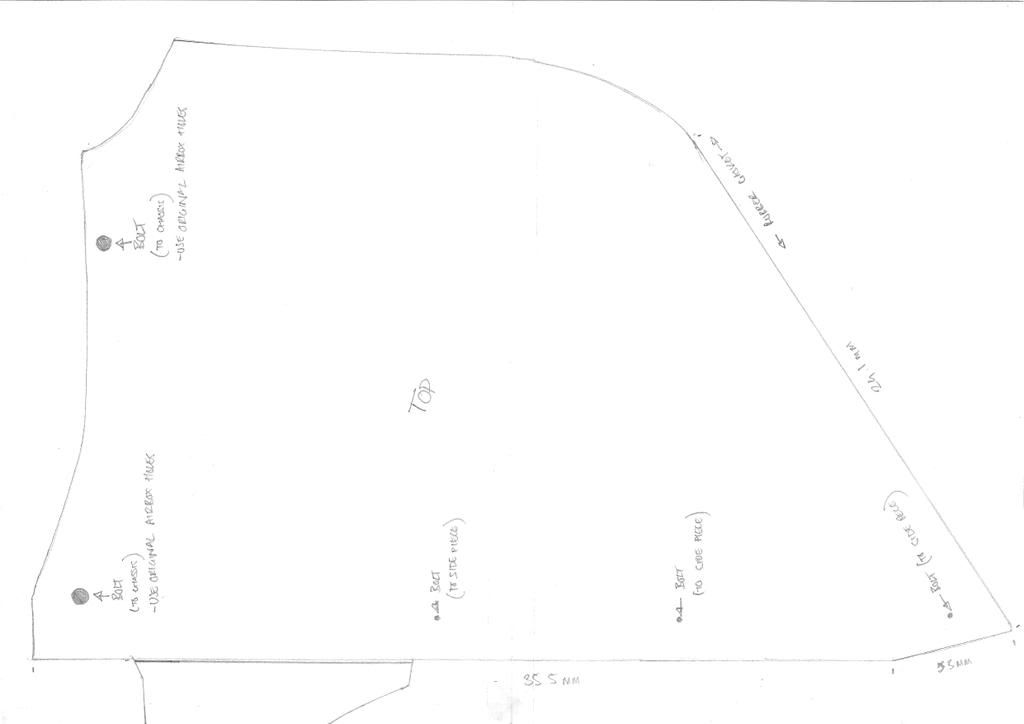
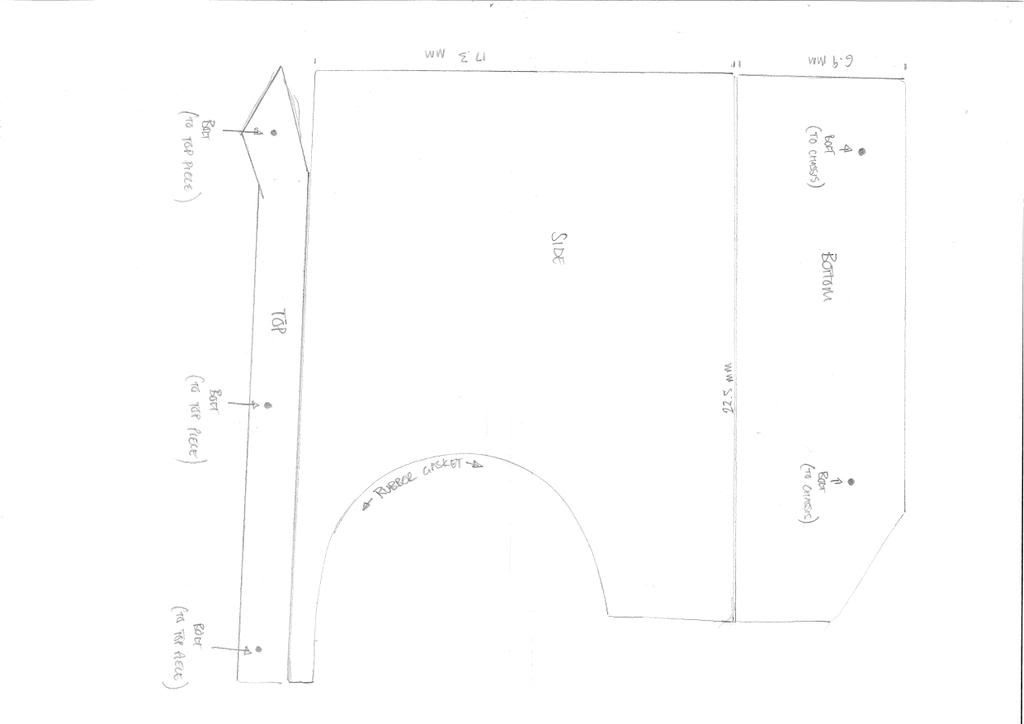
Anways, cheers for the kind words jugz & stay posted for those dimentions....
 Still, gotta love em..
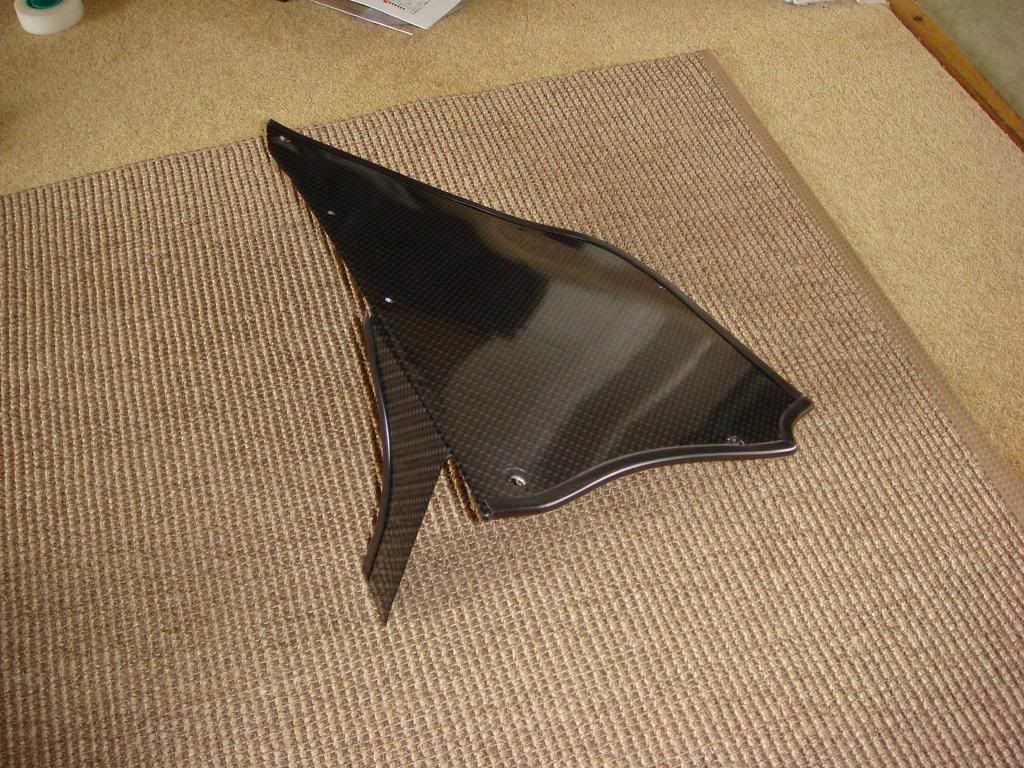
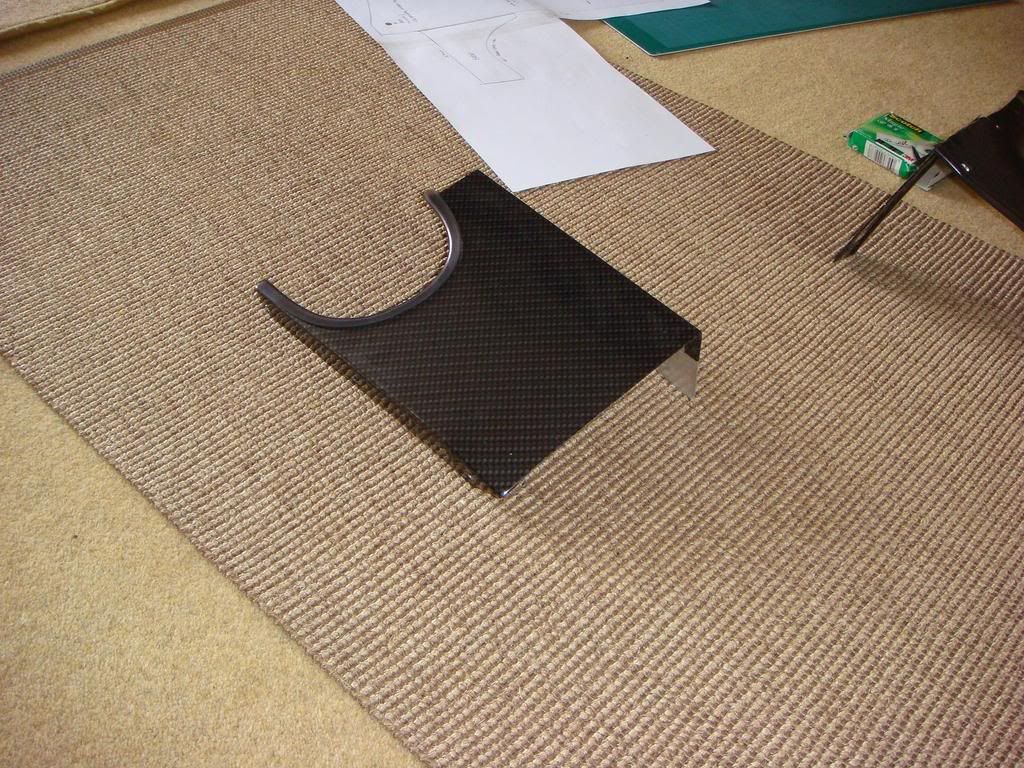
 angry2 at work, but I put a few control measurements on the diagrams so if you print them out & the control measurements are off, then the whole lot will be out so let me know & i'll start again..
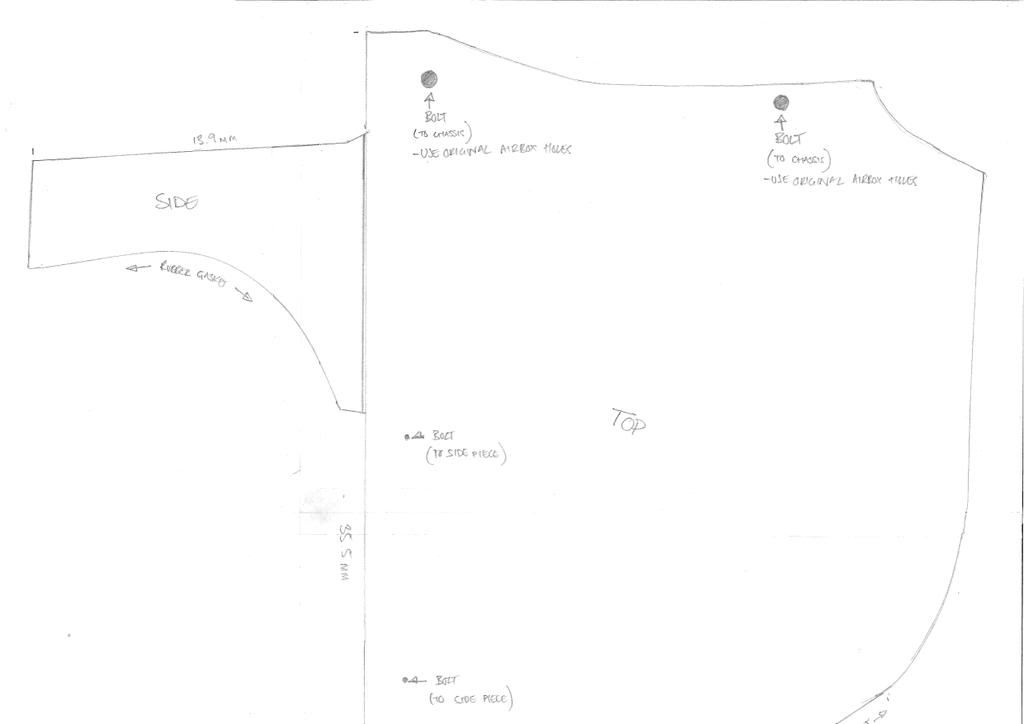
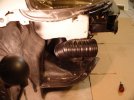
 wonder if making a box out of fibre glass would be any good, wouldnt be to hard to shape it around the engine mount area and could make a fully sealed box,.. messy stuff but could work?, would be real easy to just layer the turret, engine mount & intake in cling film & fibreglass over the top.... only problem would be doing the uprights for the sides of the box but could be done with templates. Like you say, messy, horrible bloody stuff to work with, but would be far easier to make a sealed enclosure.


Anyways, good luck to anyone who gives these a try, love to hear how you get on & please let me know if theres anything else i can do to help out..
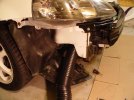
And to jugbugz, thanks for the information in the above post mate, gonna get that bumper off & run the ducting asap, will let you know how i get on. Good luck with the box, lookin forward to your updates!!
moon*: nice job!
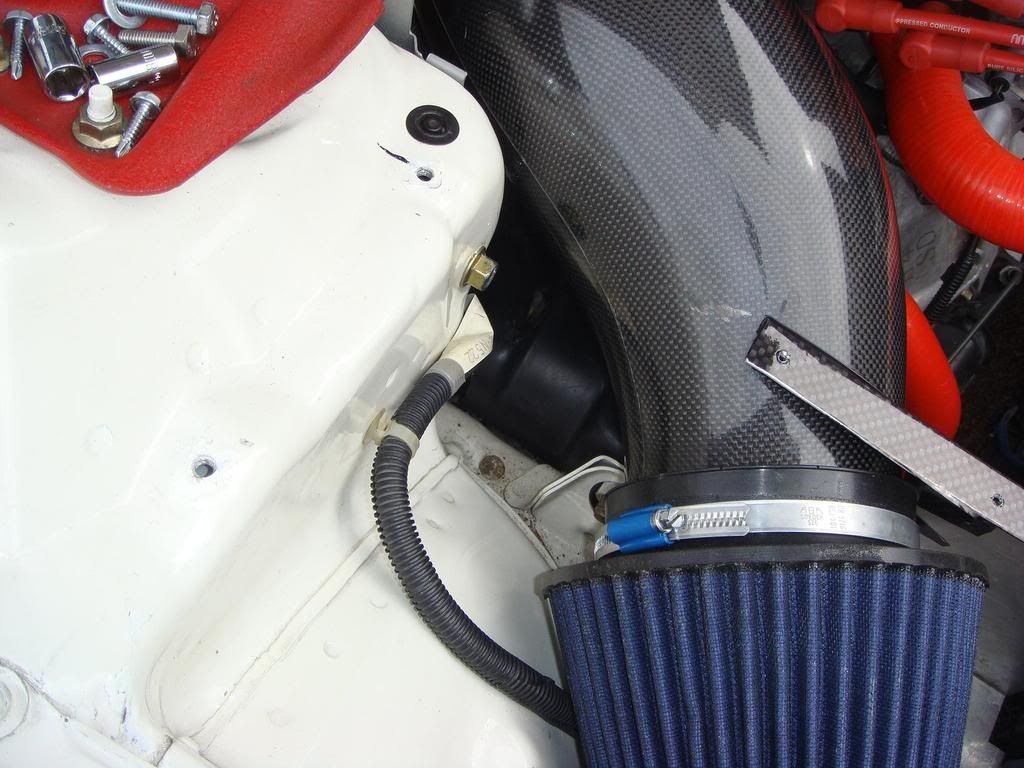
Regarding the gap on the intake box;
I recommend you don't need the box to be completely sealed, especially that area behind the pod filter.
your car is constantly moving forwards which means every mass infront of that gap is moving away from the air in that gap. ( i hope you know what I mean)
Also it gives more volume of air to further enter through your duct continously even when your foot is off the throttle while your car is still moving forwards.
If you seal it off completely, you will cause turbulance at the entry of your air duct, which creates an unstable pressure and flow.
I reccommend leaving it which will just let the air to continuously flow through. Air wont flow backwards as long as your car is going forwards, so you won't suck hot air.
Hope that solves your worries.
Indeed.....vti sedan: your going to love this mod.

So, we must NOT completely seal the pod filter into an enclosed box.Is that right?lol, i hope others find the info as useful
Ok, Think about it like this.
Say the air around us is stationary and there is NO WIND blowing about. If your moving at 60kmph, then its not the air thats moving 60kmph, its MASS(your car). So the same thing happens in the engine bay. MASS is moving against air.
As air enters into your air box, it needs to go somewhere and it has 2 places to go to;
1. Inducted by your engine.
2. Pass through your enclosed box into engine bay.
If you enclose the whole box, you'll end up having too much air cramming up when it isn't inducted by your engine. Then it creates an unbalanced pressure and disrupts flow at the tip of your hose duct.
It is better to let the air continuosly travel through your duct.
Just think about when your travelling 100kmph on the freeway and on 1/4 throttle. Theres no way you car is even inducting more than 20% of the amount of air cramming into your box.
Thats why my shield works. Its basically stopping hot air being drawn towards the filter. And I have cold air entering and ramming against my pod filter and shield. As long as air is flowing on your pod filter, hot air is being pushed away at the same time.
So, we must NOT completely seal the pod filter into an enclosed box.Is that right?