
You are using an out of date browser. It may not display this or other websites correctly.
You should upgrade or use an alternative browser.
You should upgrade or use an alternative browser.
JohnTurbo's B18C EK4 Race Car
- Thread starter SPek9
- Start date
- Joined
- Aug 24, 2009
- Messages
- 2,505
Definitely worth lapping the valves, i noticed some light pitting on the sealing faces before I lapped my valves but with some fine paste they come up very well to make a nice seal
I did the same thing with the valve stem seal! First time building a head myself and got excited when the head came back from machinining, knew I made a mistake as soon as I knocked the first seal on... But sure that's how you learn
That's a well spec'd head which should work well with a bump in compression, I coated the followers, cams, lma's in assembly lube to help with first start before the oil gets up around everything
JohnTurbo
Well-Known Member
- Joined
- Oct 3, 2013
- Messages
- 942
Cheers!
I have spare S2 valve seals now if anyone elase does one in!!
What are you guy's views on stock LMAs? Mine are smooth so I thought I'd leave them be, but Matt (off here) commented on Facebook about them. I can't find anything about them having travel issues/binding - only that they gum up over time.
Well these are not gummed up at all.
JohnTurbo
Well-Known Member
- Joined
- Oct 3, 2013
- Messages
- 942
Thanks for that. I will have a listen to them and maybe add them to my list.
So, Bottom end day. (As well as fixing my Saabs airbags!)
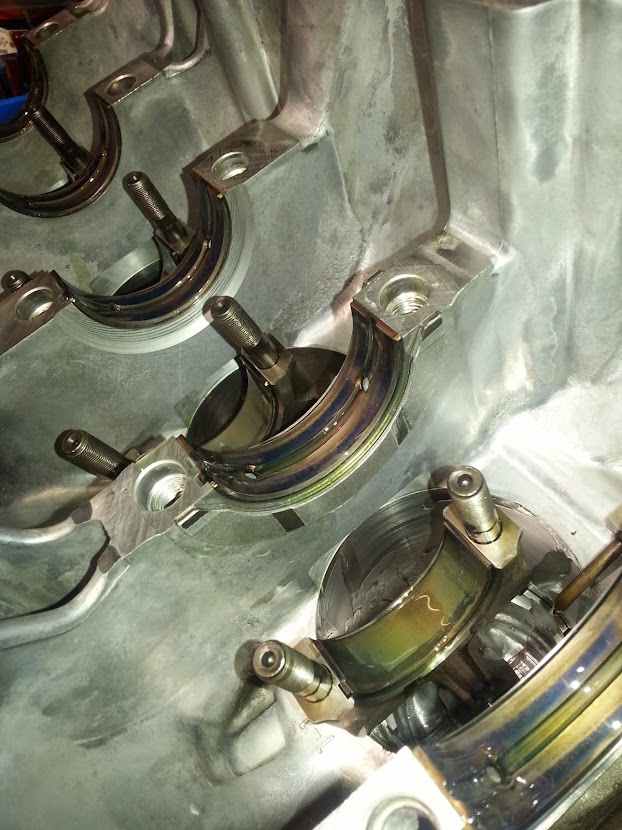
Pistons installed with ring compressor. Getting the oil rings to go inside the bore is the hard bit for sure.

Refitted squirters. Also fitted and lubed up the ACL Race bearings to the conrods.
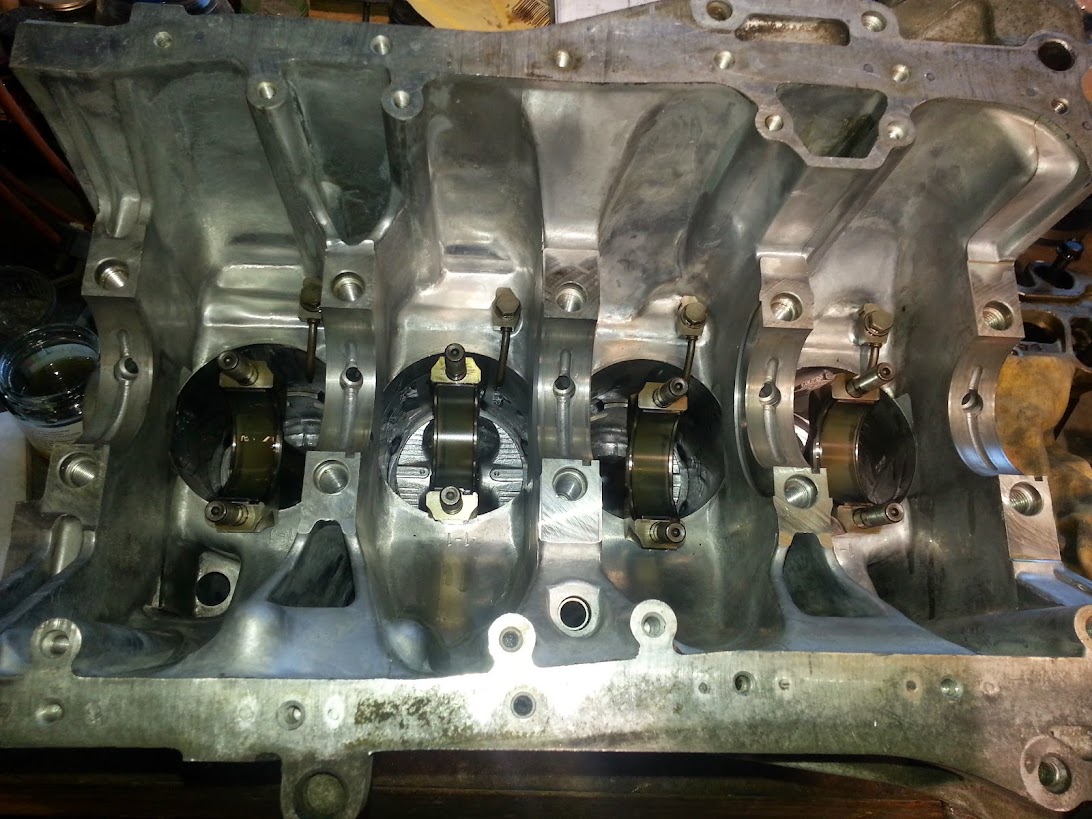
Mains fitted and lubed:-
Thrusts fitted.
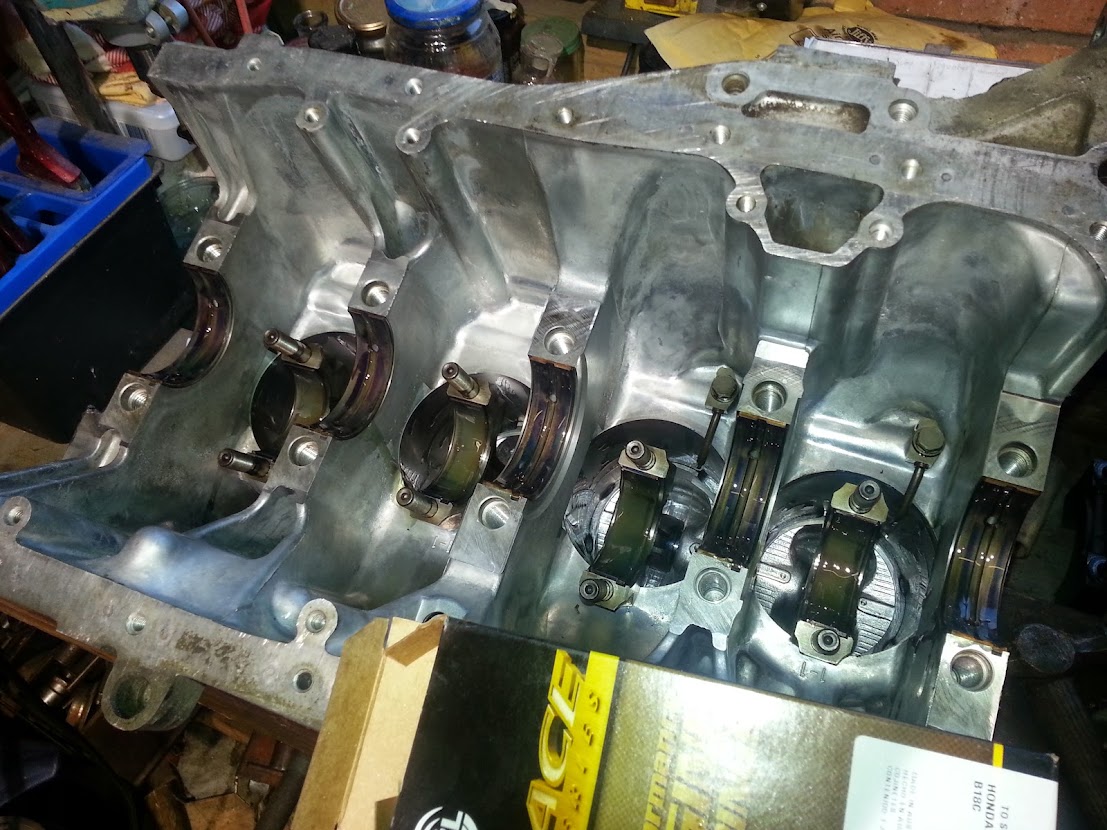
Crank lowered in with 2 and 3 conrod journals up as per honda instructions.

Conrod caps fitted to 2 and three finger tight, then 180 degree rotation and 1 and 4 fitted finger tight, then torqued up in two steps as per honda instructions. I was expecting it to demand a stretch gauge that I do not own.
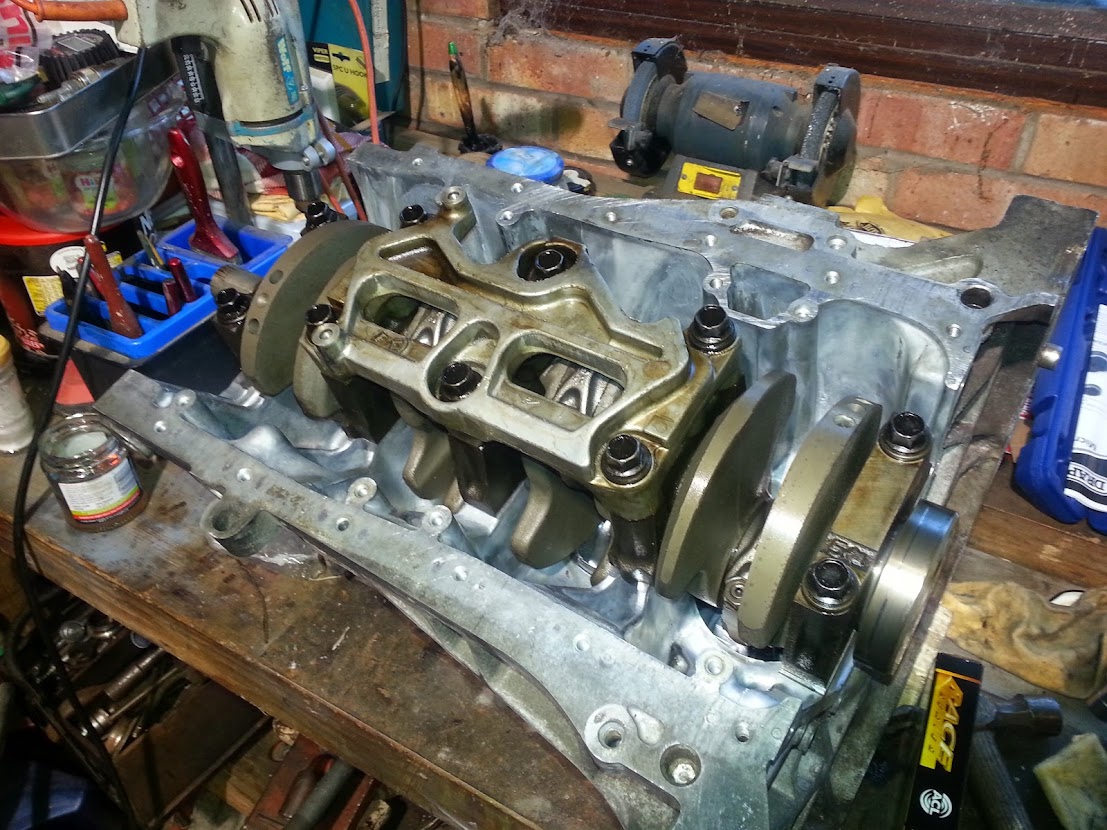
Then mains fitted and torqued in 2 steps from inside out order.
Crank turns freely (a touch tight as one might expect) - feels just right for a new build.
Bottom end gasket set:-
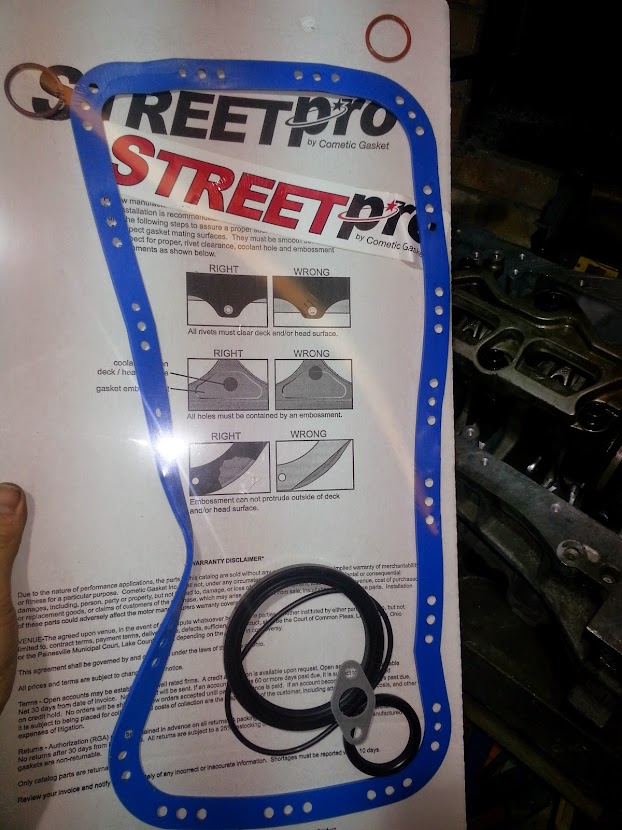
New seal fitted. Plate liqi-gasketted.

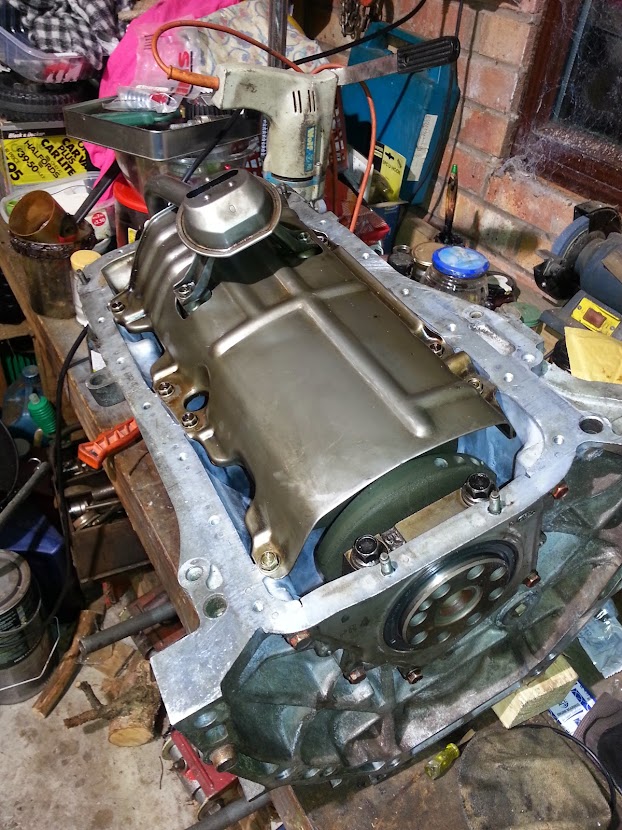
Oil pump refitted, windage tray refitted, oil pickup refitted. All torqued up. Will most likely get a new oil pump soon.
So, Bottom end day. (As well as fixing my Saabs airbags!)
Pistons installed with ring compressor. Getting the oil rings to go inside the bore is the hard bit for sure.
Refitted squirters. Also fitted and lubed up the ACL Race bearings to the conrods.
Mains fitted and lubed:-
Thrusts fitted.
Crank lowered in with 2 and 3 conrod journals up as per honda instructions.
Conrod caps fitted to 2 and three finger tight, then 180 degree rotation and 1 and 4 fitted finger tight, then torqued up in two steps as per honda instructions. I was expecting it to demand a stretch gauge that I do not own.
Then mains fitted and torqued in 2 steps from inside out order.
Crank turns freely (a touch tight as one might expect) - feels just right for a new build.
Bottom end gasket set:-
New seal fitted. Plate liqi-gasketted.
Oil pump refitted, windage tray refitted, oil pickup refitted. All torqued up. Will most likely get a new oil pump soon.
- Joined
- Oct 16, 2012
- Messages
- 8,917
We got the same ring compressor, agreed it's the bottom oil ring that's a pita, there's a technique to it though, I got all mine in with my thumbs in the end. Keeping the compressor perfectly flat to the deck.
I put my crankshaft on first, so did it arse about face but seems to be ok, same as you abit of resistance but feels smooth.
Going along well though! All oem parts?
I put my crankshaft on first, so did it arse about face but seems to be ok, same as you abit of resistance but feels smooth.
Going along well though! All oem parts?
JohnTurbo
Well-Known Member
- Joined
- Oct 3, 2013
- Messages
- 942
Pistons are Nippon, seals Cometic, bearings ACL - so no basically, but good quality.
The rods are stock ITR.
Pushing down firmly on the compressor seemed to work well. I lowered the pistons by tapping with a hammer handle as per Honda manual.
I followed the manual to the letter with my new trust 3/8" torque wrench - then discovered that they totally omitted reassembly of the windage tray - the other M6 bolts were all 11Nm, so I did them to that.
JohnTurbo
Well-Known Member
- Joined
- Oct 3, 2013
- Messages
- 942
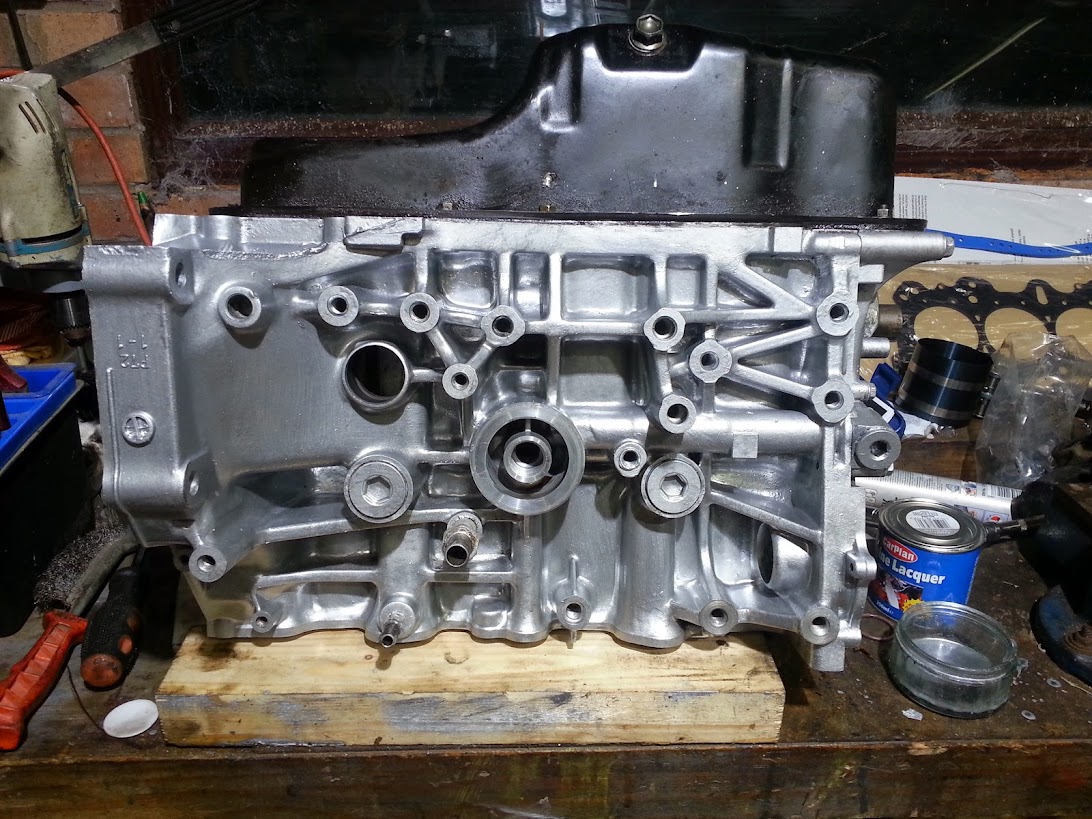
Silver engine paint time:-
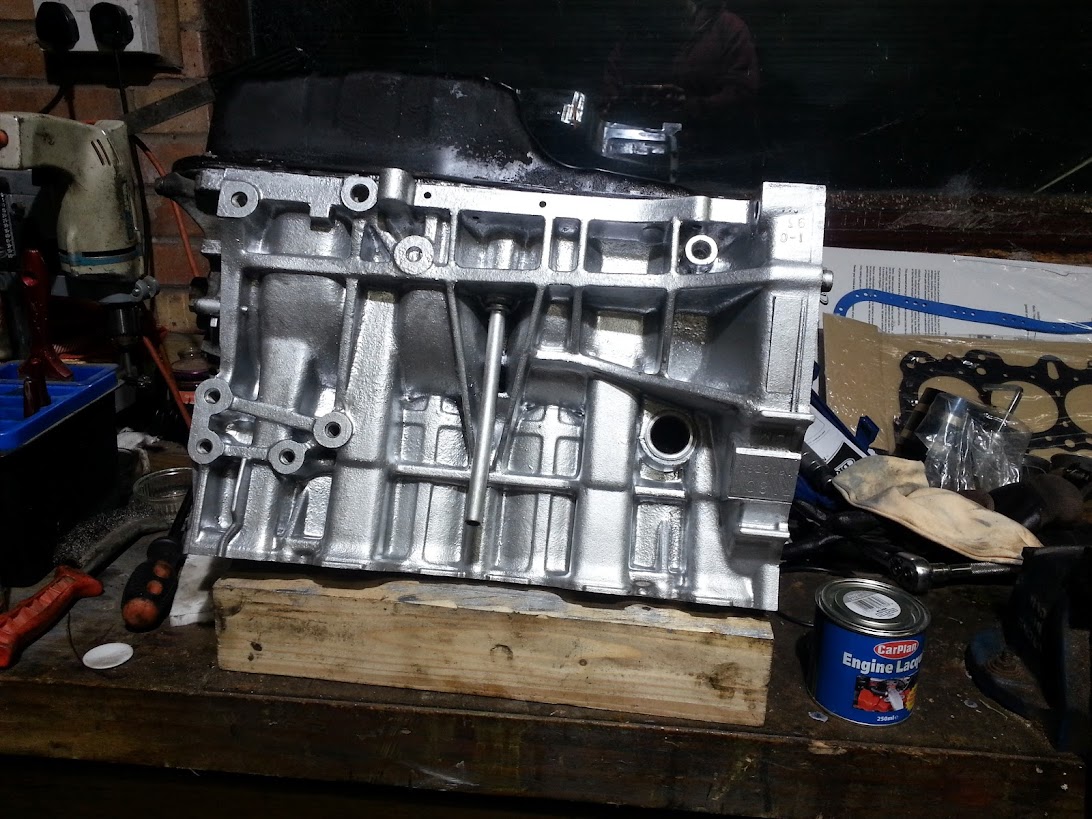
Then came a lot of boring work cleaning all the cam caps etc which were very dirty from some years of poor maintenance on this engine. (Though low wear suggests it was only recent years)
At this point I used plasticine to partiall fill the piston recesses on cyls 1 and 4. This was so the valves would leave impression to work out the P2V clearance.
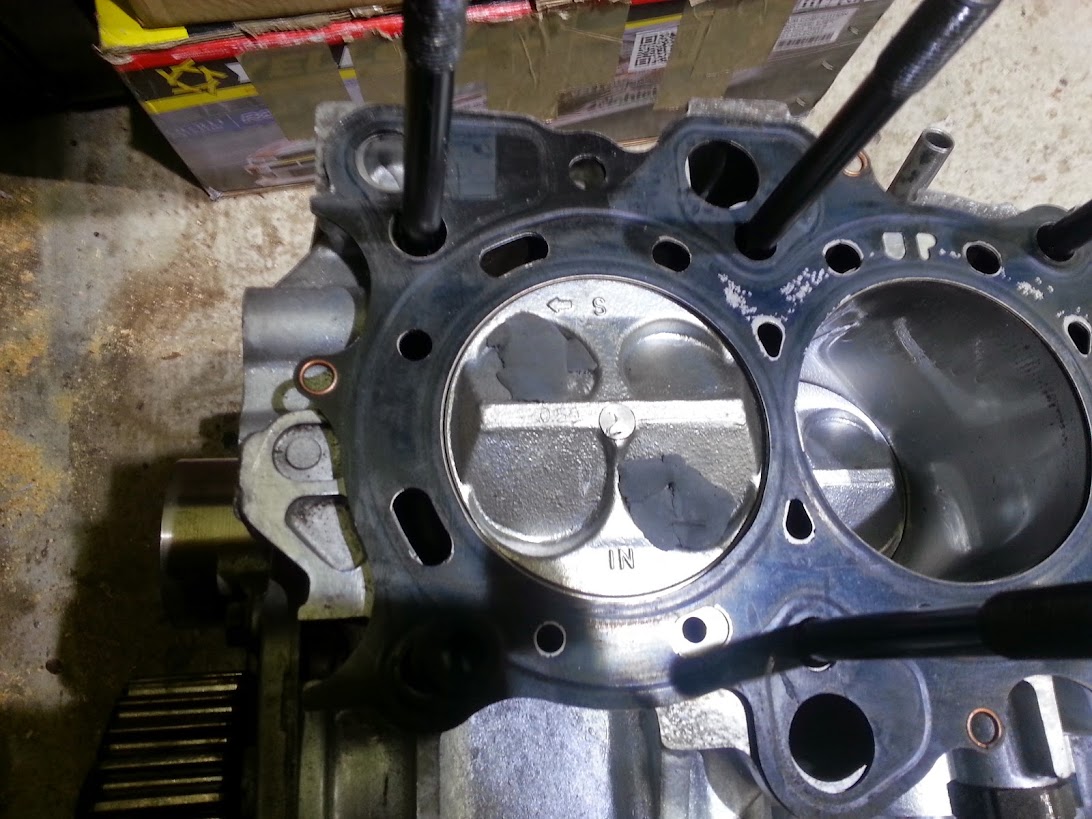

Then I built the engine up with the old head gasket shown, fully torqued it, and timed it.
Then I set valve lash on cylinder 1 - I left it on the others as it was touching the lobe - it would exaggerate any clearance issue I thought.
4 complete crank revolutions (2 cam revs) and then stripdown showed no marking at all to the Plasicine.
This is a bit odd, as I was expecting it to be really close. Its not close at all!!
So then i built her back up with a new genuine Honda gasket, and killed myself getting the ARP 85lbft torque settings.


Then came a lot of boring work cleaning all the cam caps etc which were very dirty from some years of poor maintenance on this engine. (Though low wear suggests it was only recent years)
At this point I used plasticine to partiall fill the piston recesses on cyls 1 and 4. This was so the valves would leave impression to work out the P2V clearance.
Then I built the engine up with the old head gasket shown, fully torqued it, and timed it.
Then I set valve lash on cylinder 1 - I left it on the others as it was touching the lobe - it would exaggerate any clearance issue I thought.
4 complete crank revolutions (2 cam revs) and then stripdown showed no marking at all to the Plasicine.
This is a bit odd, as I was expecting it to be really close. Its not close at all!!
So then i built her back up with a new genuine Honda gasket, and killed myself getting the ARP 85lbft torque settings.
- Joined
- Oct 16, 2012
- Messages
- 8,917
Yeah if they are open later then it could couldn't it.
Think it's best to just do it again, small inconvenience now but could save a lot of aggro later.
Probably will be fine like you say but you've done it all properly so far...
Think it's best to just do it again, small inconvenience now but could save a lot of aggro later.
Probably will be fine like you say but you've done it all properly so far...