
pateras_vtec
Active Member
- Joined
- Feb 16, 2008
- Messages
- 1,364
I saw a similar thread by Chet Baker also, but i thought i might as well add mine too since it has more detail.
You`ll be needing:
sandpaper:Grade P240 & P320
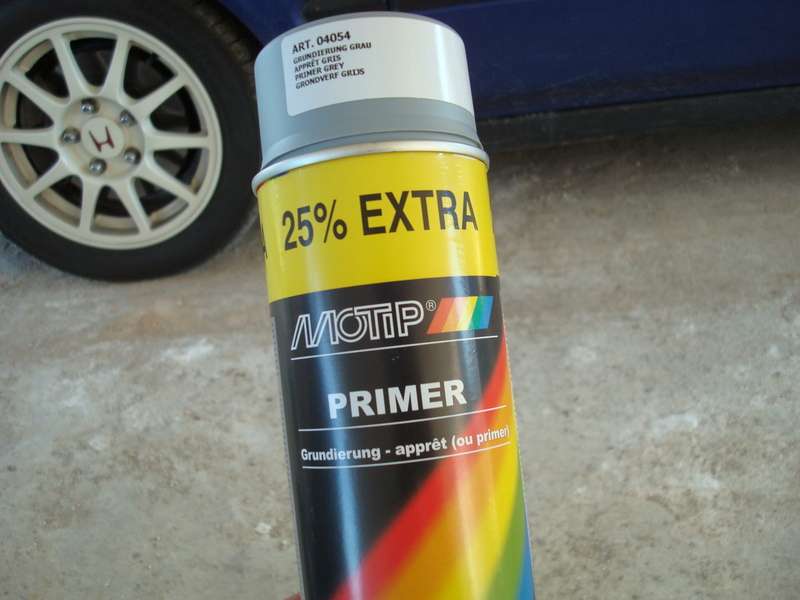
Primer in spray
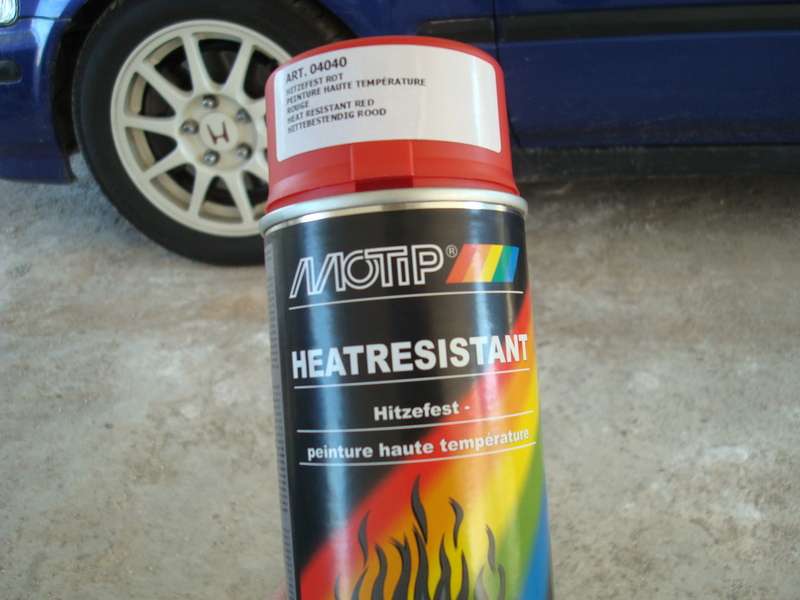
Red color sprey (heat resistant)
paint remover
Thinner/diluant
Brushes
old fabrics
hair dryer
paper tape
rust remover
time: 90`-240`
It would be best if the primer is grey colored so that the paint will need less coats to cover it.
make sure to do this process in a well ventilated area, and to use industrial gloves to avoid burning your hands.
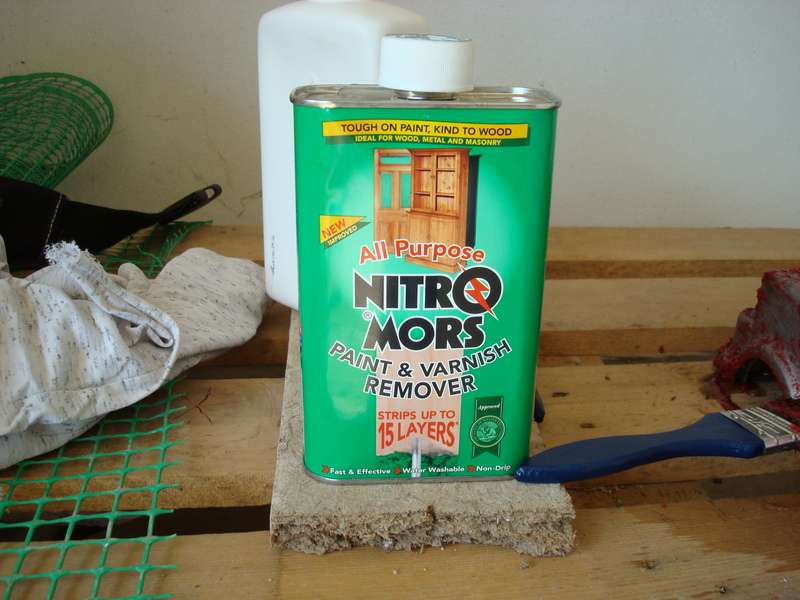
After we`ve removed the rocker cover off our engine, we wash of the inner side oil remains with some thinner and a brush. Wipe that, and repeat untill it`s all clean and oil free. We do that to avoid craters later on in the paint process. After that we apply the remover with a clean brush again, making thick layers with it. Before the entire surface is covered you will see that it will already have begin to act.
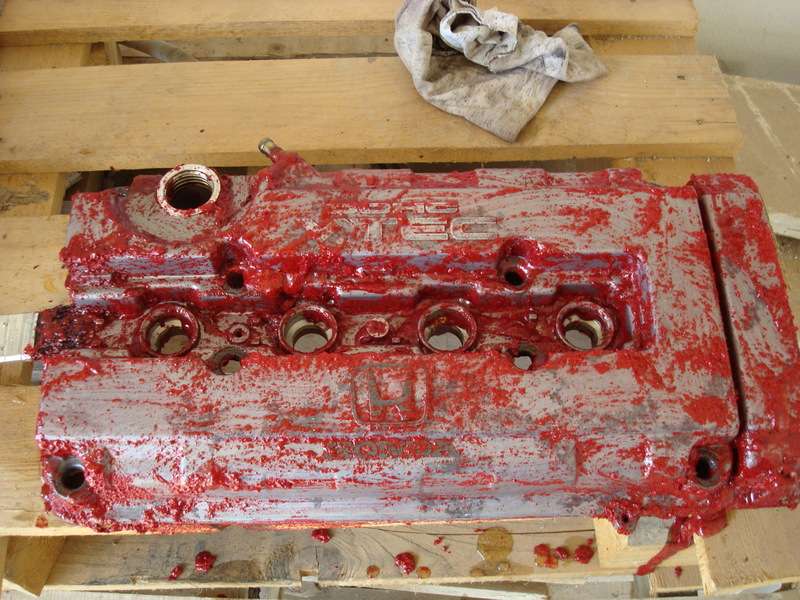
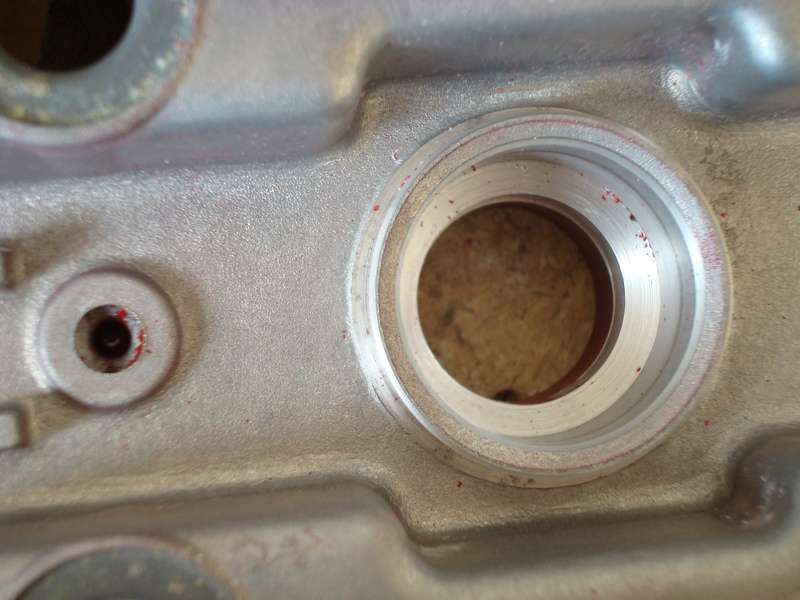
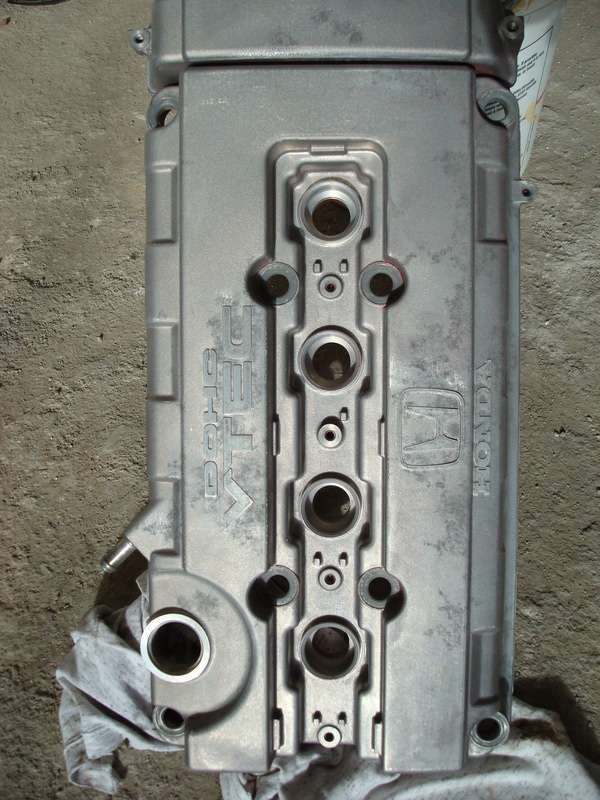
Leave it as it for 5` minutes, and using the brush remove the paint by pressing gently. To use as little thinner as possible, try to take away much paint/remover you can using a fabric, before washing off with small s***** of thinner. Make sure to clean the inside as well. After cleaning, you should have something that looks like this
You will notice some white or dark grey areas; that`s rust. First with the P240 you sand off the rust and persistant dirt, and P320 for the entire surface. If you have an eye for detail (like myself) make sure to reach for the tiny spots as well.
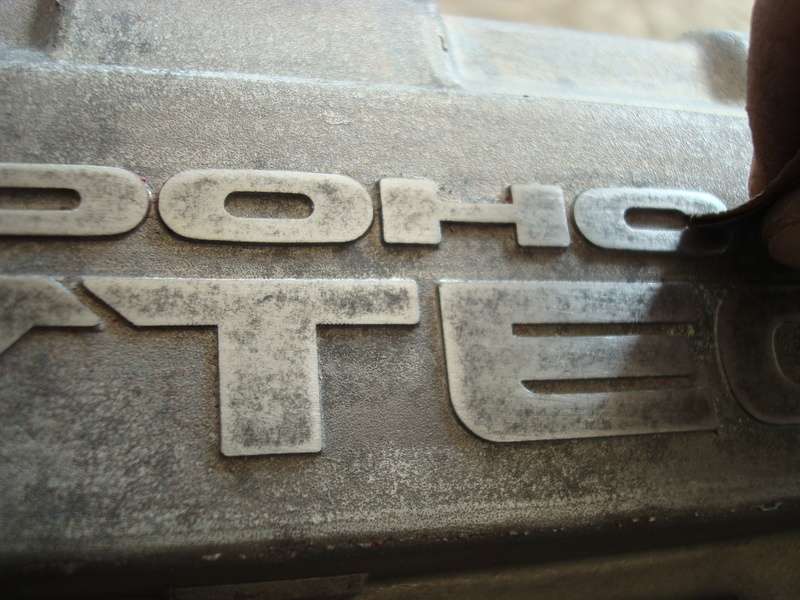
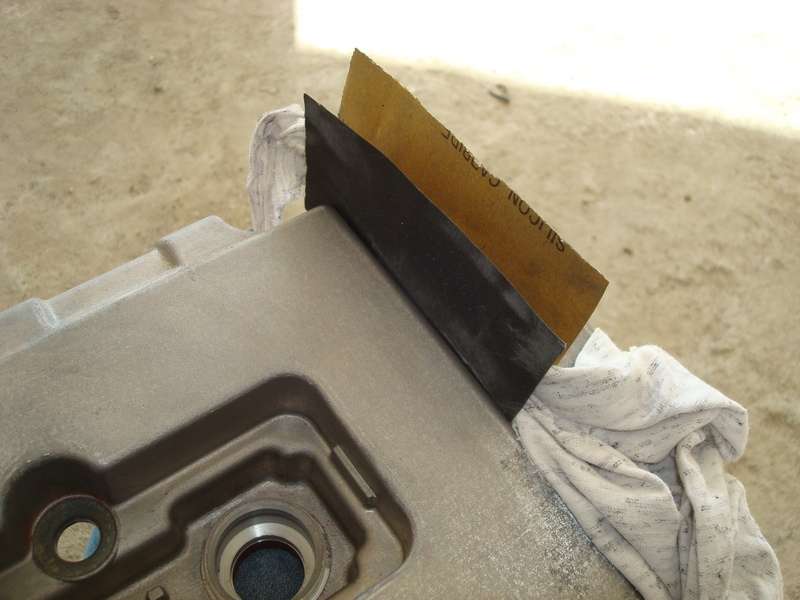
For the tough-to-reach spots above the cam gears, take the sand paper and fold with it a piece of fabric. This way you can sand more effectively the area.
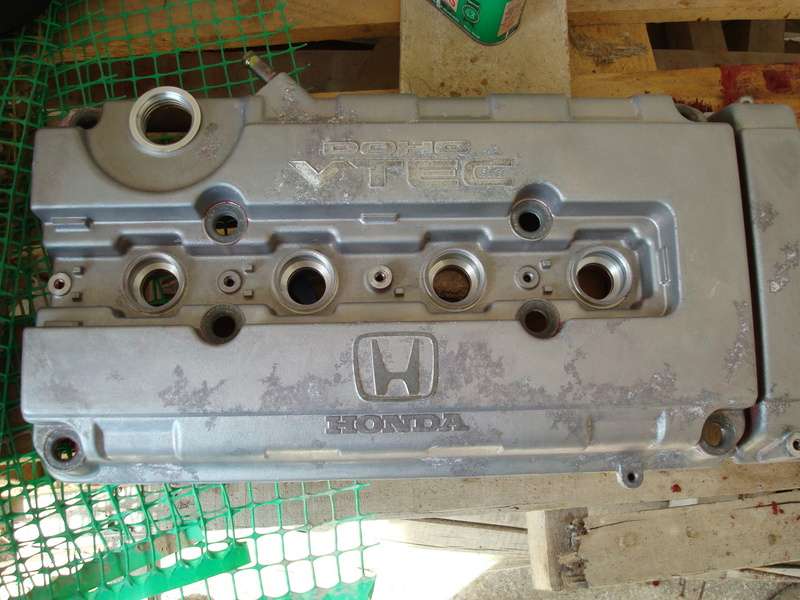
When you`re done sanding, you might want to use the rust remover as well. This way it will penetrate deeper into the aluminum, removing all rust we can`t see now and might develop some time later. Application is the same way as the remover, but we wash off with water. To dry well, you can either blow water off with an air pistol at a workshop or wipe it thoroughly and bake it the oven for 30 minutes or so at 150 Celsius. Small pieces of paint can easily be removed using a dry brush.
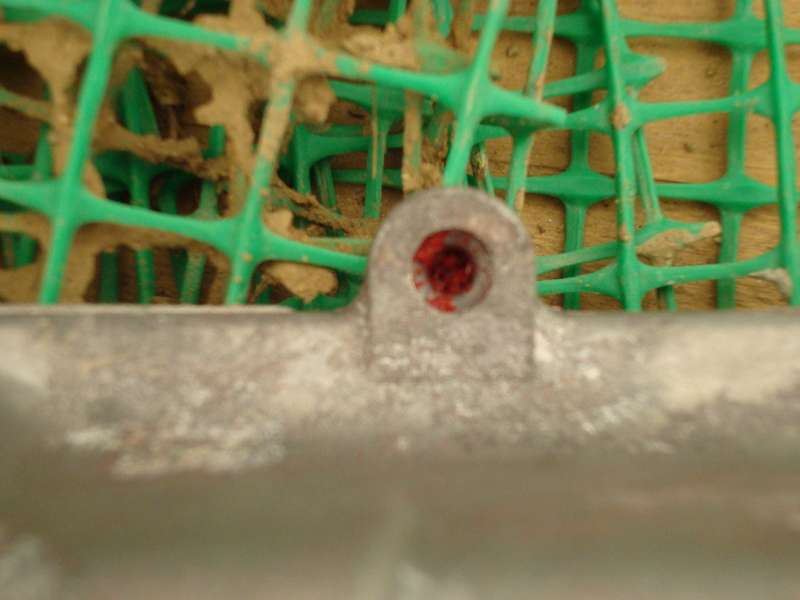
in the following picture see how the fume tube is now silver than bronze at first, due to the rust remover.
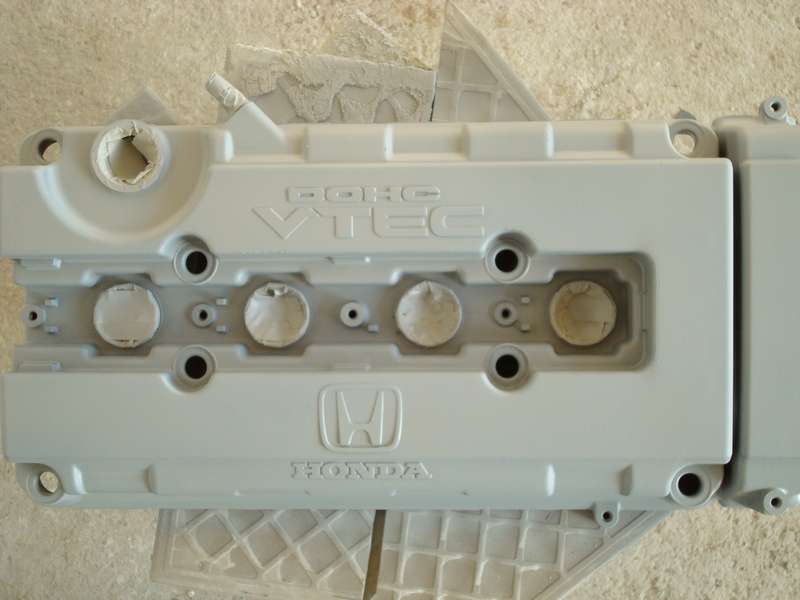
Now that all is done we duct using paper tape, the fume tube and spark plug guides.
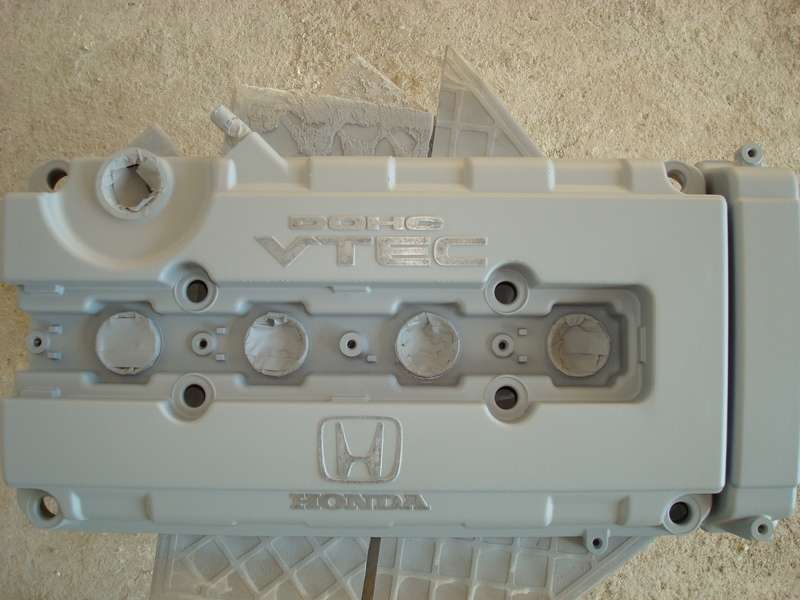
And we are ready to begin priming. 2-3 light coats, with 5-10 minutes flash off, or less using a hair dryer.
and a small video in case someone is not familiar with spraying
[YouTube]asw9AJv409U[/YouTube]
Same process for the paint.
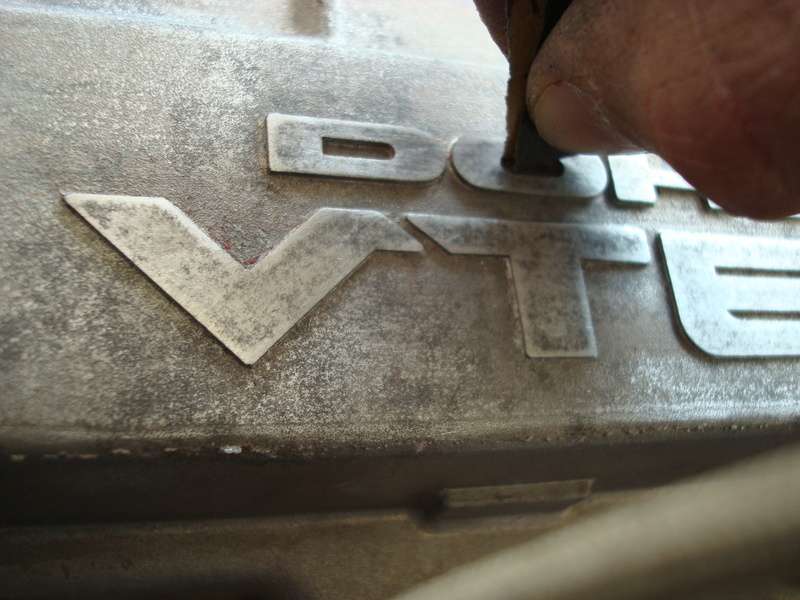
Now, because ducting the logos is time consuming, i did this; just after i finished priming at first and later painting, using a fabric soaked in a little thinner, carefully removed off the logos unnecessary primer and paint.
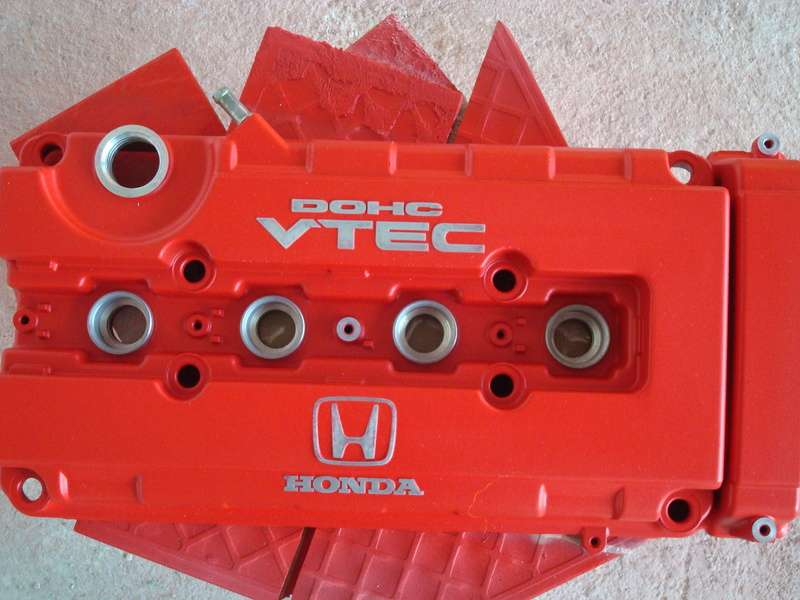
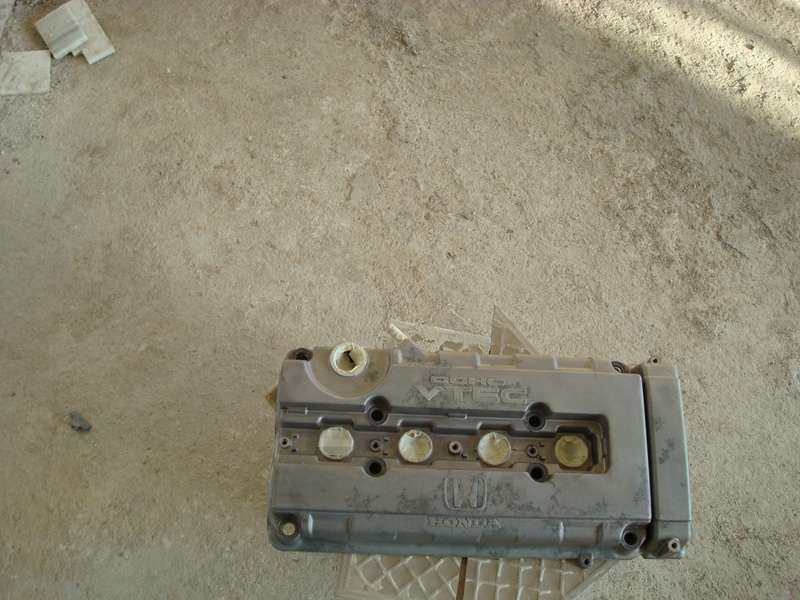
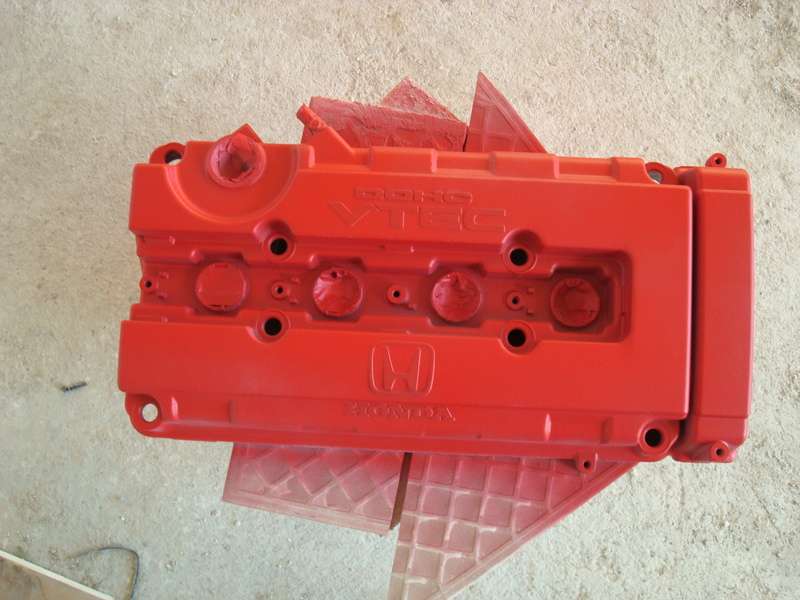
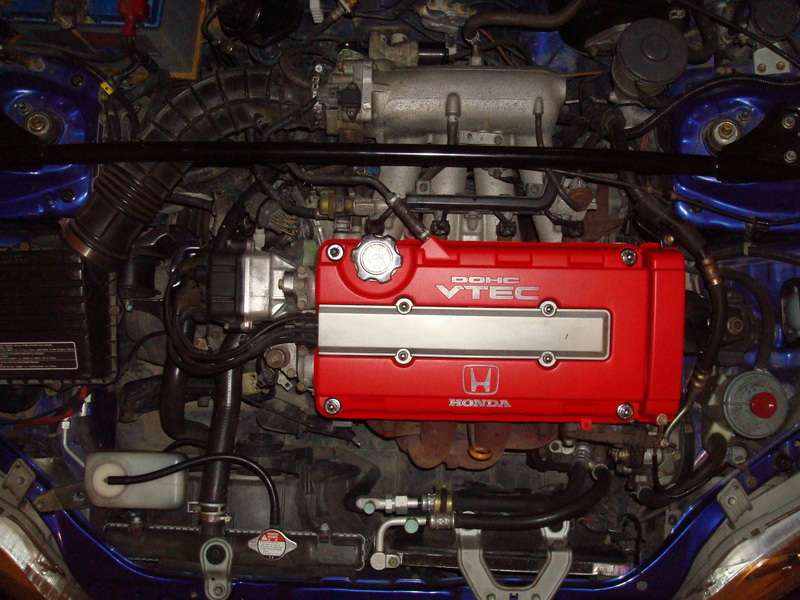
After 30` of wait we carefully remove the tapes and put the cover back into place. And from this
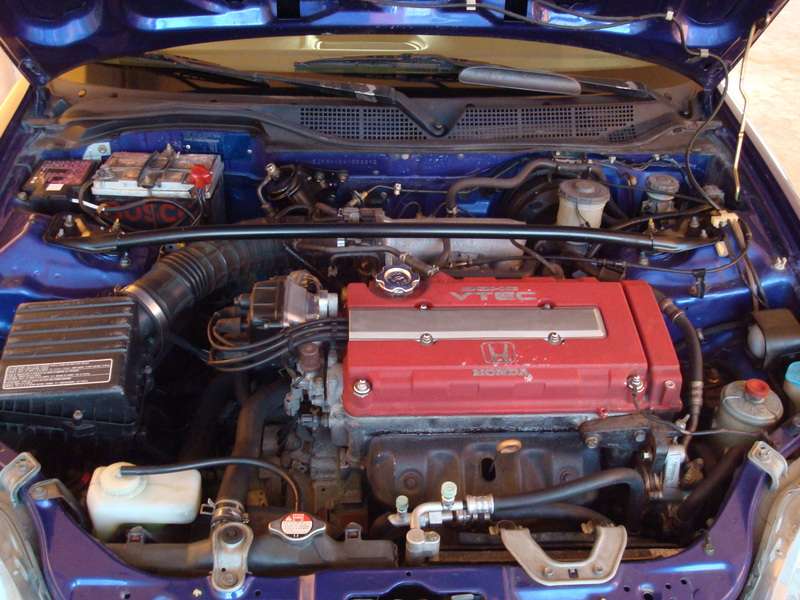
i now have this
thanks for looking. hope it helps.
ps. excuse my bad english
.
You`ll be needing:
sandpaper:Grade P240 & P320
Primer in spray
Red color sprey (heat resistant)
paint remover
Thinner/diluant
Brushes
old fabrics
hair dryer
paper tape
rust remover
time: 90`-240`
It would be best if the primer is grey colored so that the paint will need less coats to cover it.
make sure to do this process in a well ventilated area, and to use industrial gloves to avoid burning your hands.
After we`ve removed the rocker cover off our engine, we wash of the inner side oil remains with some thinner and a brush. Wipe that, and repeat untill it`s all clean and oil free. We do that to avoid craters later on in the paint process. After that we apply the remover with a clean brush again, making thick layers with it. Before the entire surface is covered you will see that it will already have begin to act.
Leave it as it for 5` minutes, and using the brush remove the paint by pressing gently. To use as little thinner as possible, try to take away much paint/remover you can using a fabric, before washing off with small s***** of thinner. Make sure to clean the inside as well. After cleaning, you should have something that looks like this
You will notice some white or dark grey areas; that`s rust. First with the P240 you sand off the rust and persistant dirt, and P320 for the entire surface. If you have an eye for detail (like myself) make sure to reach for the tiny spots as well.
For the tough-to-reach spots above the cam gears, take the sand paper and fold with it a piece of fabric. This way you can sand more effectively the area.
When you`re done sanding, you might want to use the rust remover as well. This way it will penetrate deeper into the aluminum, removing all rust we can`t see now and might develop some time later. Application is the same way as the remover, but we wash off with water. To dry well, you can either blow water off with an air pistol at a workshop or wipe it thoroughly and bake it the oven for 30 minutes or so at 150 Celsius. Small pieces of paint can easily be removed using a dry brush.
in the following picture see how the fume tube is now silver than bronze at first, due to the rust remover.
Now that all is done we duct using paper tape, the fume tube and spark plug guides.
And we are ready to begin priming. 2-3 light coats, with 5-10 minutes flash off, or less using a hair dryer.
and a small video in case someone is not familiar with spraying
[YouTube]asw9AJv409U[/YouTube]
Same process for the paint.
Now, because ducting the logos is time consuming, i did this; just after i finished priming at first and later painting, using a fabric soaked in a little thinner, carefully removed off the logos unnecessary primer and paint.
After 30` of wait we carefully remove the tapes and put the cover back into place. And from this
i now have this
thanks for looking. hope it helps.
ps. excuse my bad english
.
Last edited:
")


