Right a bit of a more major update this time.
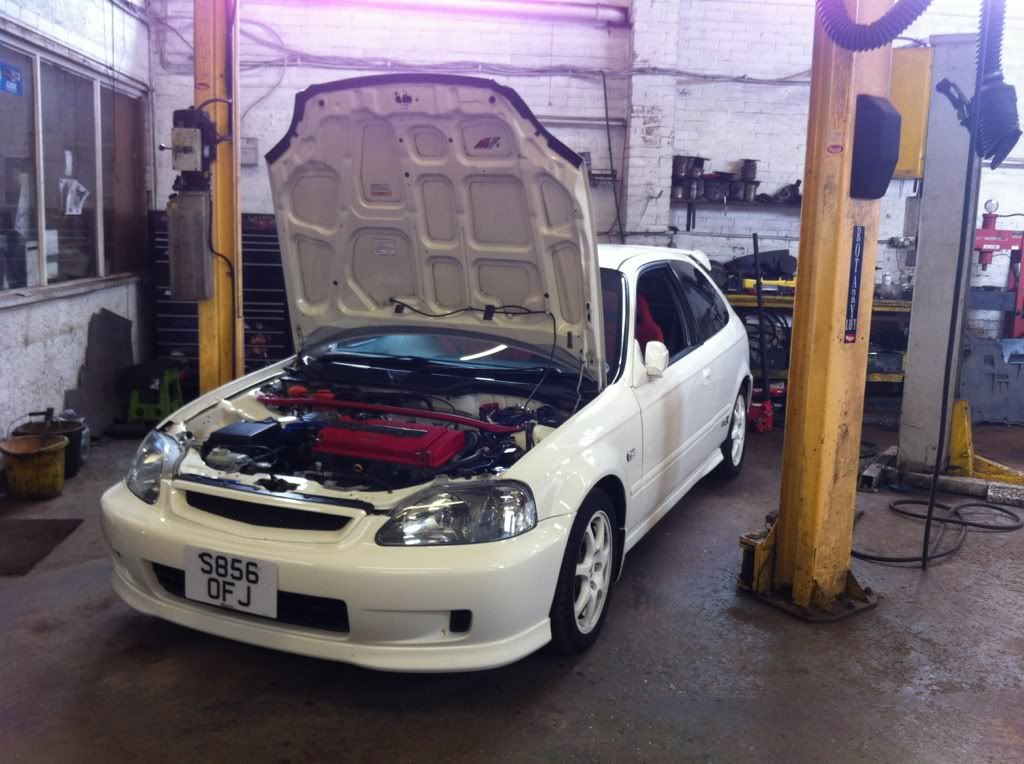
Went off to a near by garage where my friend is friendly with the owner and let us borrow his workshop for the day! As I was going to be taking the gear box off I didn't fancy doing it on the driveway and this made things soo much easier!
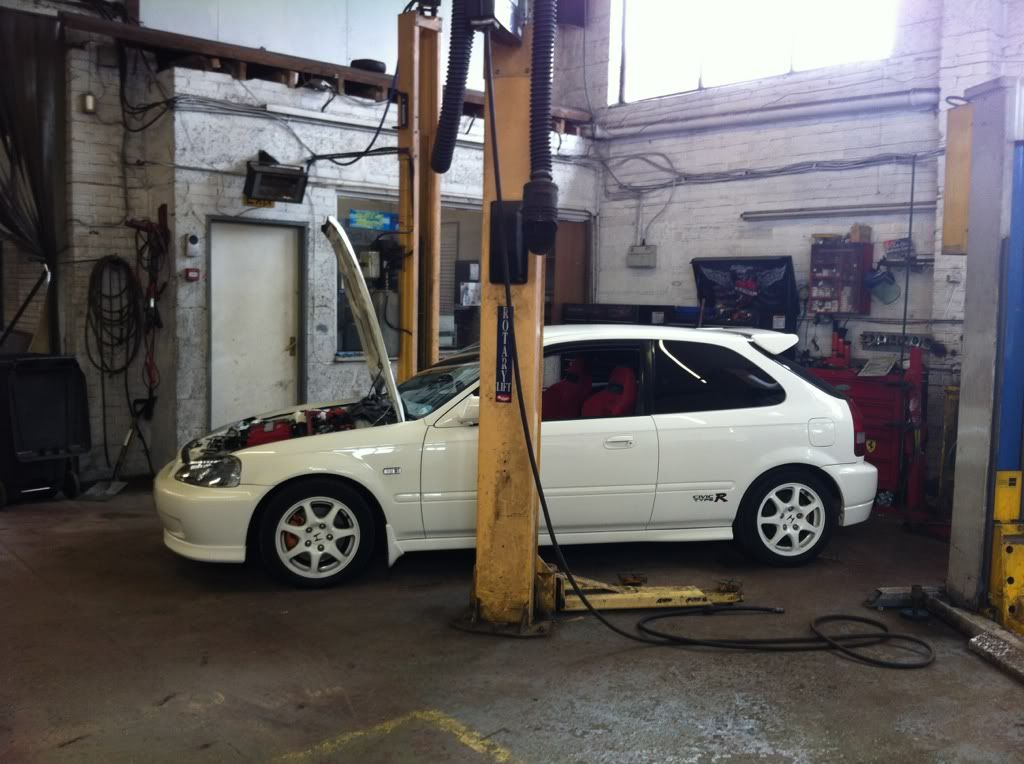
So into the workshop.
My mate also wanted to sort his tracking while we where there.
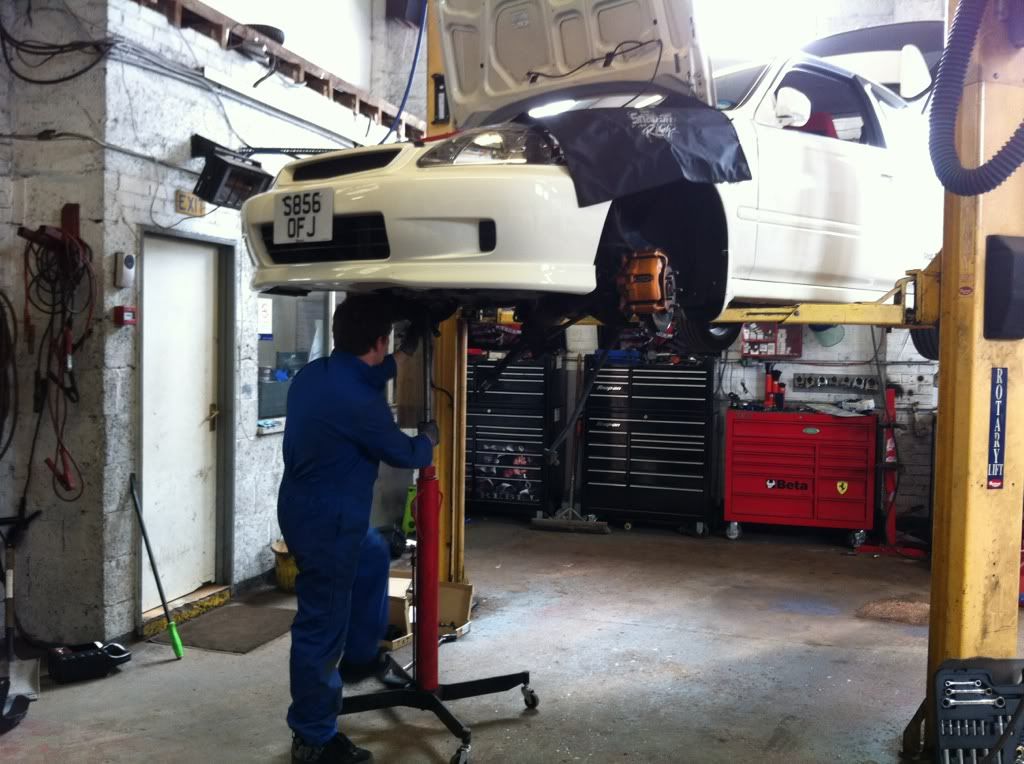
Started to remove all the sensors and bolts and parts that will be in the way of getting the box off.
This did take quite a while as neither of us had done this before on a civic but eventually got to the point of supporting the box.
Don't worry we did support the engine as well! Just didn't take a picture.
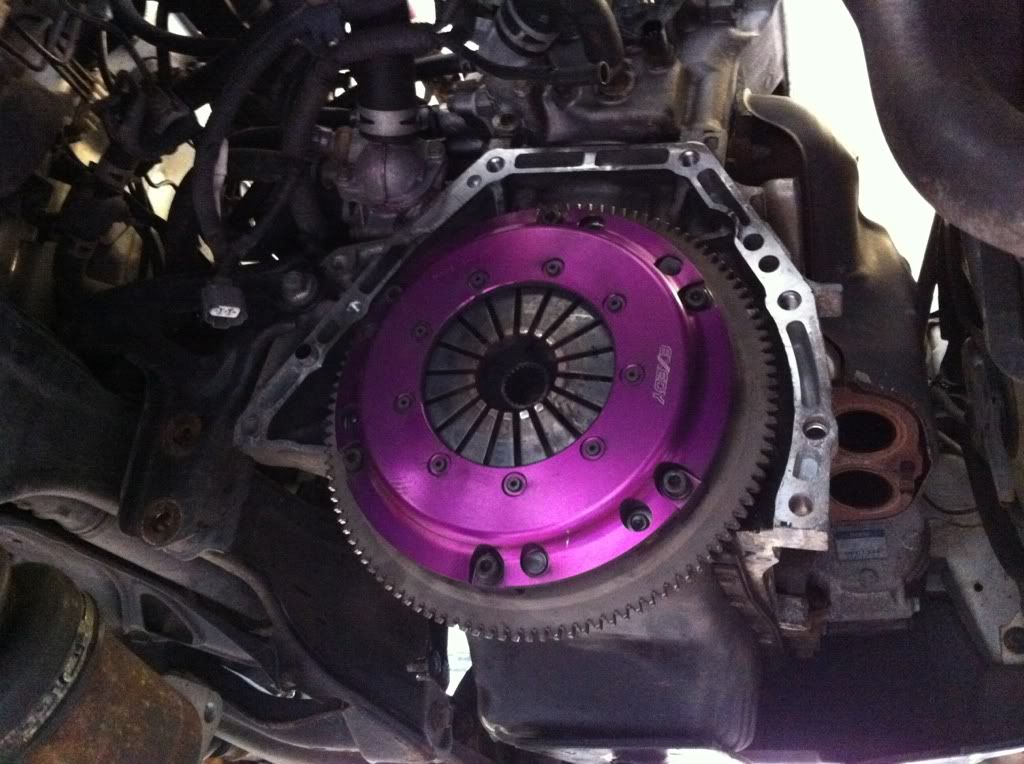
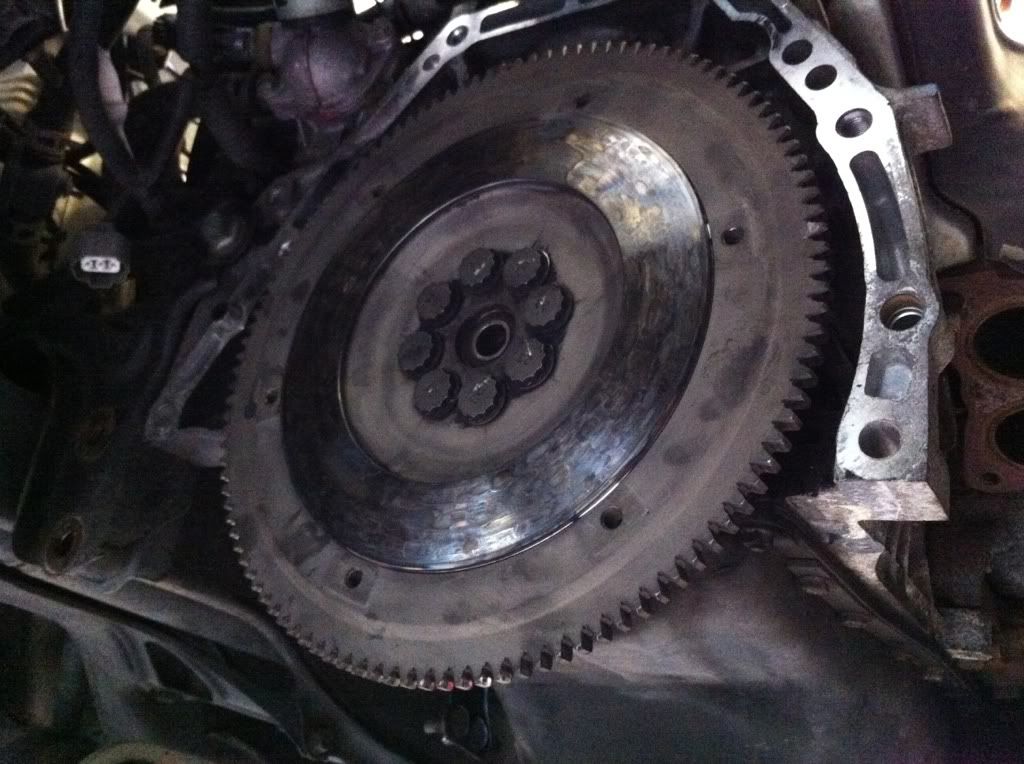
Once we had the box off we had a look at the clutch as this was going to be replaced with an OEM one. I knew this was uprated and as my nine is mostly daily its a bit wasted on me. However we did not expect to see this lurking in there!
Very worn Carbon Clutch!
And a battered flywheel but have found out that this is to be expected due to the nature of the clutch.
With the whole kit made to work together and only being 200mm (I think) in size it meant that the standard clutch would not fit the flywheel at all! So it would need to go back in for the time being until I either replace the Carbon plate or I get hold of a new flywheel. Replaced the release bearing as it was a bit worn and noisy and I had one from the OEM kit.
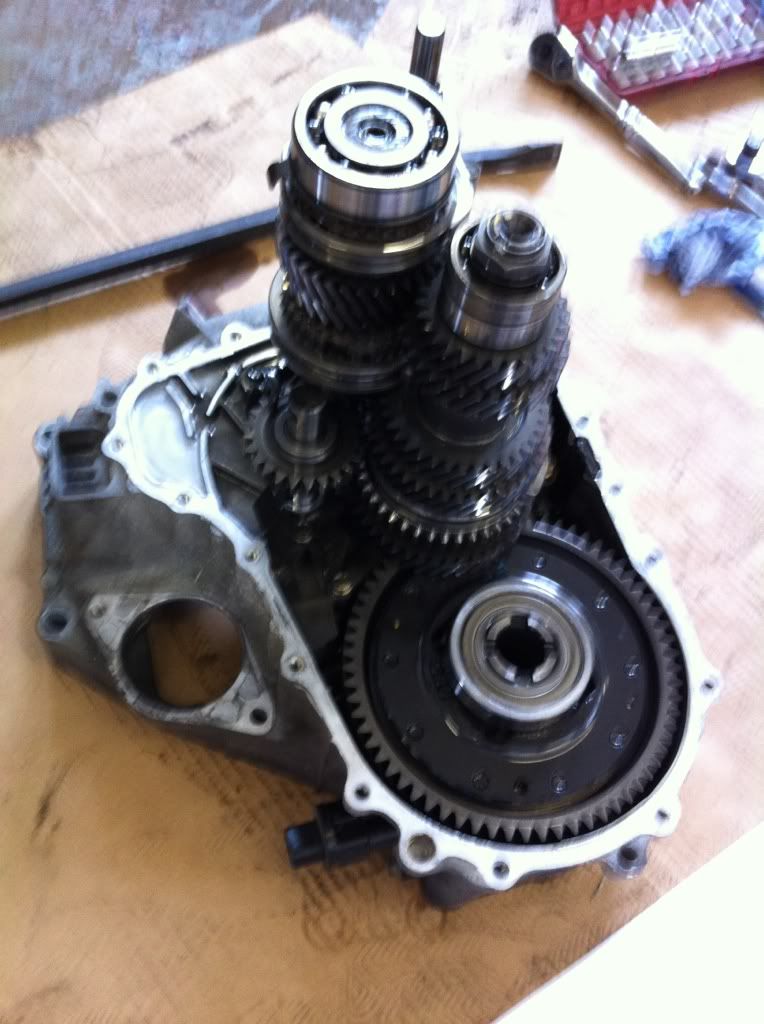
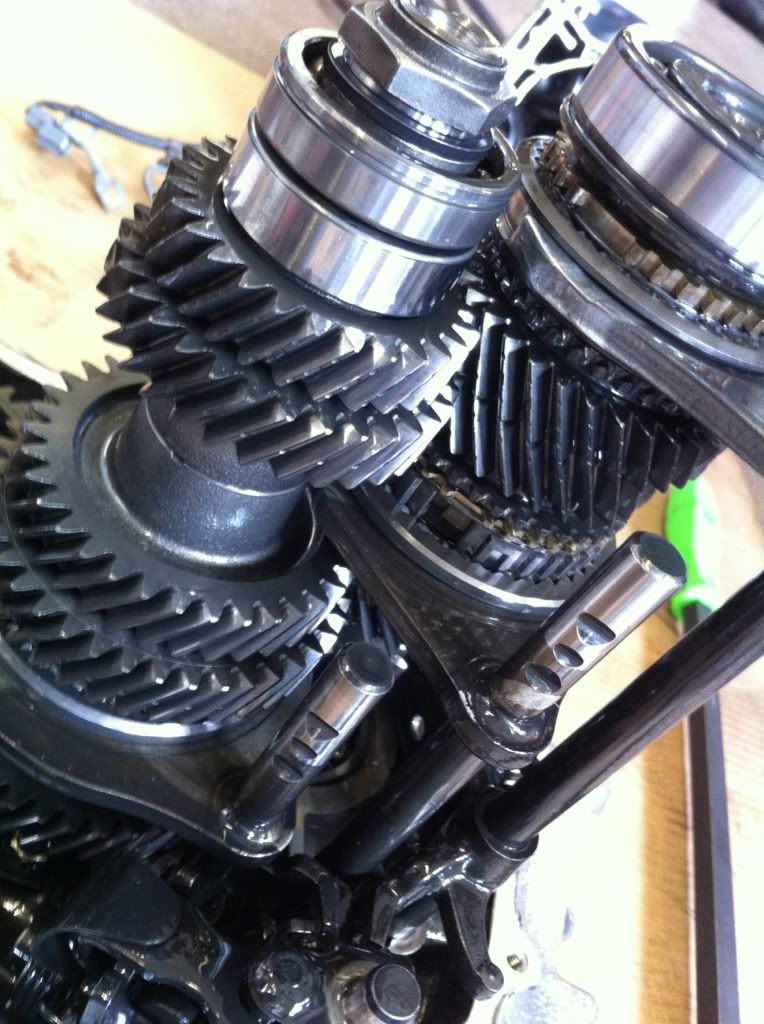
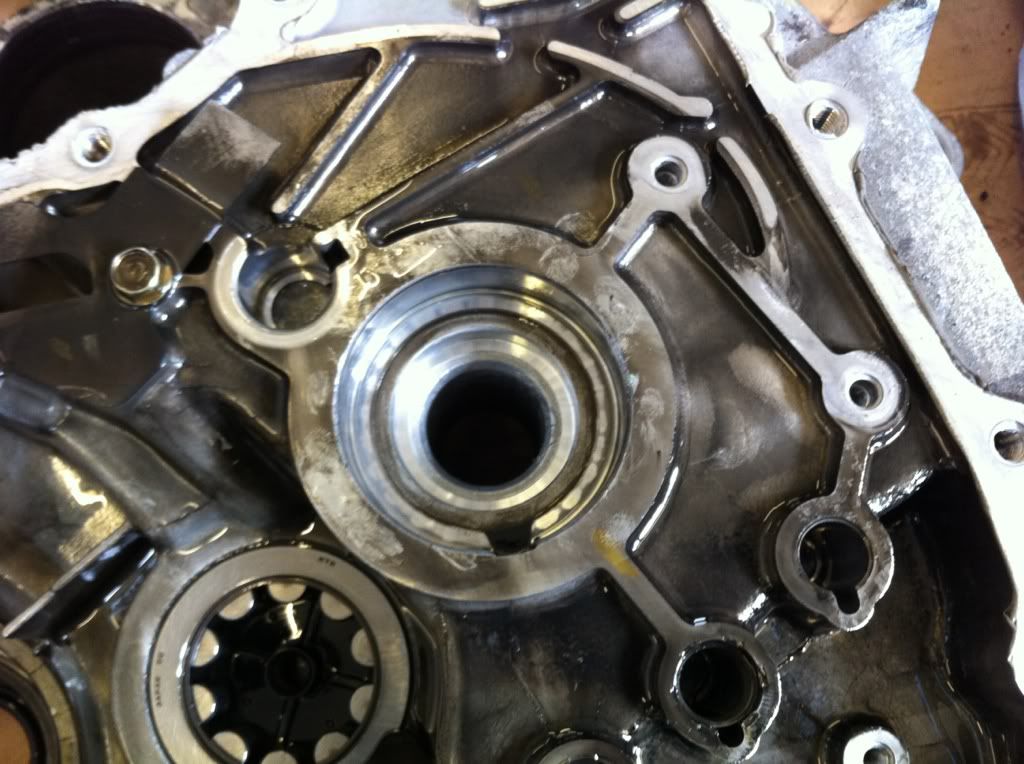
Then moved onto taking the gear box apart for replacing the ISB as I believed it was the source of the noise I had acquired.
All the gears and synchros looked to be in good order, which made me happy!
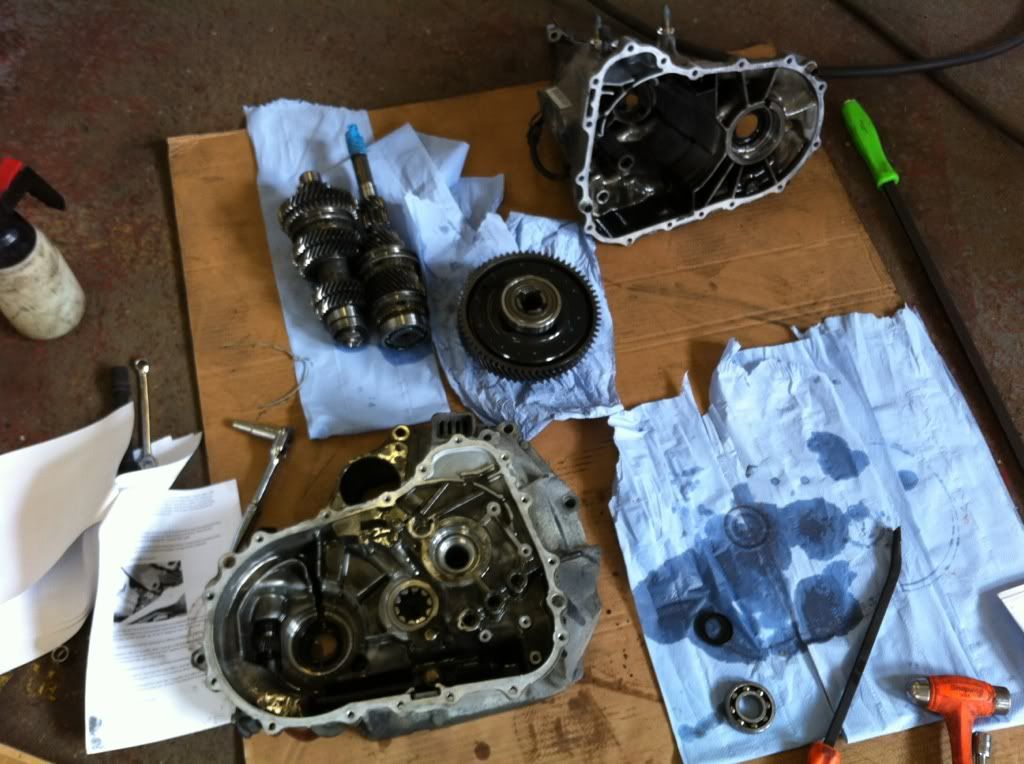
Teared it right down and got the ISB out and it seemed fine but changed it anyway as I had gone to all that effort taking it all apart! So this was not the cause of the noise I had but the flywheel bearing was very notchy so I think this now the problem but I couldn't replace it as it was Sunday and Honda was shut even if they did have it on the shelf.
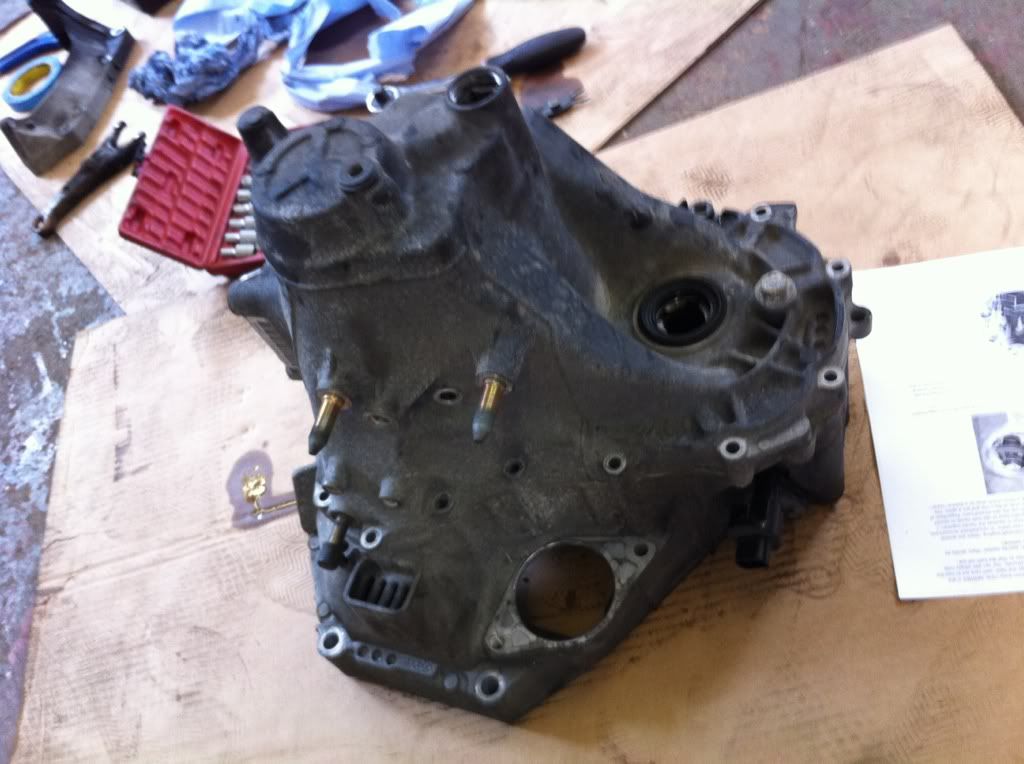
Put the box back together and all sealed up to go back on.
After a very long day we where finally finished. (10am ish to 9pm ish) Only to need to take it all back off again soon, once I get a new flywheel for the OEM clutch. The replacement carbon plate is way too much dollar for me to replace compared to a lightened flywheel so I will be taking this avenue. Still should be a bit quicker next time we come to doing it.
Even tho we didn't change much, the new release bearing has made it feel much better to drive and engaging reverse is easier now.
Not sure what the next update will be but we'll see!
Thanks for reading everyone


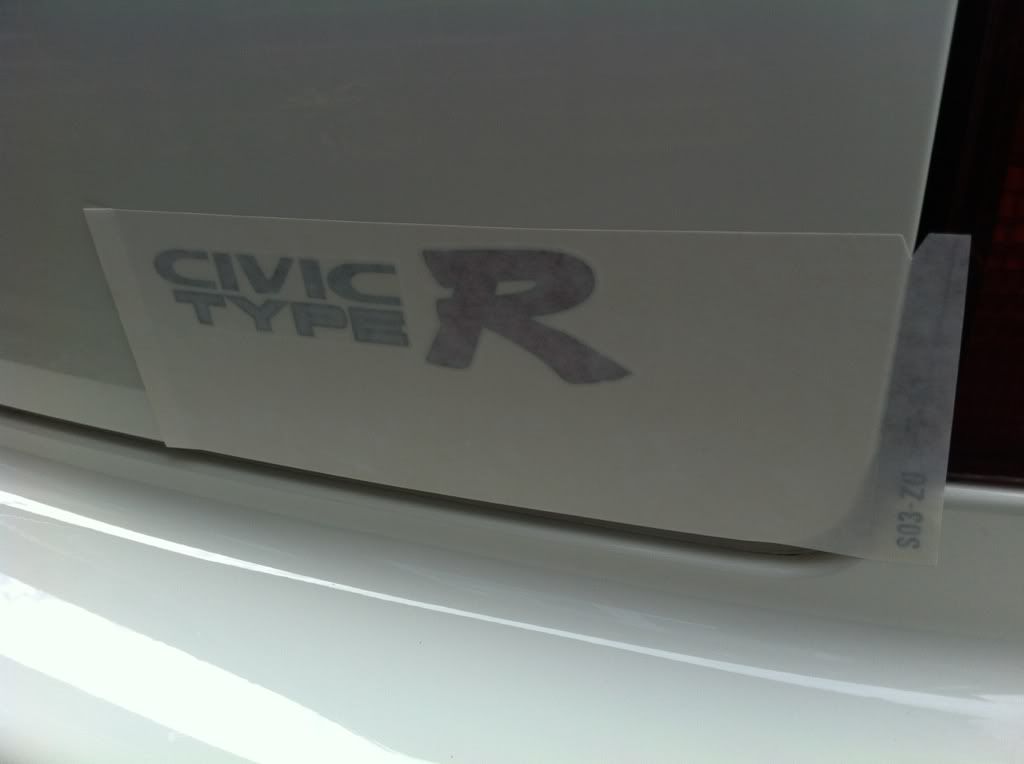
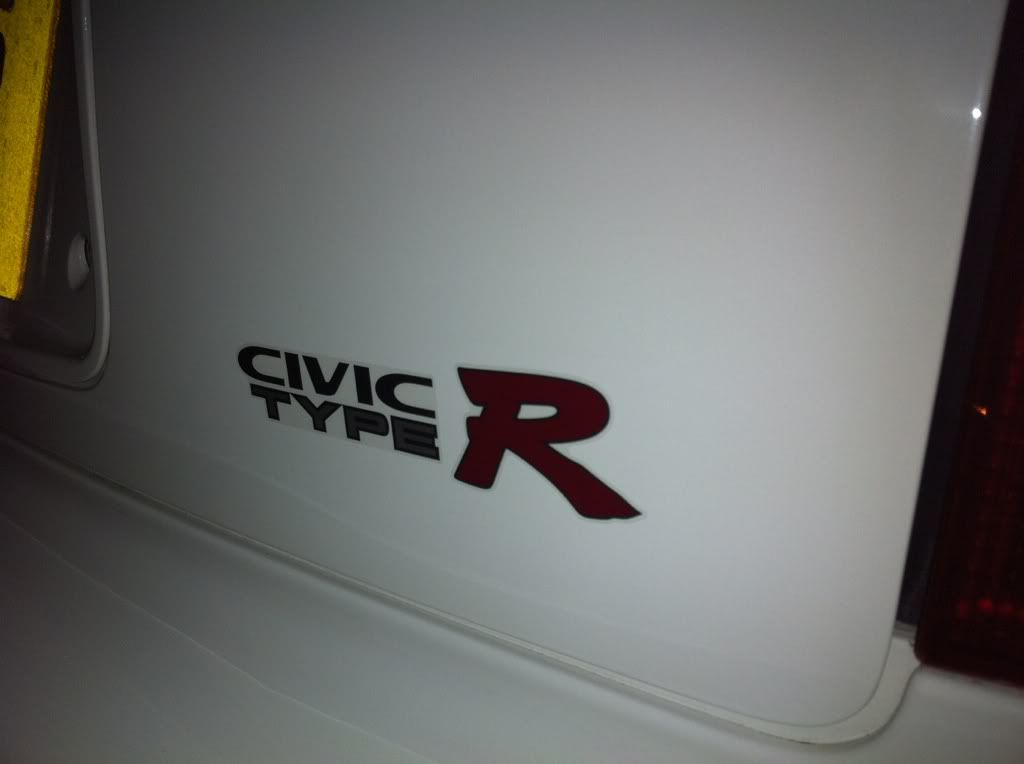
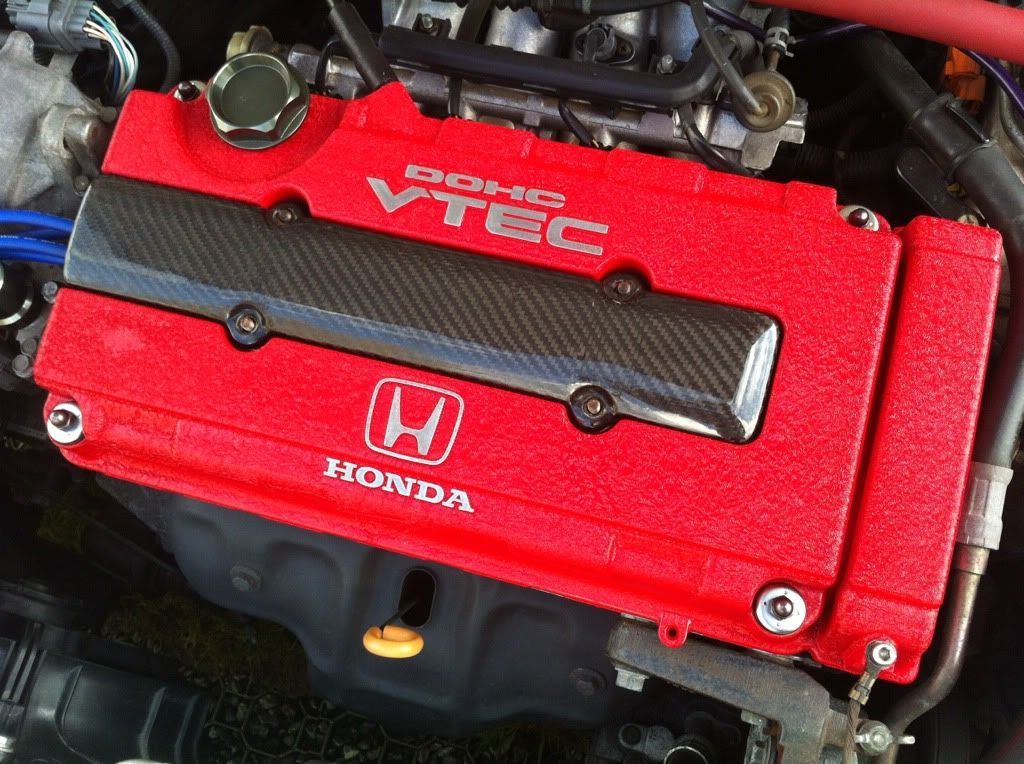
, the flat red looks like it toned it down a fair bit good idea

 Many Thanks to Dave from Emperor Garage! Top bloke!

).gif ":)) :))")