
Hello,
Been on here a while and dont really have a project thread as such,
Suppose i really should document my car and post up some of the changes etc.
Basic brief about the car;
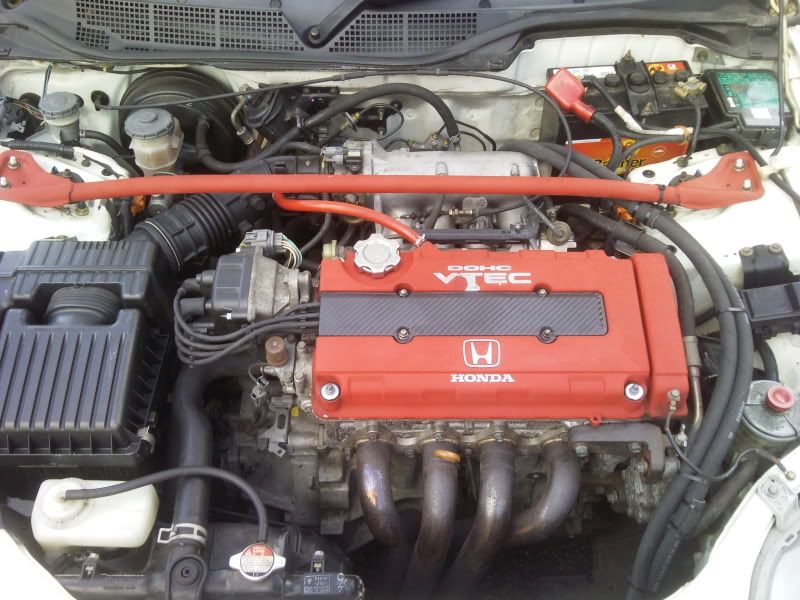
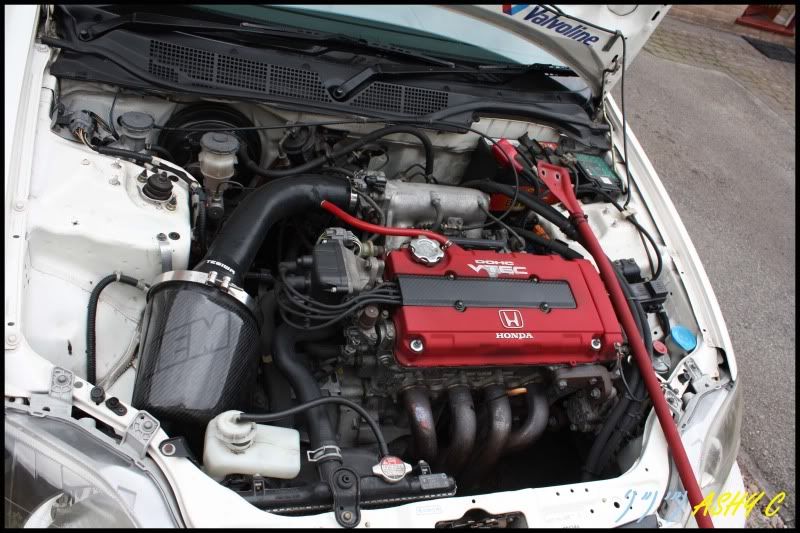
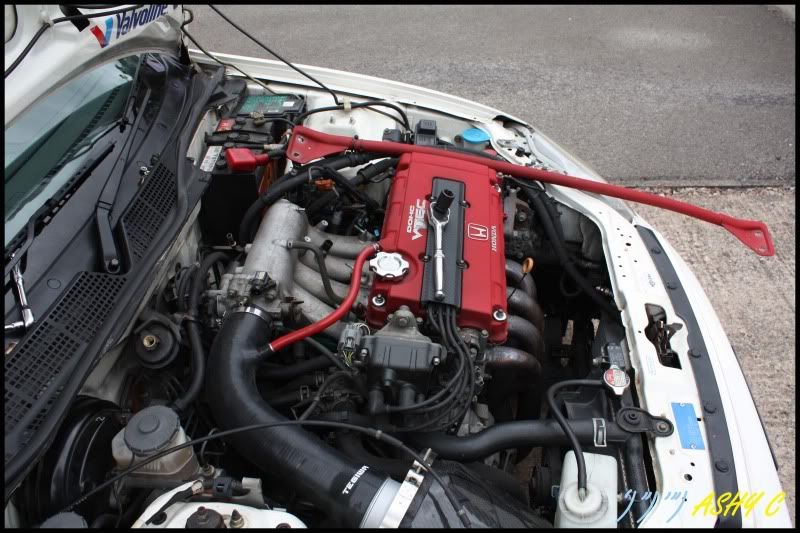
Purchased as a completely standard Honda Civic Type R (EK9) I was lucky enough to get a really good facelift example, which had been owned by only one person in this country, he had documented all the history and even had the Japanese service history, which is something of a rarity as they tend to get lost when imported. In the three and a bit years of his ownership he had only covered 14,000miles but had completed quite a few trackdays in it, which at the time worried me.
As well as the sale of the car he also had a few other goodies for sale, that used to be on the car before he returned it to standard. So for an aditional £350 (Back to the original asking price) he threw in :
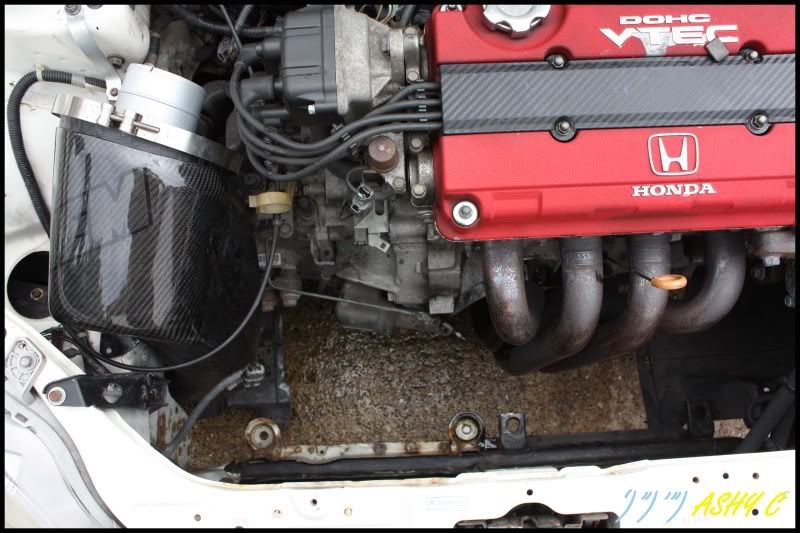
A replica J's racing Induction Kit
A genuine Recaro seat bolster
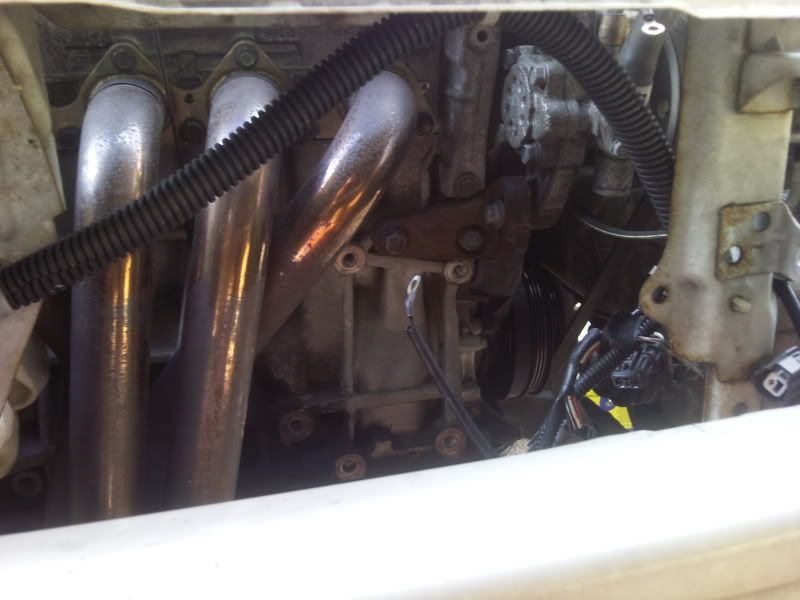
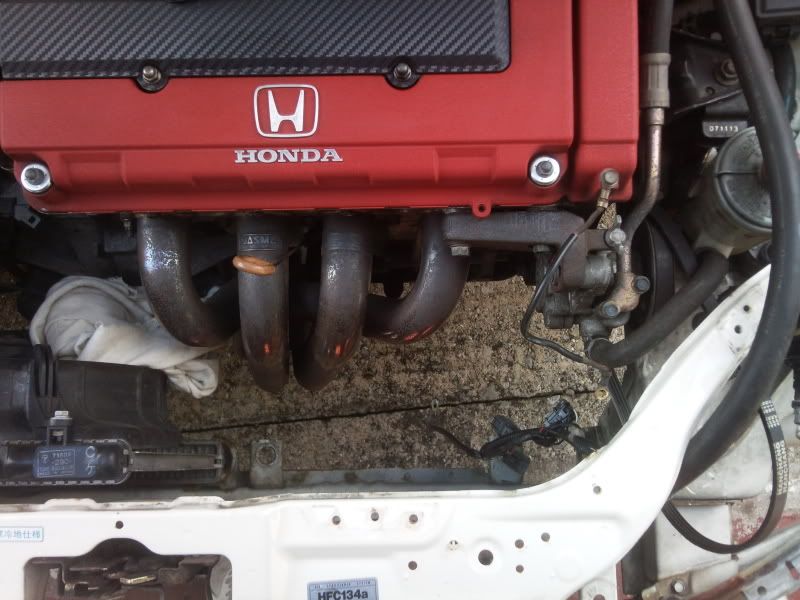
Mugen 4-1 Manifold
Standard 3rd 4th and 5th Gears
Quite a steal for another £350 or the asking price of the car.
The car really benefitted from the Mfactory short ratio 3rd 4th and 5th gears, this makes a big difference when comparing to standard as when the car moves out of 2nd gear into 3rd the engine revs drop below the Vtec point, were as with the shorter gears it drops the revs right back into Vtec.
For the time being the car stayed standard (Just over 4 weeks) untill i decided i wanted a little bit more from the engine, on went the Mugen 4-1 manifold and after doing a little research i got hold of spoon ECU, this was purchased for £460 from a seller that had only had it 2months and had purchased it from new. The effects were dramitic, Vtec now engaged at 5,500rpm and not 6,200rpm, the low torque was increased and the car felt snappier, Money well spent, so much so, it inspired Coogy to get one for the ITR, he'll vouch for the quality of the ECU.
Next on the list was a service, which included, some nice Valvoline Race Oil VR1 5w50 Fully Synthetic, a new filter and all new discs and pads for the four corners. For the pads i went for a middle of the road of the shelf EBC Yellowstuff pad, as one or two members had rated them highly. The discs came from ebay and were just grooved, for £130 delivered i didn't expect them to be the best but, i was very surprised.
After a few hundred miles of fun on the road the opportunity came up to attend a Honda only track day @ Curborough sprint circuit, this was booked and that was enough of a shove for me to get hold of a decat pipe, which later failed on track on the long straight @ 90mph and 7,700rpm (Sounded like 2nd Vtec kicking in yo!!!) The day was a success and i claimed the title of Fastest Civic") with a time of 38.2 seconds.
with a time of 38.2 seconds.
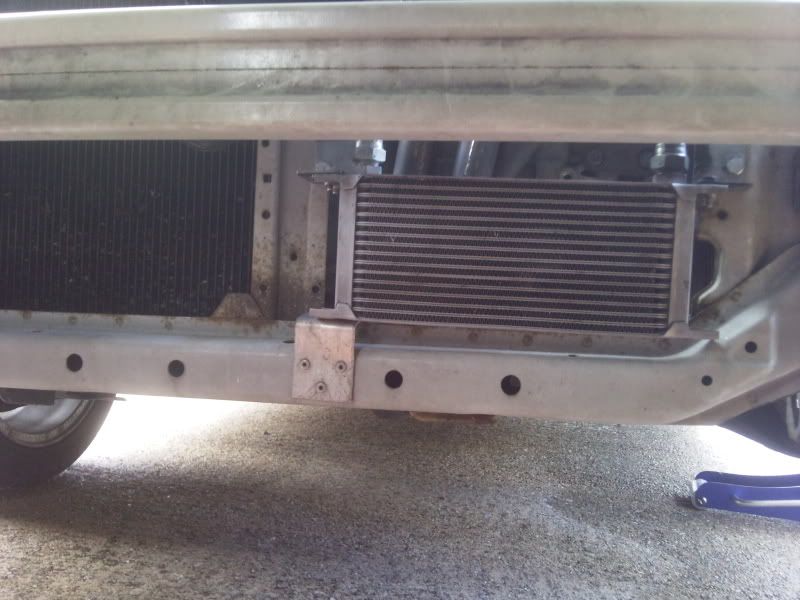
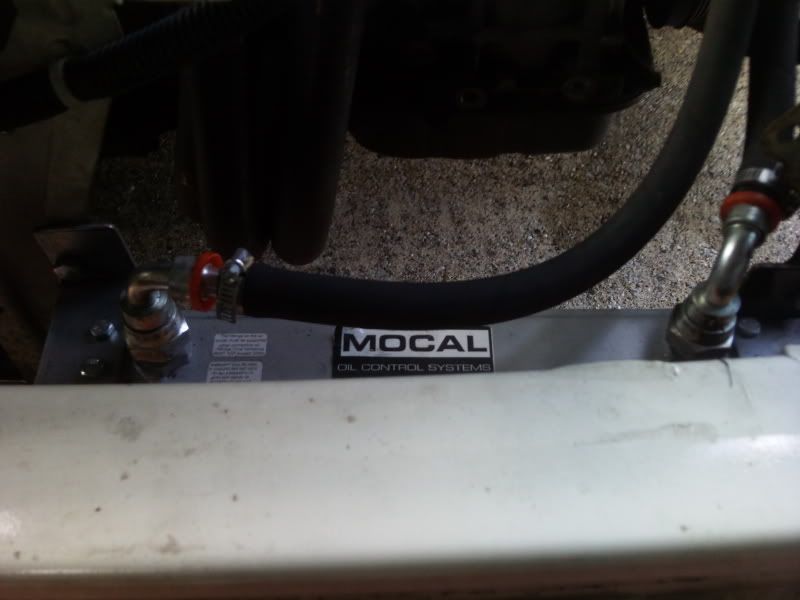
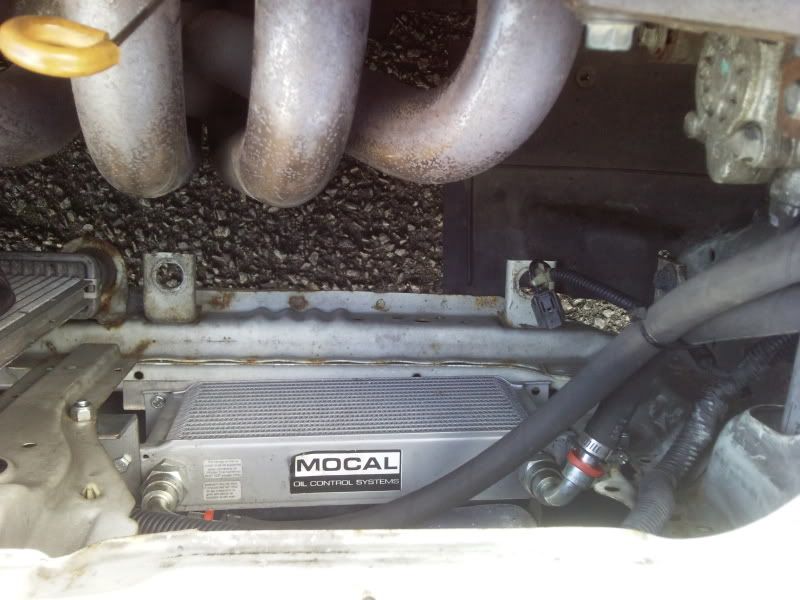
Now with 2 more trackdays booked i decided to purchase an oil cooler, i knew the previos owner ran a cooler so contacted him about what he had, to my surprise he still had it. The kit consisted of a Mocal oil cooler, aeroquip hoses and thermostatic sandwich plate. He was willing to let it go for £150, the deal was done and another part was destined to go back onto the car! It might have been a bit more than buying the parts on their own, but it came in kit form and was a perfect fit and he had made some brackets up to mount the cooler.
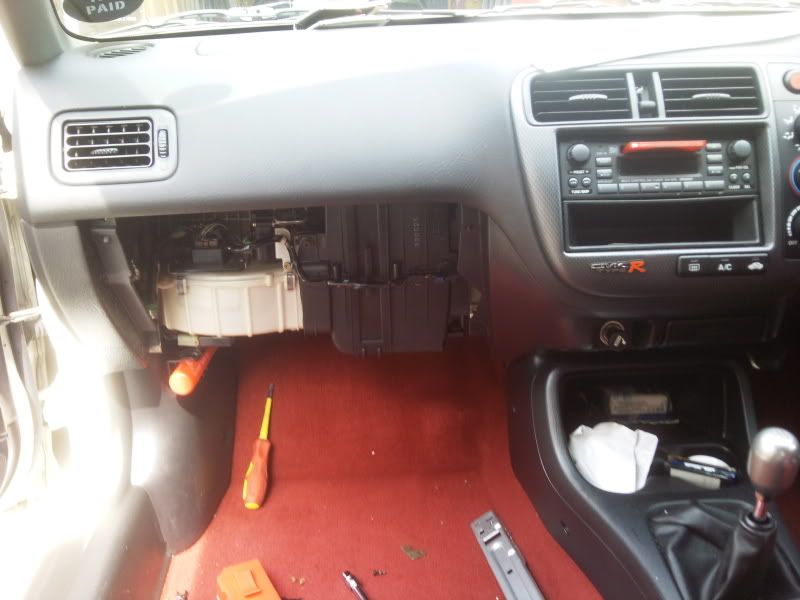
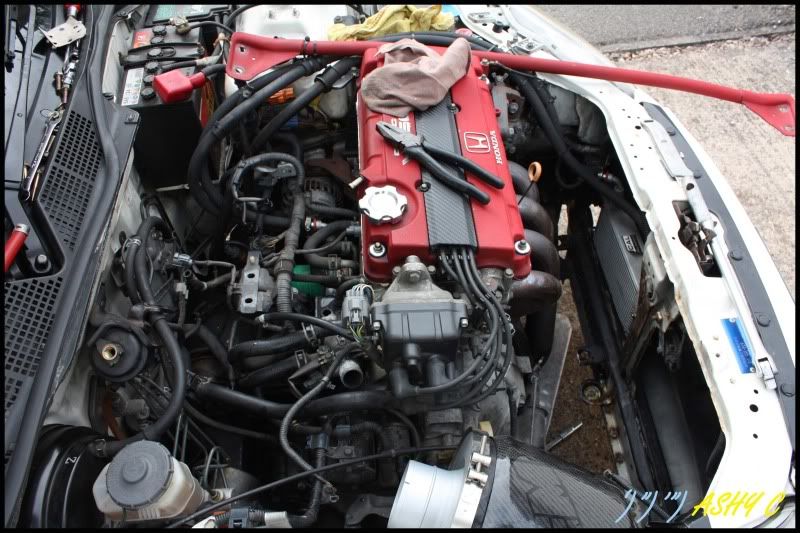
This then lead to this weekends task of removing the Aircon andfitting the cooler, see below ;
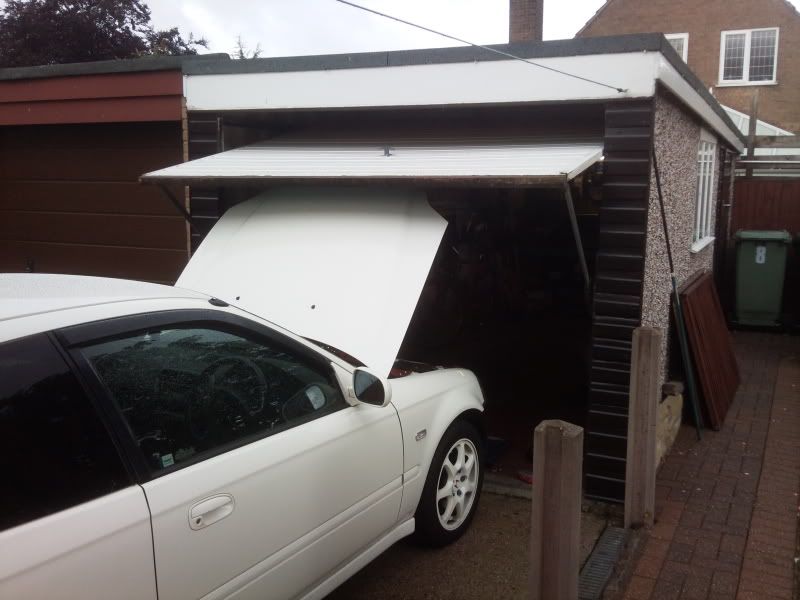
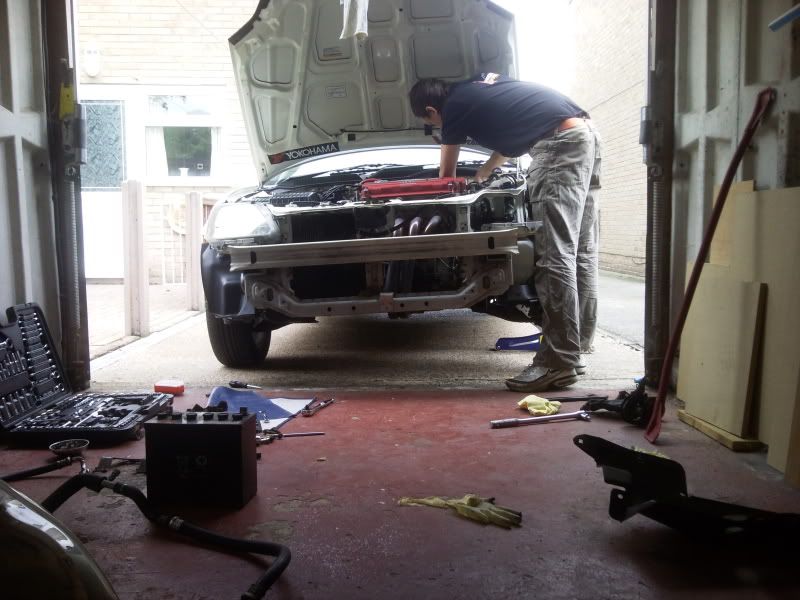
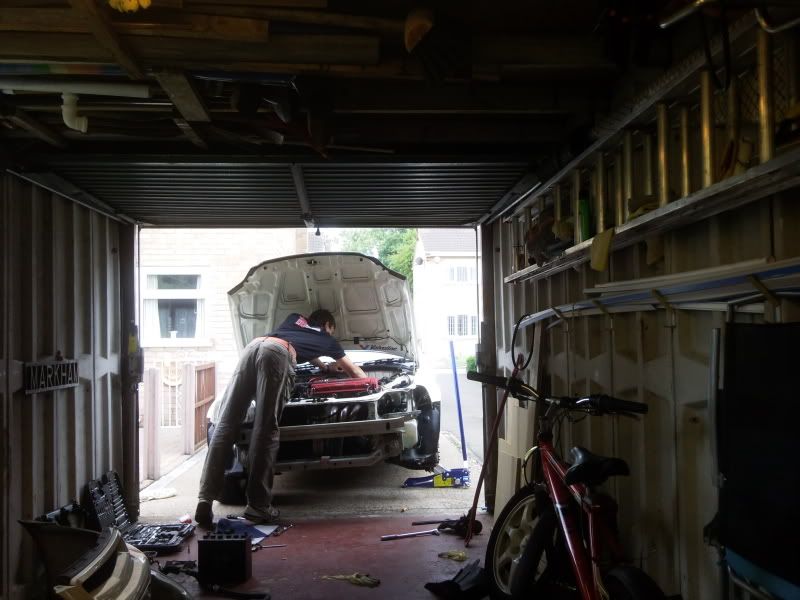
The day started wet, the plan was to work on the drive outside with plenty of room, but this needed to be revised. So the car was pulled into the garage and the door dropped over to provide some shelter from the rain
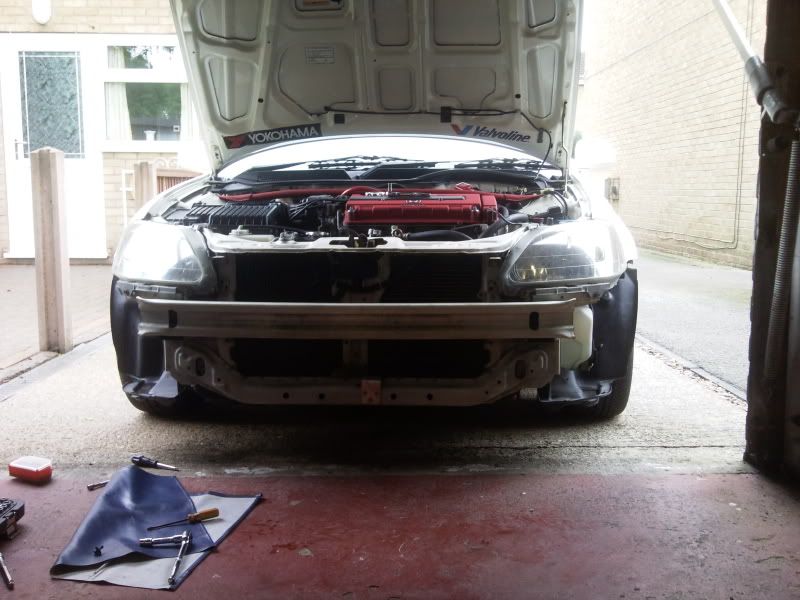
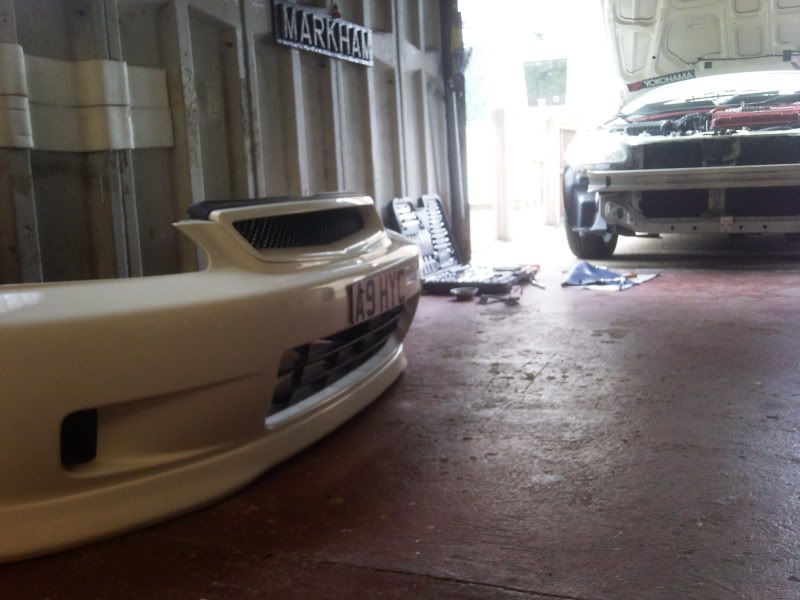
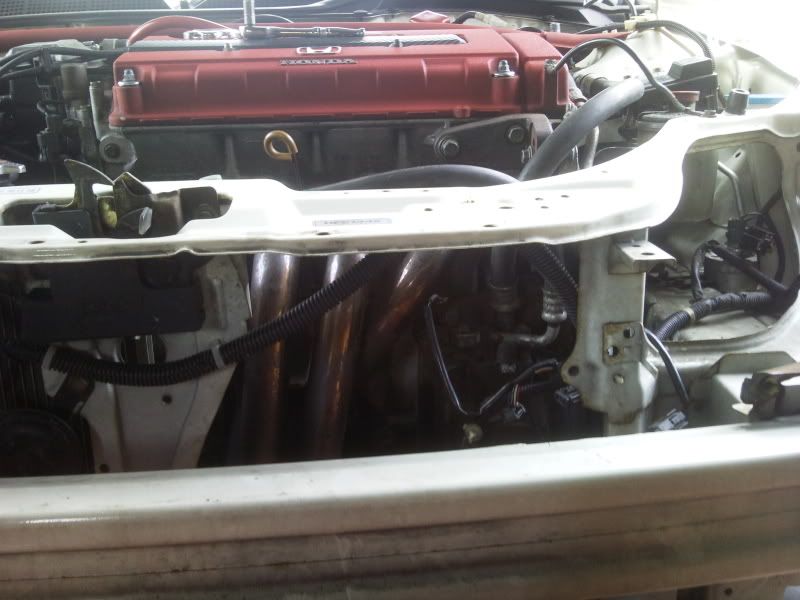
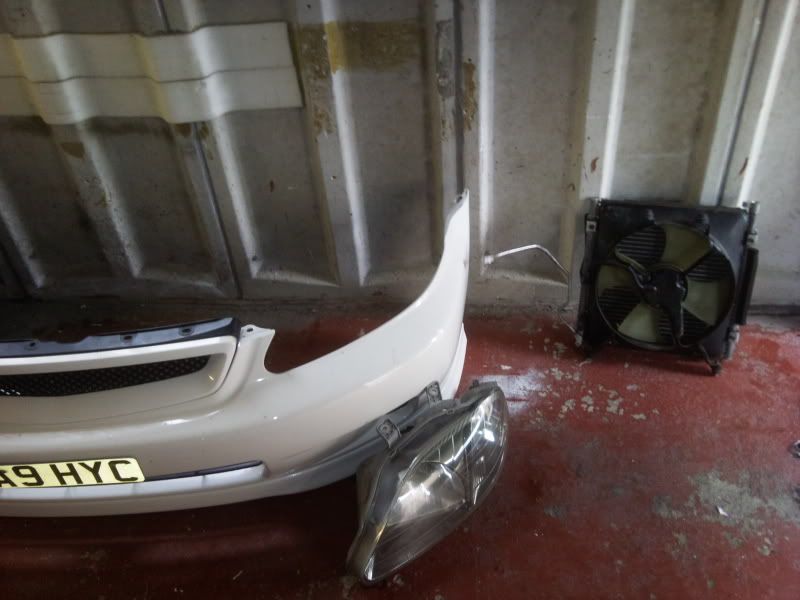
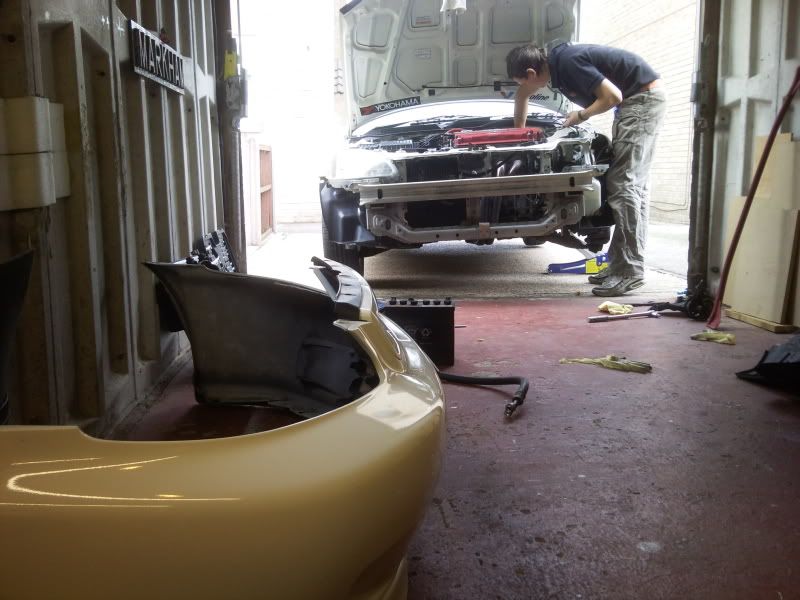
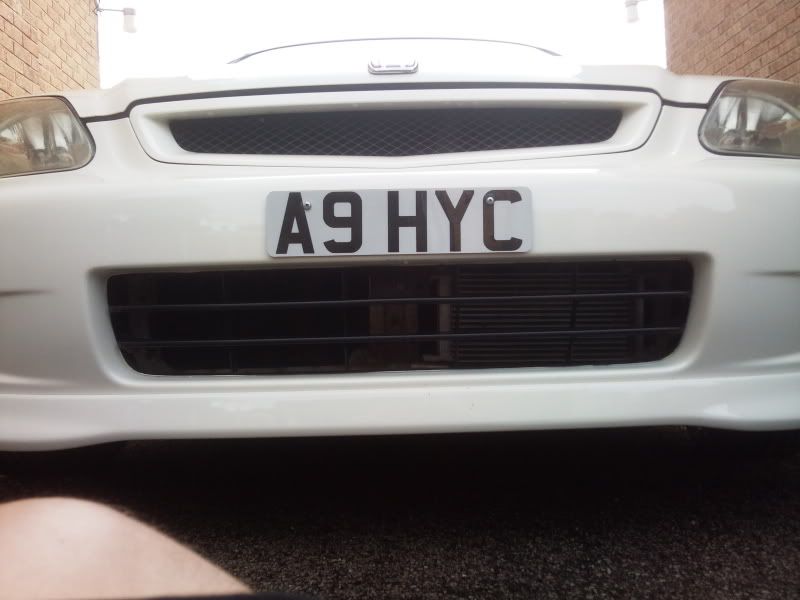
The first job was to remove the bumper to allow easier access to the aircon unit
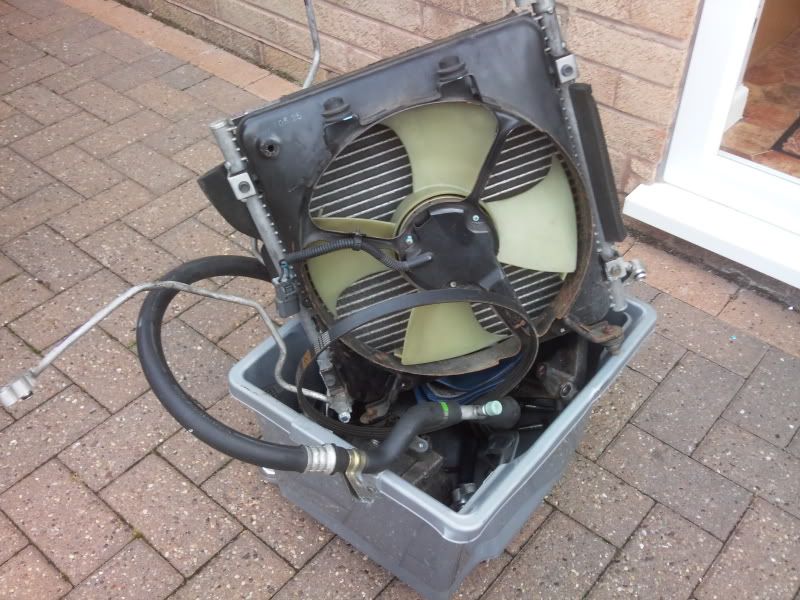
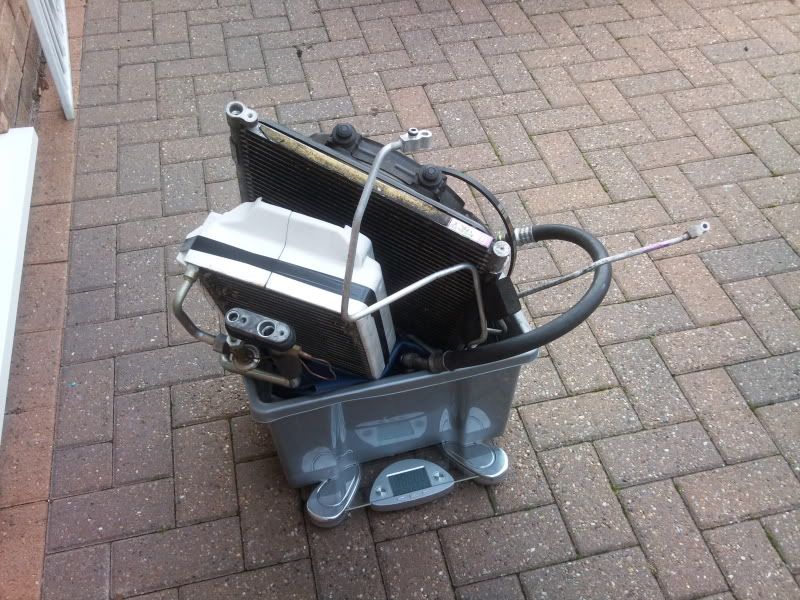
Out came the aircon rad to create the space were the oil cooler was to be mounted
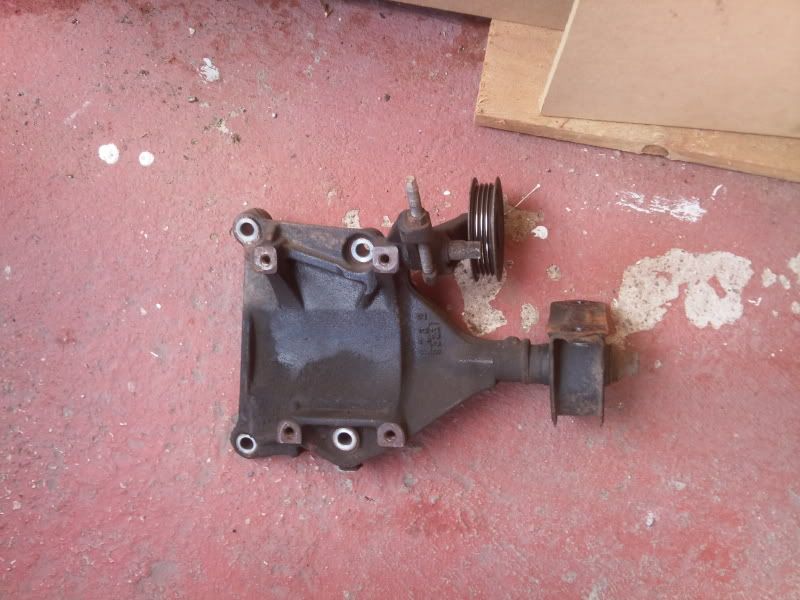
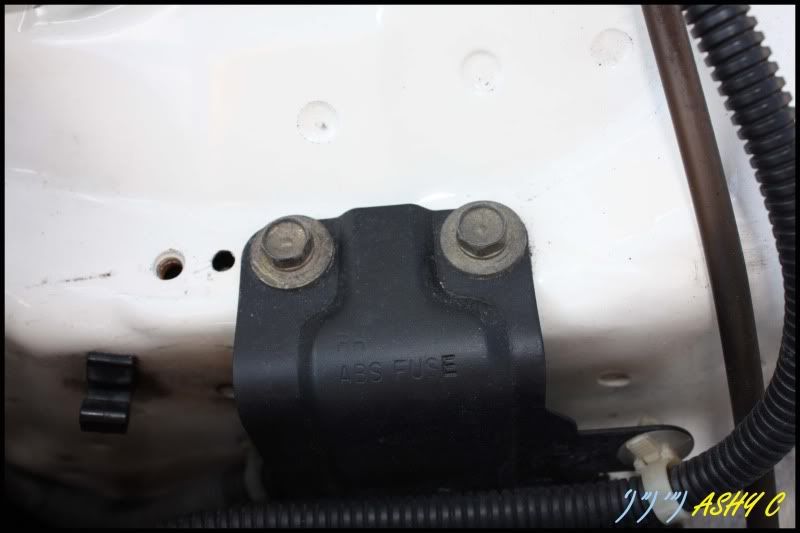
This made the job of removing the aircon pump and bracket/mount easier
The bracket itself as a hefty bit of kit, most people tend to refit this as it provides additional support for the engine, but when i looked at the mount it wasn't strong enough to suport the weight of the mount, this was left off.
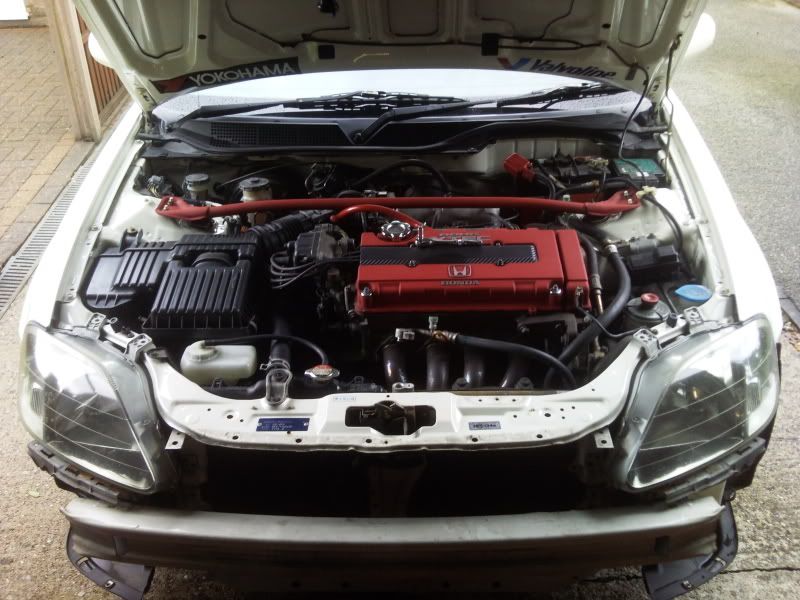
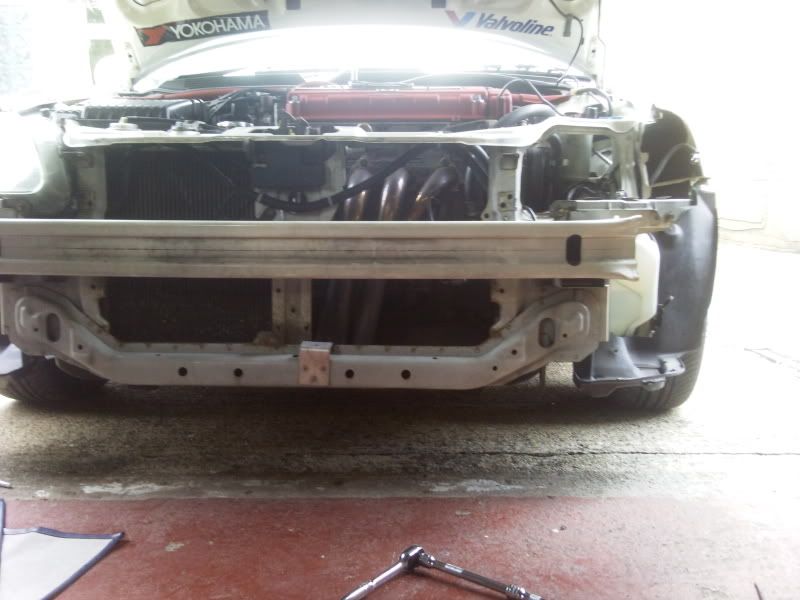
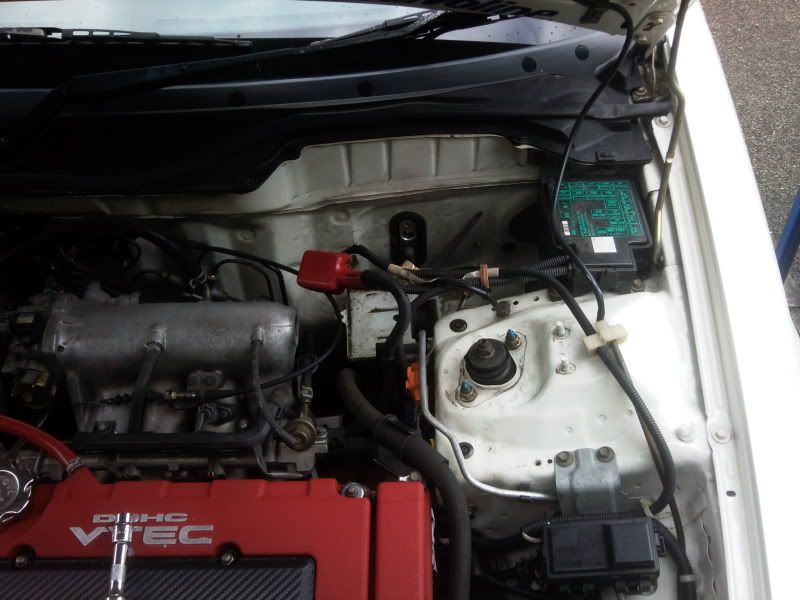
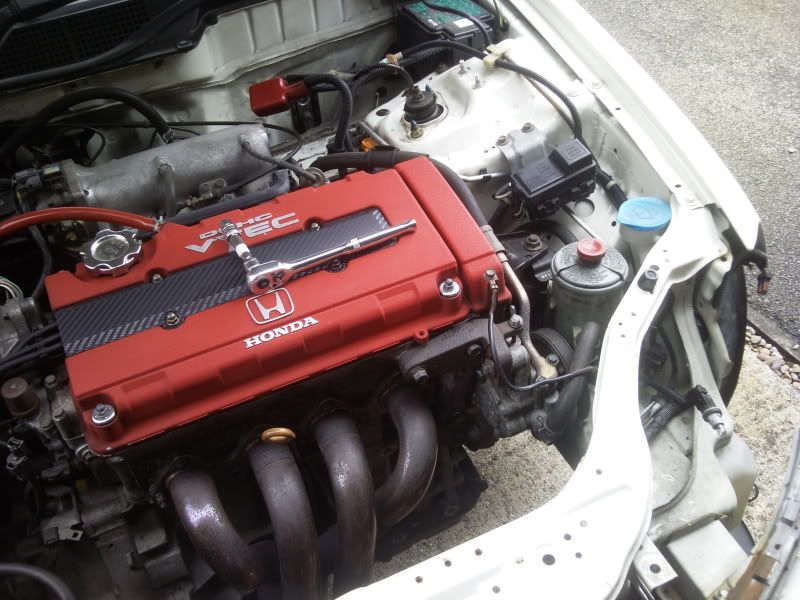
This was the space created after the rad and pump were out of the engine bay
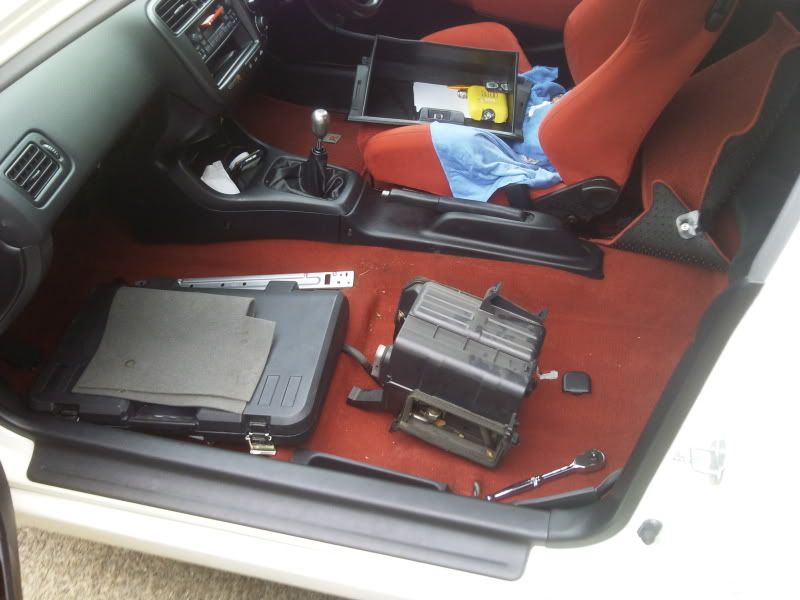
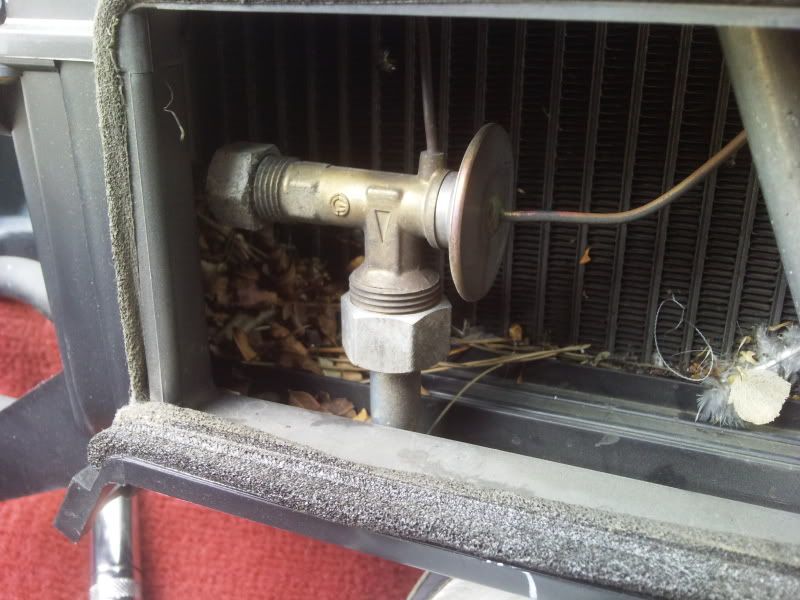
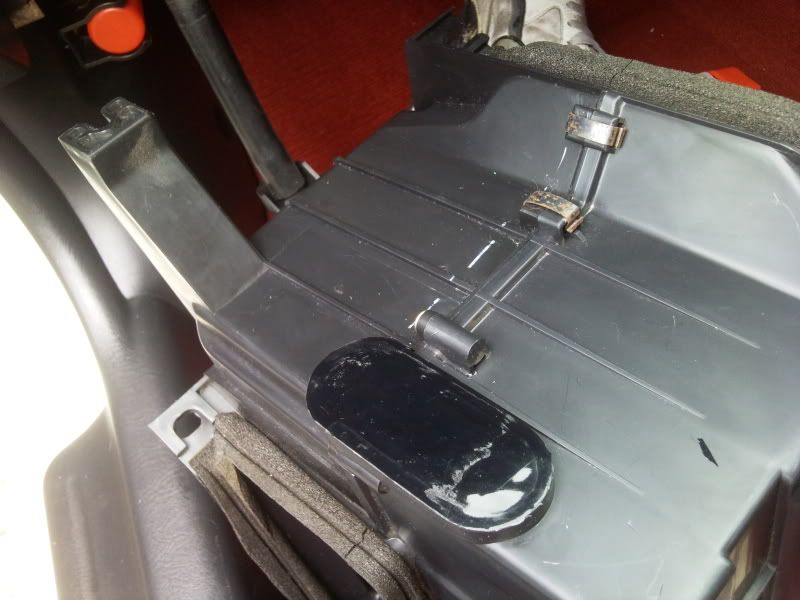
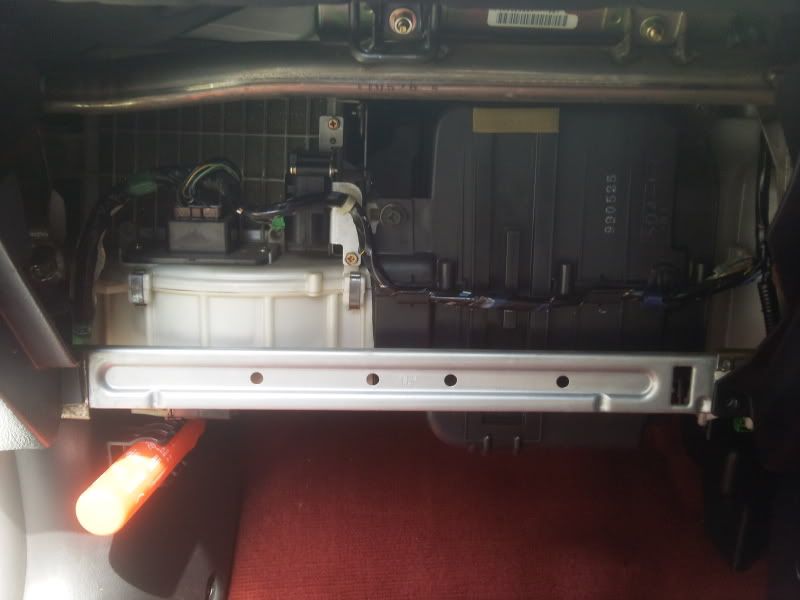
The battery was the next to be removed, although it would go back in, it was removed to allow access to the pipes where they entertained the cabin.
Been on here a while and dont really have a project thread as such,
Suppose i really should document my car and post up some of the changes etc.
Basic brief about the car;
Purchased as a completely standard Honda Civic Type R (EK9) I was lucky enough to get a really good facelift example, which had been owned by only one person in this country, he had documented all the history and even had the Japanese service history, which is something of a rarity as they tend to get lost when imported. In the three and a bit years of his ownership he had only covered 14,000miles but had completed quite a few trackdays in it, which at the time worried me.
As well as the sale of the car he also had a few other goodies for sale, that used to be on the car before he returned it to standard. So for an aditional £350 (Back to the original asking price) he threw in :
A replica J's racing Induction Kit
A genuine Recaro seat bolster
Mugen 4-1 Manifold
Standard 3rd 4th and 5th Gears
Quite a steal for another £350 or the asking price of the car.
The car really benefitted from the Mfactory short ratio 3rd 4th and 5th gears, this makes a big difference when comparing to standard as when the car moves out of 2nd gear into 3rd the engine revs drop below the Vtec point, were as with the shorter gears it drops the revs right back into Vtec.
For the time being the car stayed standard (Just over 4 weeks) untill i decided i wanted a little bit more from the engine, on went the Mugen 4-1 manifold and after doing a little research i got hold of spoon ECU, this was purchased for £460 from a seller that had only had it 2months and had purchased it from new. The effects were dramitic, Vtec now engaged at 5,500rpm and not 6,200rpm, the low torque was increased and the car felt snappier, Money well spent, so much so, it inspired Coogy to get one for the ITR, he'll vouch for the quality of the ECU.
Next on the list was a service, which included, some nice Valvoline Race Oil VR1 5w50 Fully Synthetic, a new filter and all new discs and pads for the four corners. For the pads i went for a middle of the road of the shelf EBC Yellowstuff pad, as one or two members had rated them highly. The discs came from ebay and were just grooved, for £130 delivered i didn't expect them to be the best but, i was very surprised.
After a few hundred miles of fun on the road the opportunity came up to attend a Honda only track day @ Curborough sprint circuit, this was booked and that was enough of a shove for me to get hold of a decat pipe, which later failed on track on the long straight @ 90mph and 7,700rpm (Sounded like 2nd Vtec kicking in yo!!!) The day was a success and i claimed the title of Fastest Civic
with a time of 38.2 seconds.Now with 2 more trackdays booked i decided to purchase an oil cooler, i knew the previos owner ran a cooler so contacted him about what he had, to my surprise he still had it. The kit consisted of a Mocal oil cooler, aeroquip hoses and thermostatic sandwich plate. He was willing to let it go for £150, the deal was done and another part was destined to go back onto the car! It might have been a bit more than buying the parts on their own, but it came in kit form and was a perfect fit and he had made some brackets up to mount the cooler.
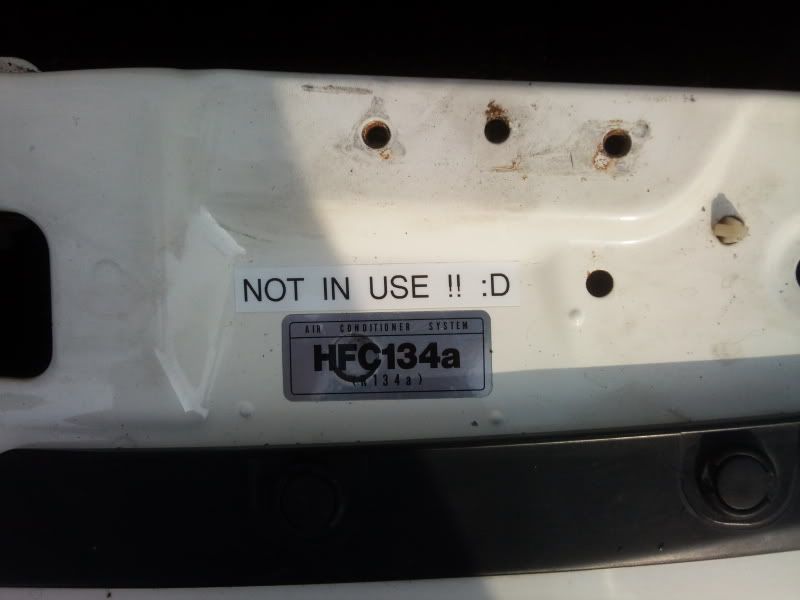
This then lead to this weekends task of removing the Aircon andfitting the cooler, see below ;
The day started wet, the plan was to work on the drive outside with plenty of room, but this needed to be revised. So the car was pulled into the garage and the door dropped over to provide some shelter from the rain
The first job was to remove the bumper to allow easier access to the aircon unit
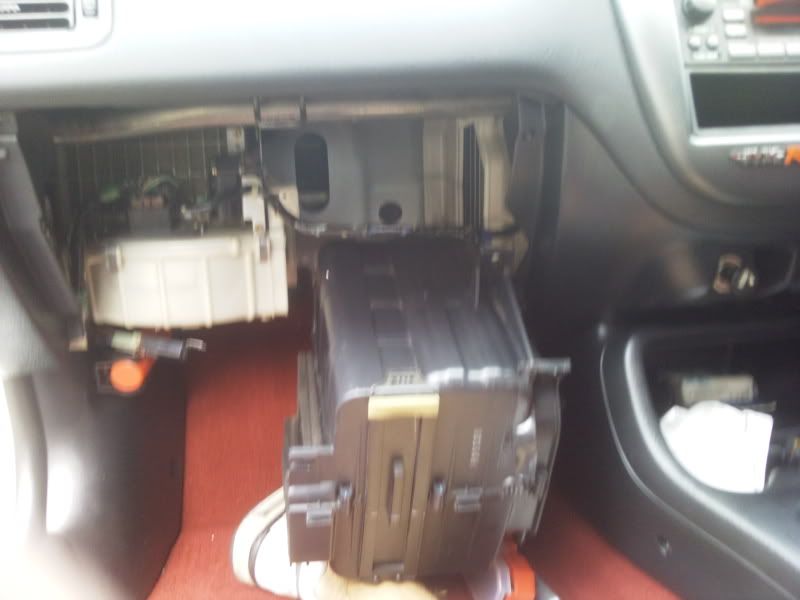
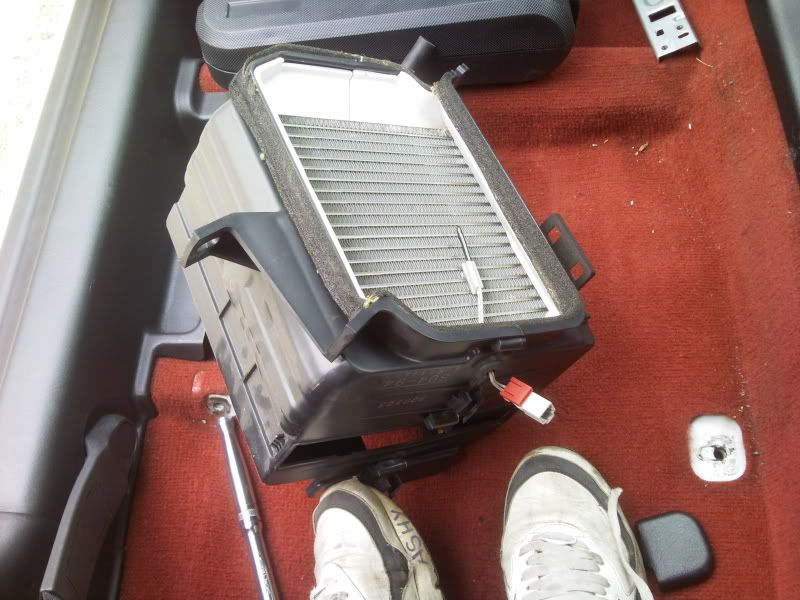
Out came the aircon rad to create the space were the oil cooler was to be mounted
This made the job of removing the aircon pump and bracket/mount easier
The bracket itself as a hefty bit of kit, most people tend to refit this as it provides additional support for the engine, but when i looked at the mount it wasn't strong enough to suport the weight of the mount, this was left off.
This was the space created after the rad and pump were out of the engine bay
The battery was the next to be removed, although it would go back in, it was removed to allow access to the pipes where they entertained the cabin.


).gif ":)) :))")