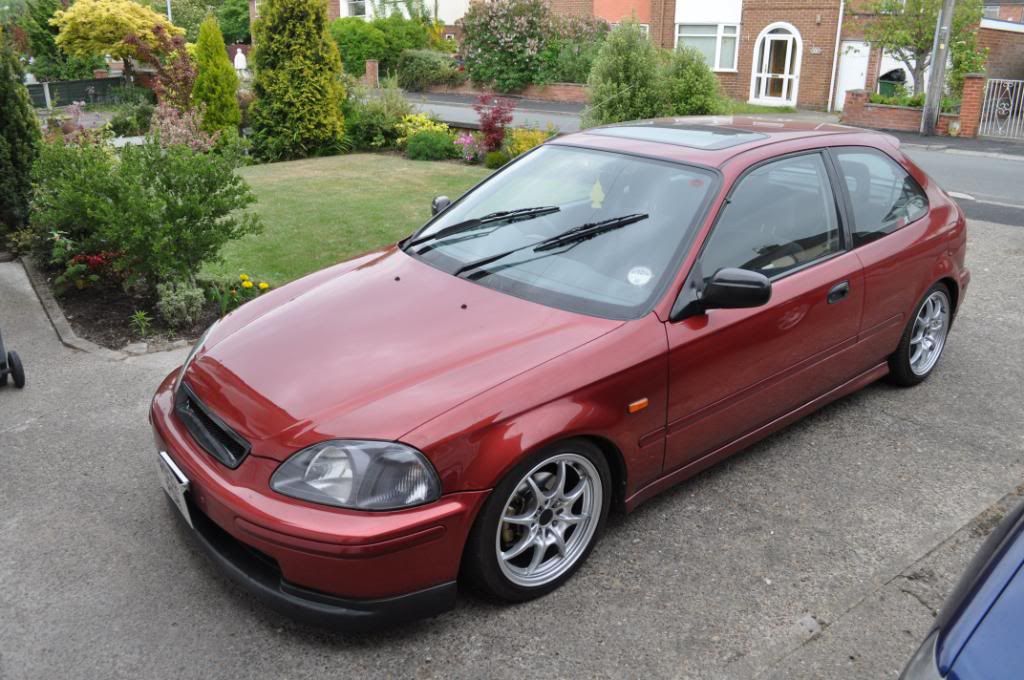
Heres an updated speclist
Vehicle
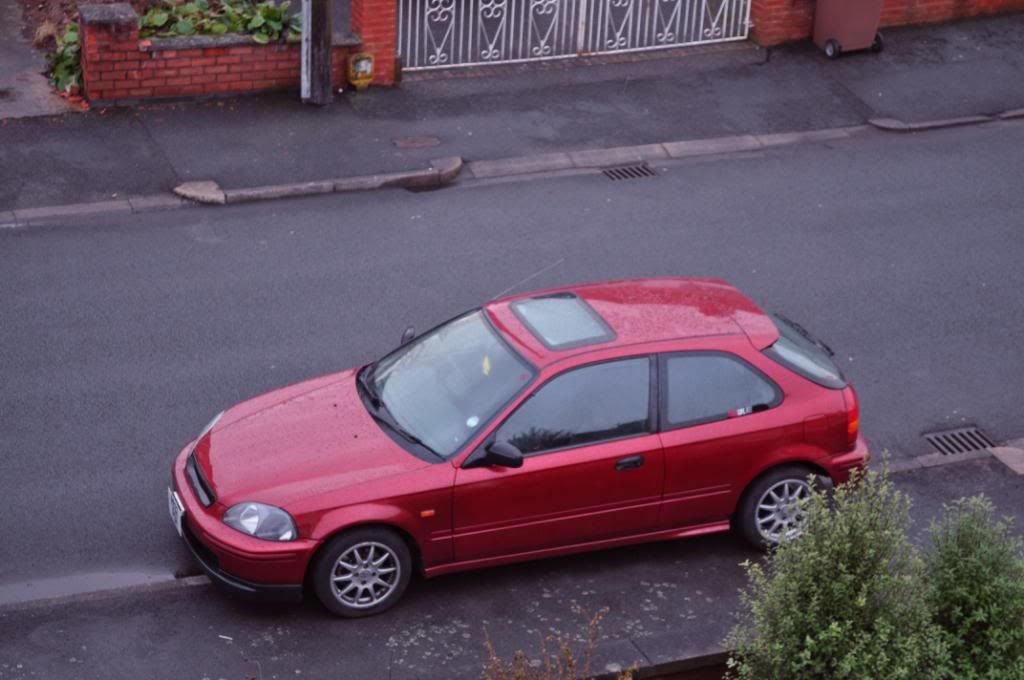
1998 Honda Civic ek3
Brakes/Suspension
Meister R Zeta S coilovers
Cyberspeed lca's
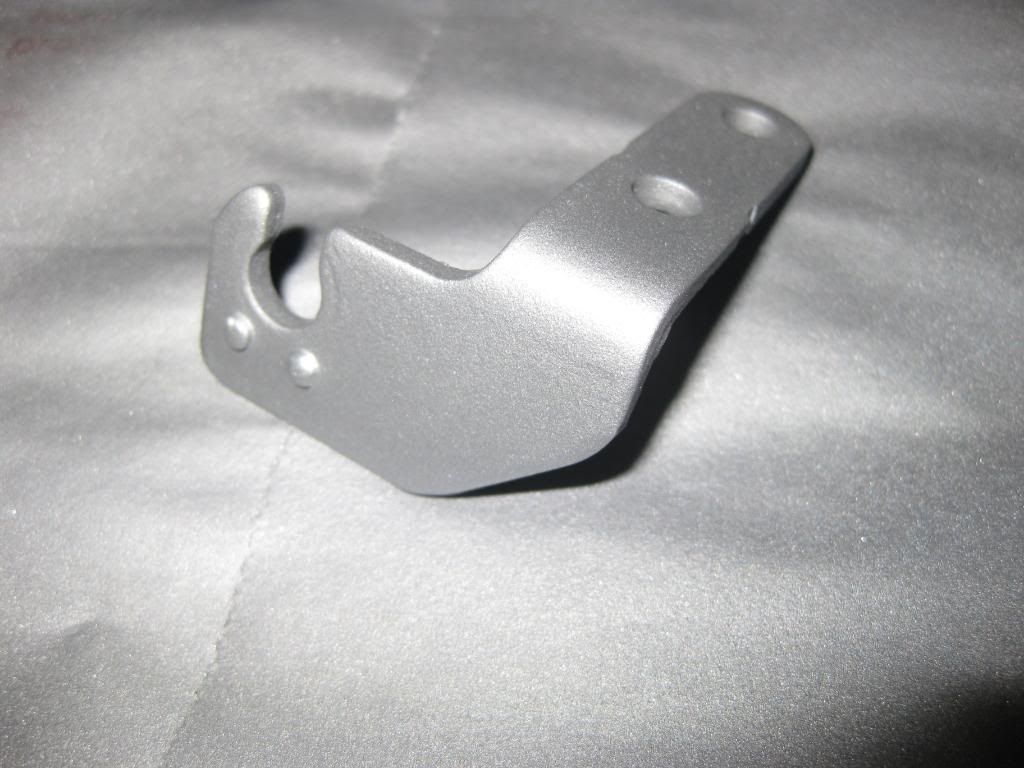
Ek9 front anti roll bar with new oem droplinks
Dc2 front strut Brace
Tegiwa x-brace
Rear trailing arm bushes replaced - oem
Lower Balljoints replaced
All Front bushes replaced with Energy suspension poly bushes
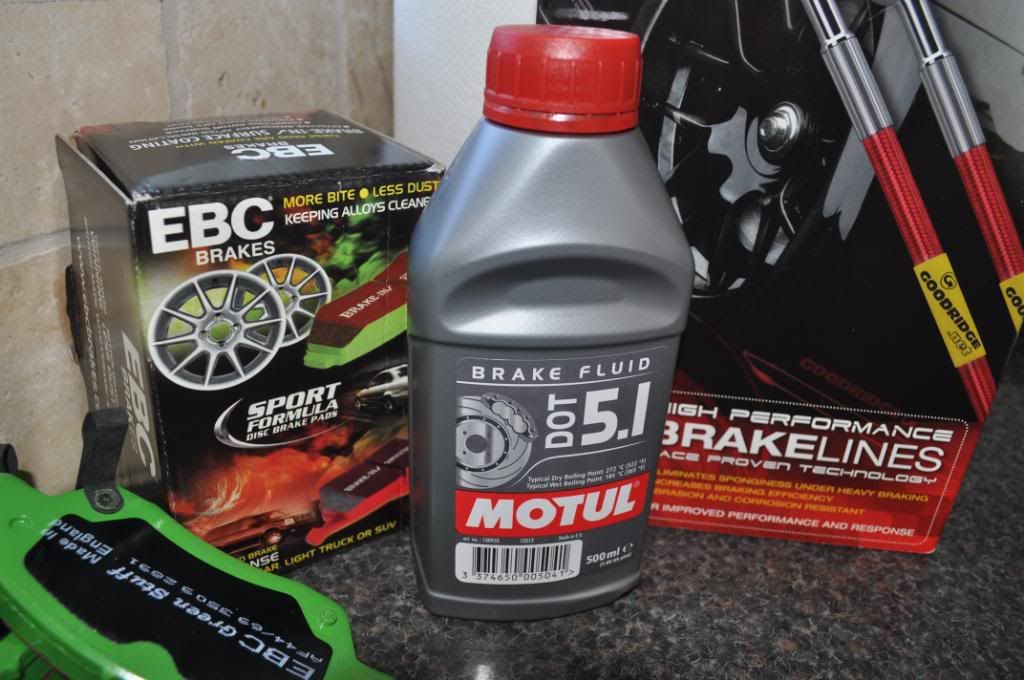
Goodridge Braided Brake Lines
5.1 Motul Brake Fluid
Tegiwa MasterCylinder Stopper
Mb6 brake conversion, 282 fronts 260 rears - Fully rebuilt calipers using all new components/seals.
Brembo rear discs
Mb6 calipers painted oem R505-p
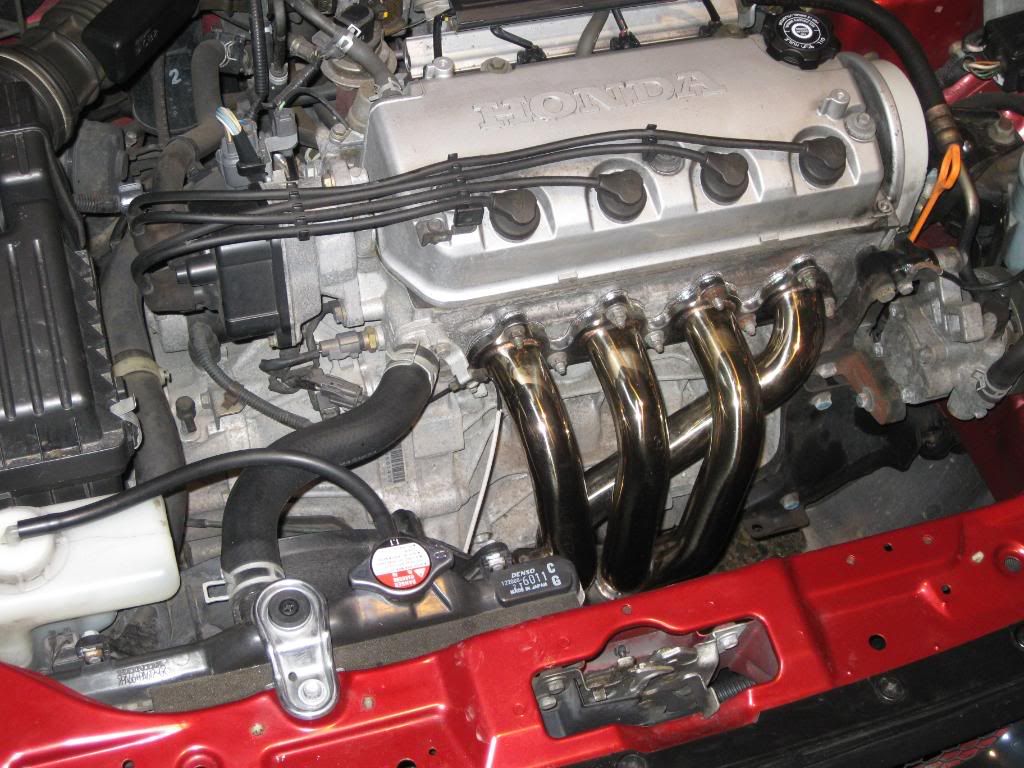
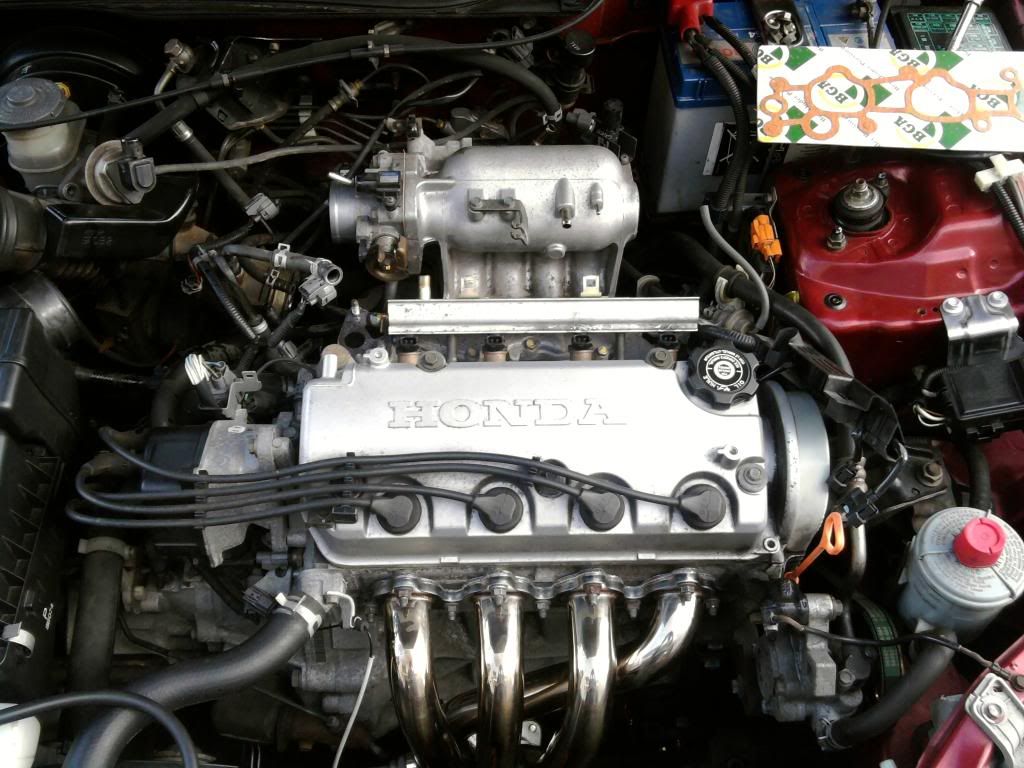
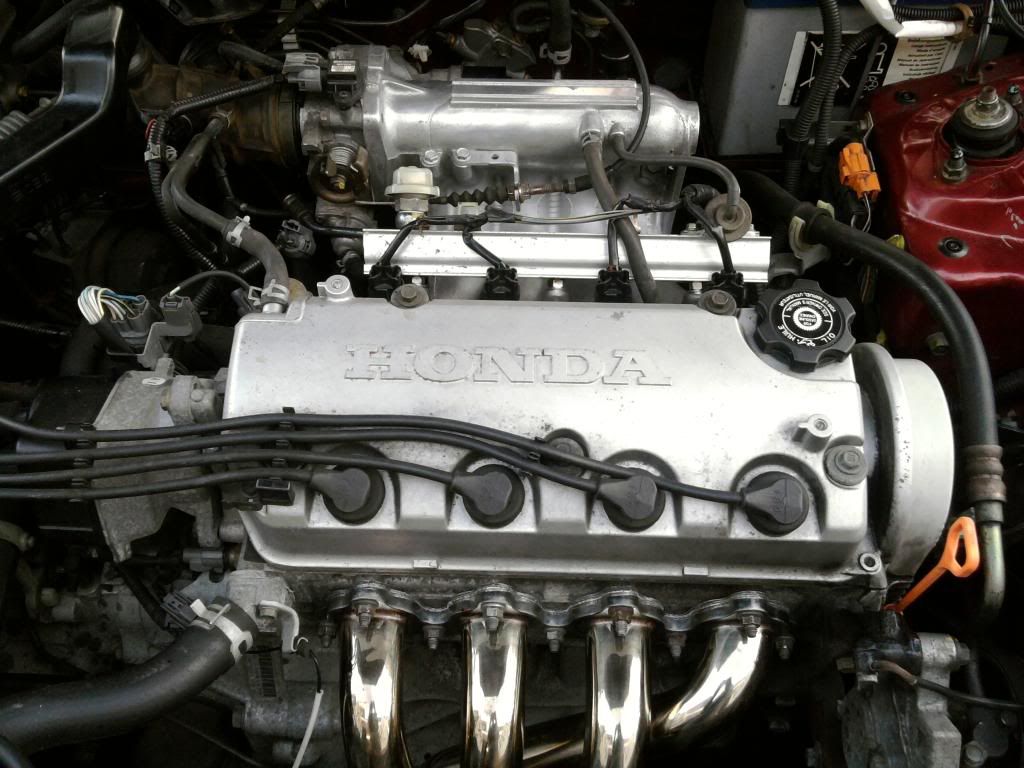
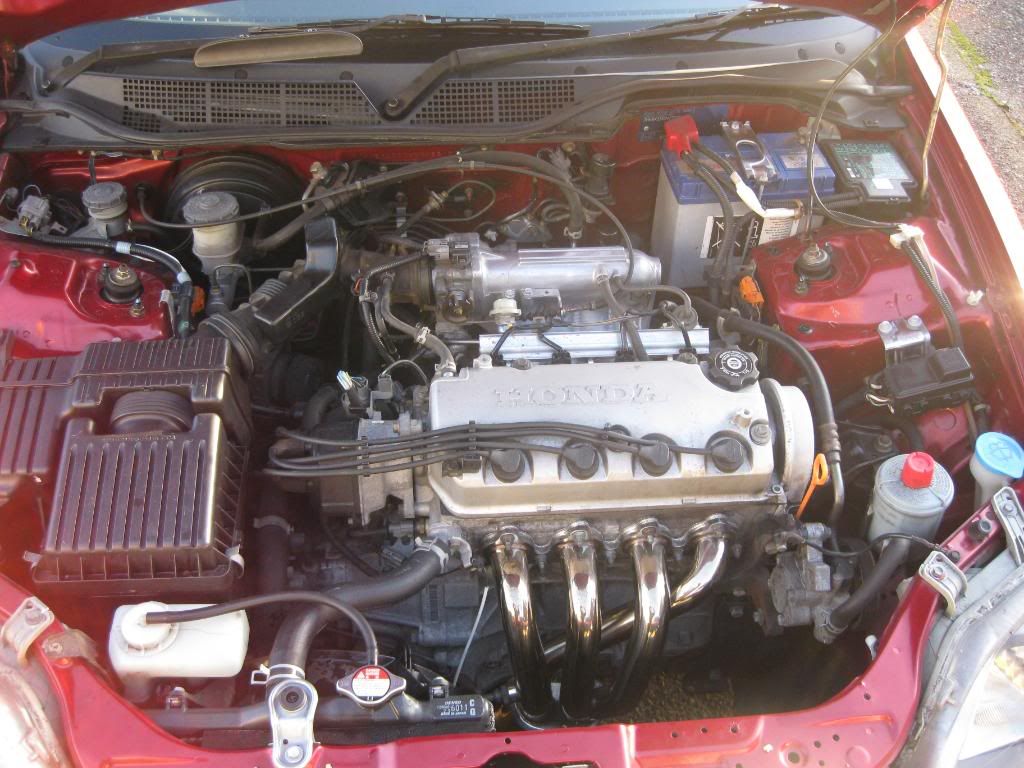
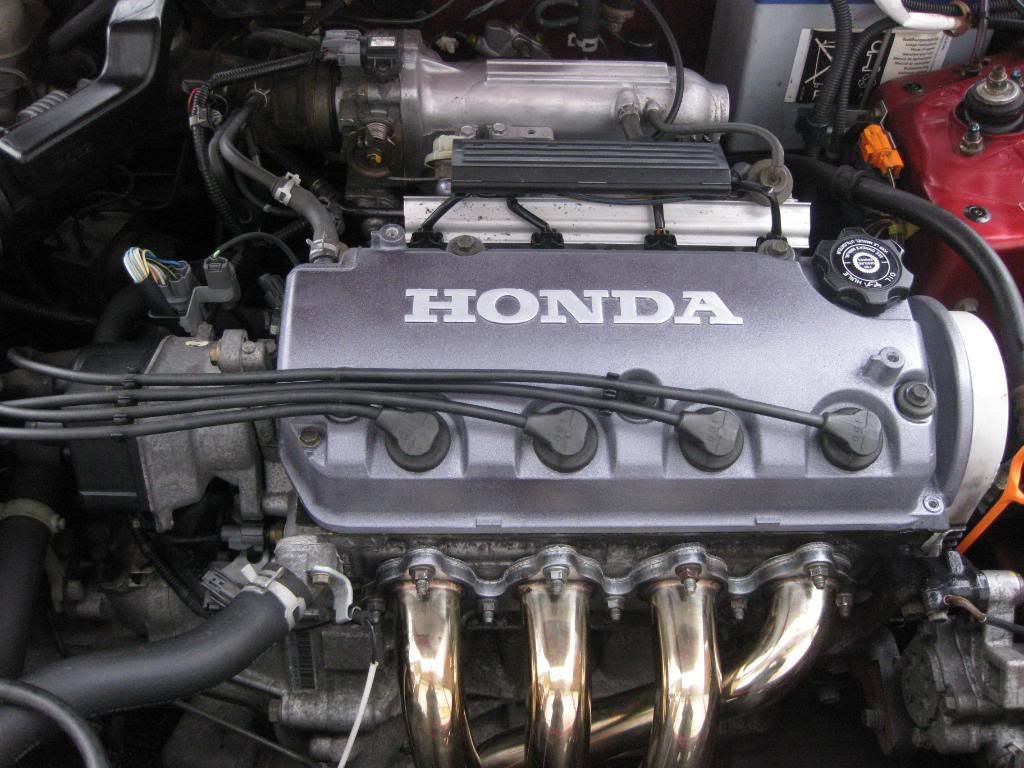
Engine
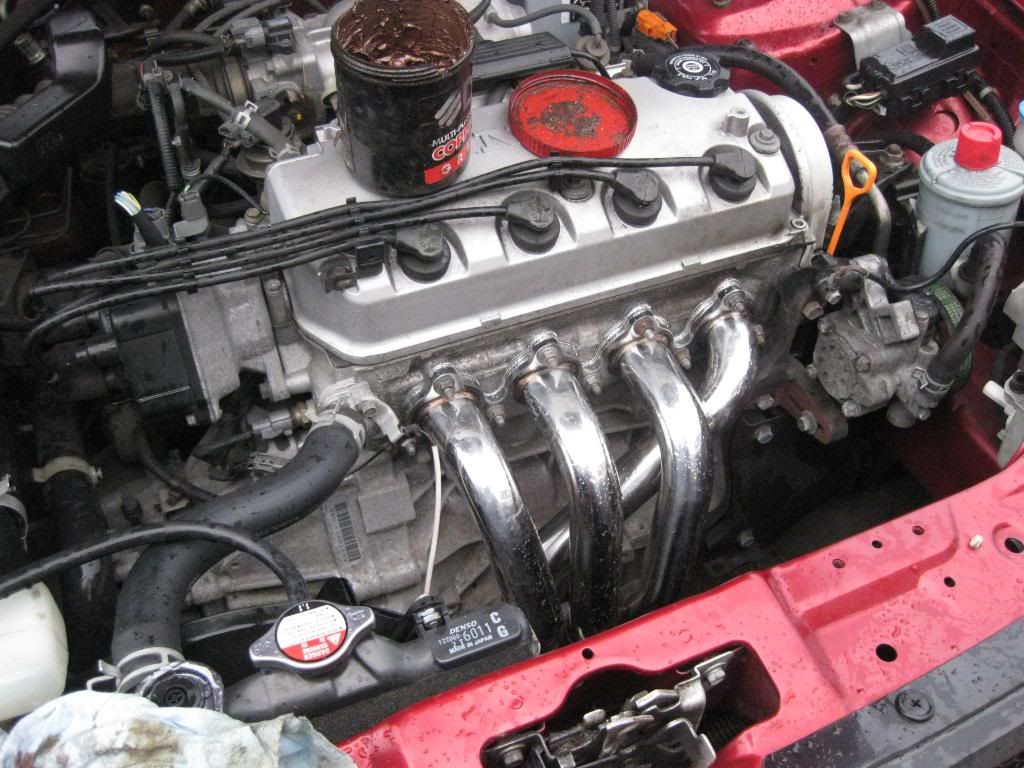
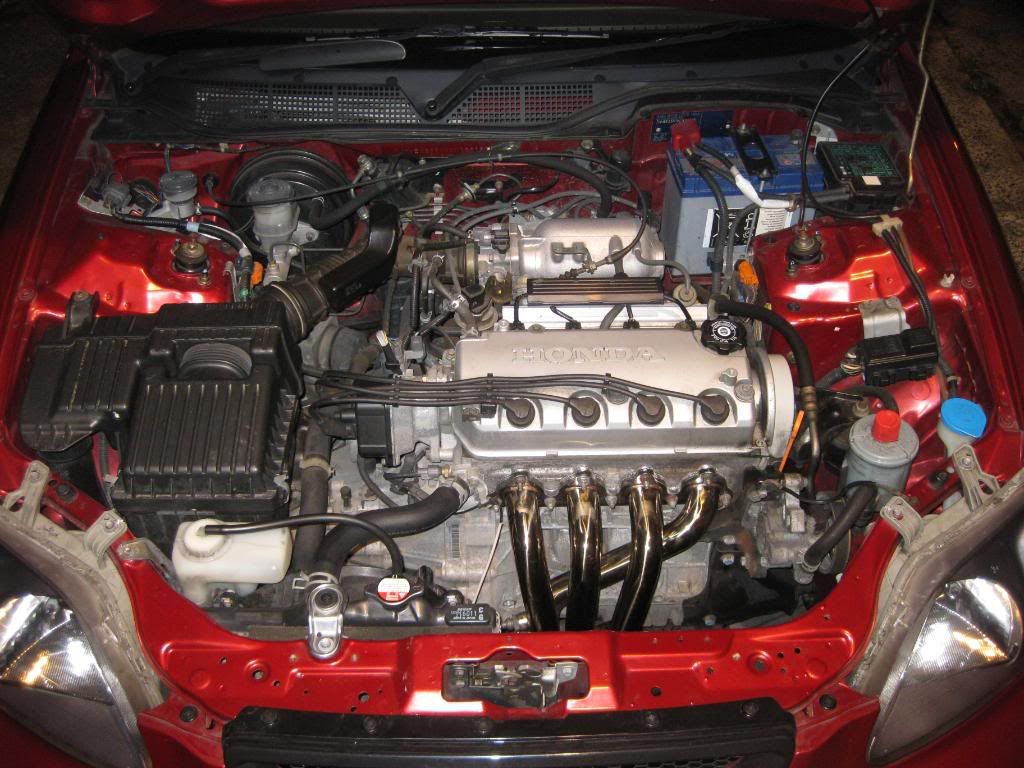
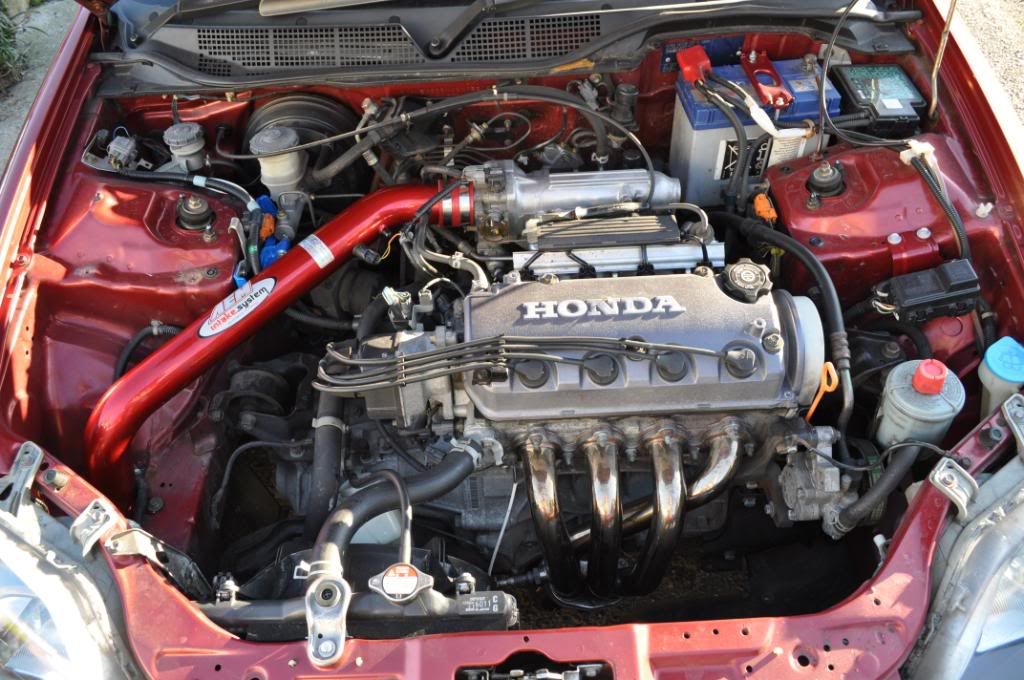
B18c4 engine- Bought with 26k miles
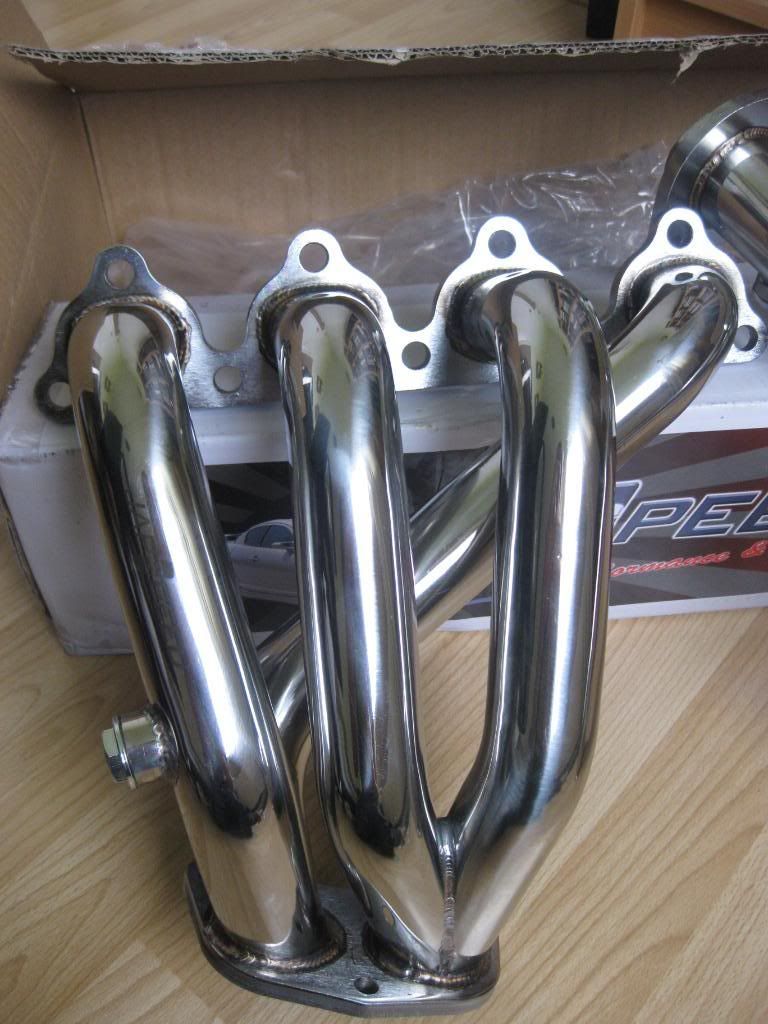
DC2 exhaust manifold
2.5" center section
2.5" backbox, spoon replica
Decat
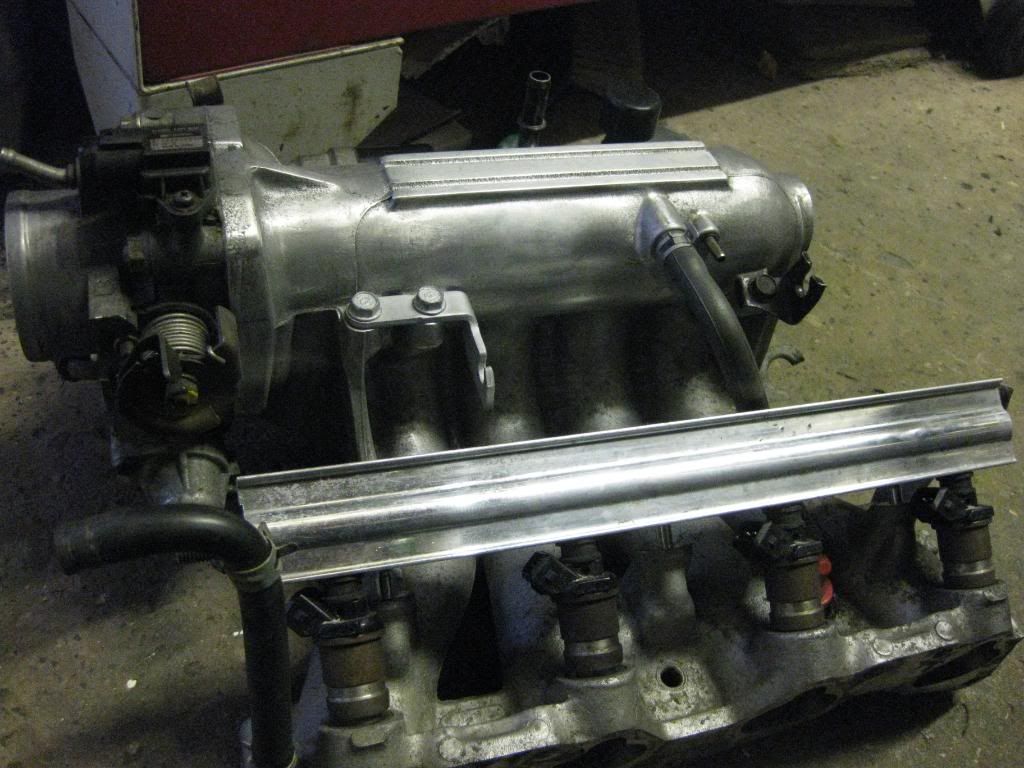
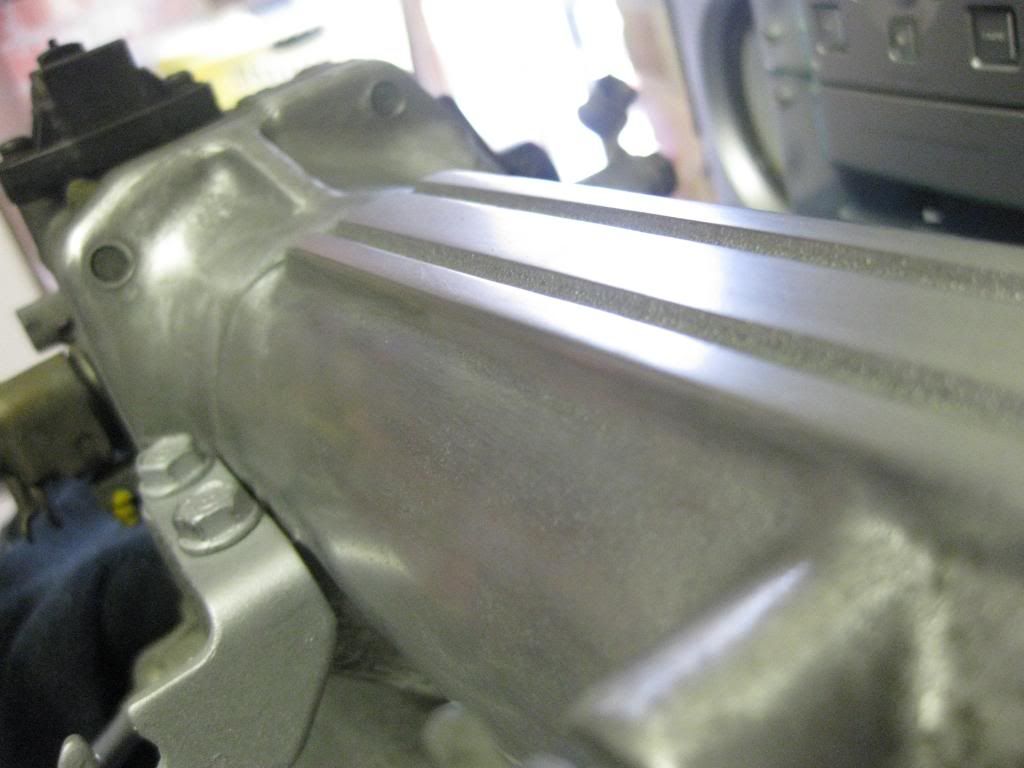
Blox intake manifold
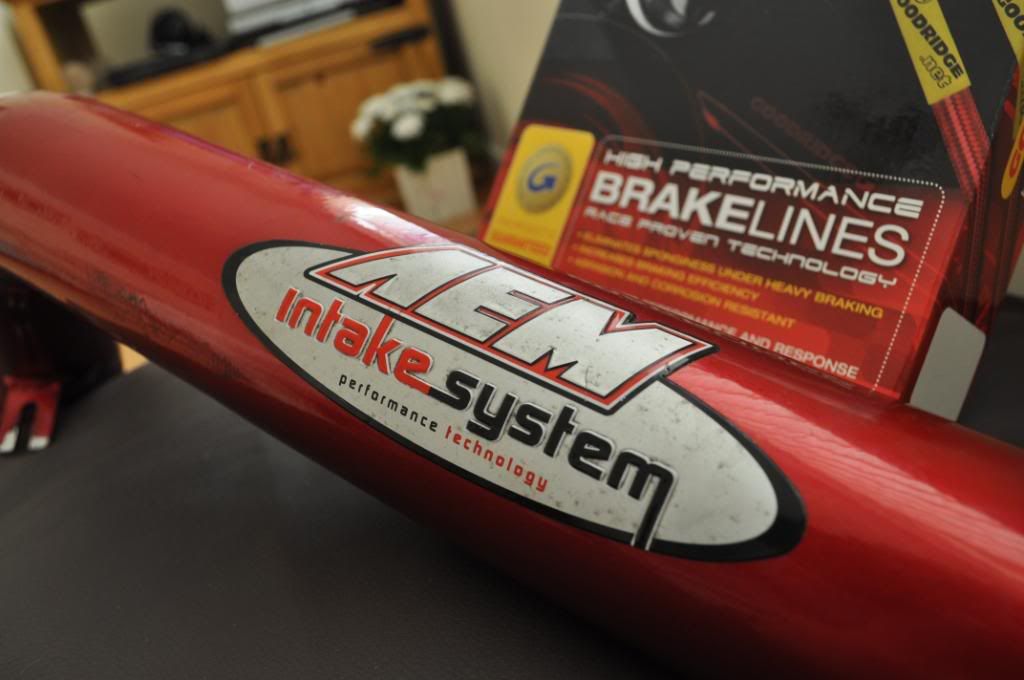
Aem Cold Air Intake
wire tuck
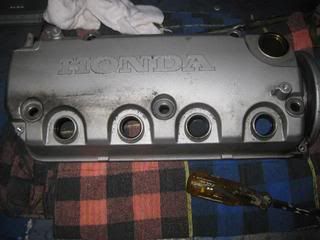
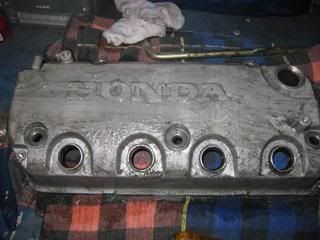
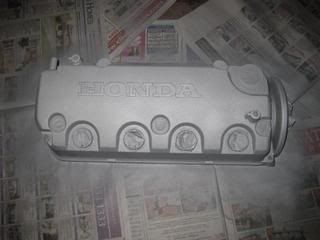
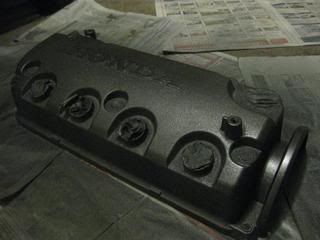
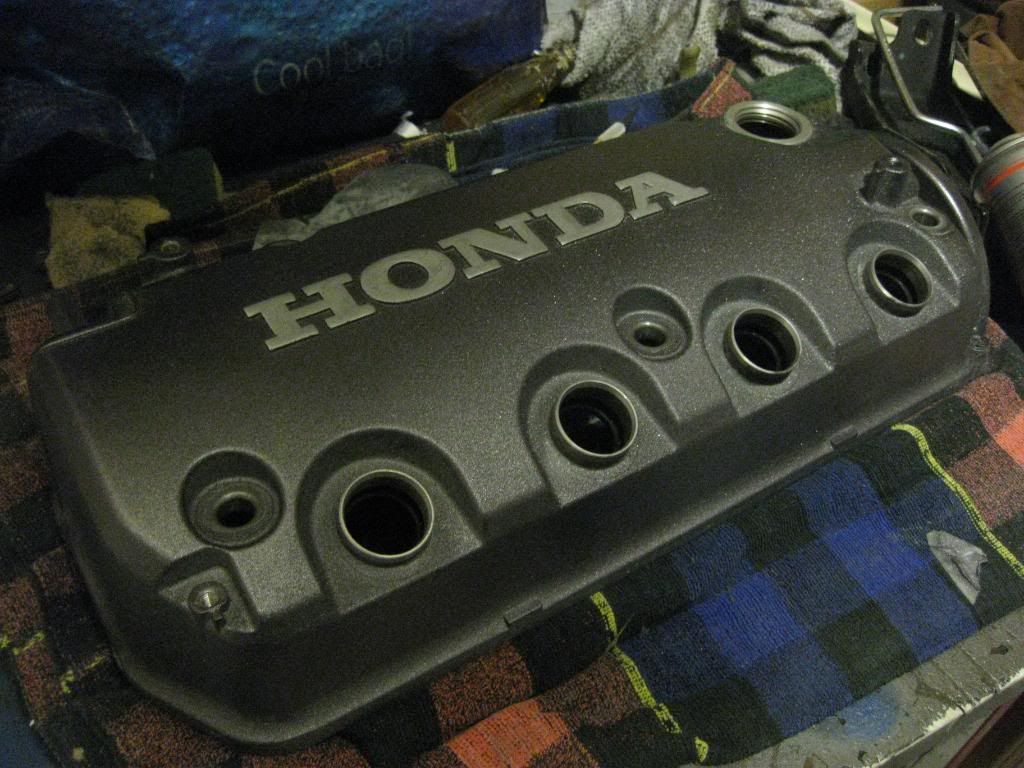
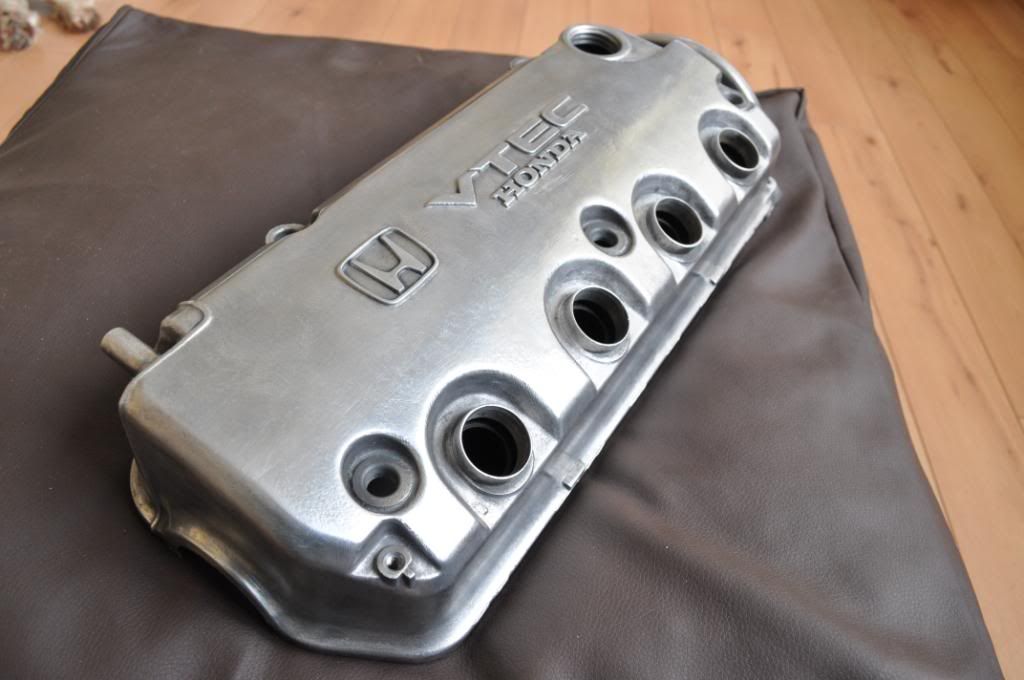
colourcoded rocker cover
Cambelt Changed
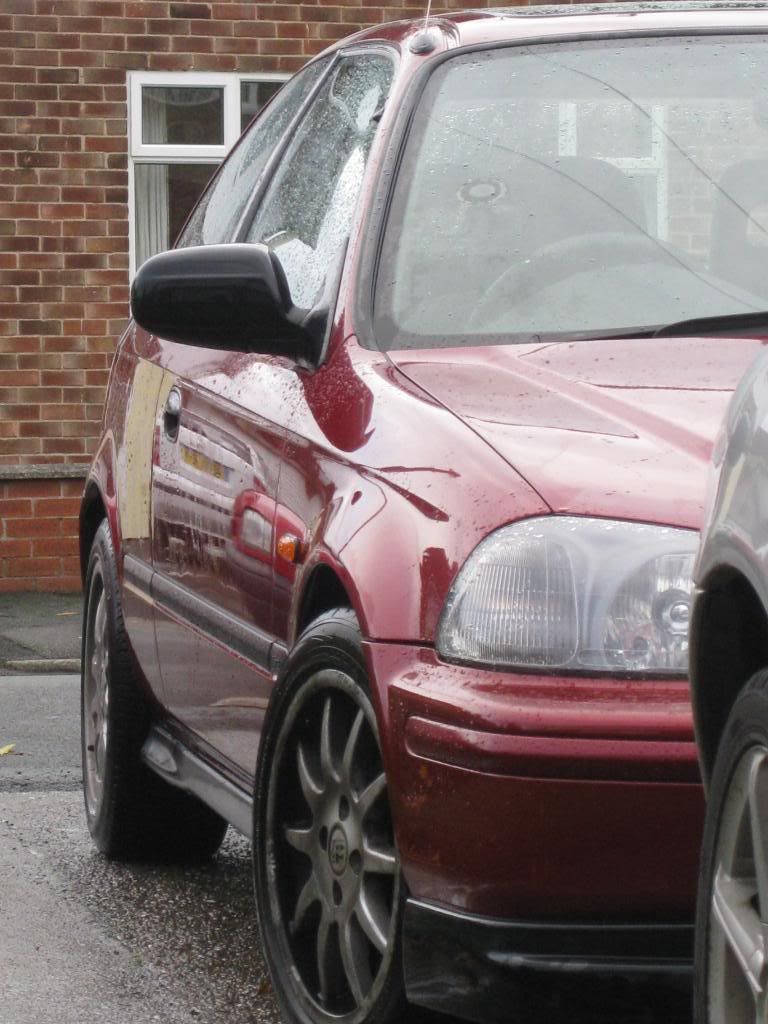
Exterior
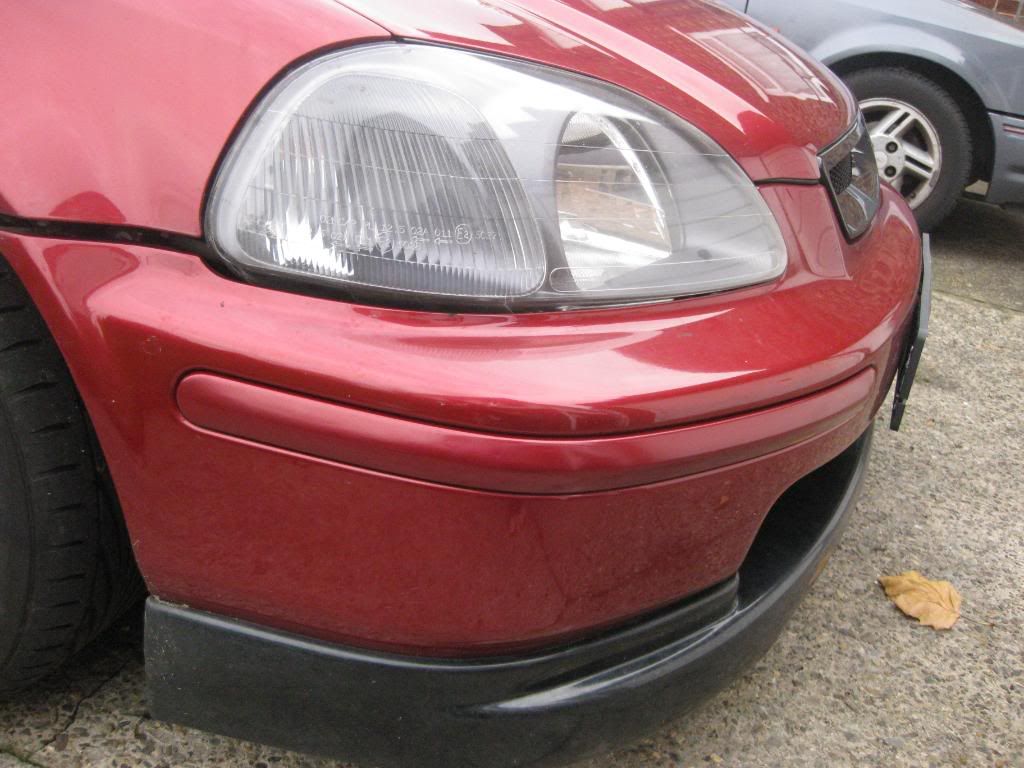
Ek9 Style Headlights
Ek9 Front Lip
Ek9 Rear Lip
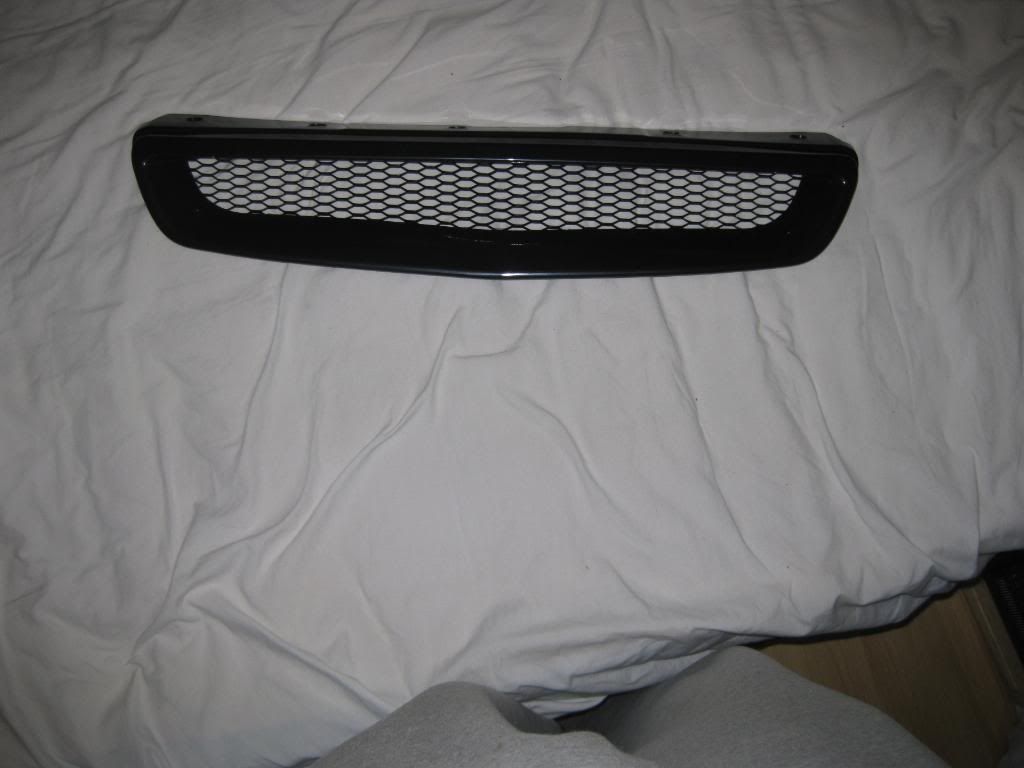
Ek9 Grill
Colourcoded Bumpstrips
Colourcoded Sideskirts
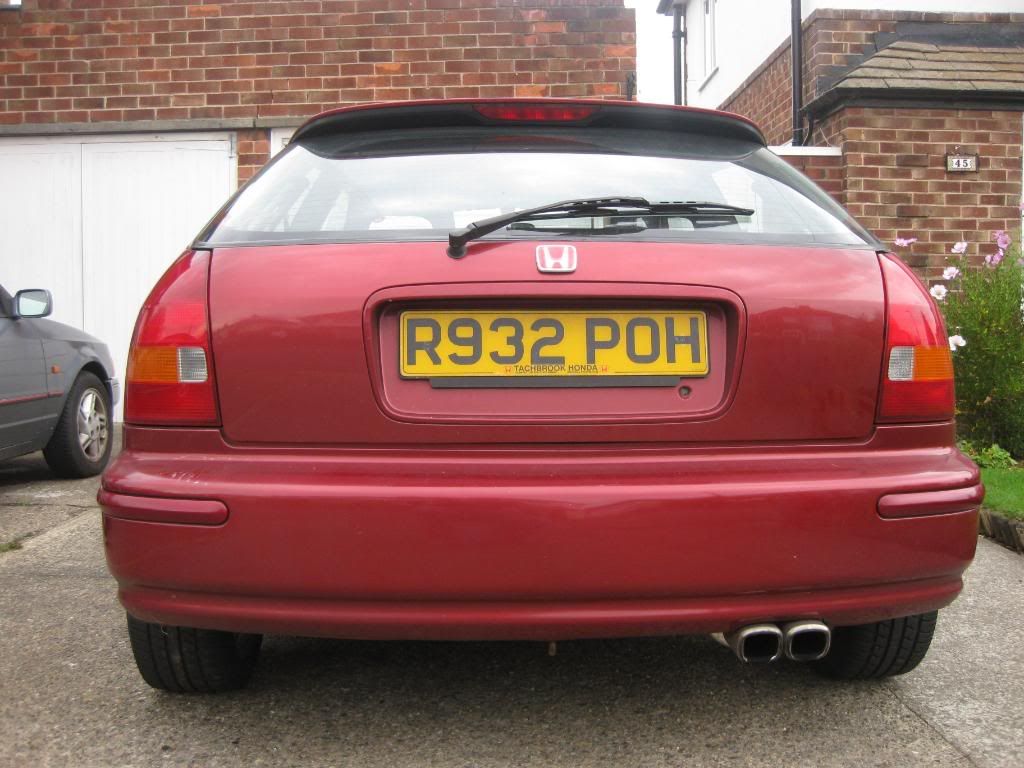
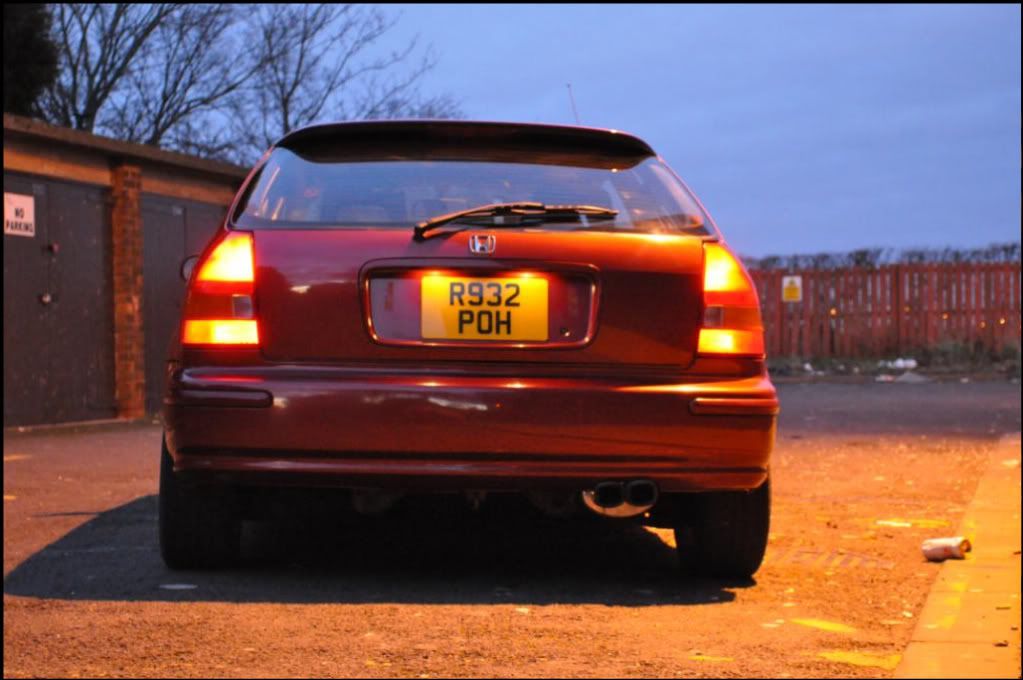
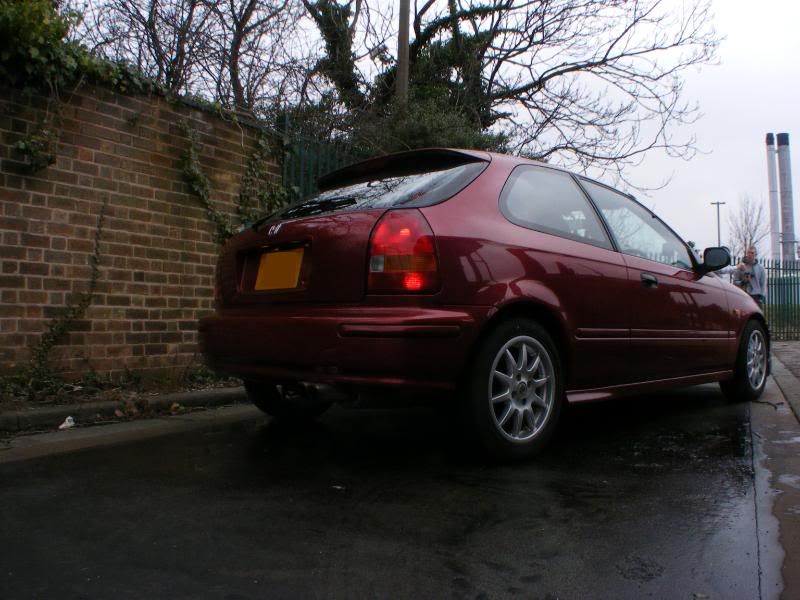
Jdm Rear Light Conversion
Jdm Sized Plates
Tilted oem spoiler
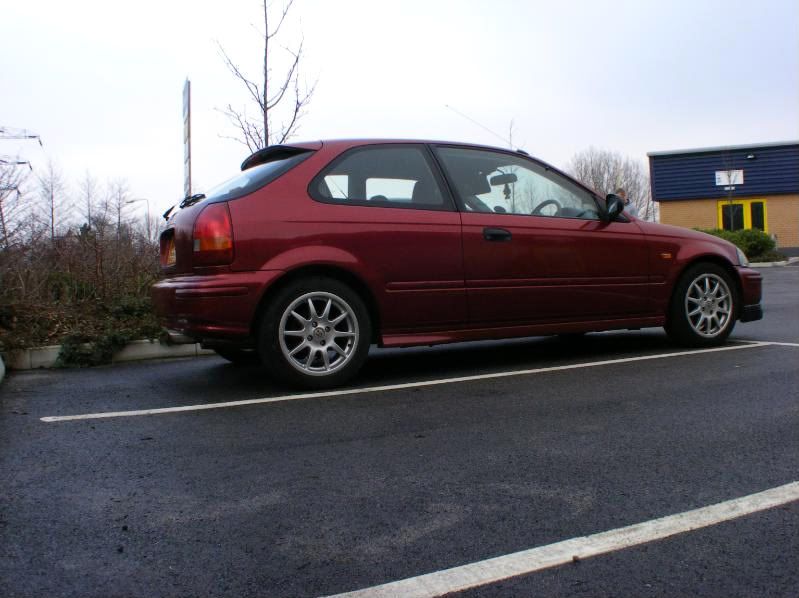
15" 5zigen div.3 wheels
Jazz washer jets
Interior
Fiberglass composite bucket seats
Sunroof removed and fitted with sunroof delete kit
EK9 door cards
Ek9 glove box
Ek9 Carpet
OMP 4-point harnesses
Momo Tuner 350mm wheel
D1 spec snap off boss
Type R gear knob
Ek9 Gear gaitor
Carbon airbag delete
Carbon fuel pump cover
Fli Swat5 Headunit
Carbon fibre air vents + dash trim
removed sound deadening throughout
stripped out, no seatbelts, bolts, brakets or rear seats
Satin black painted interior
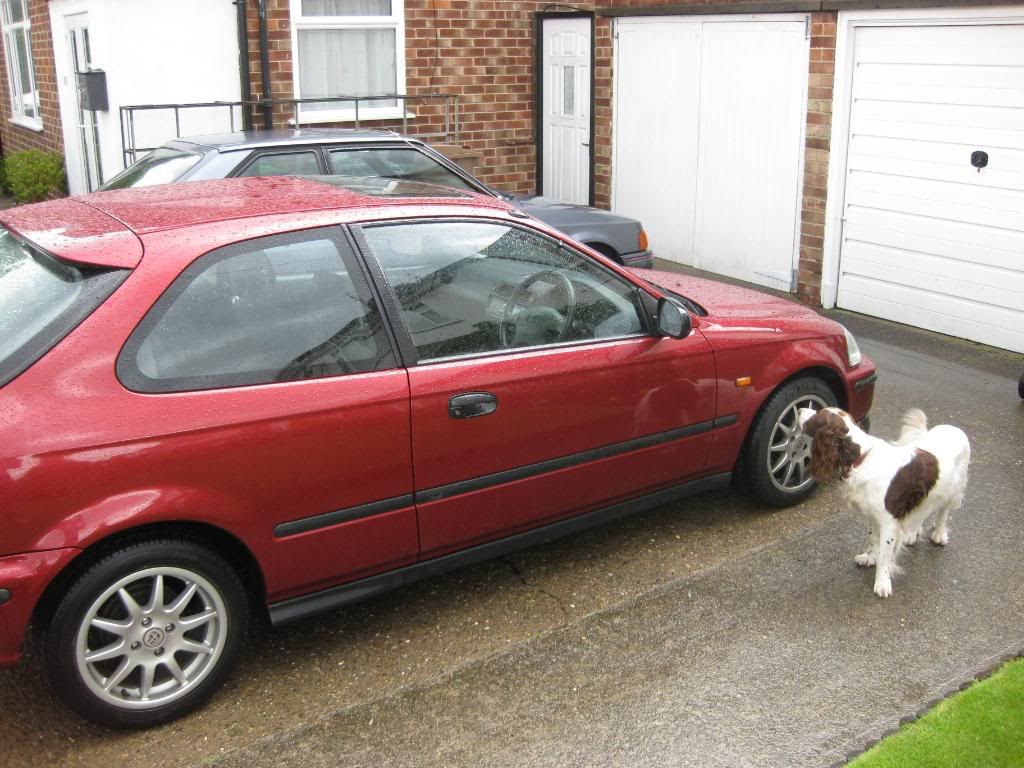
heres my buildup anyway which i started about 9 months ago. all comments and opinions welcome!
Heres my old hawaii, had it for about a year and luckily i didnt do any mods on it. I had **** tyres, probably illegal and it was raining so i went right into the bak of sum1. obviously it was a bit my fault but i blame the weather lol
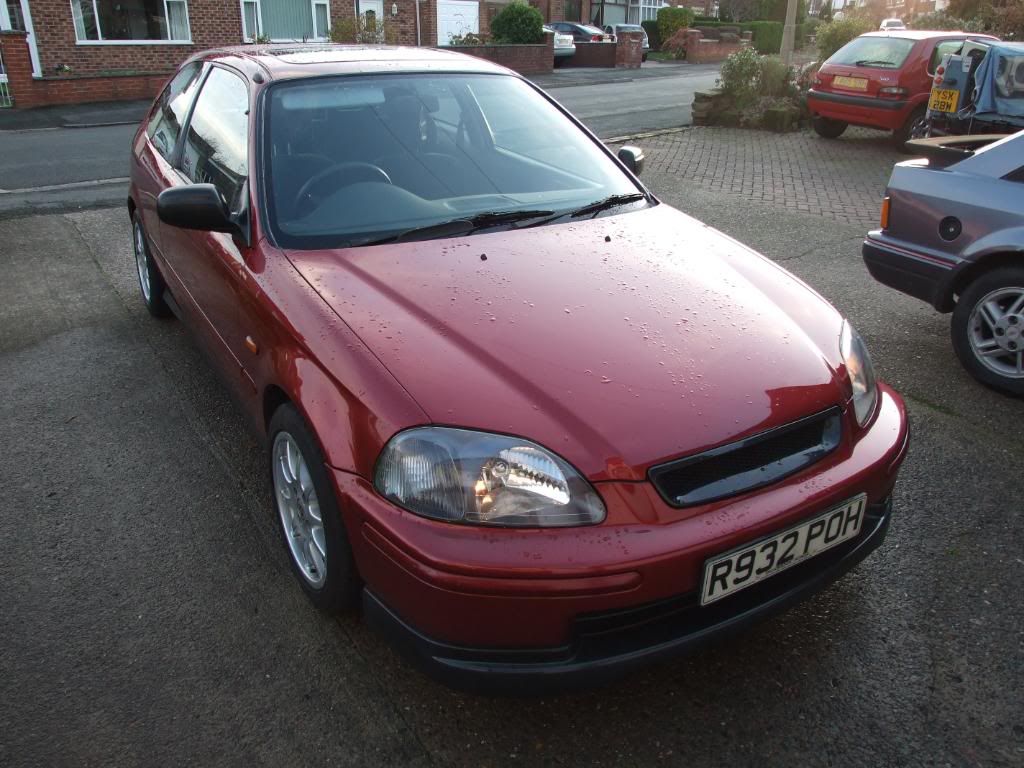
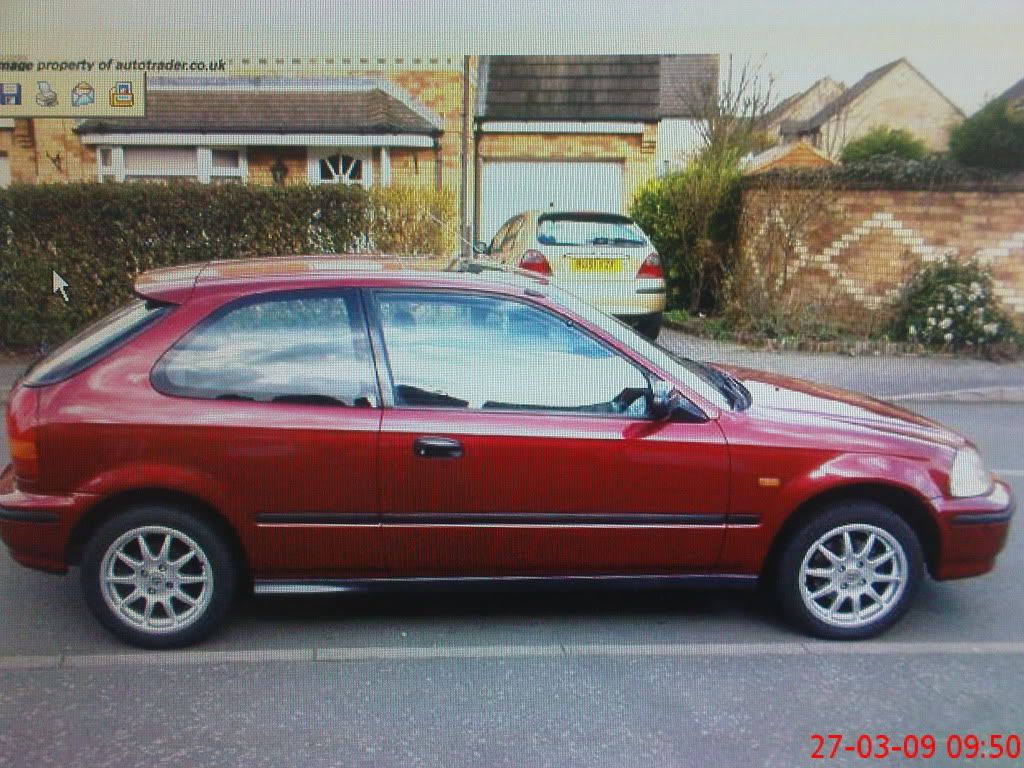
Then after that disaster i knew i wanted another 6th gen civic so i saved up 4 a while then bought this. i paid £1500 for it with 58000 miles on the clock. it was in amazing condition but the main reason i wanted it was because it was a 1.5 lol not a 1.4 very big improvement, naat!!
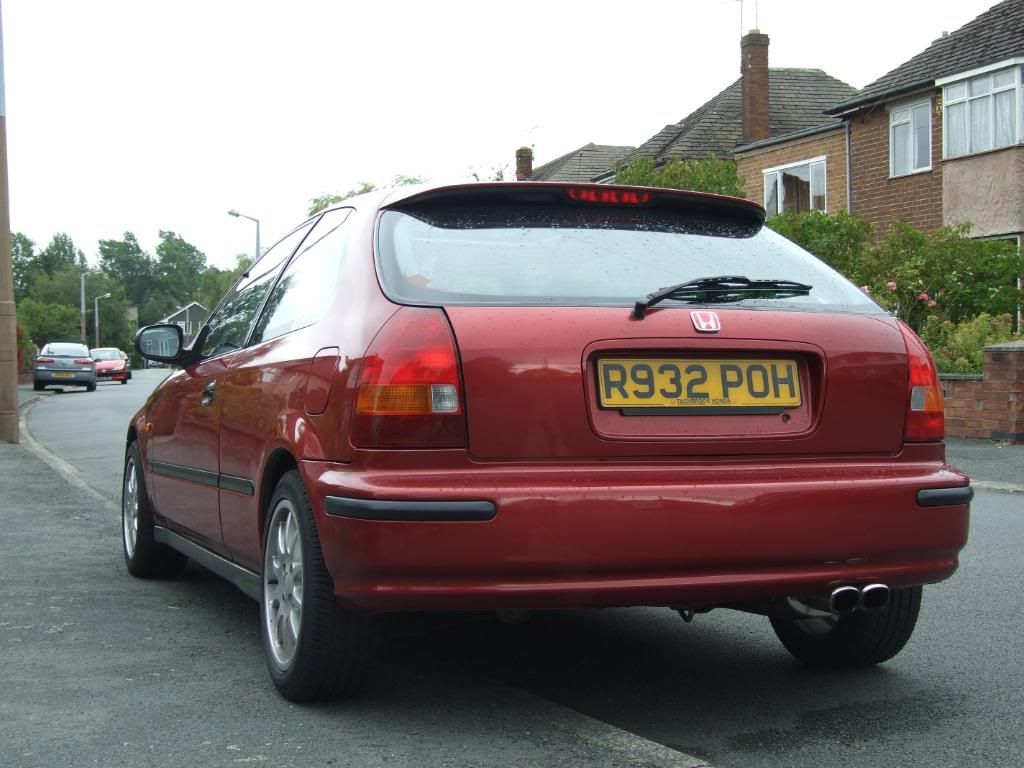
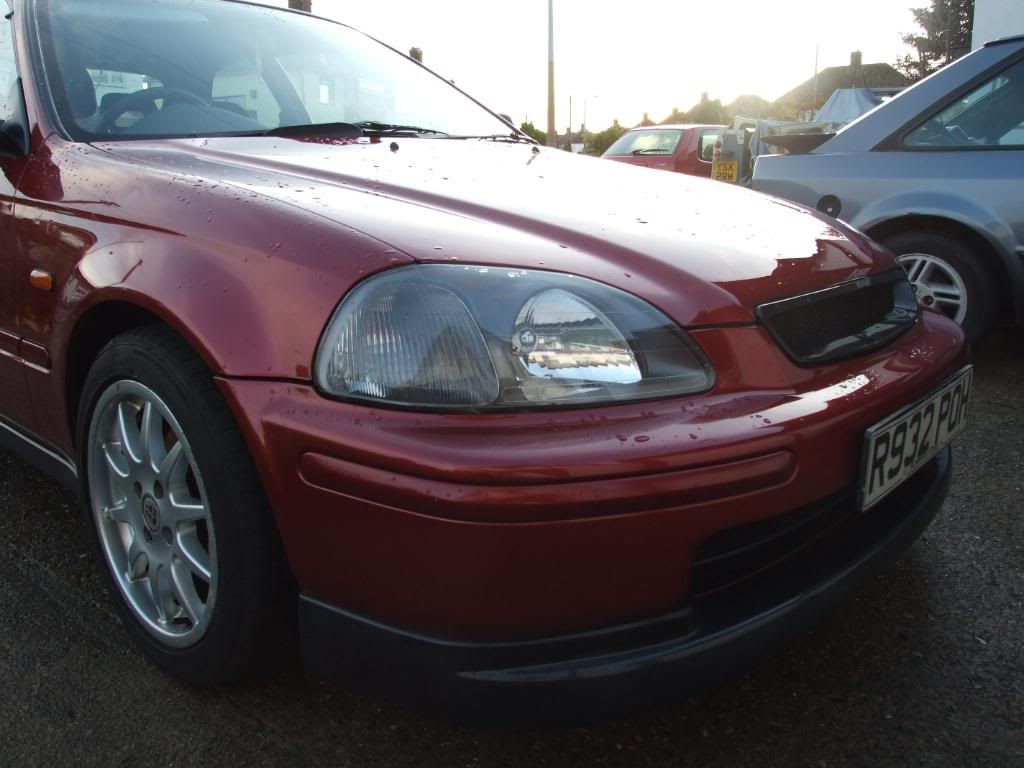
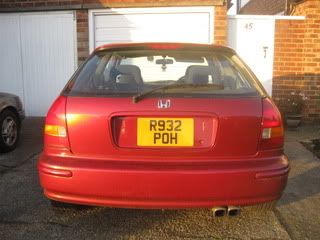
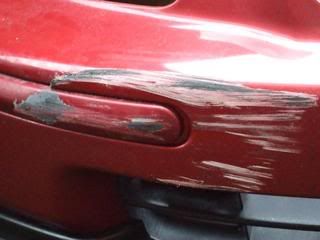
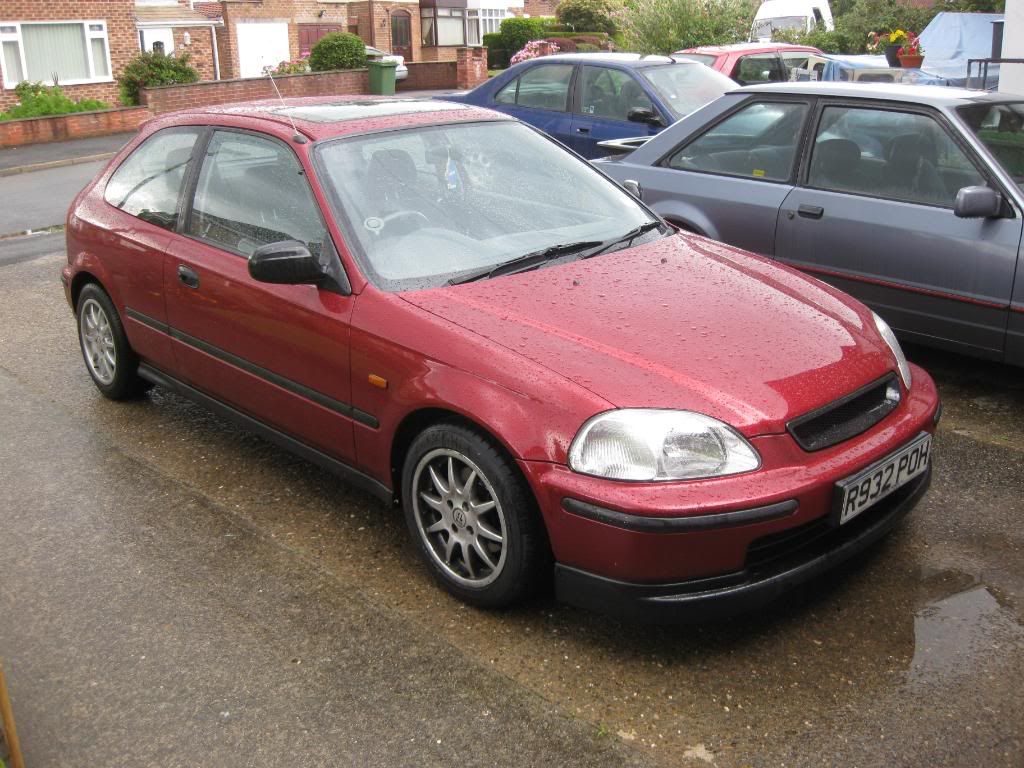
here she is as i bought her, bit of a shyte pic!
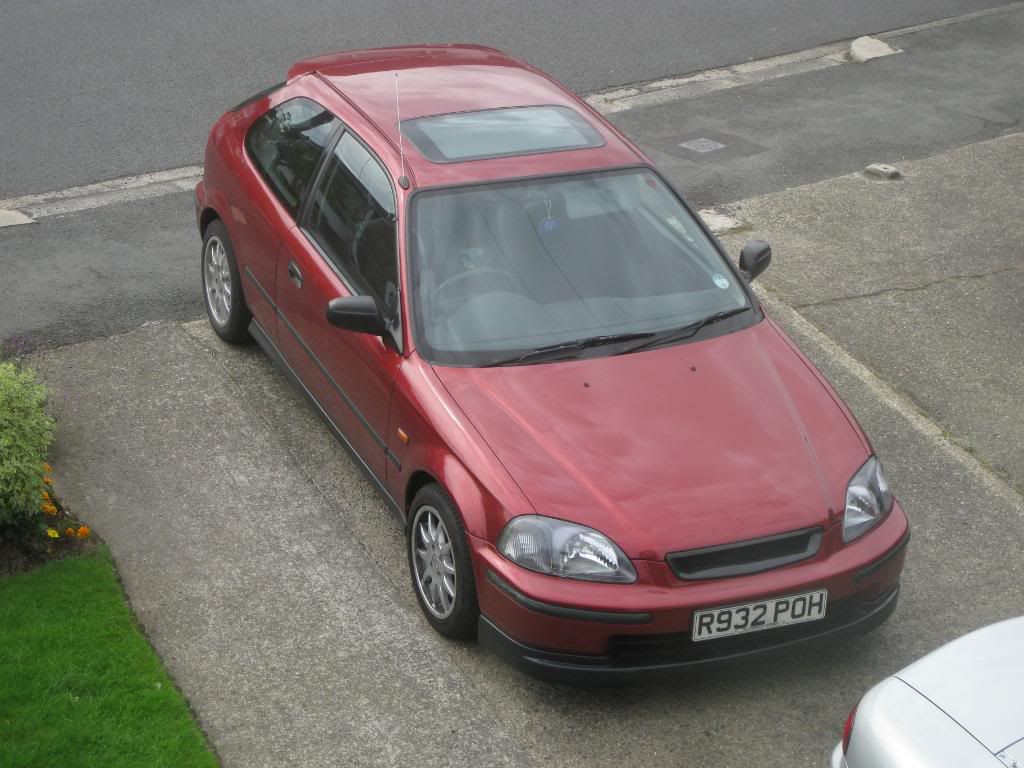
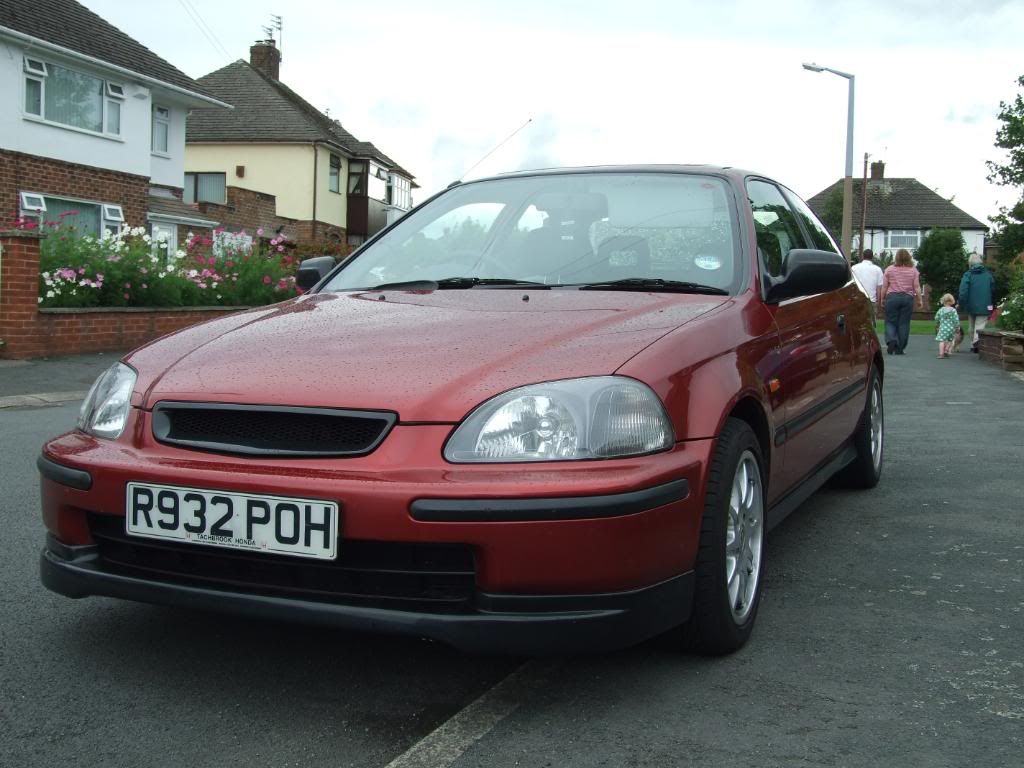
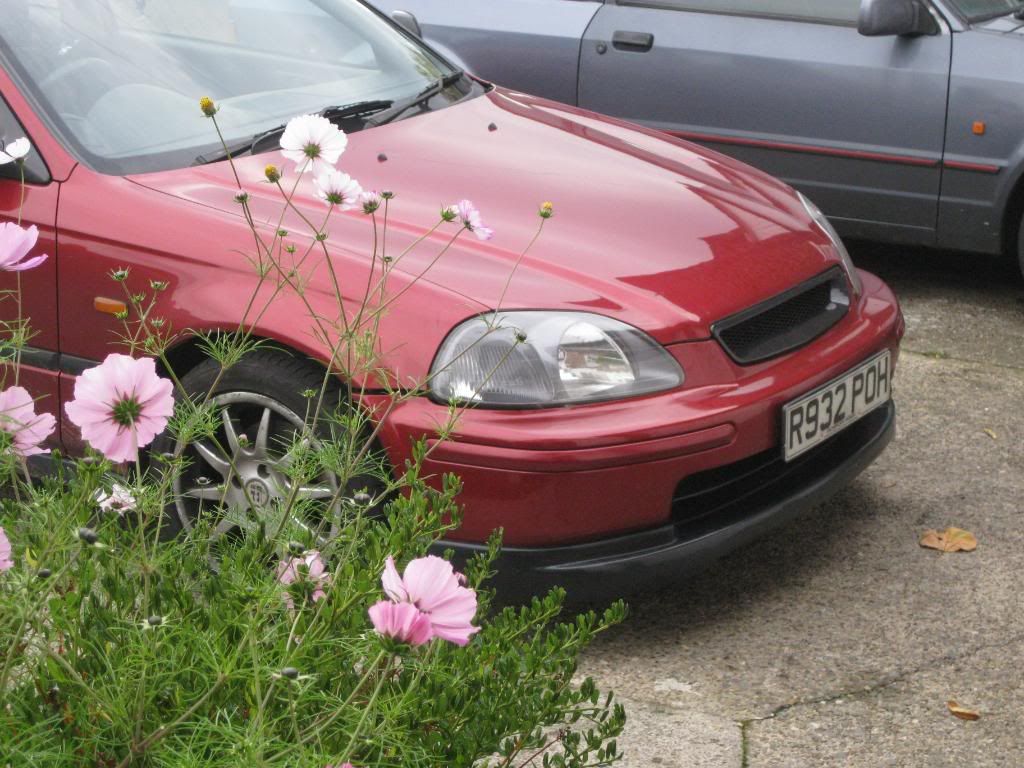
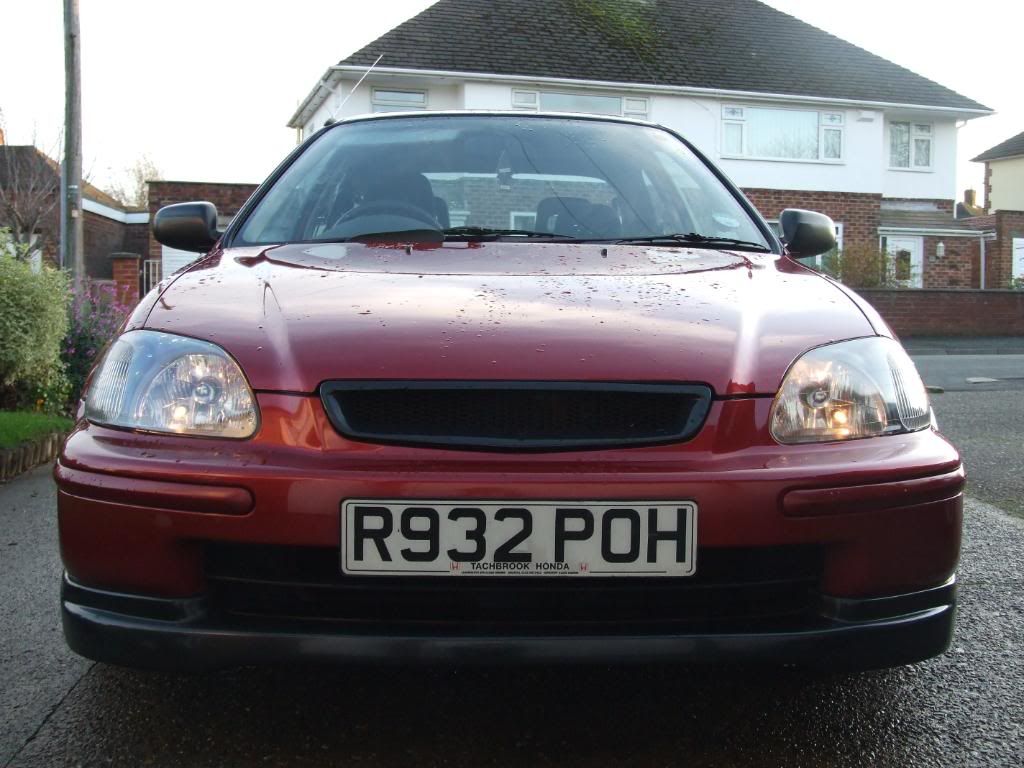
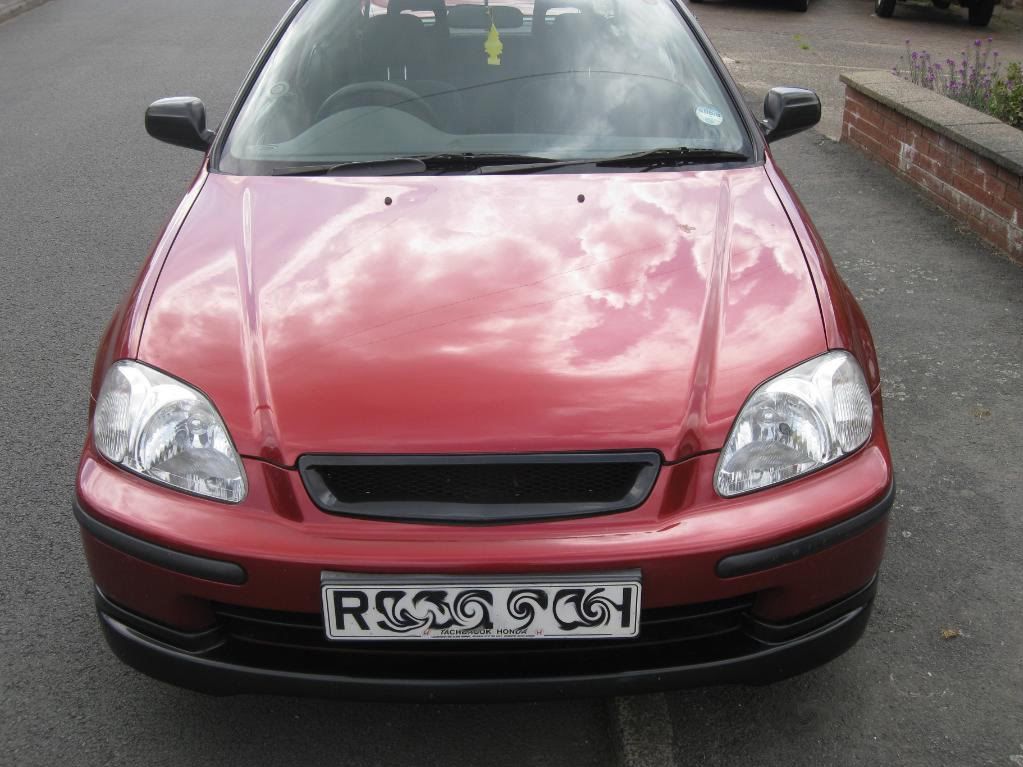
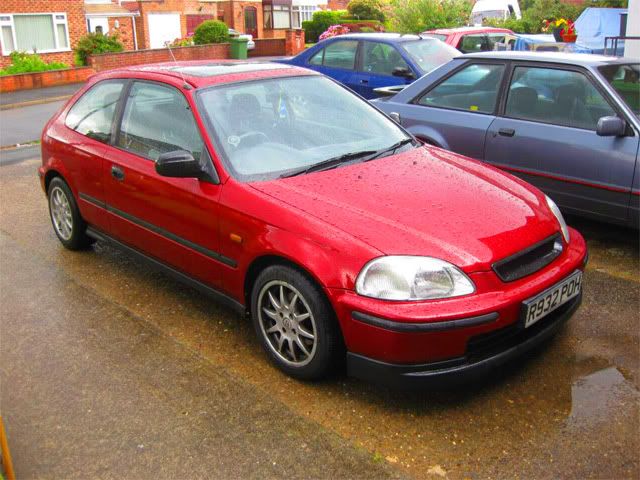
first thing i did was get red honda badges, take the 1.5ils off the back and a new type r front lip.
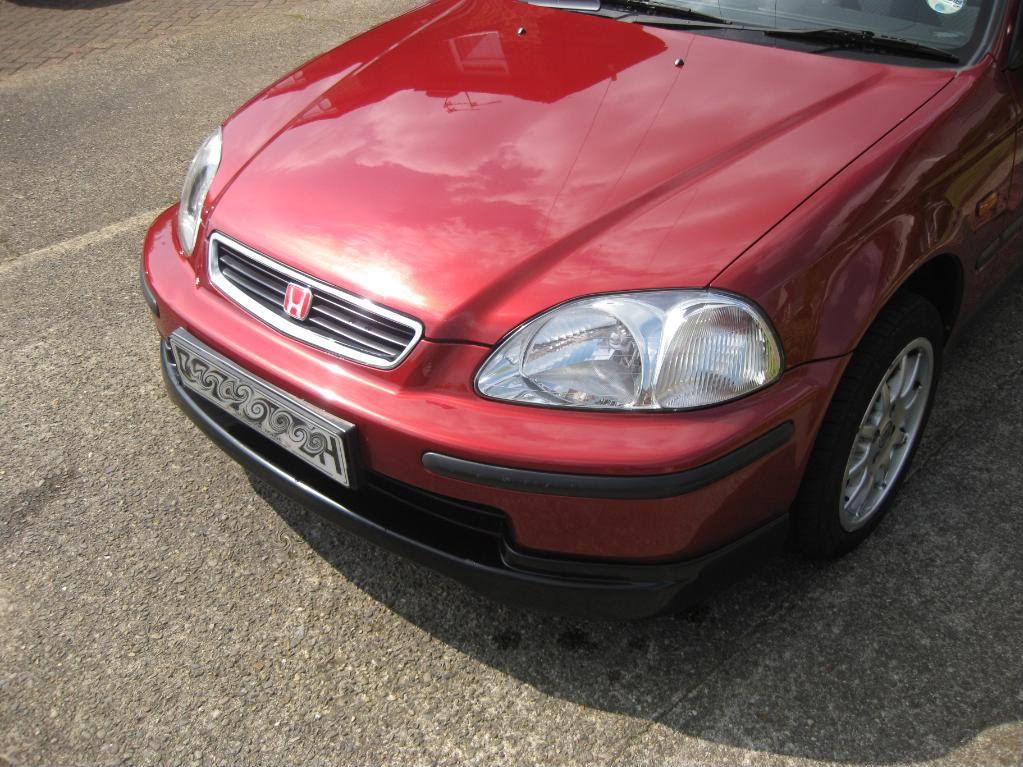

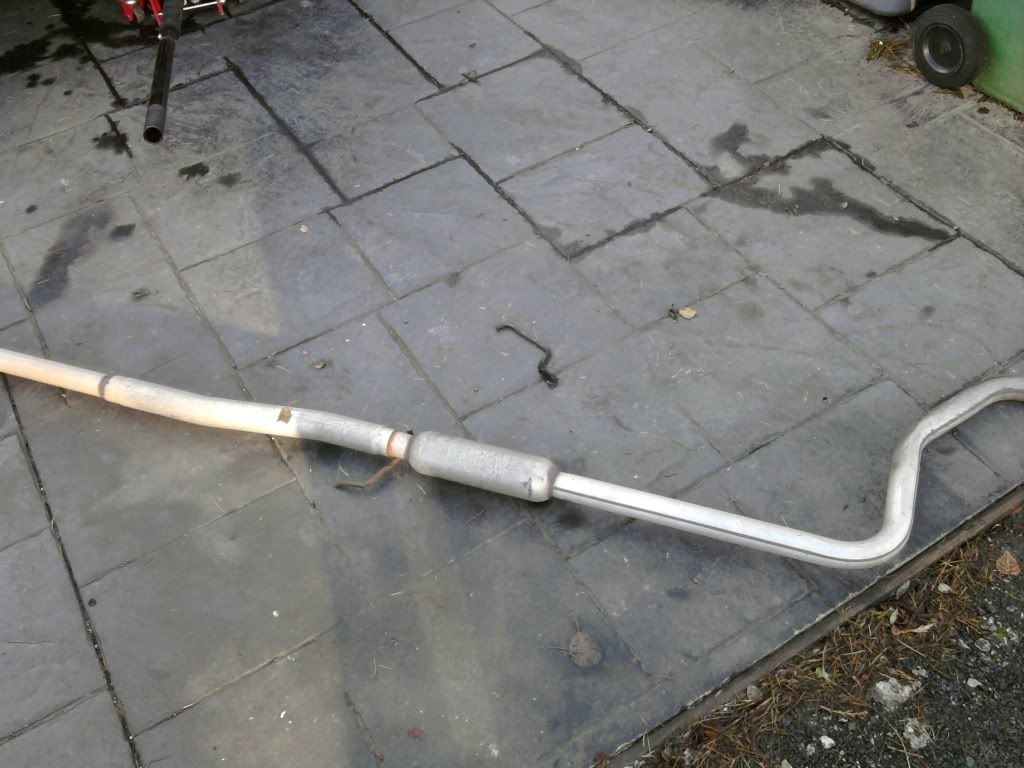
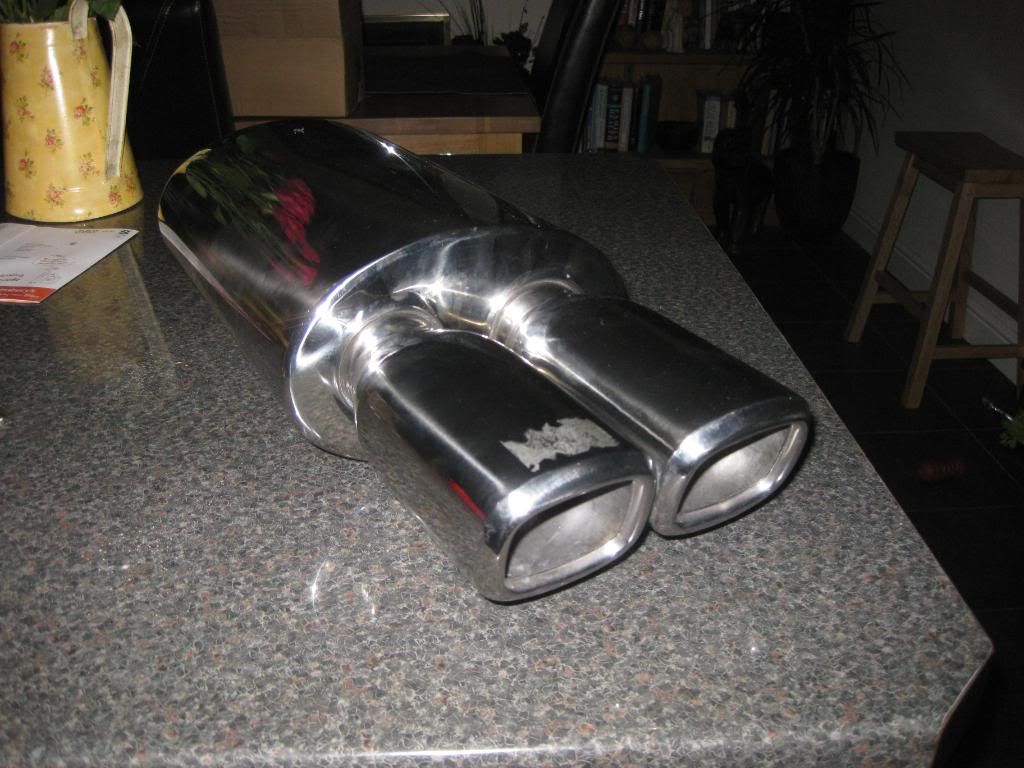
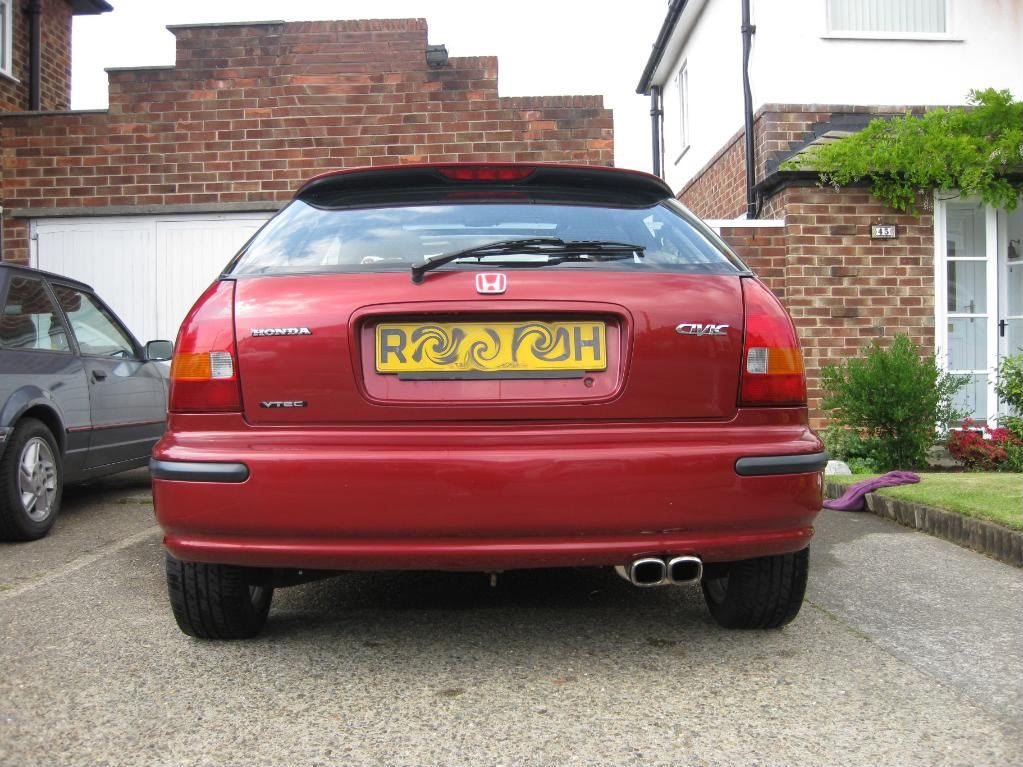
next i bought a genuine type r grill, and a twin pipe back box off ebay. i went for the ep3 type r look.
an here they are on
grill was ded easy only took 10 mins. I think it looks good with the lip and bumpstrips. thinking of colour coding something but dno wat yet.
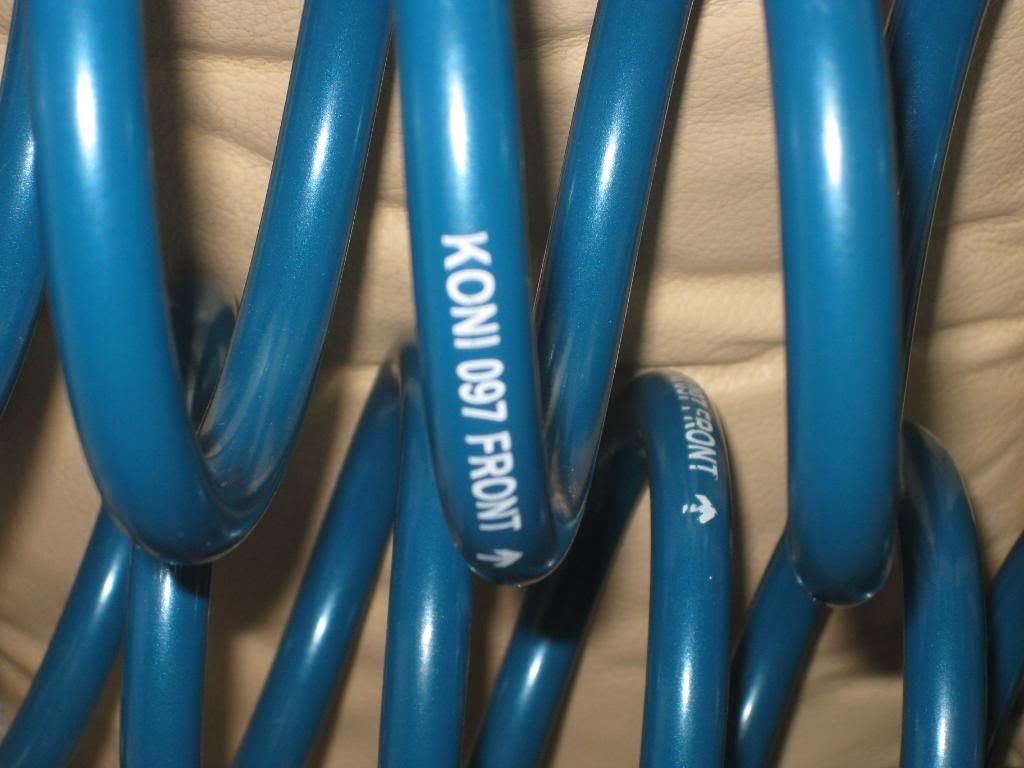
My springs are getting fitted this sunday i will post some pics as soon as their done. Any one got any experience with koni sport springs??
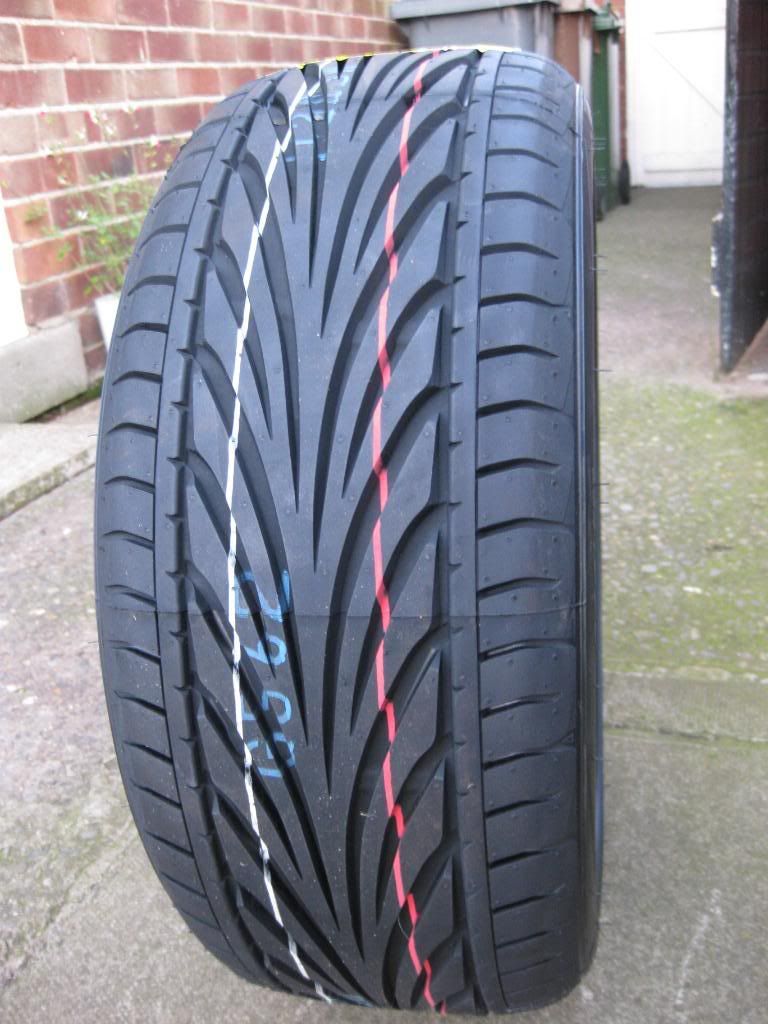
Today i also recieved my new front tyres gonna get them fitted tomorrow, get the springs done on sunday and then get an alignment on monday.The toyo proxes had good reviews on this site and they wer cheap so decided 2 go 4 em!
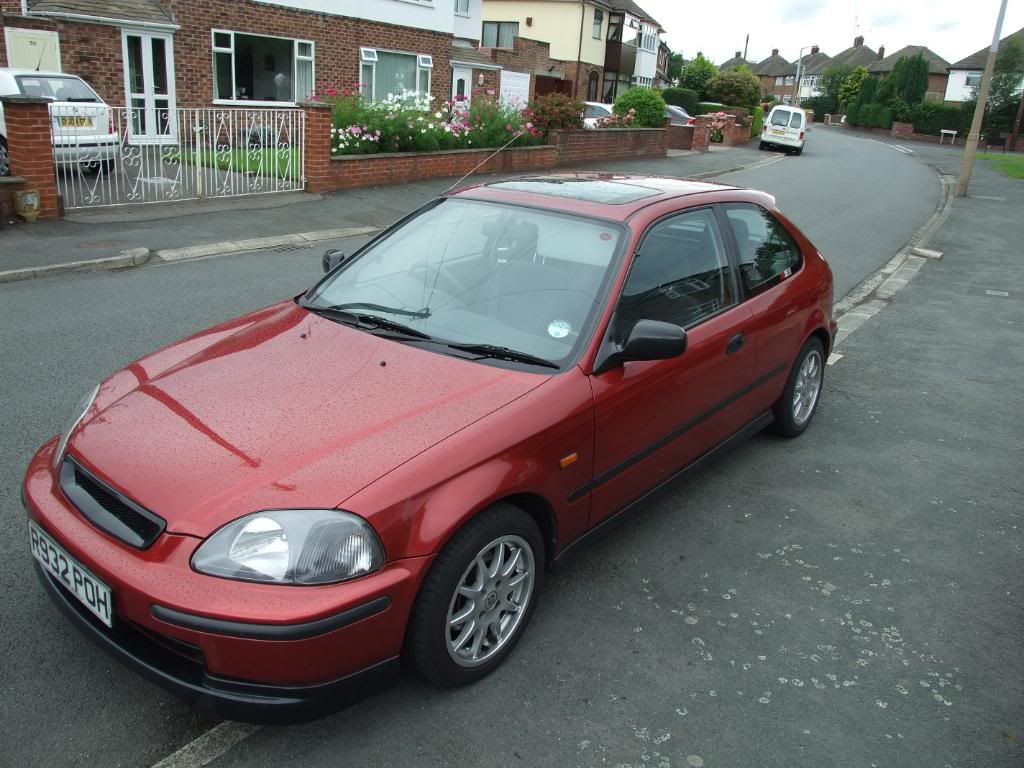
finally fitted my springs on sunday at a freinds/mecanics house. only took a cuple of hours. I wasnt hoping for a massive drop because i am a delivery driver part time, just want a subtle drop! heres the pics, tell me what you think
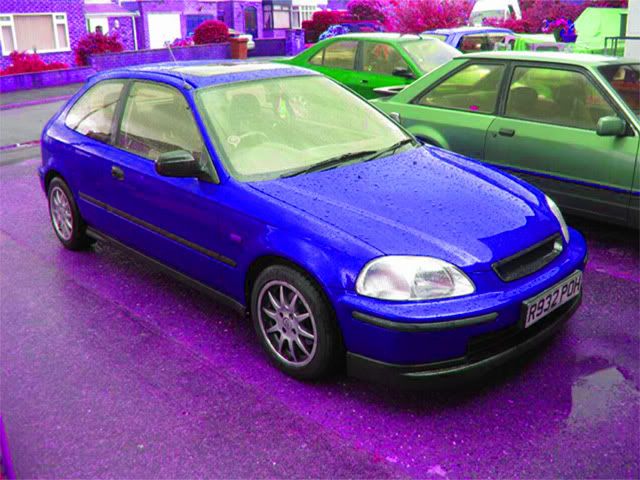
just had a play around on photoshop, think the blue luks cool!!
ok got a few more updates
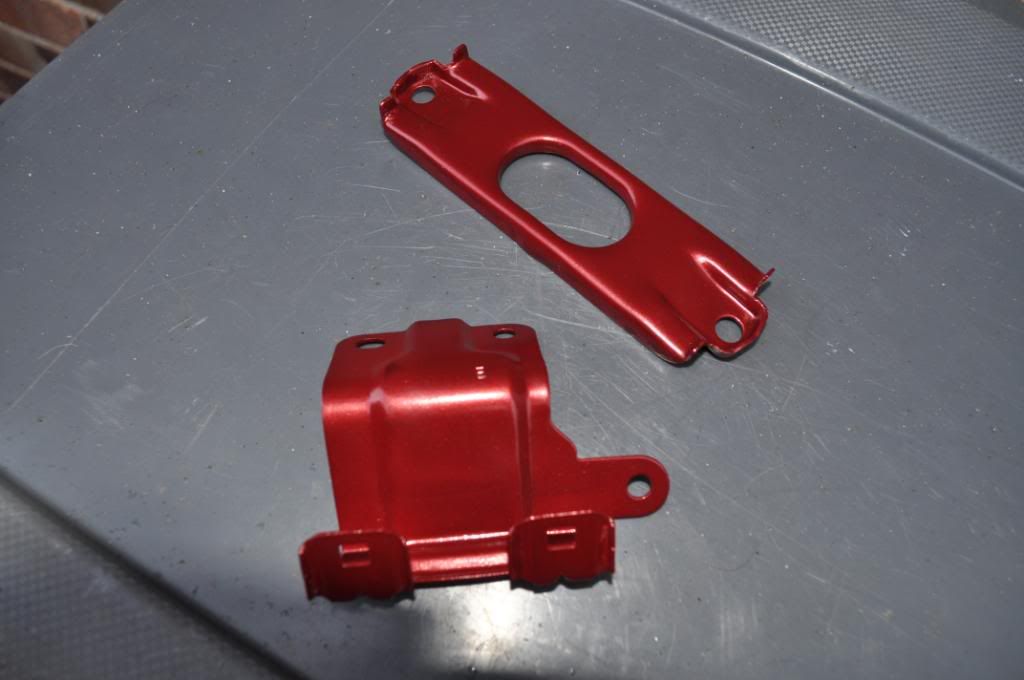
firstly i did an oil change with my dad, replaced the old oil filter which was a bit of a nightmare to get off. but the crow bar soon changed that!
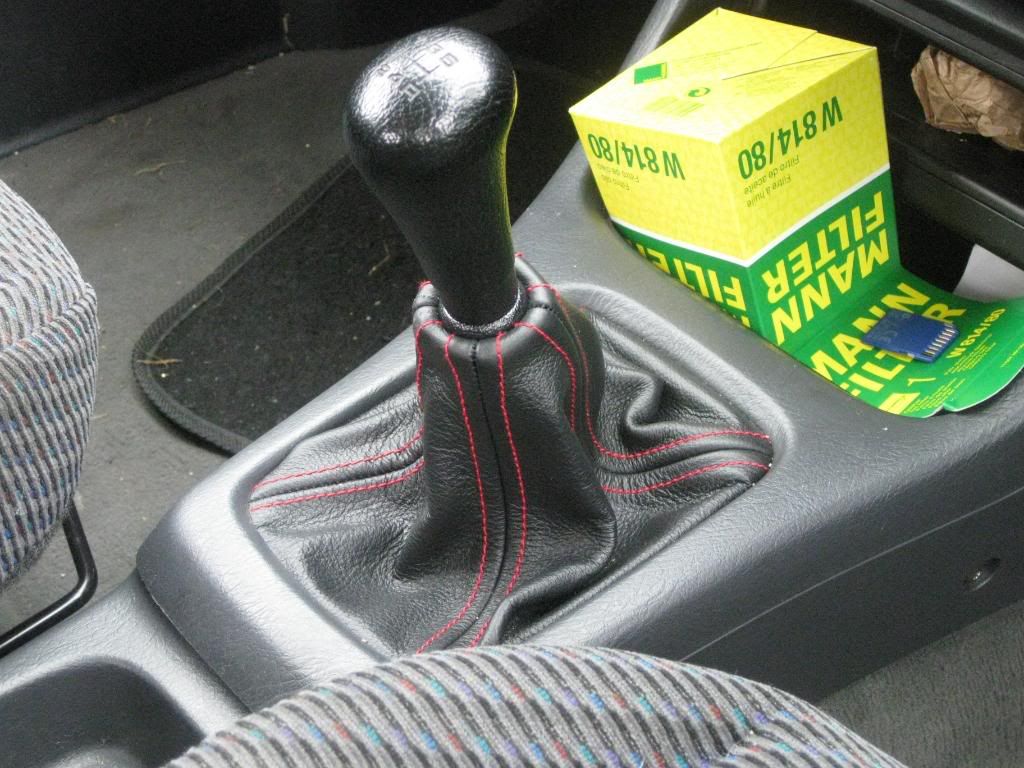
then i replaced the gear knob gaitor with an ek9 style 1. pretty easy job and looks sweet!! just need a new gear knob.
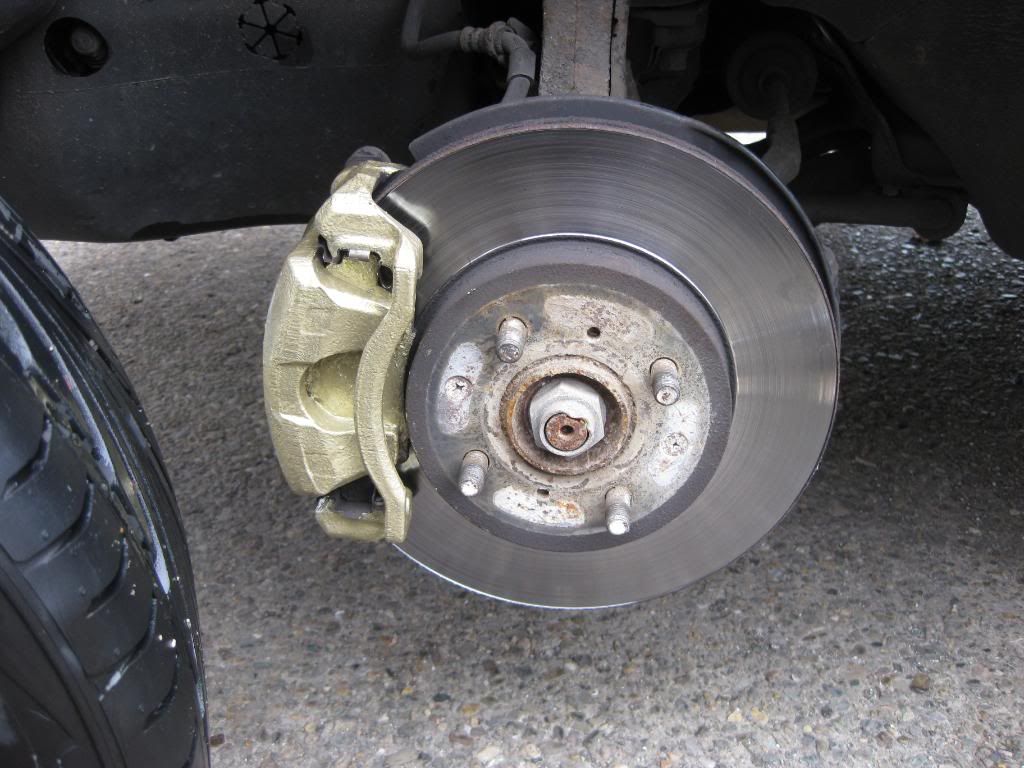
Then i painted the calipers gold, just to contrast the wheels. suppose any colour is better than shitty blacky rusty dirty kind of colour lol
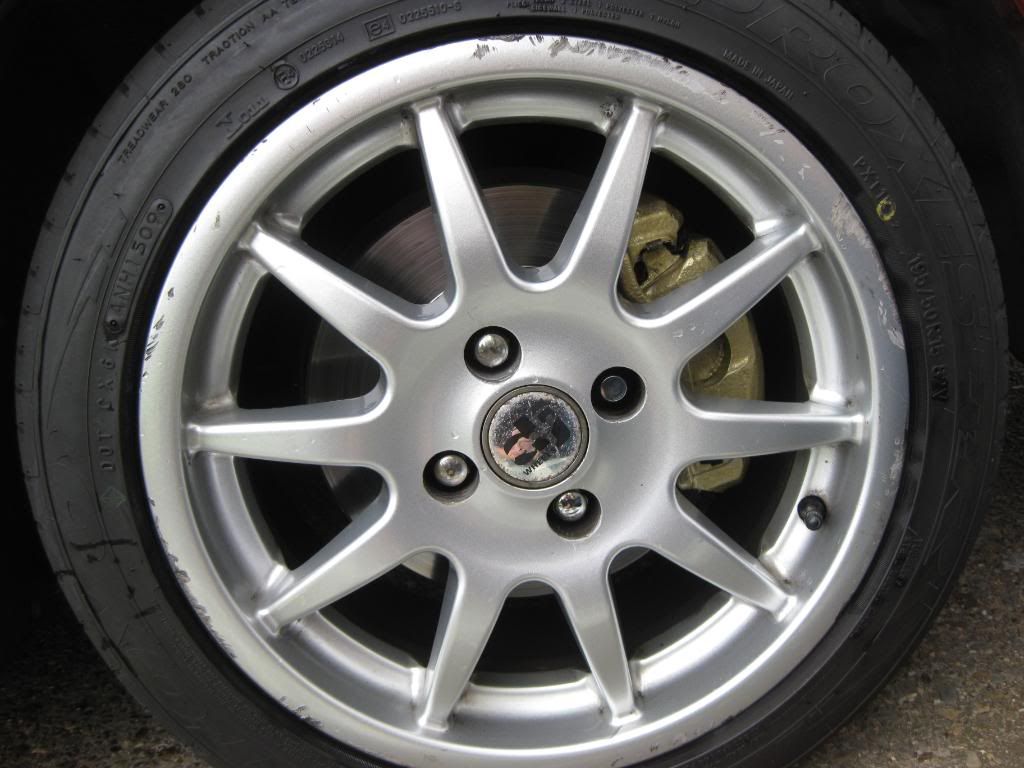
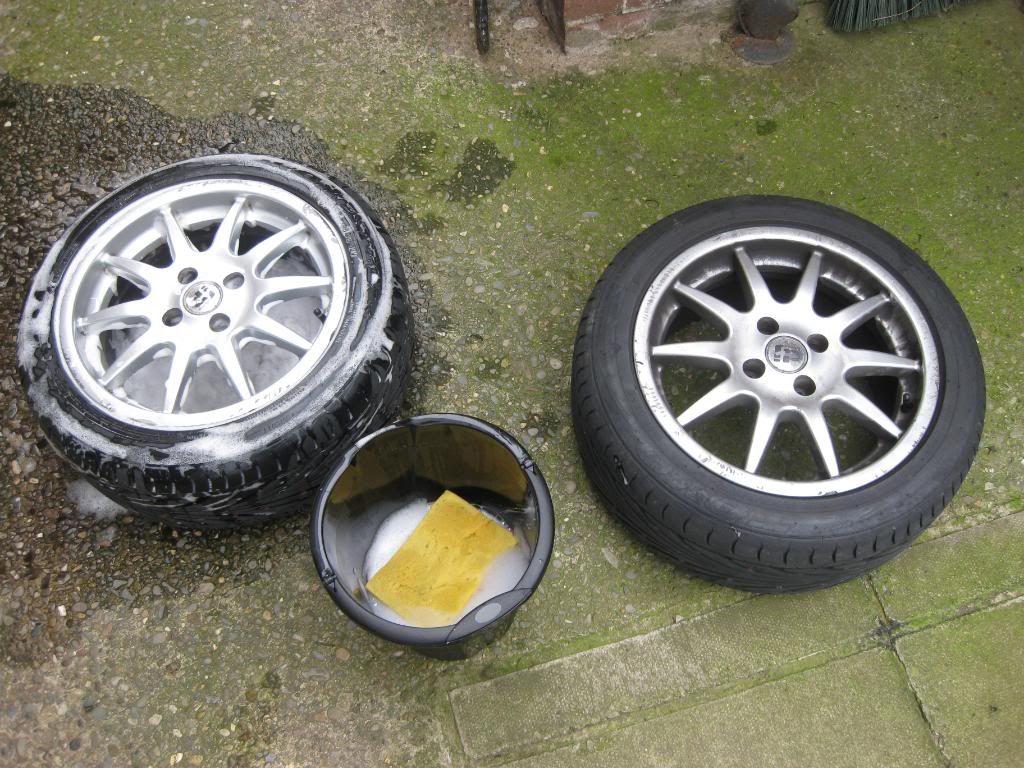
gave the wheels a good clean while they where off!
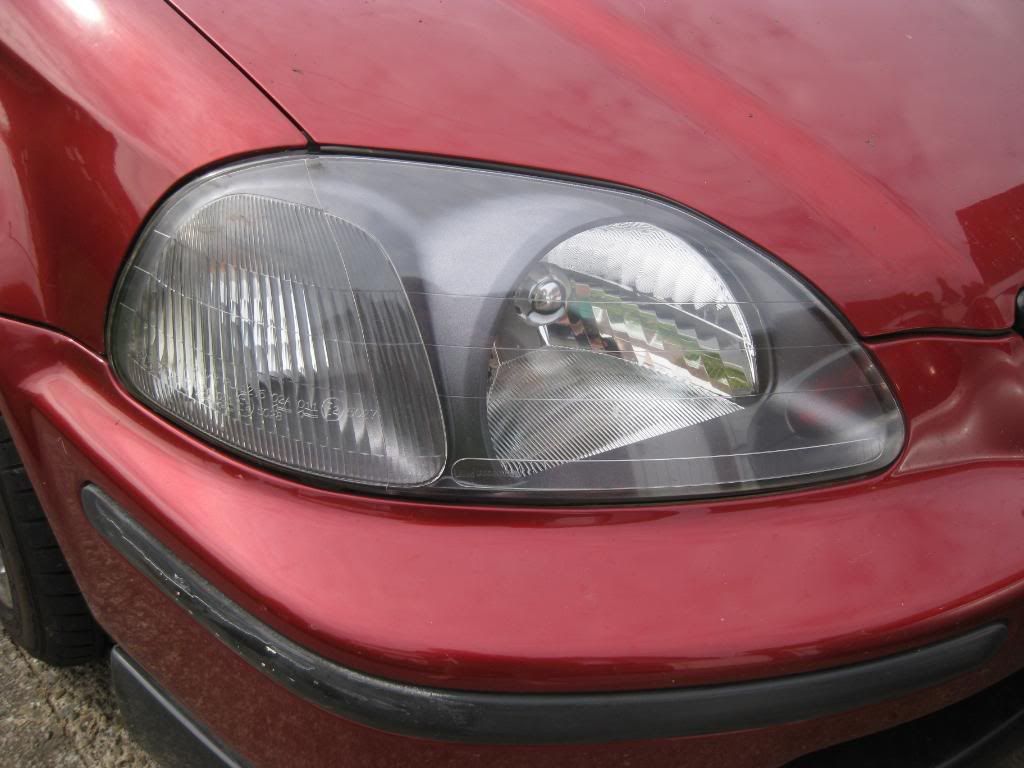
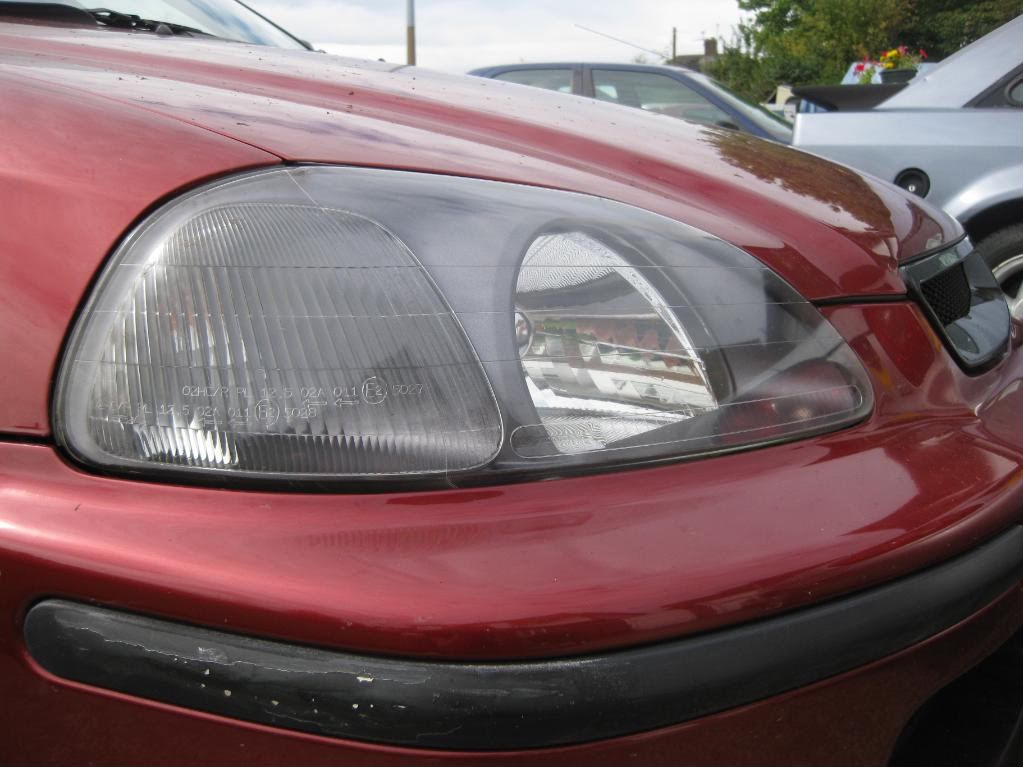
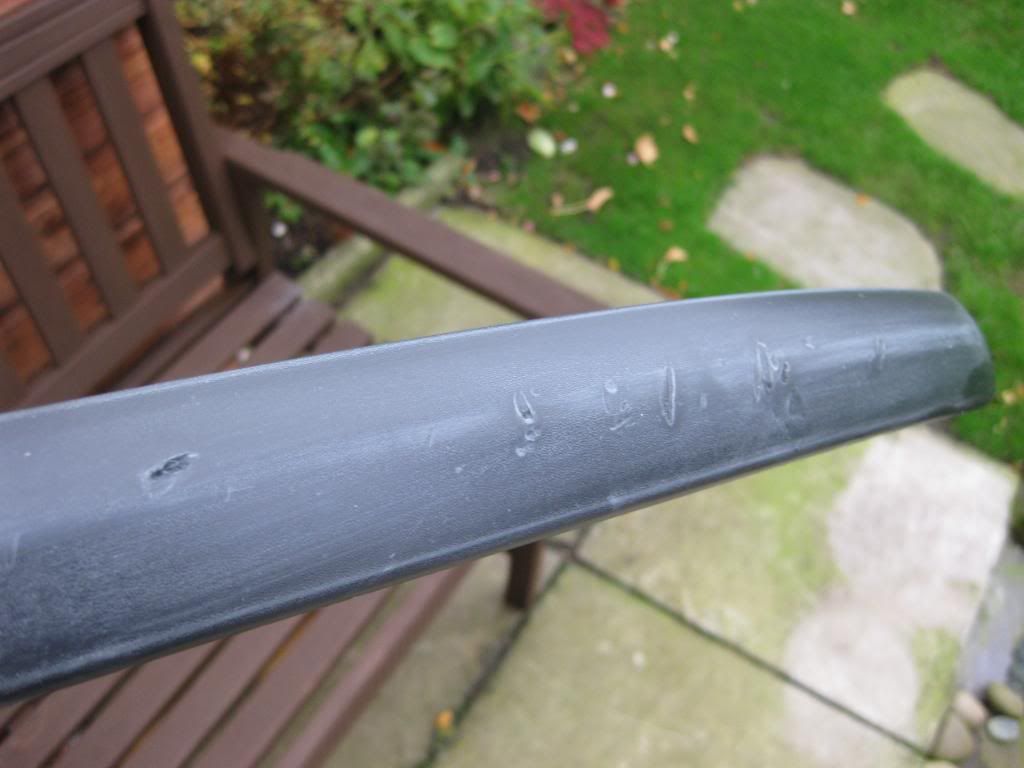
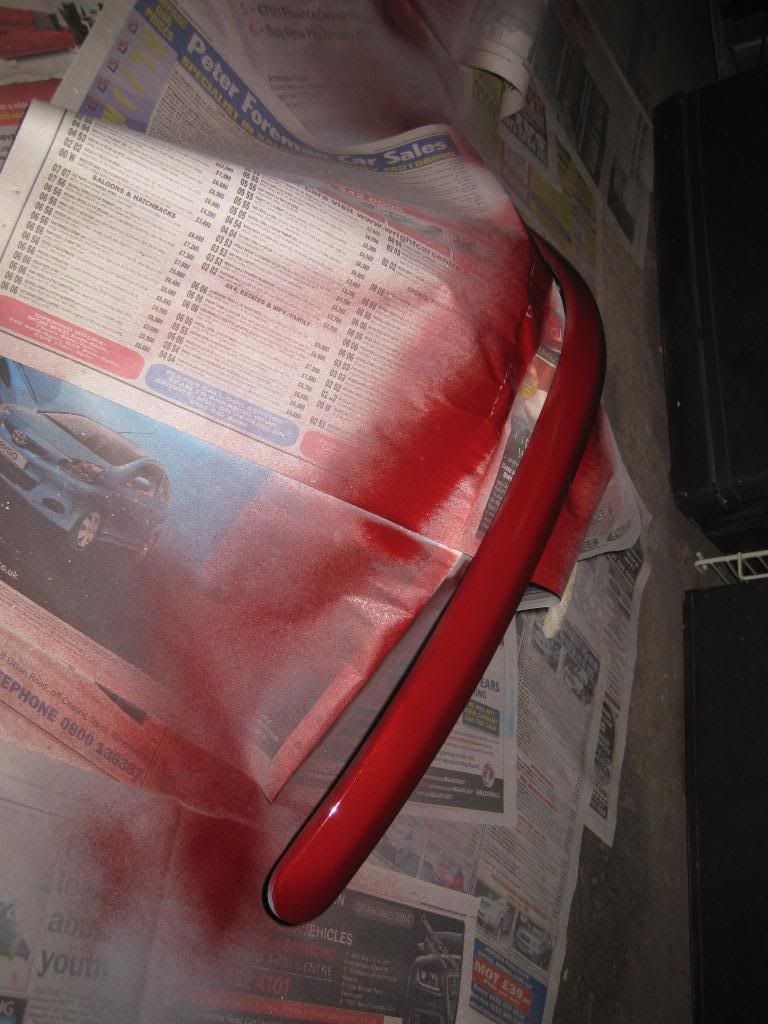
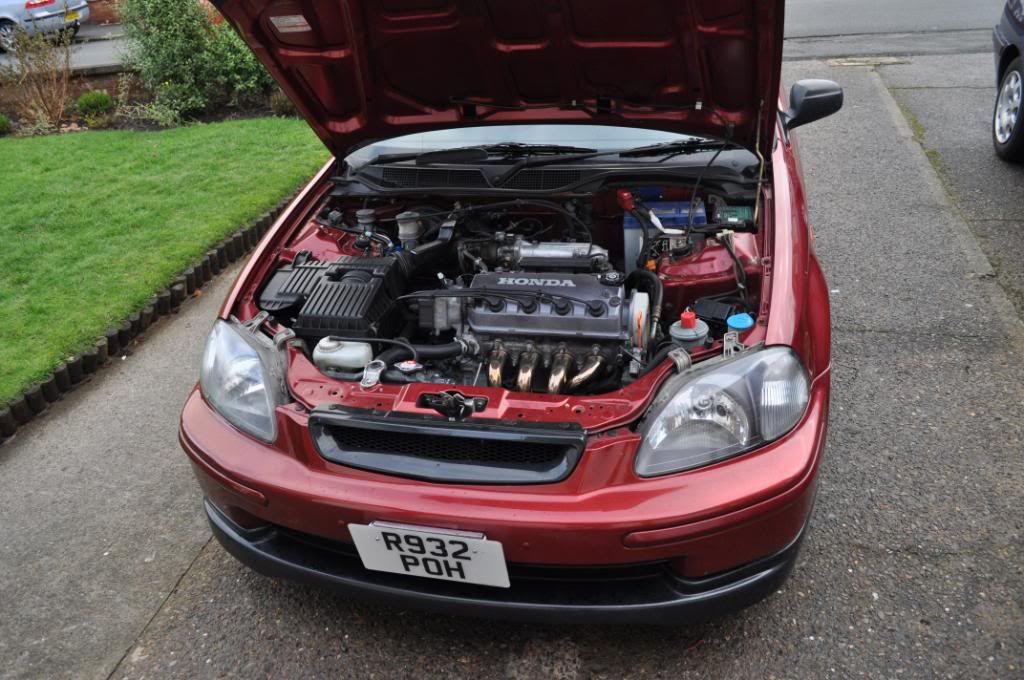
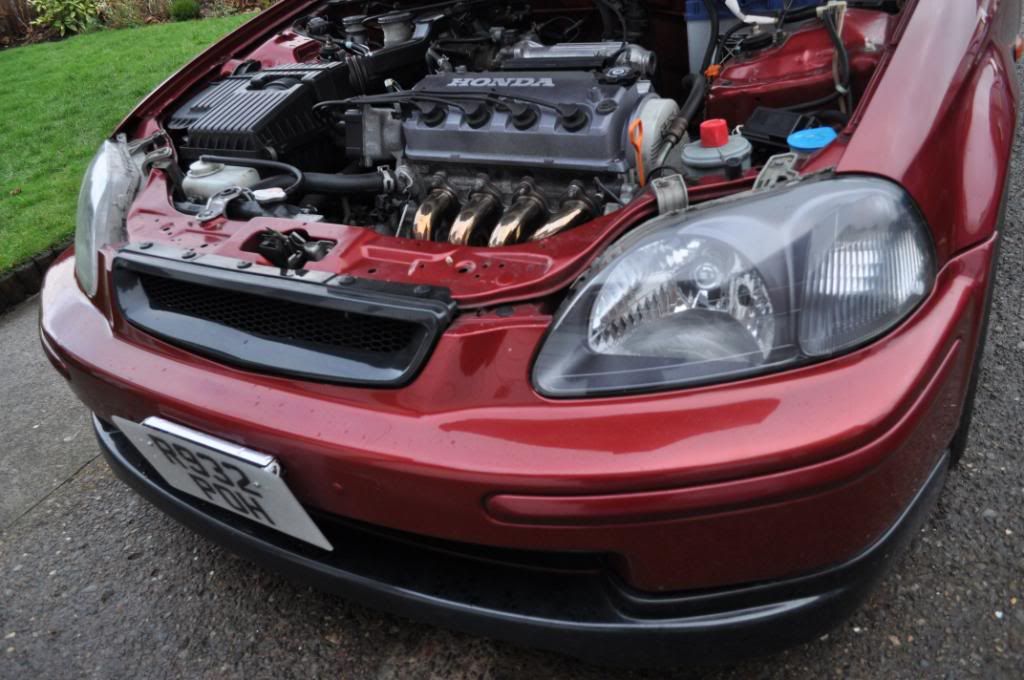
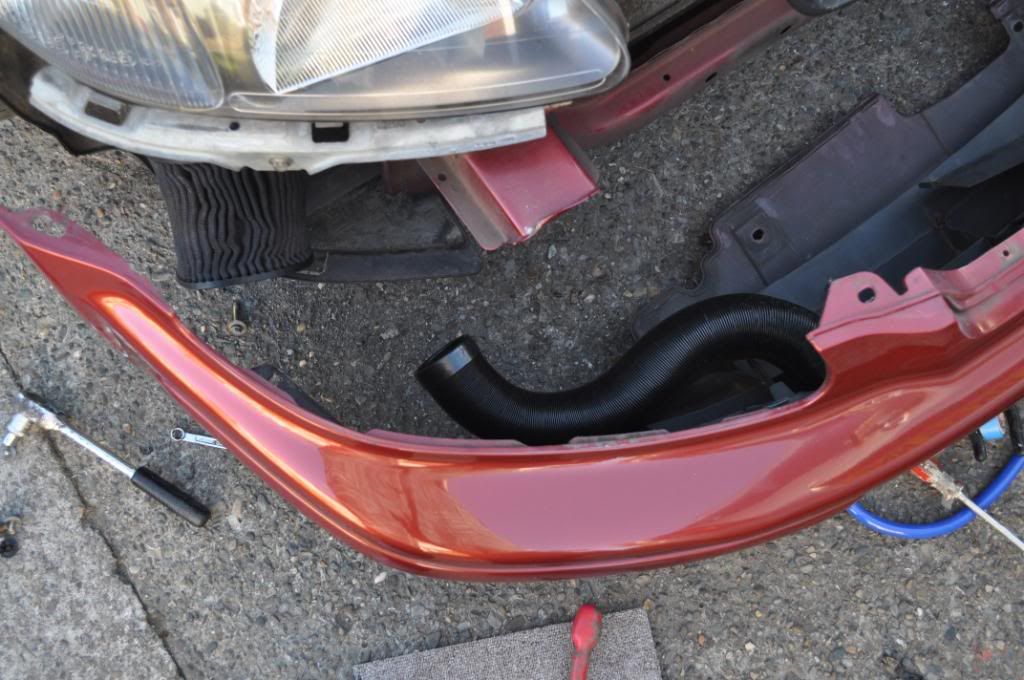
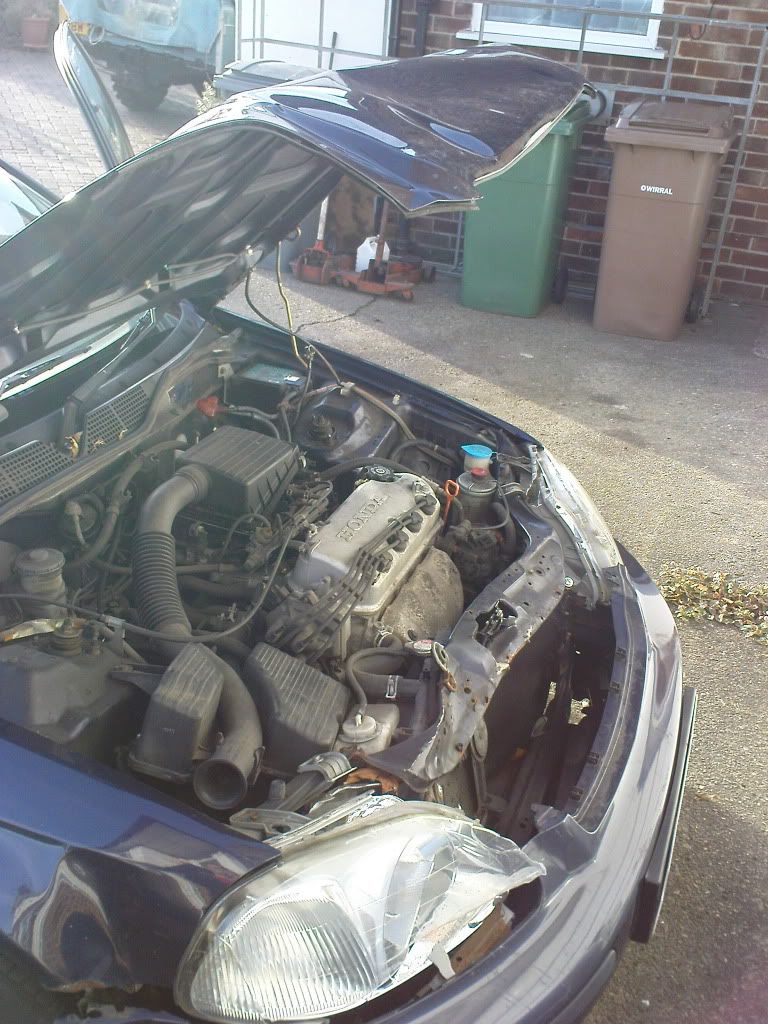
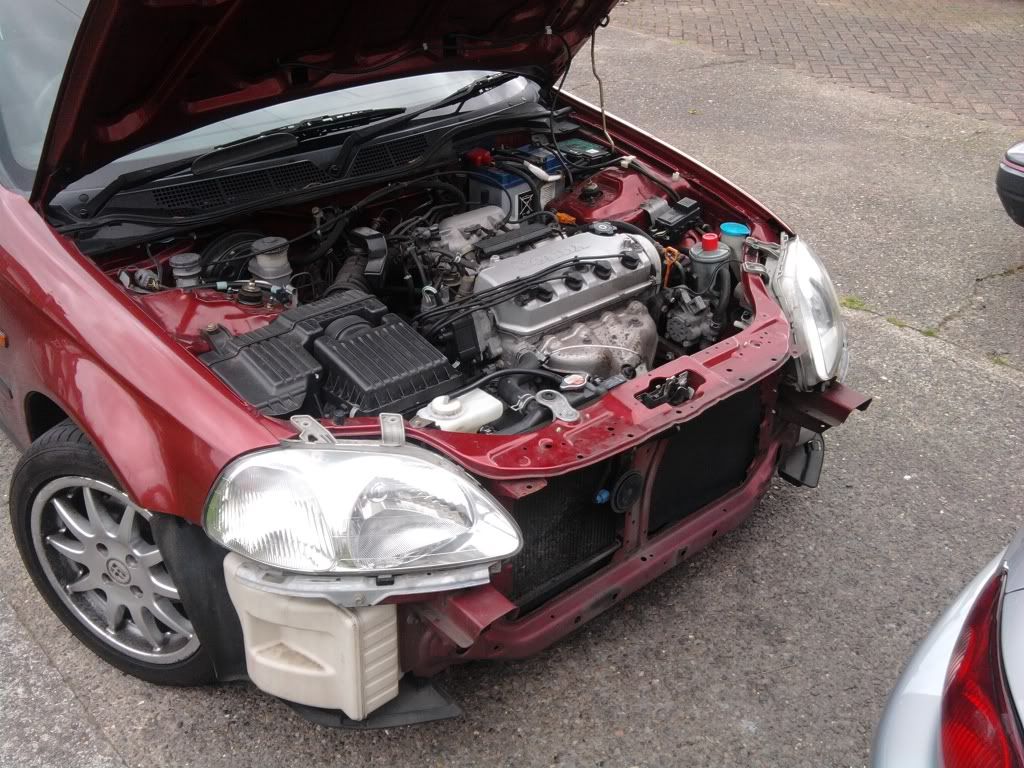
Then i decided to type r the headlights so i set about taking the front bumper off
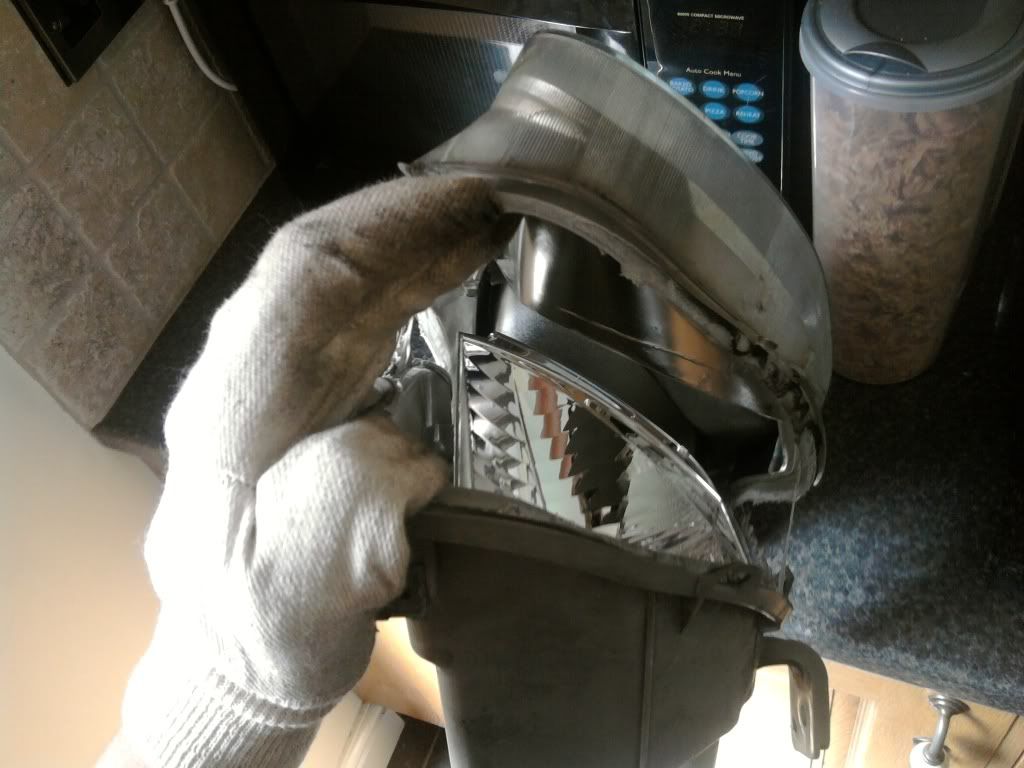
i took the lights off, the car then put them in the ovan to melt the silicon seal the after a cuple of mins i pulled the different sections apart
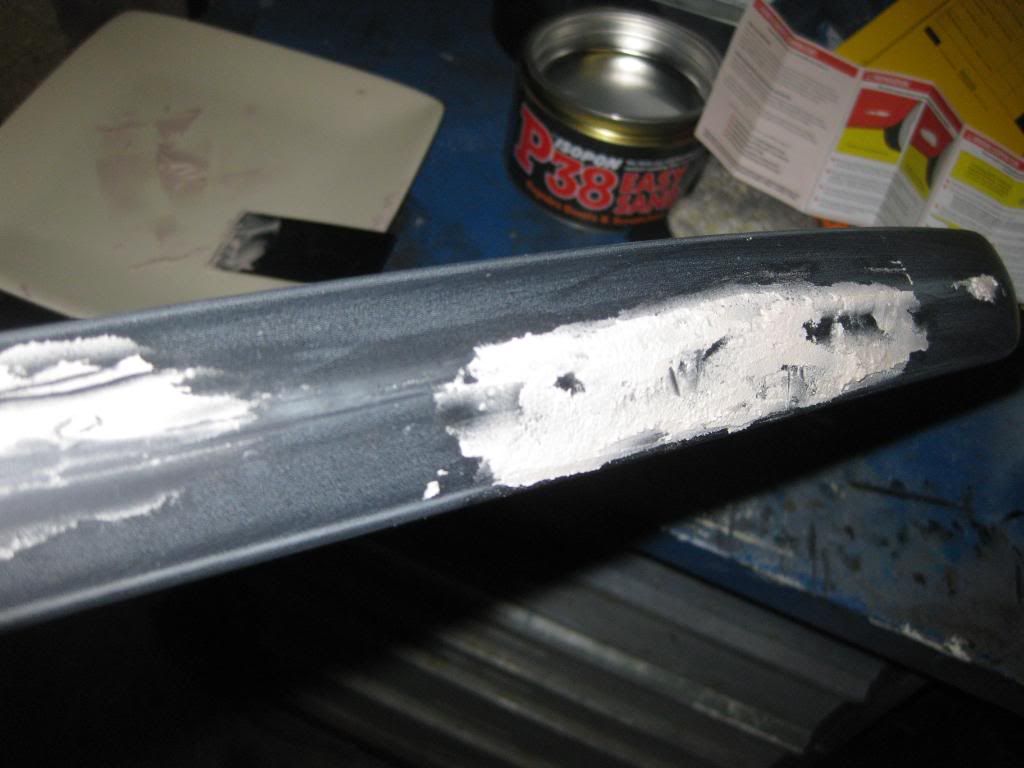
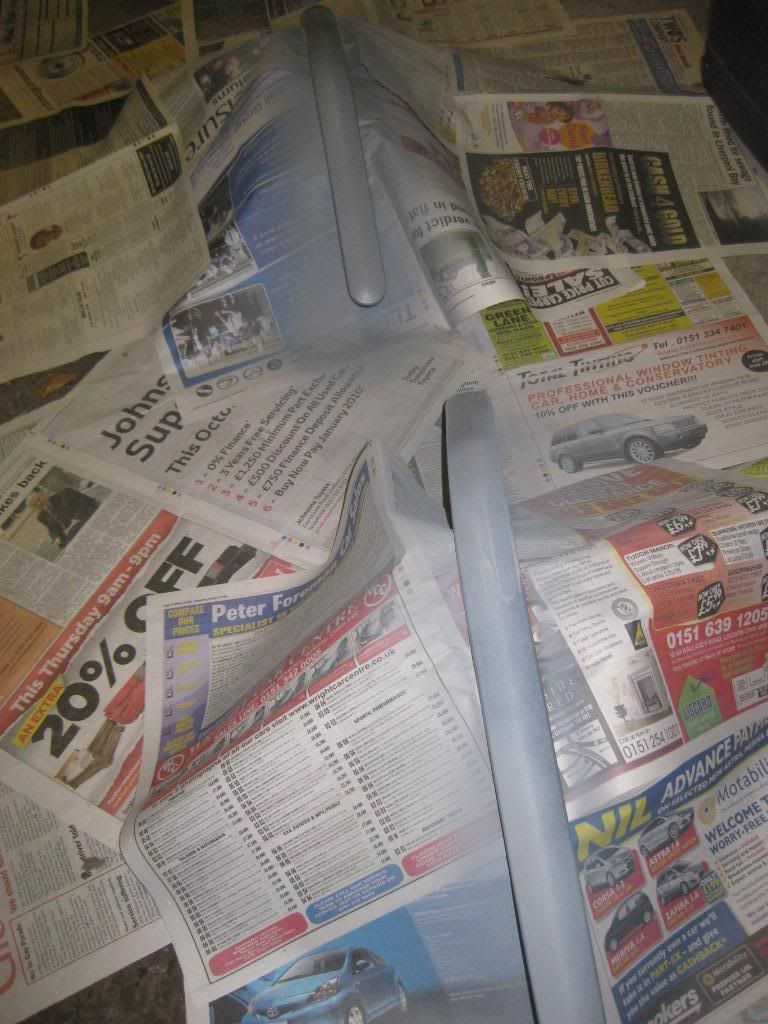
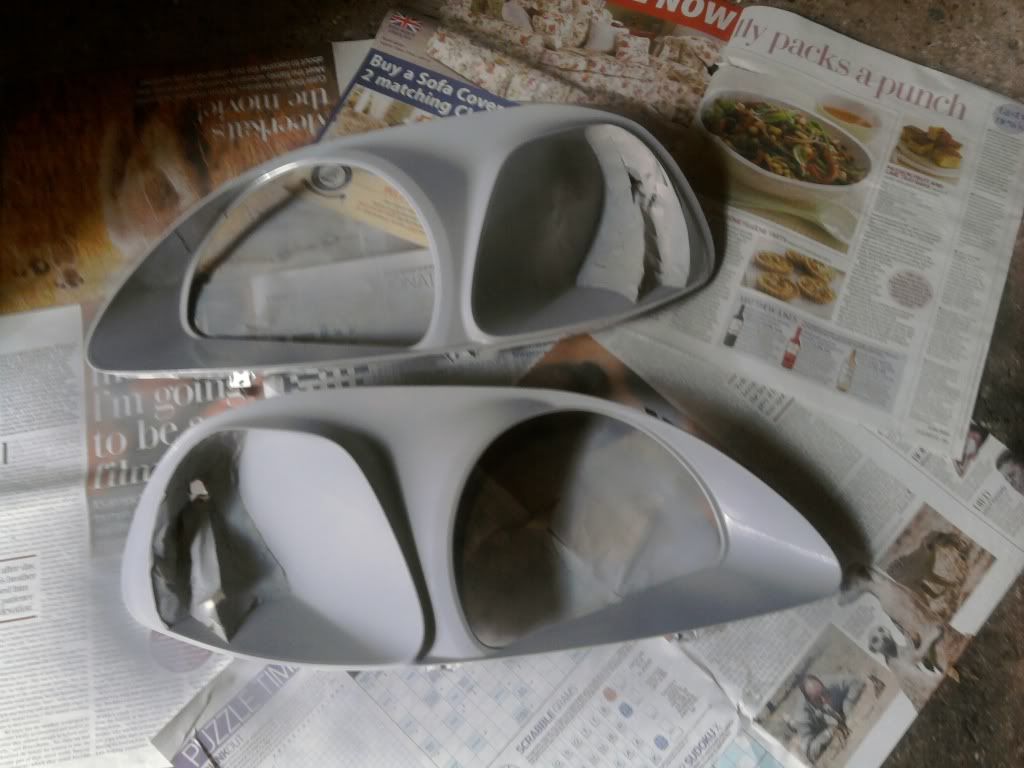
Then i masked the certain ares off and primed them with halfords grey.
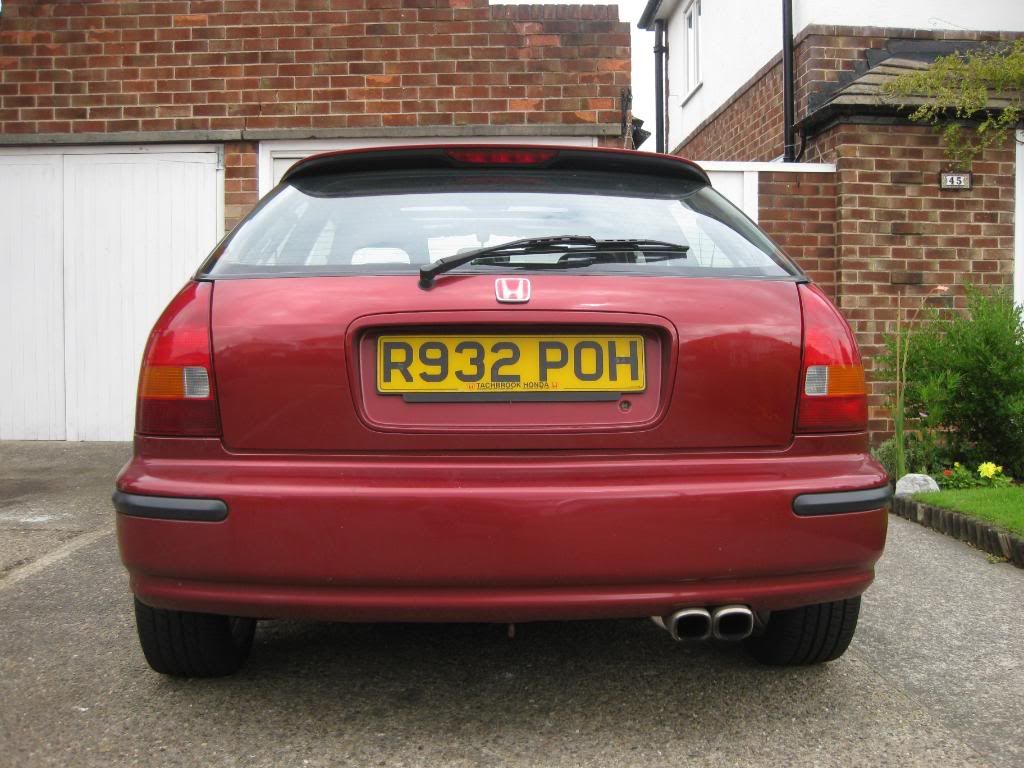
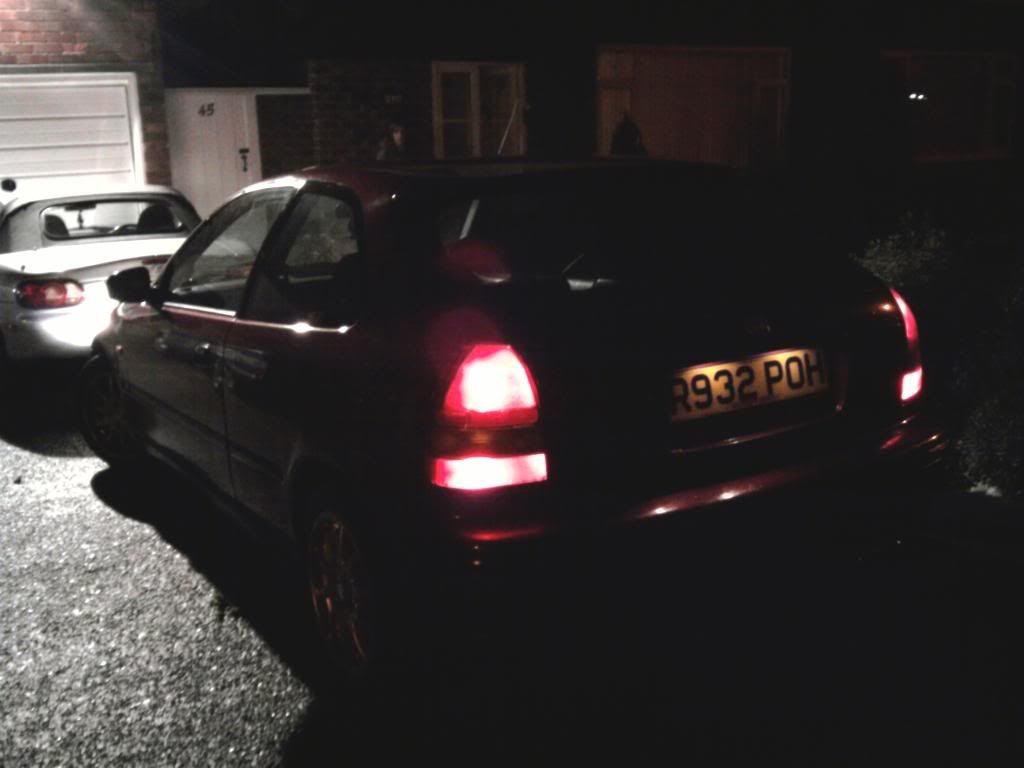
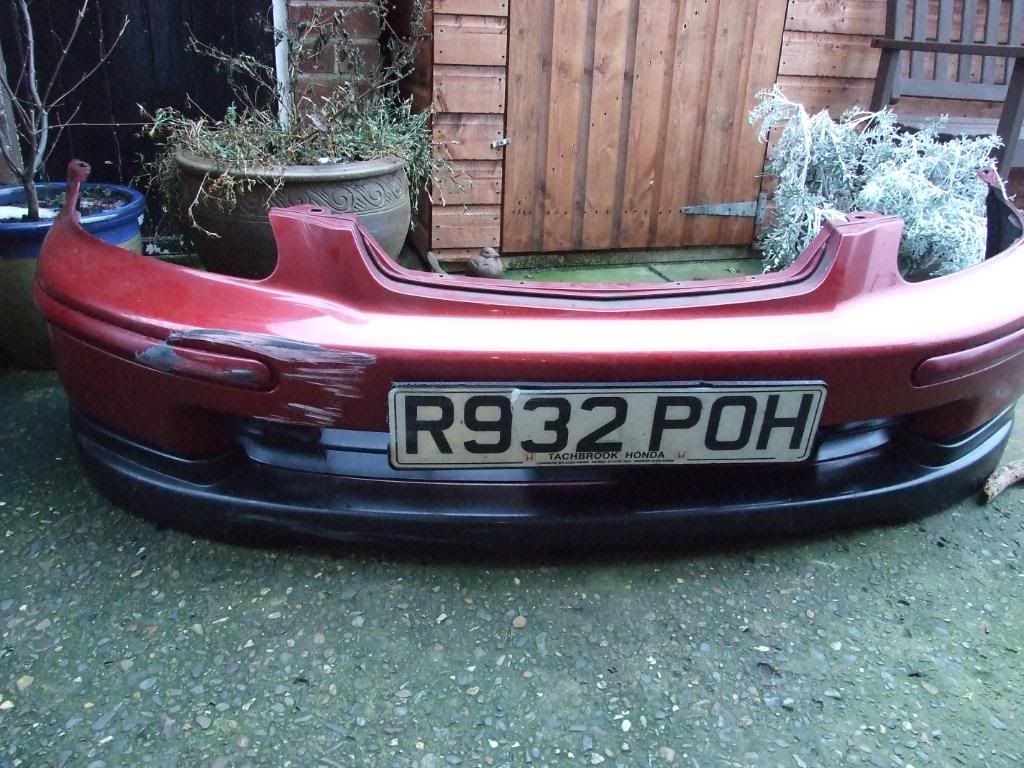
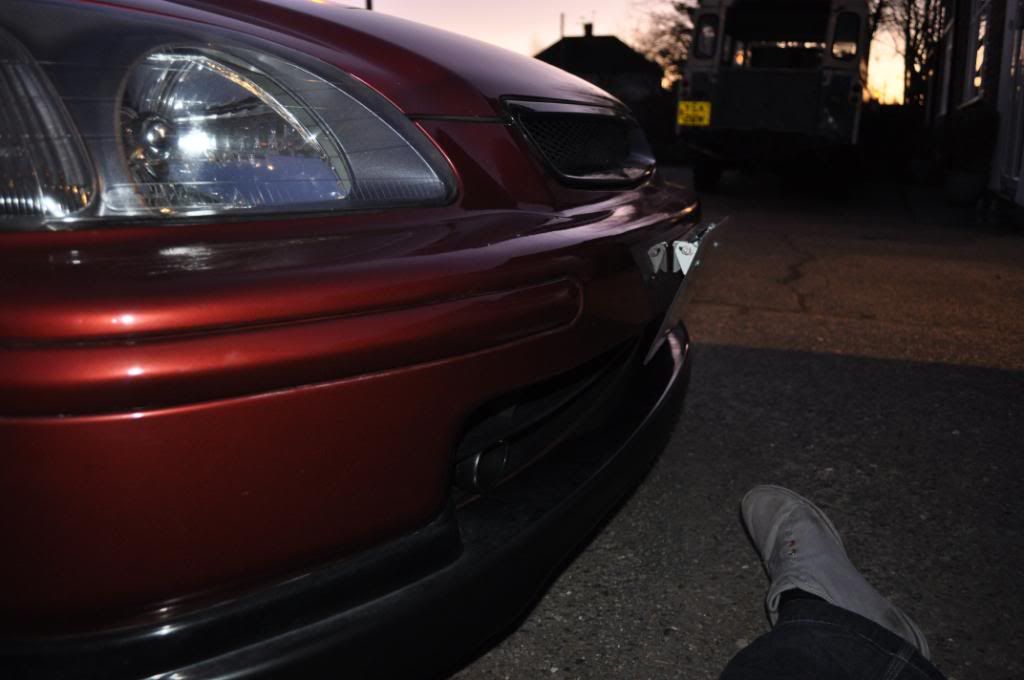
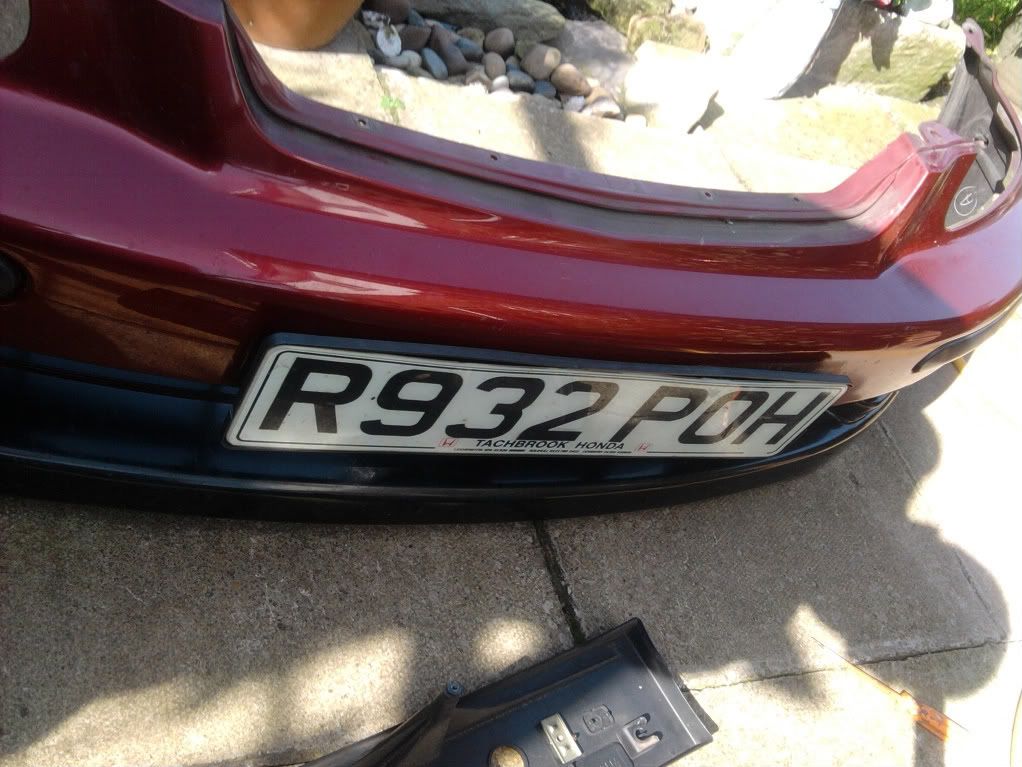
while i was waitin for the paint to dry i took the plastic number plate surround thingy off, then mounted the plate back on. luks alot sleaker and lightweight lol
o yer i also d-badged the rear. just luks alot smoother and stealthy
Vehicle
1998 Honda Civic ek3
Brakes/Suspension
Meister R Zeta S coilovers
Cyberspeed lca's
Ek9 front anti roll bar with new oem droplinks
Dc2 front strut Brace
Tegiwa x-brace
Rear trailing arm bushes replaced - oem
Lower Balljoints replaced
All Front bushes replaced with Energy suspension poly bushes
Goodridge Braided Brake Lines
5.1 Motul Brake Fluid
Tegiwa MasterCylinder Stopper
Mb6 brake conversion, 282 fronts 260 rears - Fully rebuilt calipers using all new components/seals.
Brembo rear discs
Mb6 calipers painted oem R505-p
Engine
B18c4 engine- Bought with 26k miles
DC2 exhaust manifold
2.5" center section
2.5" backbox, spoon replica
Decat
Blox intake manifold
Aem Cold Air Intake
wire tuck
colourcoded rocker cover
Cambelt Changed
Exterior
Ek9 Style Headlights
Ek9 Front Lip
Ek9 Rear Lip
Ek9 Grill
Colourcoded Bumpstrips
Colourcoded Sideskirts
Jdm Rear Light Conversion
Jdm Sized Plates
Tilted oem spoiler
15" 5zigen div.3 wheels
Jazz washer jets
Interior
Fiberglass composite bucket seats
Sunroof removed and fitted with sunroof delete kit
EK9 door cards
Ek9 glove box
Ek9 Carpet
OMP 4-point harnesses
Momo Tuner 350mm wheel
D1 spec snap off boss
Type R gear knob
Ek9 Gear gaitor
Carbon airbag delete
Carbon fuel pump cover
Fli Swat5 Headunit
Carbon fibre air vents + dash trim
removed sound deadening throughout
stripped out, no seatbelts, bolts, brakets or rear seats
Satin black painted interior
heres my buildup anyway which i started about 9 months ago. all comments and opinions welcome!
Heres my old hawaii, had it for about a year and luckily i didnt do any mods on it. I had **** tyres, probably illegal and it was raining so i went right into the bak of sum1. obviously it was a bit my fault but i blame the weather lol
Then after that disaster i knew i wanted another 6th gen civic so i saved up 4 a while then bought this. i paid £1500 for it with 58000 miles on the clock. it was in amazing condition but the main reason i wanted it was because it was a 1.5 lol not a 1.4 very big improvement, naat!!
here she is as i bought her, bit of a shyte pic!
first thing i did was get red honda badges, take the 1.5ils off the back and a new type r front lip.
next i bought a genuine type r grill, and a twin pipe back box off ebay. i went for the ep3 type r look.
an here they are on
grill was ded easy only took 10 mins. I think it looks good with the lip and bumpstrips. thinking of colour coding something but dno wat yet.
My springs are getting fitted this sunday i will post some pics as soon as their done. Any one got any experience with koni sport springs??
Today i also recieved my new front tyres gonna get them fitted tomorrow, get the springs done on sunday and then get an alignment on monday.The toyo proxes had good reviews on this site and they wer cheap so decided 2 go 4 em!
finally fitted my springs on sunday at a freinds/mecanics house. only took a cuple of hours. I wasnt hoping for a massive drop because i am a delivery driver part time, just want a subtle drop! heres the pics, tell me what you think
just had a play around on photoshop, think the blue luks cool!!
ok got a few more updates
firstly i did an oil change with my dad, replaced the old oil filter which was a bit of a nightmare to get off. but the crow bar soon changed that!
then i replaced the gear knob gaitor with an ek9 style 1. pretty easy job and looks sweet!! just need a new gear knob.
Then i painted the calipers gold, just to contrast the wheels. suppose any colour is better than shitty blacky rusty dirty kind of colour lol
gave the wheels a good clean while they where off!
Then i decided to type r the headlights so i set about taking the front bumper off
i took the lights off, the car then put them in the ovan to melt the silicon seal the after a cuple of mins i pulled the different sections apart
Then i masked the certain ares off and primed them with halfords grey.
while i was waitin for the paint to dry i took the plastic number plate surround thingy off, then mounted the plate back on. luks alot sleaker and lightweight lol
o yer i also d-badged the rear. just luks alot smoother and stealthy
Last edited: