Silva1
New Member
- Joined
- Sep 18, 2011
- Messages
- 168

Here at Autohaus Detail, we offer a wide range of treatments and exclusive vehicle detailing service in central scotland. We pride ourselves by exceeding our clients expertations every time. We only use the best products from the
worldâs leading manufacturers of car care products, all of which we fully tried and tested.
At Autohaus Detail we not only look after your car but, cater every car with the same care and attention to detail that every car should deserve.
Based in Cambuslang, on the outskirts of Glasgow, just 5 minutes off exit 3 on the m74, we work from our purpose built detailing studio, a mobile service available upon request.
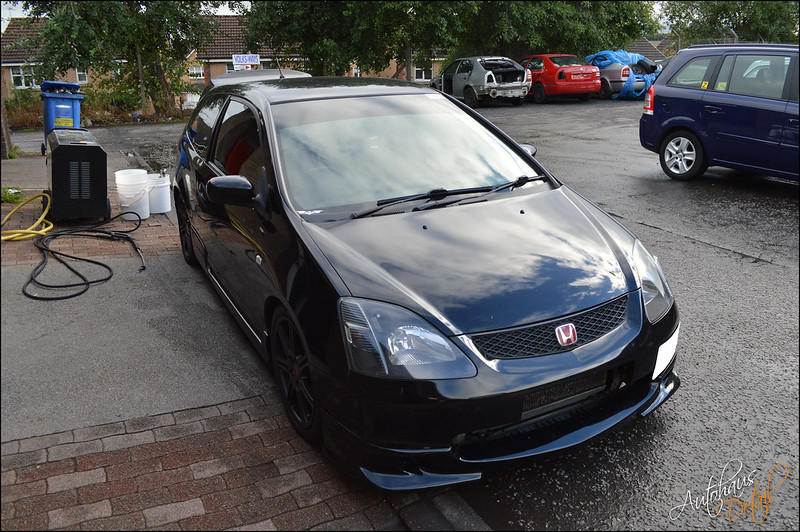
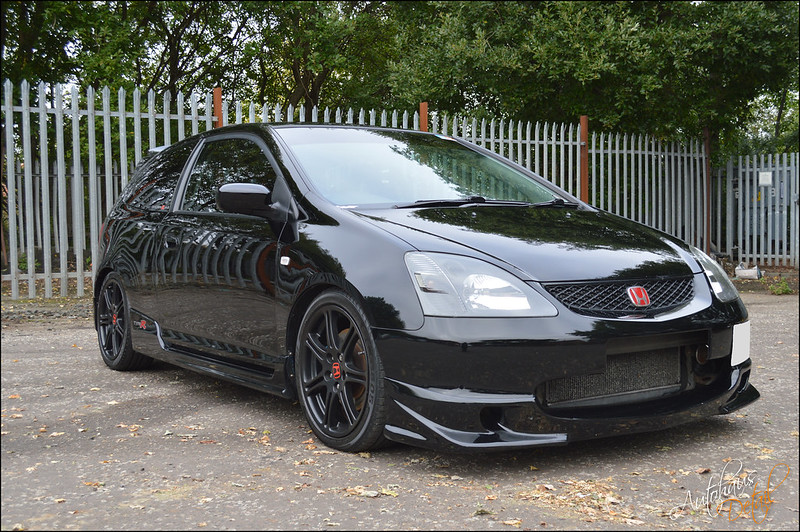
This one was a bit of a surprise to me. Received a phone call one afternoon saying that Gav was gonna pop down to the unit
with behold yet another new car. Had no idea what to expect
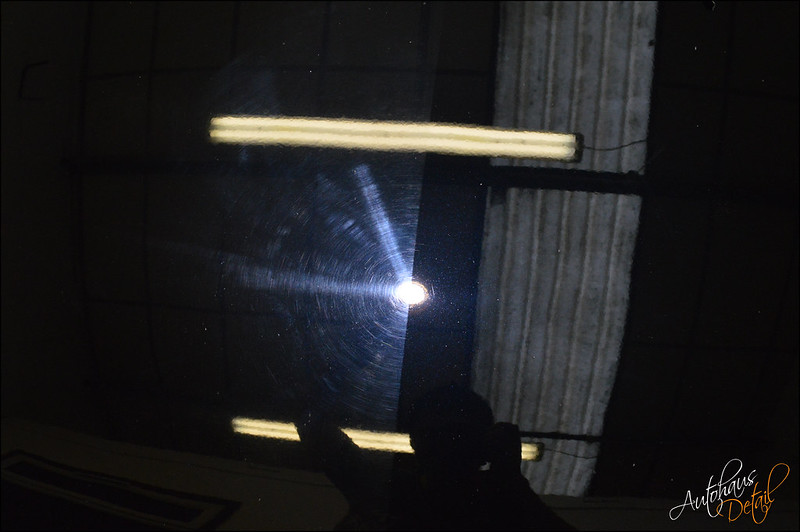
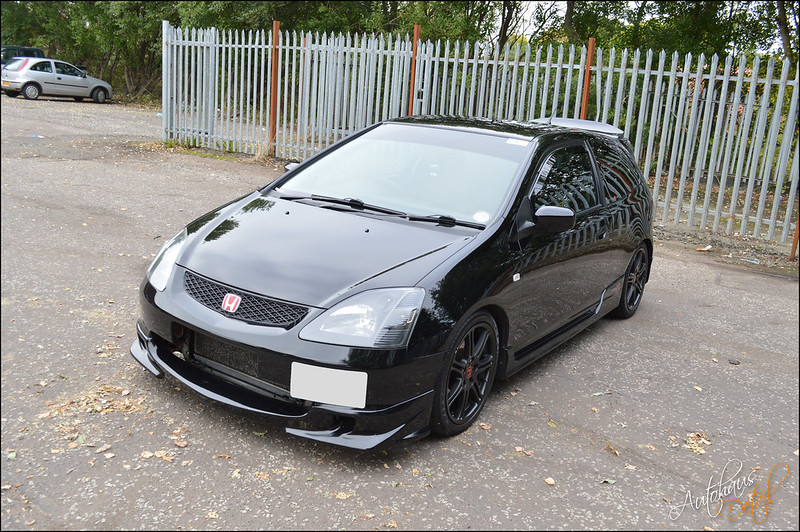
On arrival, car seemed to be in the worst conditions to be in. I wasn't expecting it to be great but never as bad as this. We had a long
discussion and both agreed that due to its condition it was impossible to acheieve anywhere near 95% correction but as I always do, I tried
my best with what I had. This was then booked in
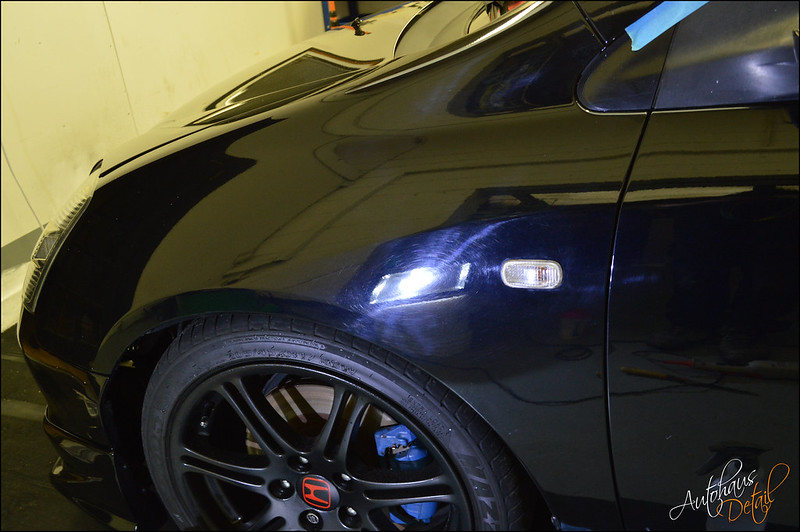
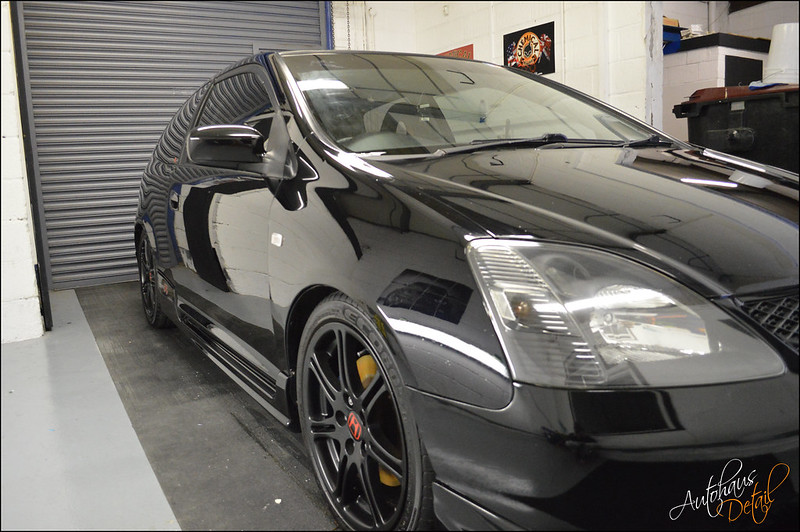
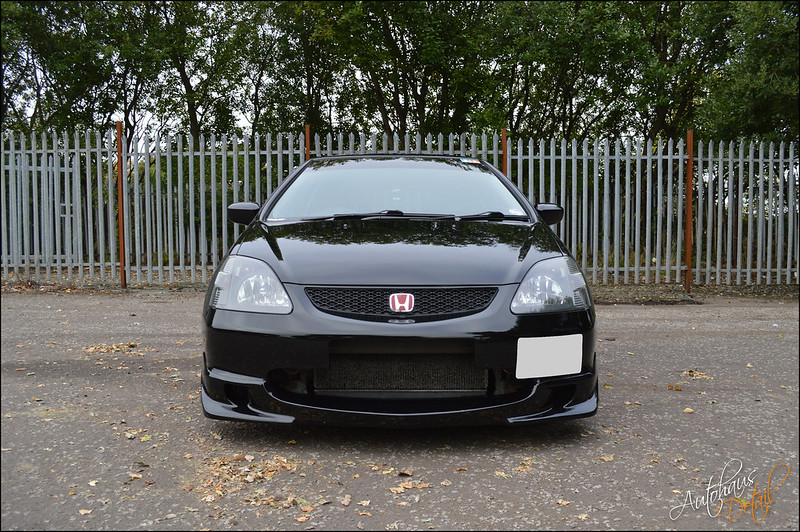
On the day, car is used as a daily, so just general light dirt on the car, few bugs, nothing too major.
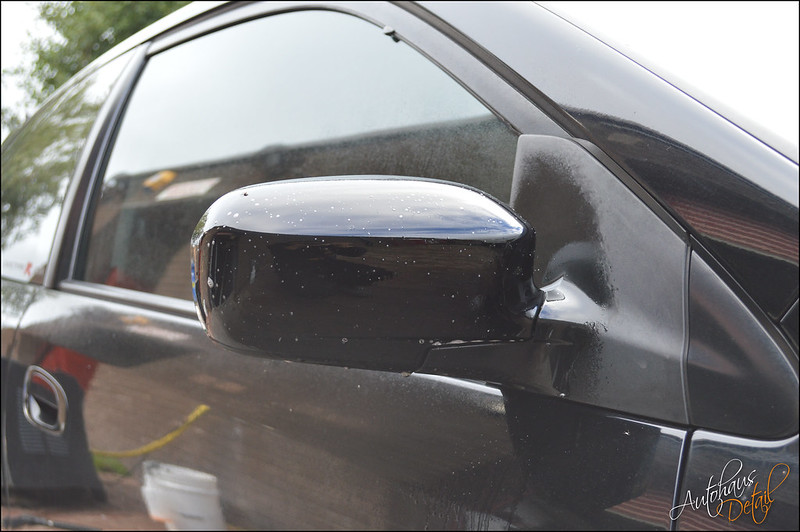
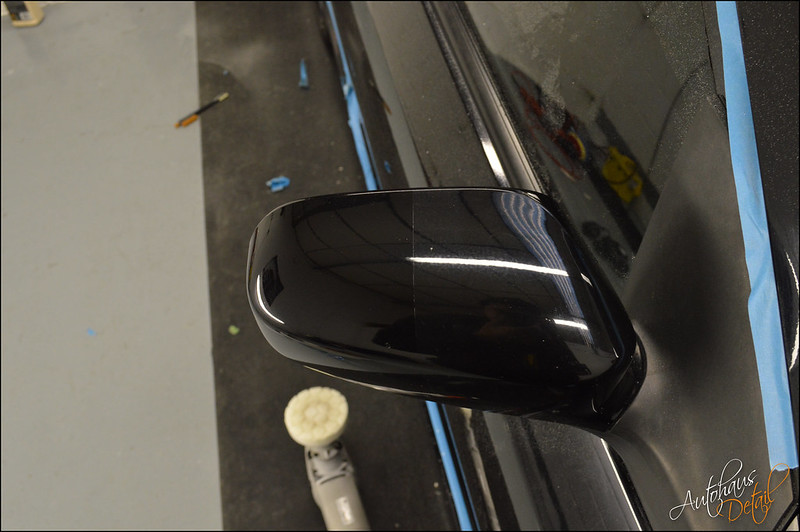
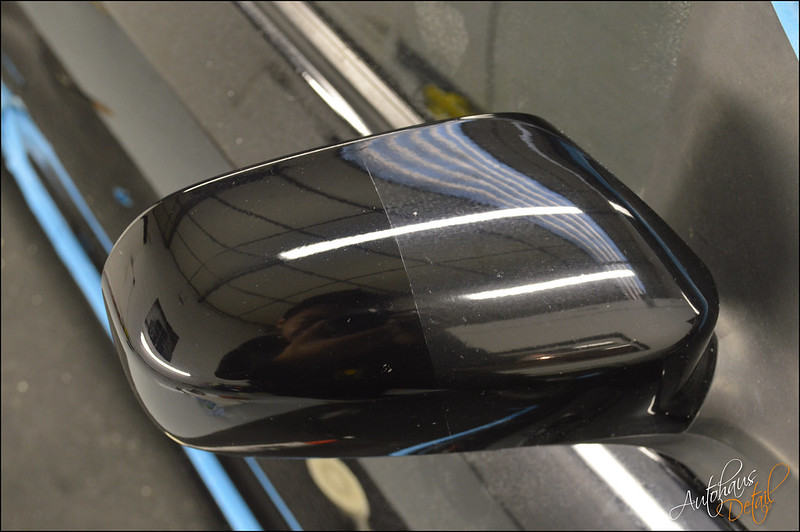
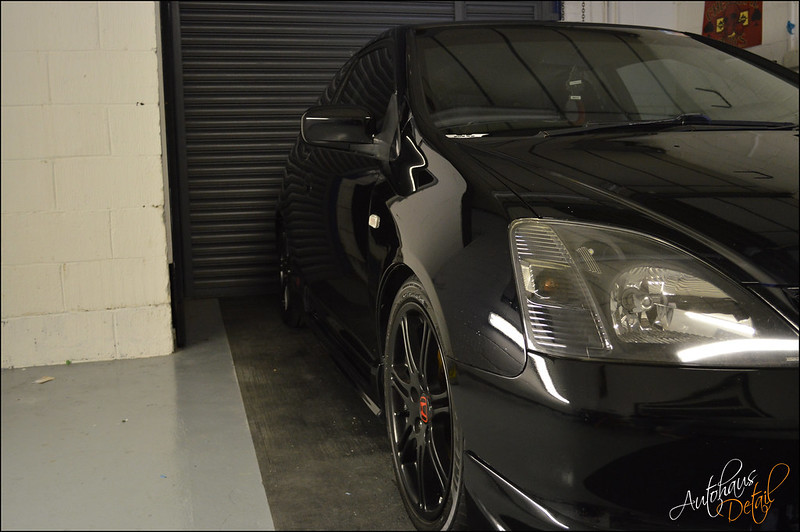
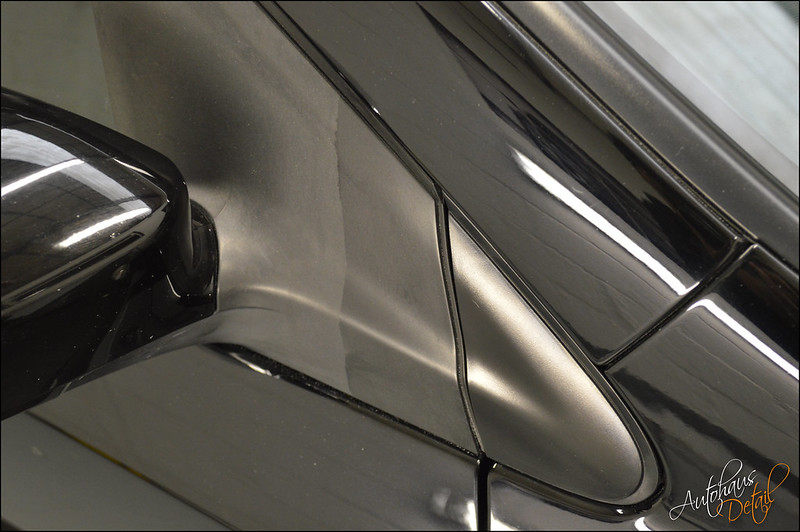
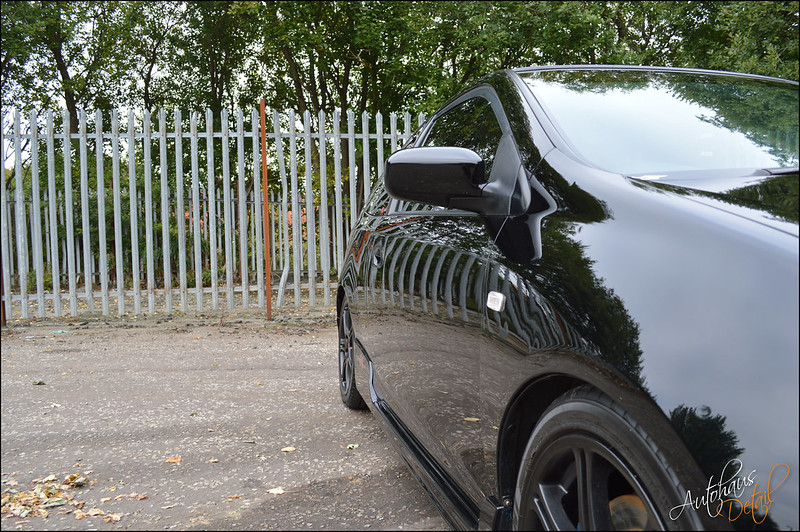
Wing mirror covered in bug splatter
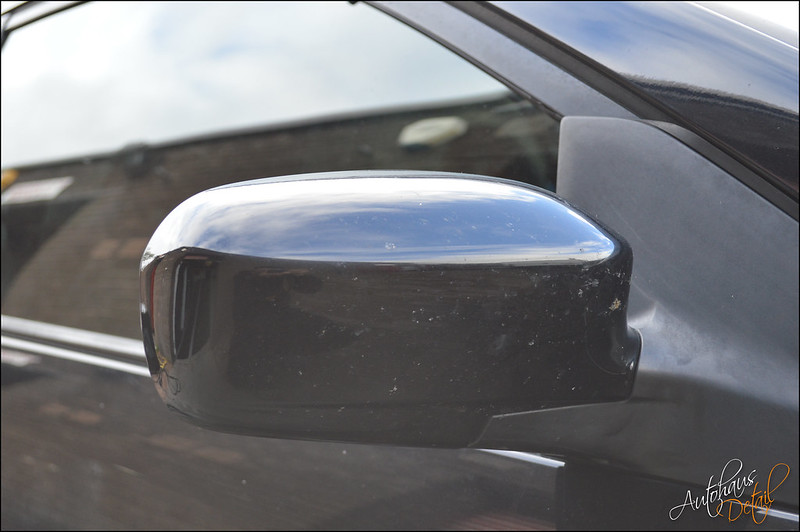
DSC_0442 by Autohaus Detail, on Flickr
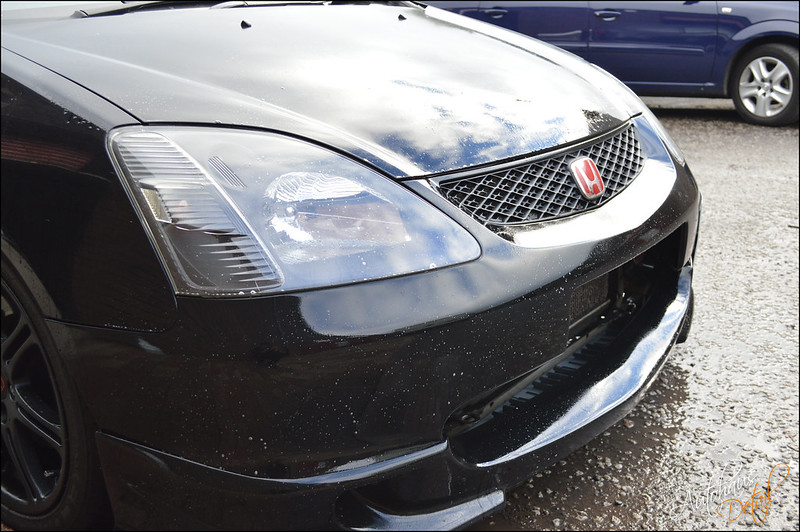
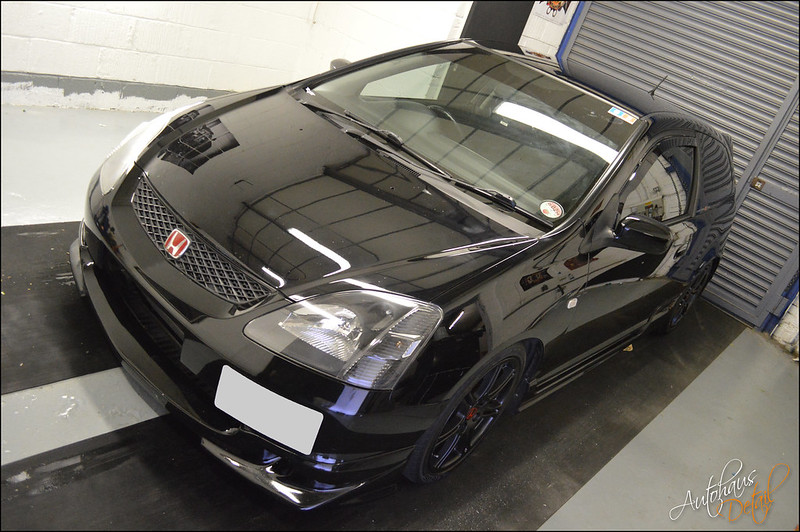
Just general dirt and road grime

DSC_0445 by Autohaus Detail, on Flickr

DSC_0446 by Autohaus Detail, on Flickr
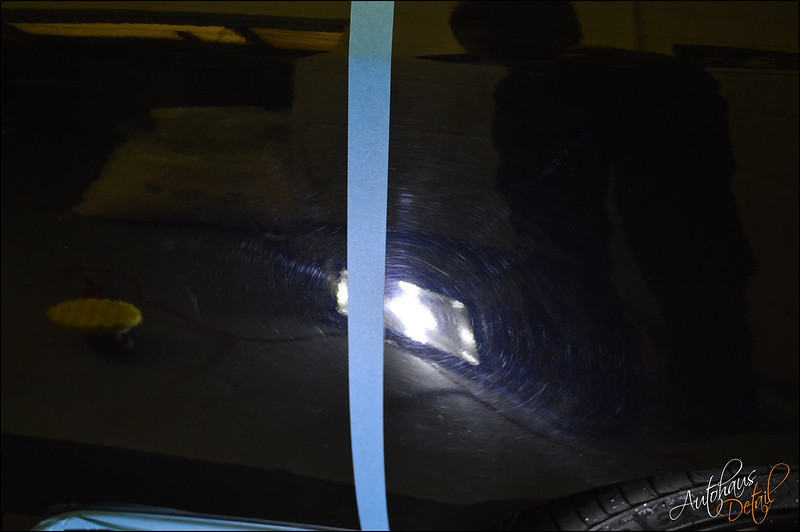
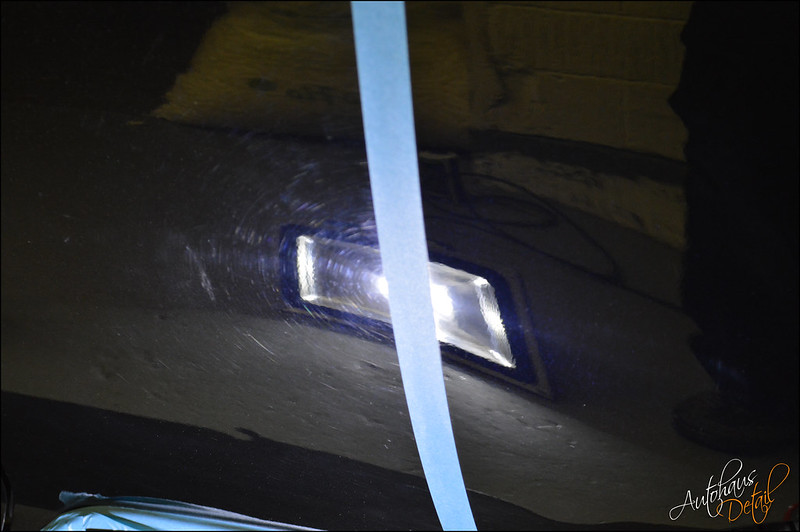
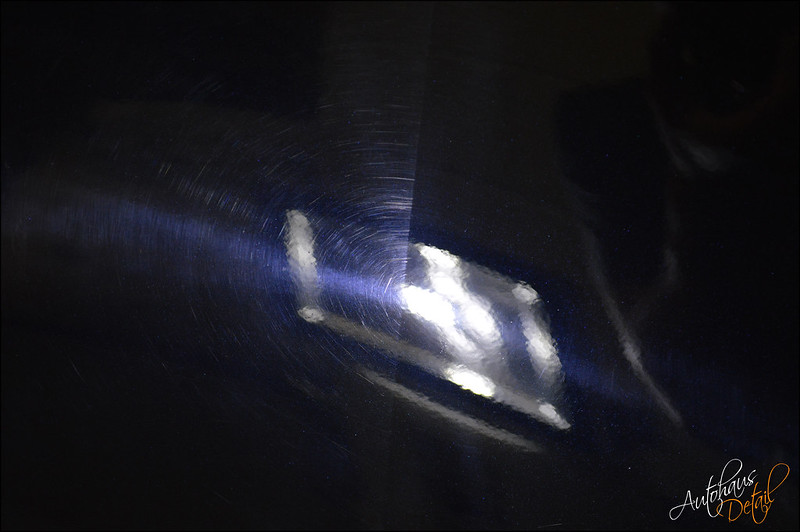
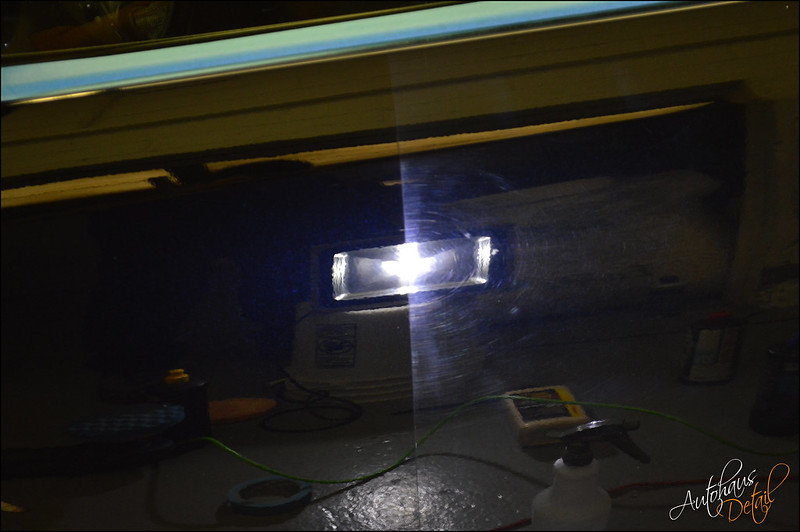
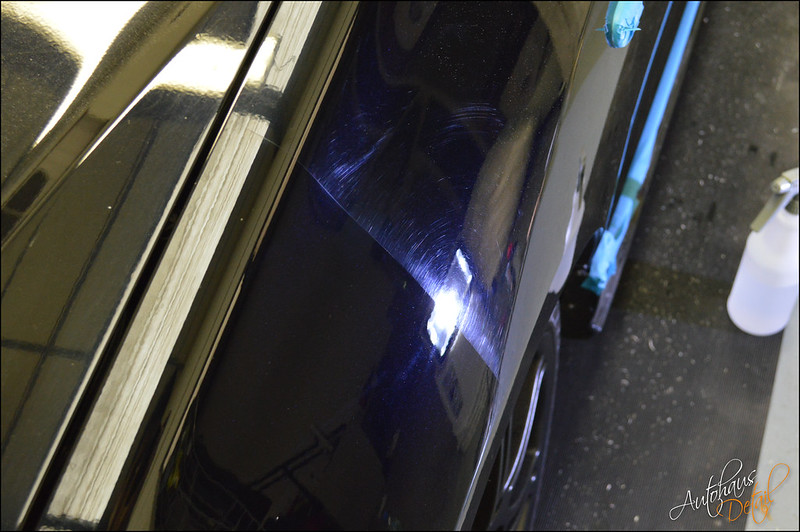
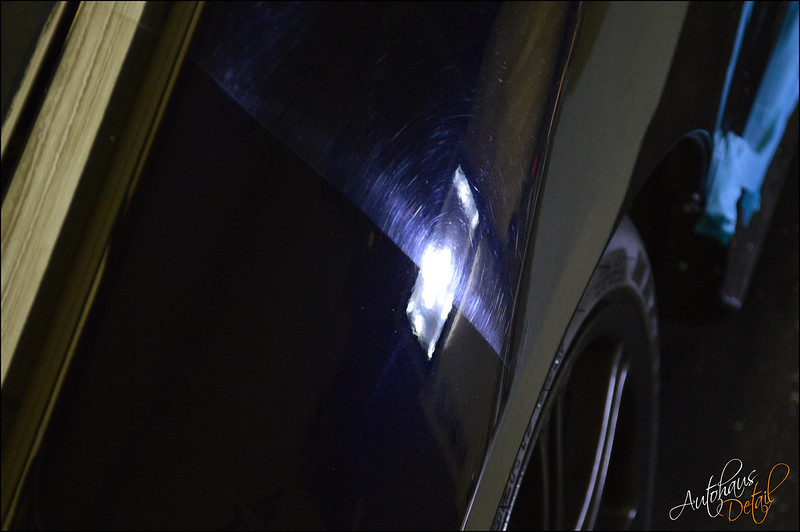
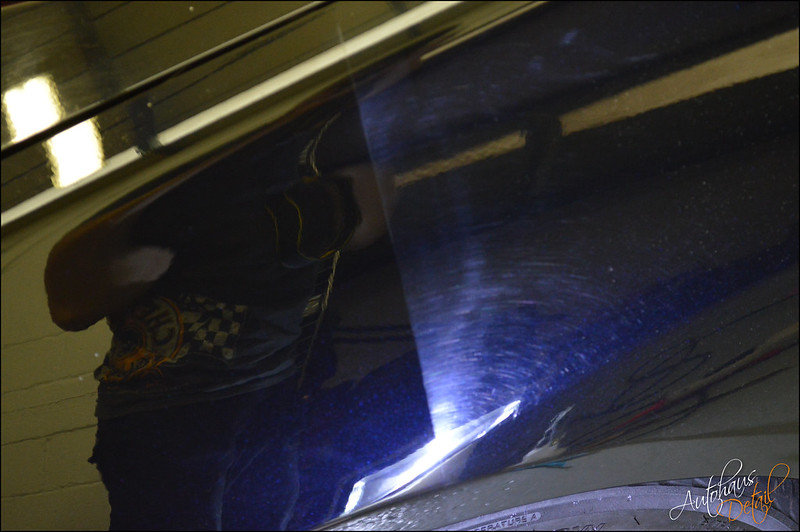
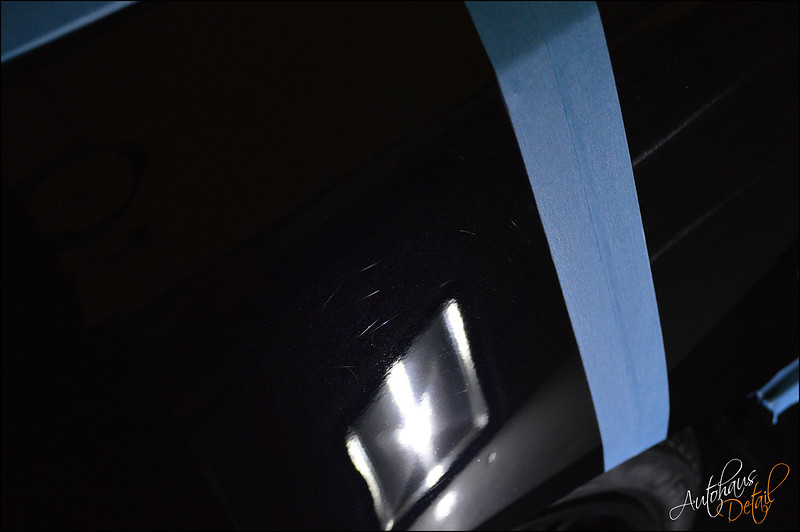
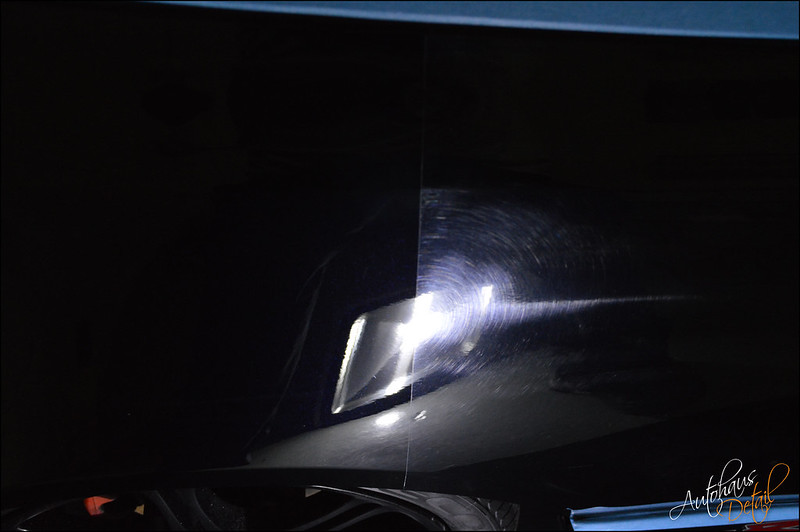
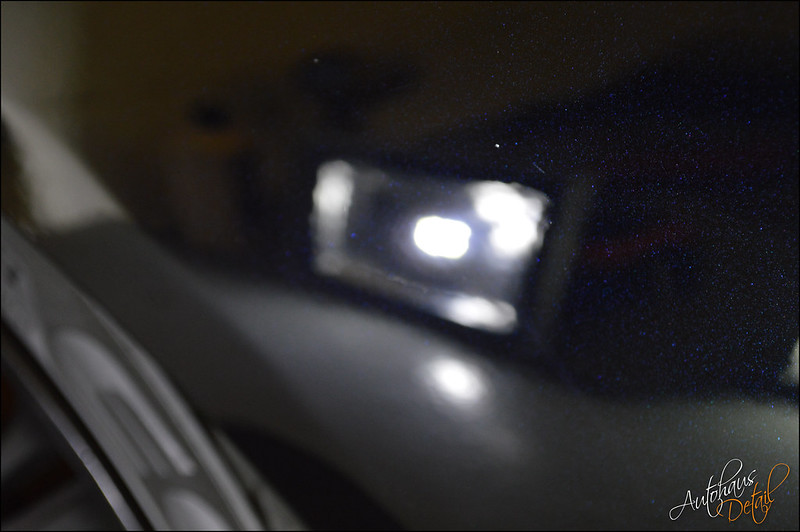
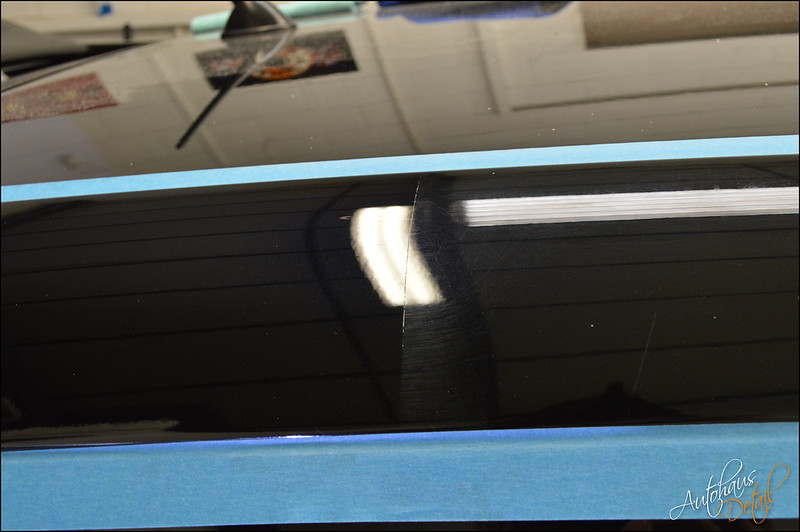
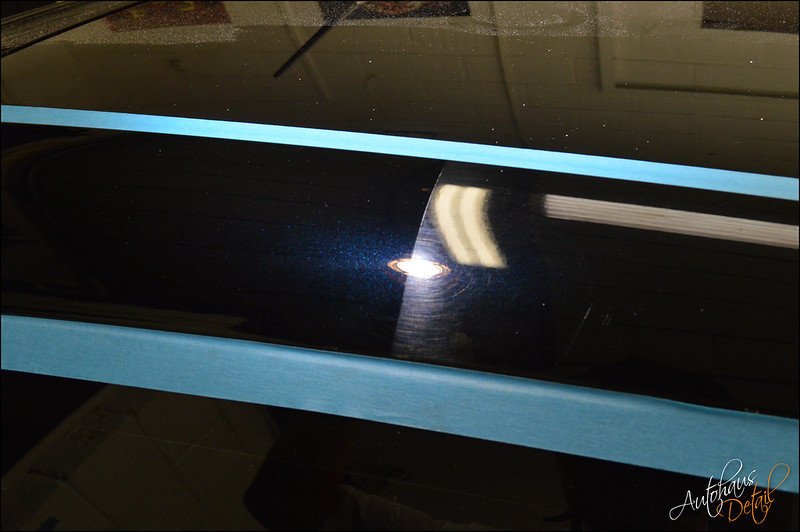
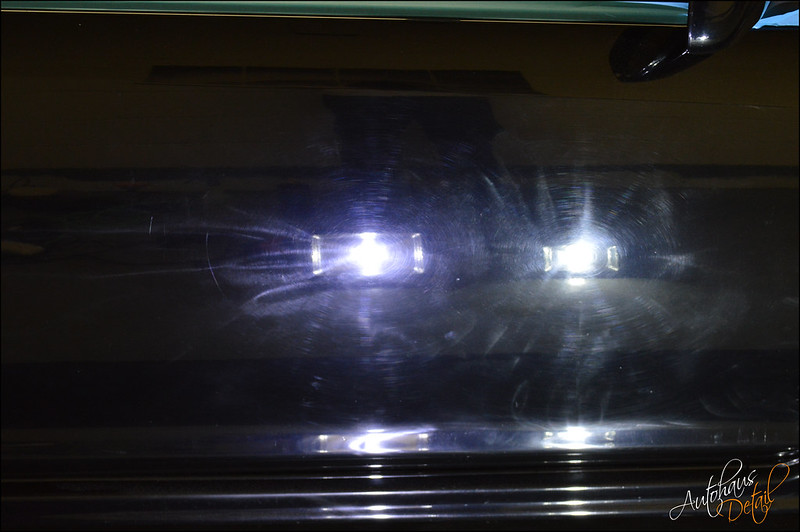
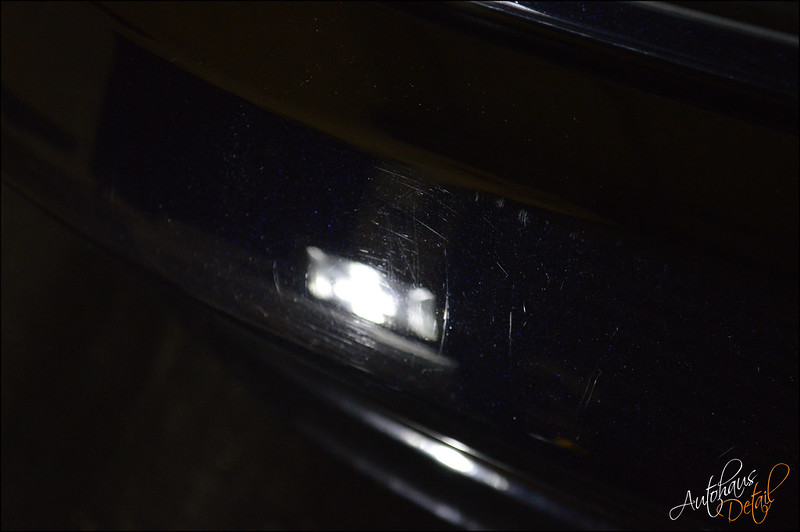
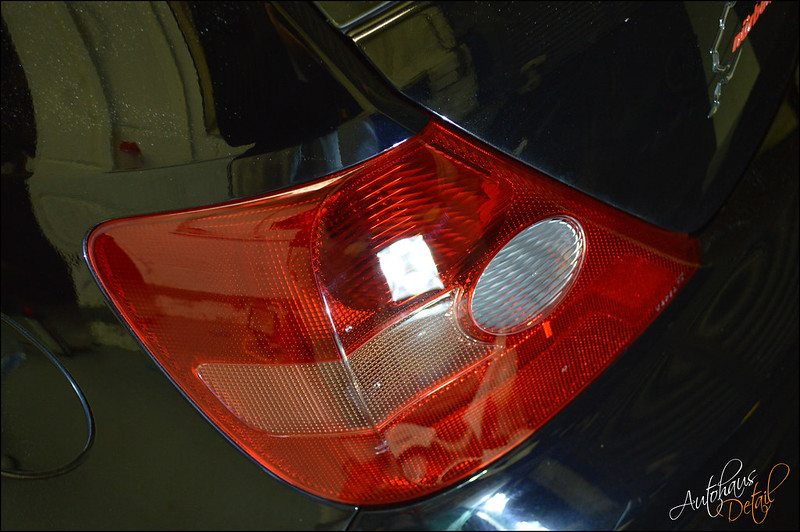
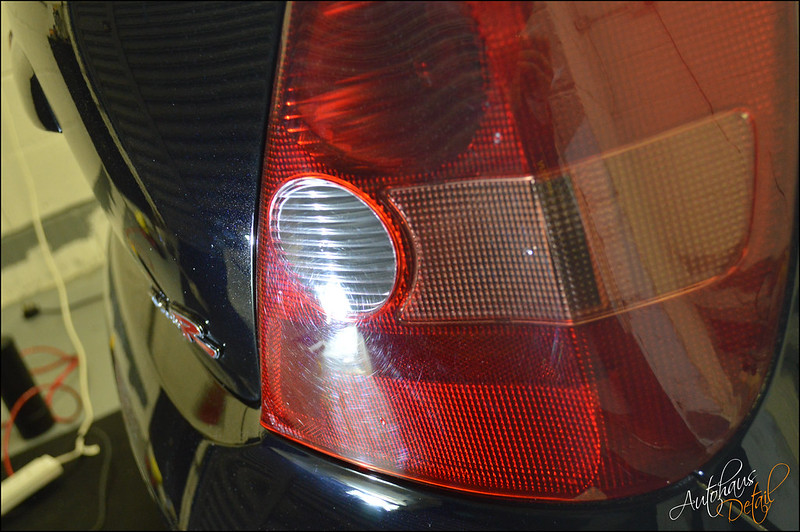
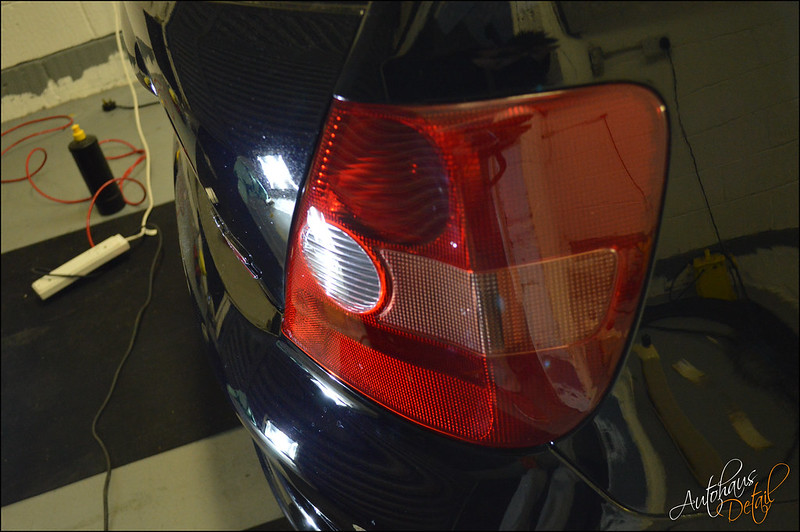
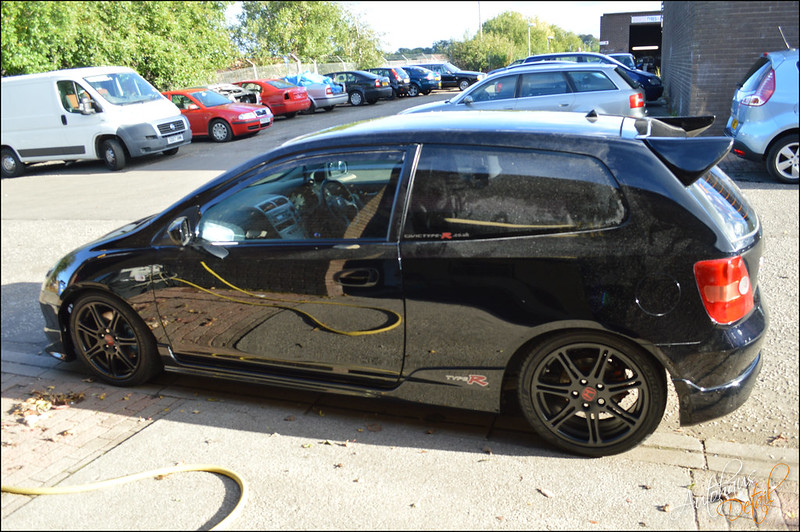
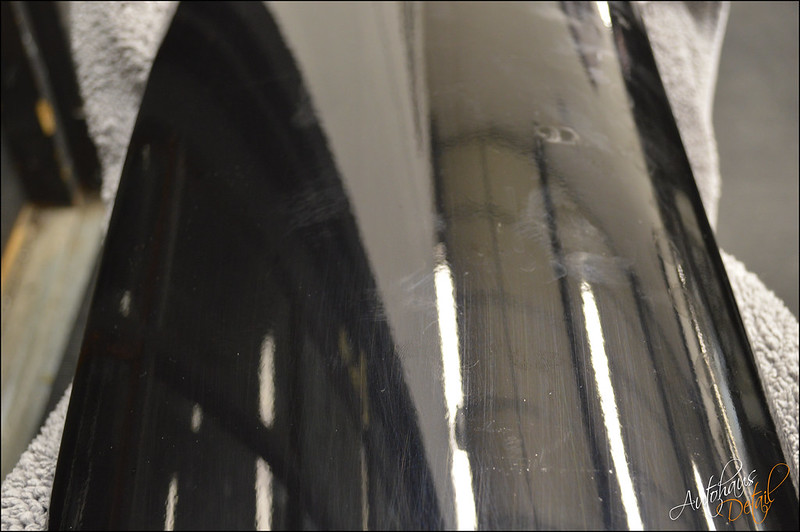
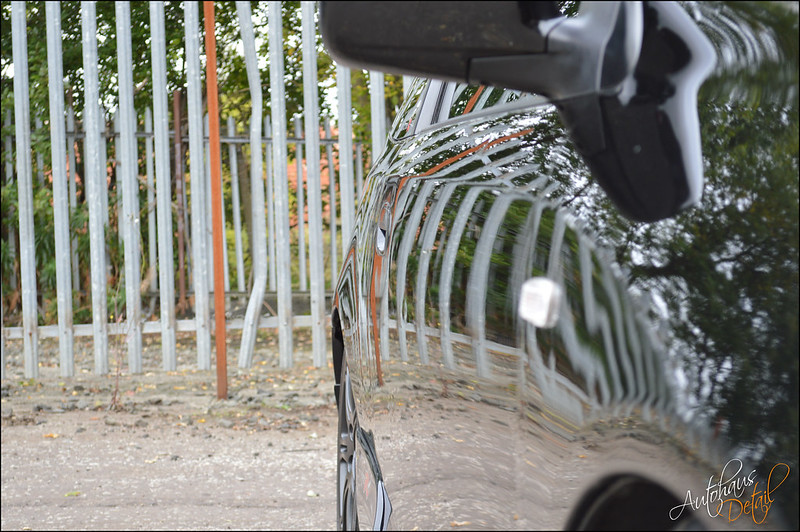
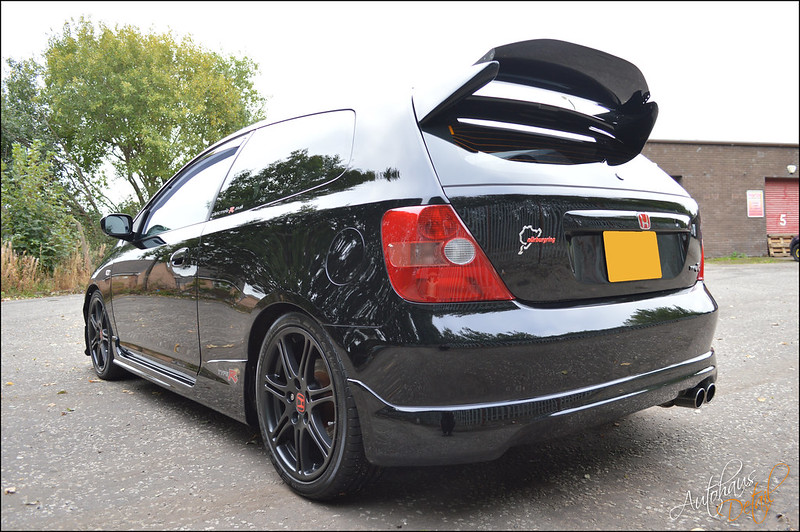
Shot of the n/s rear quarter. Can see that it is lacking of colour and depth as well as any kind of reflection
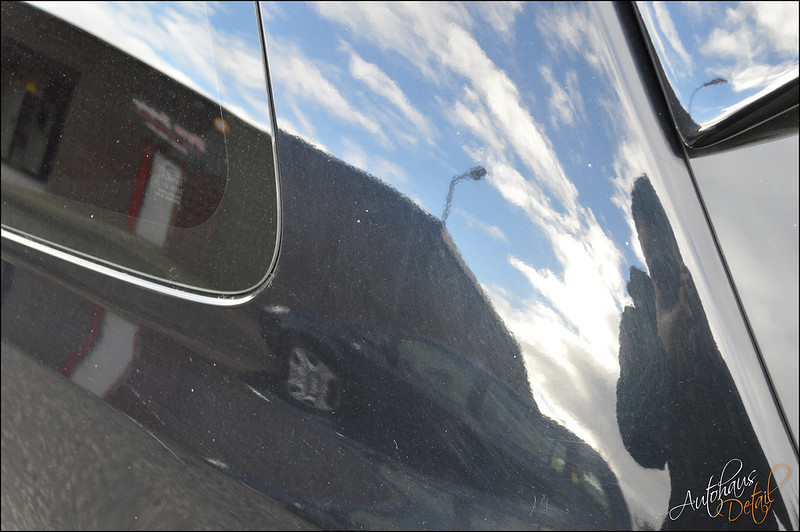
DSC_0447 by Autohaus Detail, on Flickr
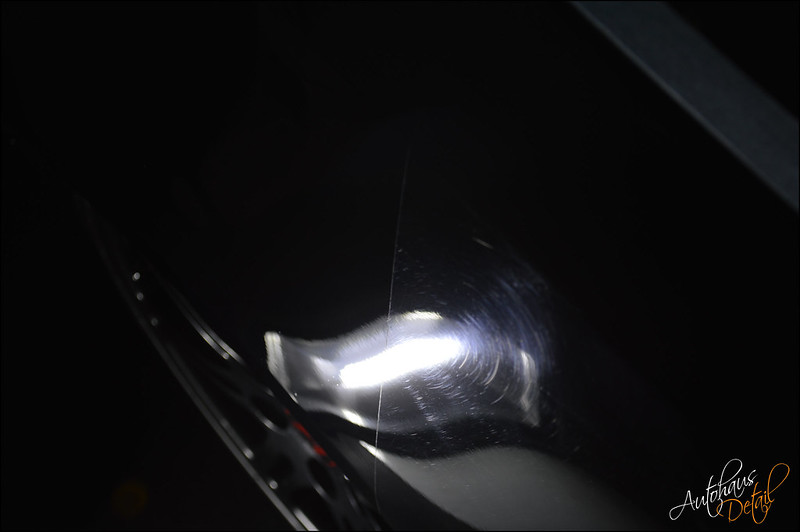
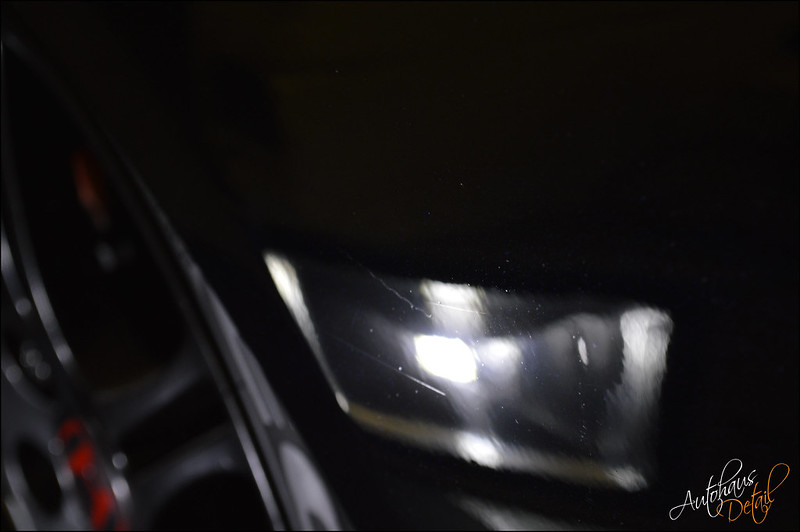
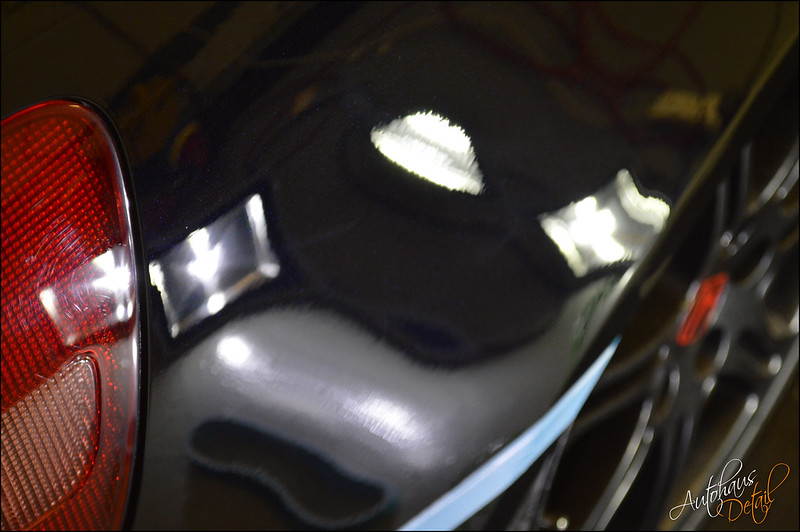
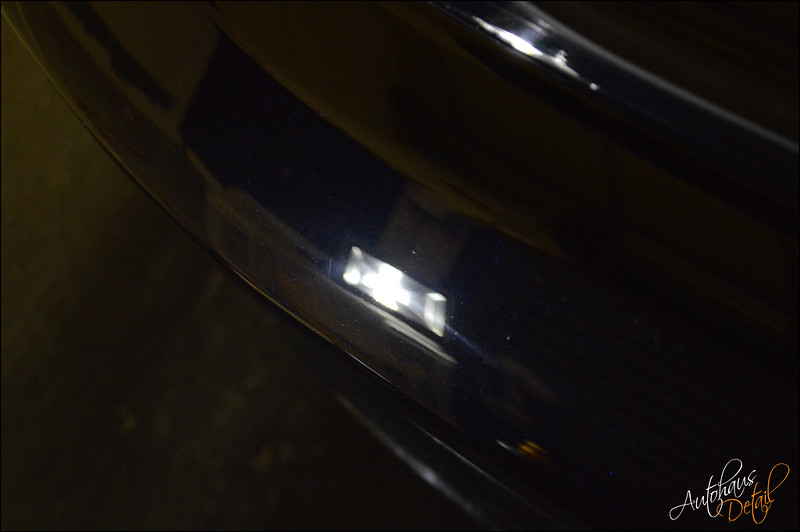
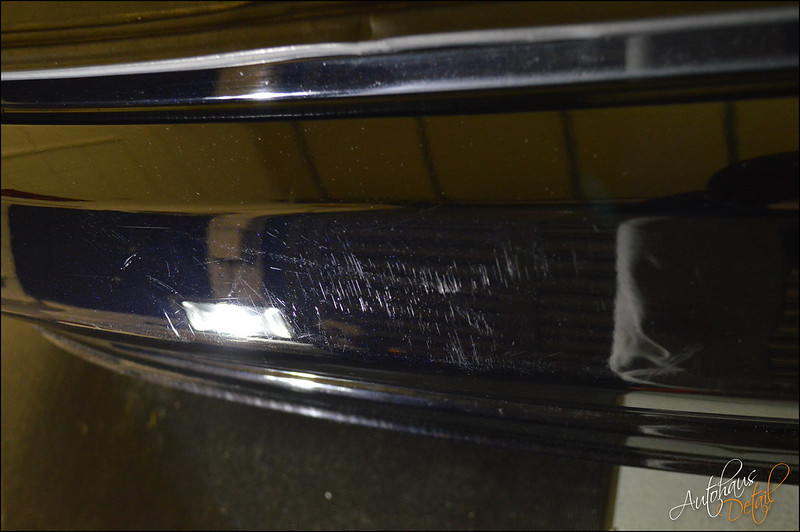
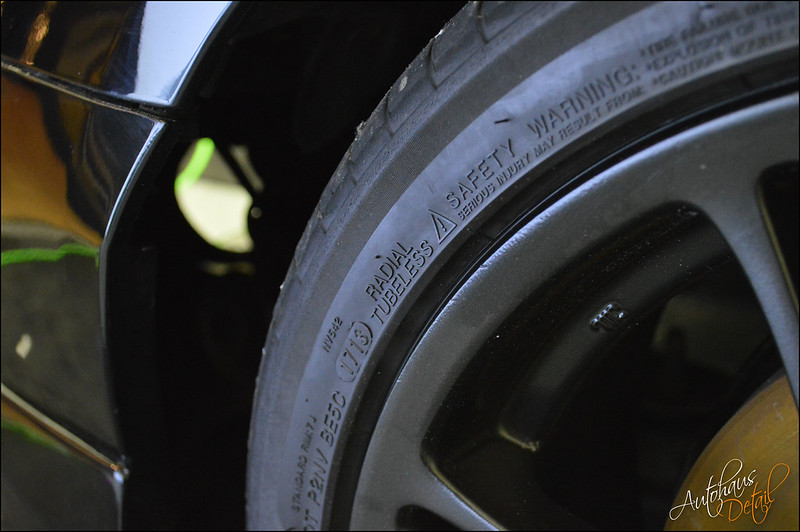
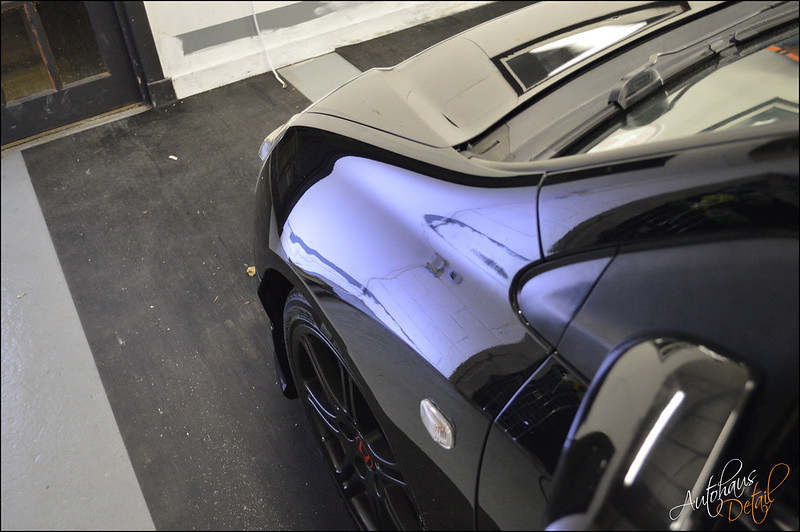
A close up
DSC_0447 by Autohaus Detail, on Flickr
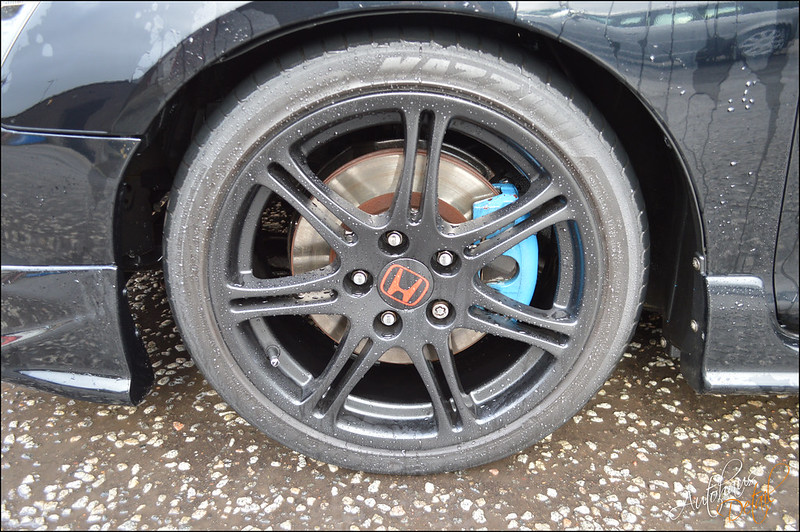
So onto washing the wheels first, an assortment of brushes and tools were used to clean into any intricate ares
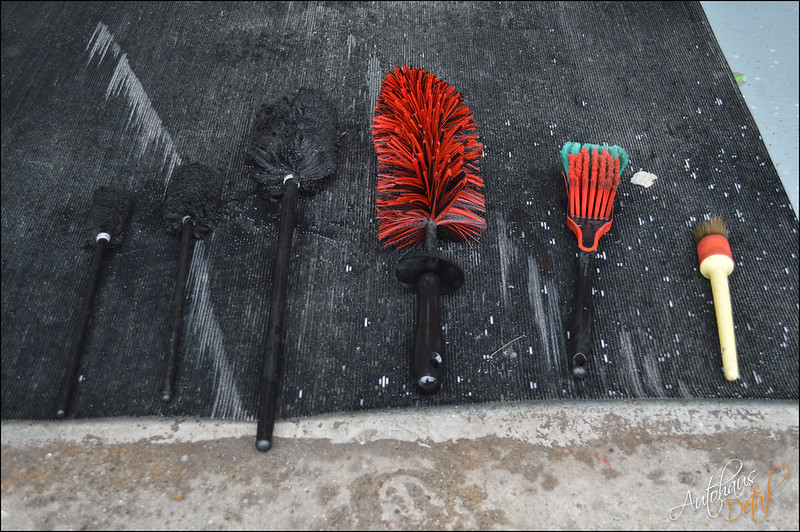
DSC_0465 by Autohaus Detail, on Flickr

DSC_0454 by Autohaus Detail, on Flickr
DSC_0460 by Autohaus Detail, on Flickr
Any bug splatter was degeased to soften them up to aid cleaning them off. This was allowed to dwell for about 4mins and blasted off with the pressure washer @50degrees celsius
DSC_0456 by Autohaus Detail, on Flickr
DSC_0457 by Autohaus Detail, on Flickr
Car was then snow foamed

DSC_0461 by Autohaus Detail, on Flickr
While to foam was allowed to dwell, any intricate areas was brushed in with a soft brush and a citrus degreaser to remove any dirt
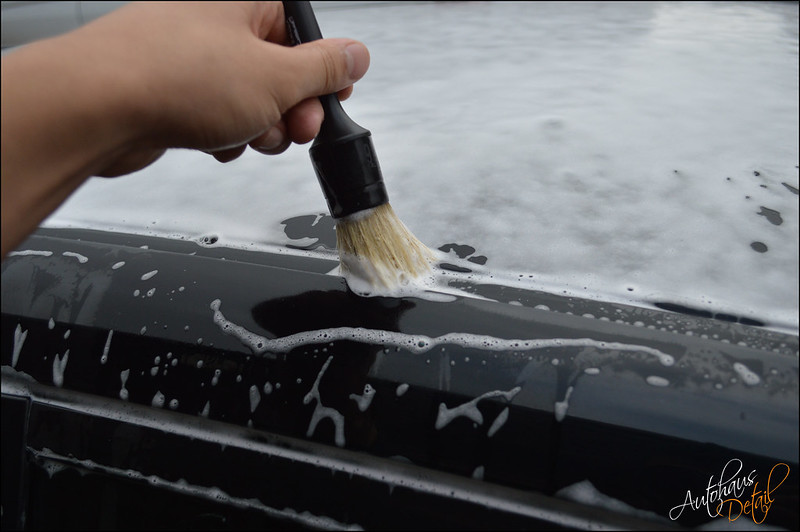
DSC_0462 by Autohaus Detail, on Flickr

DSC_0463 by Autohaus Detail, on Flickr
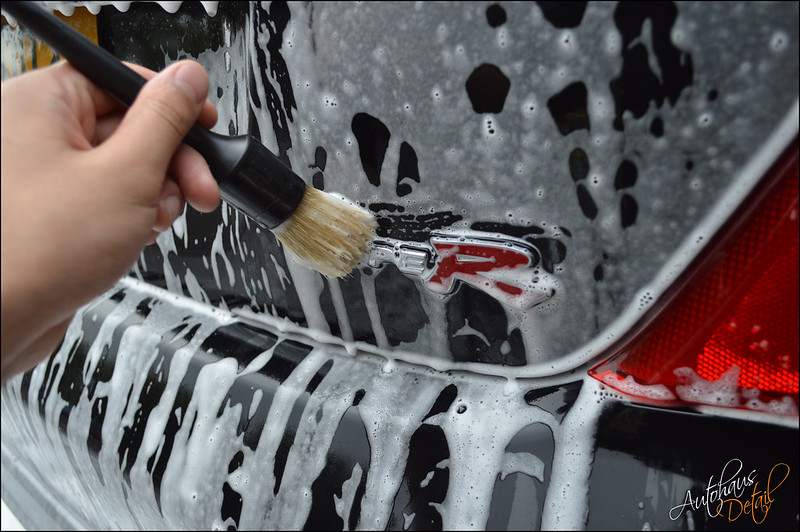
DSC_0464 by Autohaus Detail, on Flickr
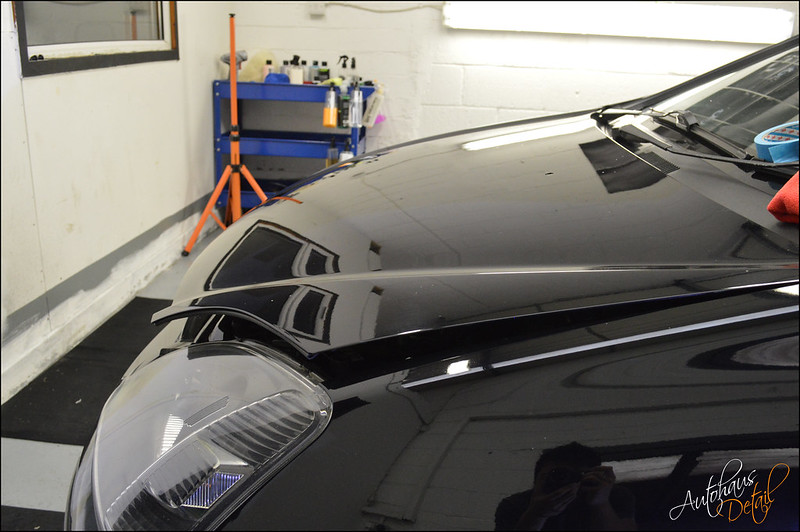
The foam was then blasted off again at 50 degrees, washed using a two-bucket method and moved into the unit where it was dried off and then clayed
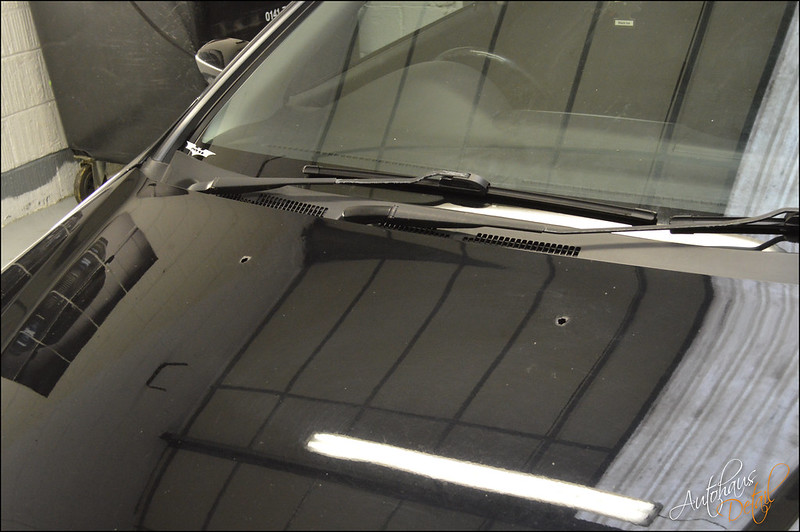
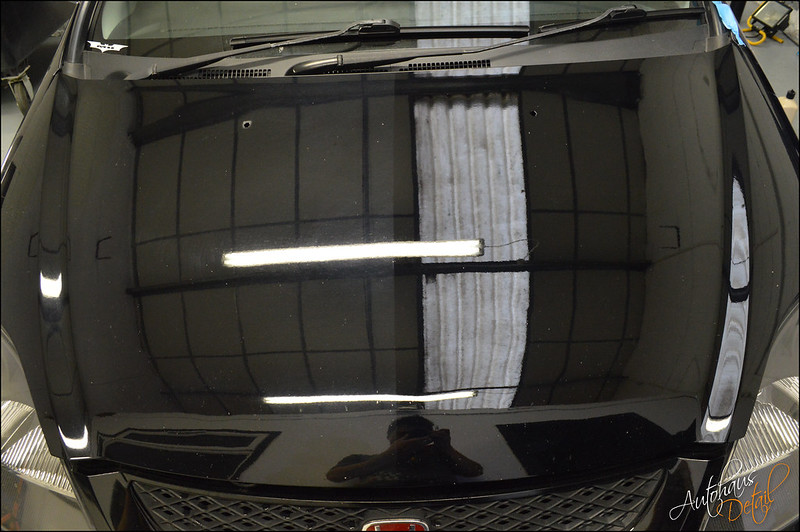
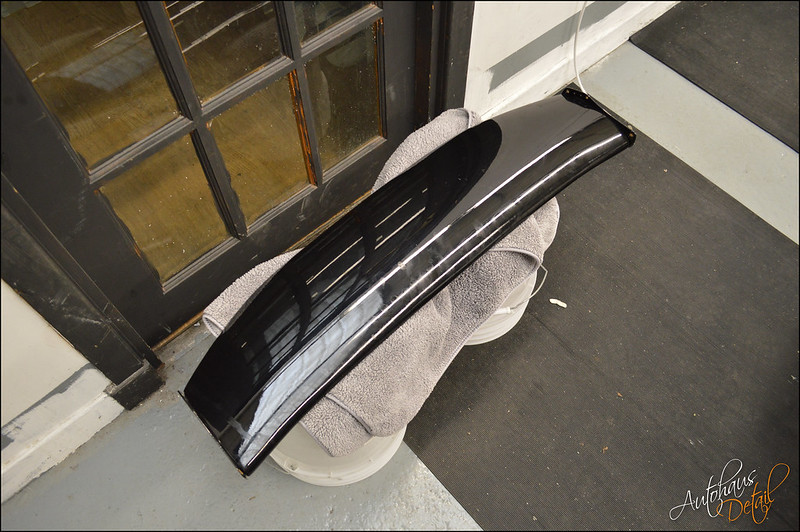
Clay never picked up much from the bonnet, reason being it was recently resprayed at somepoint
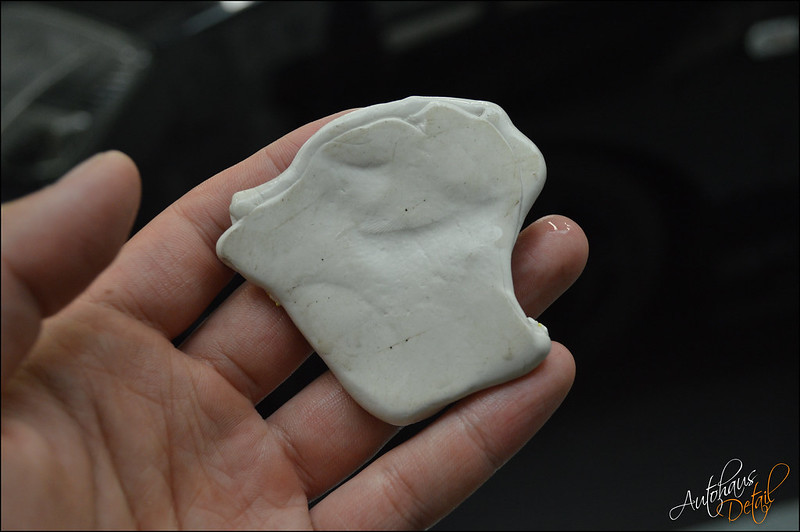
DSC_0466 by Autohaus Detail, on Flickr
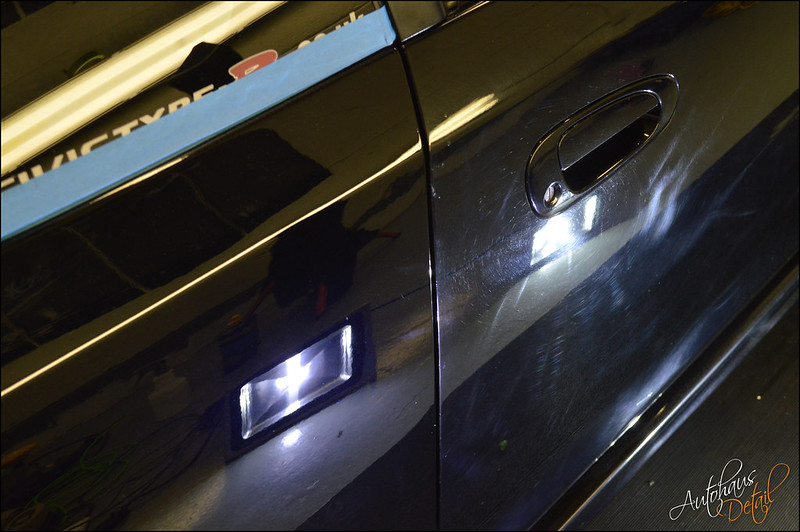
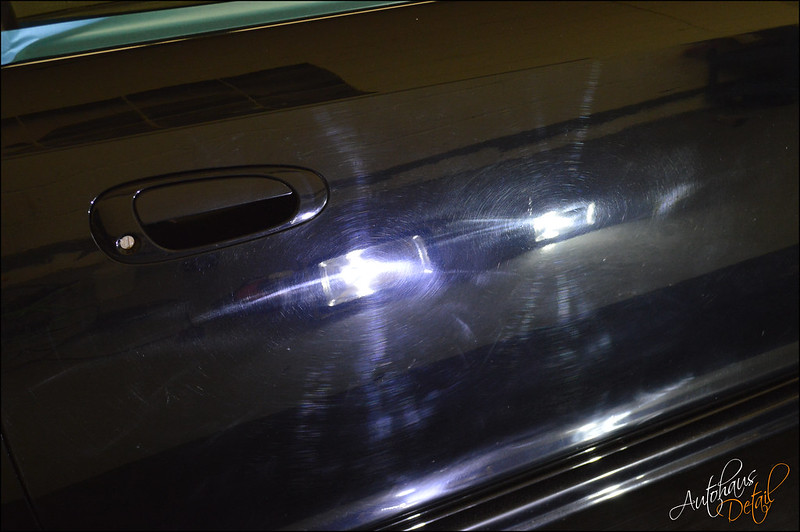
Wasn't till I moved onto the passenger door I started to find more contaminants. Rest of the car was clayed
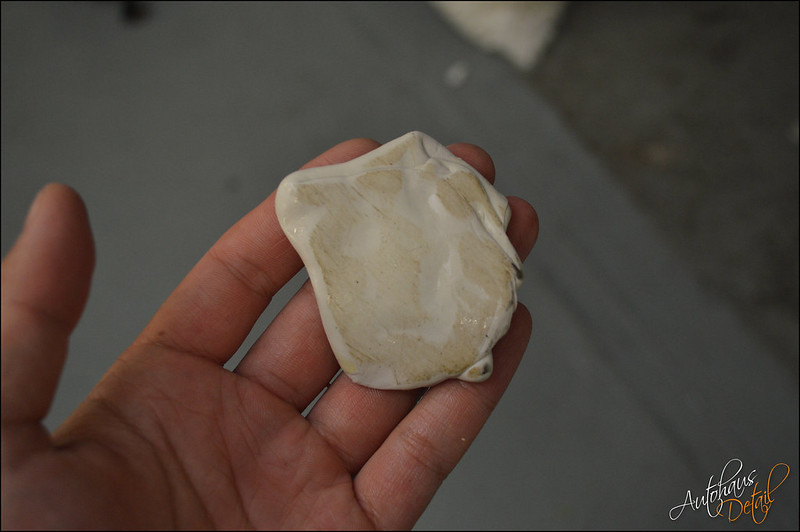
DSC_0467 by Autohaus Detail, on Flickr


")

")