
DaddyC
Member
- Joined
- Aug 19, 2009
- Messages
- 53
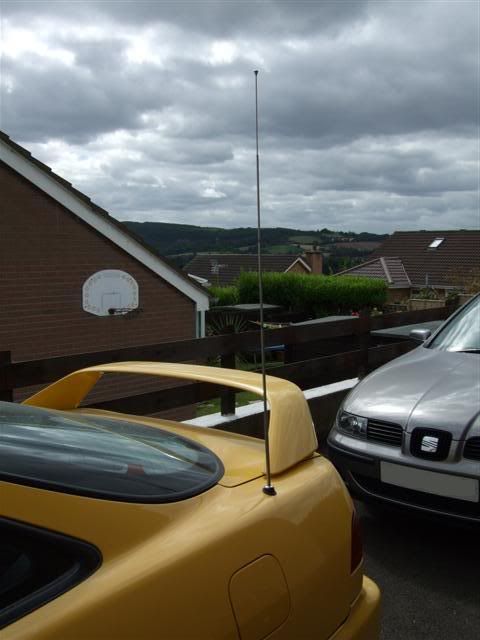
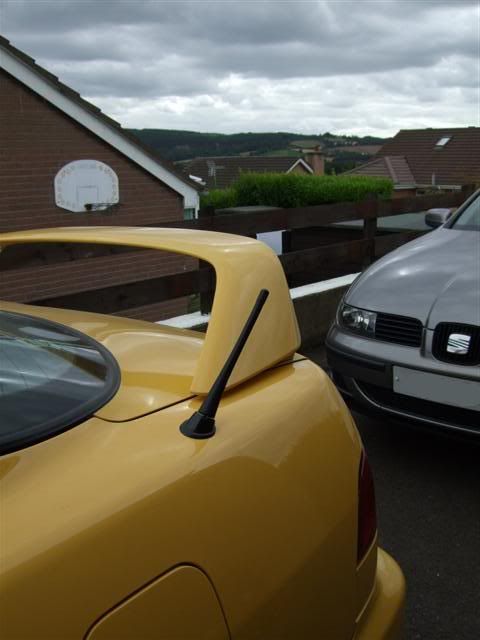
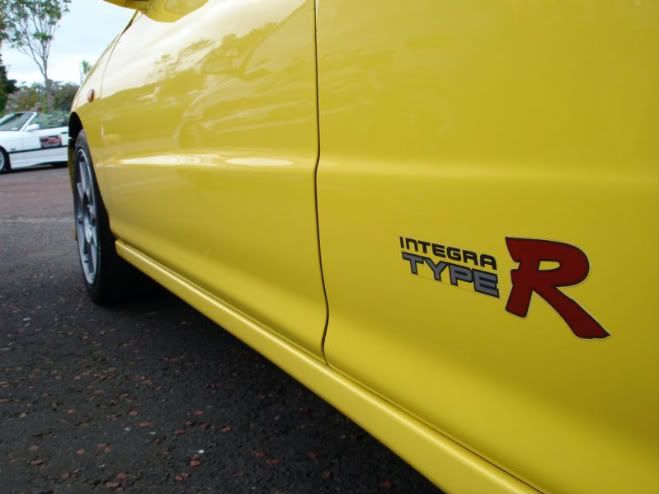
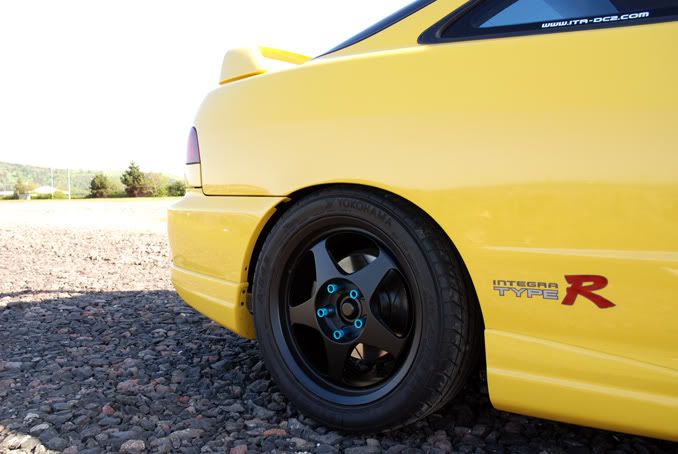
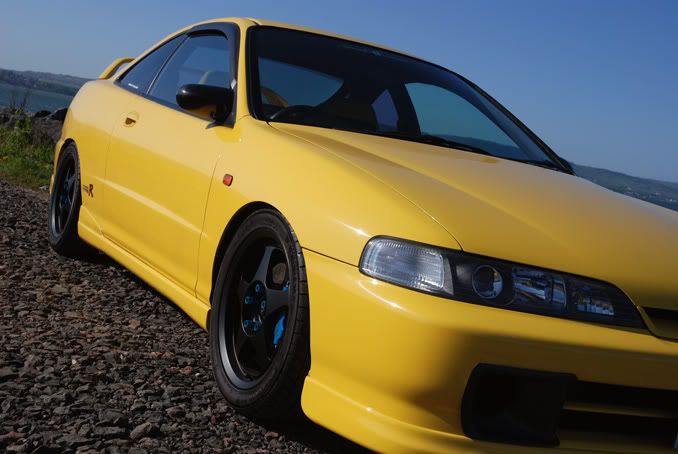
Hello all, I know I have bored you enough with another topic I just kept randomly adding to, so I thought id do a wee break down of the history of my motor since I got it just over 2 years ago, and hows it progressed to today with different things ive done over stages⦠Whether some of it is good or bad is up to you 
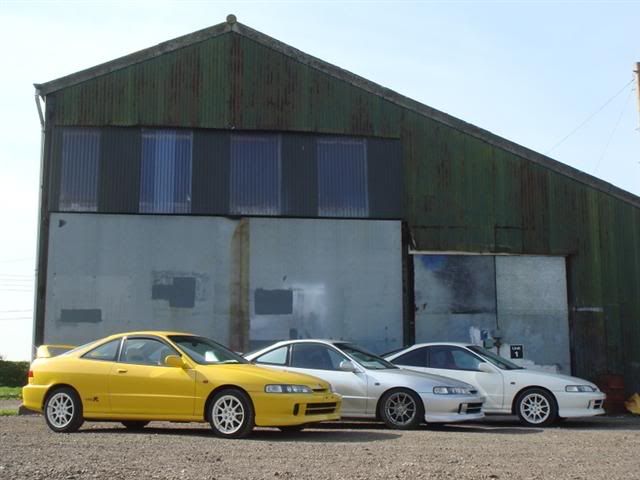
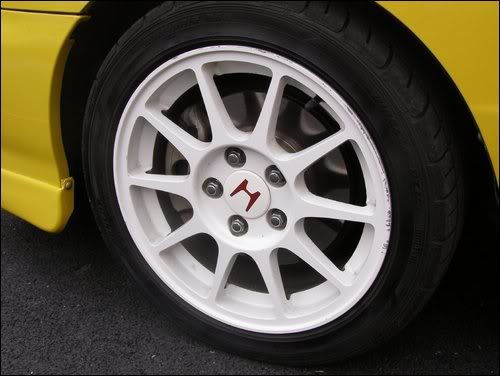
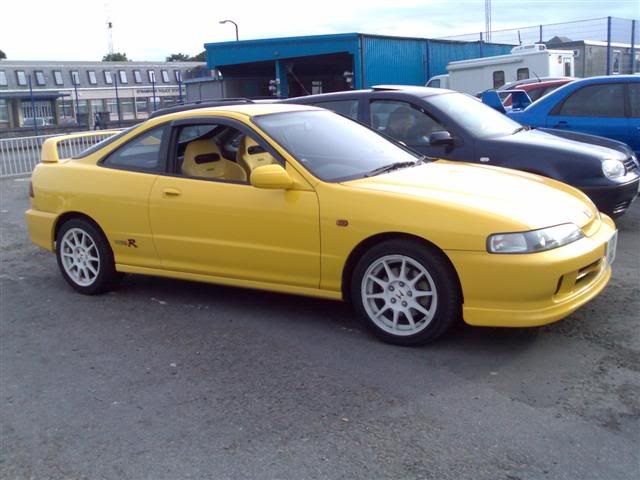
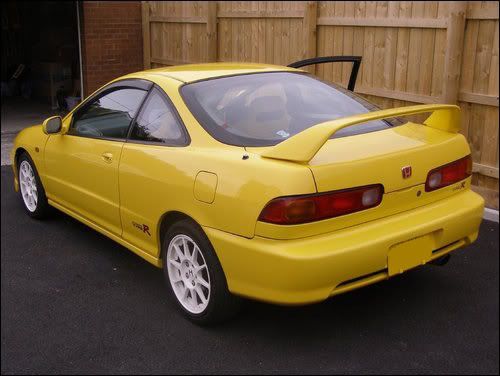
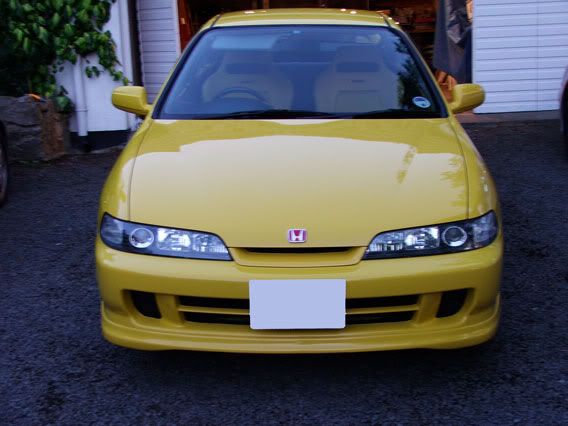
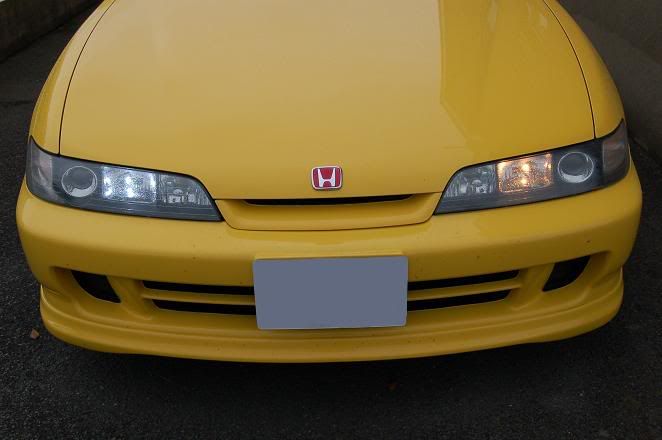
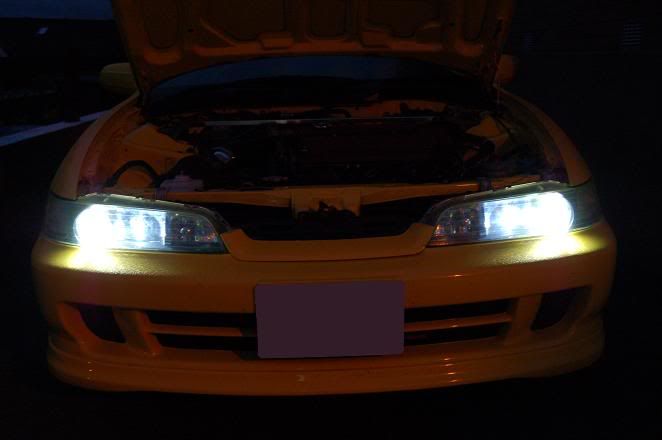
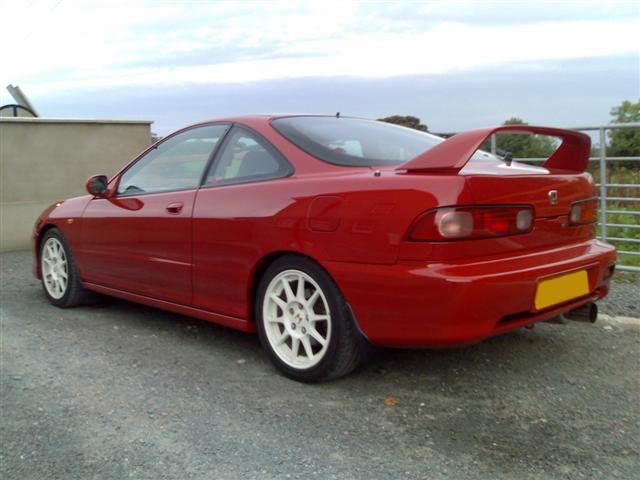
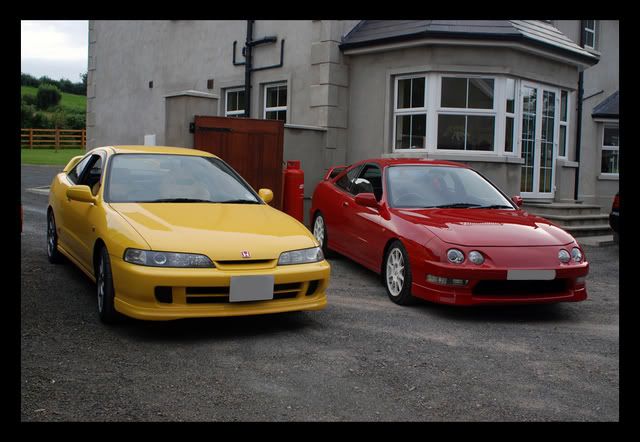
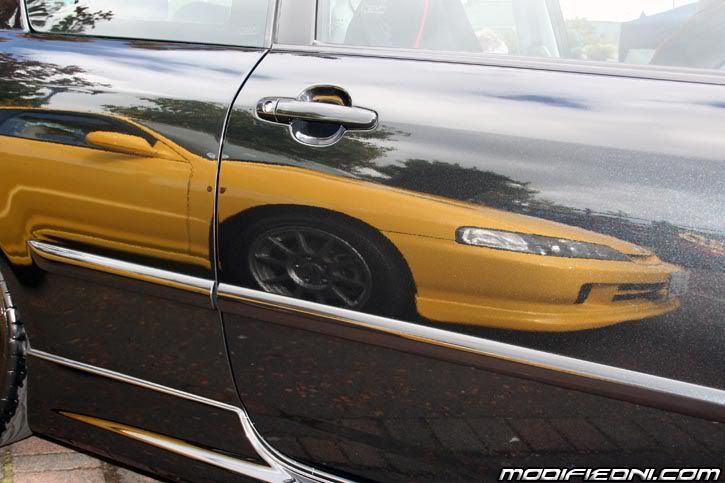
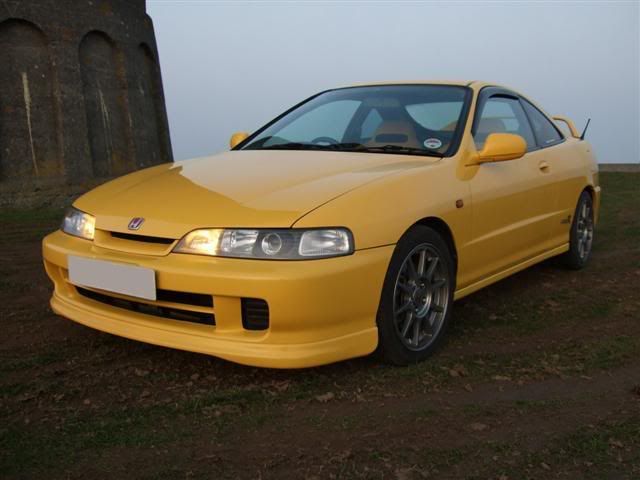
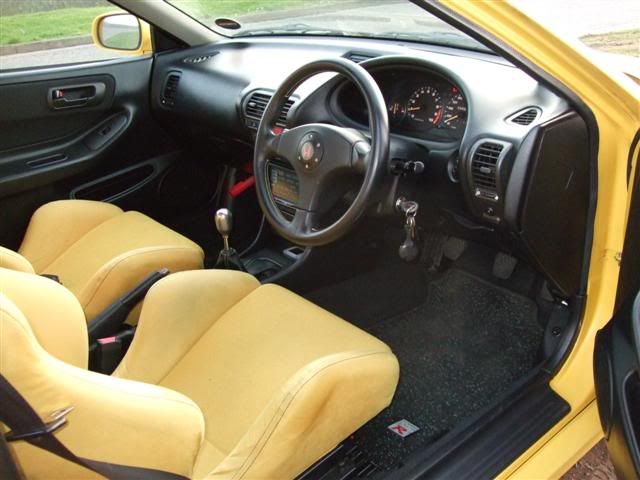
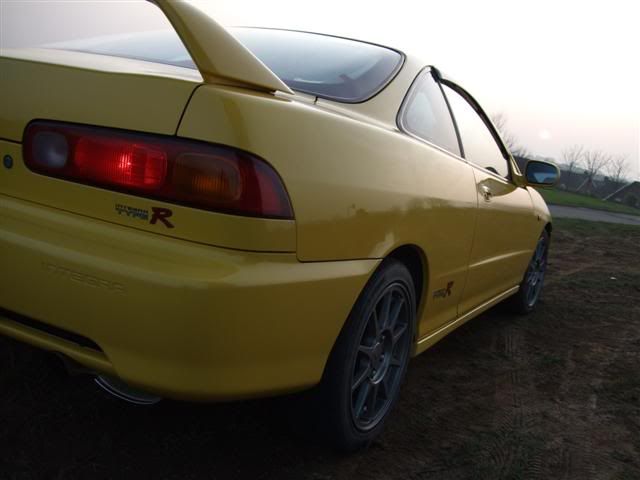
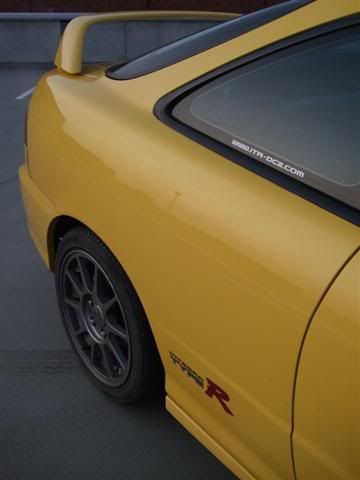
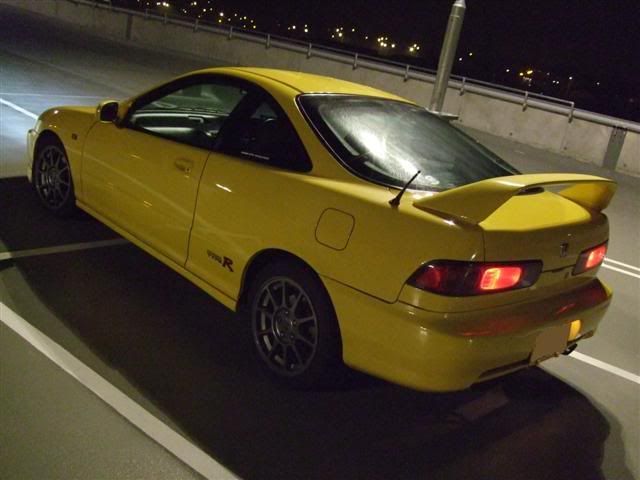
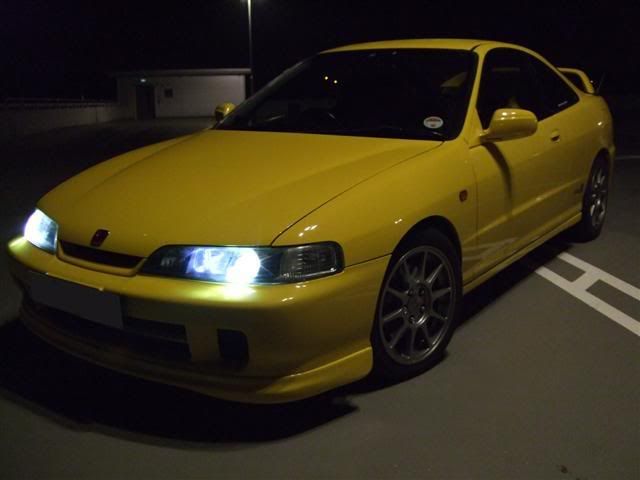
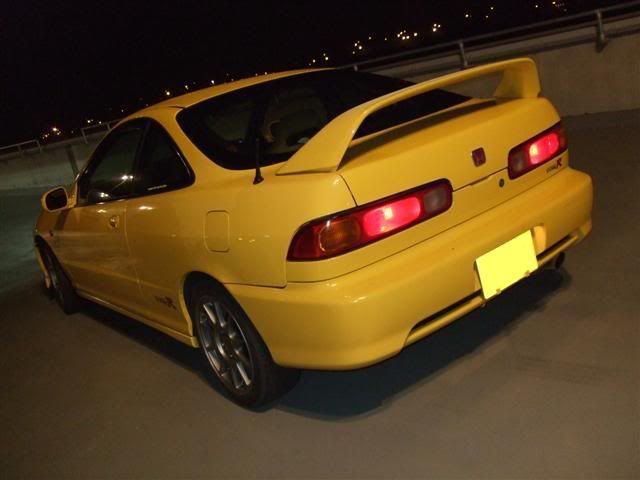
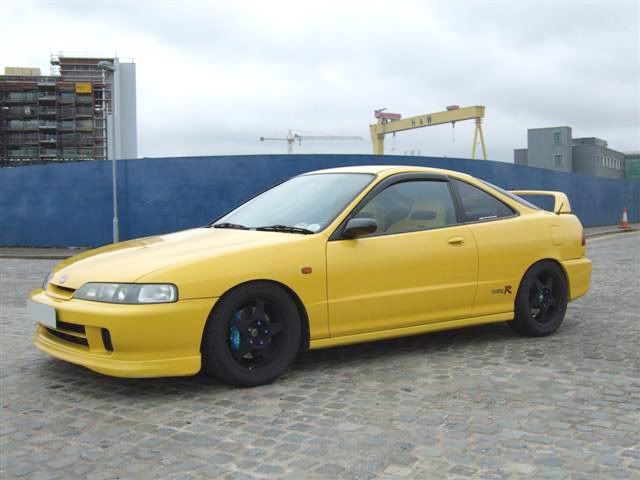
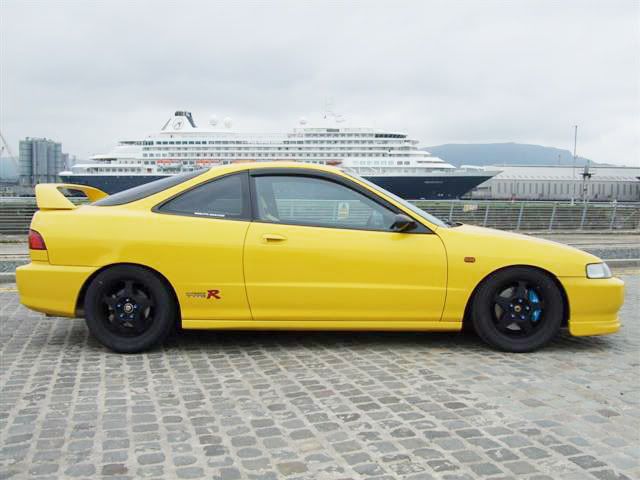
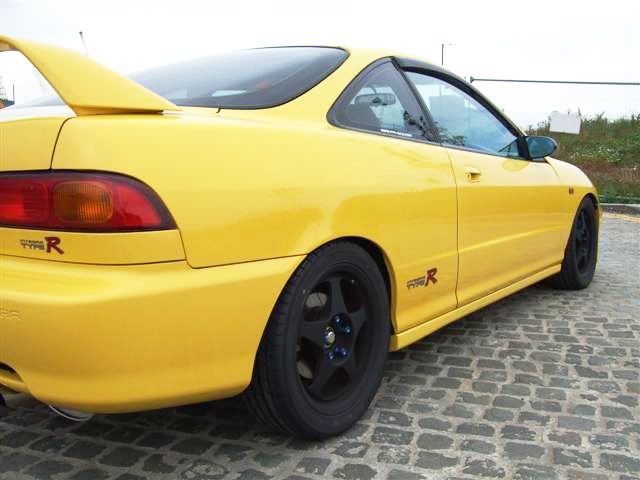
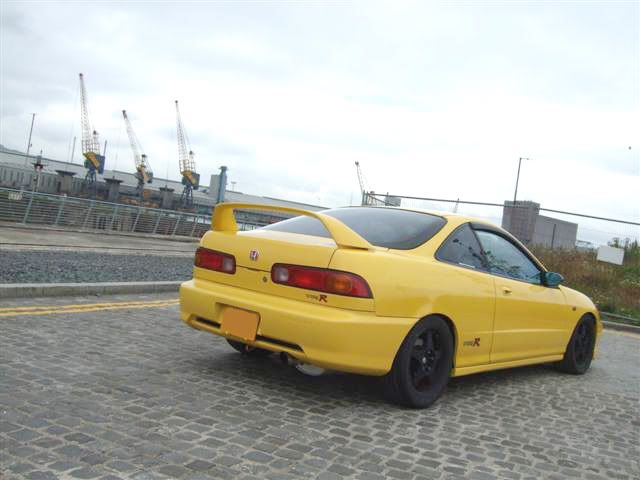
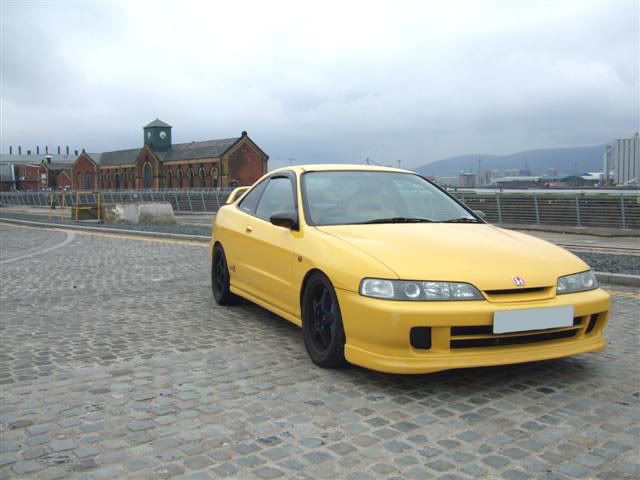
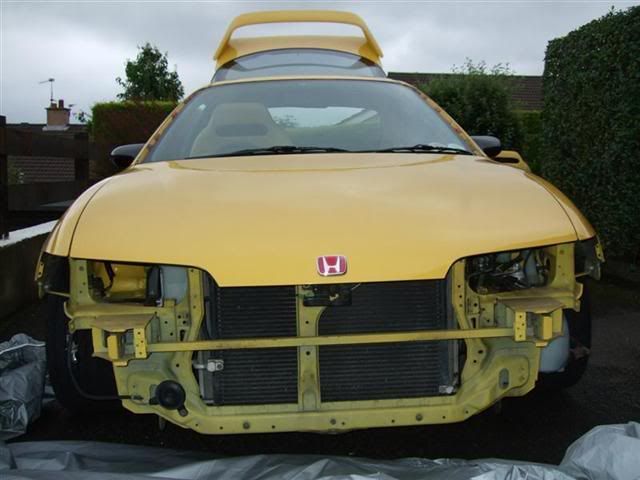
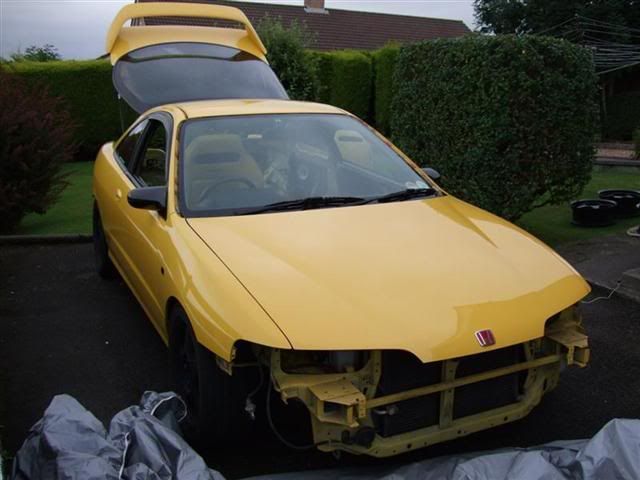
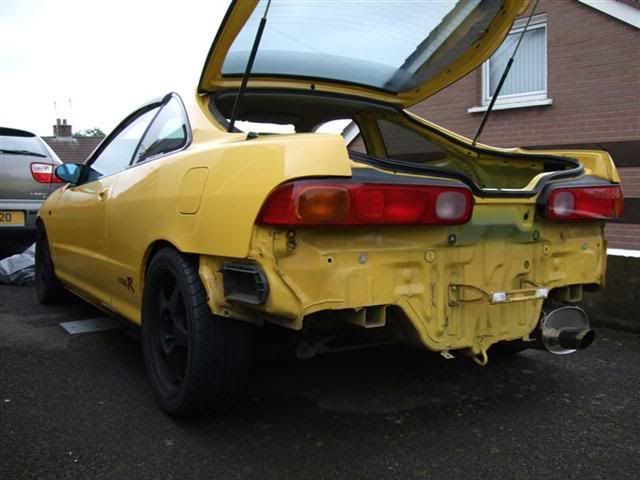
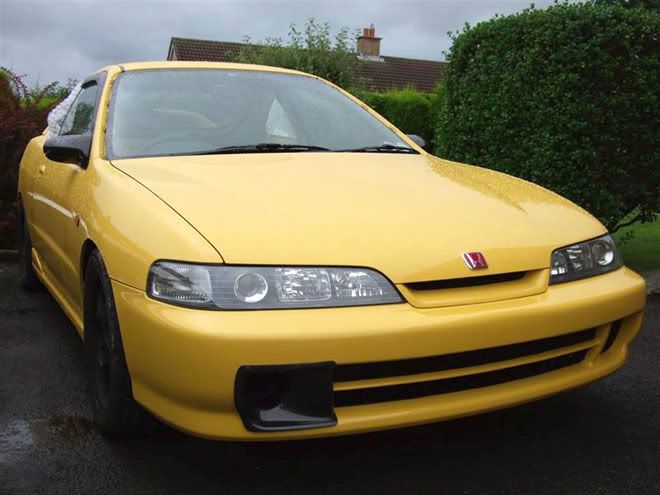
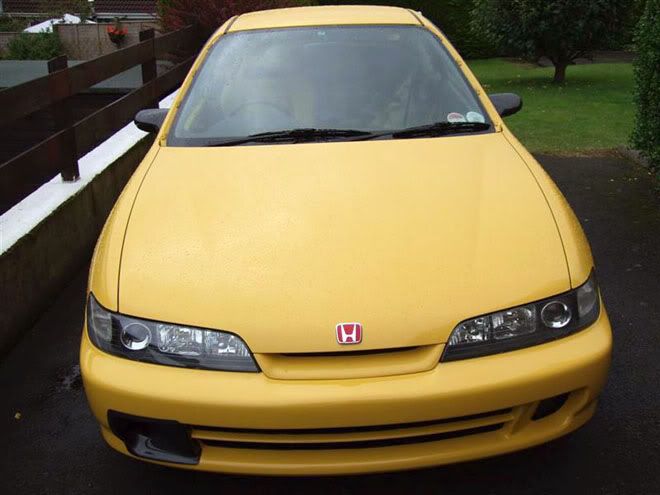
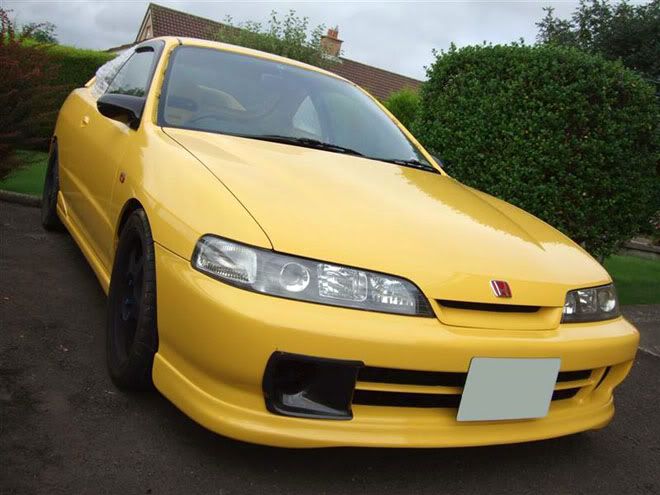
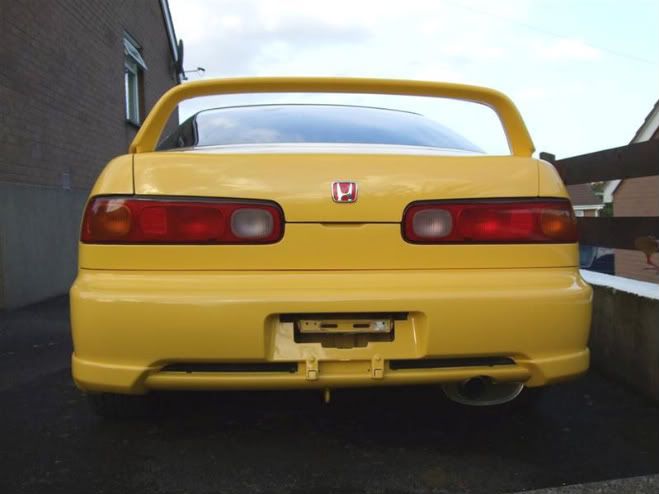
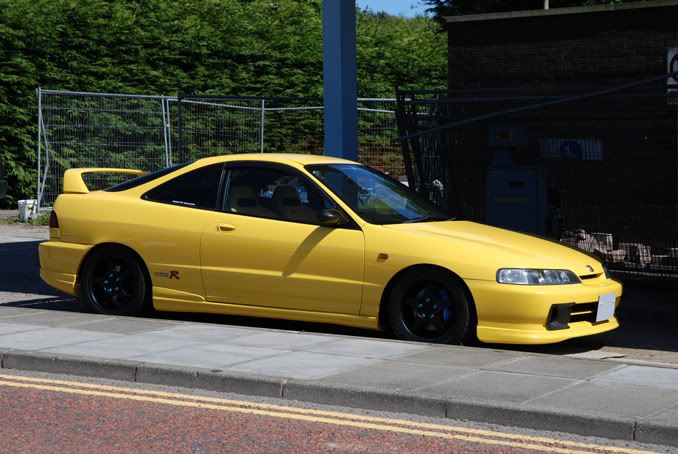
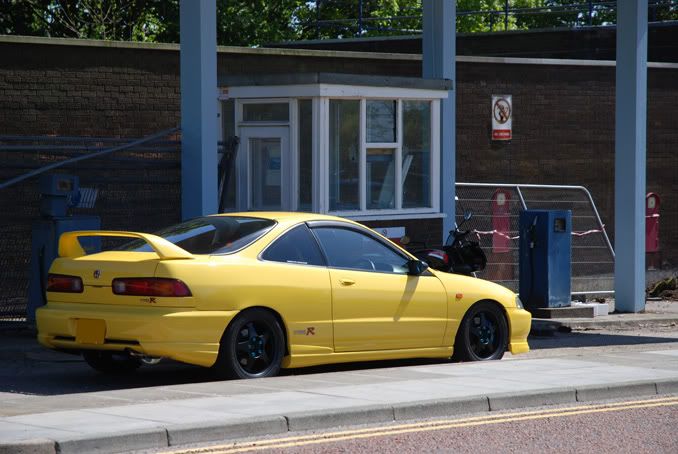
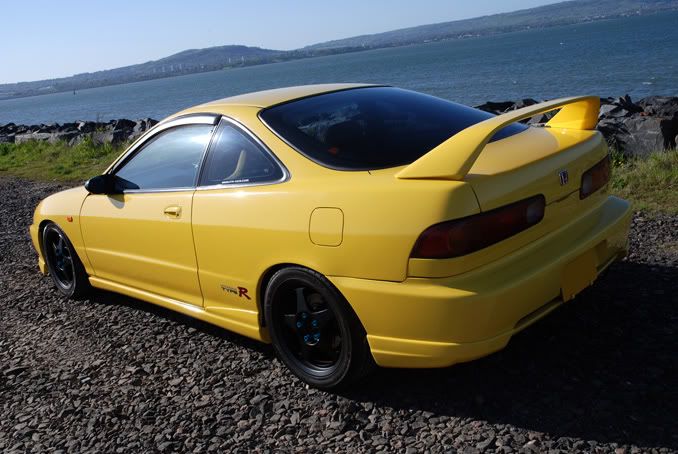
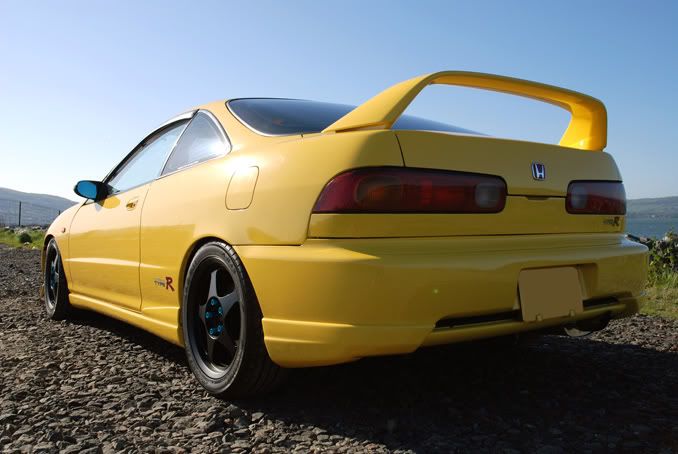
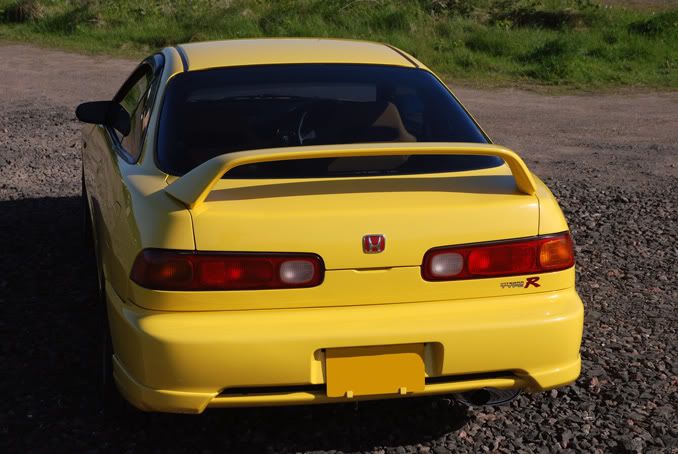
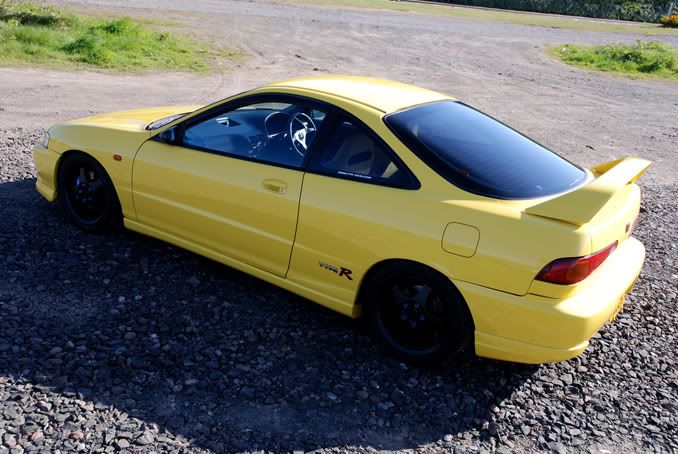
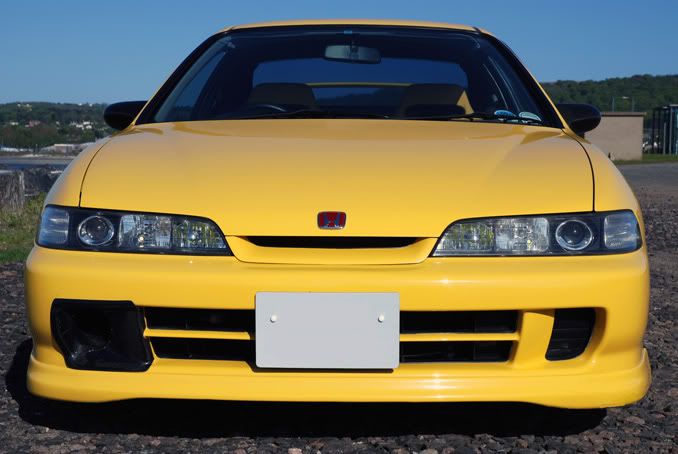
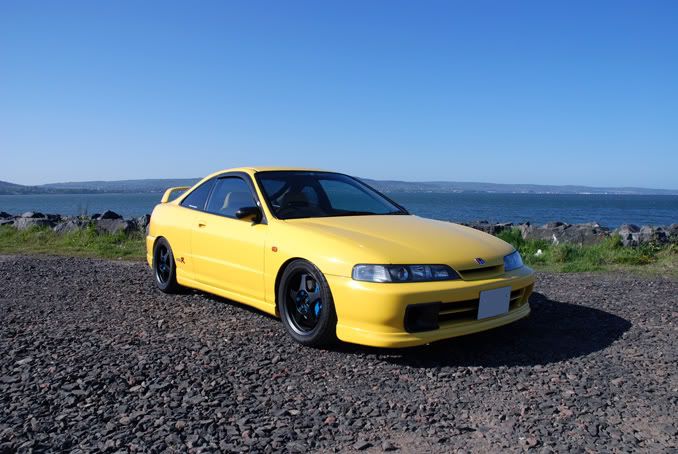
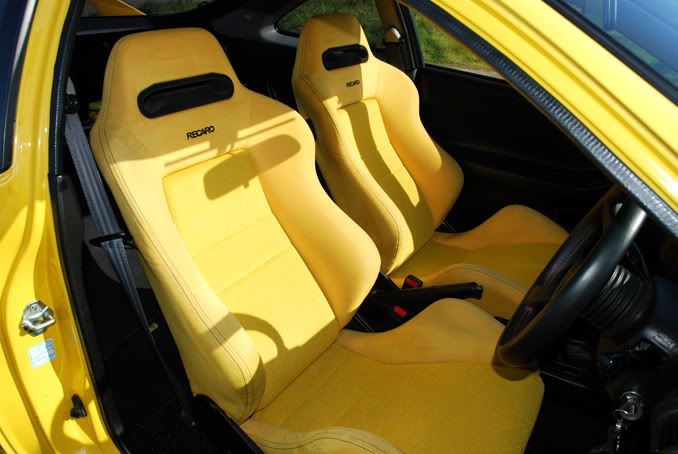
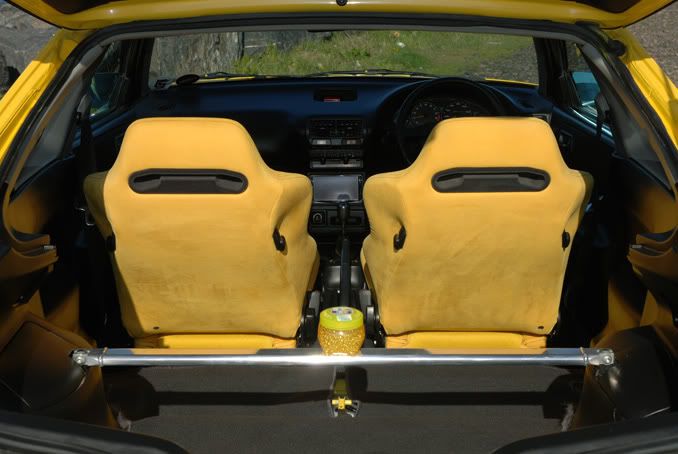
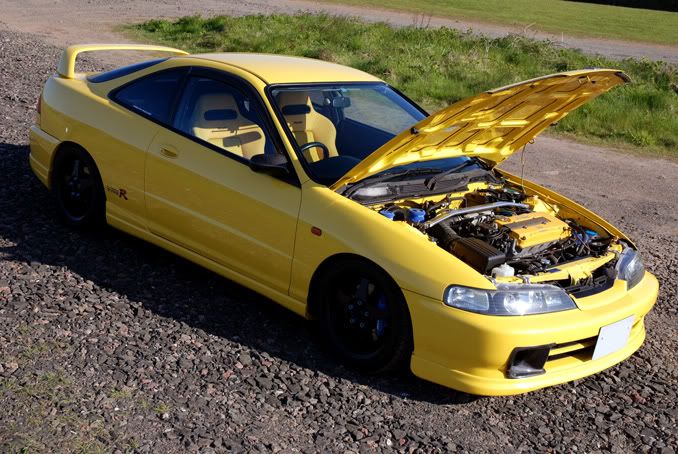
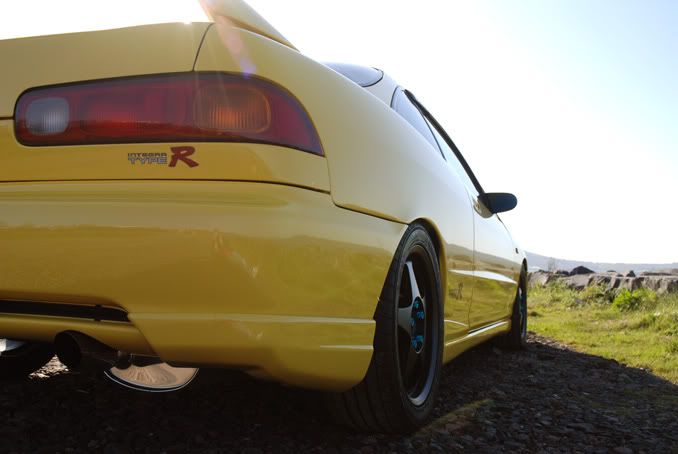
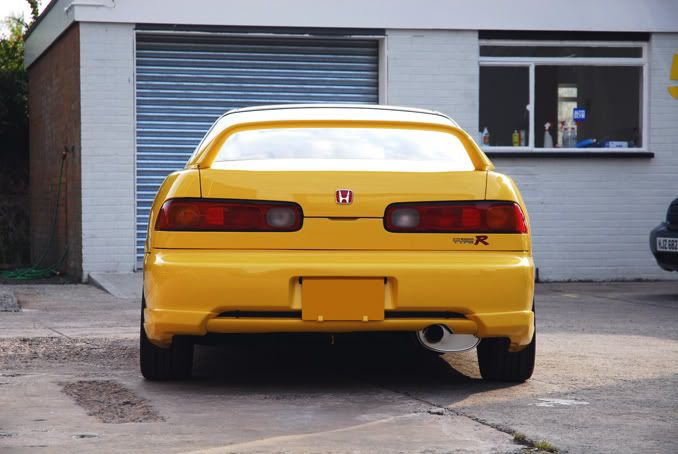
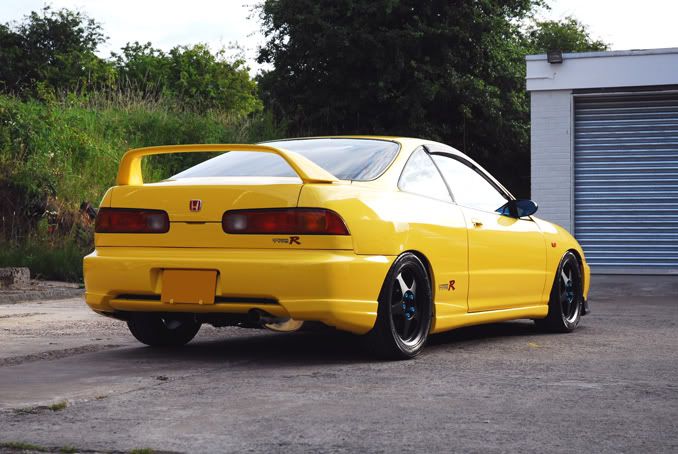
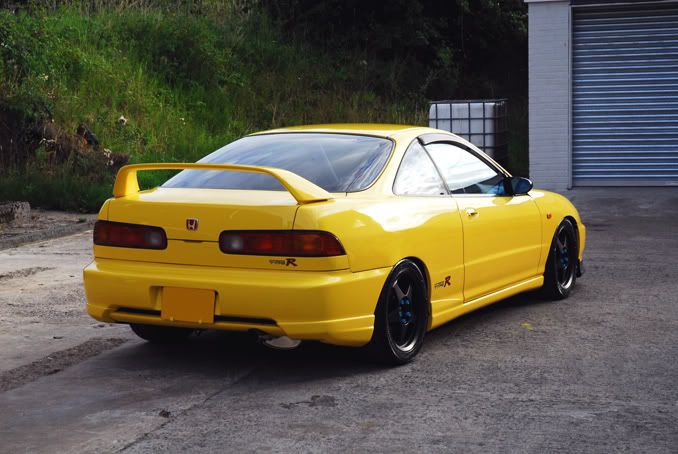
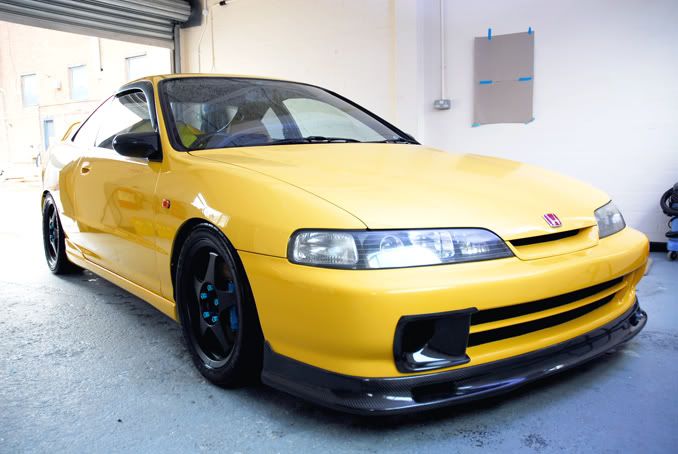
Well firstly these are some of the advertisement photos the guys at Tegiwa Imports had up. I was torn between looking at the silver one and the yellow motors they had as both appealed to me being a bit different and rareâ¦
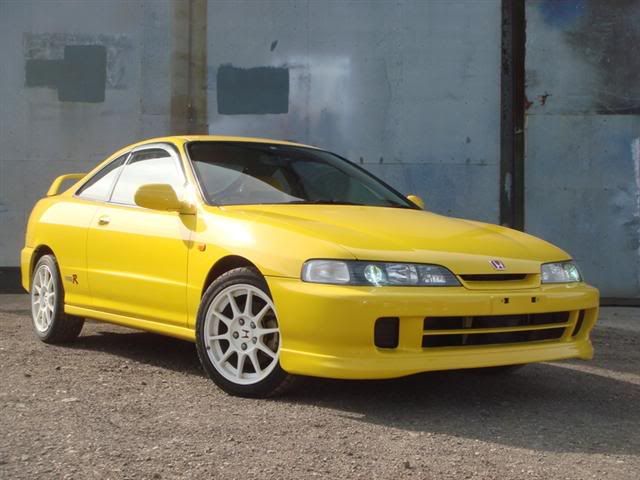
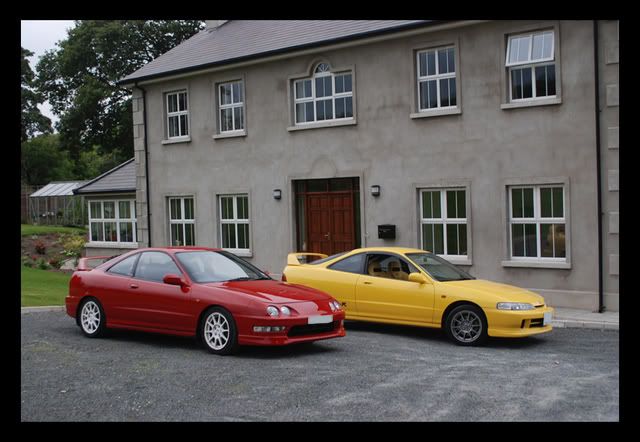
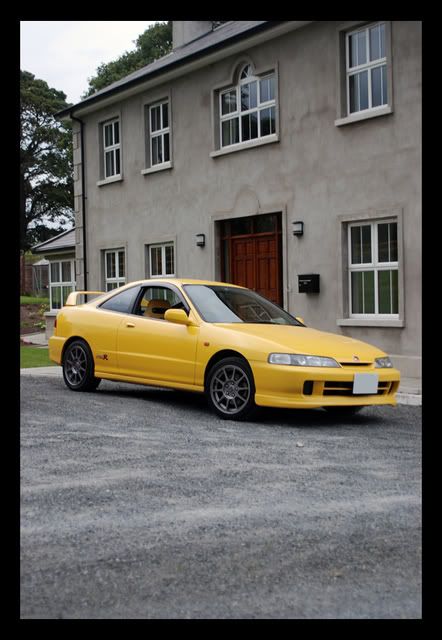
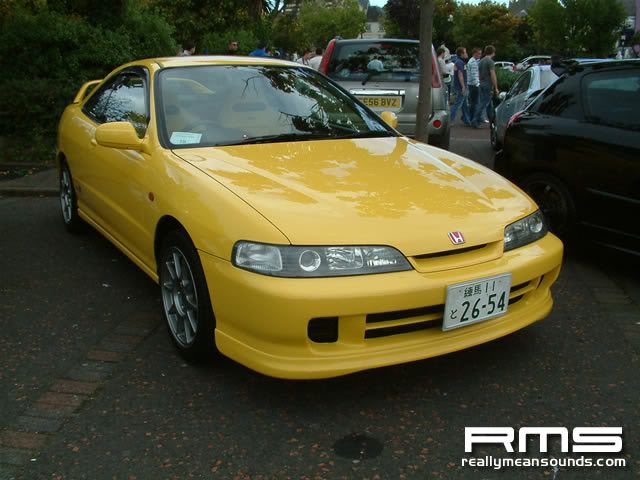
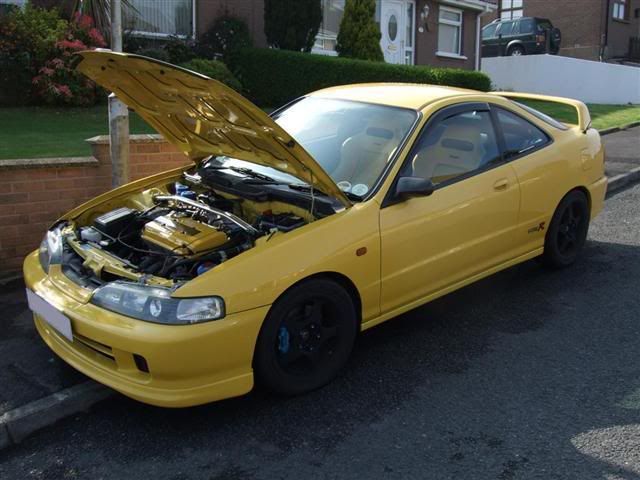
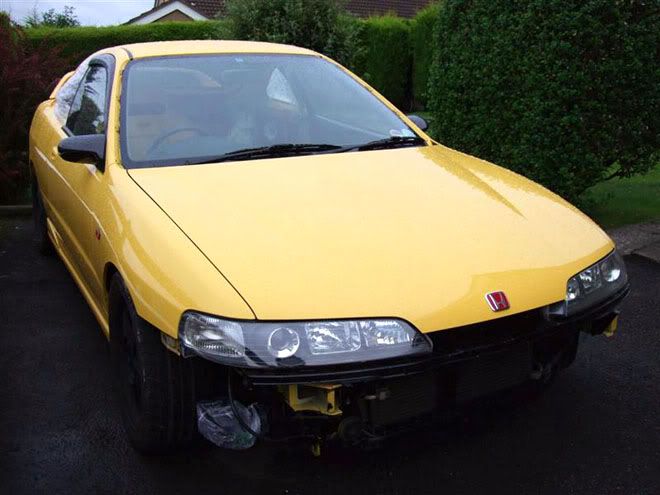
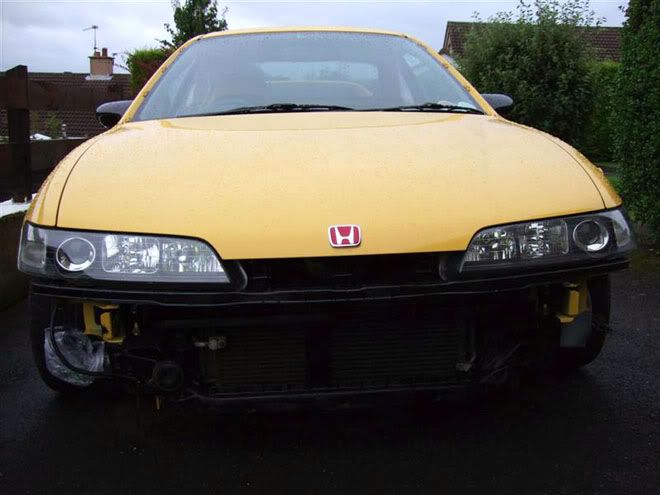
But as you know, after much debating and humming and haâing and melting the lads heads, I decided to go for the yellow one just for the extra rarity, which was a tough call, as they were both 2 great shape fairly original low mileage motors. Mine having covered just under 35k kmâs since Dec 99 till June 07
So off I went on my journey from Stoke on Trent to Stranraer having some fun with a yellow Evo 5 on the country roads to the port (looking rather high here oddly :S )
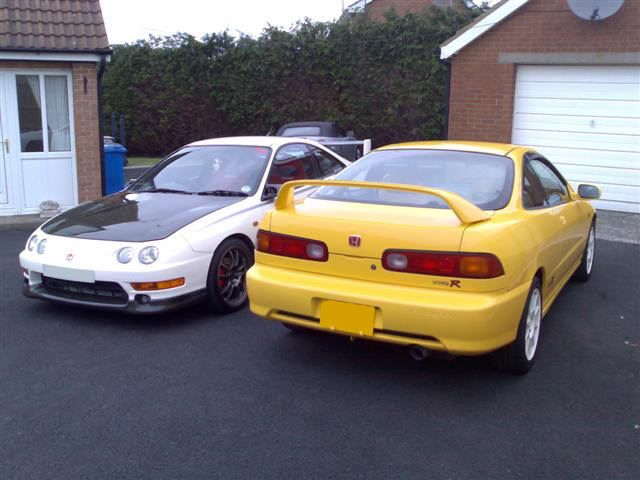
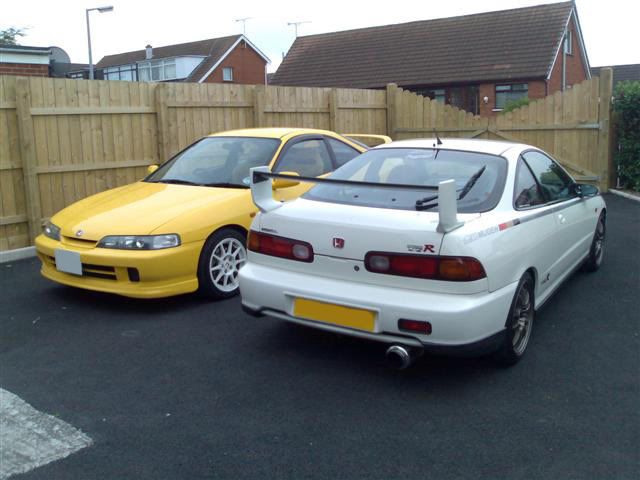
Then over to Ollies the next morning so he could fit an alarm and have a good tug over one of these as Ollie is a big PY fan lol!!!
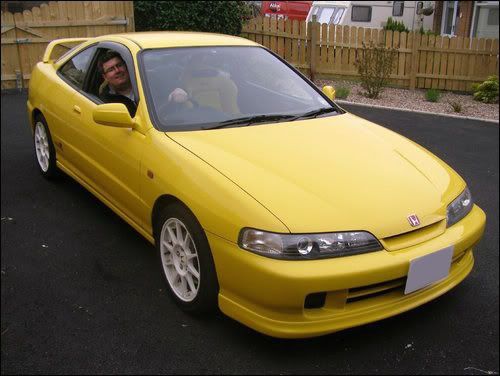
The ganch himself
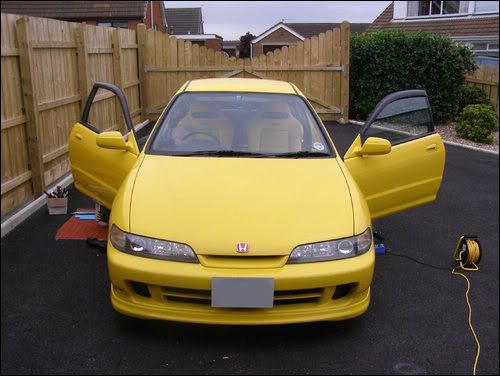
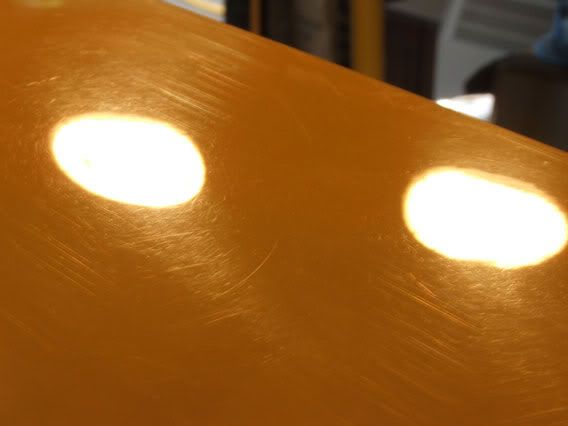
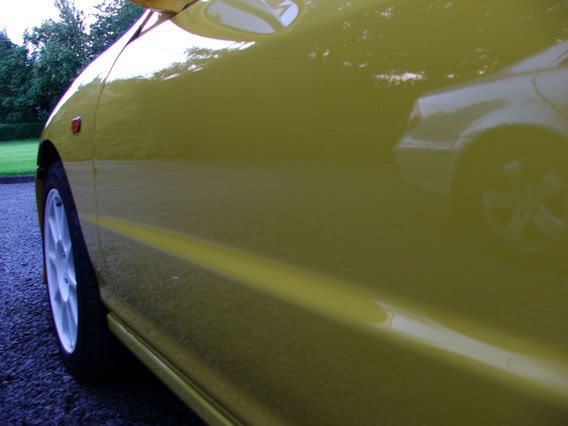
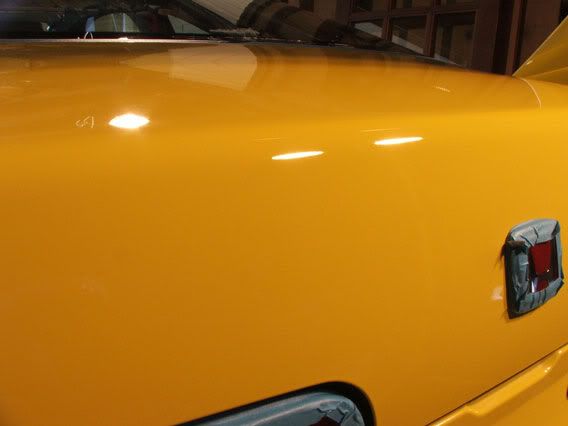
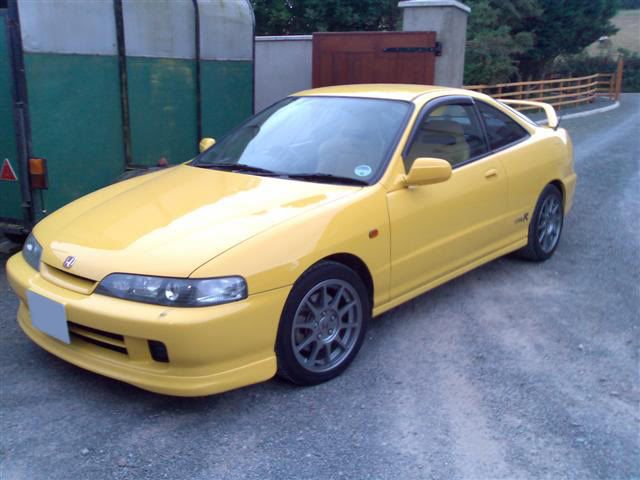
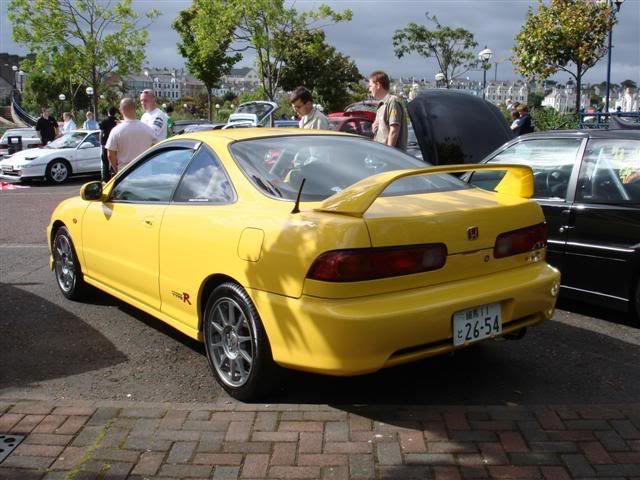
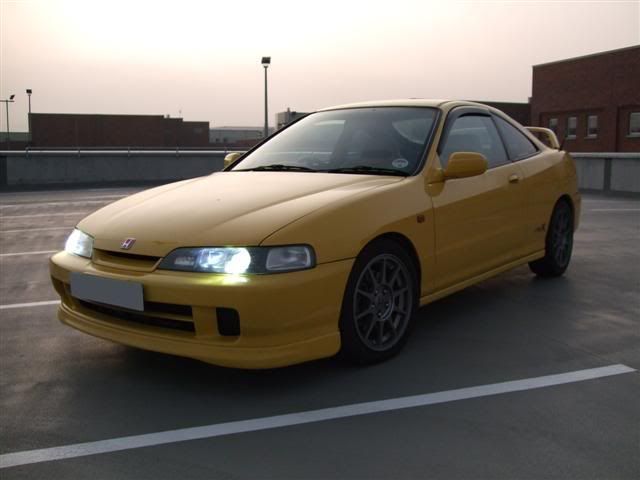
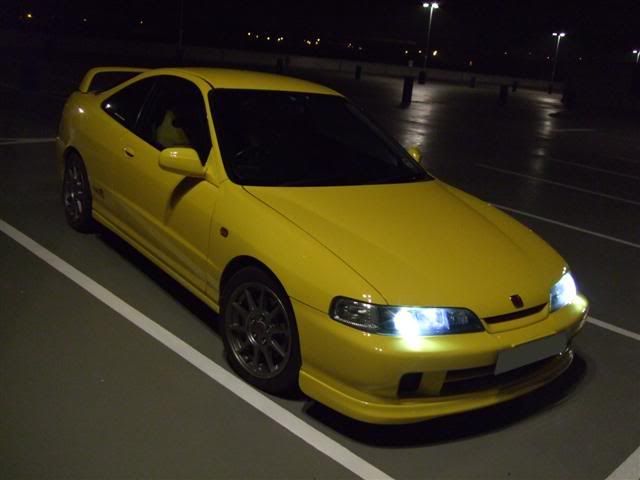
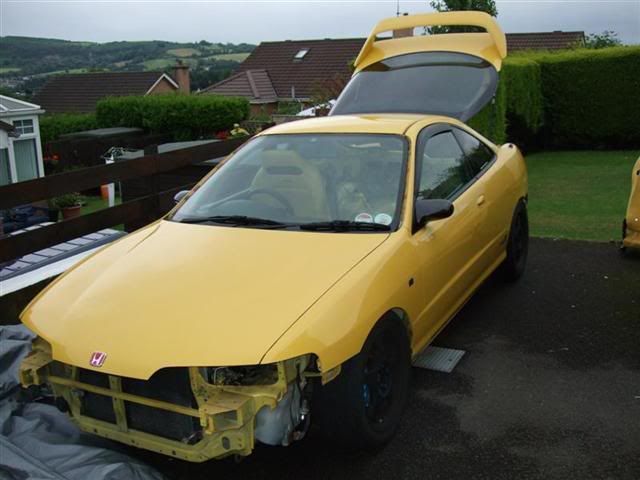
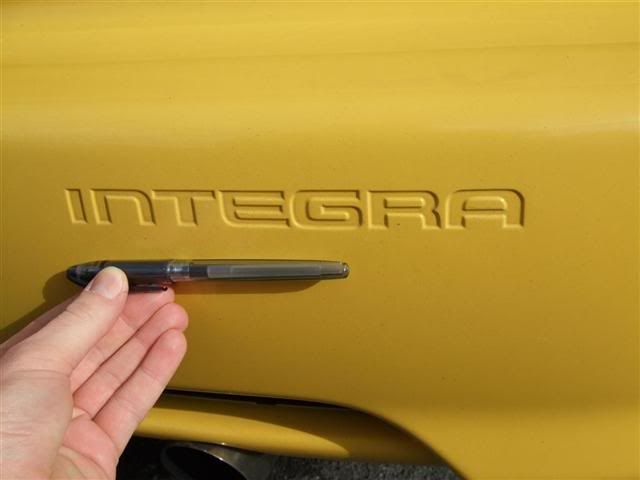
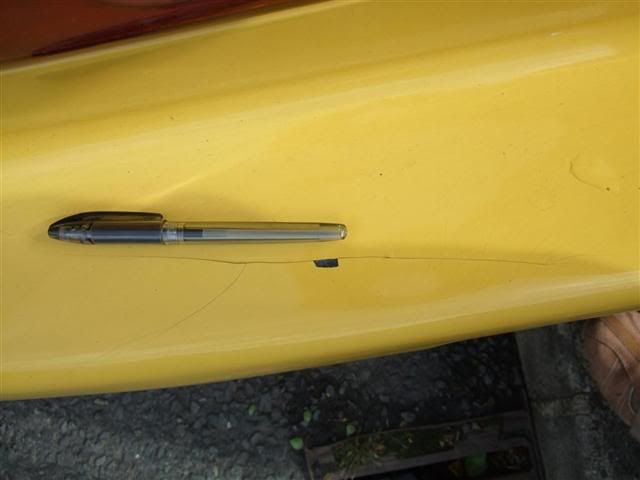
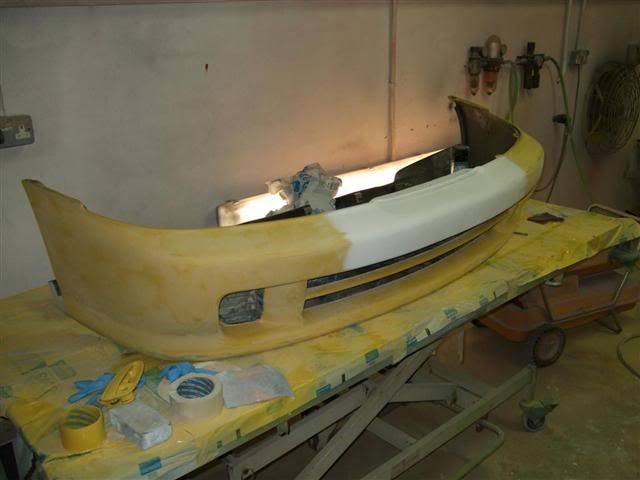
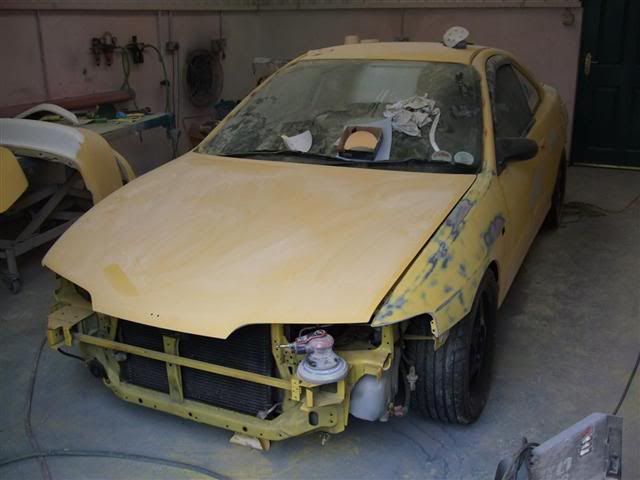
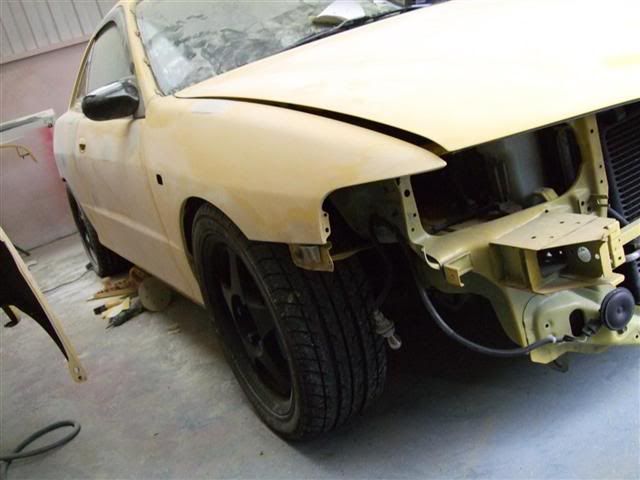
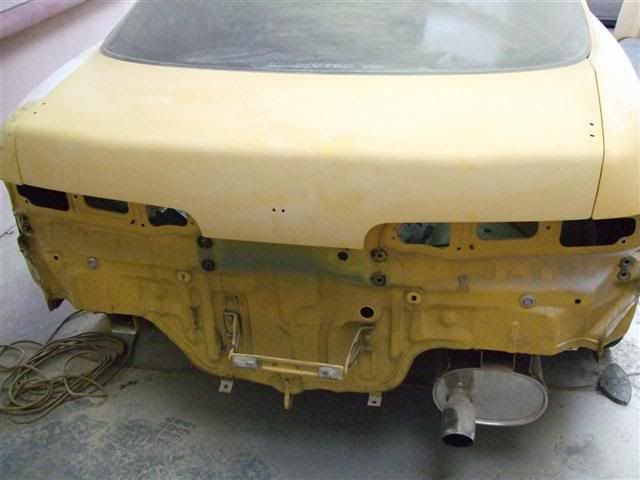
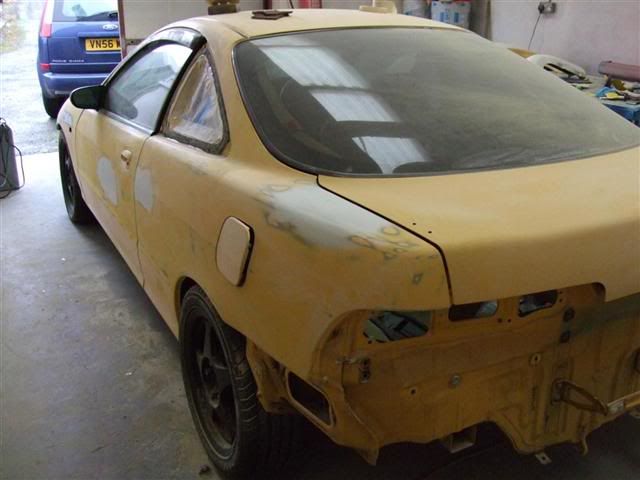
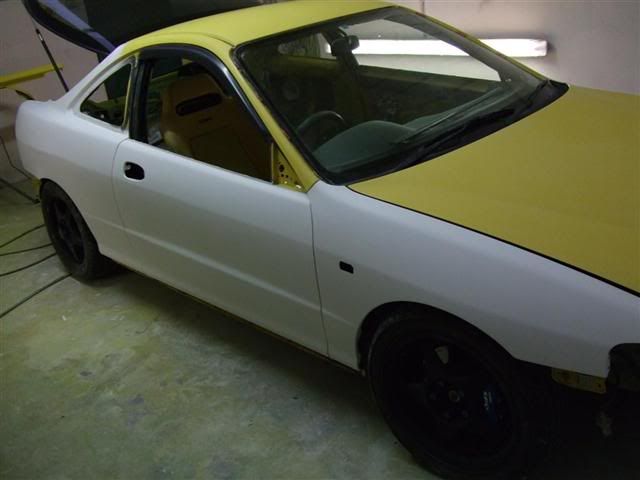
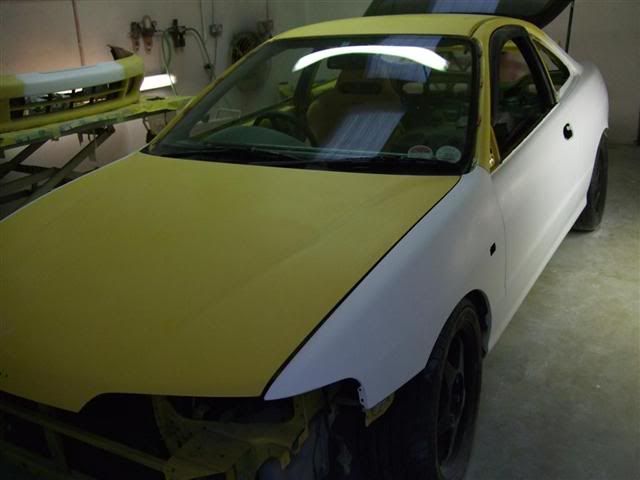
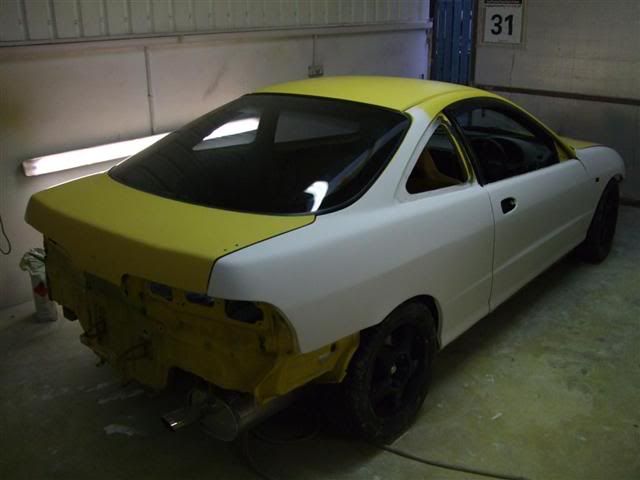
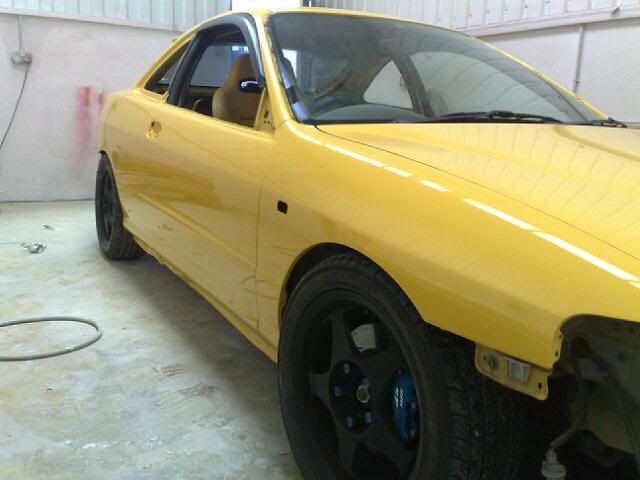
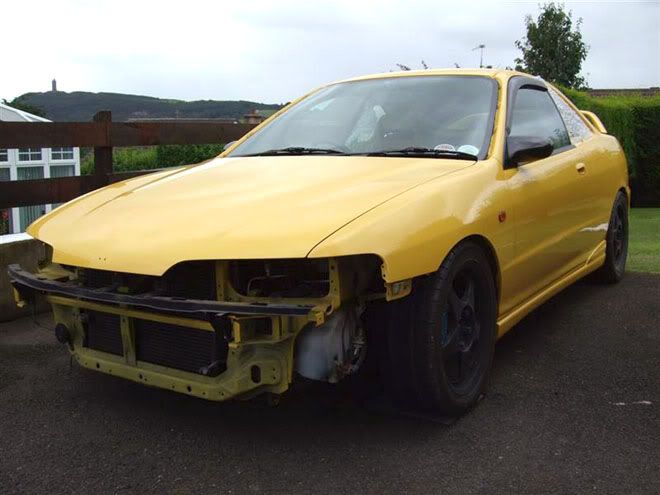
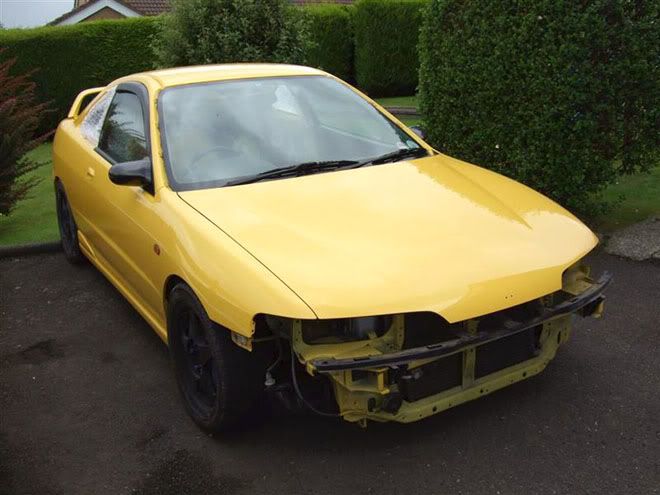
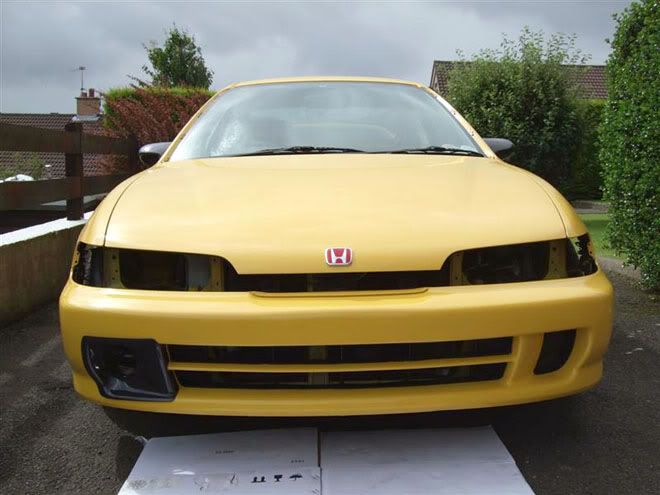
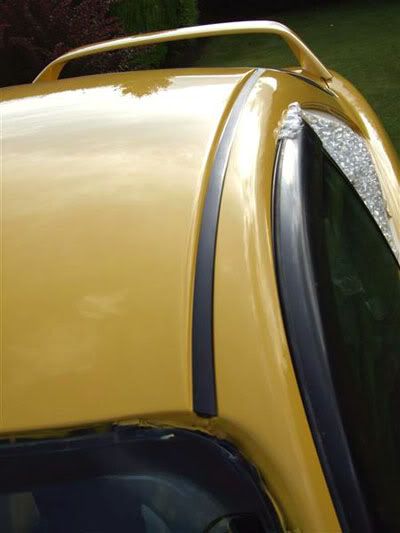
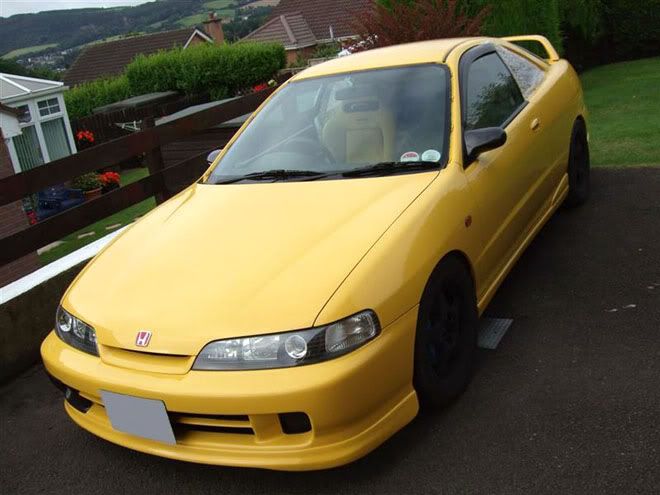
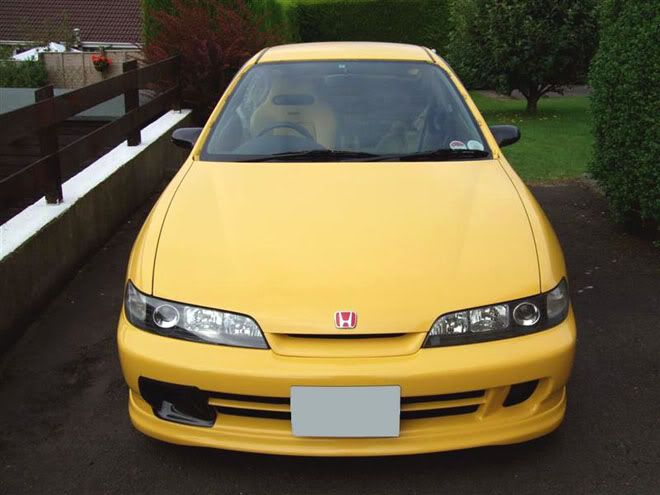
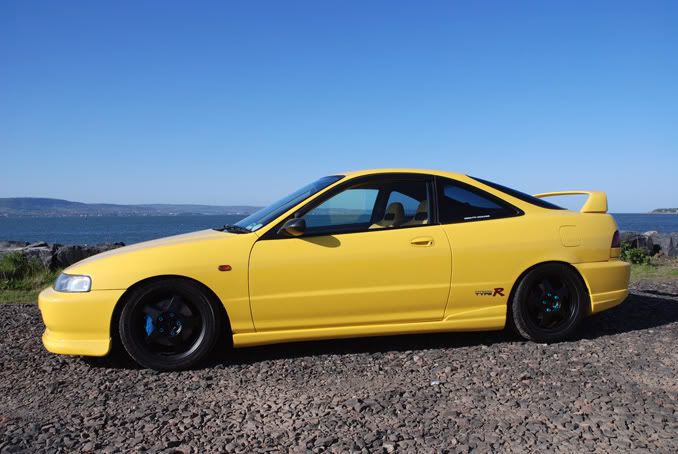
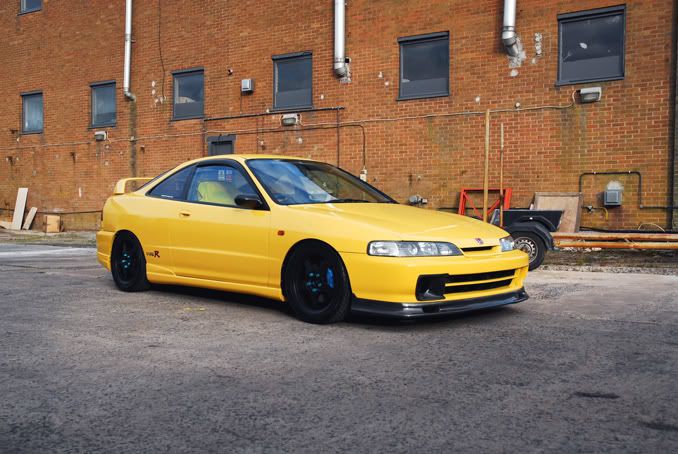
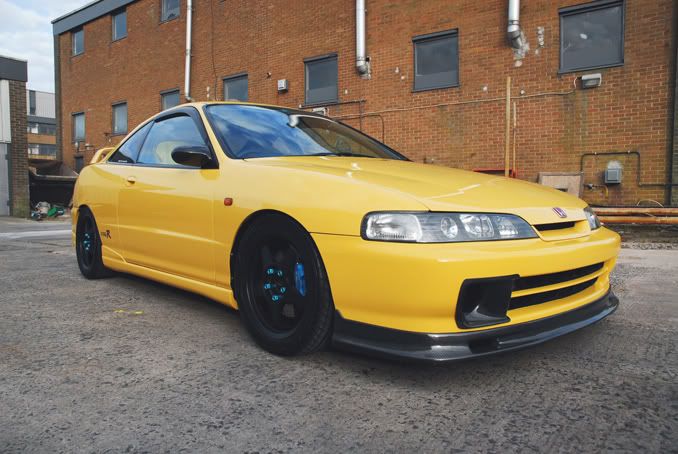
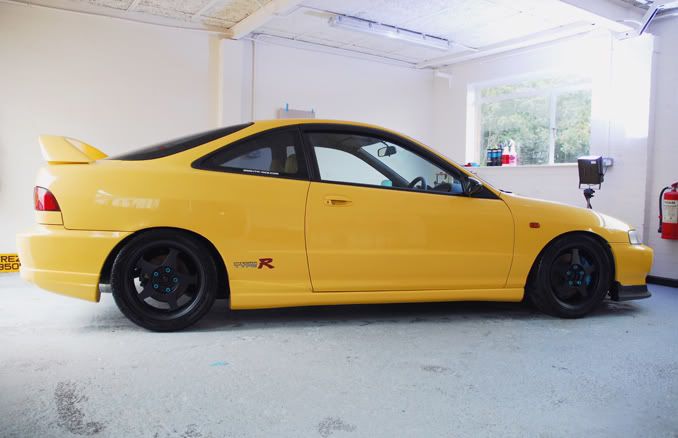
With the car being yellow and being 8 odd years old, naturally the colour was a bit patchy in places and a bit swirly, so off it went to my friend Pete to do the business on bringing it back to a bit more of a respectable state
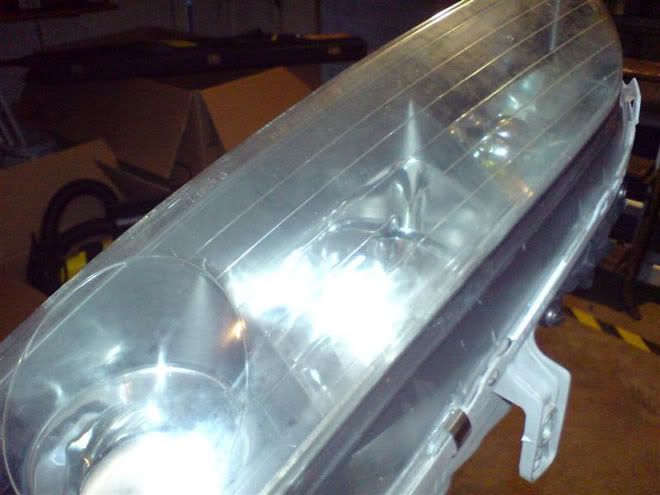
It was hard to get photos of it before hand and the swirls due to it being yellow, but you get the idea here:
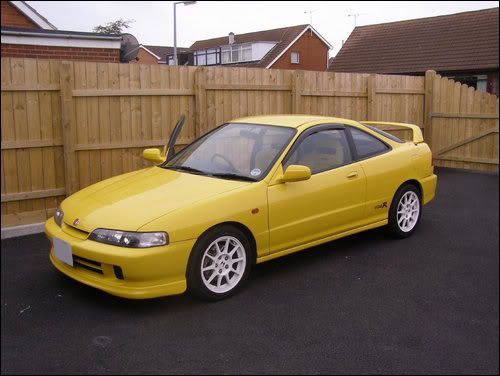
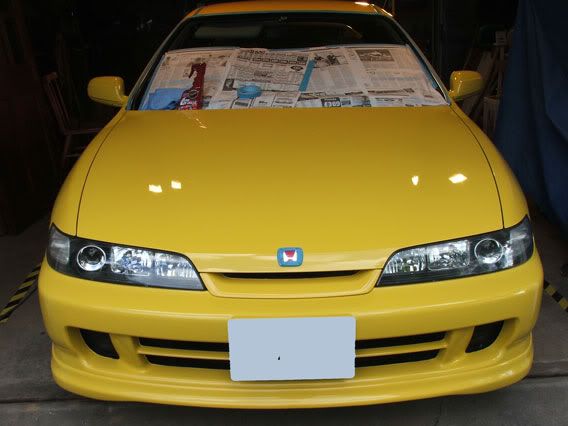
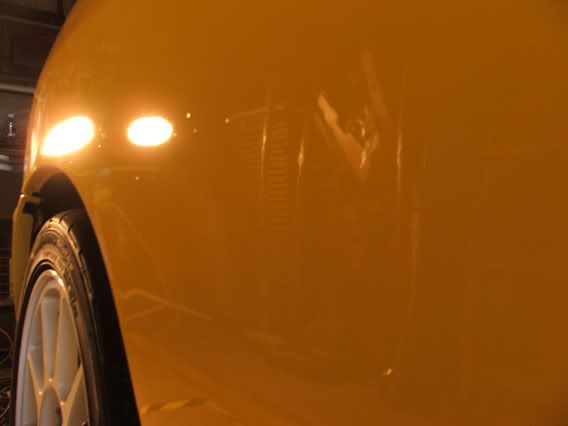
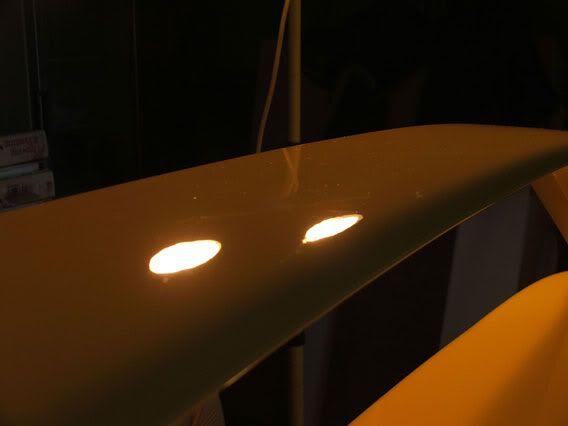
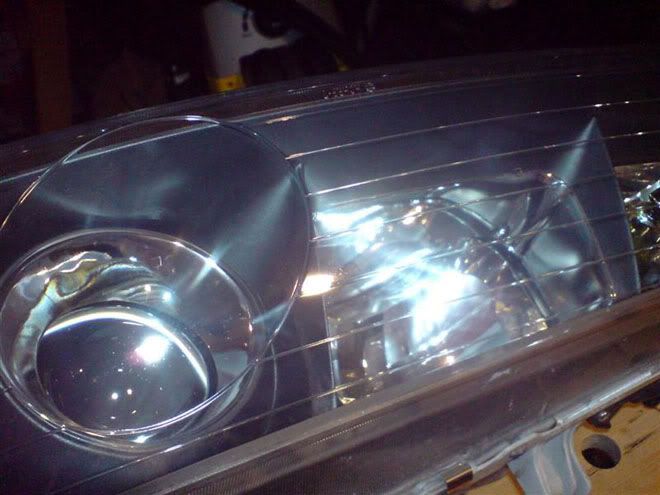
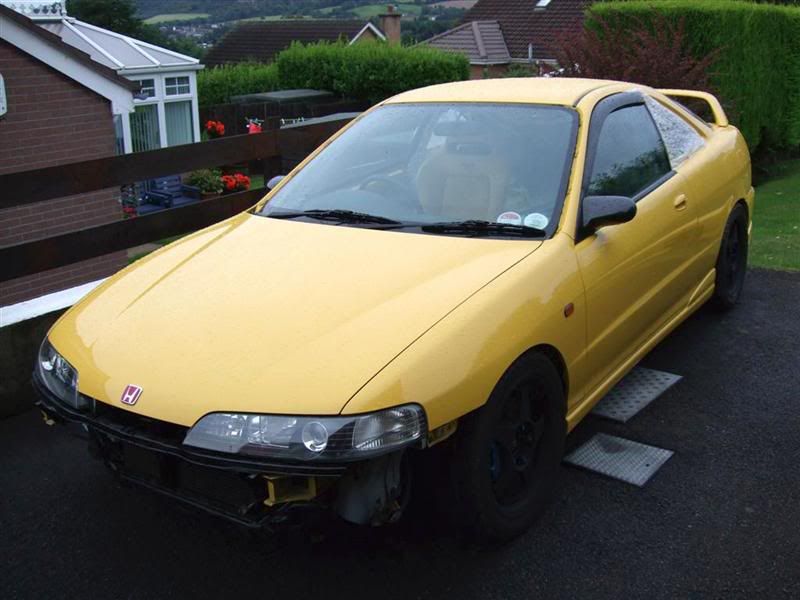
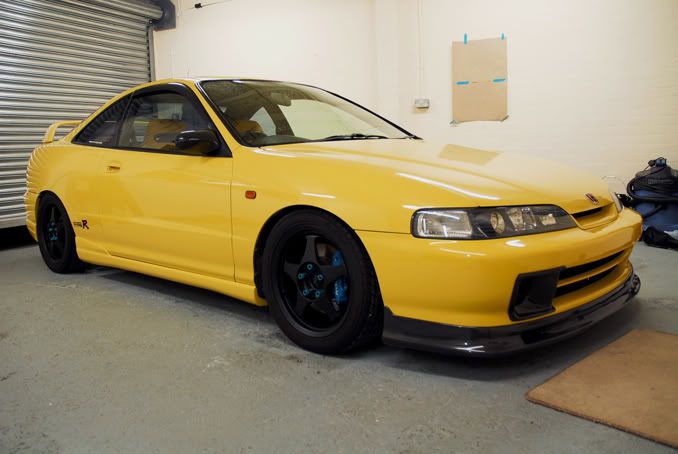
And after:
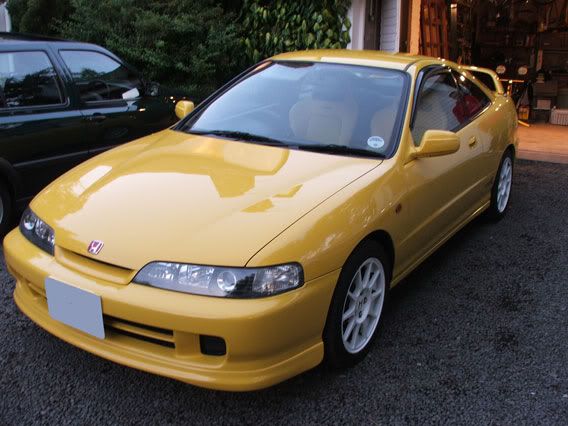
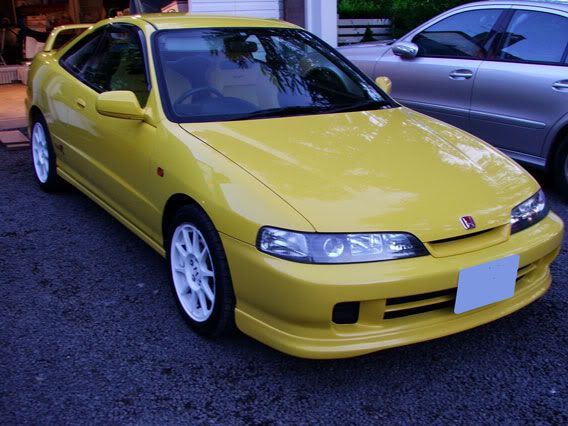

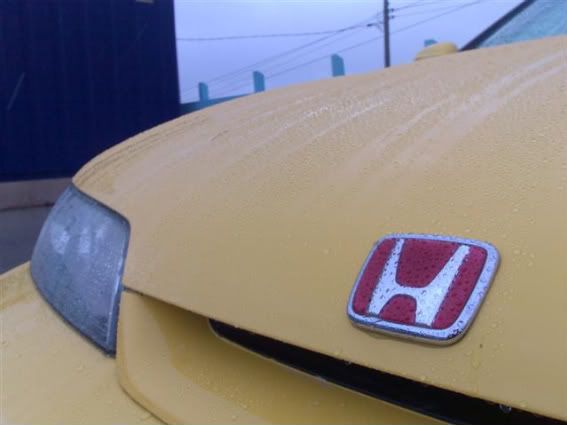
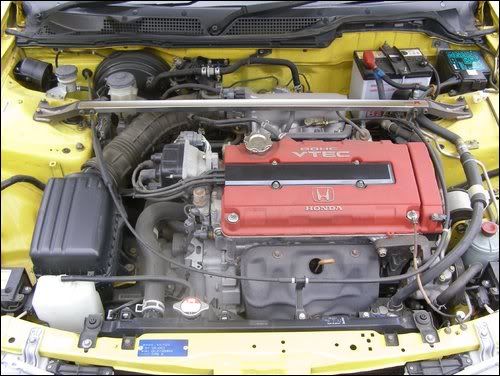
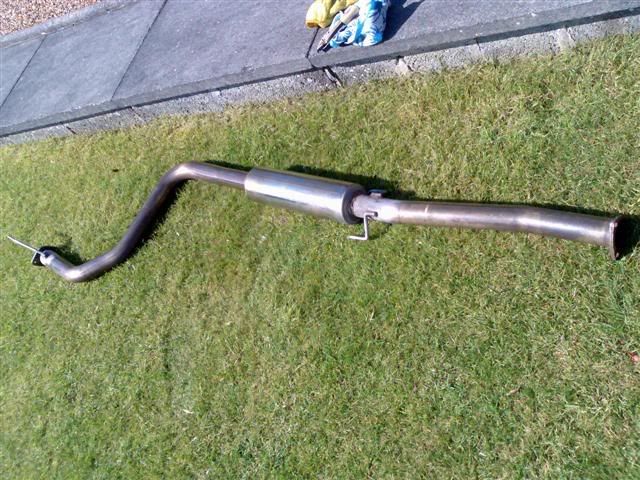
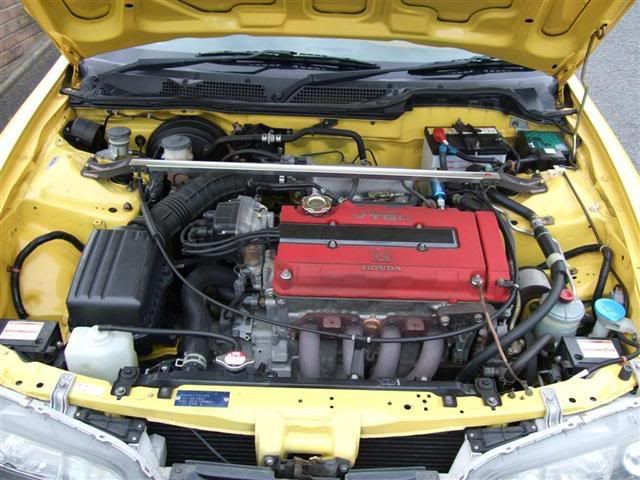
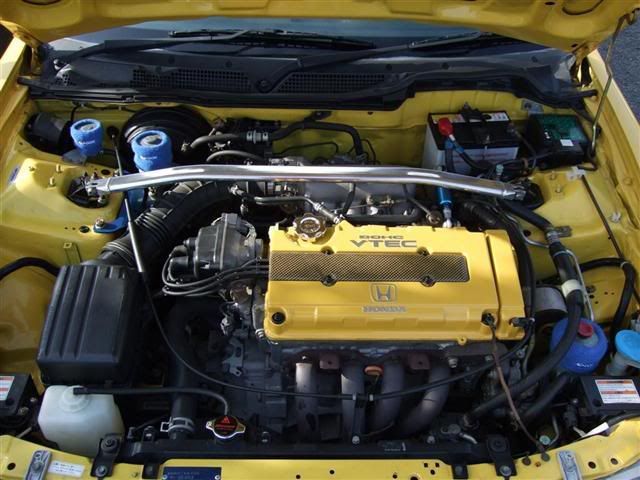
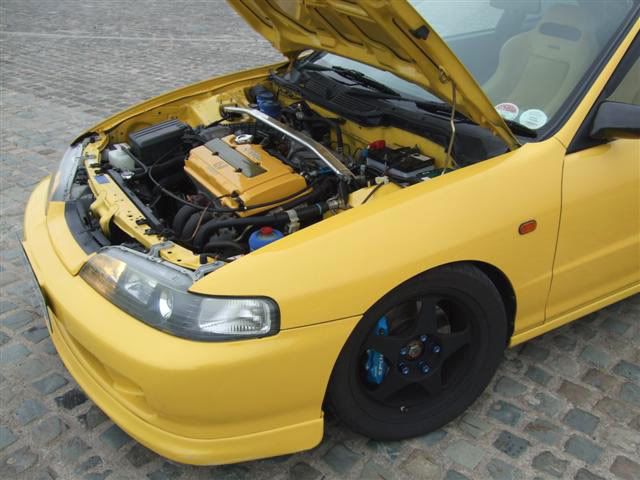
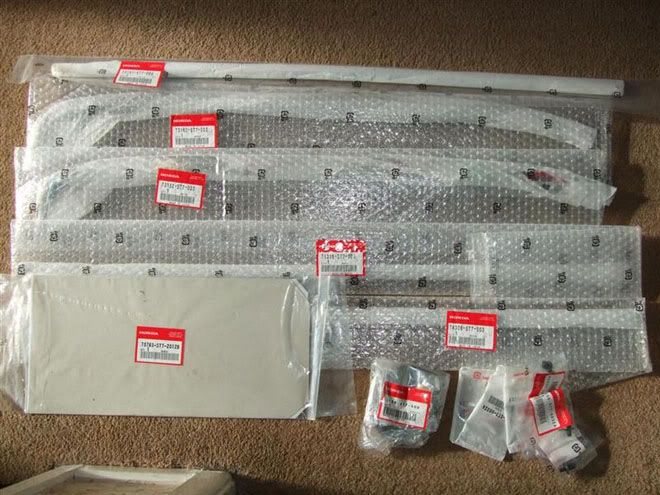
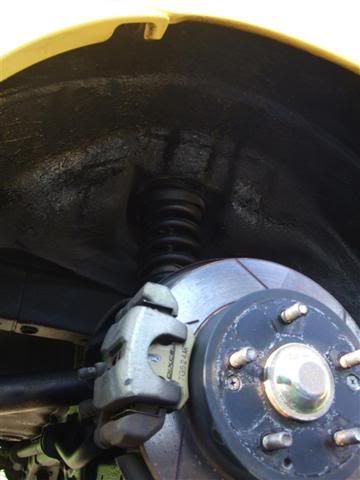
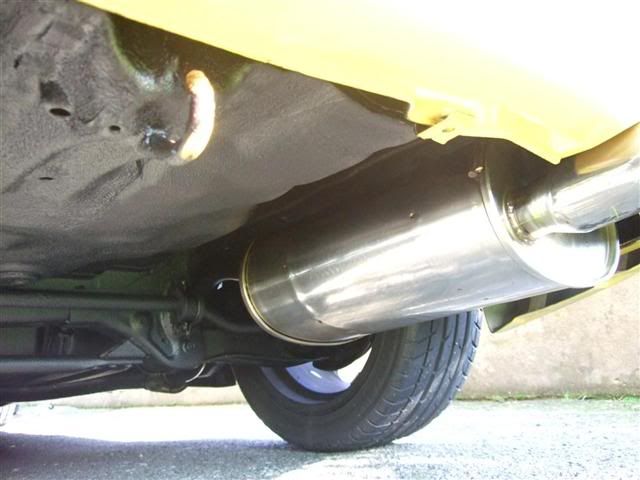
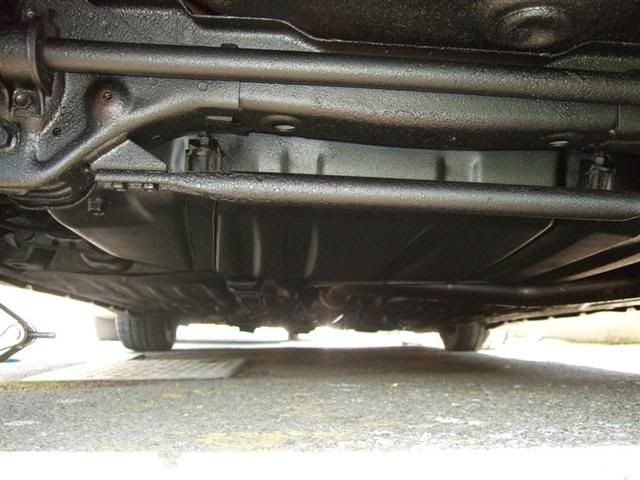
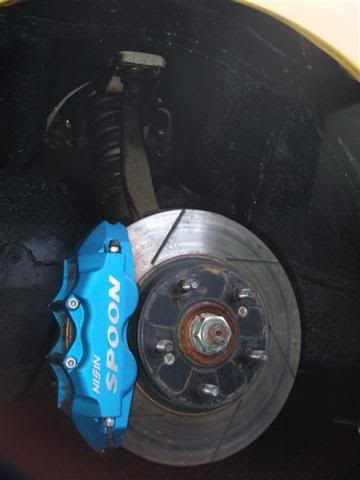
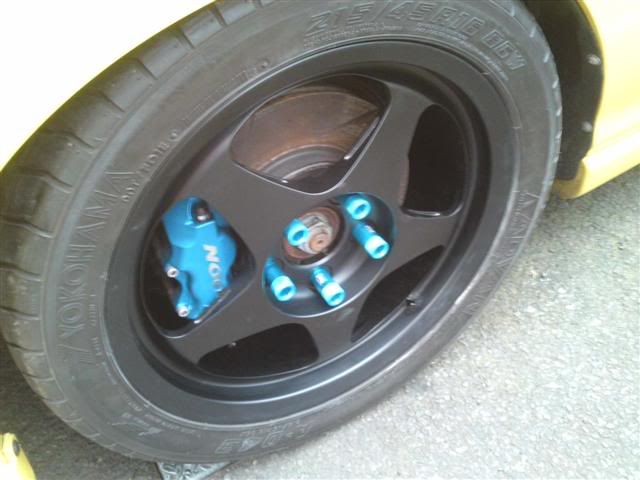
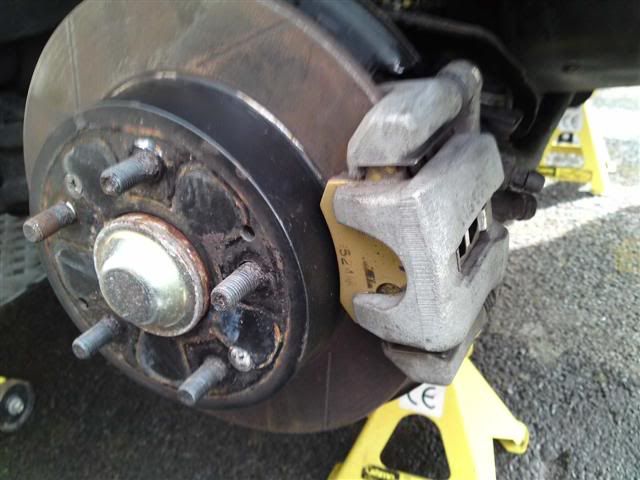
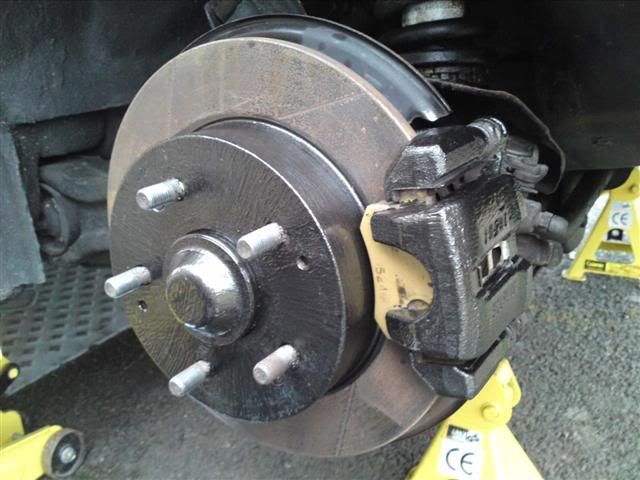
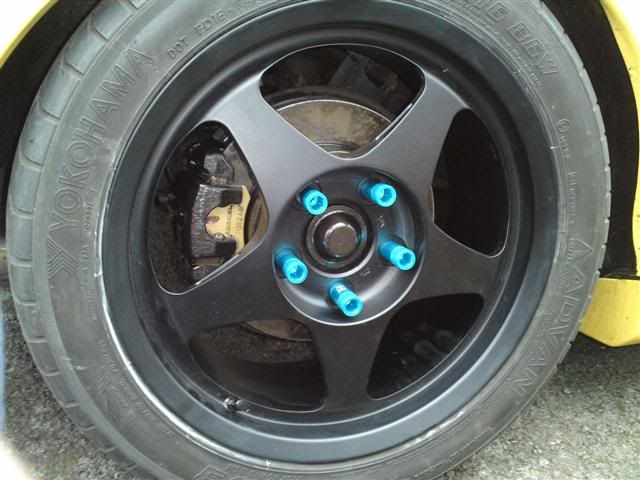
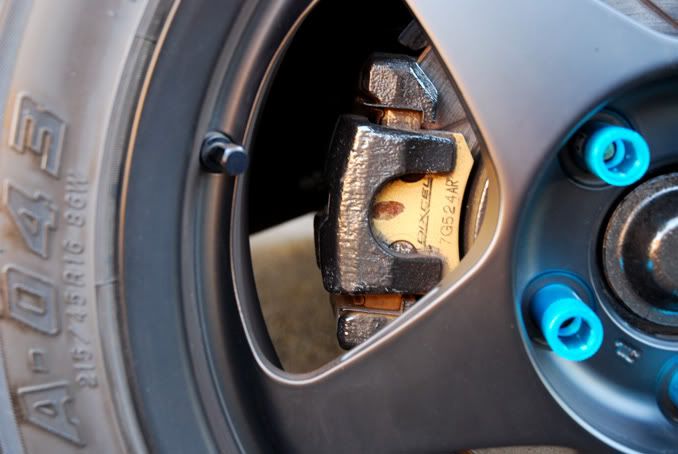
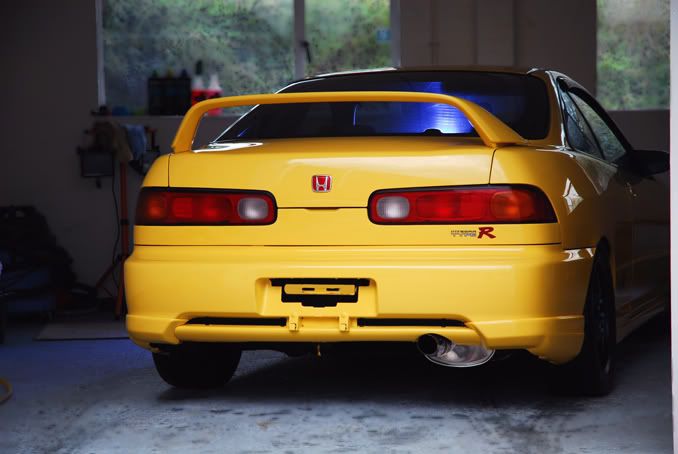
The car also got a full service of belts, oils, filters all round and spark plugs at this pointâ¦
Well firstly these are some of the advertisement photos the guys at Tegiwa Imports had up. I was torn between looking at the silver one and the yellow motors they had as both appealed to me being a bit different and rareâ¦
But as you know, after much debating and humming and haâing and melting the lads heads, I decided to go for the yellow one just for the extra rarity, which was a tough call, as they were both 2 great shape fairly original low mileage motors. Mine having covered just under 35k kmâs since Dec 99 till June 07
So off I went on my journey from Stoke on Trent to Stranraer having some fun with a yellow Evo 5 on the country roads to the port
(looking rather high here oddly :S )
Then over to Ollies the next morning so he could fit an alarm and have a good tug over one of these as Ollie is a big PY fan lol!!!
The ganch himself
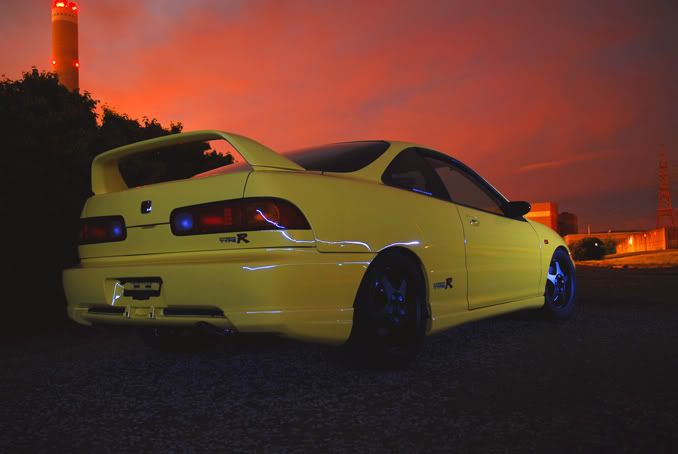
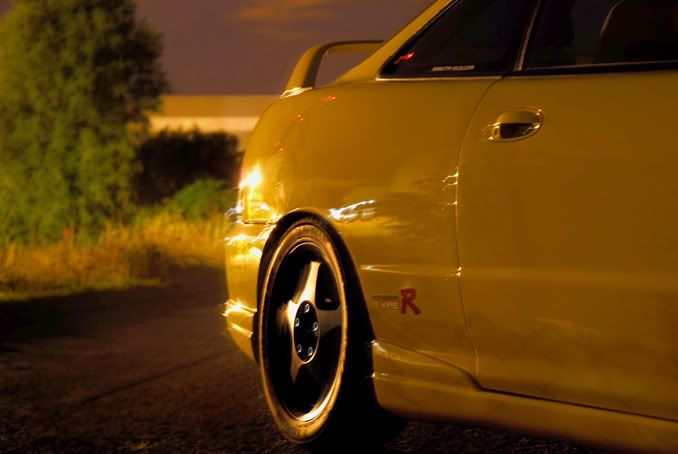
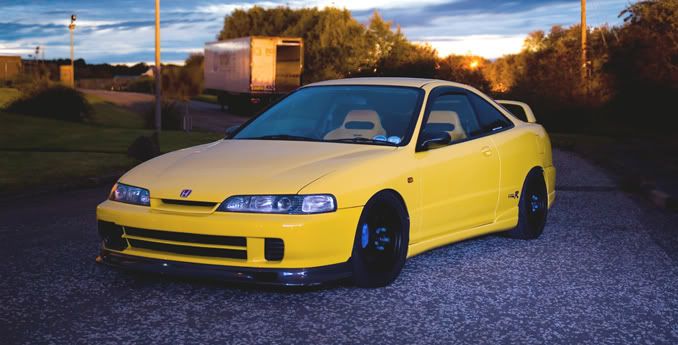
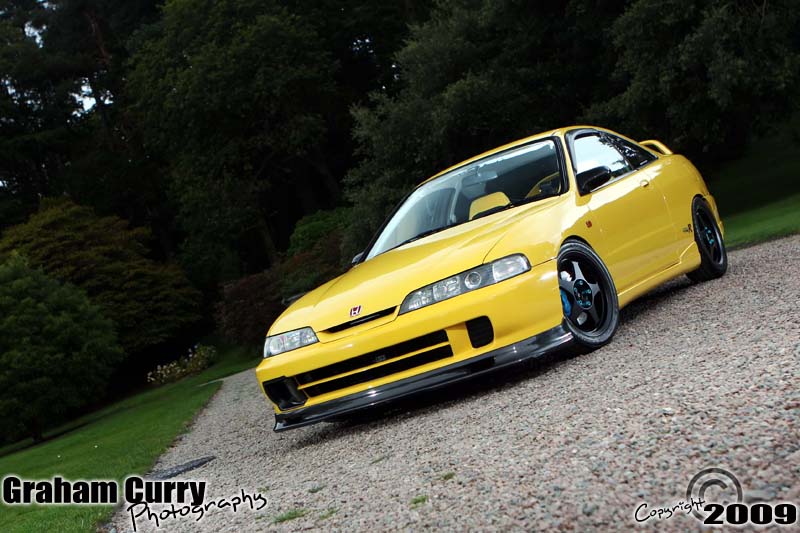
With the car being yellow and being 8 odd years old, naturally the colour was a bit patchy in places and a bit swirly, so off it went to my friend Pete to do the business on bringing it back to a bit more of a respectable state
It was hard to get photos of it before hand and the swirls due to it being yellow, but you get the idea here:
And after:
The car also got a full service of belts, oils, filters all round and spark plugs at this pointâ¦


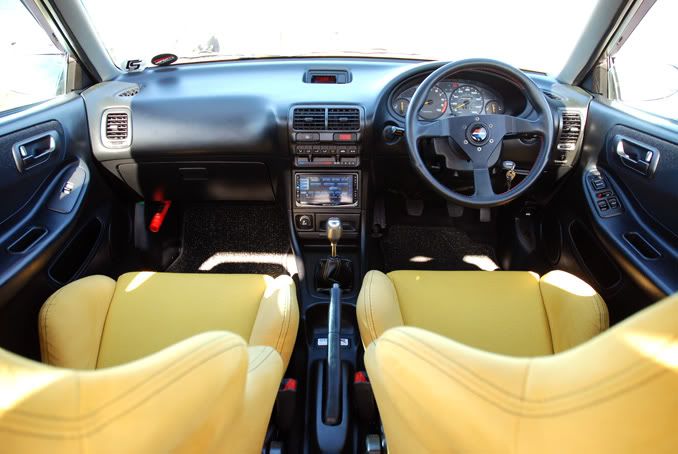


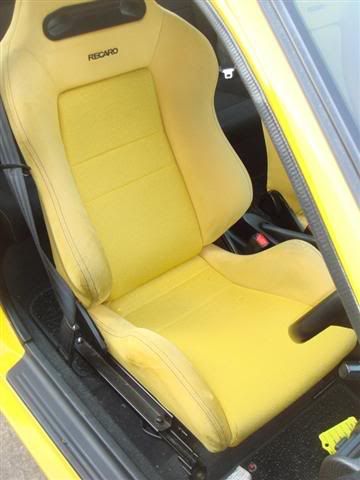
 excellent post boss!! sum amazing pics in there, have to say the car looks the absolute buisness mint clean with super rare yellow recaros in mint condition!!! faultless


