Hello all, So im newly signed up here and thought i would share my build with you all ") Sorry its not an EK9
Sorry its not an EK9
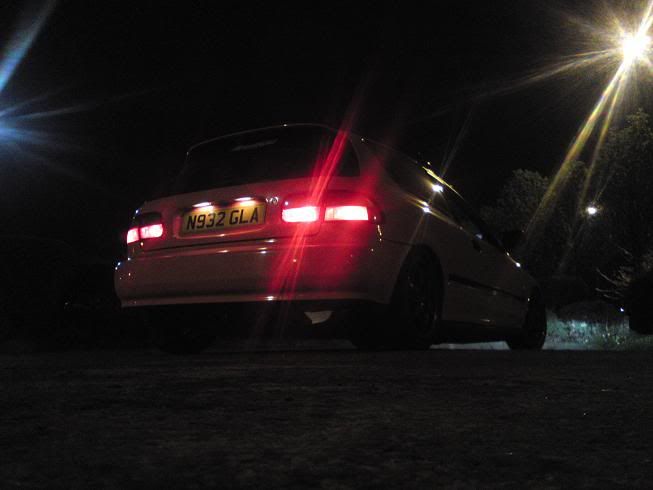
Anyway this all started off in 2008 when i bought my first car: EG4 Lsi
When i first got the car it had awful wheels on and my plans were some what max power magazine related (which i am ashamed to admit now lol)
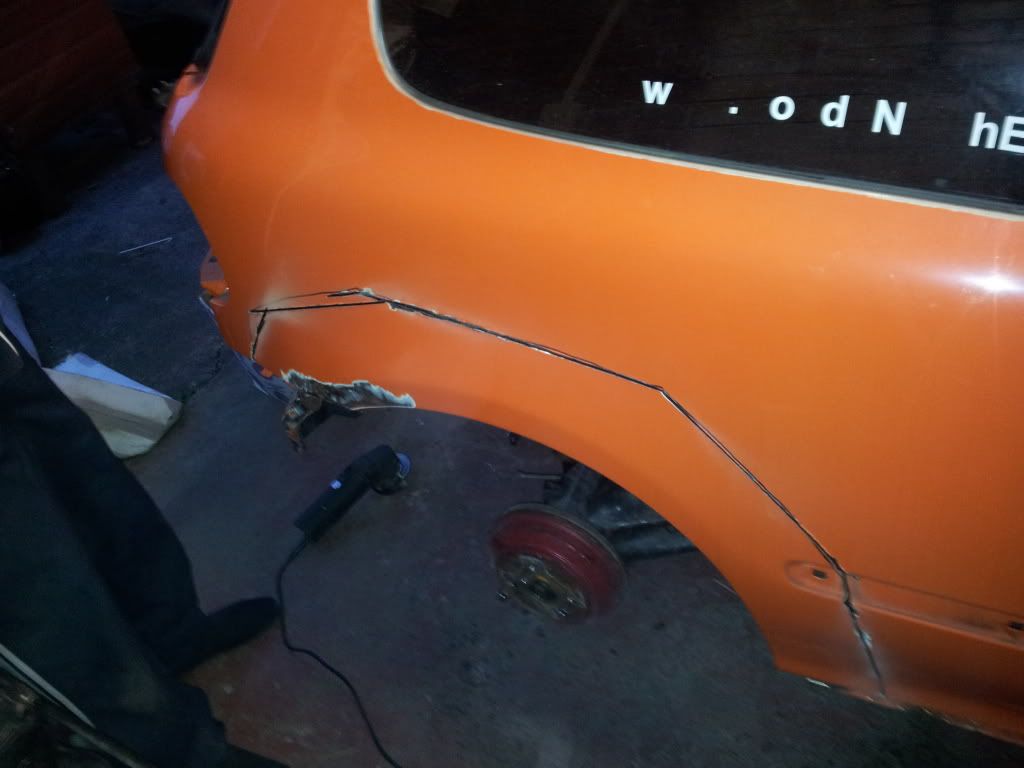
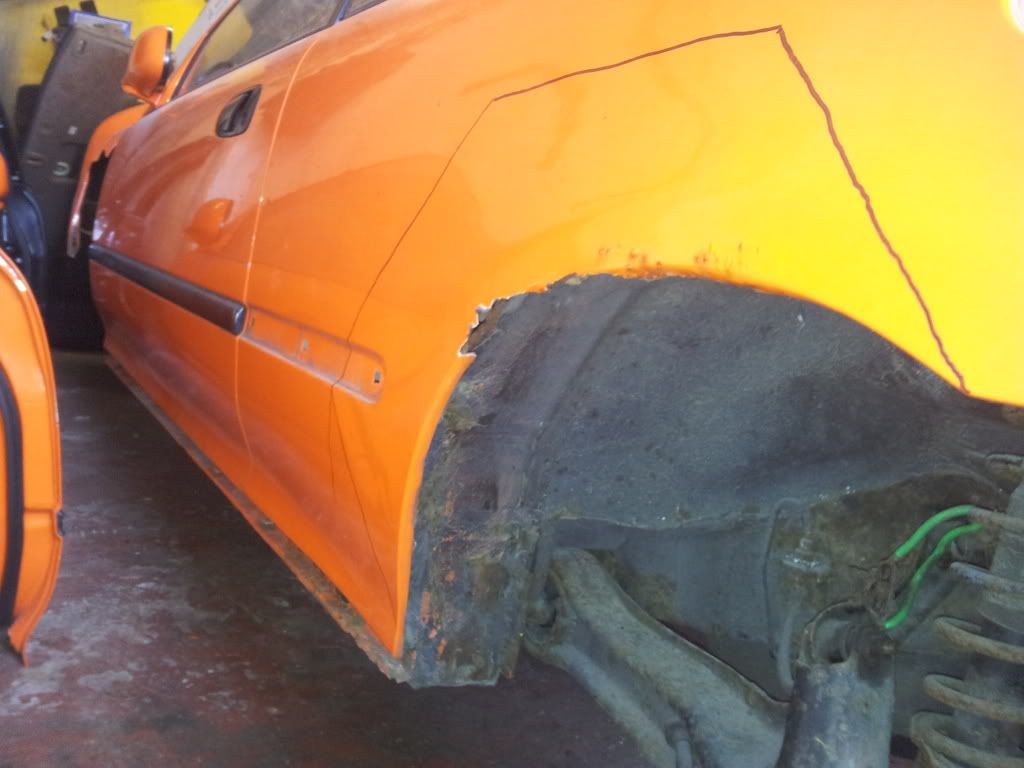
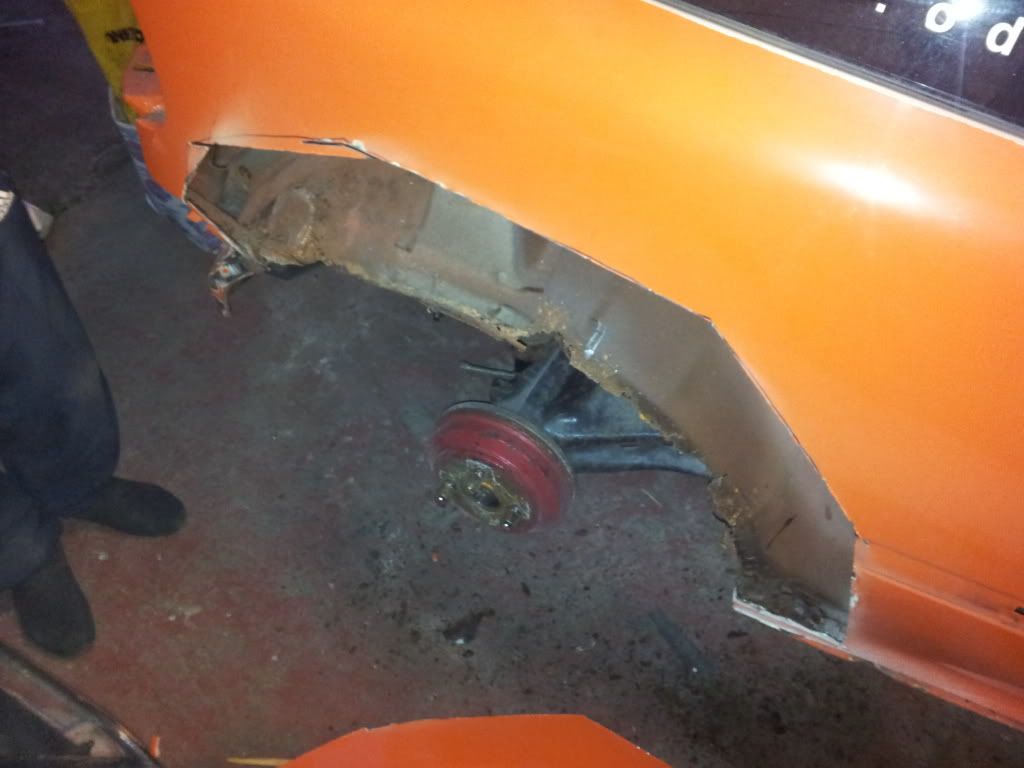
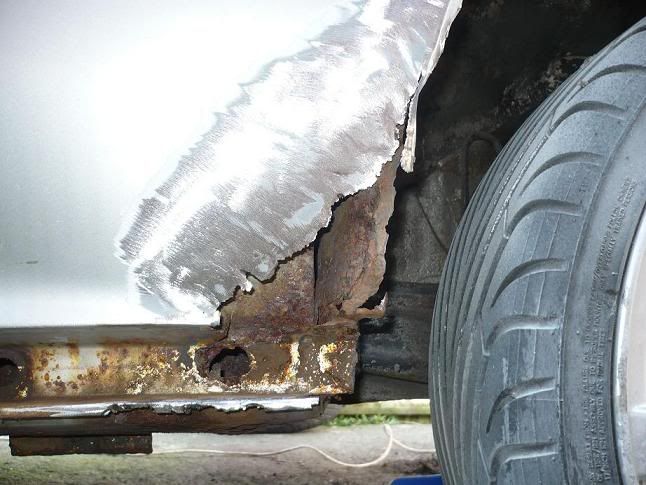
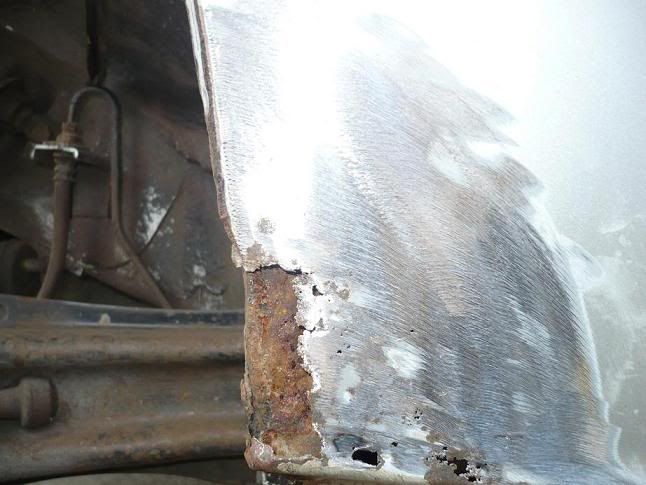
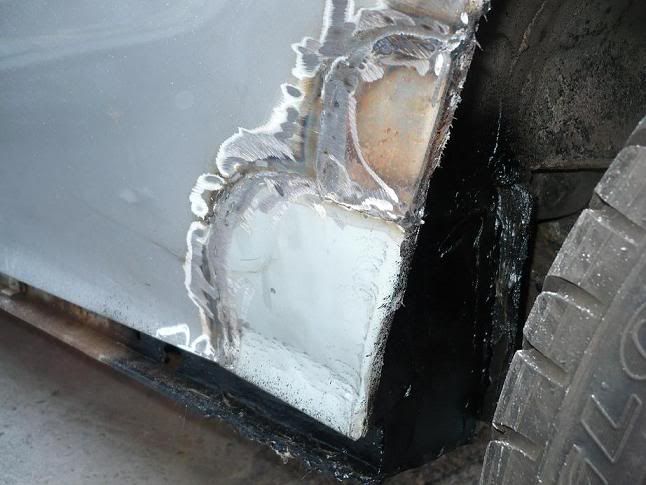
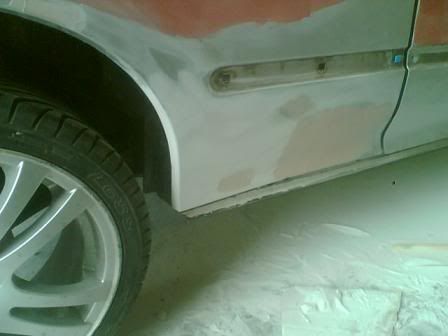
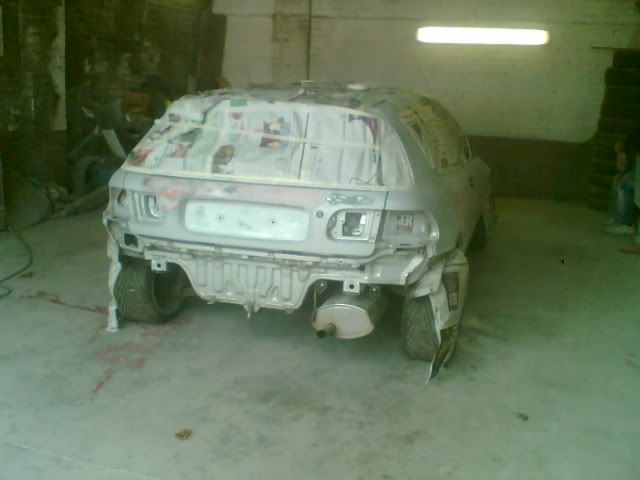
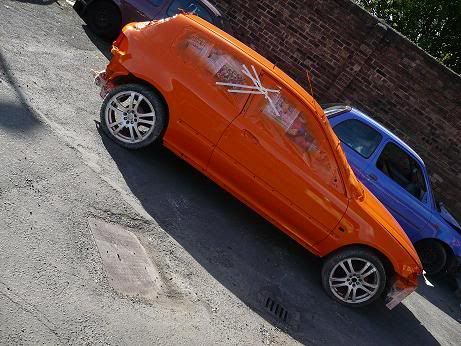
Fortunately after the car sat around for a bit and me growing up somewhat i started to rebuild her, First time round was about getting the car painted and sorting the arches out.
Looking back on these pictures from 2009 makes me realize what a learning curve is and how much more dedicated i am to this car than i was back then.
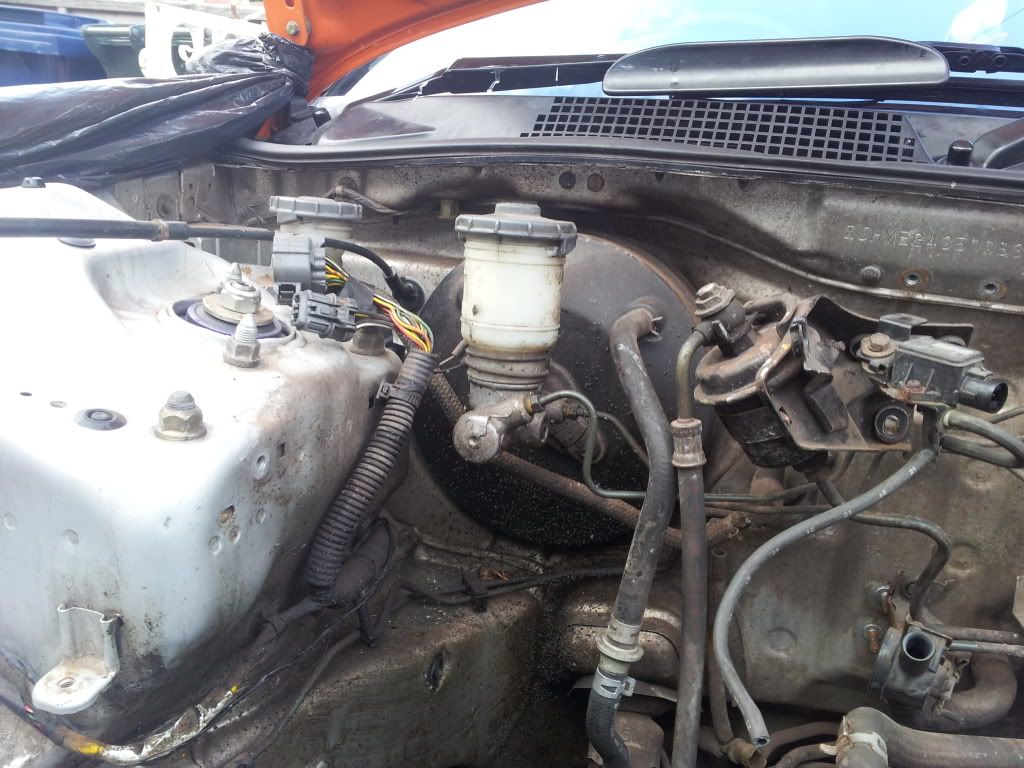
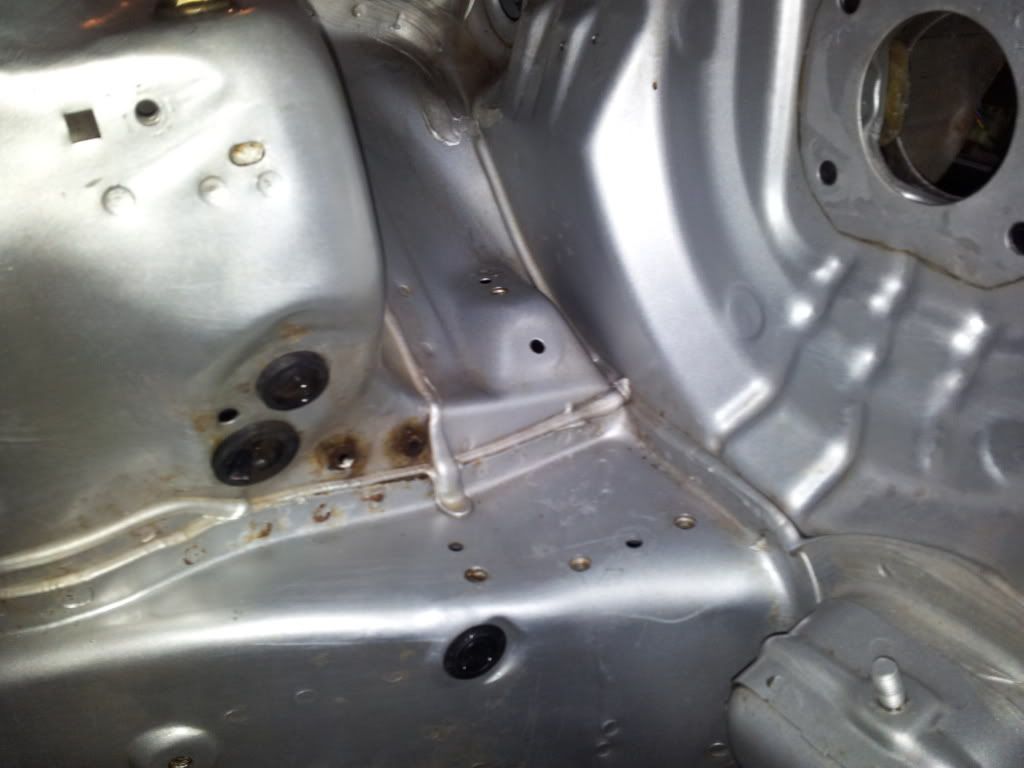
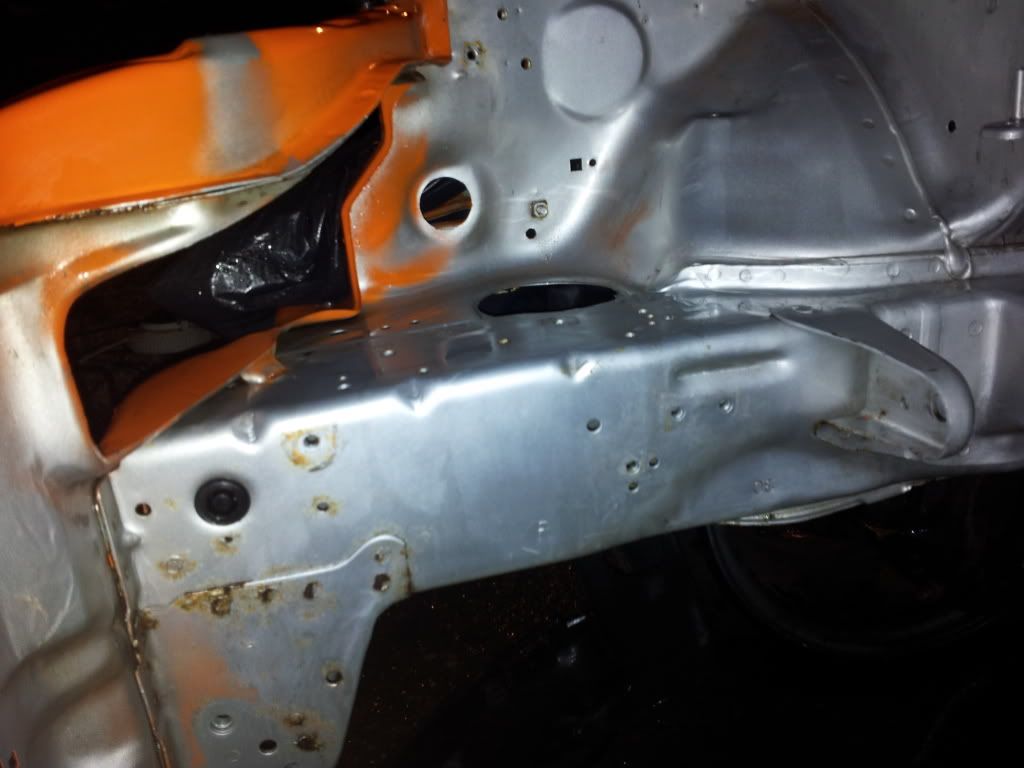
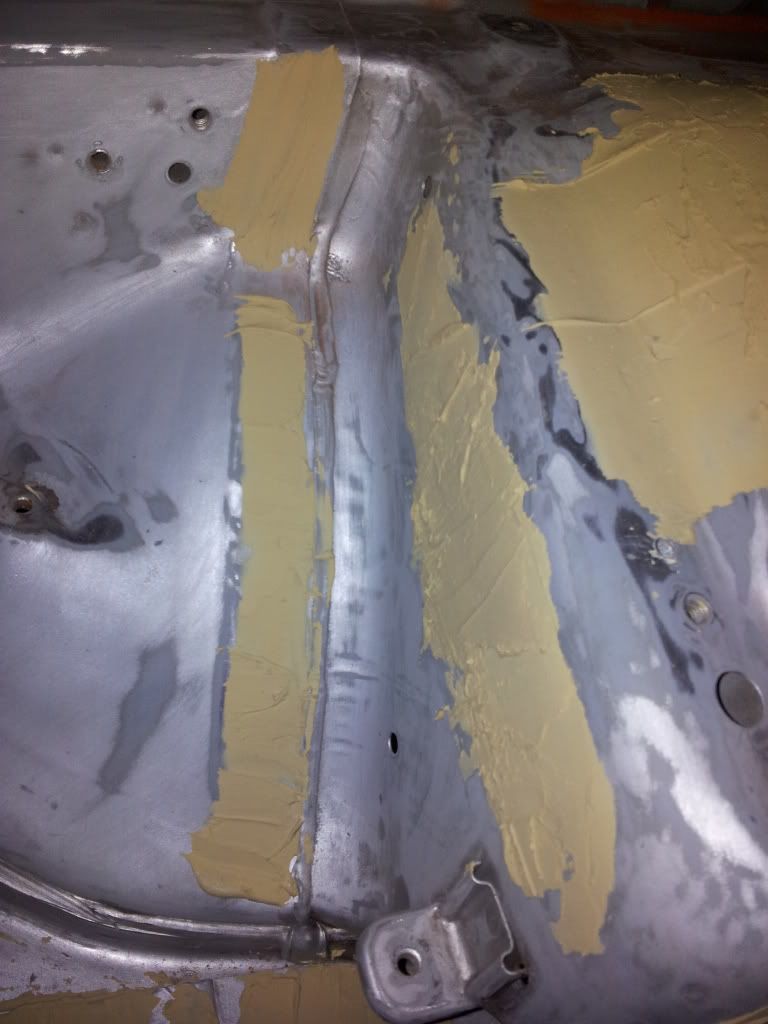
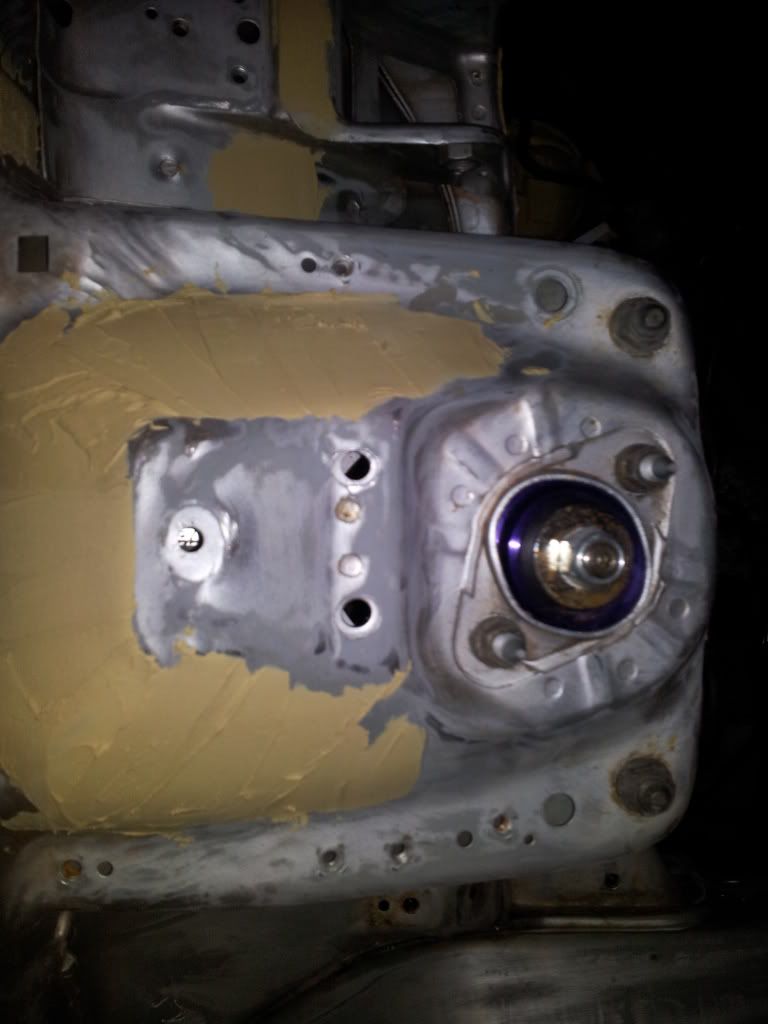
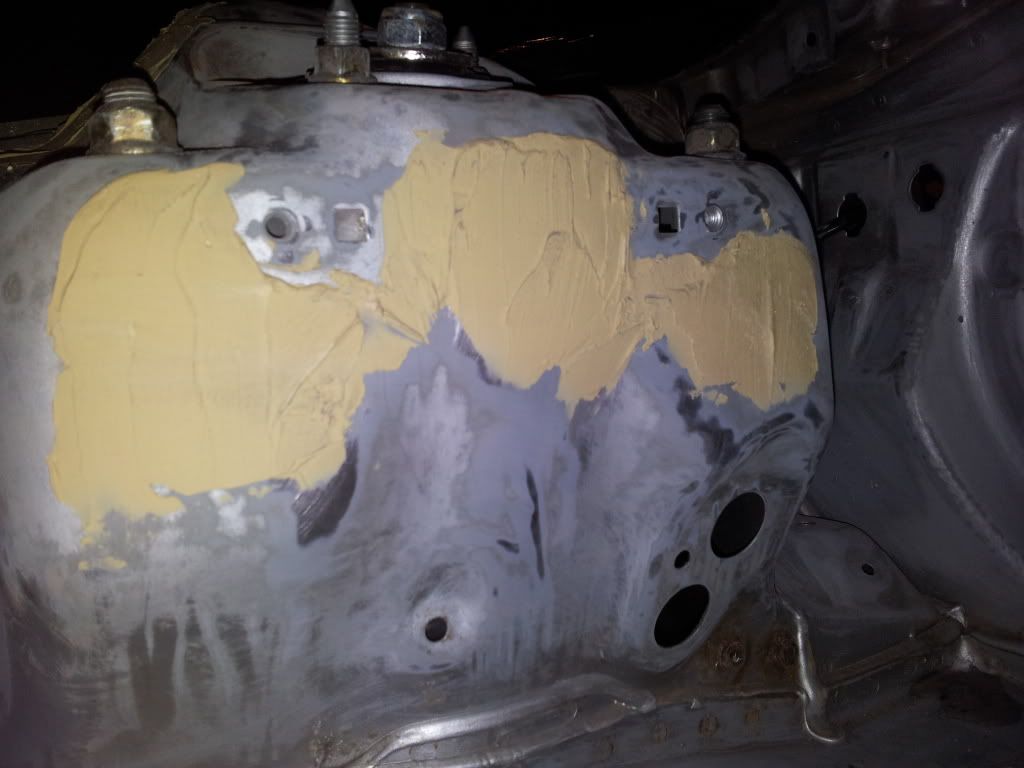
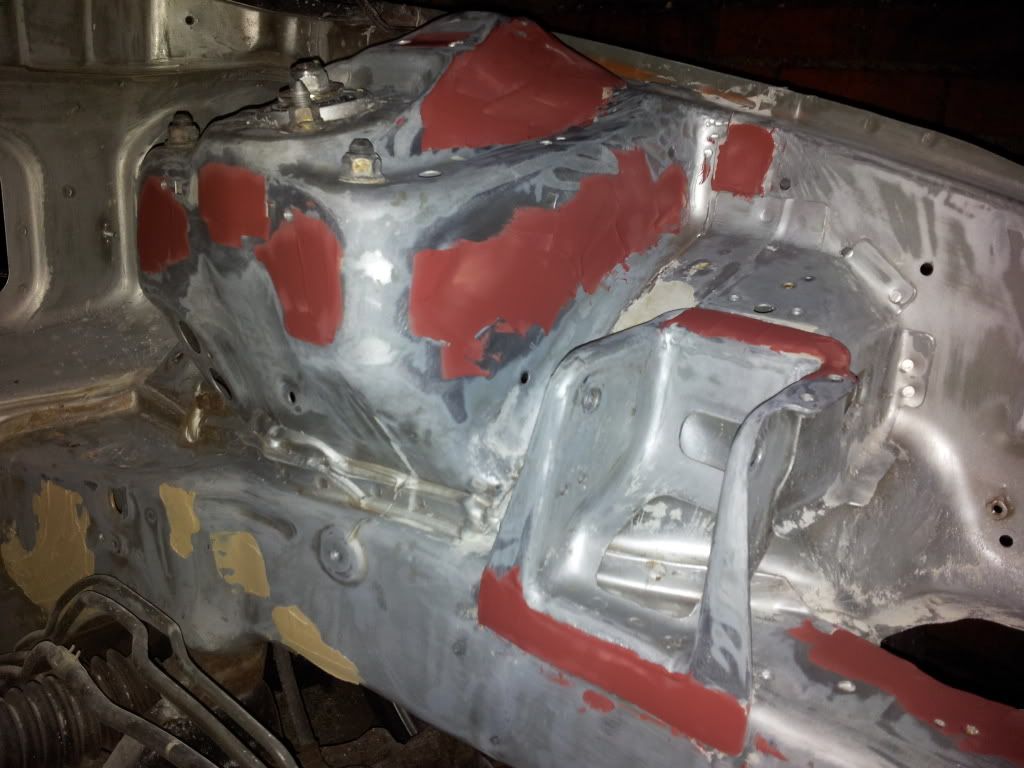
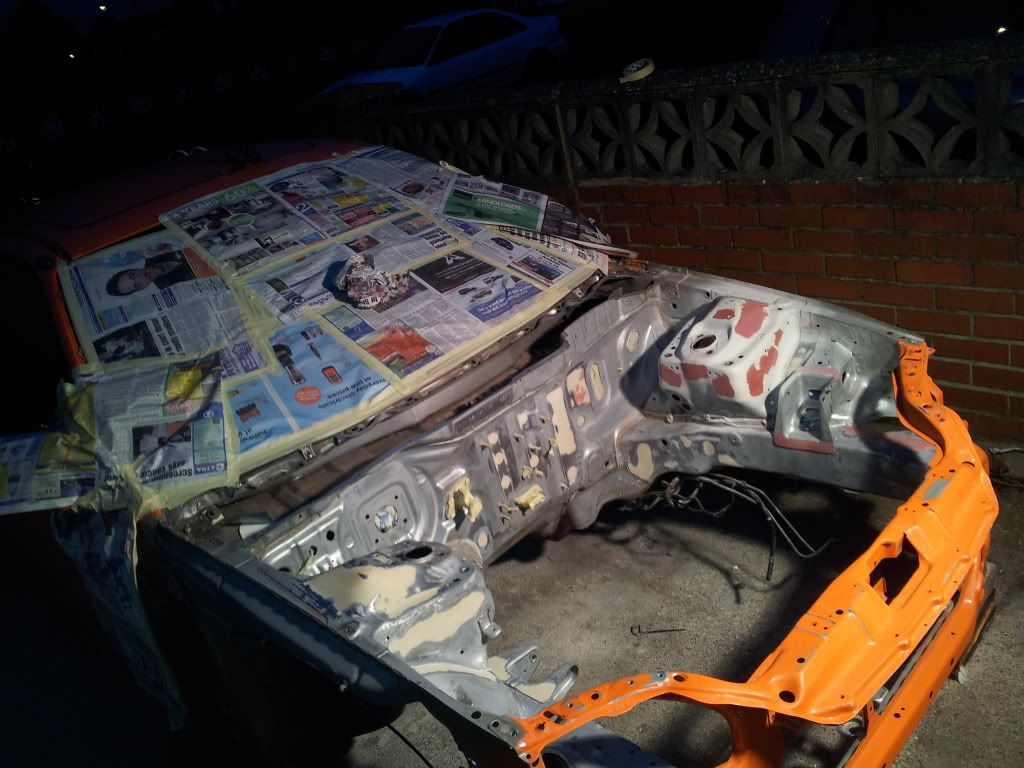
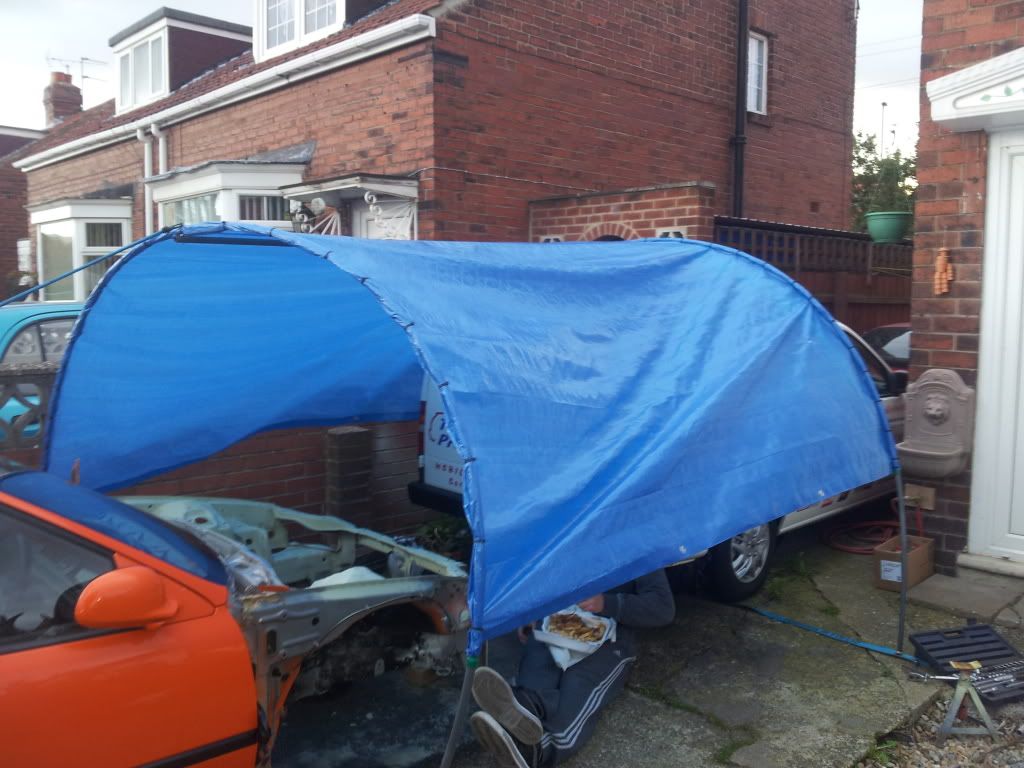
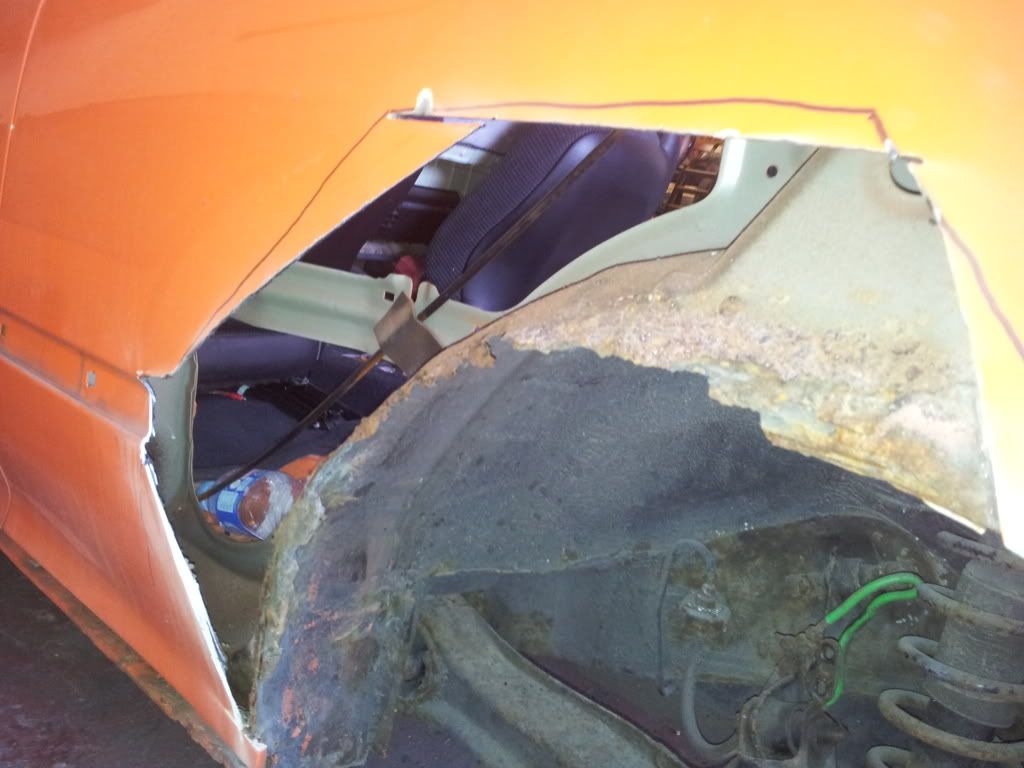
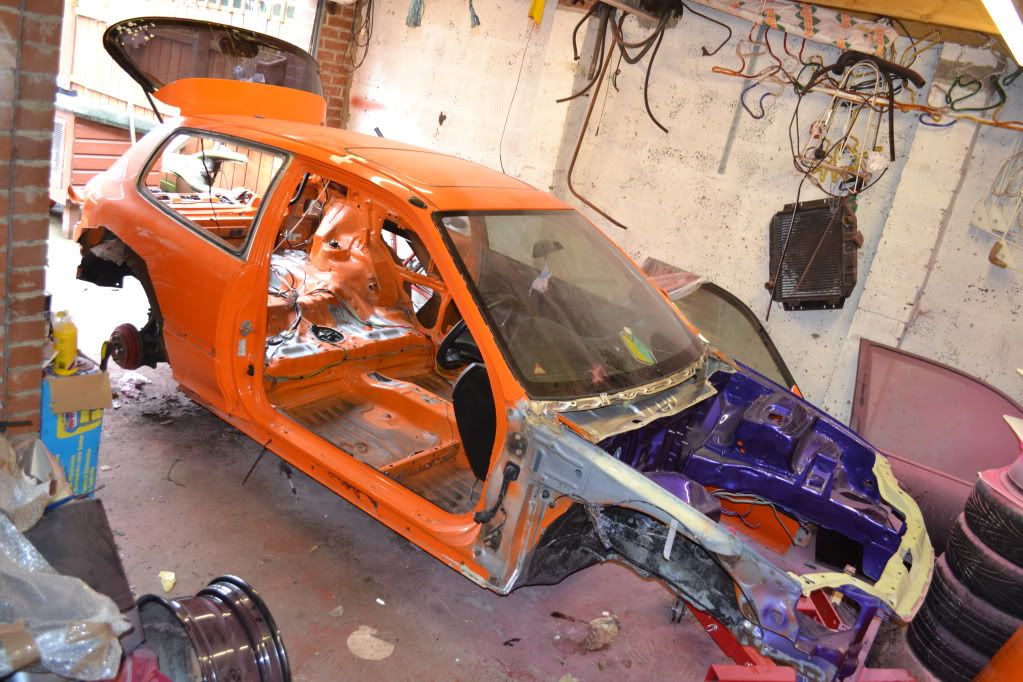
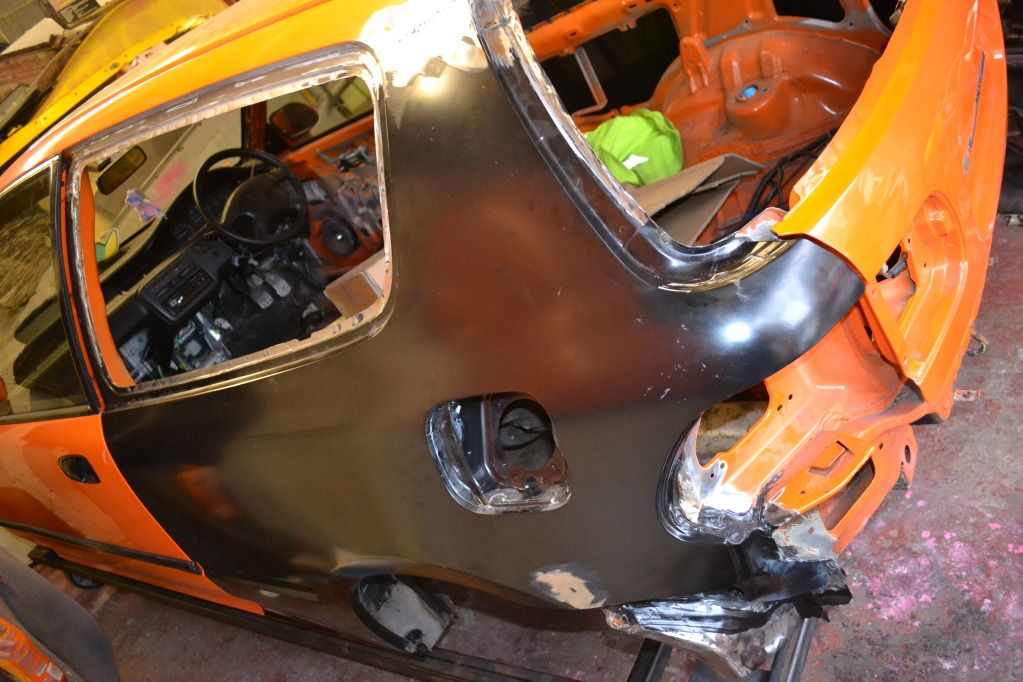
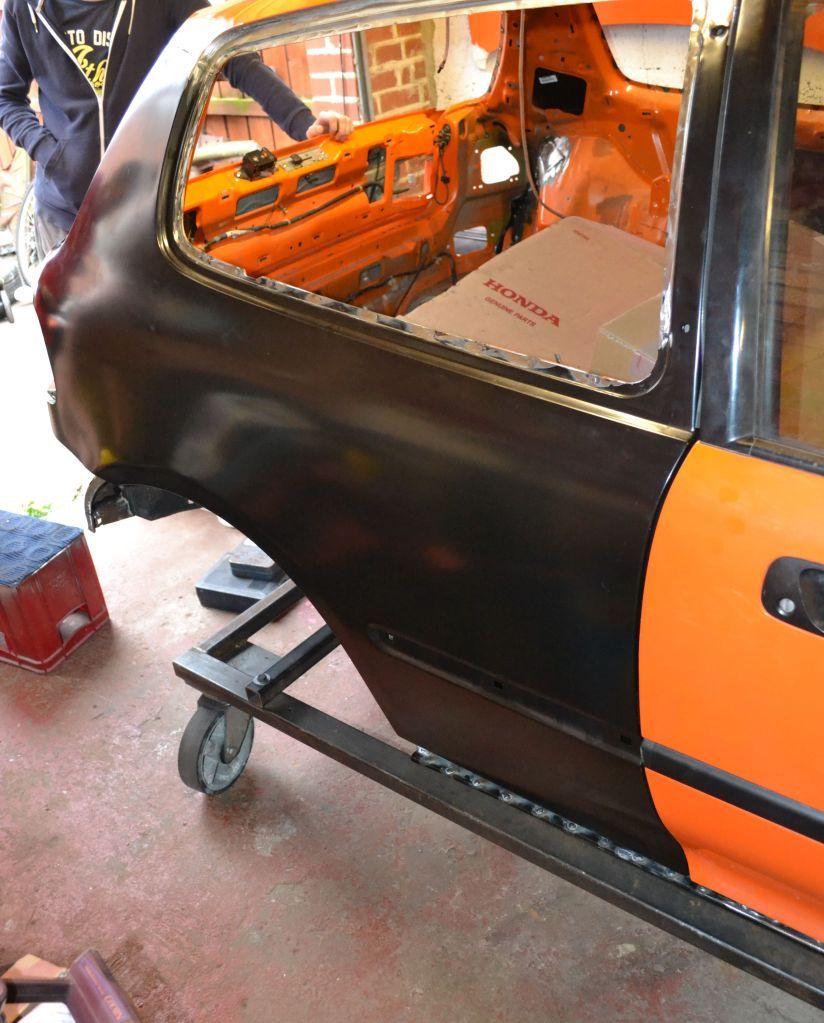
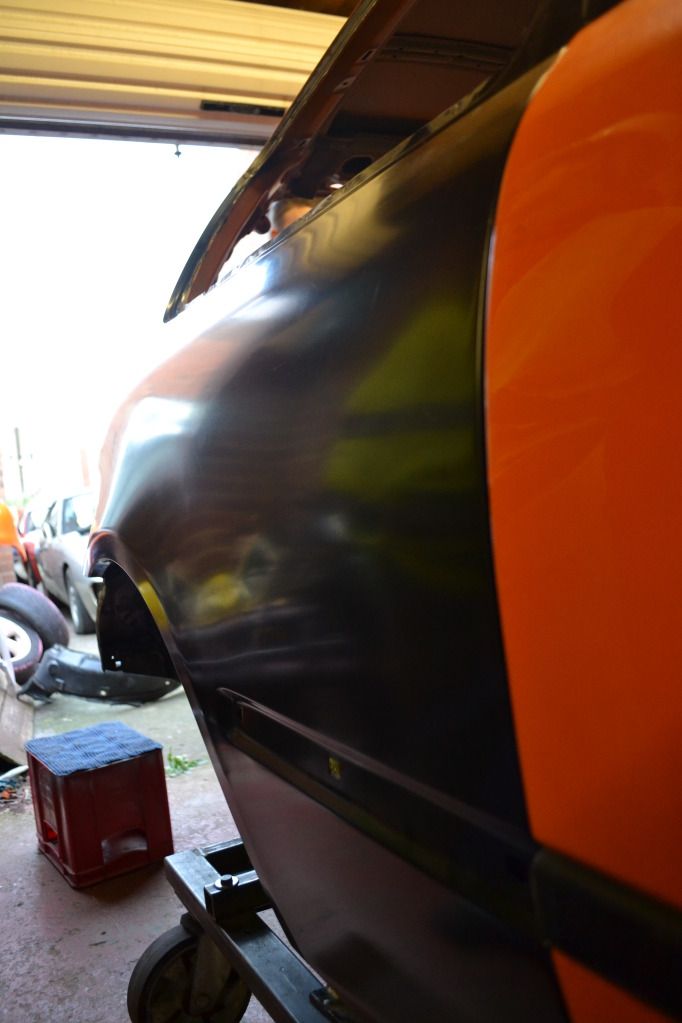
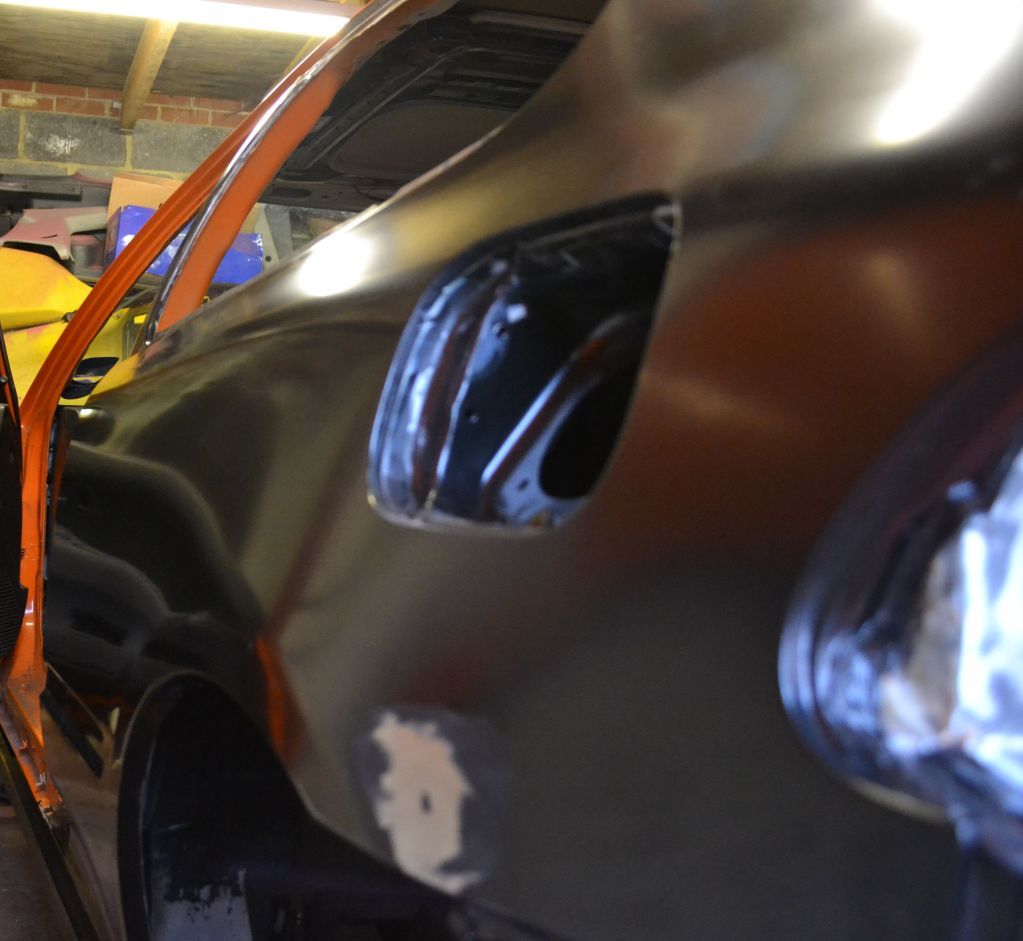
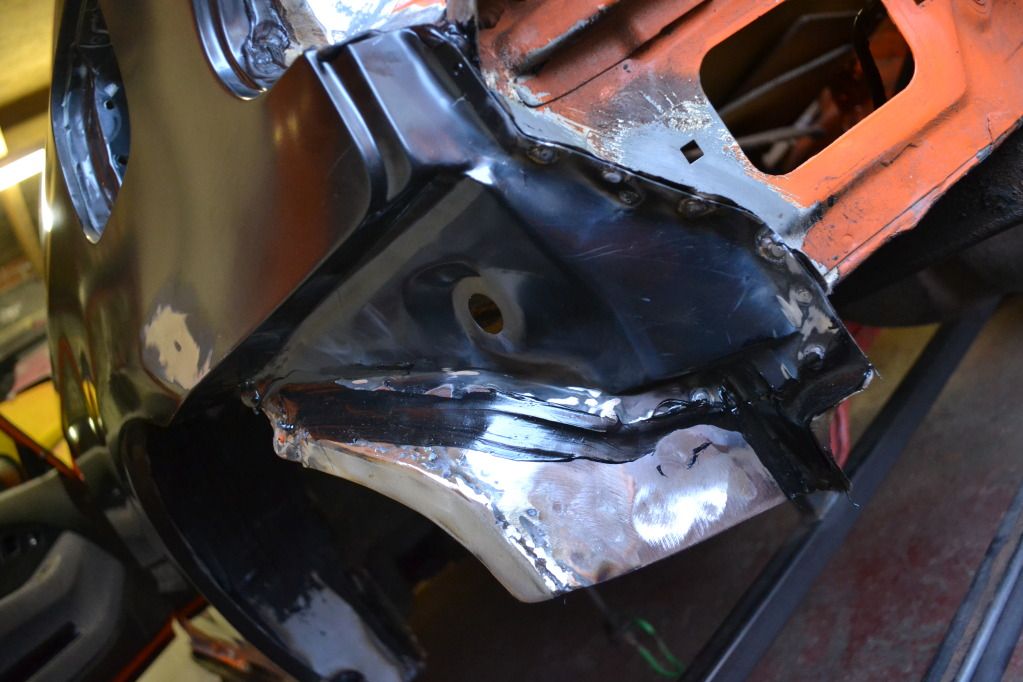
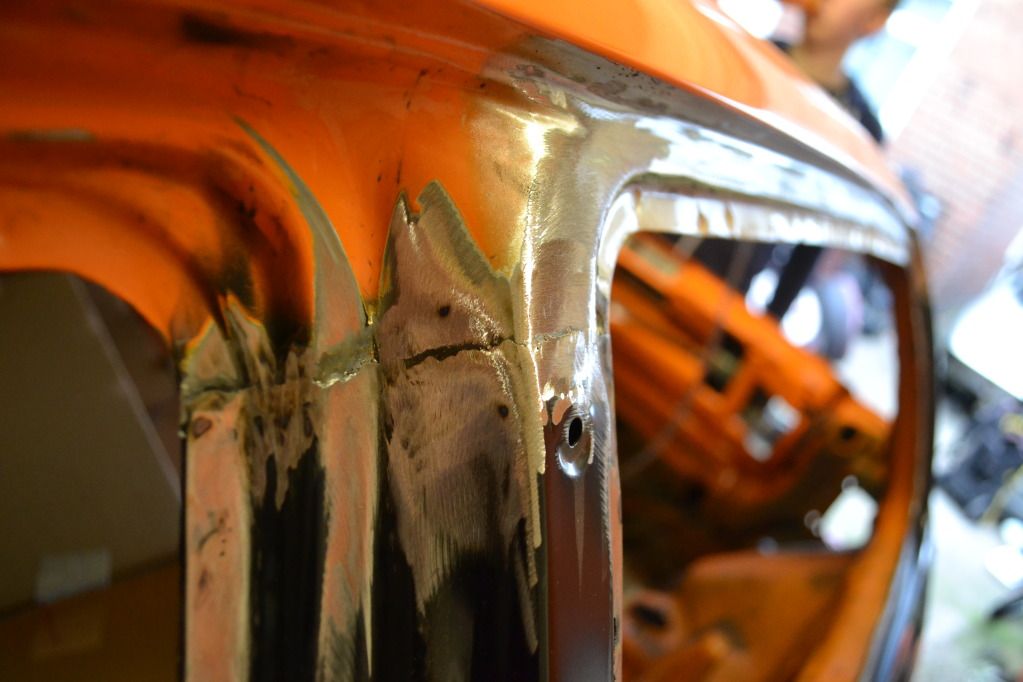
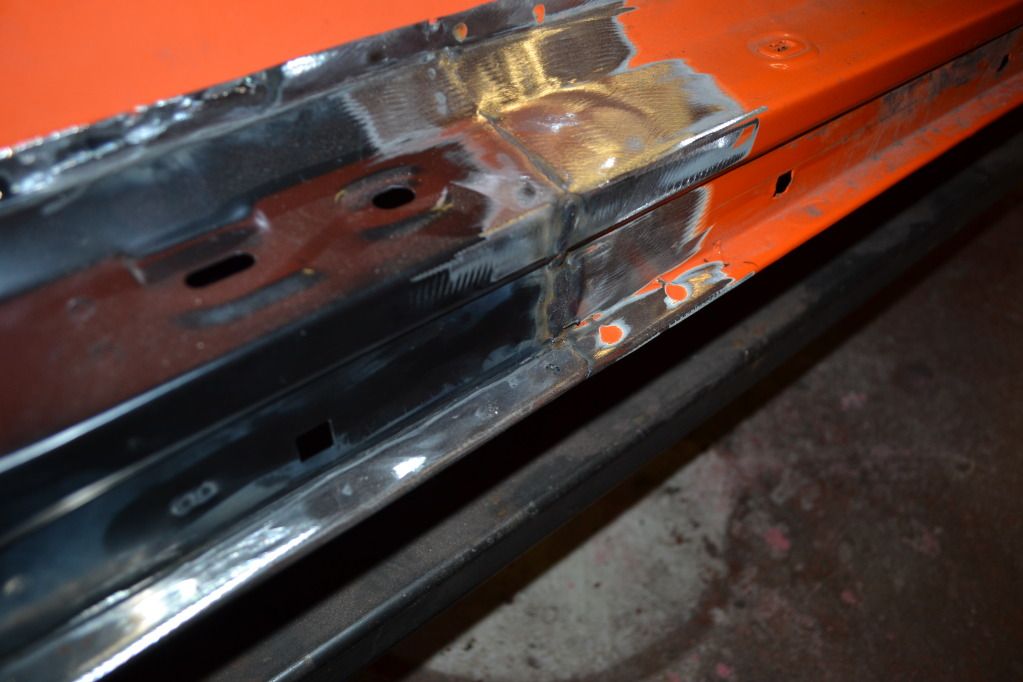
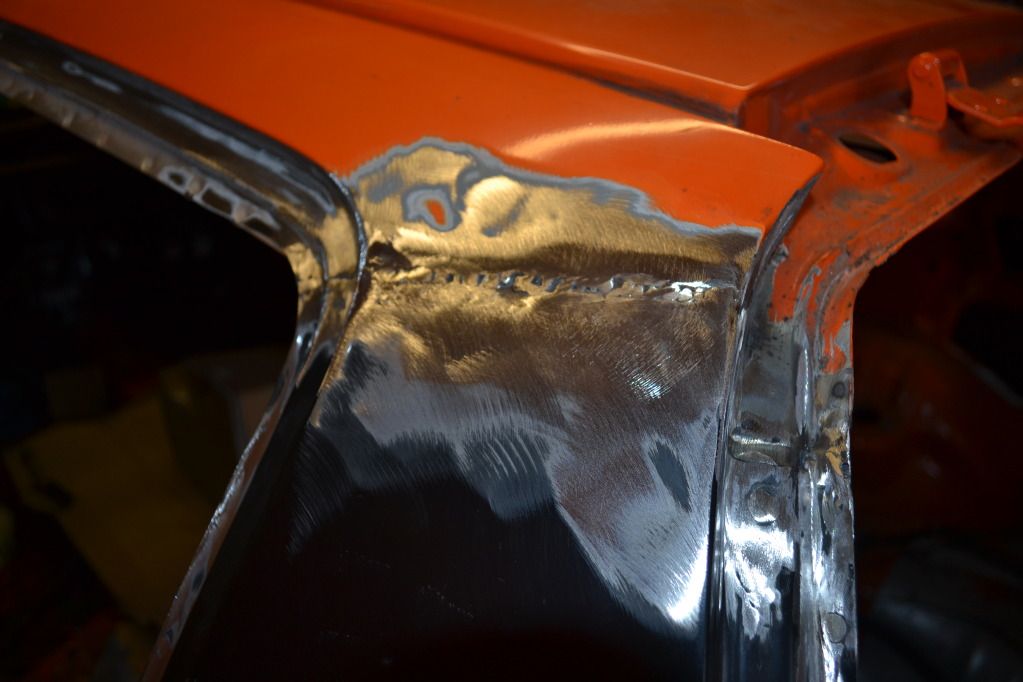
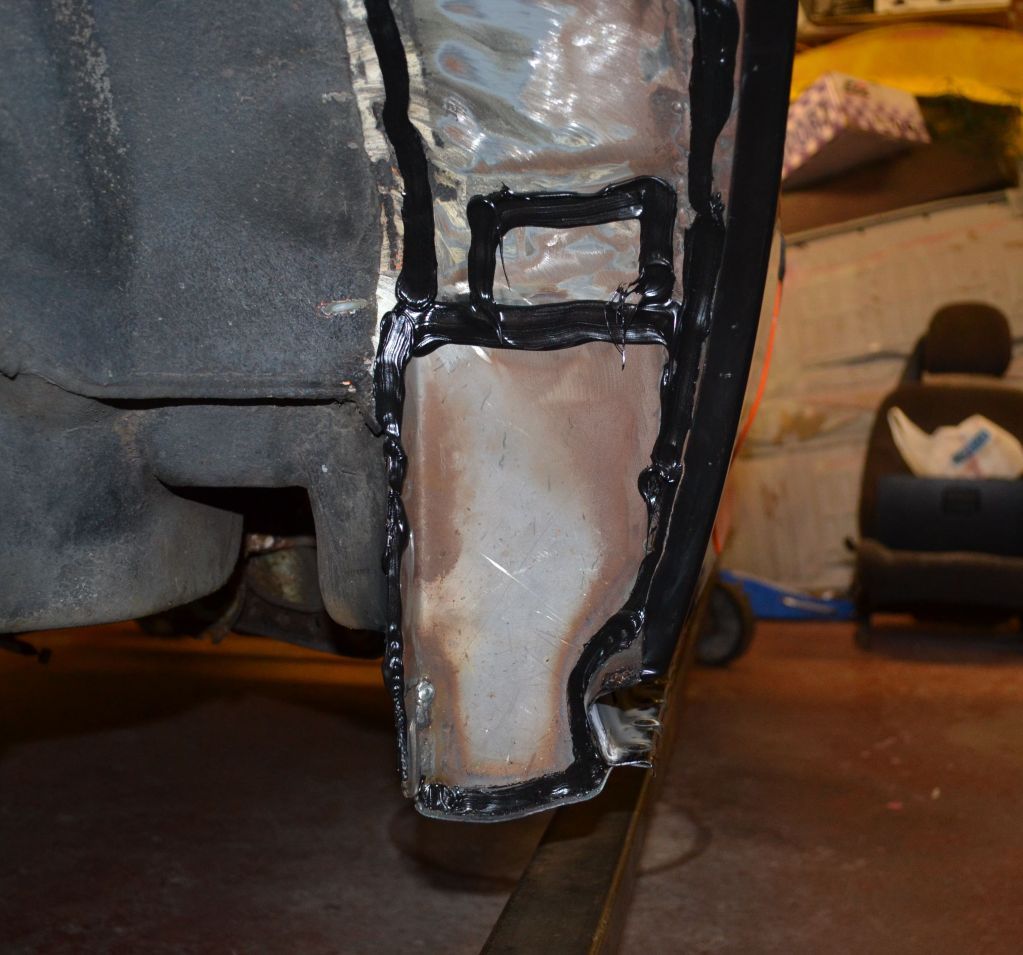
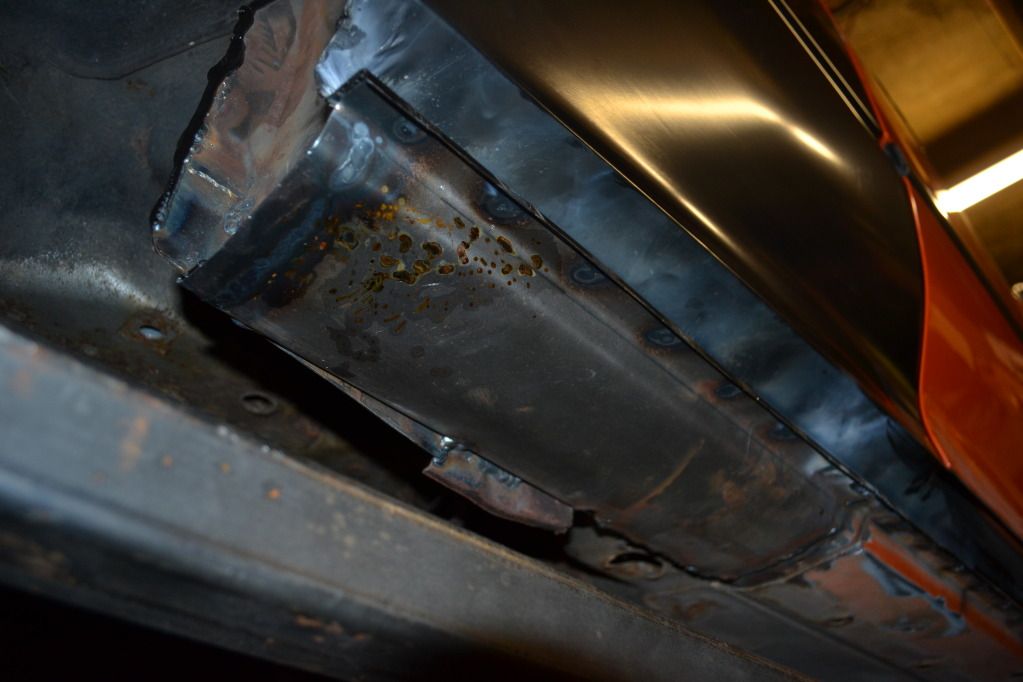
With the arches ''Fixed'' It was time to work on the rest of the body.
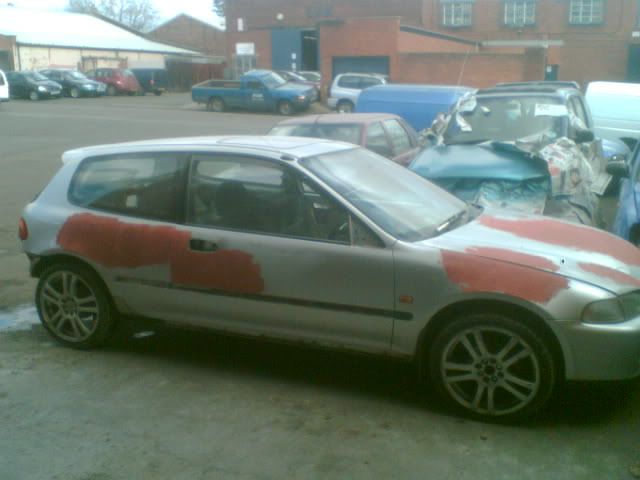
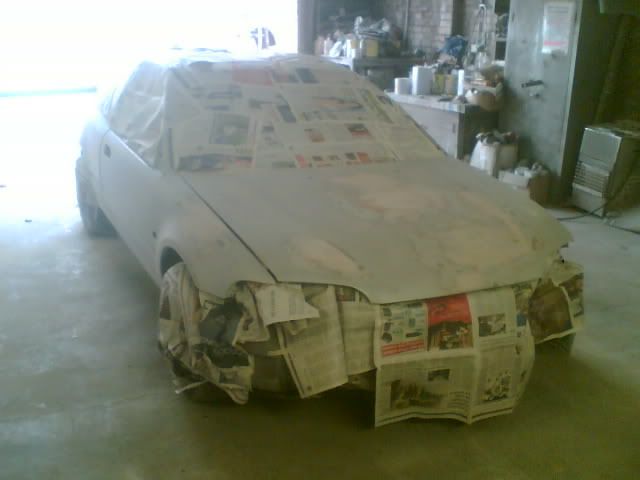
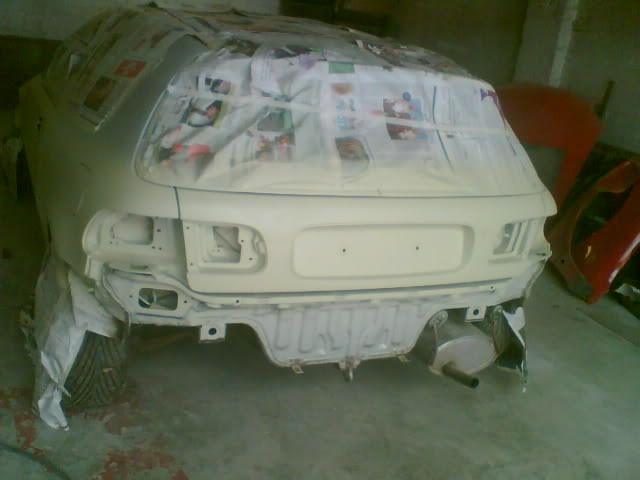
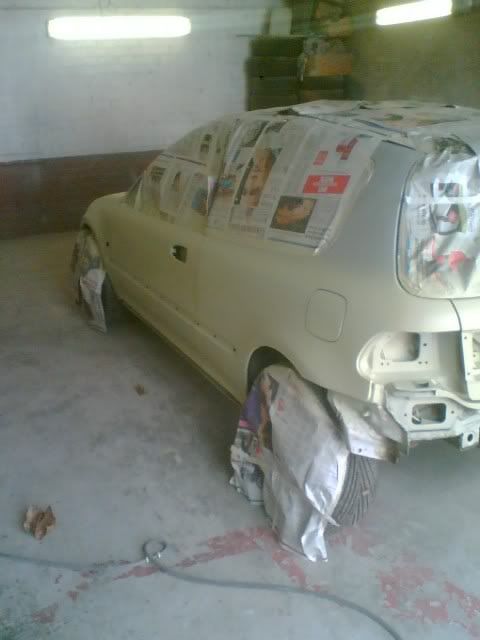

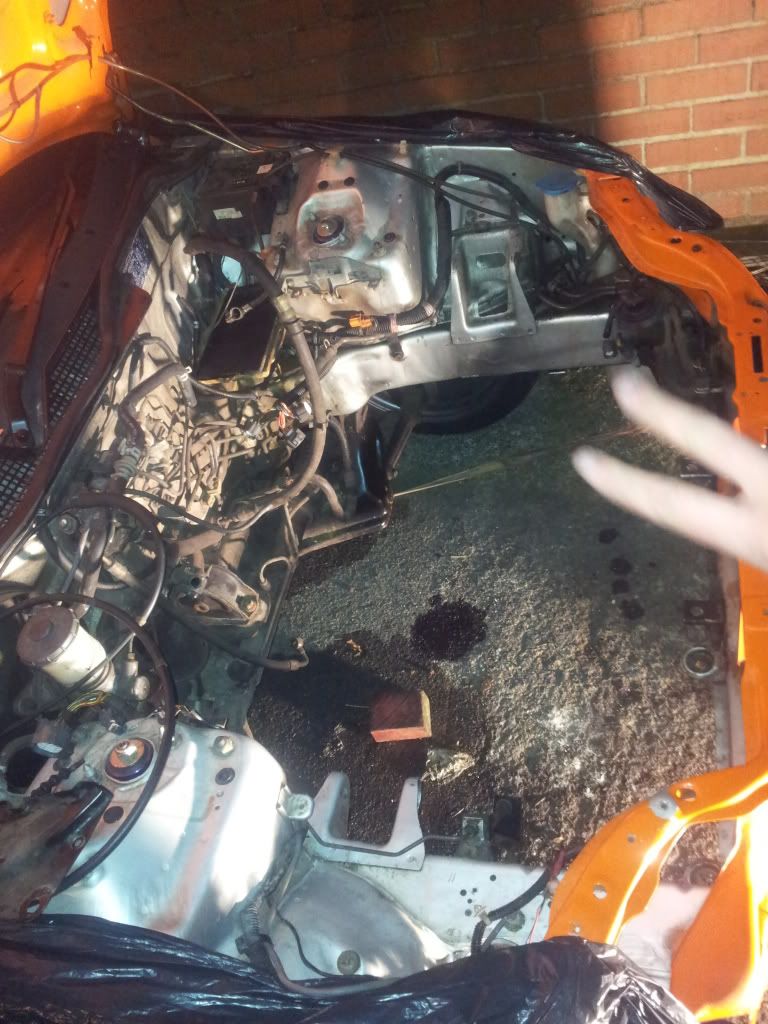
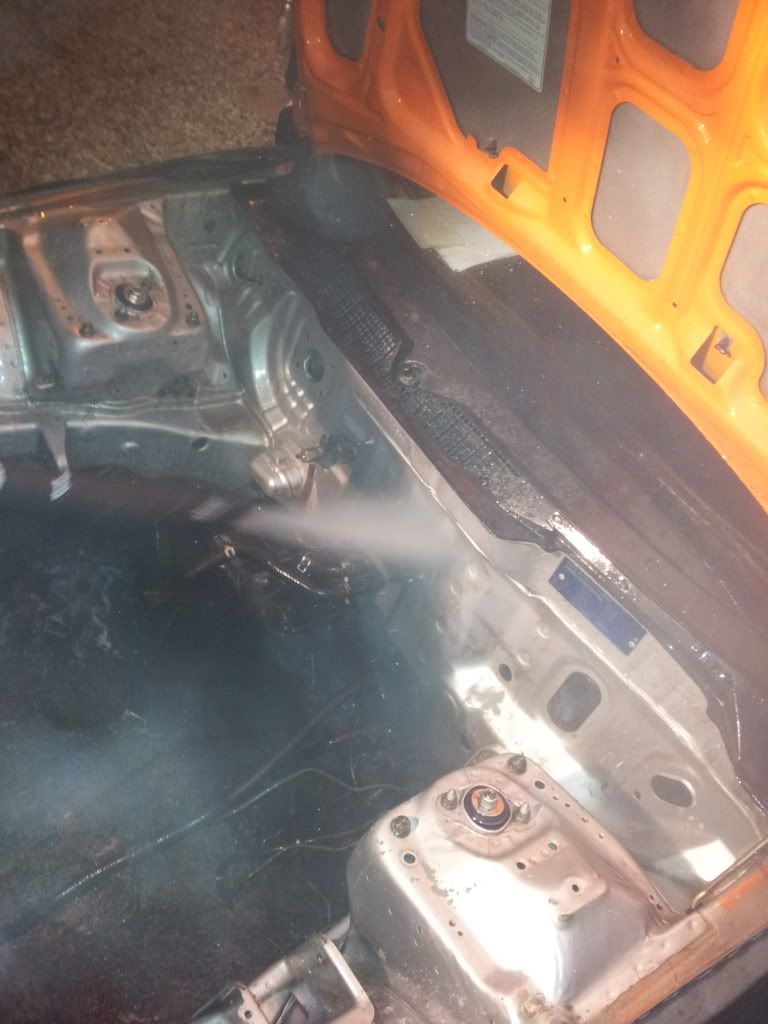
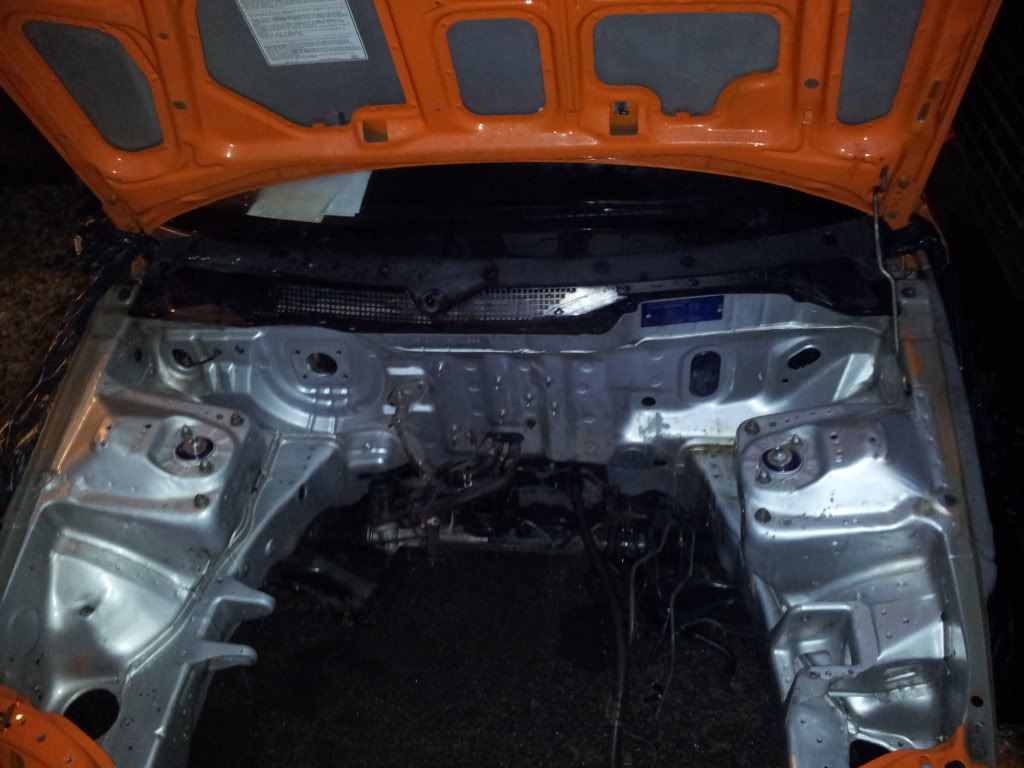
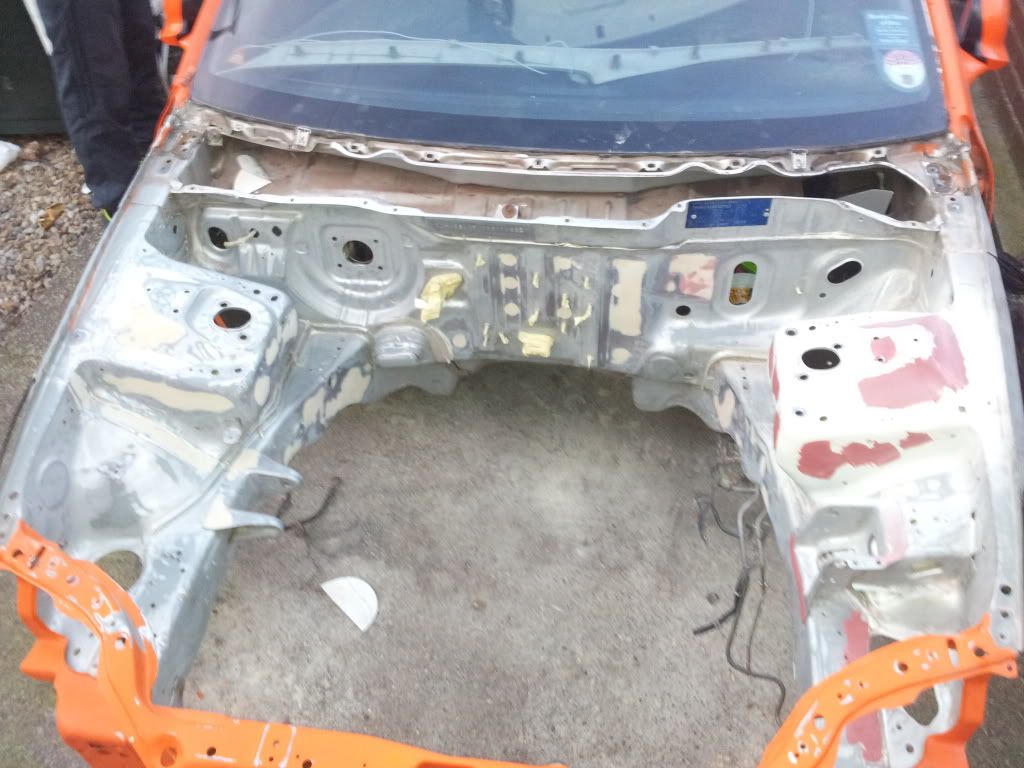
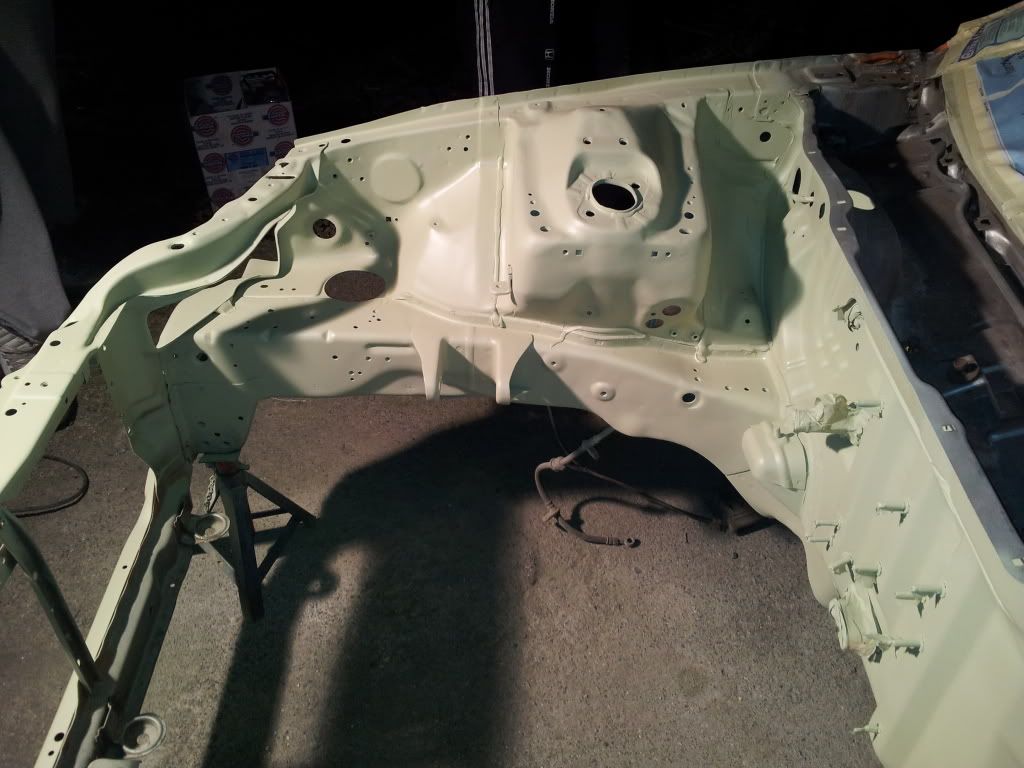
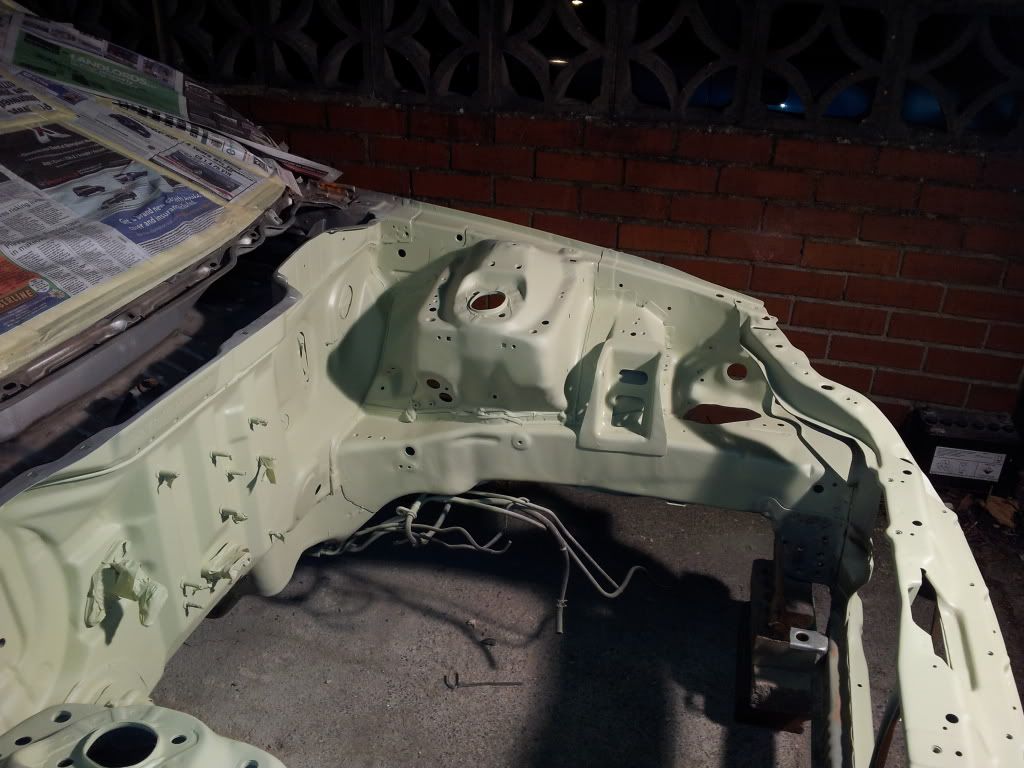
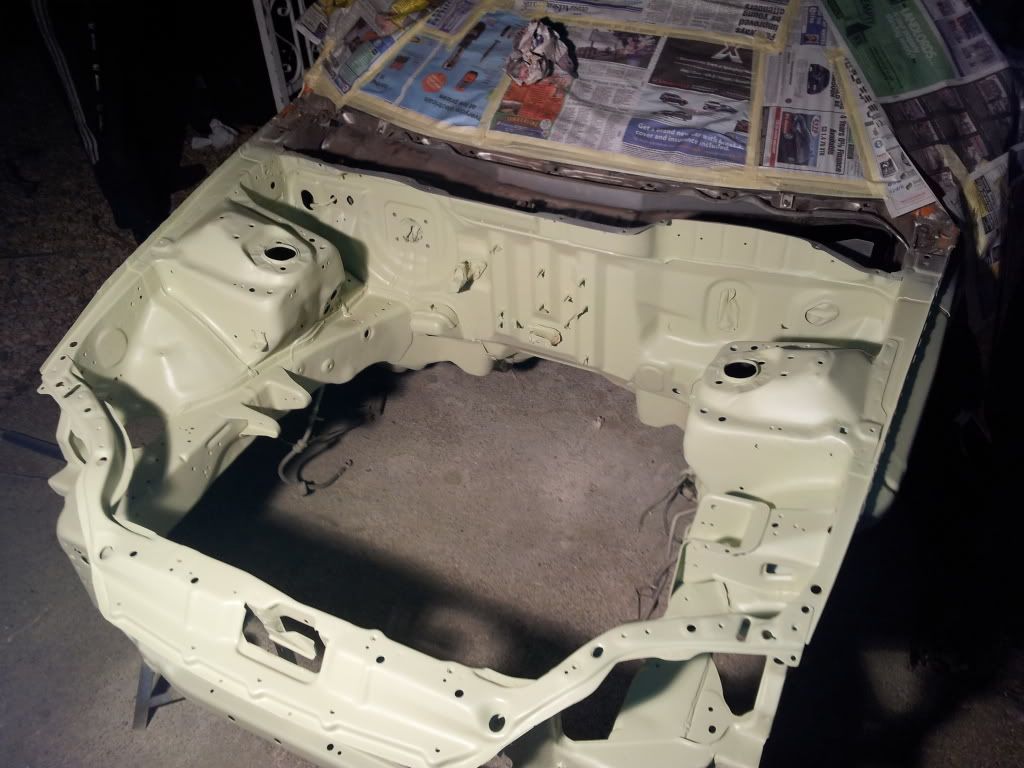
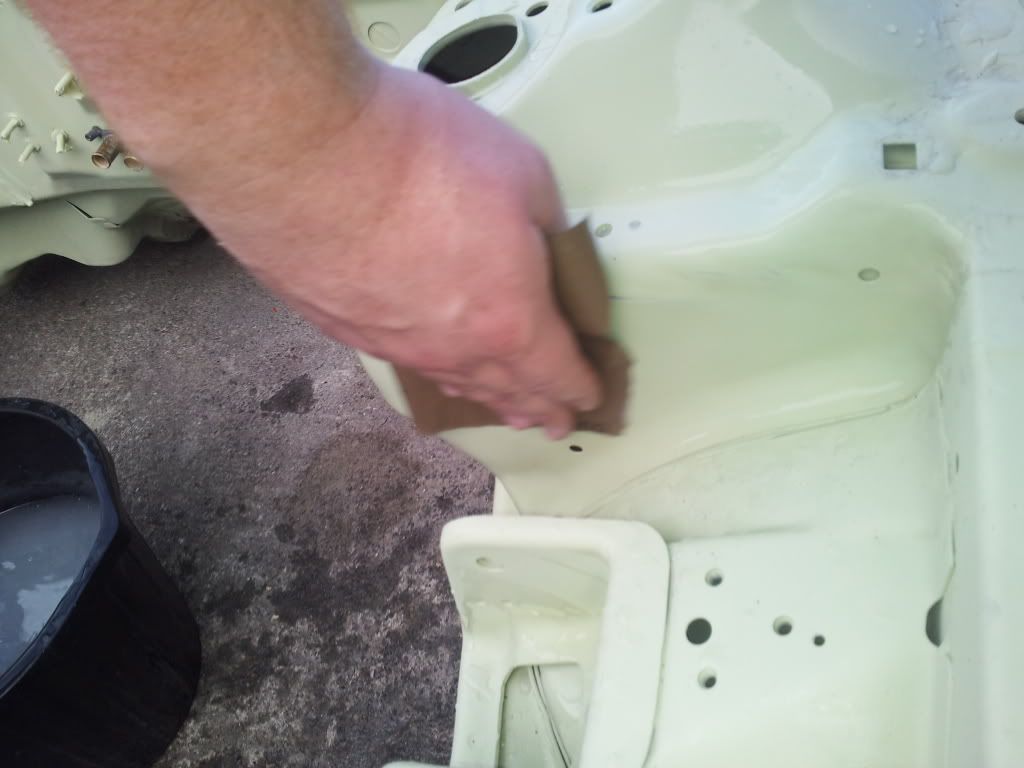
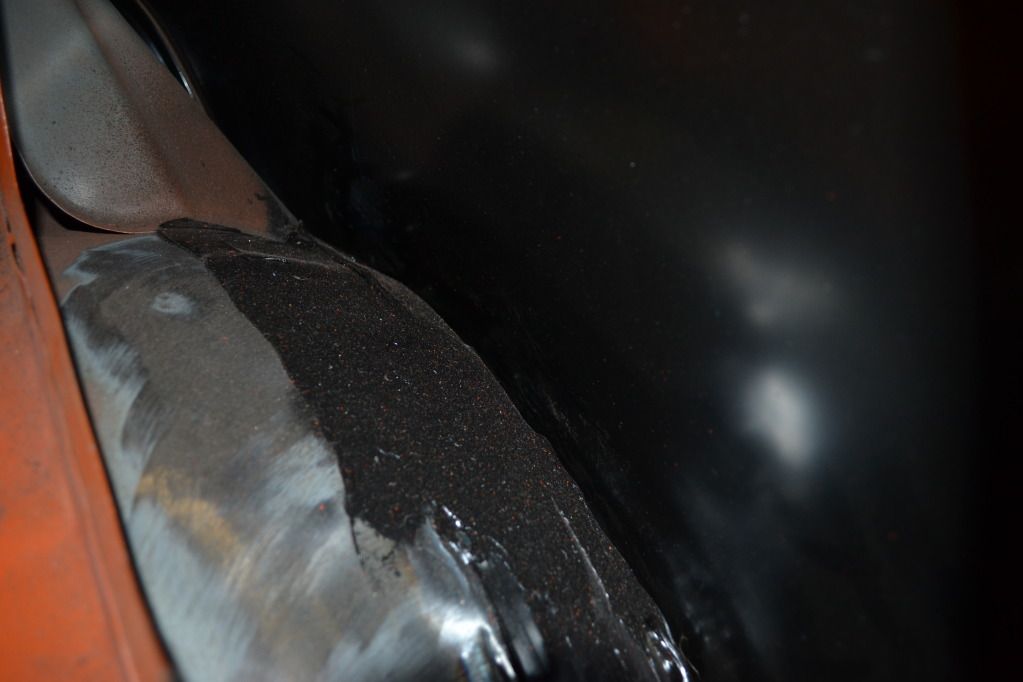
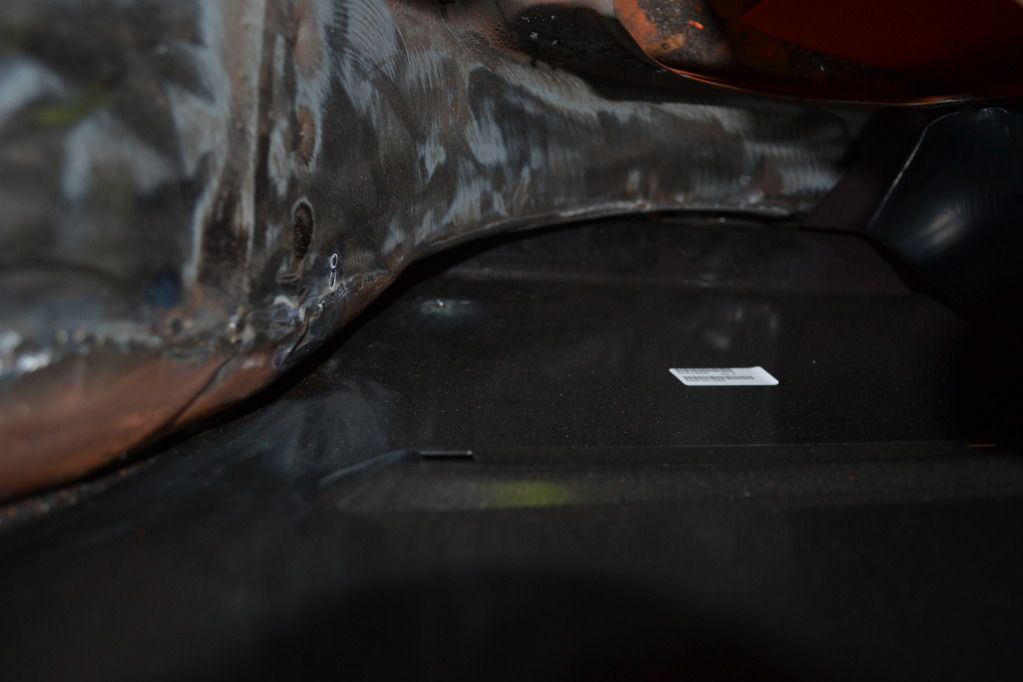
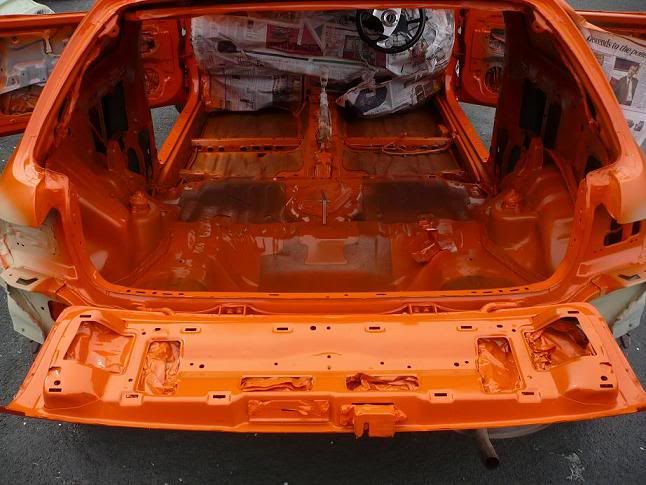
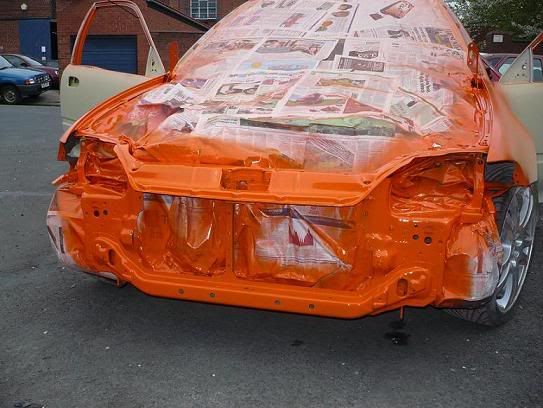
Once the car was all in primer, It was time to spray the door checks and inside shell.
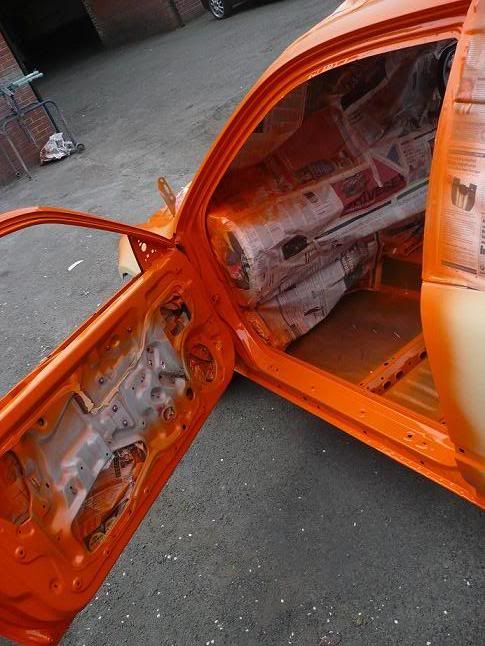
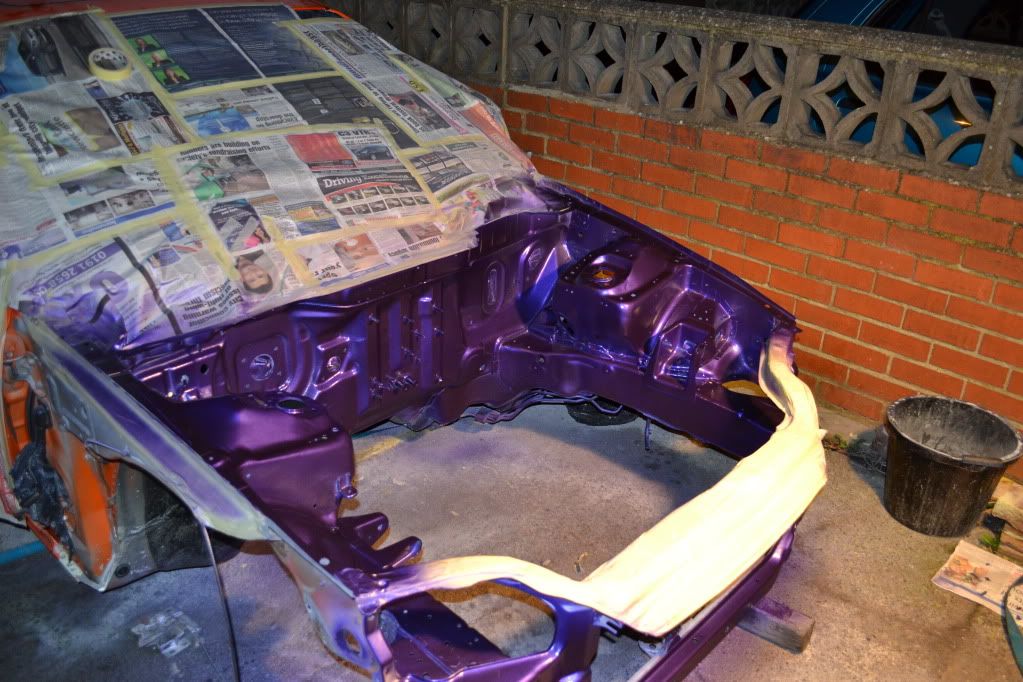
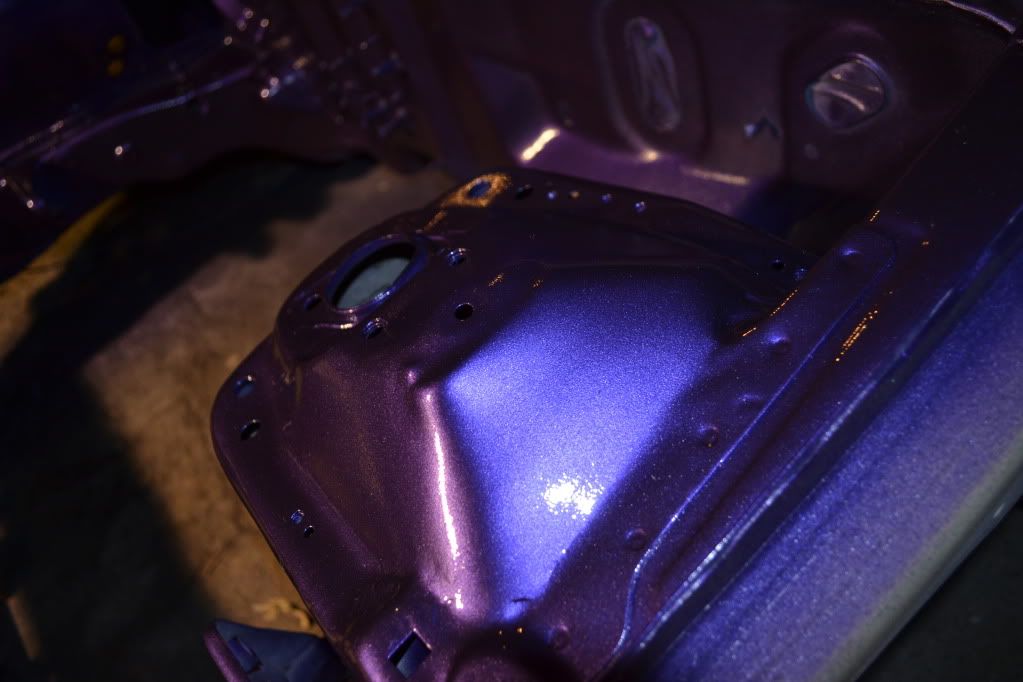
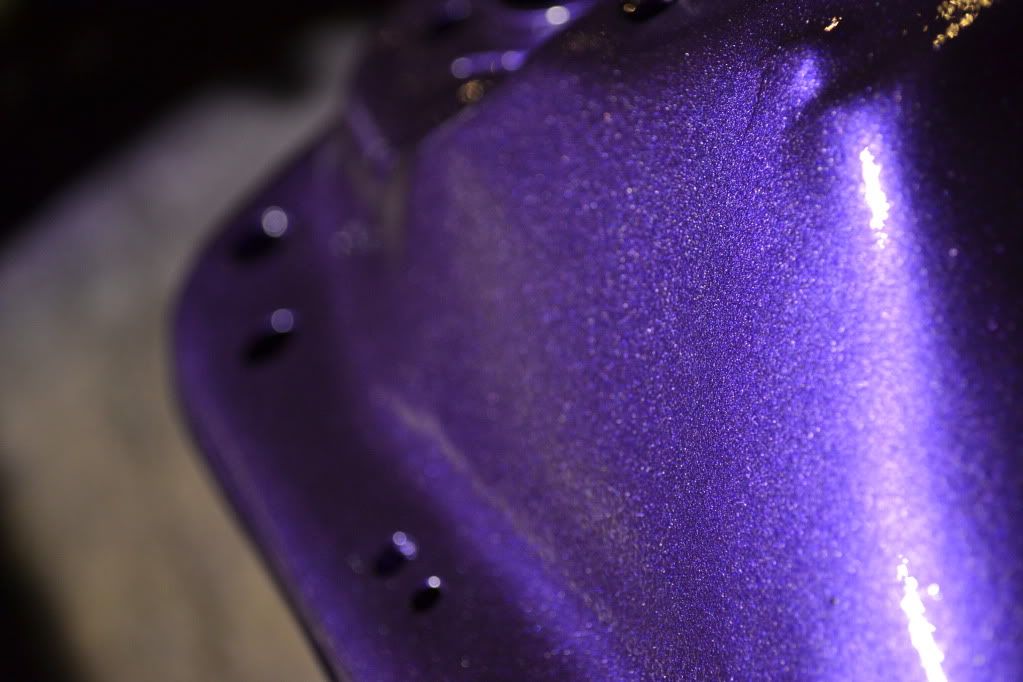
For some reason after this i didn't take any pictures till the car had been painted but this was the results.
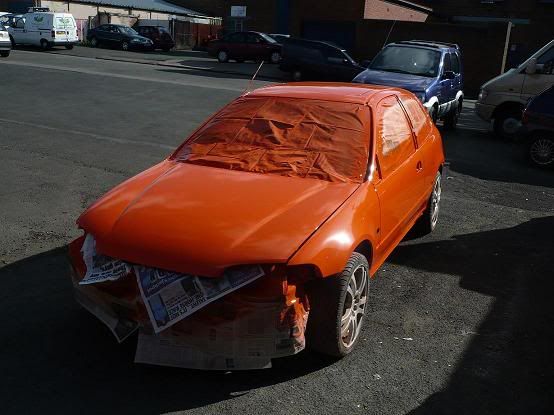
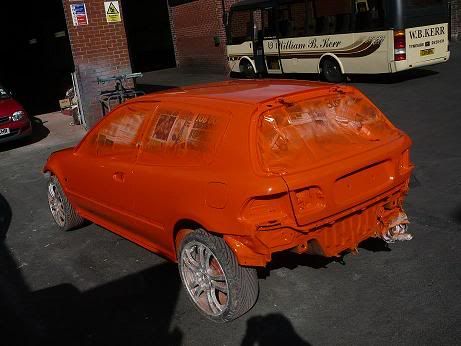

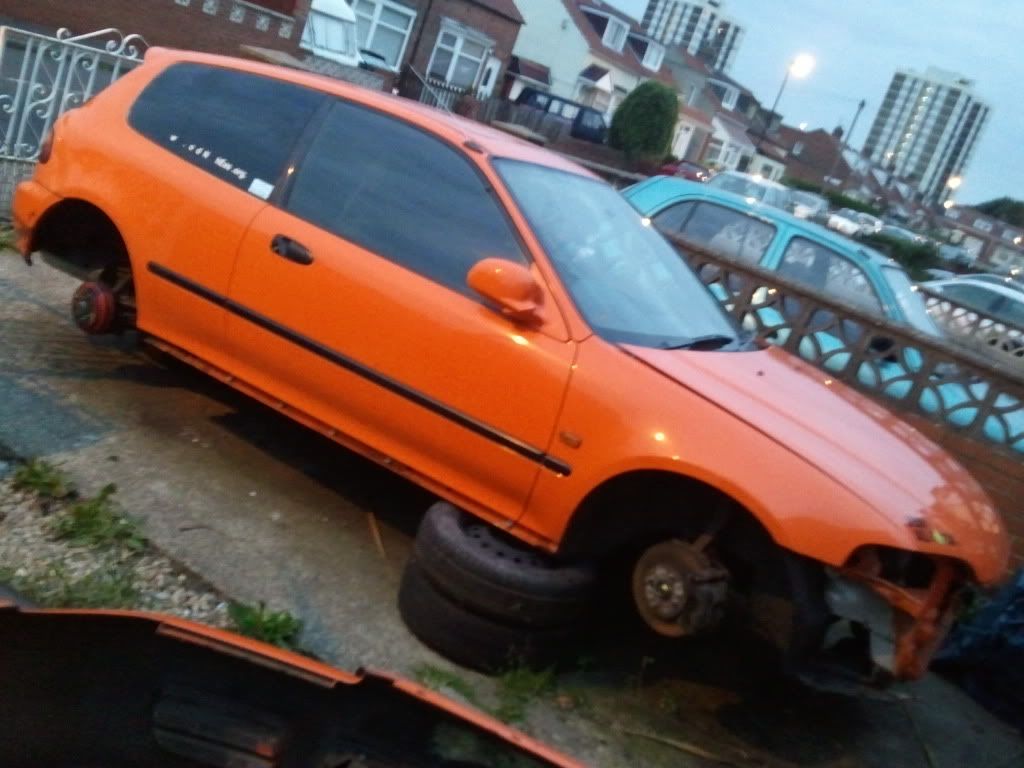
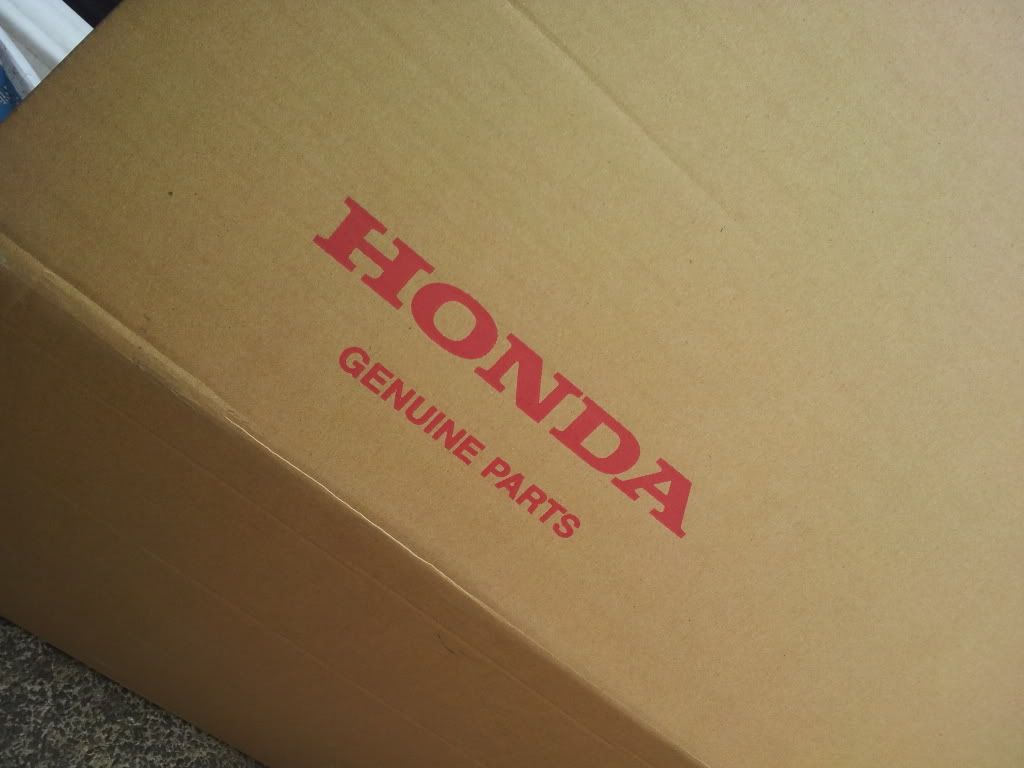
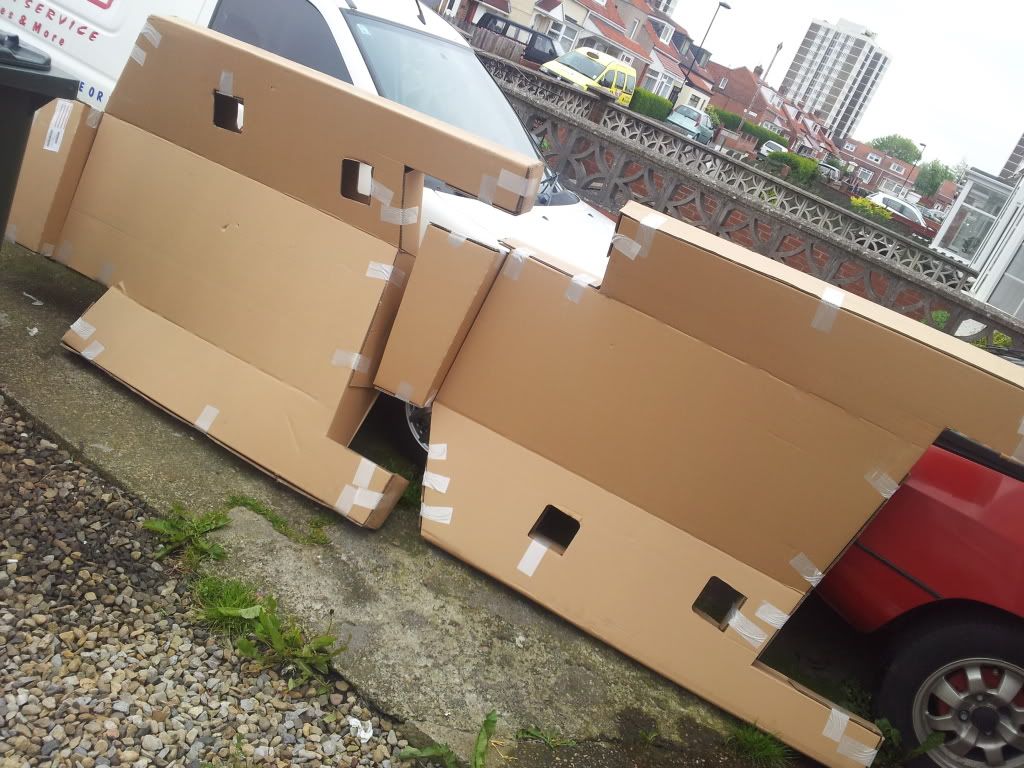
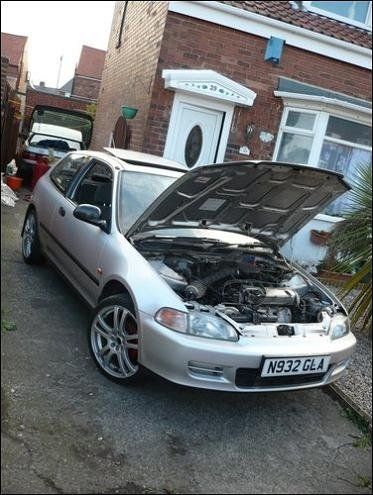
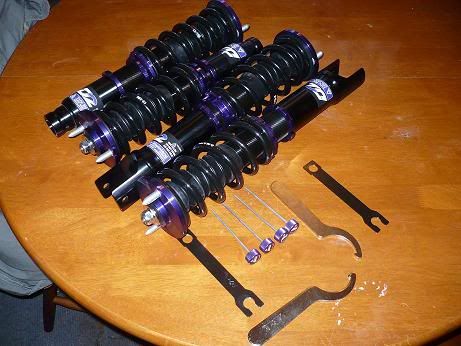
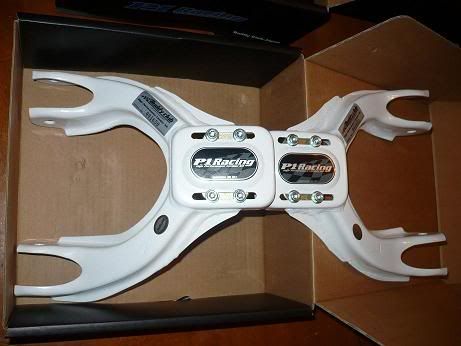
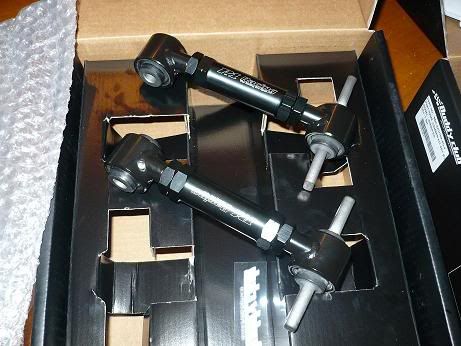
I instantly fell in love with the car after this stage, Even if some people don't agree with the color choice i was so pleased with how it turned out, I continued to build her back up whilst i waited for some parts to arrive

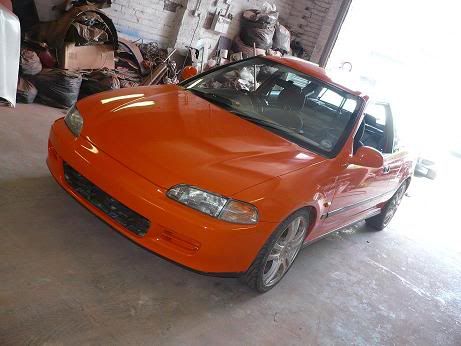
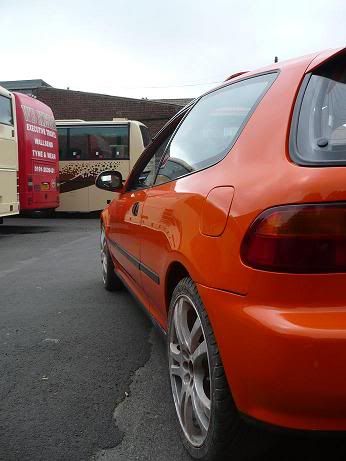
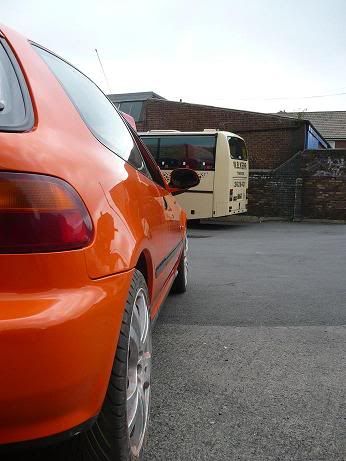
Finished article:
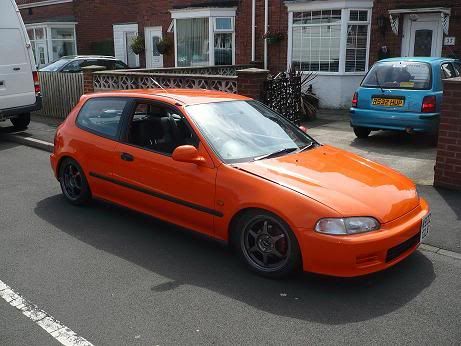
Or so i thought....
Sorry its not an EK9 Anyway this all started off in 2008 when i bought my first car: EG4 Lsi
When i first got the car it had awful wheels on and my plans were some what max power magazine related (which i am ashamed to admit now lol)
Fortunately after the car sat around for a bit and me growing up somewhat i started to rebuild her, First time round was about getting the car painted and sorting the arches out.
Looking back on these pictures from 2009 makes me realize what a learning curve is and how much more dedicated i am to this car than i was back then.
With the arches ''Fixed'' It was time to work on the rest of the body.
Once the car was all in primer, It was time to spray the door checks and inside shell.
For some reason after this i didn't take any pictures till the car had been painted but this was the results.
I instantly fell in love with the car after this stage, Even if some people don't agree with the color choice i was so pleased with how it turned out, I continued to build her back up whilst i waited for some parts to arrive
Finished article:
Or so i thought....
Last edited: