abunai888
V-tec Addict!
- Joined
- Mar 12, 2009
- Messages
- 1,954

")
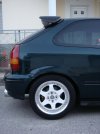
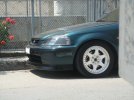
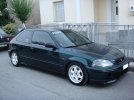
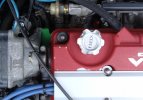
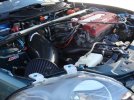
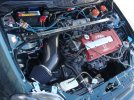
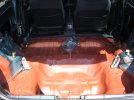
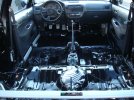
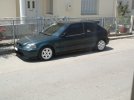
Nice build!
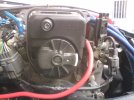
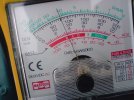
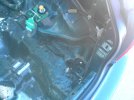
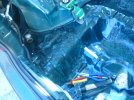
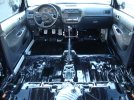
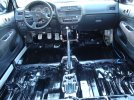
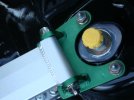
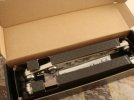
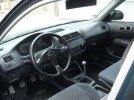
I also have a DC2 cluster in my garage and thinking of putting it in my car this winter.
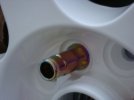
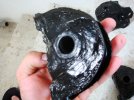
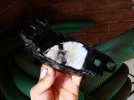
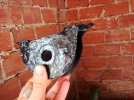
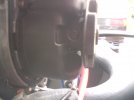
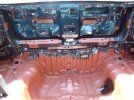
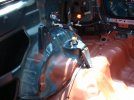
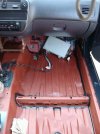
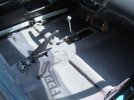
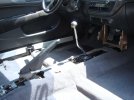
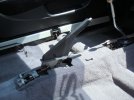
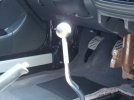
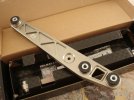
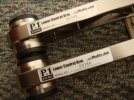
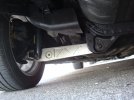
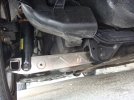
Do you mind taking the cluster frame out and take a picture of how yours is boltet to the car?
Because what I can see no bolt seem to match up from the cluster to the car.
/Martin


).gif ":)) :))")