My 1968 Honda S800 Re-build


The car is living in Shoreham! Cheers dude :) Not much left to take out now and the body will be unbolted from the chassis! It's got quite a bit of rust round the boot and has been completely bodged, so it all needs stripping back and welding. My focus is the wiring and Piping ;)

Coupe or soft top? It's not that one off of eBay for £4k is it?
Dunx
 
Car looks awesome unfortunatly I didnt get chance to have a good nose around them all at Japfest but it was great to see them.
 
This little thing looked epic Duncan!:woot:
Fun to meet you again.

Grts from Belgium :))
 
Very nice work. Amazing outcome. Proud you are, I'm sure.

Go win some trophies with it now!
 
Wow that looks lovely, well done:nice: I was thinking the smoke may be caused by sand getting into the engine while the car was sand blasted? as i noticed your oil breather pipe is missing! hopefully not, it may just be stuck piston rings due to standing.
 
This little thing looked epic Duncan!:woot:
Fun to meet you again.

Grts from Belgium :))

Thanks for the Belgium beer ::)

I think you should all come over June / July, all camp in my garden if you want and we can all do a track day. Air Field track day if you prefer. I think I might come over again and do the public Spa track day. You guys discuss it with Koen confirm a date and I'll come over.

Dunx


Very nice work. Amazing outcome. Proud you are, I'm sure.

Go win some trophies with it now!

Cheers, Paul the guy that ownes the two red and green race 800 and runns the UK club said it was outstanding. That was as good as a trophie to me.

Dunx


Wow that looks lovely, well done:nice: I was thinking the smoke may be caused by sand getting into the engine while the car was sand blasted? as i noticed your oil breather pipe is missing! hopefully not, it may just be stuck piston rings due to standing.

All the smoke must have been from the "Red X" that was pored down the bores in 1982.
The airbox was on, breather on and engine fully masked up for sand blast. Paul told me to remove the breather pipe recently to help with smoking but I have now refitted it
Sorry but what is your real name, have we met yet?

Dunx
 
Coupe or soft top? It's not that one off of eBay for £4k is it?
Dunx

Coupe! What that crazy orange one? No not that one - he got it from Ireland I believe! I told him to sign up on here and check out this thread, so hopefully he'll do that soon!
 
OK
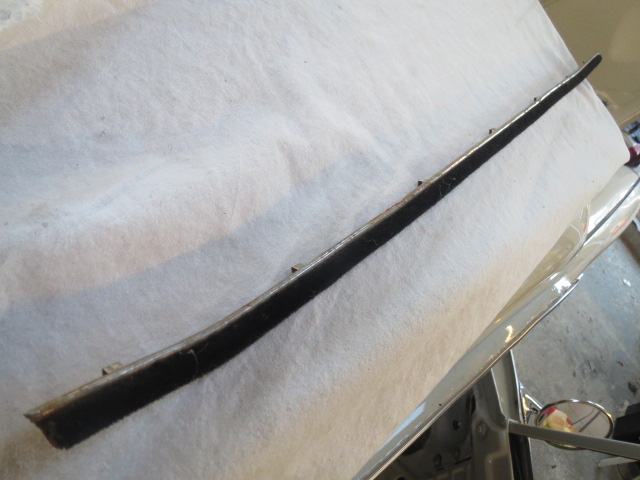
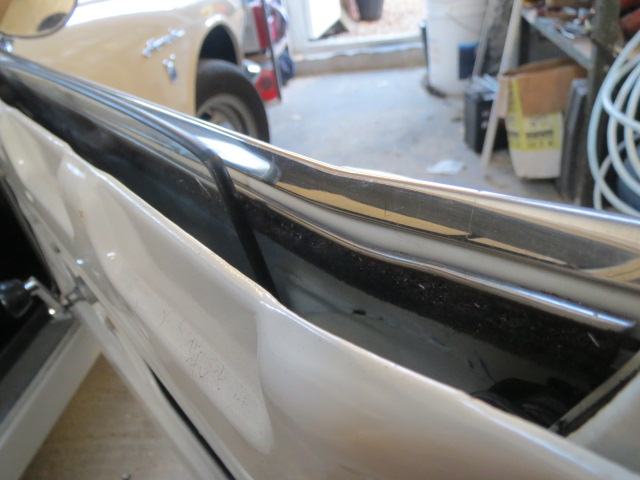
So since Jap fest i fitted the drivers side inner front wing trim, 2 chassis bolts with the help of Matt O as my arms were not long enough.

This morning i popped on the passenger window winder, spring and winder trim.

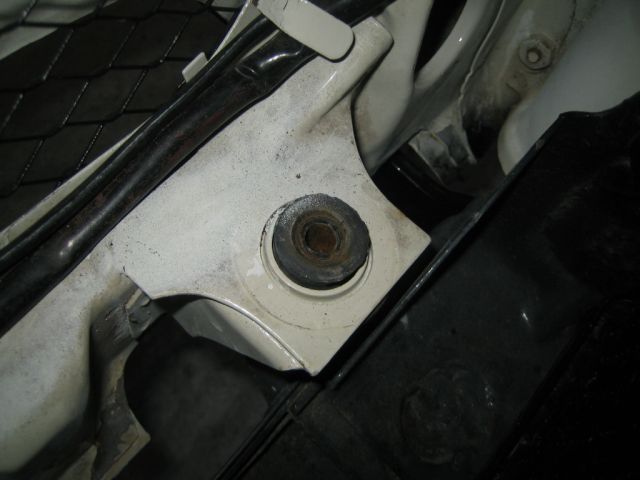
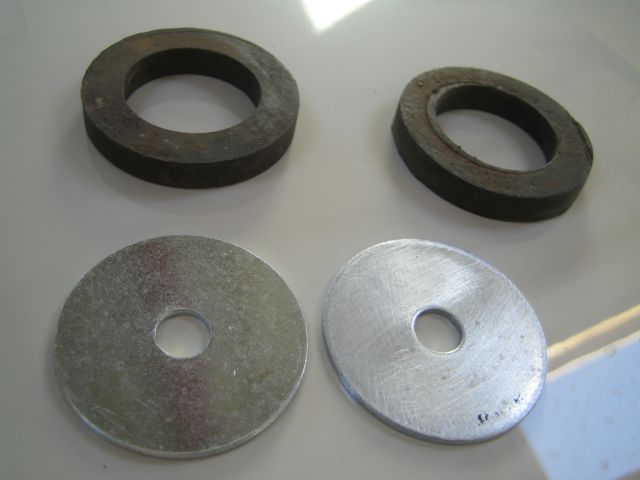
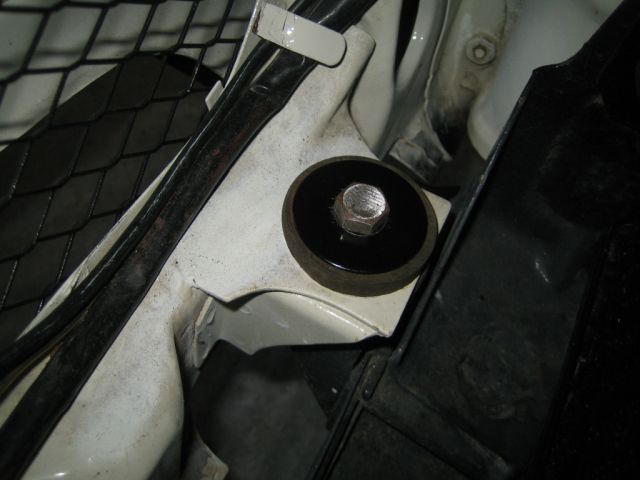
Then fitted the front cross member chassis outer rubber rings and washers that were missing.

IMG_5847.sized.jpg


IMG_5849.sized.jpg


Had to use some new washers, keyed the surface to give black paint something to attach to (right washer).

IMG_5848.sized.jpg


Polished bolt head, job done.

IMG_5850.sized.jpg


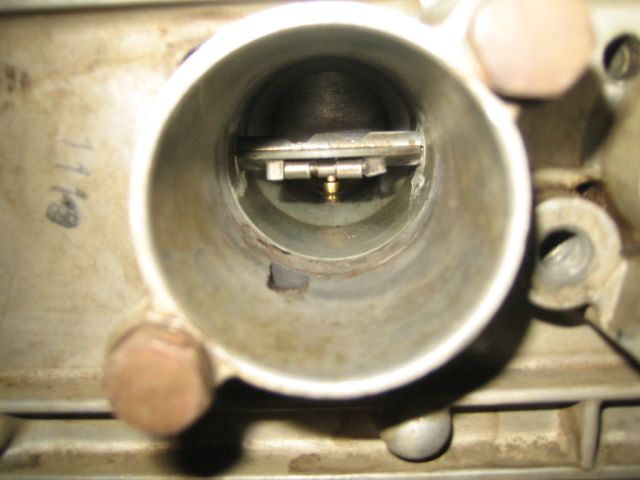
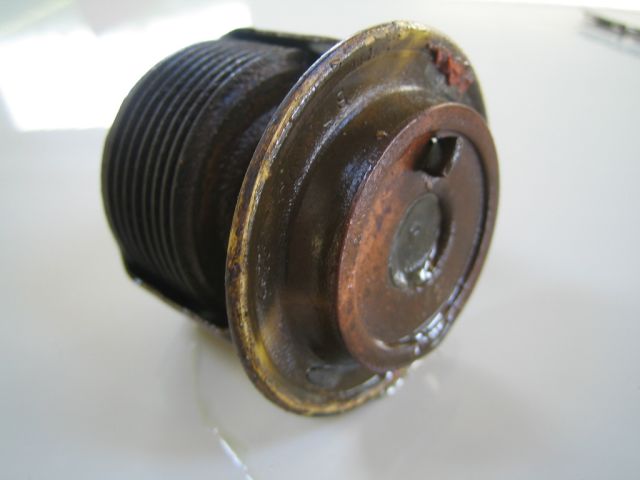
Next job was work out why water temp gauge didnt work. Turns out the thermostat was opening early. Luckily got given spare one with the car.
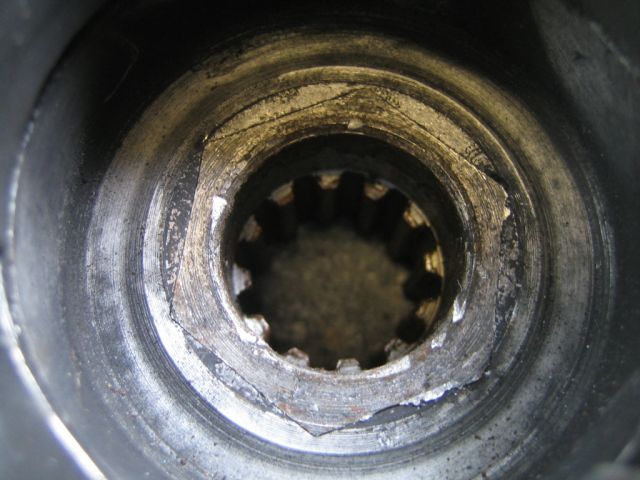
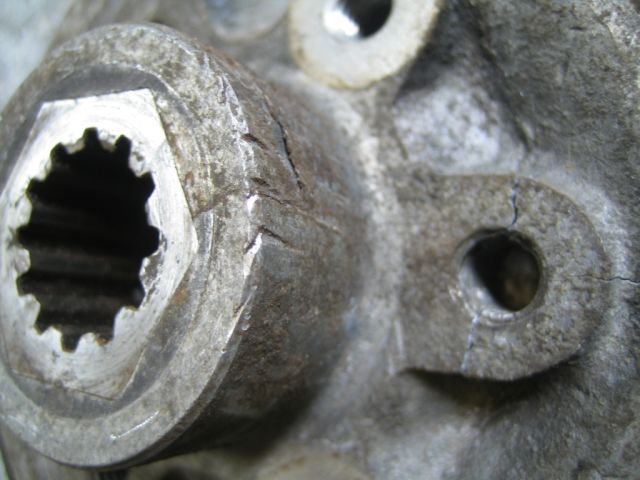
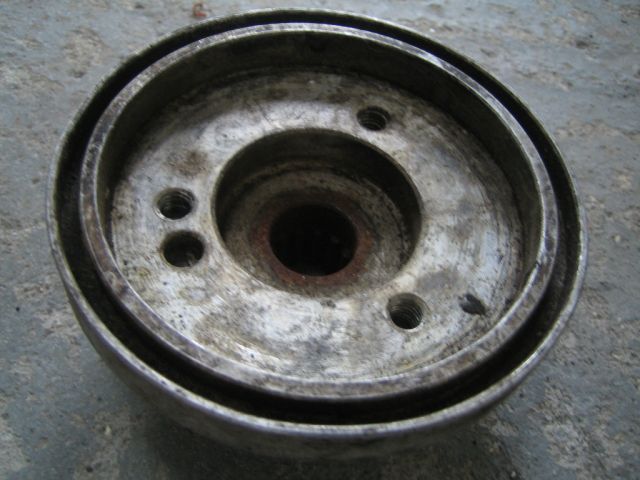
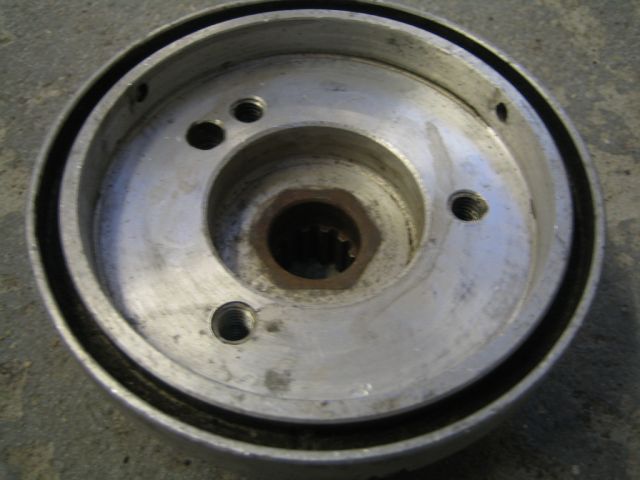
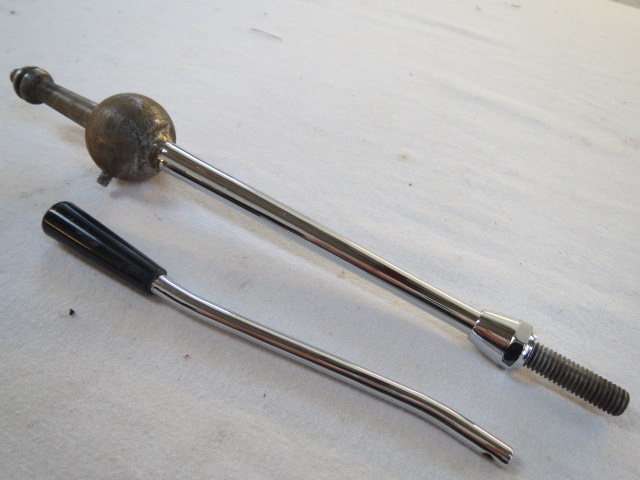
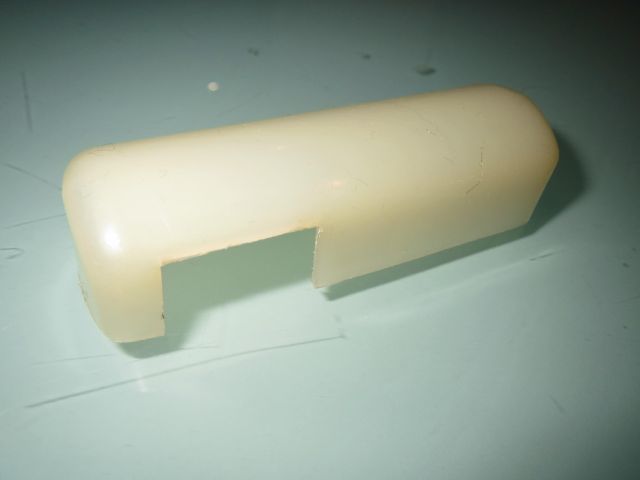
Removed this very strange thing????

IMG_5851.sized.jpg


IMG_5852.sized.jpg


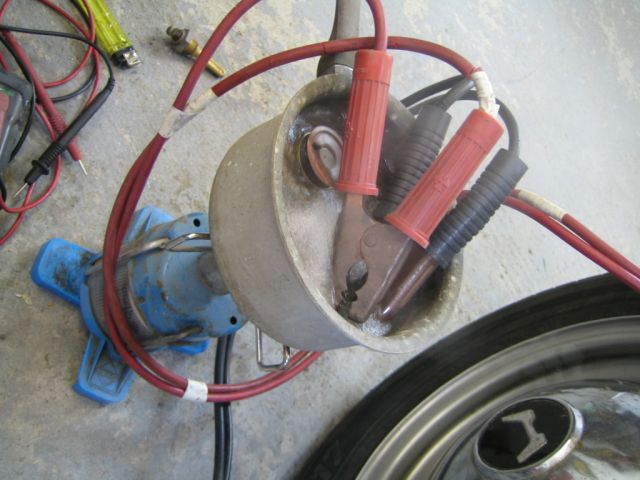
Then had to measure the Ohm's from the fitted sender and spare one i got with car while heating up to 100deg. They both worked but gave different readings.
So with my camping stove, old sauce pan, extension leads and ignition on connected each sender in turn. Boiled the water so i knew it should be putting out 212 F reading. First one displayed 120 F, second 200 F. So as water boils at 212 F i fitted the second one.
Turned out the gauge and senders were sold as a pair from the factory.

Lets hope it all works now.

IMG_5854.sized.jpg


IMG_5855.sized.jpg


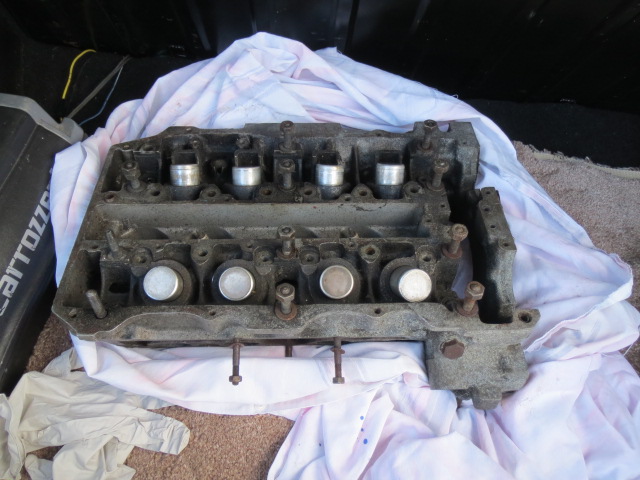
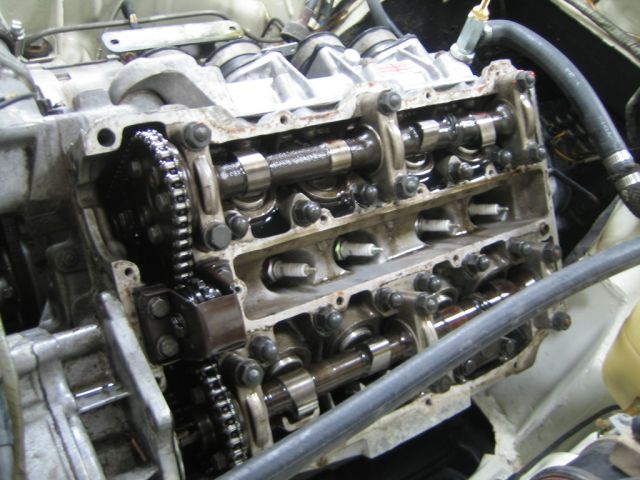
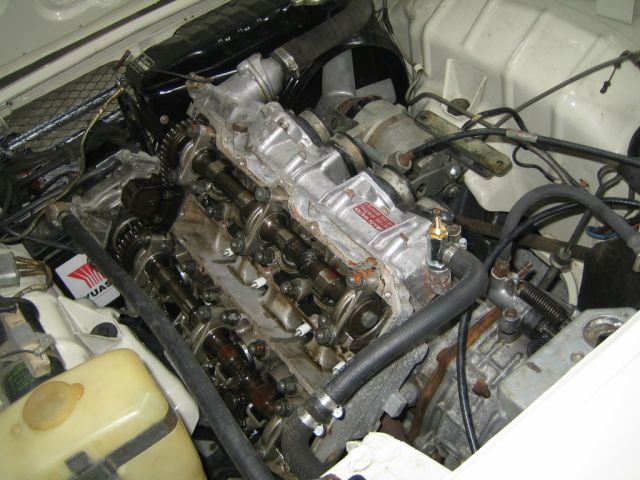
Paul from Bristol that knows these cars inside out said i HAVE TO RE-TORQUE the head as its been sat for so long. So off came the rocker cover. I will let you know what the outcome is soon....

IMG_5858.sized.jpg


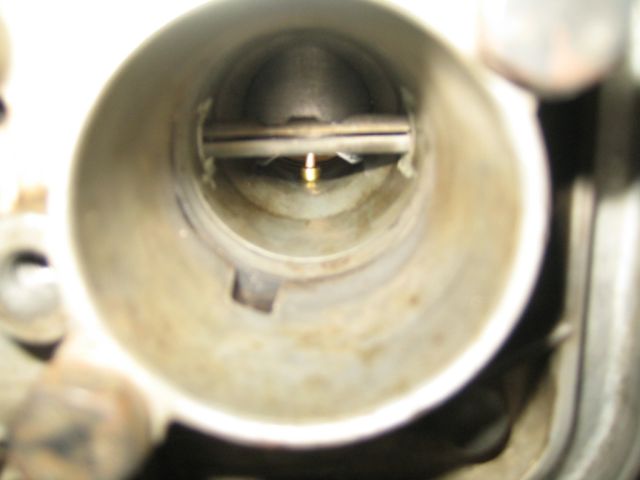
Final job was to try to sort out No. 1 carb that seems to have sticking float. So they have been removed and cleaned out again. If it does it again (4th time) i'm just going to get a new float valve and seat. Yes every time i check for float puncher.
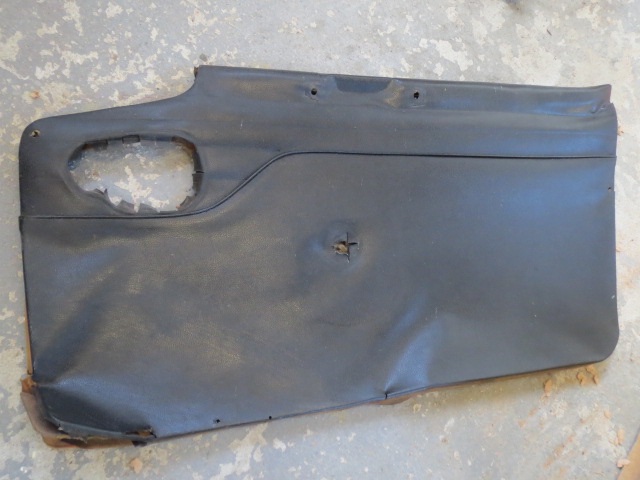
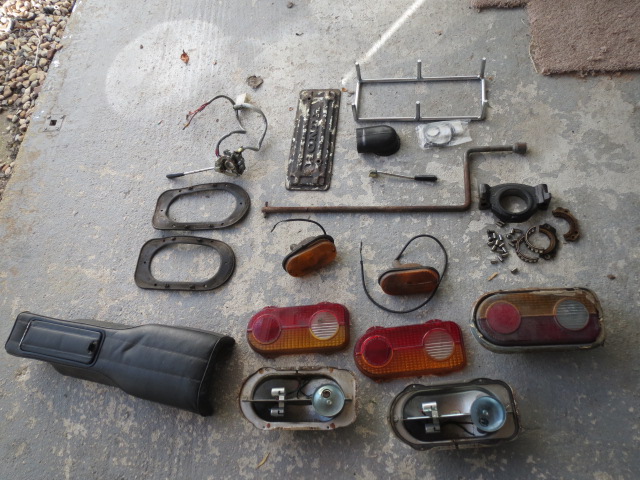
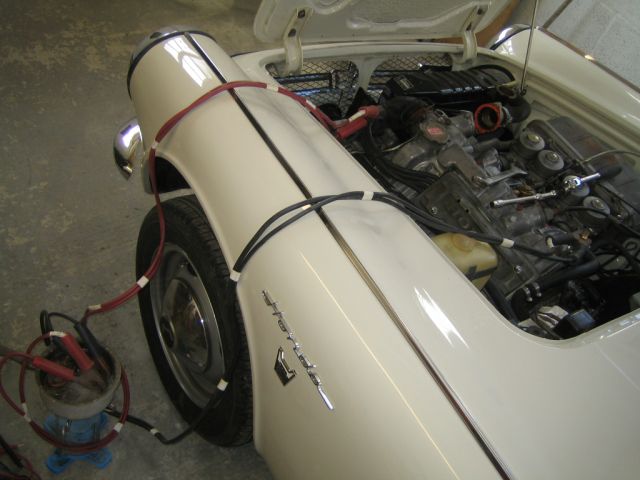
IMG_5856.sized.jpg
 
Hi
Little update, had to remove the carbs again :angry: 
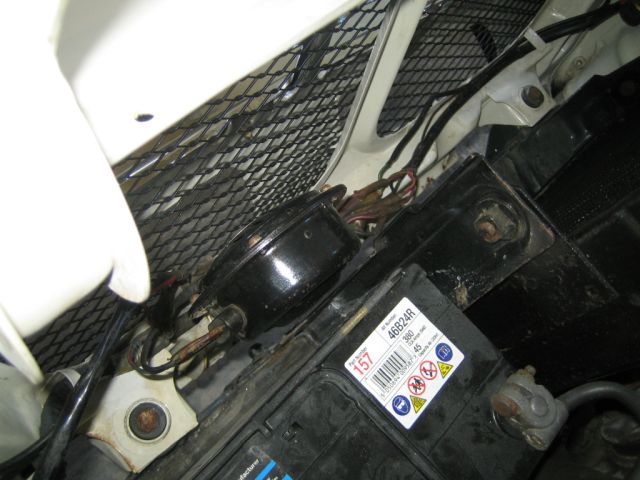
as they were repeatedly flooding. Spent 1 1/2 hours filing down 4 copper washers to fit under the float valves as fuel was creeping down the thread out side of the valve.
While i was there i pulled out the choke butterfly to aid air flow. Never really used the choke.

IMG_5859.sized.jpg


IMG_5860.sized.jpg


Cleaned and the switch fascia, see the difference between left and right side. Used G3 compound and old tooth brush.
Also painted the letters on the knobs, just L to do.

IMG_5870.sized.jpg


Got the dash light going.

IMG_5871.sized.jpg


Re painted the gear knob numbers

IMG_5873.sized.jpg


After refitting the carb i was able to set the idle lower as she ran a lot smother.
However this showed up a new fault. Had a noise that sounded like a big end bearing failure. Upon closer inspection it was play in the crank pulley, this was potentially devastating as normally the crank splines can wear and are not repairable.
Got the pulley/starter clutch off to find someone had butchered it. The steel splined nut that's cast into the pulley had started to brake away. Spoke to Paul (Mr S800) in Bristol and he has got a replacement i can have :win: :thanks:

IMG_5875.sized.jpg


IMG_5876.sized.jpg


In case you were wondering the starter motor is attached to the engine via a chain drive and clutch system built into the pulley :wow:

IMG_5874.sized.jpg
 
Got the replacement pulley, looks tatty but beggars cant be choosers.

IMG_5889.sized.jpg


All cleaned up really nicely, reused the old starter clutch system (not pictured).

IMG_5894.sized.jpg
 
I imagine it's one hell of a learning curve working on a car like this but you seem to be taking most problems that arise in your stride:nice:
 
I didnt have a clue what a starting pulley clutch was but i do now.

I am just old enough to remember how to set points / dwell angle, use timing light and tune carbs.
 
Wow Dunx. I knew you were re-building this, but who knew it would have moved so fast since last time I saw it.

Incredible job and great detail on here. If only I knew what it all meant!
 
Hi
Thought it should be time for an update.
As i hadn't paid any attention to the interior since restoration apart from the two seats this is my next challenge.

Since June i finally managed to get hold of an outside door skin glass protector as my original literally totally rotted away.

IMG_0204.jpg


Stripped door down, fitted trim, now when i shut the door no more glass rattling.

IMG_0206.jpg


Then while the card was off decided to recondition it as it was a mess.

IMG_0211.jpg


Very carefully eased the 46 year old vinyl off. Then unstapled the curved metal top section.

IMG_0212.jpg


Used the old bit of hard board to make a template.

IMG_0213.jpg


Used the hot air gun to soften and try to stretch the vinyl then some contact adhesive and 3 hours later :)

IMG_0214.jpg
 
Last edited:
Another trip to the platers to get some odds and ends chromed that i forgot first time round.
I dropped off some spare hub caps, rear H O N D A letters, gear stick/nut, glove box screws and indicator stalk.

Picked up the gear stick/nut and indicator stalk. Unfortunately i wont need the indicator stalk....

IMG_0207.jpg


Stunning H O N D A letters

IMG_0208.jpg


:wow::wow::wow::wow::wow::wow::wow:

IMG_0209.jpg


Back end finally complete................ but..........:secret::secret:

IMG_0210.jpg
 
This car is awesome Duncan.
Love seeing it to when visiting.
 
The other day managed to locate some bits up in London

1. Mk.1 Front and Real lights
2. OEM Genuine Honda optional arm rest
3. OEM wheel brace
4. Rear crank shaft bearing inc rollers (to fix the original engine)
5. Complete replacement indicator / light stalk as mink had been bodged up with random bits
6. indicator stalk to fix my old one
7. Brake master cylinder linkage cover
8. Several crank case O rings
9. Wire cover
10. RARE workshop Honda crankshaft installation tool
11. Complete cylinder head

IMG_0234.jpg


IMG_0237.jpg


Braved the weather today to go and pick up another front indicator housing as the above one was broken.
Also he had a interior light cover :))

IMG_0269.sized.jpg
 
Back
Top