
You are using an out of date browser. It may not display this or other websites correctly.
You should upgrade or use an alternative browser.
You should upgrade or use an alternative browser.
Nunos turbo ek take 2
- Thread starter Nuno@Camtec
- Start date
Oxigen_cult
New Member
- Joined
- Mar 13, 2009
- Messages
- 3
awesome work there!
keep going
keep going
- Joined
- Nov 8, 2011
- Messages
- 465
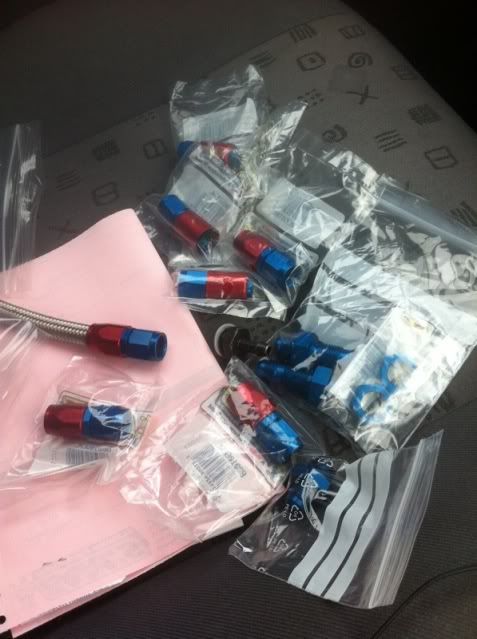
I know I'm teasing but got the rest of my fuel system from Earls today 
It's due for a big update guys just want a few more bits done first!
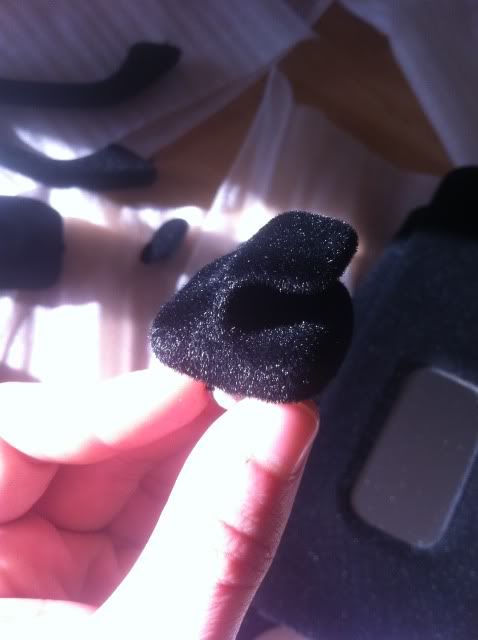
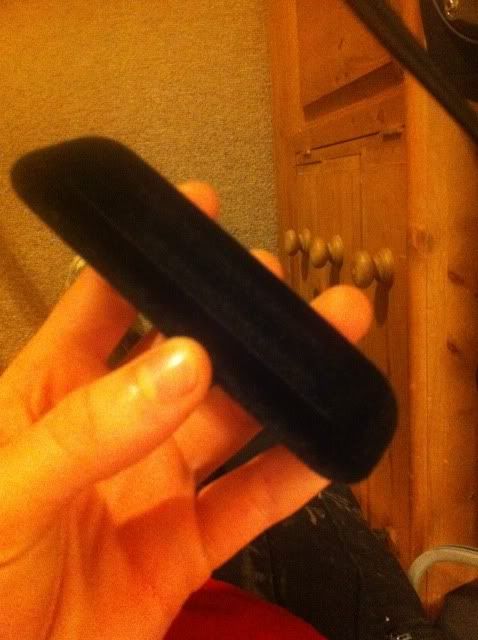
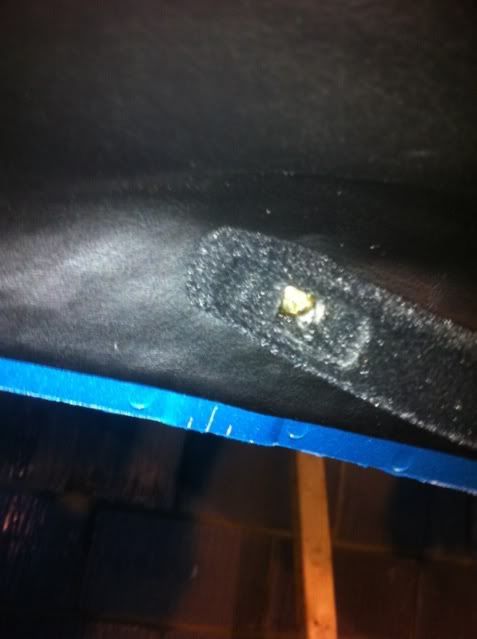
With the flocking basically, the parts are degreased then glue is sprayed onto the part, once it starts to tack, the panel is negatively charged and the flock gun is positively charged, this allows the flock fibres to fully stand up while the glue dries so you get 100% coverage as well as that proper flocked feel and look.
Nuno.
It's due for a big update guys just want a few more bits done first!
With the flocking basically, the parts are degreased then glue is sprayed onto the part, once it starts to tack, the panel is negatively charged and the flock gun is positively charged, this allows the flock fibres to fully stand up while the glue dries so you get 100% coverage as well as that proper flocked feel and look.
Nuno.
- Joined
- Nov 8, 2011
- Messages
- 465
I need to update this!!!!!!!! Lol.
- Joined
- Nov 8, 2011
- Messages
- 465
TIME FOR EPIC UPDATE
sorry guys, ive been sooo busy its insane!!
pretty annoyed too that someone over on civiclife has just painted their EK THE SAME COLOUR!!!!
Hard to complain but its just ironic that no one has painted an ek laguna seca and in space of 4 months theres 2 but meh mine will be more epic.
its been quite some time but i will try keep everything in order lol
right enough chat on with some pics!!
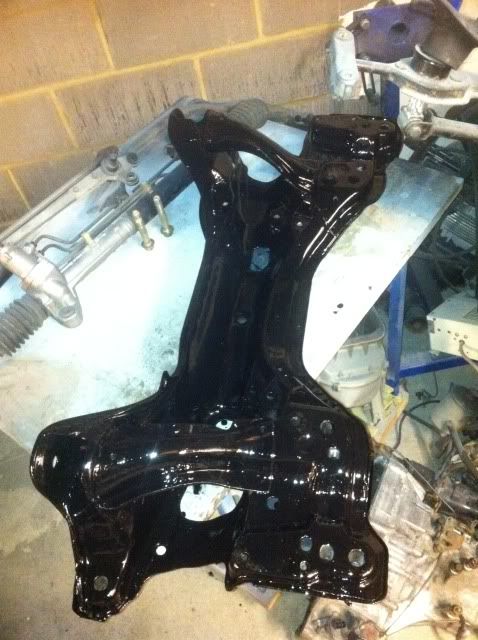
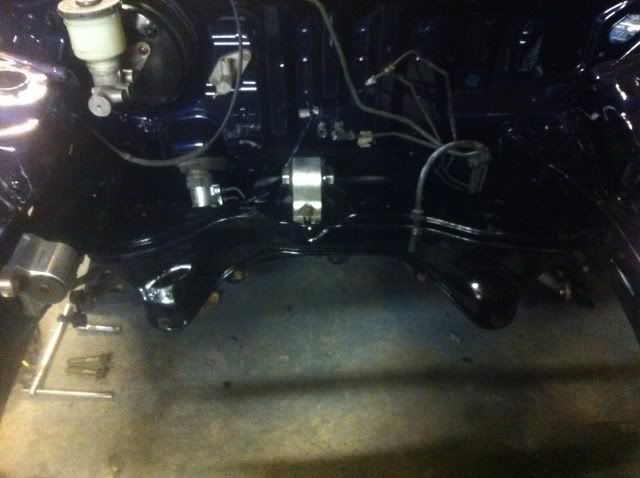
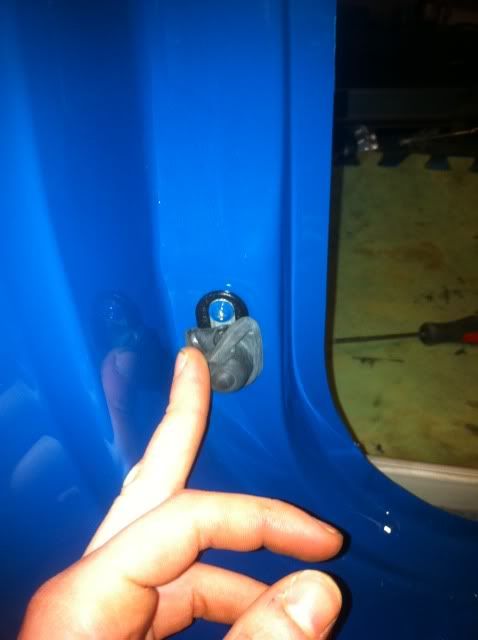
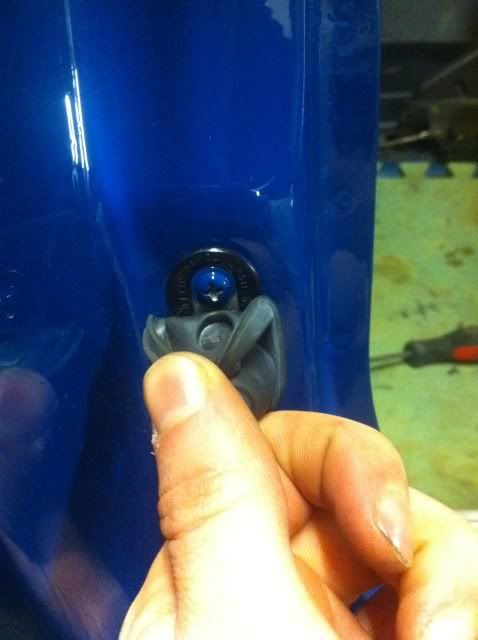
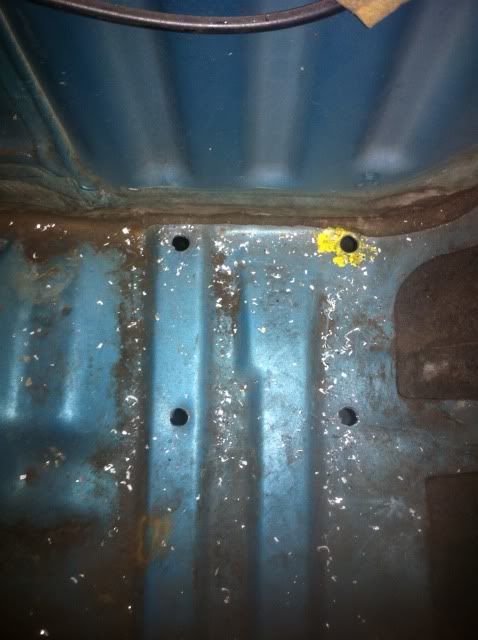
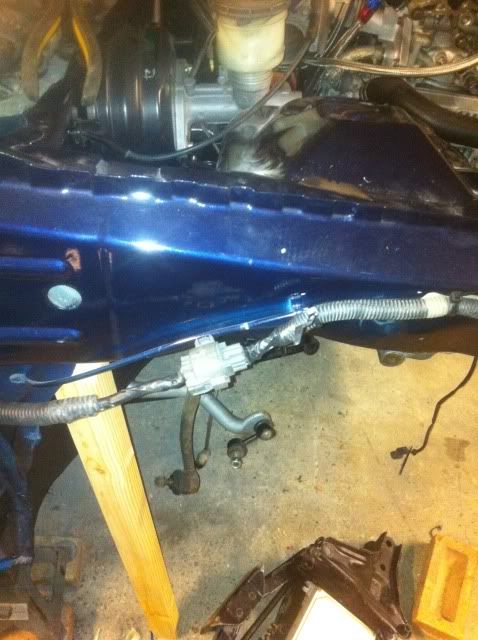
After the pedals were in the next thing to do was get the subrame sorted and looking nice again.
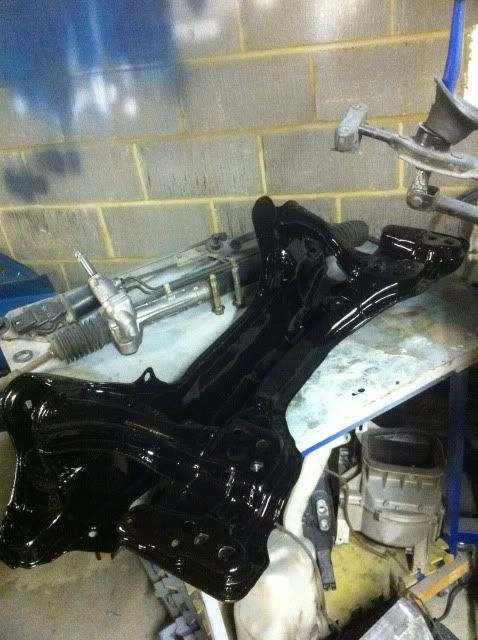
got the rack back in there
Then Mr Epic whiteline
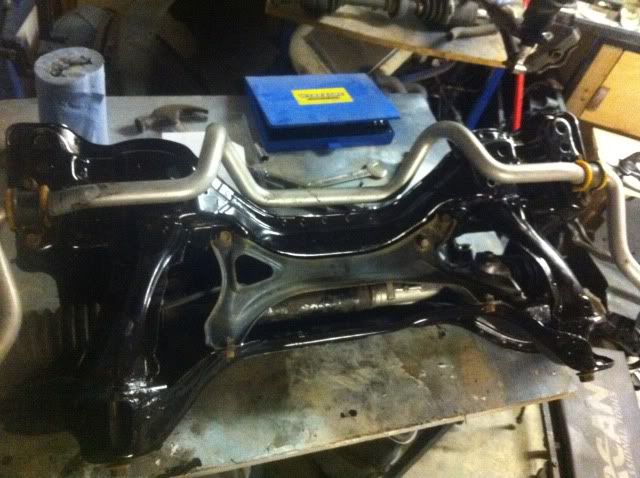
and then my gearbox mount
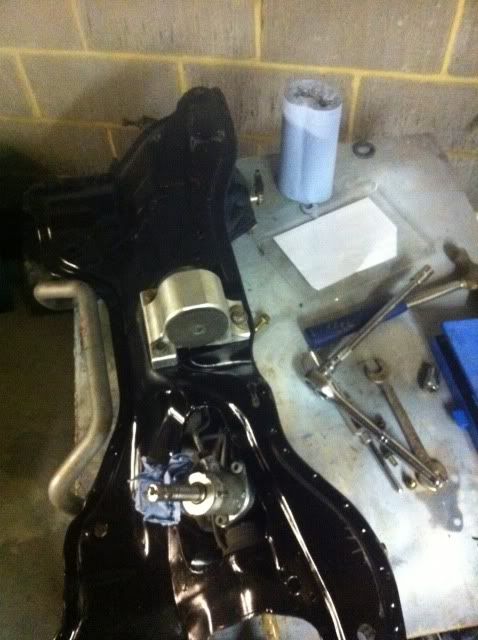
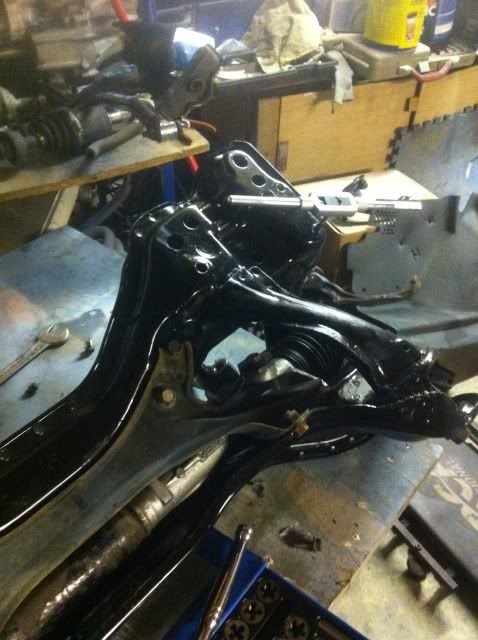
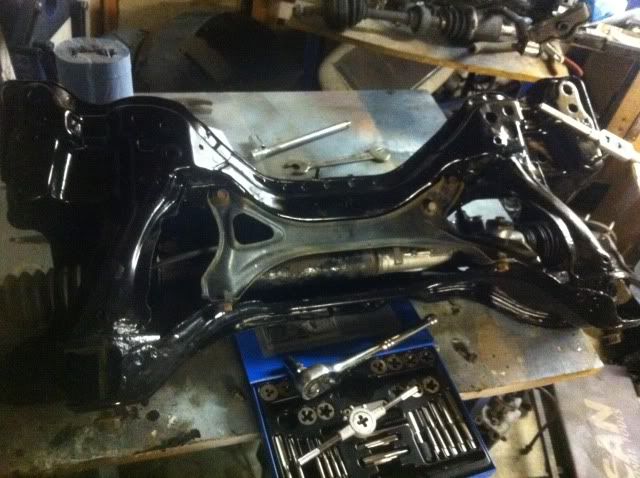
By then the ****er was quite heavy lol but must man on
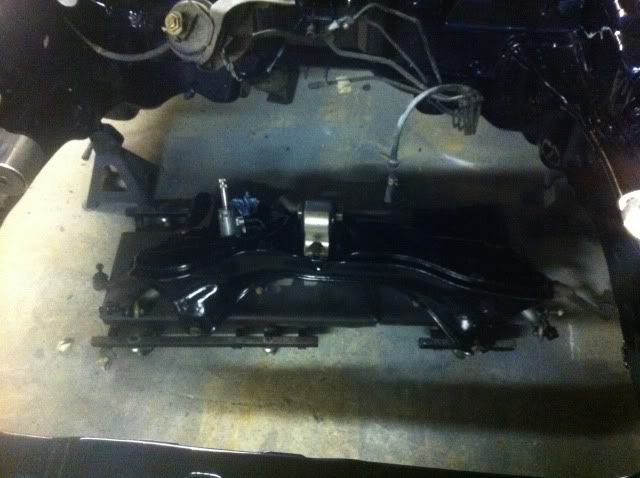
and fitted
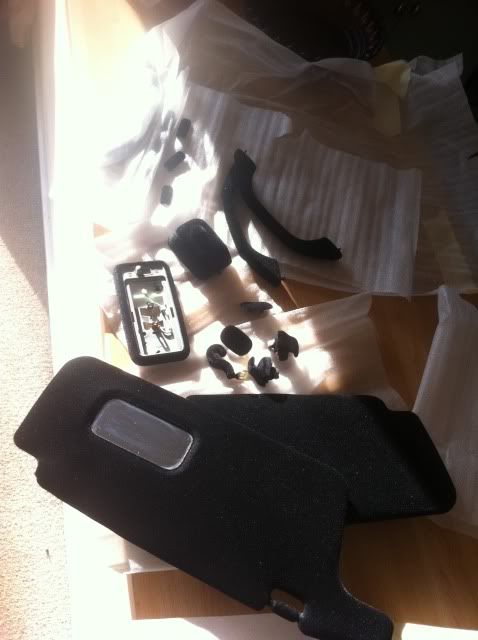
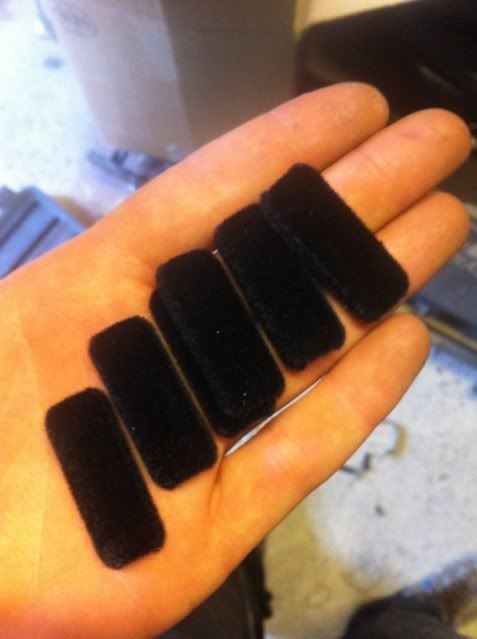
Next I picked up some treats...
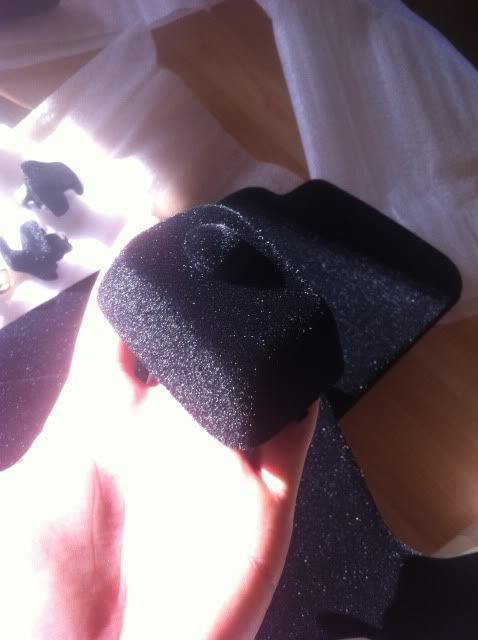

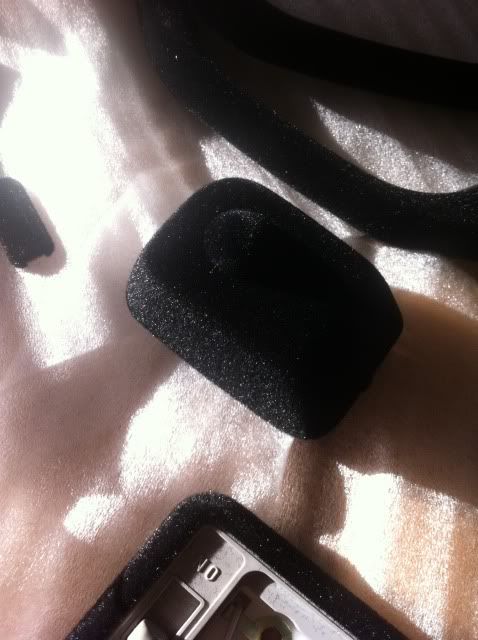
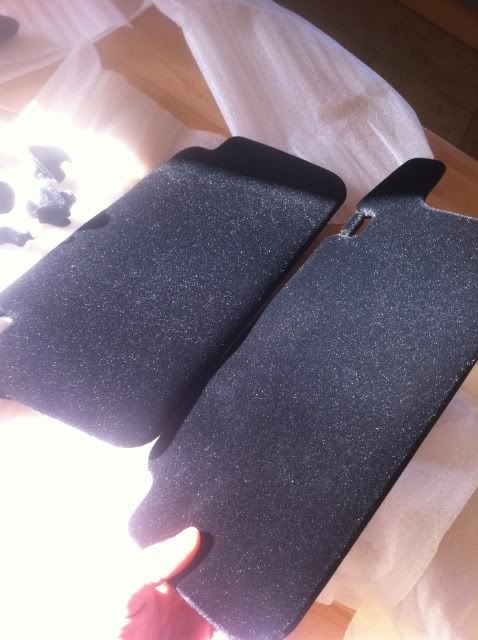
Loving the flocking extremely well done.
then me being **** about things lol
Then i got too busy with other work and lacked some motivation, Tegboy came round and give me some in form of "this is what your missing out on"
So then i got on with it and....
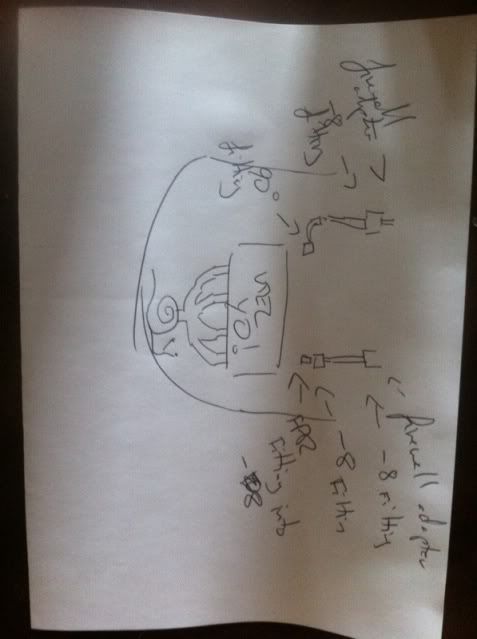
Then started mocking up fuel systems and stuff.
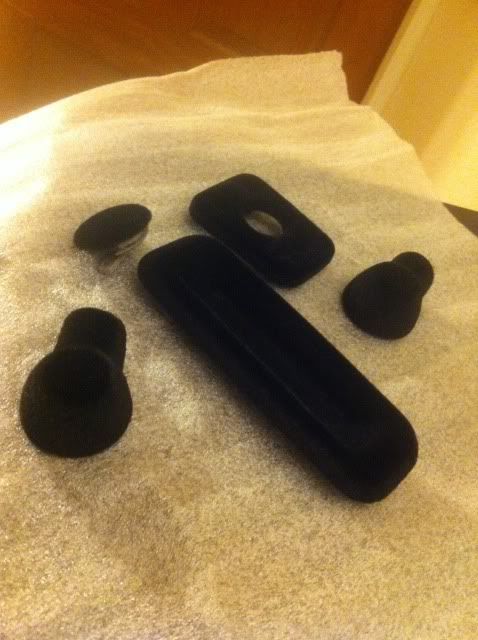
Then Picked up some more flocking.
This time in their custom grey, a nice mix for the rear of the car.
Rear will be this grey and front full black. Like a B5 Rs4.

stashed them upstairs not to get damaged.
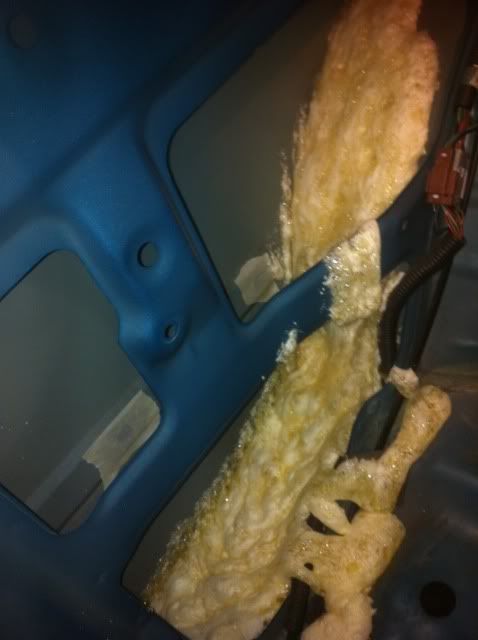
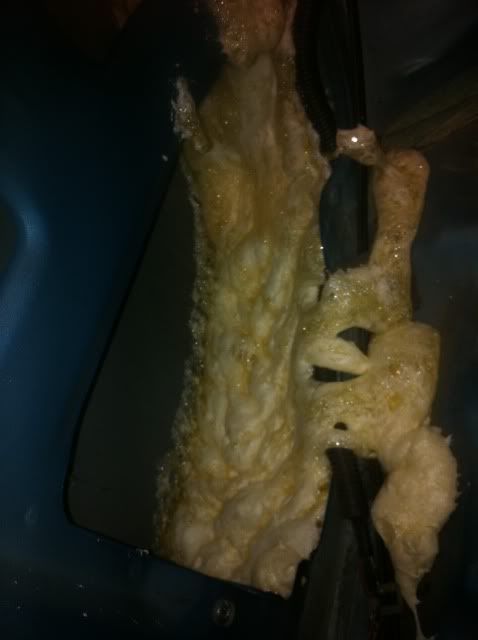
Then i filled the rear quarters with expanding foam.
This was NOT to cover rust, it was to keep unwanted noises out like stones etc, as mentioned in the start i want a nice ek this time round where its not a pain to drive.
sorry guys, ive been sooo busy its insane!!
pretty annoyed too that someone over on civiclife has just painted their EK THE SAME COLOUR!!!!
Hard to complain but its just ironic that no one has painted an ek laguna seca and in space of 4 months theres 2
but meh mine will be more epic. its been quite some time but i will try keep everything in order lol
right enough chat on with some pics!!
After the pedals were in the next thing to do was get the subrame sorted and looking nice again.
got the rack back in there
Then Mr Epic whiteline
and then my gearbox mount
By then the ****er was quite heavy lol but must man on
and fitted
Next I picked up some treats...
Loving the flocking extremely well done.
then me being **** about things lol
Then i got too busy with other work and lacked some motivation, Tegboy came round and give me some in form of "this is what your missing out on"
So then i got on with it and....
Then started mocking up fuel systems and stuff.
Then Picked up some more flocking.
This time in their custom grey, a nice mix for the rear of the car.
Rear will be this grey and front full black. Like a B5 Rs4.
stashed them upstairs not to get damaged.
Then i filled the rear quarters with expanding foam.
This was NOT to cover rust, it was to keep unwanted noises out like stones etc, as mentioned in the start i want a nice ek this time round where its not a pain to drive.
- Joined
- Nov 8, 2011
- Messages
- 465
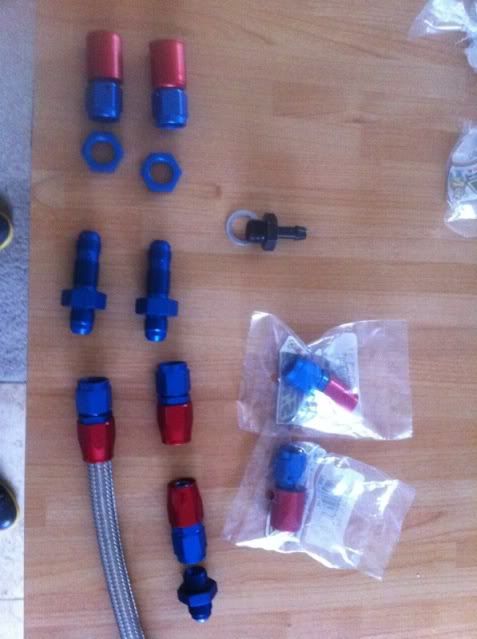
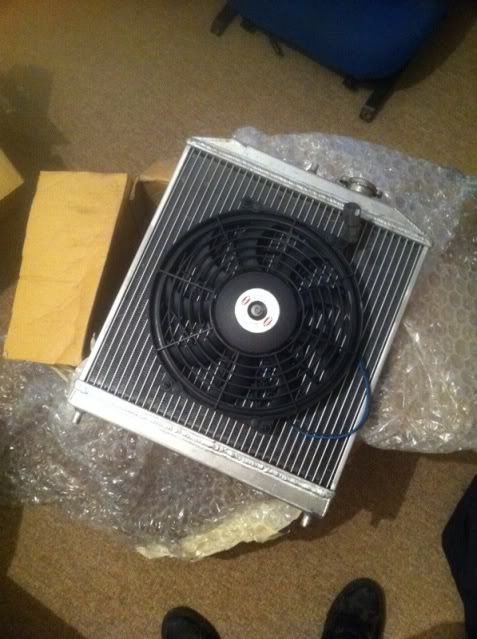
Then done some more work on the fuel system


Kinda ran out of things to do fuel wise, so mocked up the remainder of parts needed and off to nice earls lady i went.
and 30 mins later back at home with these
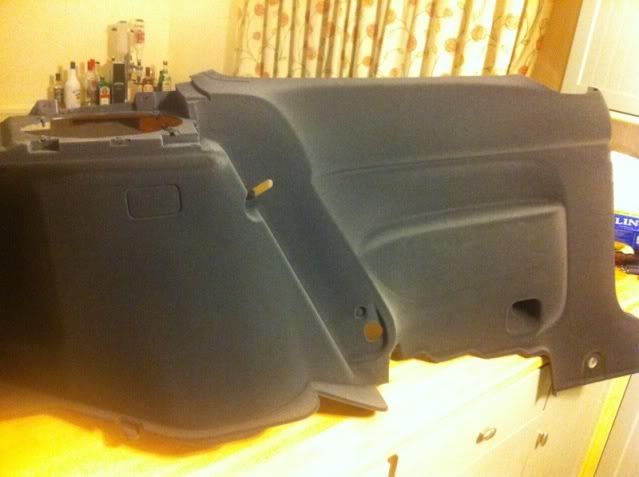
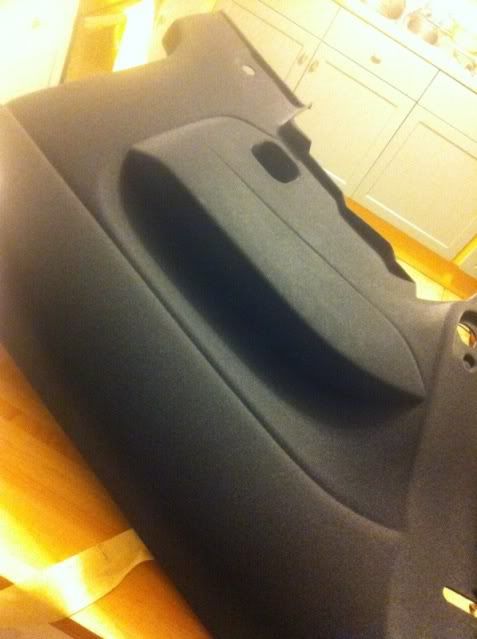
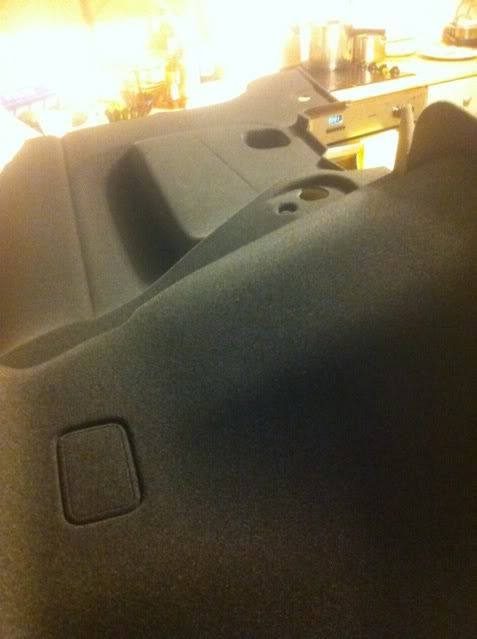
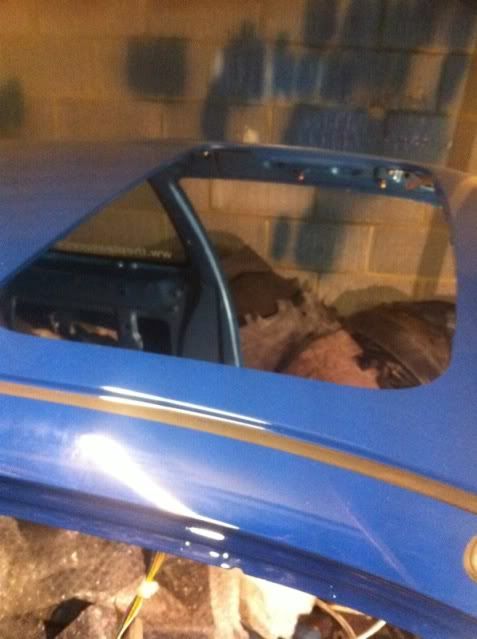
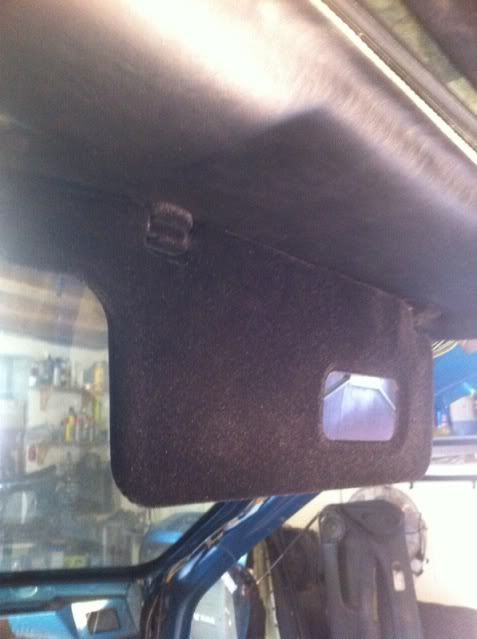
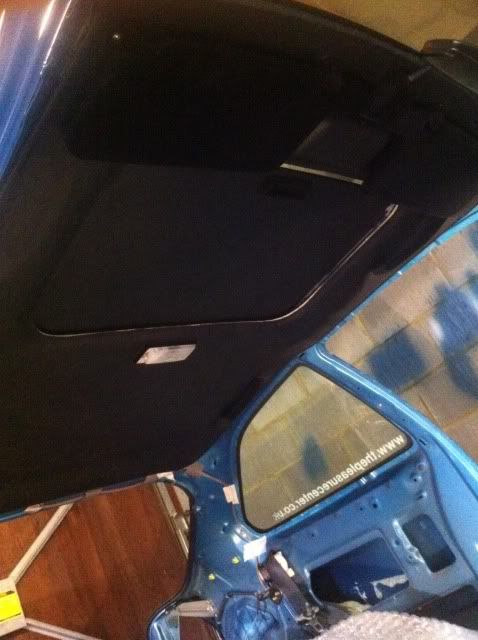
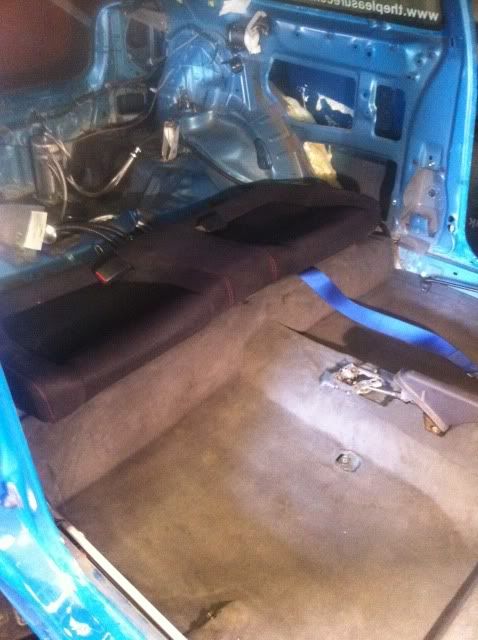
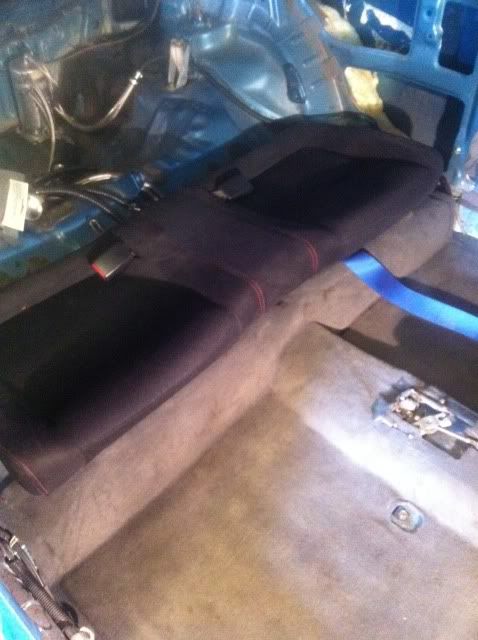
later that day went and picked up more flocking parts to finish my headlining etc.
heres some before sun roof
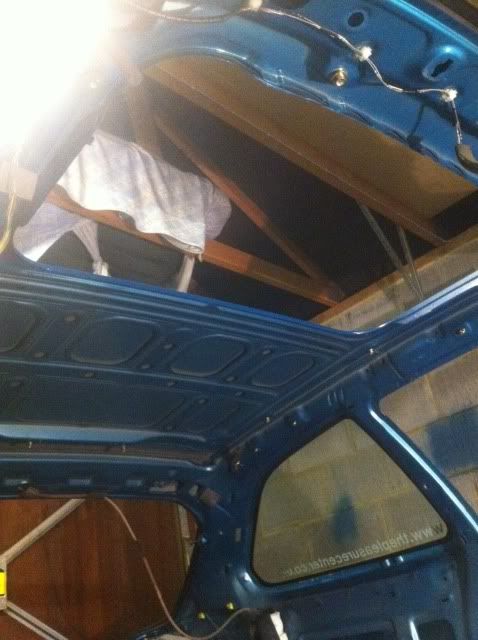
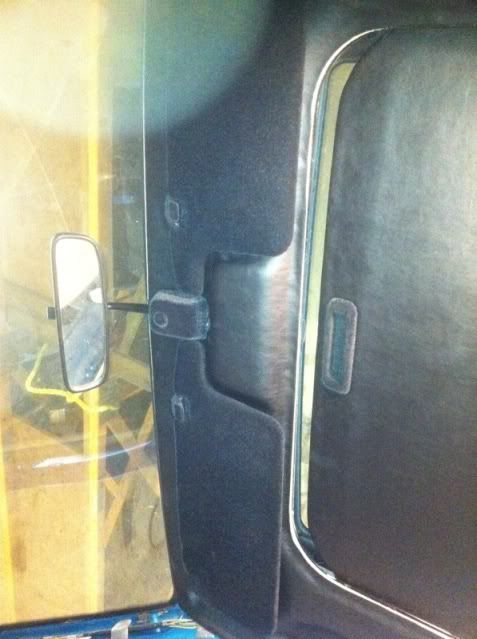
then sunroof back on
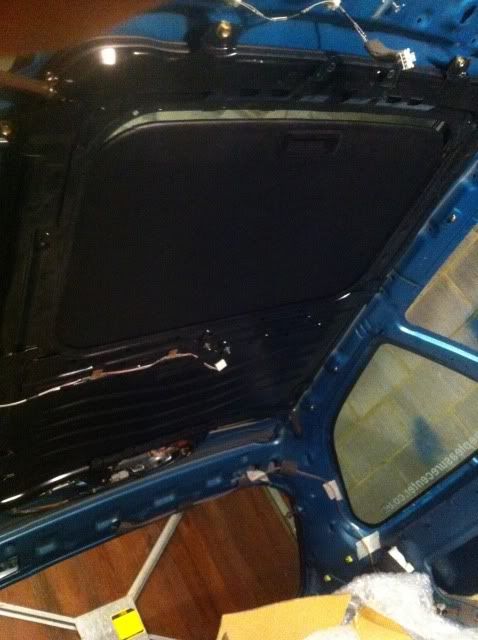


then got the headlining back on too with the rest of the flocked parts.


Kinda ran out of things to do fuel wise, so mocked up the remainder of parts needed and off to nice earls lady i went.
and 30 mins later back at home with these
later that day went and picked up more flocking parts to finish my headlining etc.
heres some before sun roof
then sunroof back on
then got the headlining back on too with the rest of the flocked parts.
- Joined
- Nov 8, 2011
- Messages
- 465
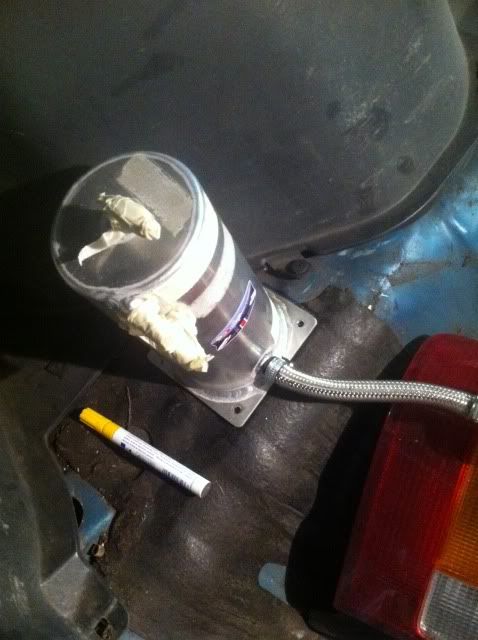
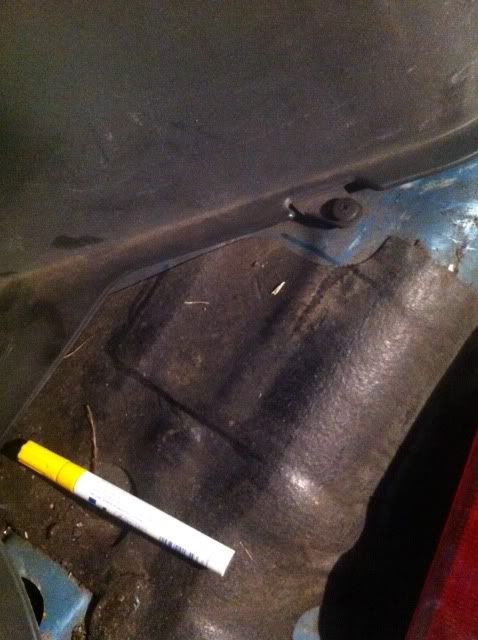
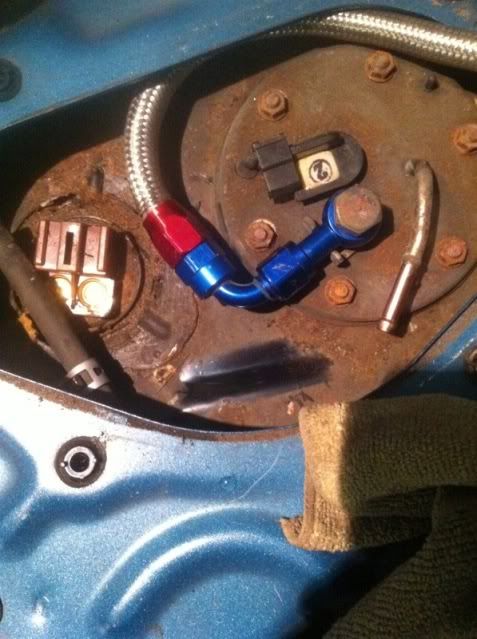
Then done some more work on the fuel system.
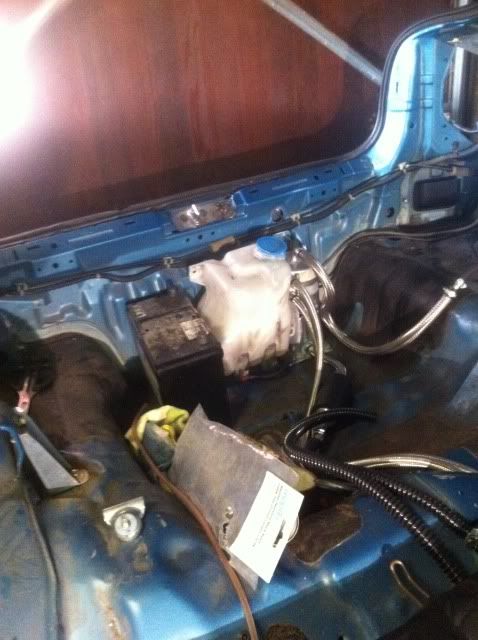
Didnt like the previous idea for the swirl pot so relocated it to deep in the boot.
Got myself a new white board lol
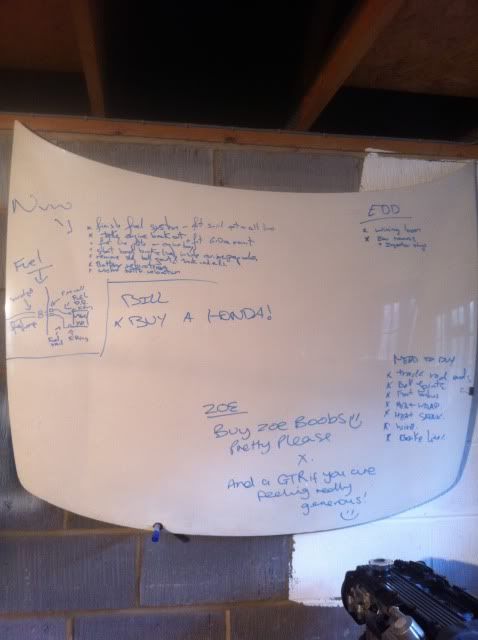
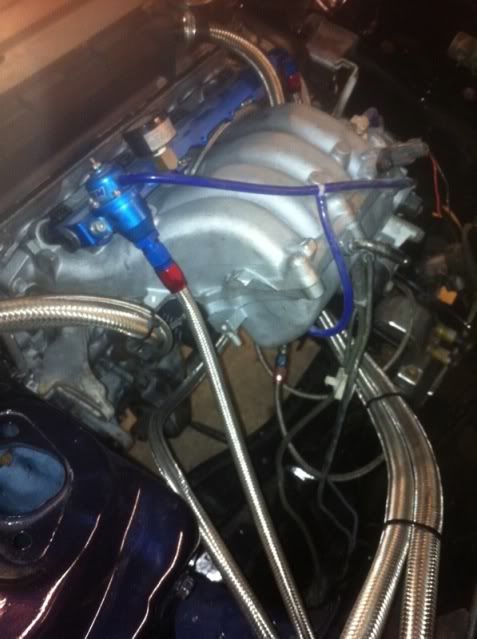
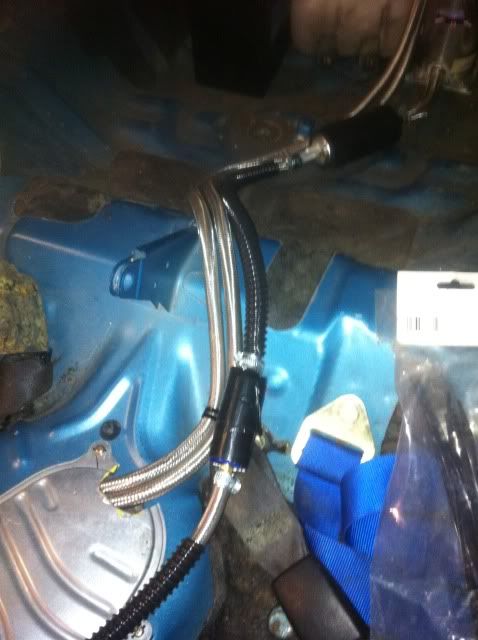
Finished couple of mock up bits on the fuel system
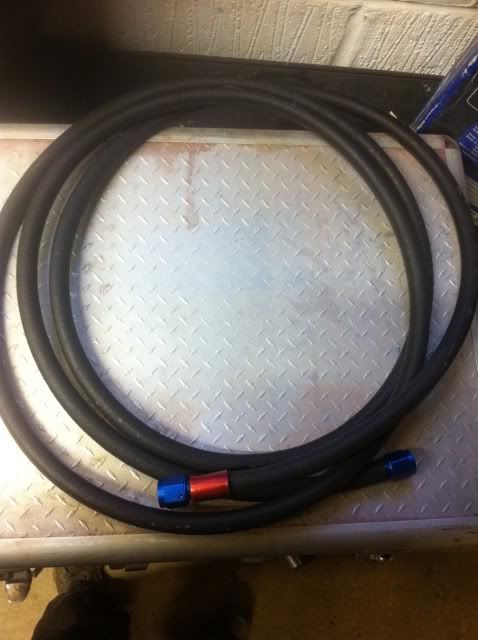
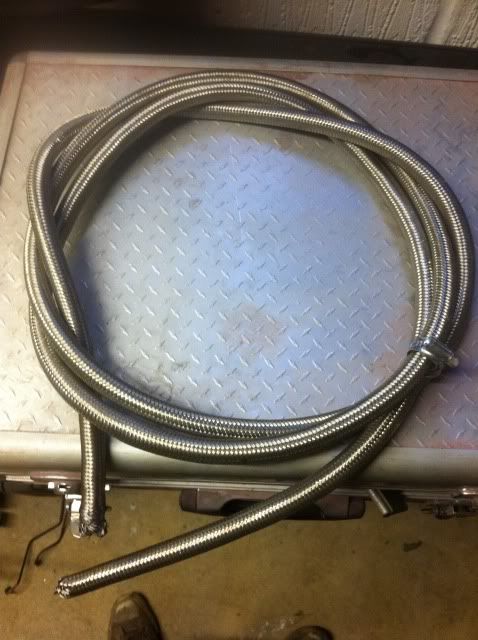
Then got some low pressure hose and high pressure hose.
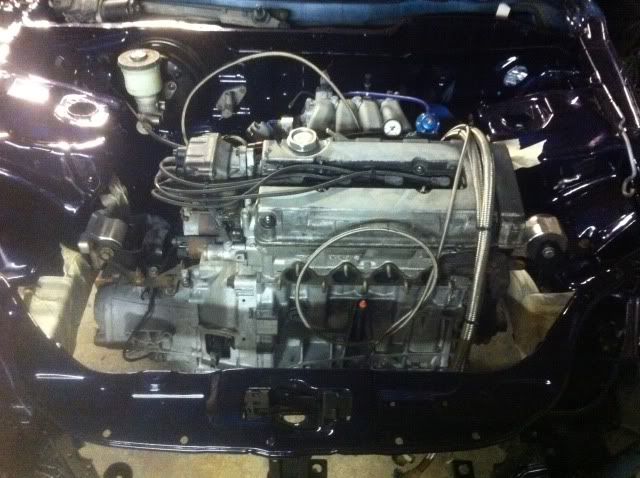
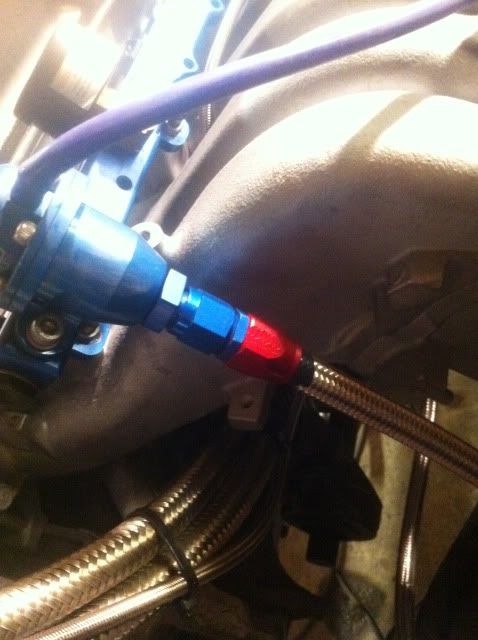
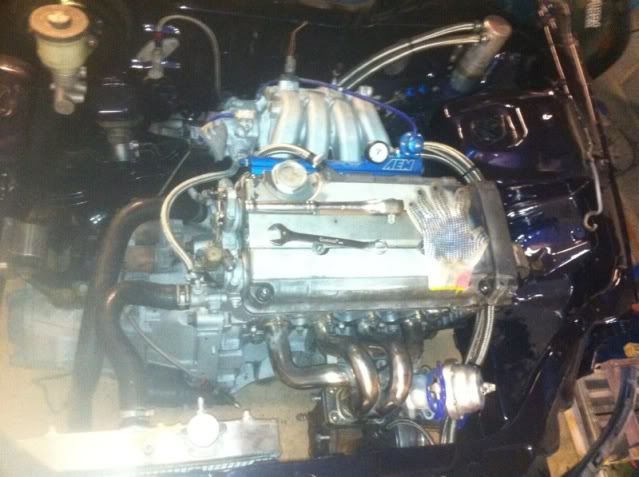
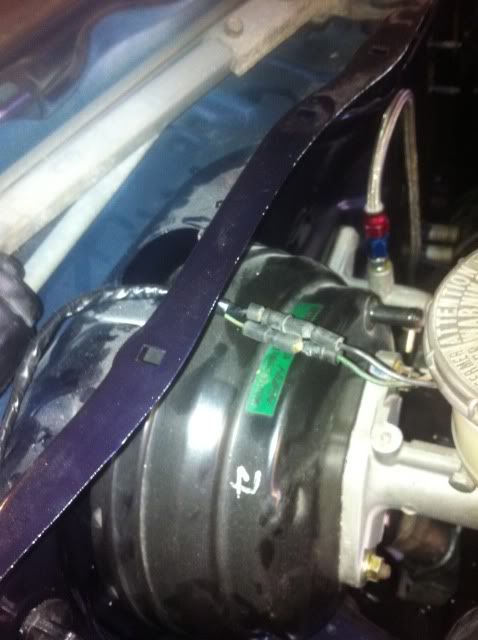
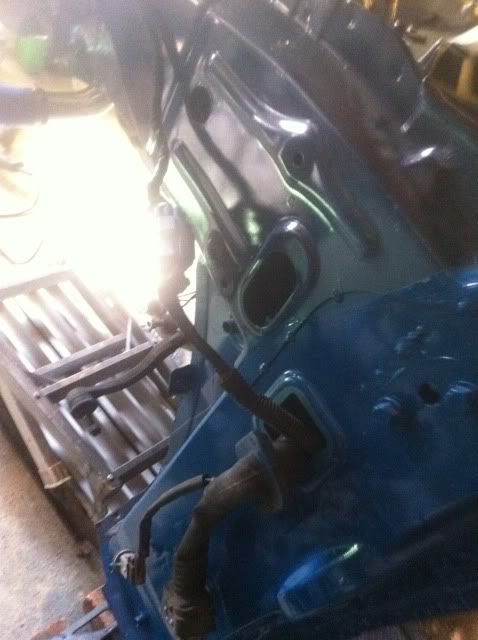
Moved on back to the engine bay
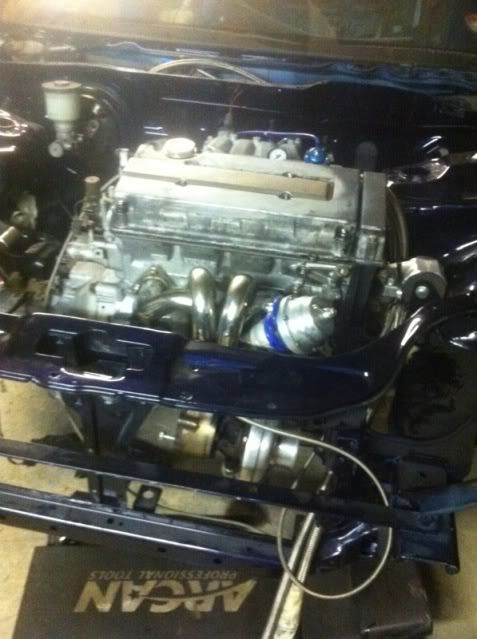
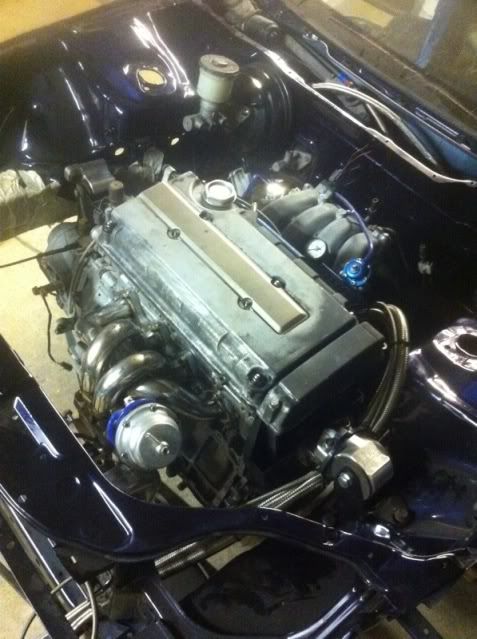
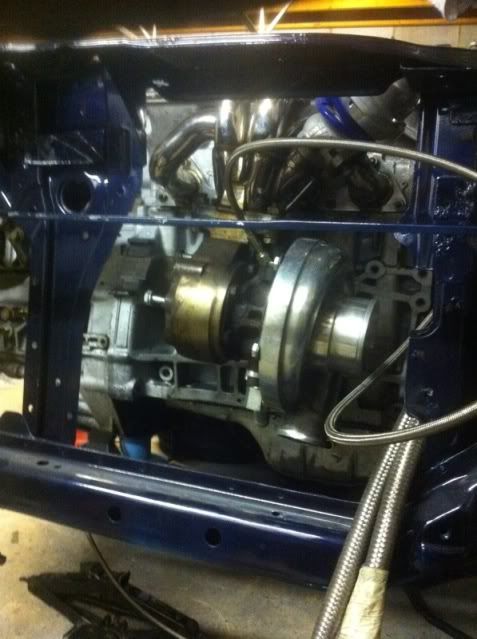
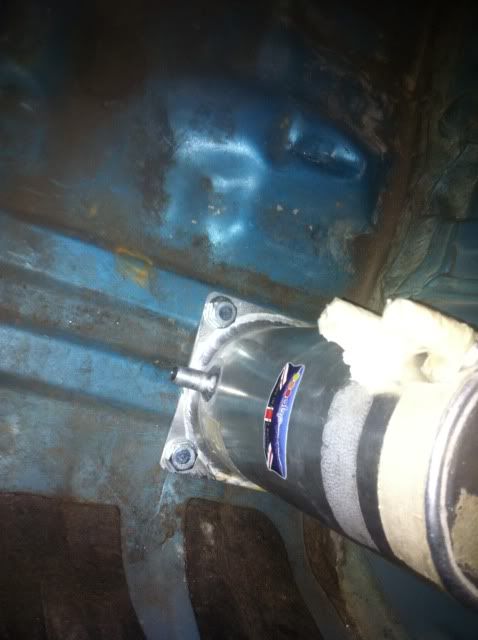
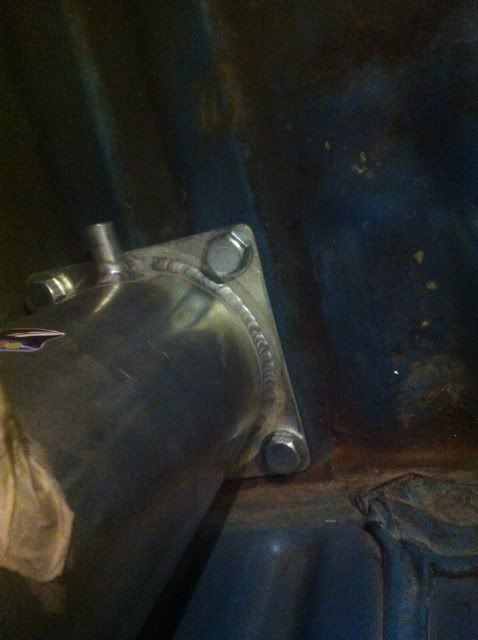
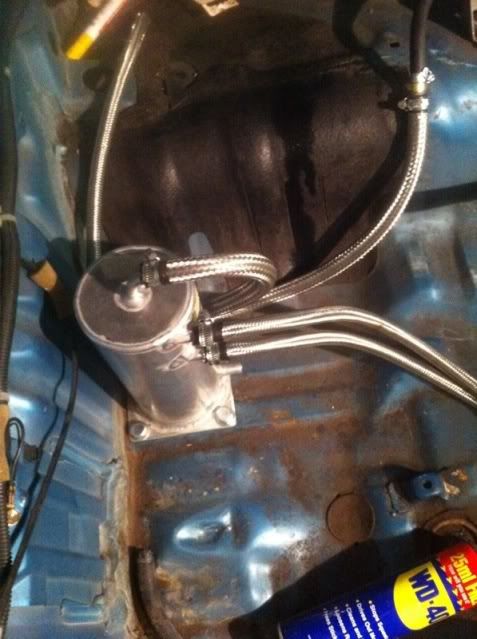
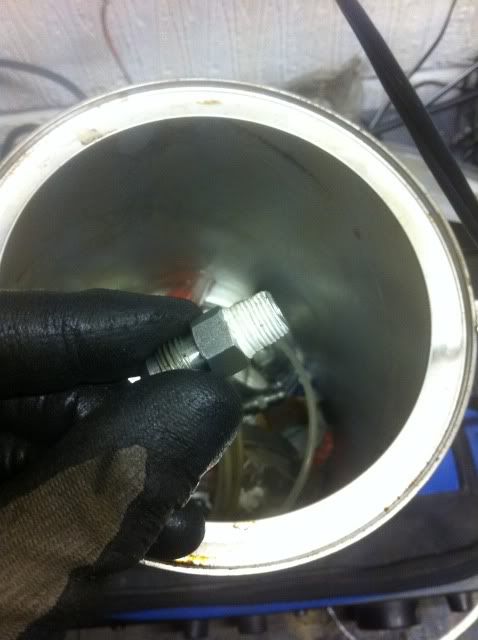
NTP to Metric oil feel piece.
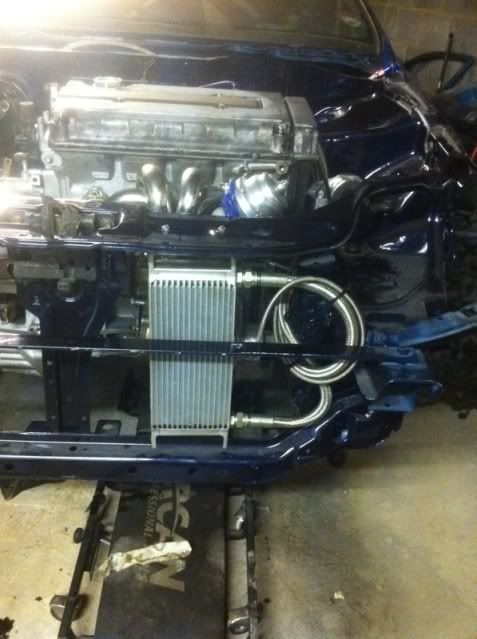
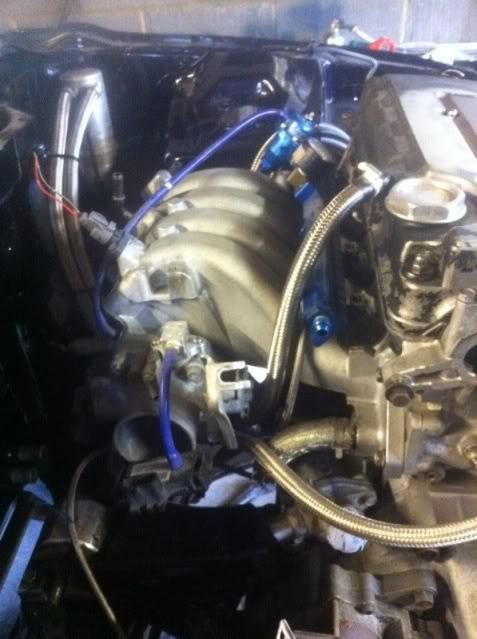

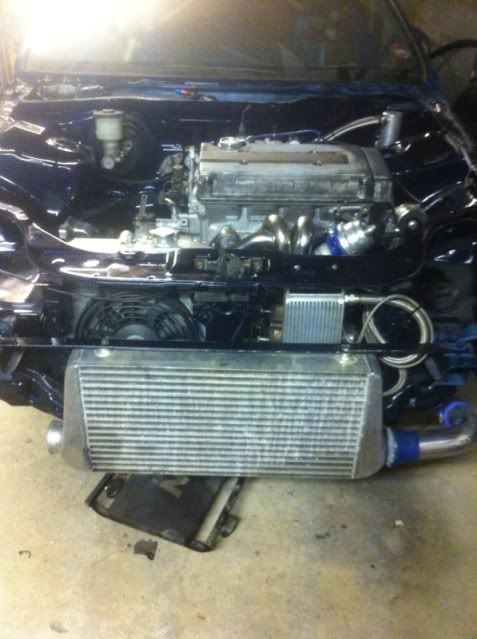
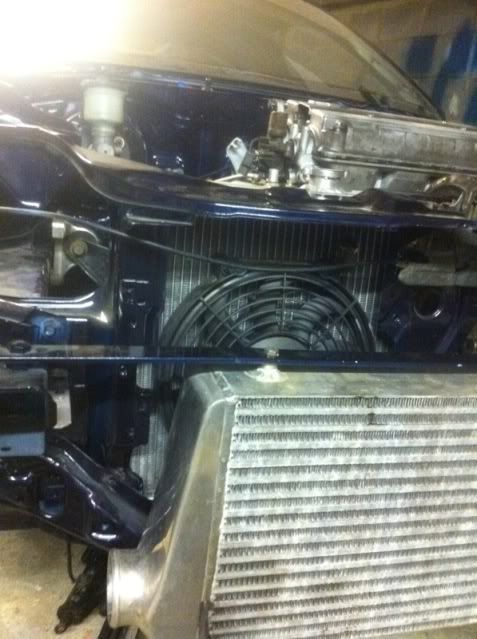
I know my oil cooler is stupid close to my compressor housing.
1 of 3 things will happen.
1 - cooler gets moved
2 - new manifold
3 - cut the manifold accordingly (will reduce lag too)
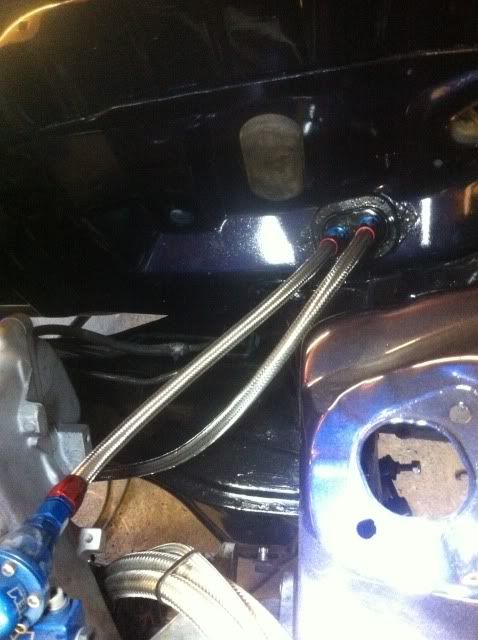
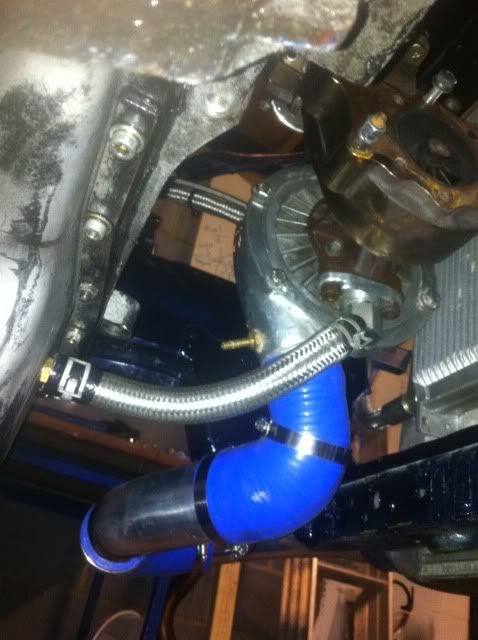
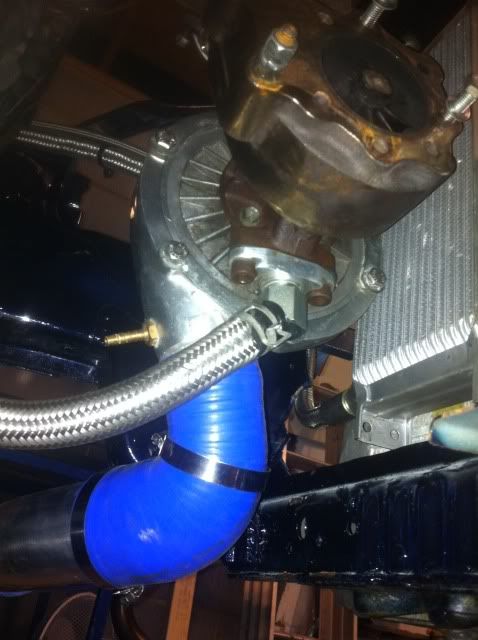
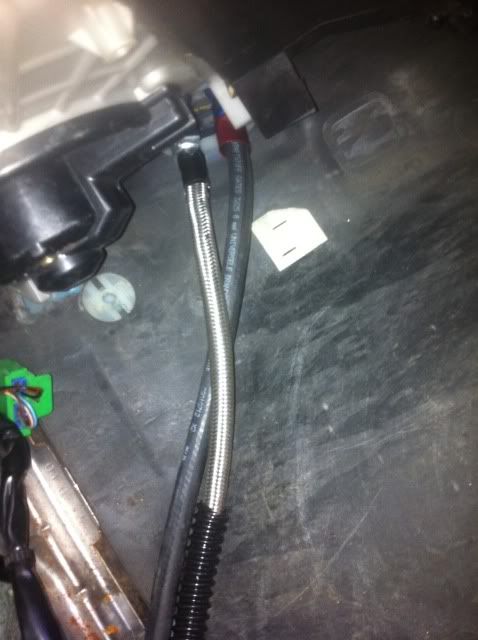
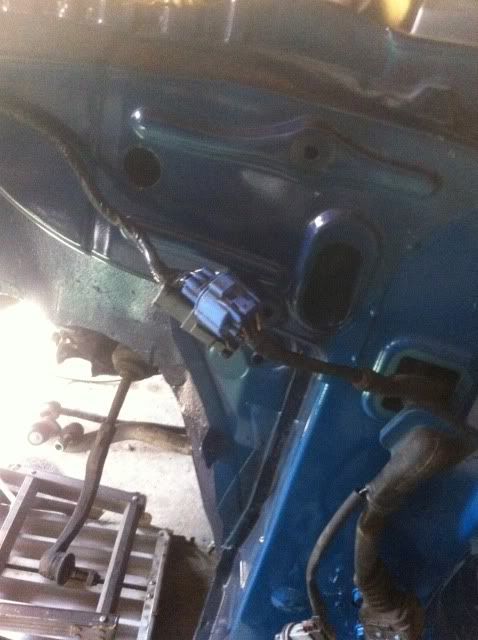
Then made my new clutch line.
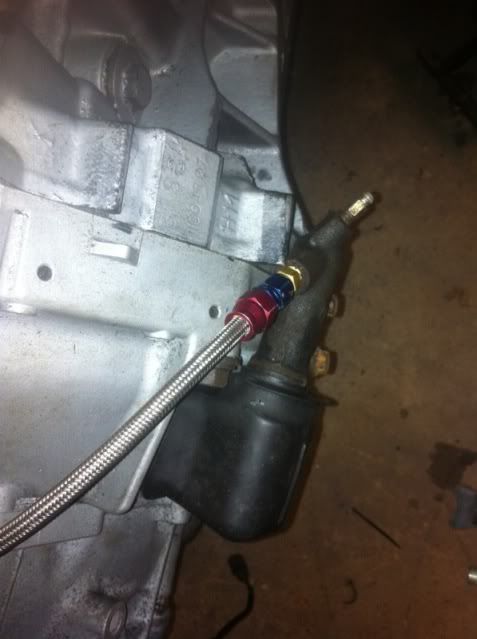
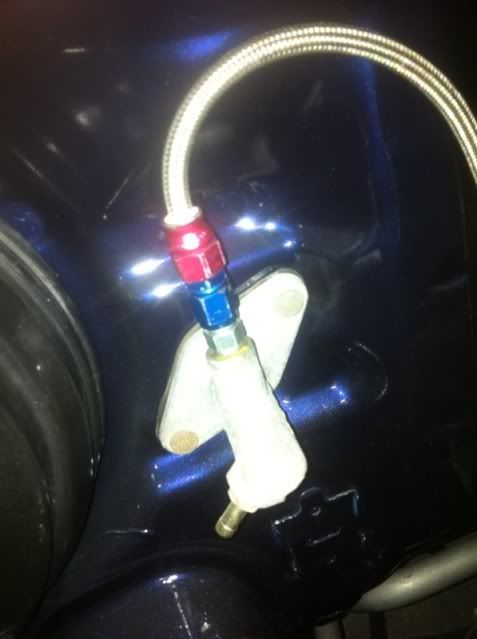
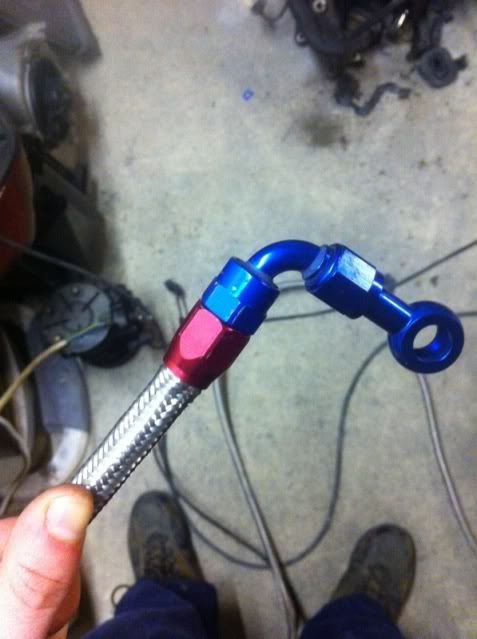
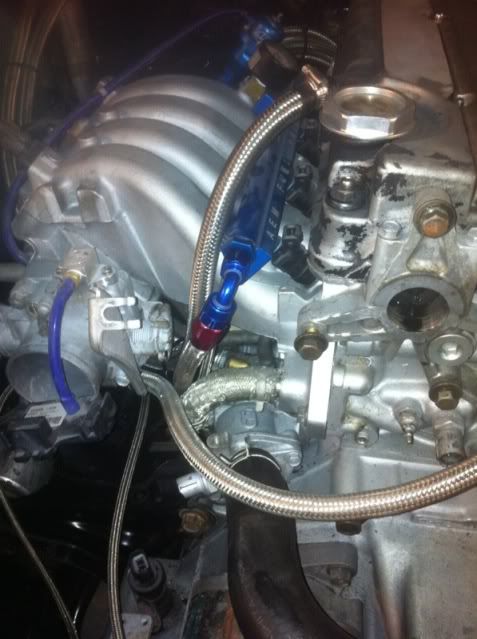
quick close up of my fuel lines, basically done these to keep bay tidy and also quick disconnect if engine ever needs out.

Didnt like the previous idea for the swirl pot so relocated it to deep in the boot.
Got myself a new white board lol
Finished couple of mock up bits on the fuel system
Then got some low pressure hose and high pressure hose.
Moved on back to the engine bay
NTP to Metric oil feel piece.
I know my oil cooler is stupid close to my compressor housing.
1 of 3 things will happen.
1 - cooler gets moved
2 - new manifold
3 - cut the manifold accordingly (will reduce lag too)
Then made my new clutch line.
quick close up of my fuel lines, basically done these to keep bay tidy and also quick disconnect if engine ever needs out.
- Joined
- Nov 8, 2011
- Messages
- 465
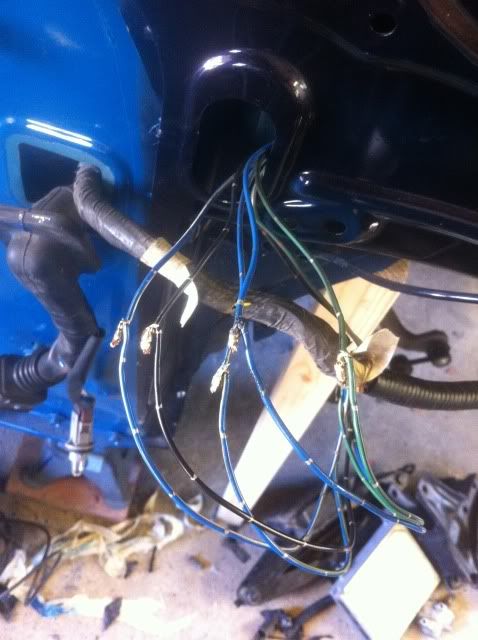
Then started on the light/auxc loom
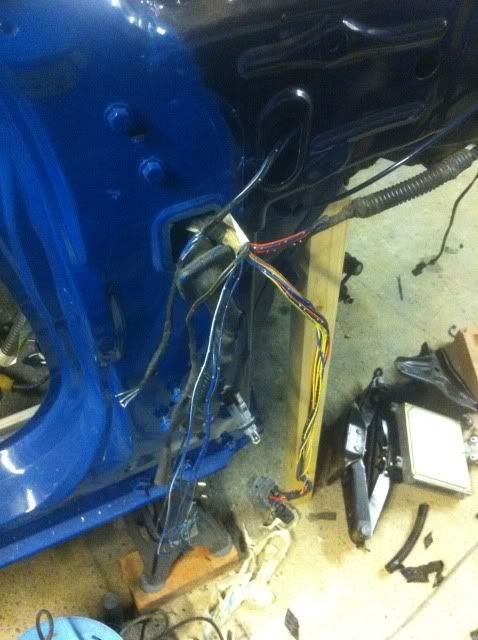
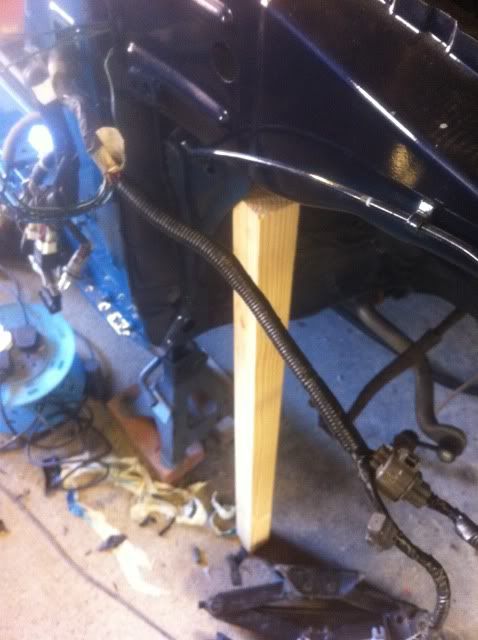

then soldered them
 #
#
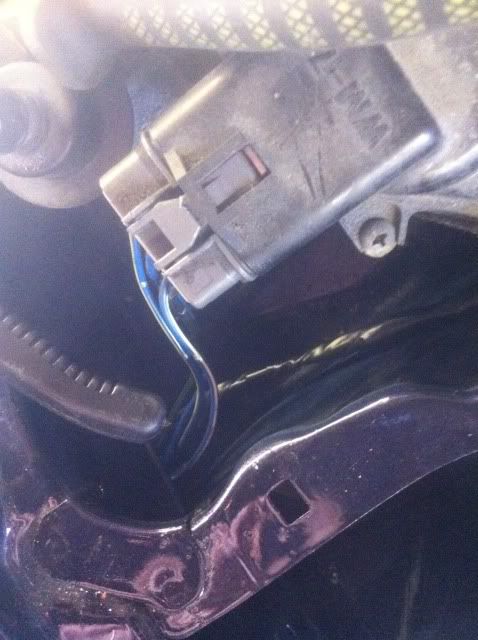
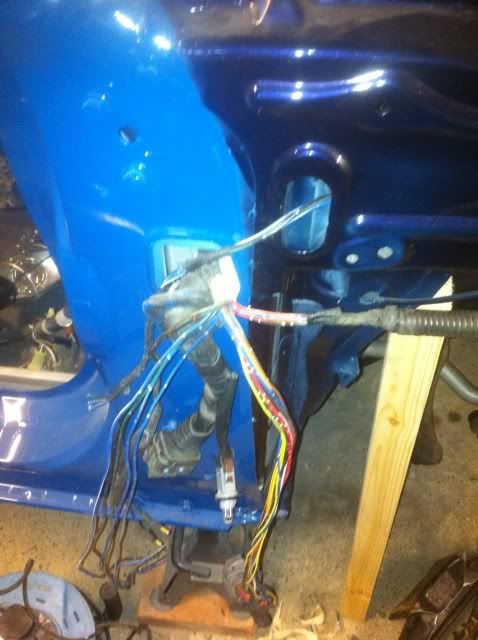
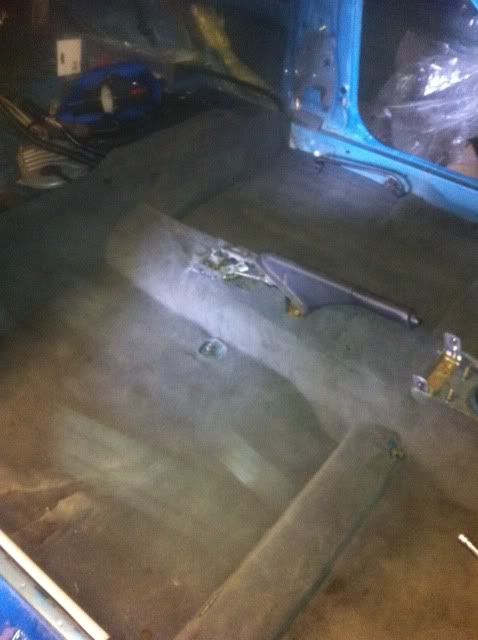
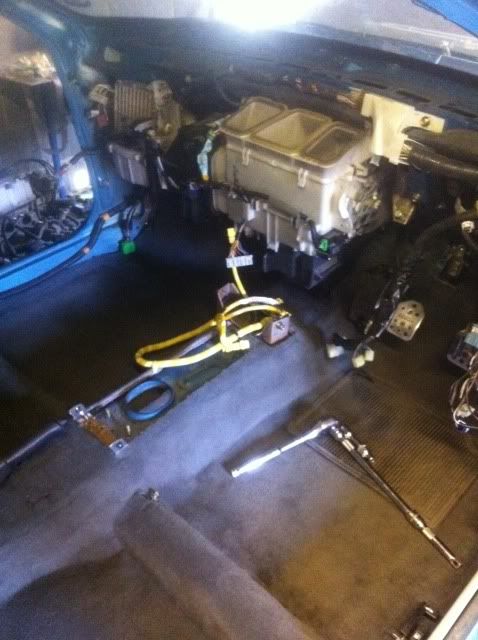
Now back inside the car.
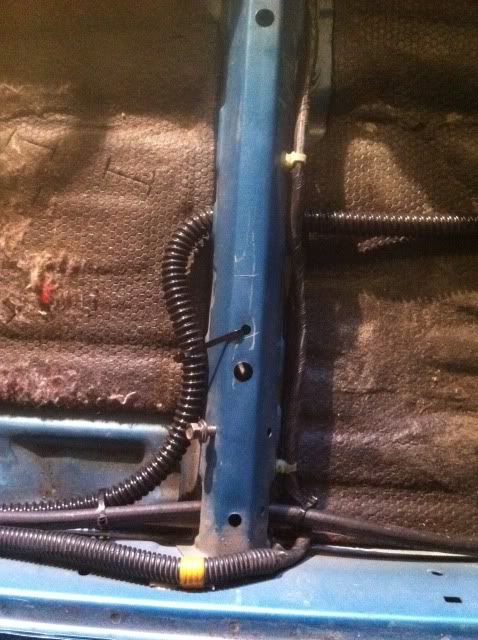
Putting heating and loom back in.


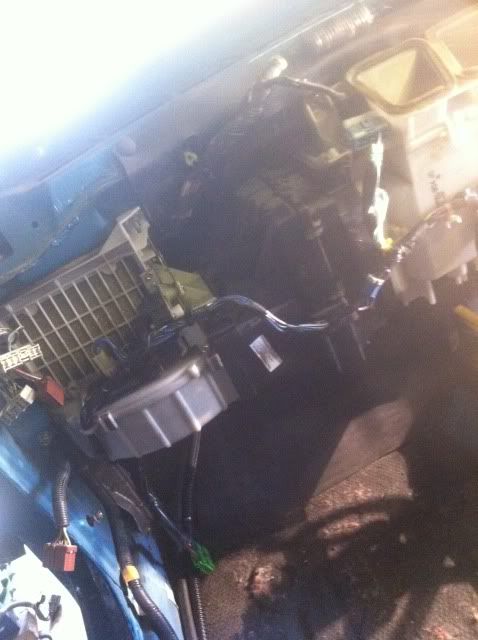
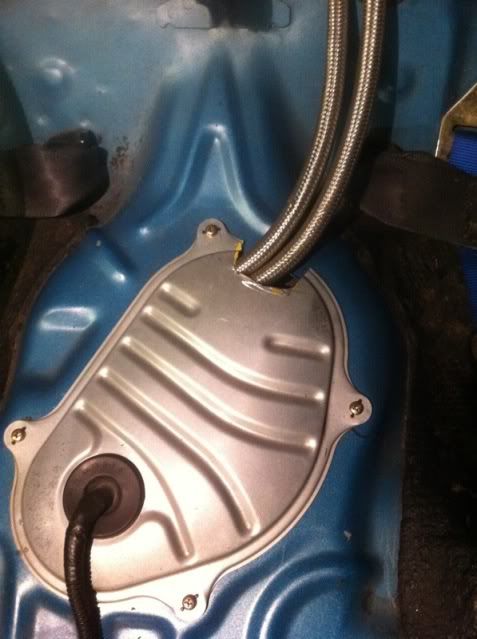
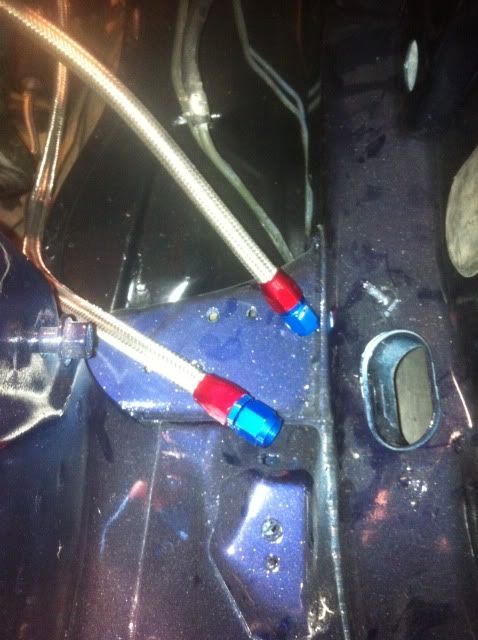
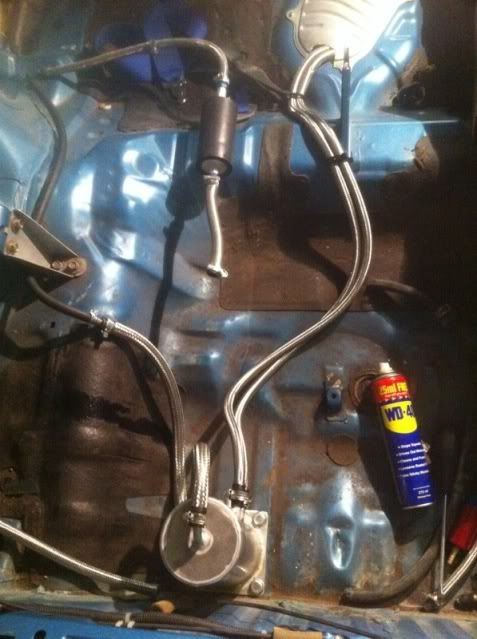
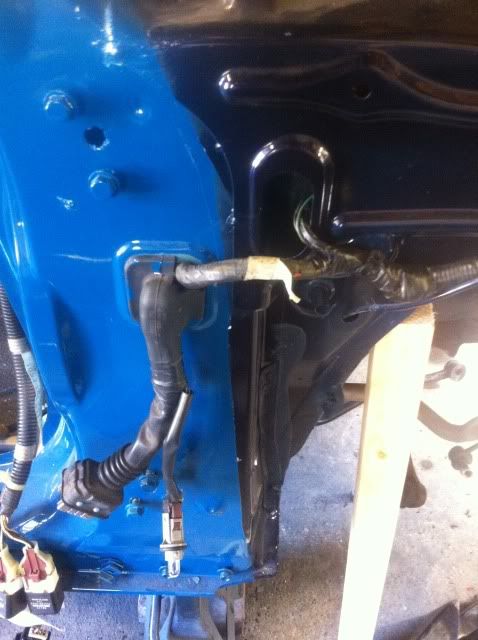
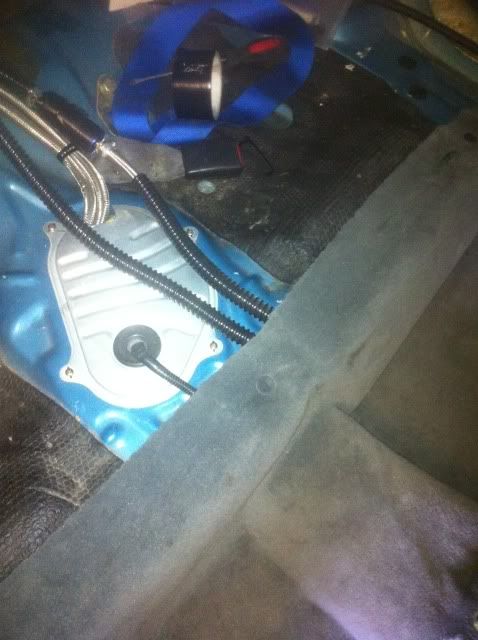
then finished the internal fuel lines.
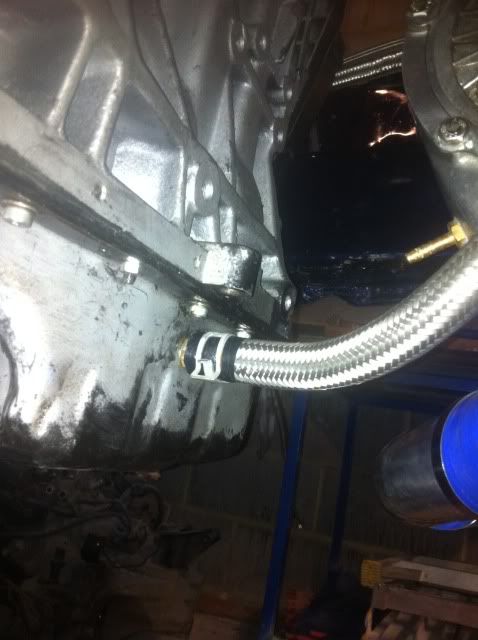
Wrapped the High pressure braided line inside rubber copex.
This is to prevent the hose shorting out if the car gets bad earths.

then soldered them
Now back inside the car.
Putting heating and loom back in.
then finished the internal fuel lines.
Wrapped the High pressure braided line inside rubber copex.
This is to prevent the hose shorting out if the car gets bad earths.
- Joined
- Nov 8, 2011
- Messages
- 465
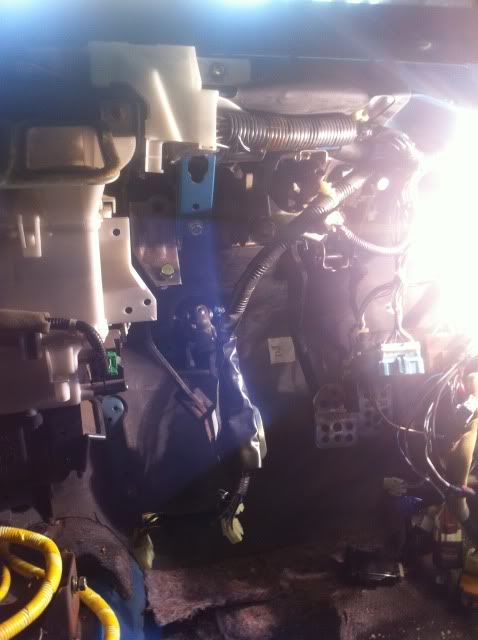
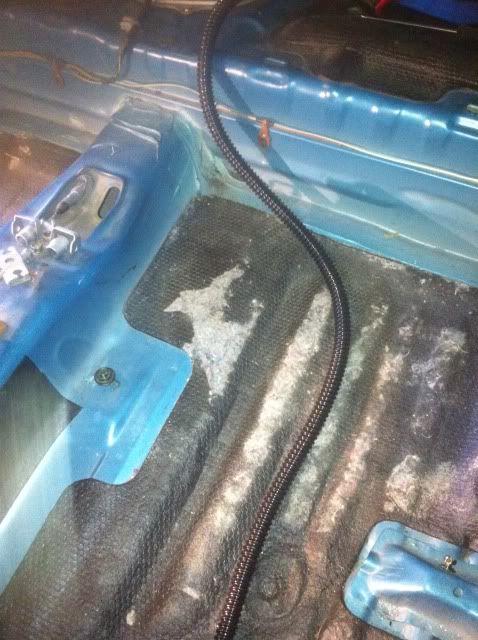
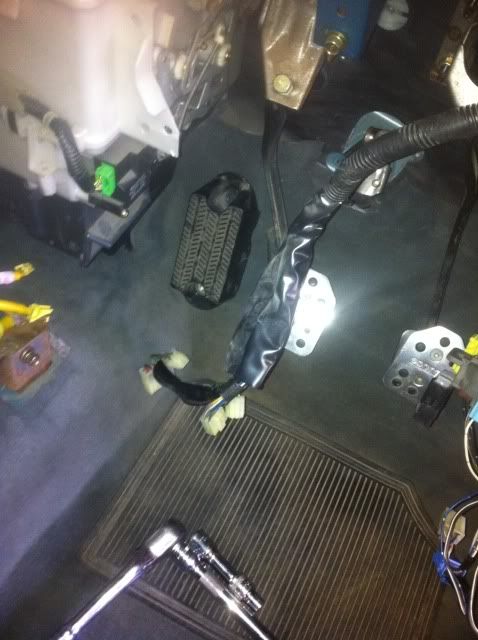
Then finished the loom on the other side.
Ran an extra line of copex for the battery cable.
Then put carpet back down.
Stuck my foot rest on too.
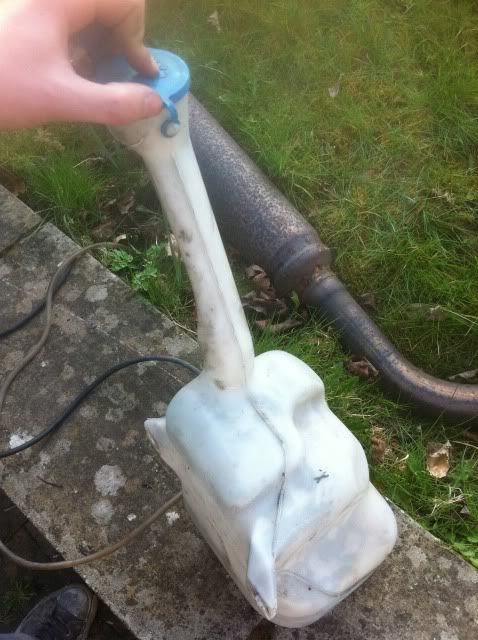
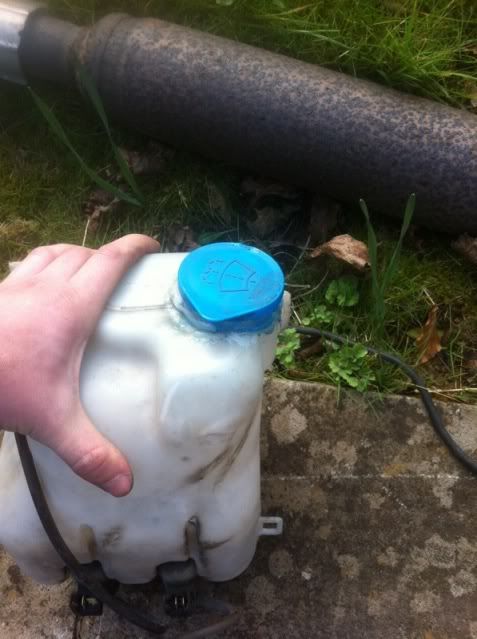
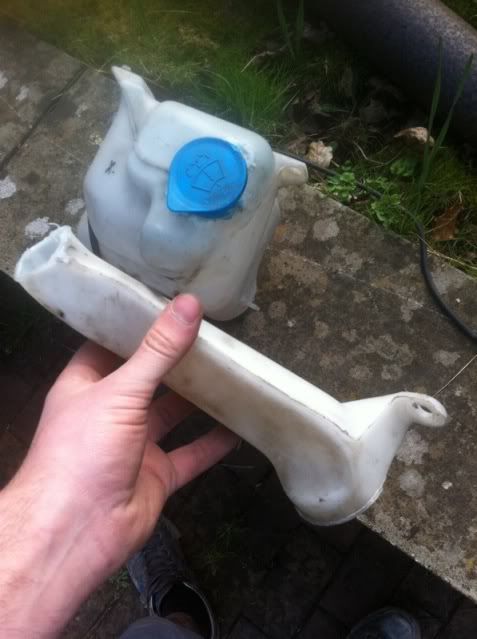
Next step was to make the washerbottle look acceptable in my boot, so got the hot knife out.


test fitted my dc2 rear bench to see how it felt to sit on, was all fine.
And how the bottle looks now.
 .
.
Thats all up to date now guys bar 2 weeks. which i will try to keep on top of lol
Looking to have it running by end of april so fingers crossed may see a few tracks this year.
Noon x
Ran an extra line of copex for the battery cable.
Then put carpet back down.
Stuck my foot rest on too.
Next step was to make the washerbottle look acceptable in my boot, so got the hot knife out.
test fitted my dc2 rear bench to see how it felt to sit on, was all fine.
And how the bottle looks now.
Thats all up to date now guys bar 2 weeks. which i will try to keep on top of lol
Looking to have it running by end of april so fingers crossed may see a few tracks this year.
Noon x
xoKirstyox
Member
- Joined
- Mar 6, 2011
- Messages
- 411
Wow amazing work Keep the updates coming!
Keep the updates coming!021-bennettt
Member
- Joined
- May 5, 2009
- Messages
- 544
Jesus man, some amount of work in that and nice attention to detail!
Alex123abc
New Member
- Joined
- Mar 14, 2012
- Messages
- 23
Mint project liking this
Kid-Vtek
Active Member
- Joined
- Mar 30, 2012
- Messages
- 175
Quick question about your mother flocking parts... lol did you do the flocking your self or send it off to get done? i would love to flock my dash while its out during my swap but it look extremely messy to do on my own... i also dont want it to turn out like crap haha
- Joined
- Nov 8, 2011
- Messages
- 465
Quick question about your mother flocking parts... lol did you do the flocking your self or send it off to get done? i would love to flock my dash while its out during my swap but it look extremely messy to do on my own... i also dont want it to turn out like crap haha
Hey dude, after much humming and thinking i decided to get it done elsewhere for a few reasons.
A decent flocking machine will cost £600 upwards
Ive never done it before and didnt wana trial it on my baby lol
and because i managed to wingle in and now get stuff at a lower rate than most people do etc, not to mention the quality is 2nd to none.
Nuno.
Harris_EK3
New Member
- Joined
- Nov 21, 2011
- Messages
- 392
Lovley build mate, some of this made me laugh, especially the bit where you dropped the sunroof on your head. I did it too haha.