
You are using an out of date browser. It may not display this or other websites correctly.
You should upgrade or use an alternative browser.
You should upgrade or use an alternative browser.
My Ej6 civic Hb 3.2 V6 Vtec powered!
- Thread starter masterek
- Start date
masterek
The P90X Nerd/Geek
- Joined
- Apr 19, 2011
- Messages
- 178
Will be looking good with her new paint on.
What colour you going?
i choose a different color this time. instead of sunset orange pearl. im getting Arancio Ishtar, used on Murciélago. little brighter orange pearl

hopefully it turns out sexy.
Attachments

Last edited:
masterek
The P90X Nerd/Geek
- Joined
- Apr 19, 2011
- Messages
- 178
Some fun updates lol, some things came in the mail
-Sem landau black dye
-Sem sand free,
-Sem plastic and leather prep.
-EK9 Type R red carpet
-Mugen floor mats
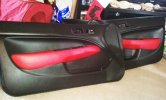
-EK9 Type R red door panel inserts
-leather red stitching arm rest cover.
-Recaro racing seats
dropped off my Recaro racing seats to automotive interior upholster shop. being re-upholstered to real leather at the moment. also dropped off my rear seats for same colored leather to match front seats. cant wait!!!
finally got my Megan racing trailing arm bushing. since my si rear disc brake were cracked and torn. Man these things were a BI**h to install without the TA tool @_@. but got them installed.
another update, finally compressor and paint booth fan is fixed!!! painting this sucker tomorrow!!!!
Attachments
1.4POWER
Member
- Joined
- Feb 27, 2011
- Messages
- 320
one question is how do so many americans have so much money to spend on there hondas ders noting like this in ireland or uk?
secondly why would you do this to be only getting 14secs on 1/4 mile? Just confusing as why not spend money on a built k or b series or is doing j series cheap?
not bashing just wondering?
secondly why would you do this to be only getting 14secs on 1/4 mile? Just confusing as why not spend money on a built k or b series or is doing j series cheap?
not bashing just wondering?
Lee s
Moderator
- Joined
- Jun 28, 2010
- Messages
- 4,349
one question is how do so many americans have so much money to spend on there hondas ders noting like this in ireland or uk?
secondly why would you do this to be only getting 14secs on 1/4 mile? Just confusing as why not spend money on a built k or b series or is doing j series cheap?
not bashing just wondering?
They have loads more honda tuning stuff over there so pushes prices down.
1/4 mile time would be due to traction, my b20s first gear is useless and that's only 230 bhp and 150tq, this would be a mare.
masterek
The P90X Nerd/Geek
- Joined
- Apr 19, 2011
- Messages
- 178
The reason i dump alot of money into this thing is for 1 i am not going to ever get rid of itone question is how do so many americans have so much money to spend on there hondas ders noting like this in ireland or uk?
secondly why would you do this to be only getting 14secs on 1/4 mile? Just confusing as why not spend money on a built k or b series or is doing j series cheap?
not bashing just wondering?
 . i have so much money because i work very VERY hard lol. i don't come from a rich or wealthy hand me down parents. i grew up poor and had nothing "Inglewood, CA". but a broken 1 propeller helicopter as a toy.
 anyways, i haven't even begun to push the limit for my daily driver. only at 3psi 350whp and 310lbl trq. That barely touching it. plus the over all swap was way less then a k series. plus i wanted to be a bit different. if you read my thread in it entirely you would see my future goals for this powerhouse. lol
They have loads more honda tuning stuff over there so pushes prices down.
1/4 mile time would be due to traction, my b20s first gear is useless and that's only 230 bhp and 150tq, this would be a mare.
totally agree, with supply and demand. right now so much supply and not much demand drops the price so they can sell.
my j series no grip even in third. ill throw slicks on once i upgrade to stronger axles. dont want to snap the one i have now n.n
masterek
The P90X Nerd/Geek
- Joined
- Apr 19, 2011
- Messages
- 178
I know my brothers only managed a 13.1 at pod, spinning up in 1-3.. wheel hop was immense from inside lol
Was expecting your 1/4 to be epic tho! Mooore boost!
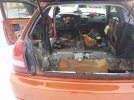
well if i had slick, no boost leaks, etc blah blah, would of been better. minus i had my jack stand and other heavy crap in my trunk lol.
another little update
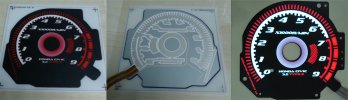
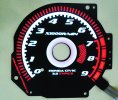
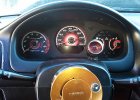
got my prototype glow face gauge finished. Since they only made this glow face in auto. ive made myself a custom one of a kind manual.
original auto glow face
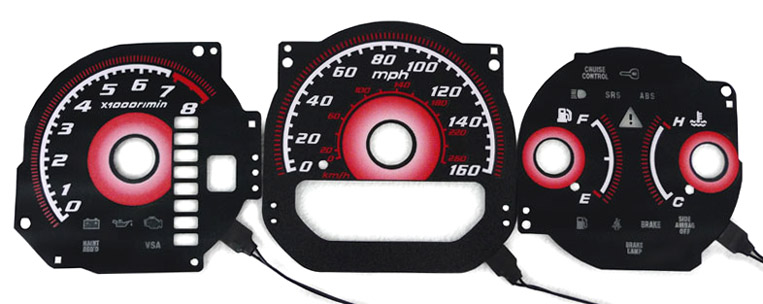
my custom RPM glow face portion.
still goto cut out the CEL, Oil light etc.
Attachments

masterek
The P90X Nerd/Geek
- Joined
- Apr 19, 2011
- Messages
- 178
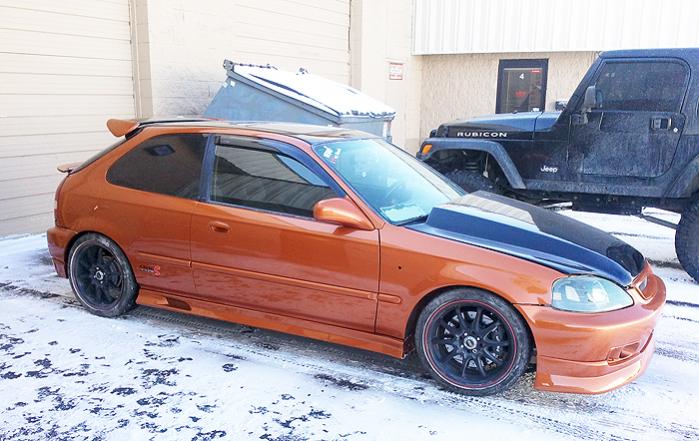
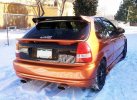
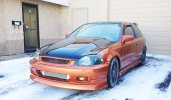
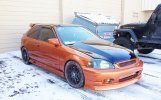
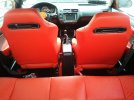
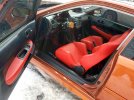
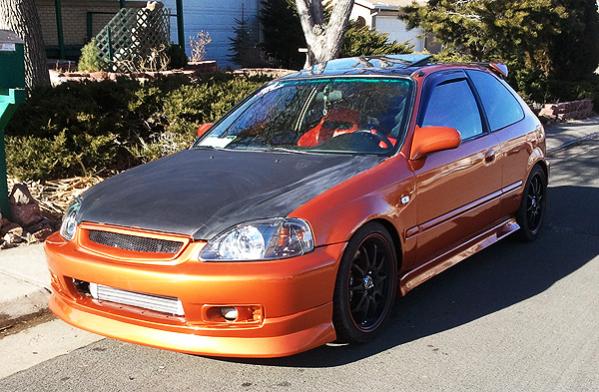
So iv'e been busy, and decided i wanted to stick with the same color scheme. so i kept the original color. and finally got it finished. the interior is a mess! but will be dying my interior black.
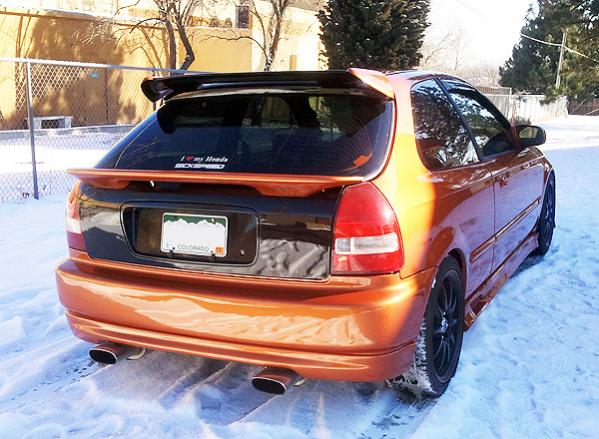
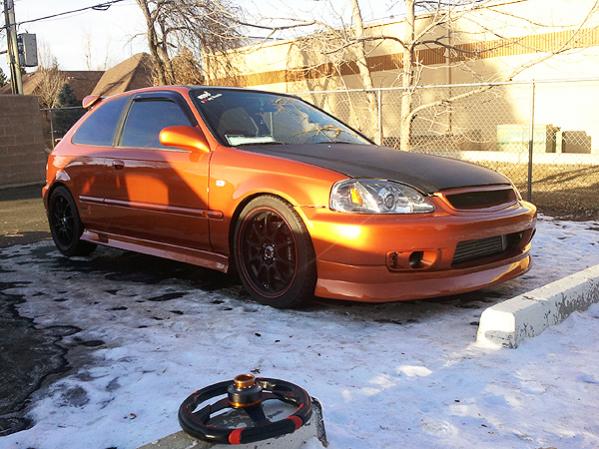
enjoy the pictures
a bit dirty and needs a wash.


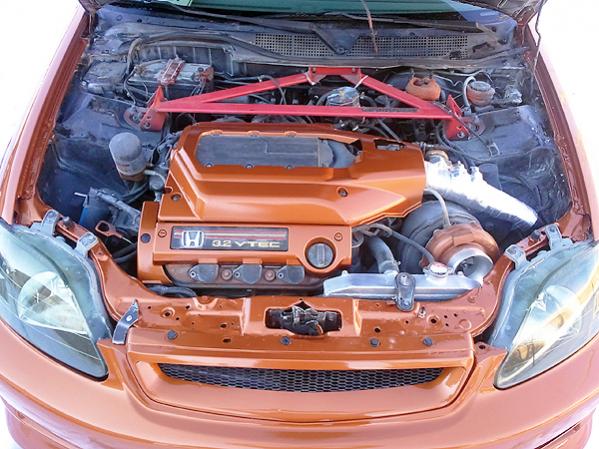
engine bay super dirty :/
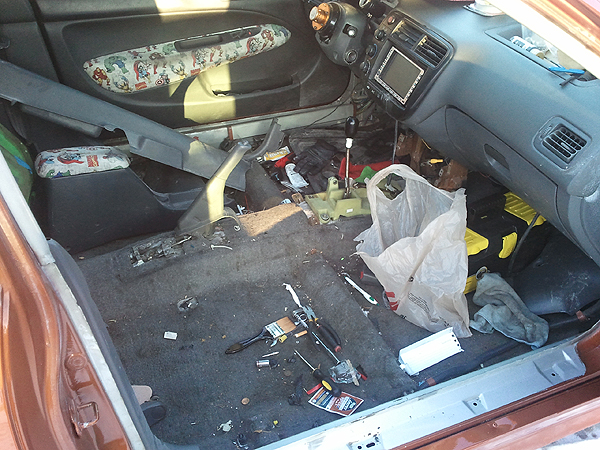
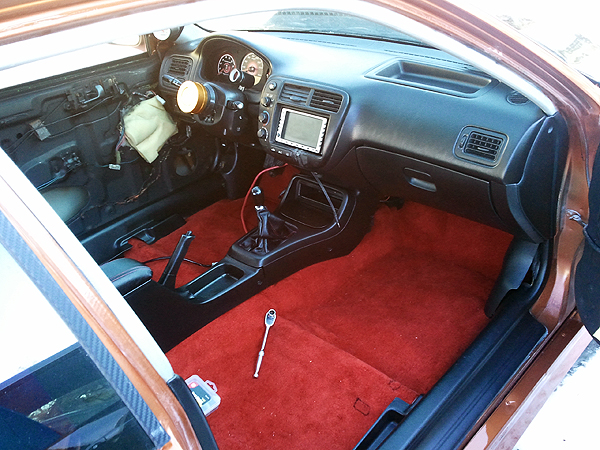
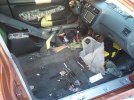
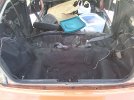
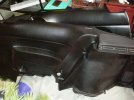
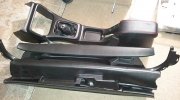
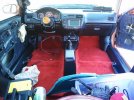
since I've got it home started to strip the interior for dying.


Then i started to apply the anti-rust black paint to the interior
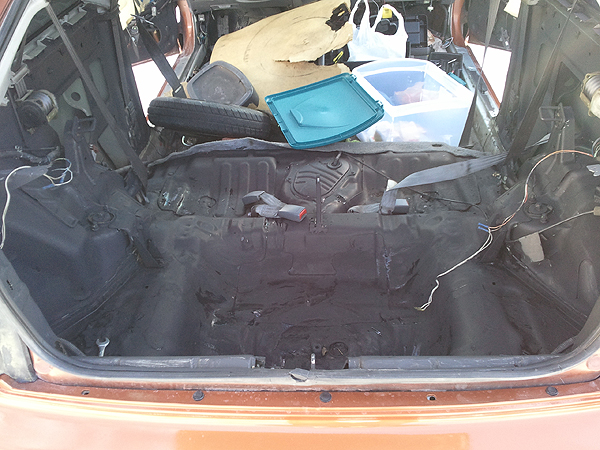
I started to prep the surface for black dye.

Black dyed interior
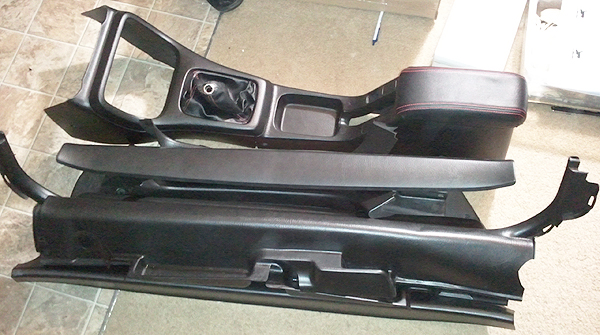
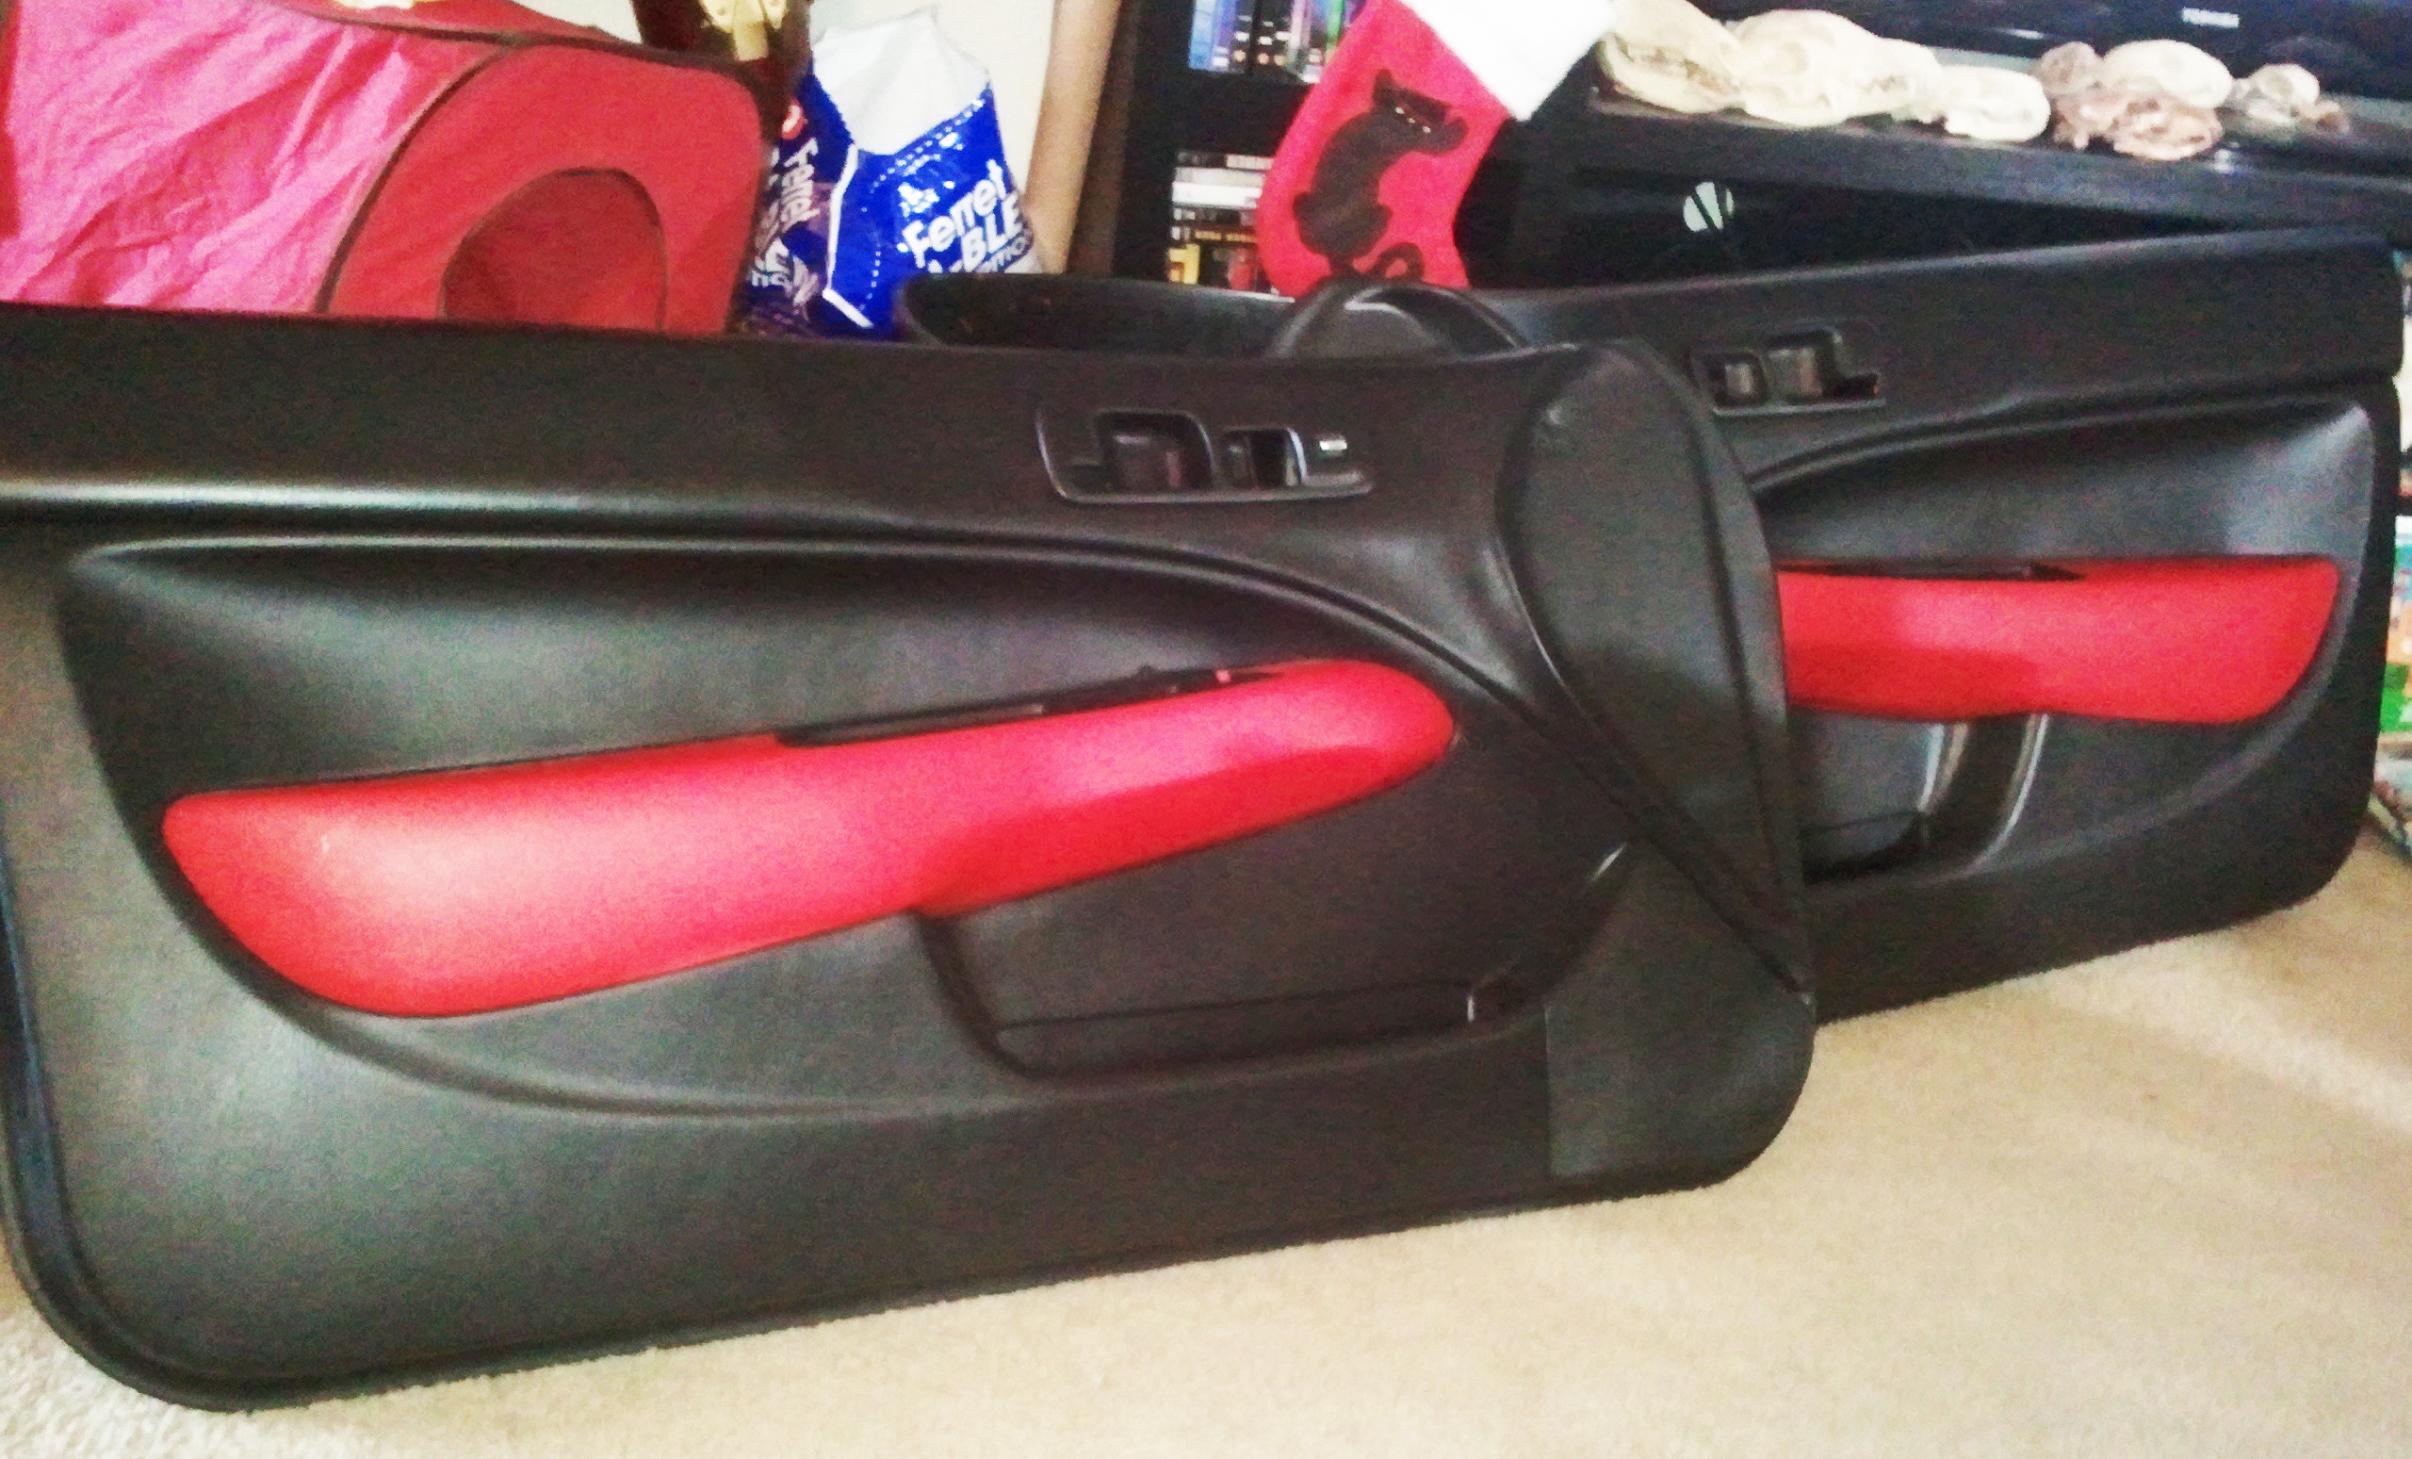
modified my door panels with red vinyl
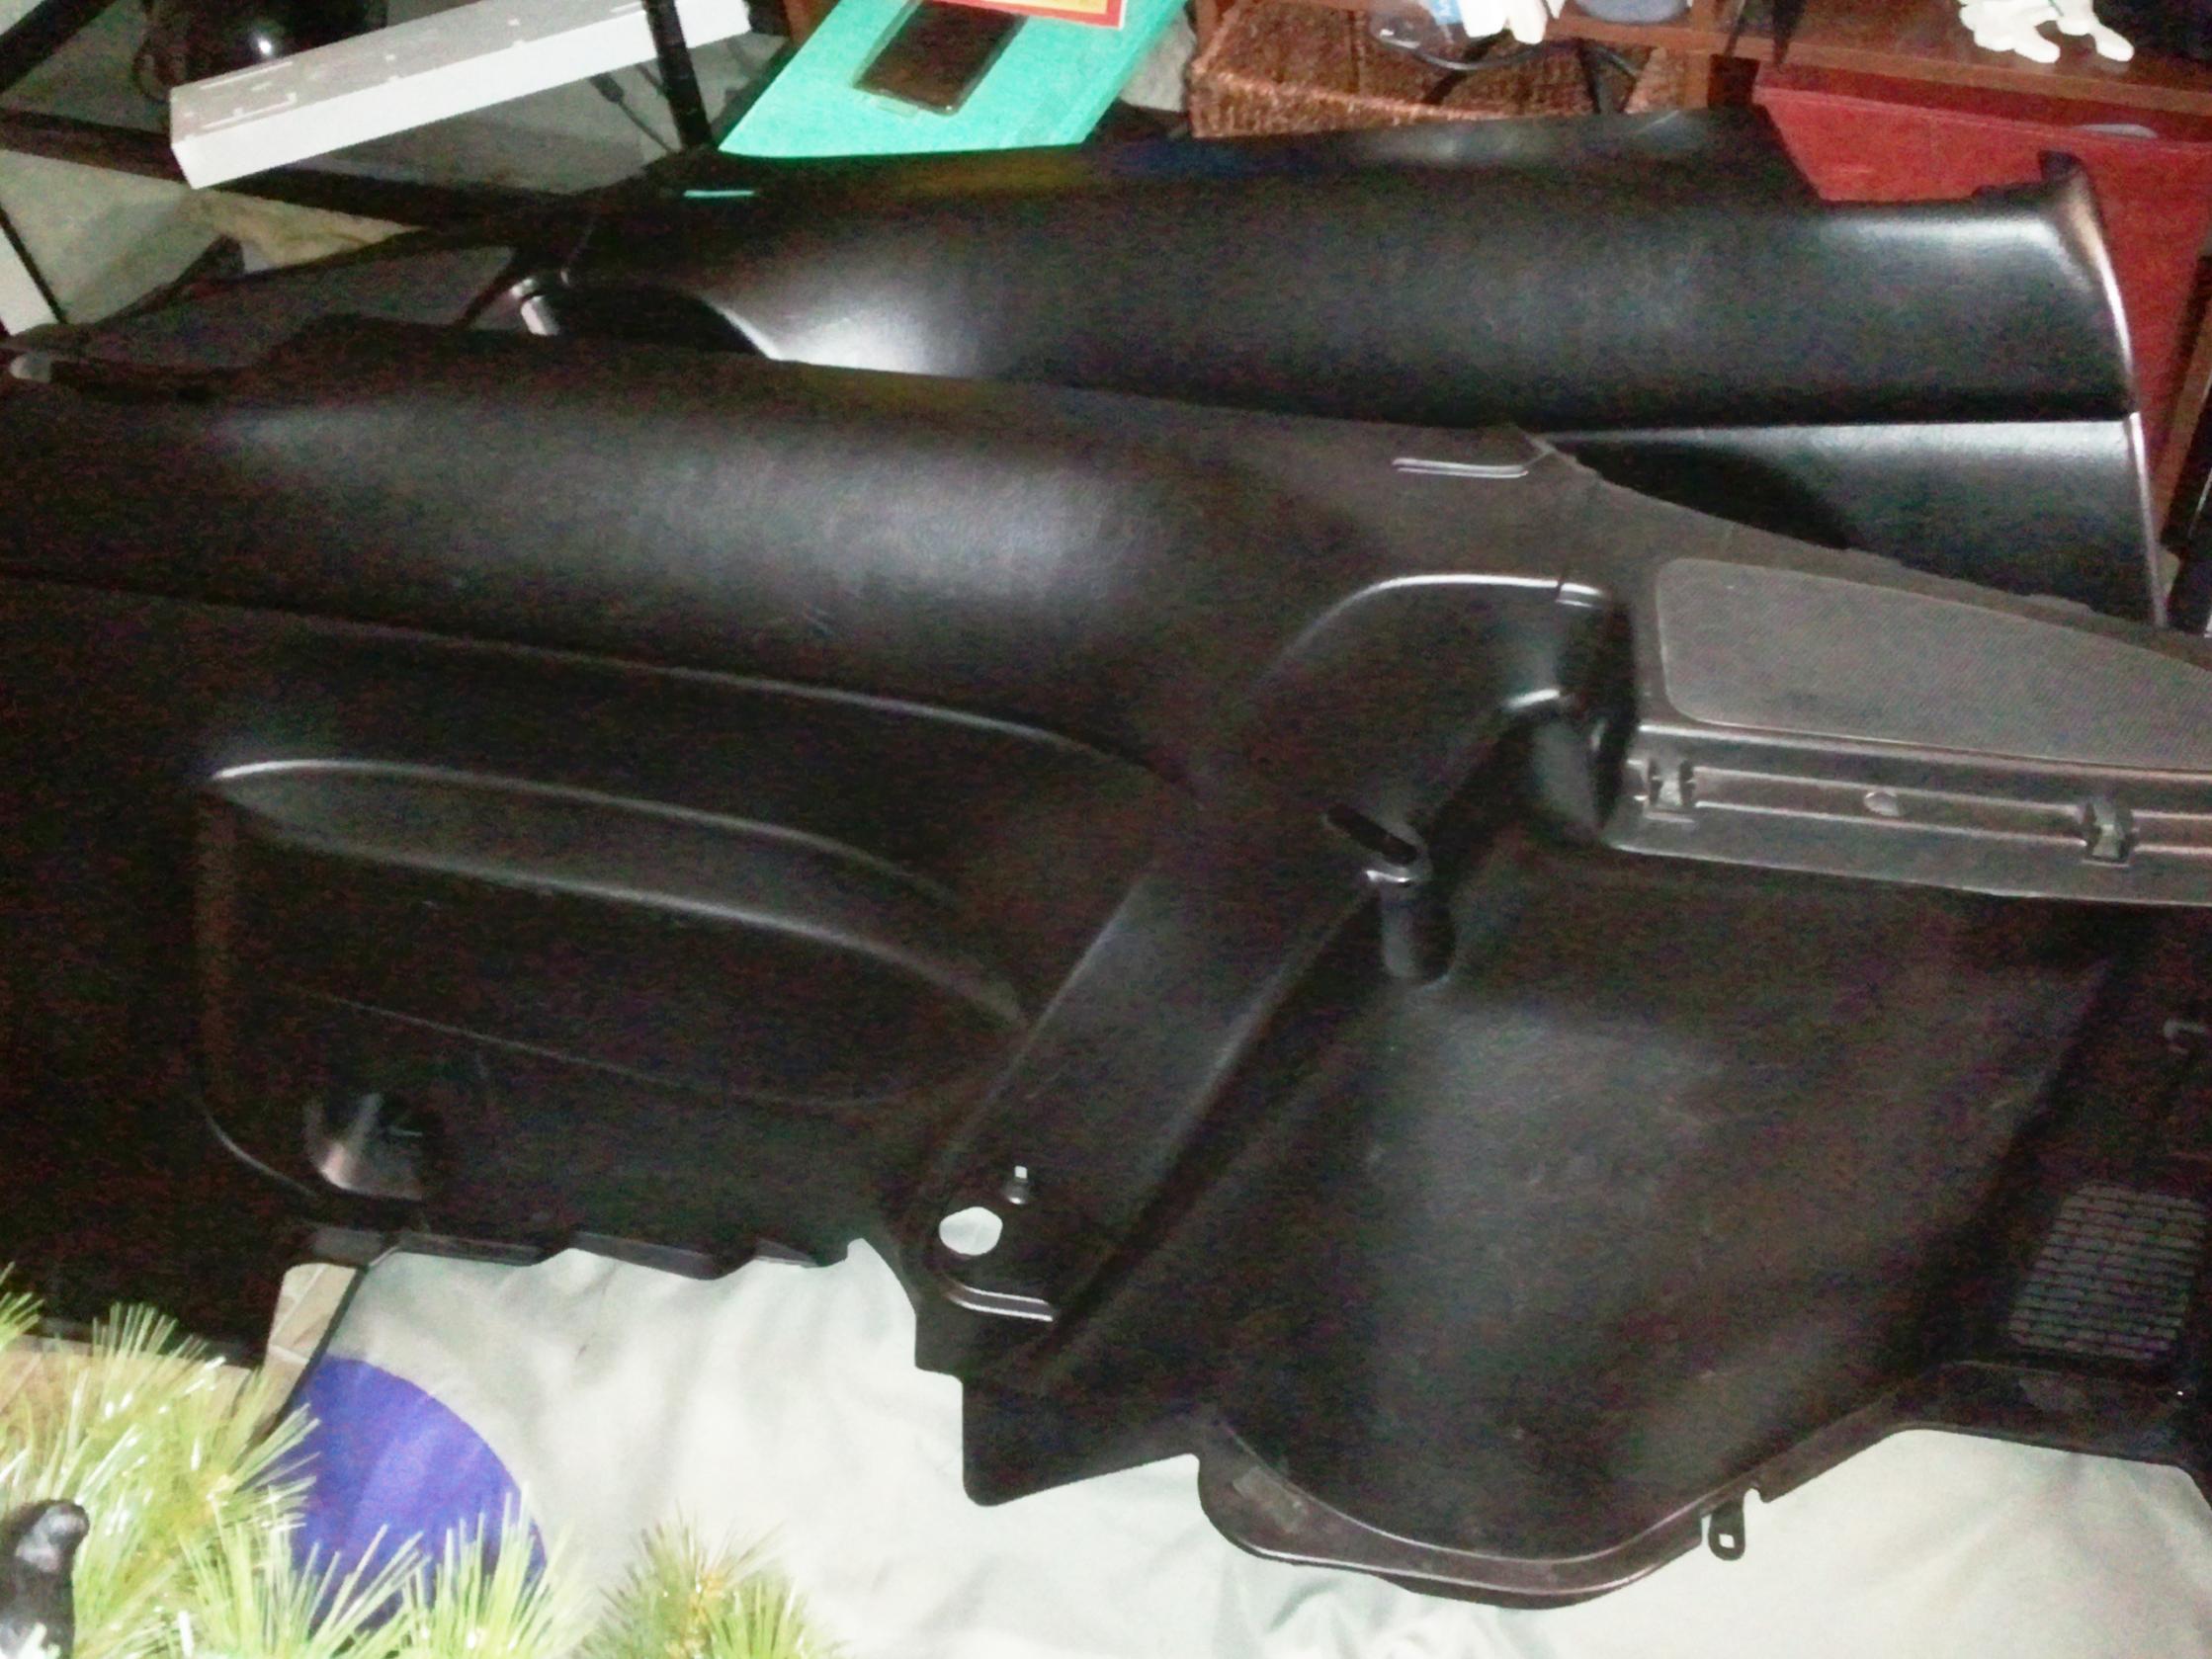
rear panels

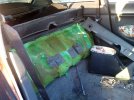
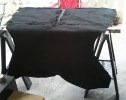
dyed my trunk carpet too.
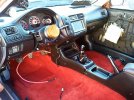
I then installed my new CTR red carpet

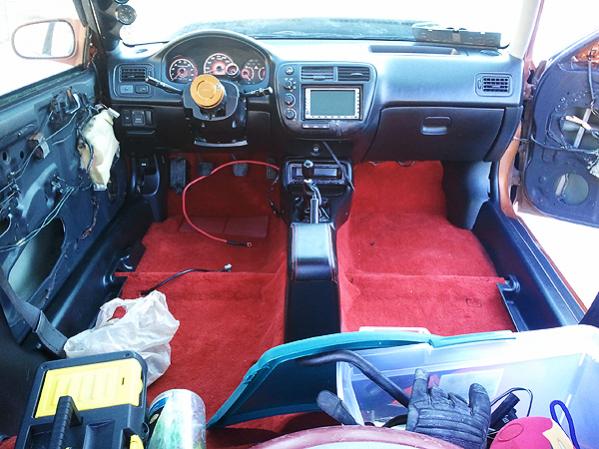
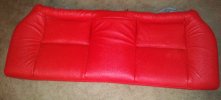
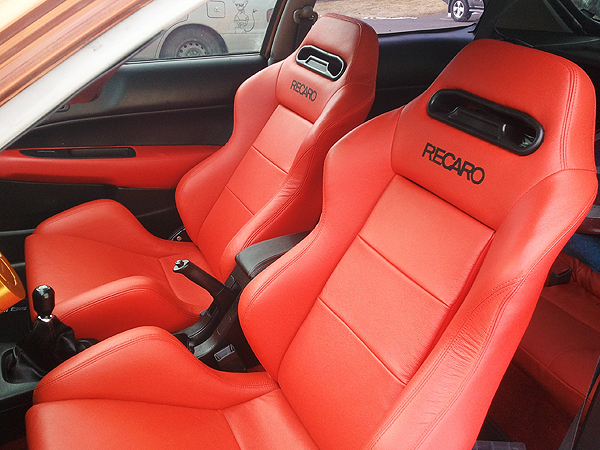
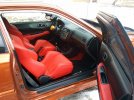
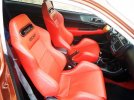
getting my Re-upholstered Recaro racing seats ready to be installed.

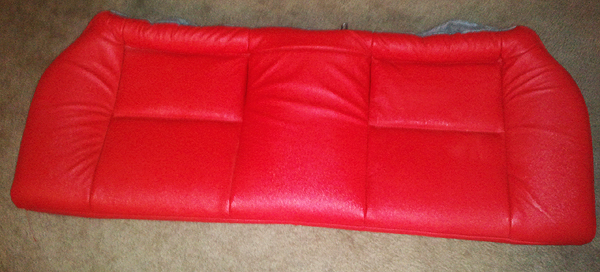
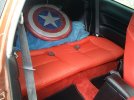
also my rear seats, my top back rest are taking forever to be finished, still need to use the heat gun to get the leather to stretch right.
enjoy the pictures
a bit dirty and needs a wash.
engine bay super dirty :/
since I've got it home started to strip the interior for dying.
Then i started to apply the anti-rust black paint to the interior
I started to prep the surface for black dye.
Black dyed interior
modified my door panels with red vinyl
rear panels
dyed my trunk carpet too.
I then installed my new CTR red carpet
getting my Re-upholstered Recaro racing seats ready to be installed.
also my rear seats, my top back rest are taking forever to be finished, still need to use the heat gun to get the leather to stretch right.
Attachments
-
 $dirty.jpg62 KB · Views: 5,821
 -
 $rear.jpg59.3 KB · Views: 4,377
 -
 $side.jpg62.6 KB · Views: 4,353
 -
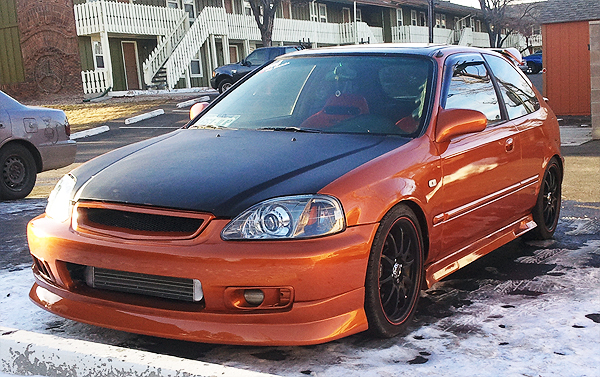
 $front angle2.jpg52 KB · Views: 4,385
 -
 $front angle.jpg58.9 KB · Views: 4,470
 -
 $strip start1.jpg344.5 KB · Views: 4,438
 -
 $strip start.jpg332.8 KB · Views: 4,389
 -
 $strip2.jpg62 KB · Views: 4,469
 -
 $basecoat black.jpg299.5 KB · Views: 4,439
 -
 $prepping.jpg50.7 KB · Views: 4,271
 -
 $trunk carpet.jpg281.6 KB · Views: 4,404
 -
 $panels.jpg361.1 KB · Views: 4,904
 -
 $door panels.jpg363.7 KB · Views: 7,499
 -
 $panels 2.jpg244.9 KB · Views: 4,437
 -
 $carpetpass.jpg337.3 KB · Views: 11,418
 -
 $carpetdriv.jpg57 KB · Views: 9,673
 -
 $carpetcenter.jpg54 KB · Views: 4,512
 -
 $recaros.jpg203.2 KB · Views: 4,911
 -
 $rear bottom seat.jpg188.1 KB · Views: 4,248
masterek
The P90X Nerd/Geek
- Joined
- Apr 19, 2011
- Messages
- 178
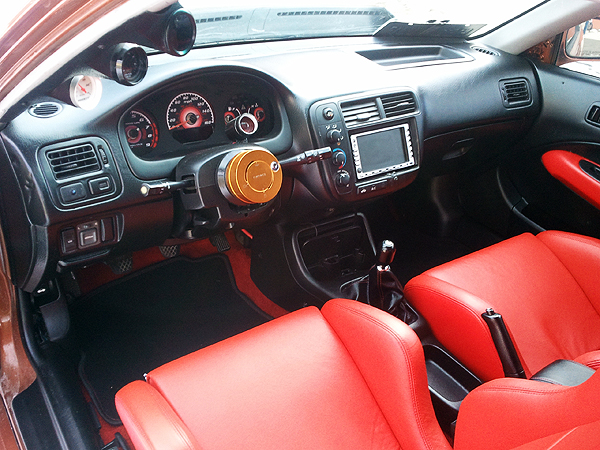
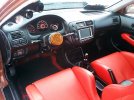
installed my custom gauge cluster gauge face as well.

Re-installed everything but the rear seat back rest.


also cleaned up the engine bay up a bit.

still alot to do, need to re-install my side marklet lights, clean up the engine bay, finish my rear seat back rest. install my trunk carpet. etc.
let me know what you guys think.
enjoy!
Re-installed everything but the rear seat back rest.
also cleaned up the engine bay up a bit.
still alot to do, need to re-install my side marklet lights, clean up the engine bay, finish my rear seat back rest. install my trunk carpet. etc.
let me know what you guys think.
enjoy!
Attachments
-
 $rear view.jpg287.4 KB · Views: 4,312
 -
 $driver side.jpg319.2 KB · Views: 4,369
 -
 $cockpit2.jpg346.5 KB · Views: 4,439
 -
 $cockpit.jpg330.8 KB · Views: 11,860
 -
 $cluster finished.jpg281.4 KB · Views: 8,271
 -
 $pass side2.jpg328.9 KB · Views: 4,322
 -
 $pass side.jpg45.7 KB · Views: 4,308
 -
 $rear seat bottom.jpg313.9 KB · Views: 4,335
 -
 $sorta clean.jpg70 KB · Views: 12,500
Last edited:
masterek
The P90X Nerd/Geek
- Joined
- Apr 19, 2011
- Messages
- 178
Dude you are crazy I love it specially the re spray lookes amazing
Thanks, really appreciate your comment!
masterek
The P90X Nerd/Geek
- Joined
- Apr 19, 2011
- Messages
- 178
ok, the aftermarket cowl hood, been bugging me for a long time. but had to live with it since it allowed me to cover the whole engine. without cutting my hood like most j swap civic. Even though i modified it to make it look OEM. but still irks me.
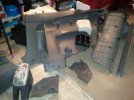
So Ive decided to go to the local junk yard, and measure other Acura/Honda V6 motors with lower intake manifolds. I came across 2000 Acura Tl base model engine. good giveaway was how flat/lower in height it looks. so i bought it for $80 with the plastic cover.
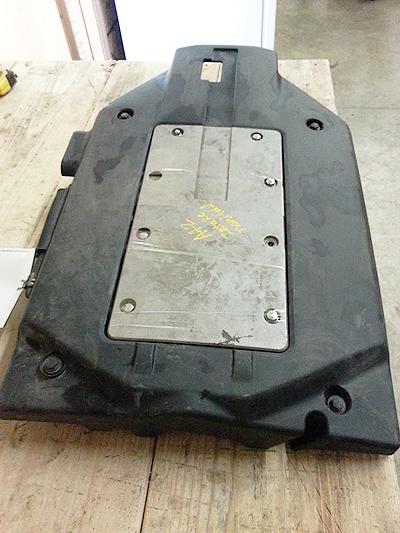
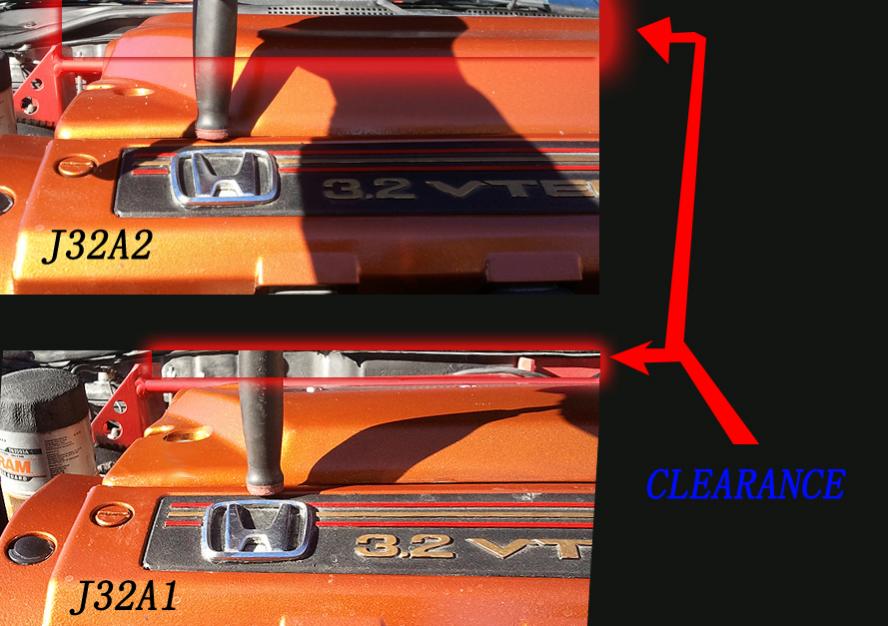
After researching the difference in J32a1, and J32a2 manifolds, and reading what other people experiences were no difference. Minus the extra hood clearance for stock hood.
So a bonus for meeh!!! Anyway i then cleaned up the used 2000 Acura Tl intake manifold. Then painted it "did not get to take pictures of it while doing it."
But installed it after it was dry. Heres my engine before and after
Before "look hell bulky"
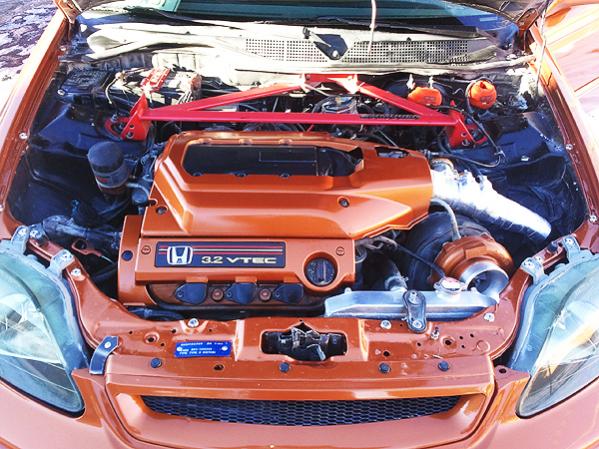
After "looks sleeker and clean."
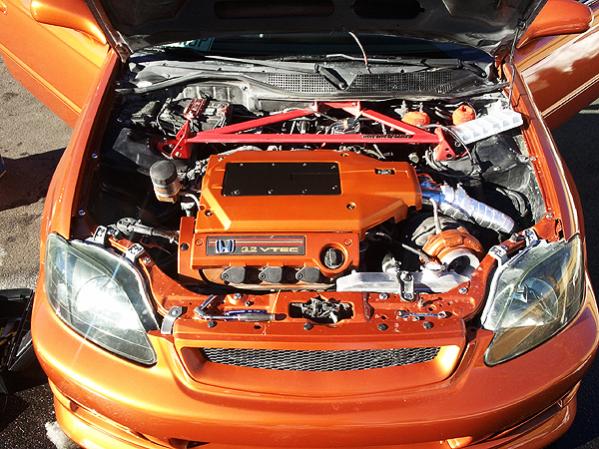
here a picture of the clearance of both intake manifolds for reference if anyone wanting to do the same. with their civic j swap.
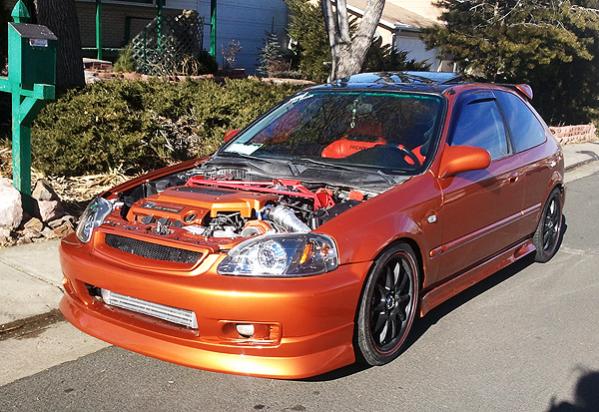
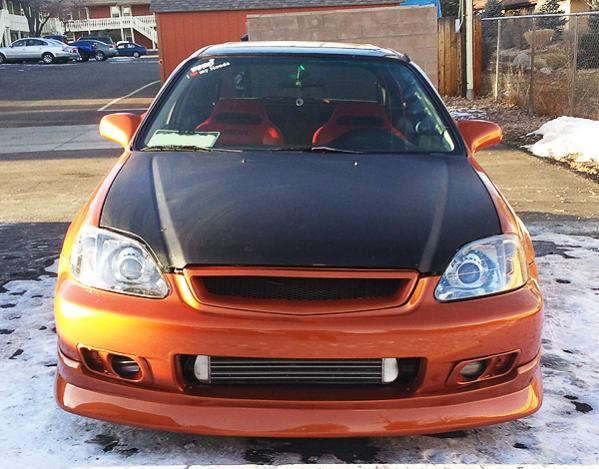
Then called up my buddy who was taking care of my orginal hood for a year now lol. still had carbon fiber vinyl on it. Drove to his house with no hood. hehe looks cool! also installed my new headlights i done, i retrofitted E46 BMW HID projectors.
I then retrieved my old hood, and measure the area under the hood support/skeleton that need to be cut. after trimming and more trimming.
fit perfectly with the my old stock hood. sadly, my stock hood weighs less then my fiber glass one i had before lol.
got it home and took more pictures. i
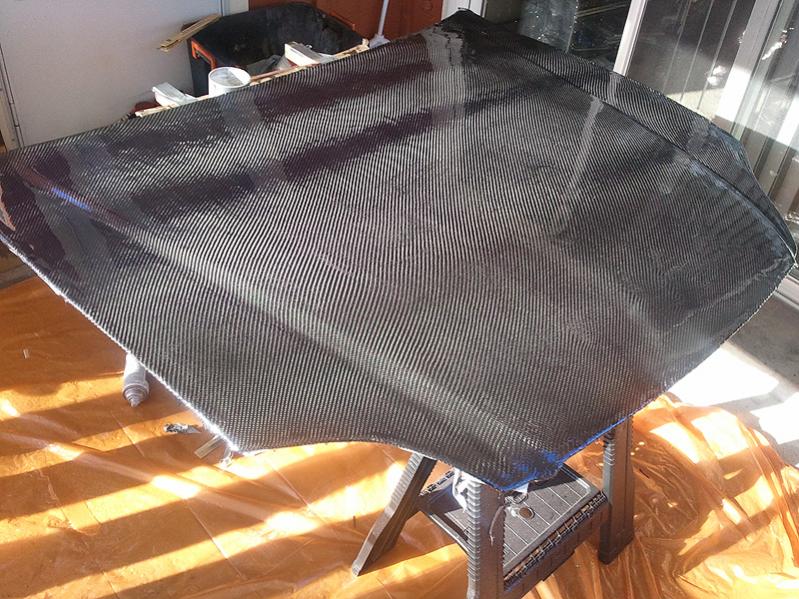
Since i dont really want to spend more money on fake carbon fiver "Vinyl". I decided i want to tackle my first attempt at Carbon fiber Skinning.
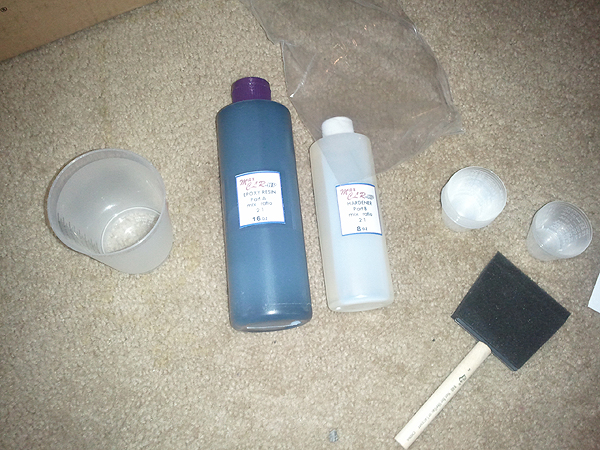
I bought some Epoxy resin, carbon fiber fabric 3K 2X2 twill weave, and other essential stuff.
i got the hood prepped for the procedure. removed all the carbon fiber vinyl. Then sanded it down.
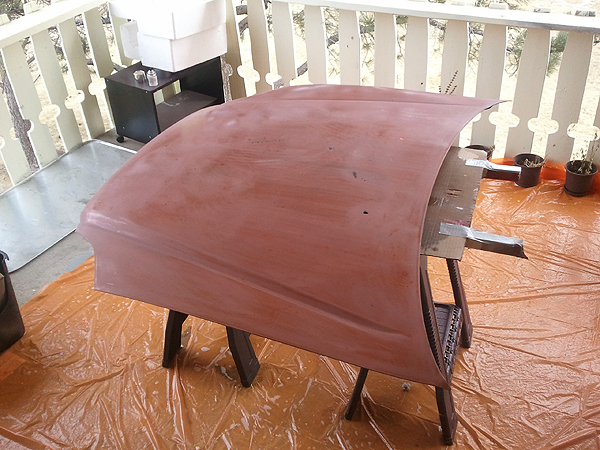
then gave it a good soapy water wash and a wipe down. letting it dry for 2 hours, i the applied Black epoxy base coat to the hood.
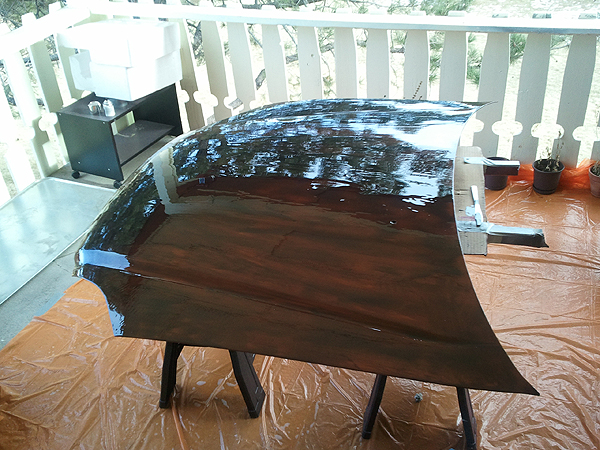
After letting the base come come to atack, i layed down the Carbon fiber fabric gently and with care. Then added the first coat of epoxy resin clear.
it was dark and let it dry for 10 hours.
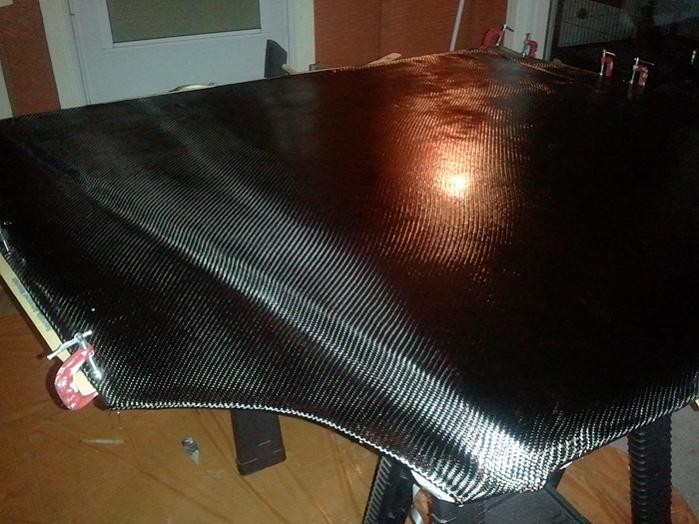
I woke up in the morning then sanded it down, make sure it was level. i added more epoxy clear coats 3 layers. Approximately 3-4 hours tack time between coats.
heres the final coat pictures.
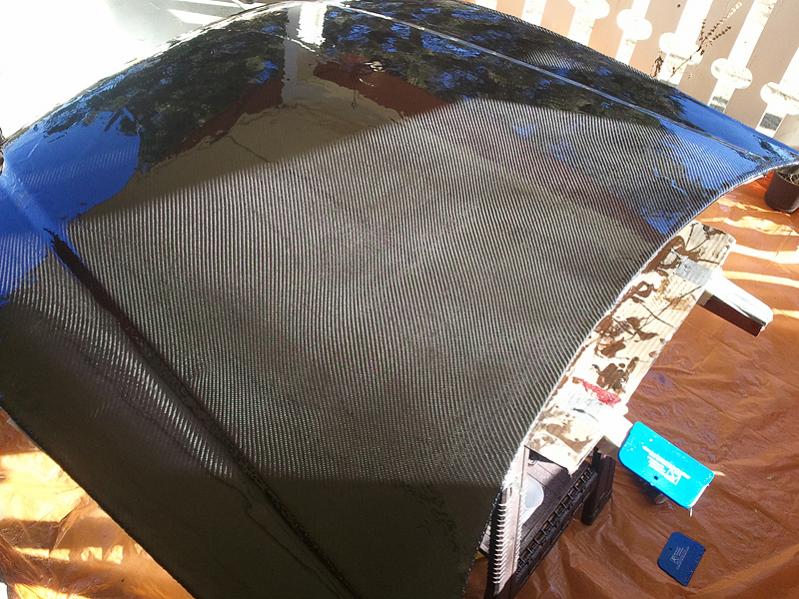
this is how it sit at the moment. waiting for the 48 hour full cure time.
then back to sanding it smooth and cut and buff it finish.
So Ive decided to go to the local junk yard, and measure other Acura/Honda V6 motors with lower intake manifolds. I came across 2000 Acura Tl base model engine. good giveaway was how flat/lower in height it looks. so i bought it for $80 with the plastic cover.
After researching the difference in J32a1, and J32a2 manifolds, and reading what other people experiences were no difference. Minus the extra hood clearance for stock hood.
So a bonus for meeh!!! Anyway i then cleaned up the used 2000 Acura Tl intake manifold. Then painted it "did not get to take pictures of it while doing it."
But installed it after it was dry. Heres my engine before and after
Before "look hell bulky"
After "looks sleeker and clean."
here a picture of the clearance of both intake manifolds for reference if anyone wanting to do the same. with their civic j swap.
Then called up my buddy who was taking care of my orginal hood for a year now lol. still had carbon fiber vinyl on it. Drove to his house with no hood. hehe looks cool! also installed my new headlights i done, i retrofitted E46 BMW HID projectors.
I then retrieved my old hood, and measure the area under the hood support/skeleton that need to be cut. after trimming and more trimming.
fit perfectly with the my old stock hood. sadly, my stock hood weighs less then my fiber glass one i had before lol.
got it home and took more pictures.
iSince i dont really want to spend more money on fake carbon fiver "Vinyl". I decided i want to tackle my first attempt at Carbon fiber Skinning.
I bought some Epoxy resin, carbon fiber fabric 3K 2X2 twill weave, and other essential stuff.
i got the hood prepped for the procedure. removed all the carbon fiber vinyl. Then sanded it down.
then gave it a good soapy water wash and a wipe down. letting it dry for 2 hours, i the applied Black epoxy base coat to the hood.
After letting the base come come to atack, i layed down the Carbon fiber fabric gently and with care. Then added the first coat of epoxy resin clear.
it was dark and let it dry for 10 hours.
I woke up in the morning then sanded it down, make sure it was level. i added more epoxy clear coats 3 layers. Approximately 3-4 hours tack time between coats.
heres the final coat pictures.
this is how it sit at the moment. waiting for the 48 hour full cure time.
then back to sanding it smooth and cut and buff it finish.