Mugen88's Integra Build


Mugen88

Whooopah
Joined
Nov 7, 2009
Messages
36
*THIS BUILD IS TAKEN FROM WWW.DTDIRL.COM, THE ORIGINAL FORUM I POSTED IT UP ON

Hope You Enjoy (",)


--------------------------------------------------------------------------------------

Well its about time i made a proper one of these as im doin a brave bit of work on the car at the mo and a few people off the site says i should throw together a progress thread so here goes :D

This is my Integra type R

DSCF3059.jpg


DSCF3061.jpg


DSCF3089.jpg


DSCF3096.jpg


DSCF3099.jpg


Thats her in all her glory, As most who know me know, im a big honda fan and iv wanted a type R for ages, since back in me schooldays, the cream o the crop was the mighty "type R" and i remember looking at something i never thought id get so when i finally got one now after the long wait, i wanted to make the most of it. As I intend on keeping this car for a while, i decided to spend a few quid on it. Started off small at first but began buying bigger and better things.


First off were a few small things, brand new oe honda red badges for front and back and oe decals for both sides and back (these can be seen in the pictures below)

Also got a set of yellow headlights from kevtegra :D (sound)
DSCF3066.jpg


And a set of oem Honda Integra Mudflaps from g.mc.m (also pure sound)
Image001.jpg


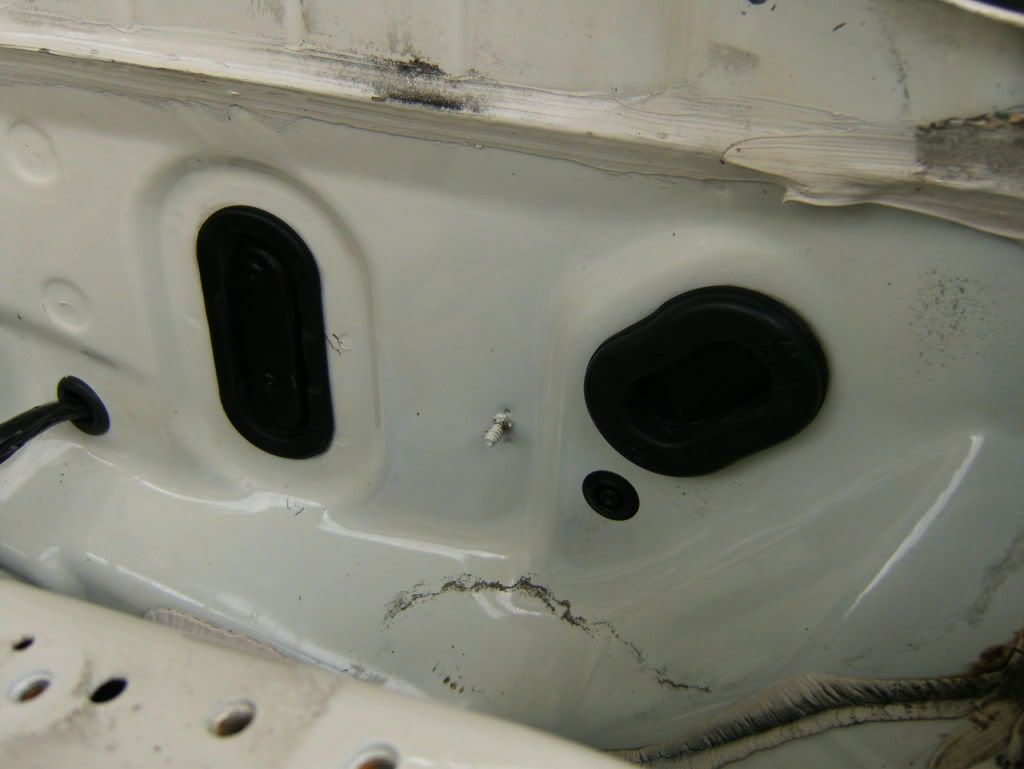
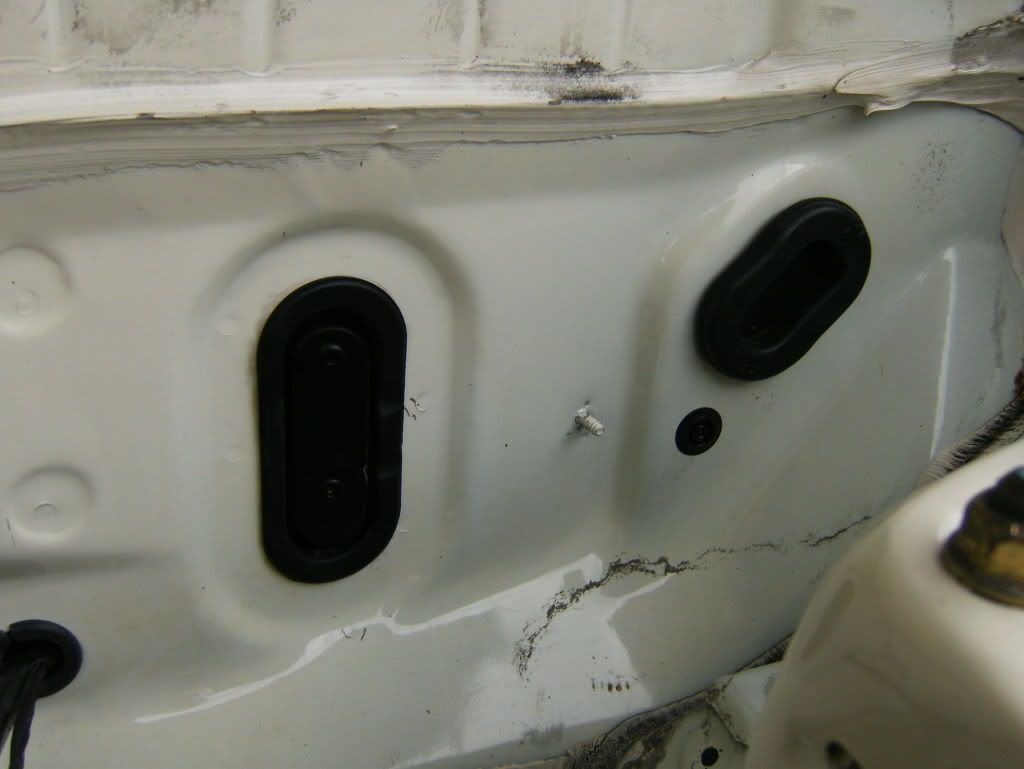
While up with Garret we were talking about how these *******s leak a lot in the boot so I decided to do something about it. After a little research from itr-dc2.com i discovered that the best thing to use to solve the problem is to sand all the rust back down to the bare metal, prime and use Hammerite gate paint to paint over the top to stop any rust ever coming through again.

Thankfully i took no photos of the boot before it was repainted lol

DSCF3065.jpg


DSCF3067.jpg


After i had the boot done i wanted to spruce up the rest of the interior of the car, so instead of those crap speakers that people cut into the parcel shelves i got some oem honda rear speakers :D :D

DSCF3078.jpg


Took another trip over to g.mc.m to see what else he had laying around for me. Thankfully he had a teg up there for breaking that had in around 40 000 genuine miles, so i ripped the inner black plastics out along with the parcel shelf to freshen up my teg :D

DSCF3071.jpg


These plastics had perfect holes cut at the back for a rear strut bar so i took it aswell :D

DSCF3072.jpg


Decided to spray the strut bar gold, forgot to take a pic of this but i will get one and throw it in here when I next get a chance. This is the pic of it all together, new rear parcell shelf, black plastics and strut bar fitted

14.jpg


Up front the only thing the car really needed was a new steering wheel as the leather on the old one wasnt in the best of health and a new drivers red recaro. Im split between getting my drivers seat refurbed or just looking for a really mint set, still torn on that one but eventually mint recaros will be in this car lol. As for the steering wheel i managed to get a hold of this

A momo race wheel in near pristine condition (thanks to pearse9000rpm)

newwheel.jpg


That was it for a while, had to save up a few more bob for what i had planned next. Money was put away and eventually at 183044 kilometres

DSCF3110.jpg


THIS HAPPENED ........ :happy)

DSCF3113.jpg


DSCF3115.jpg


DSCF3116.jpg


DSCF3118.jpg


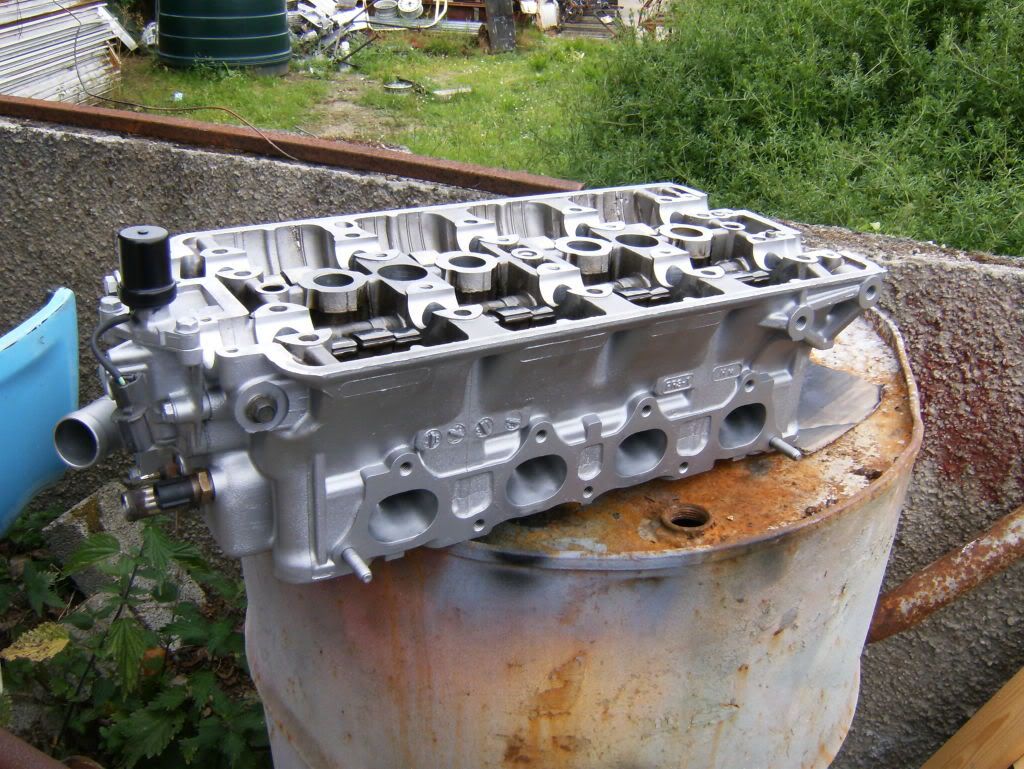
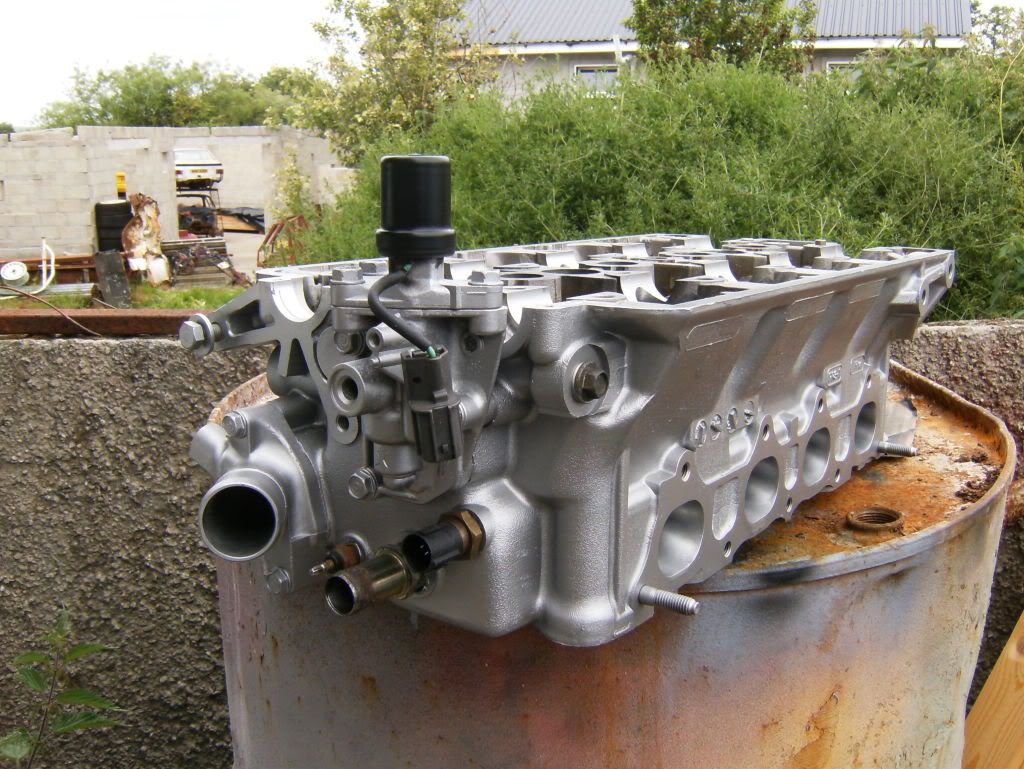
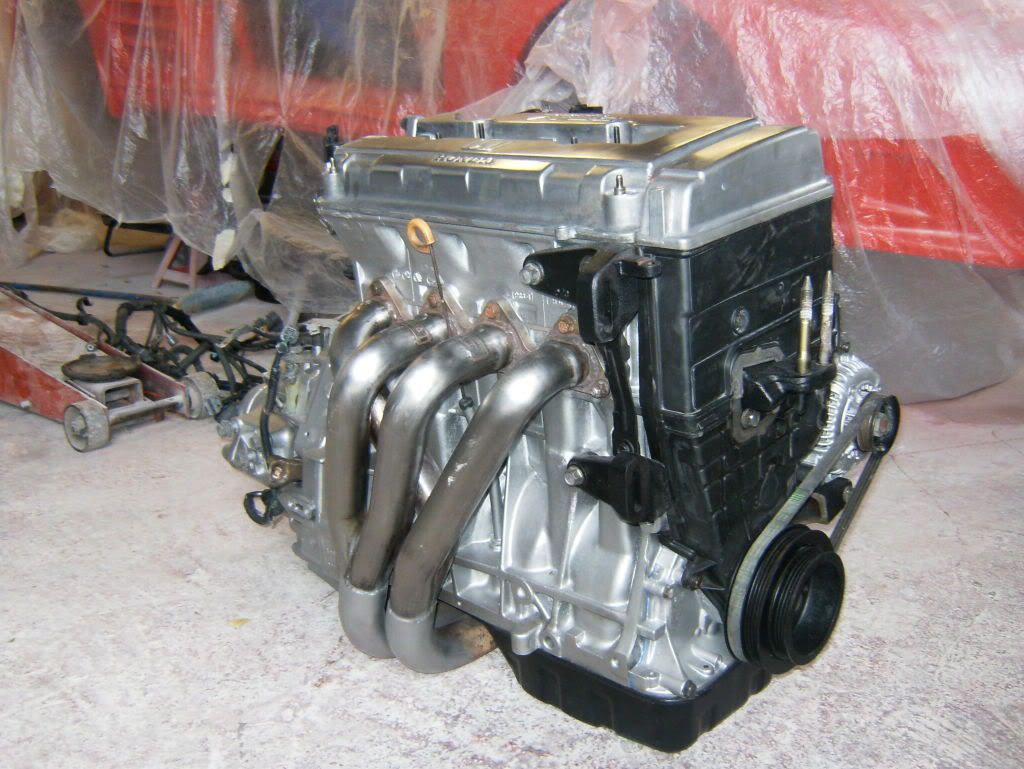
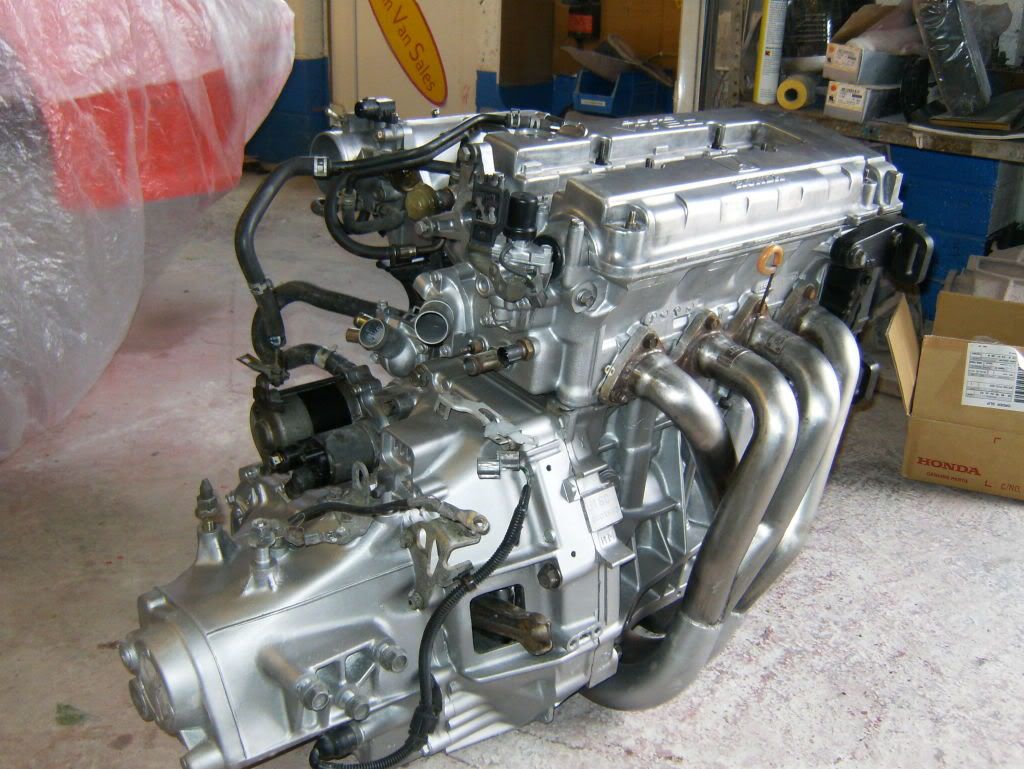
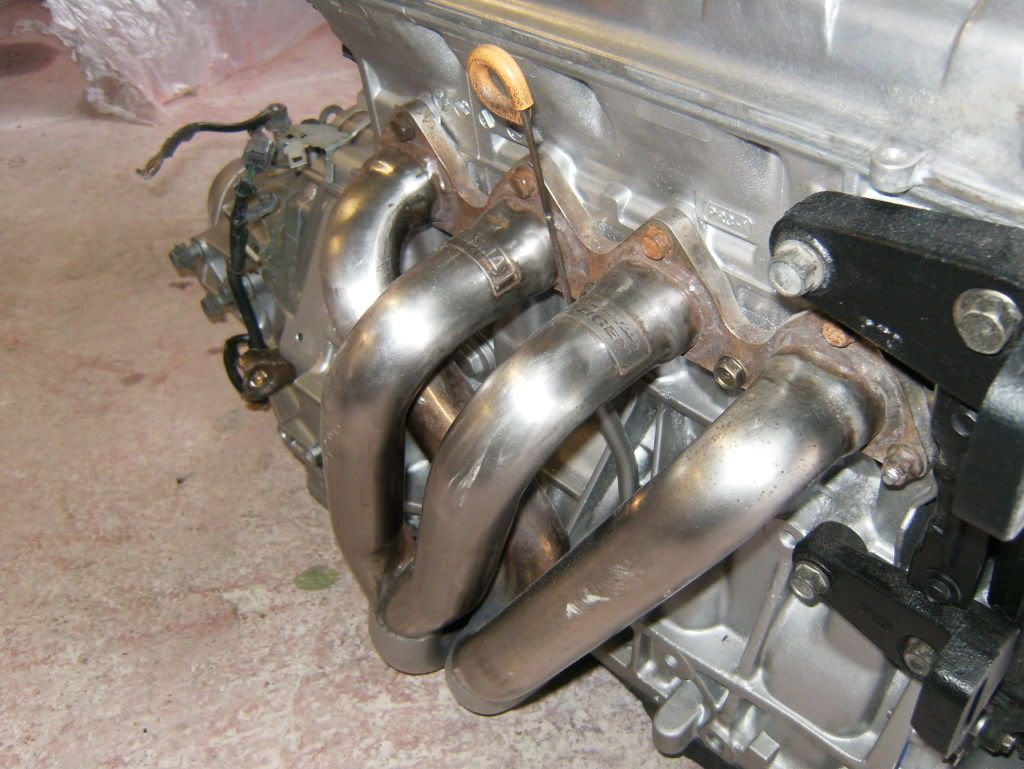
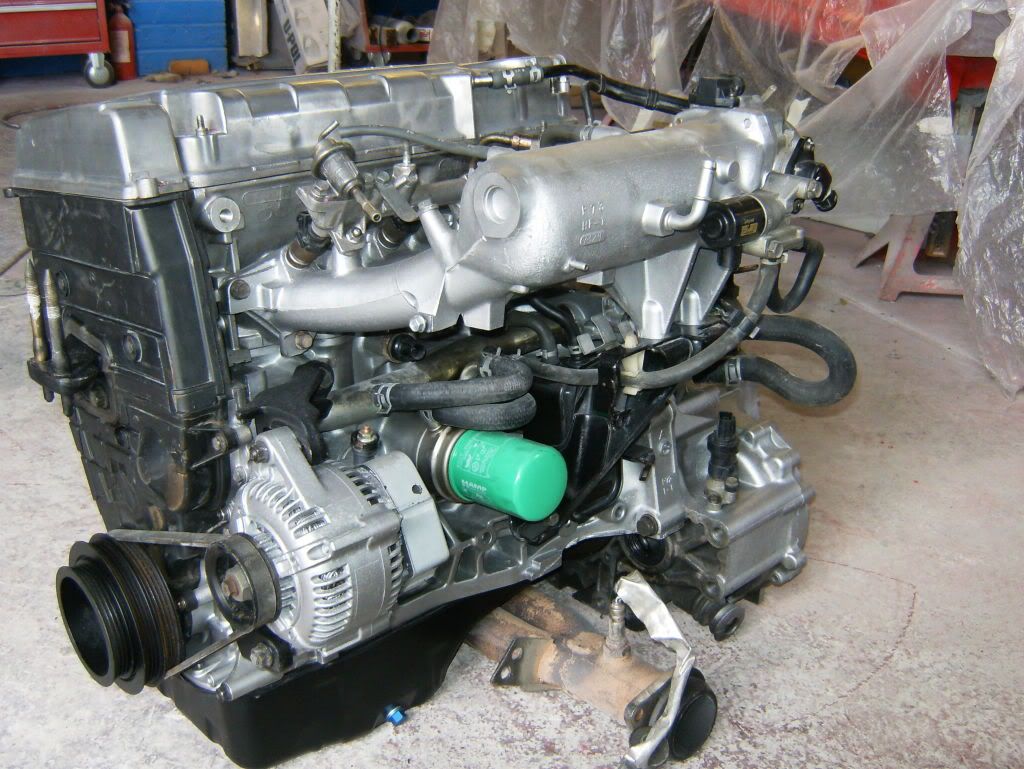
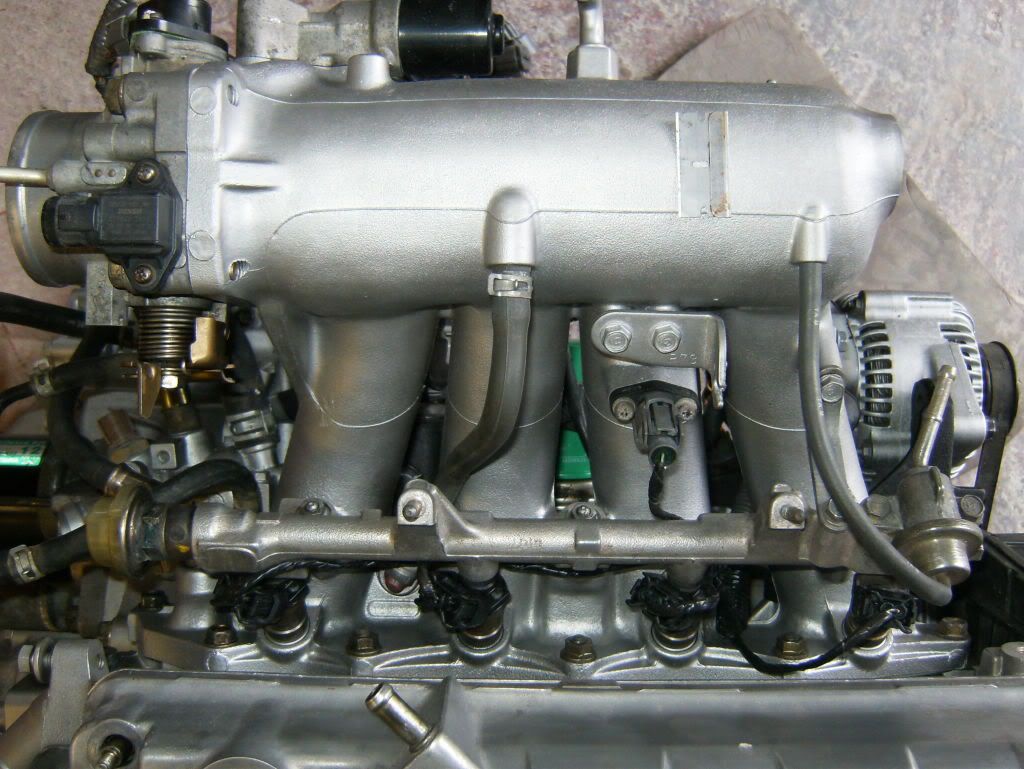
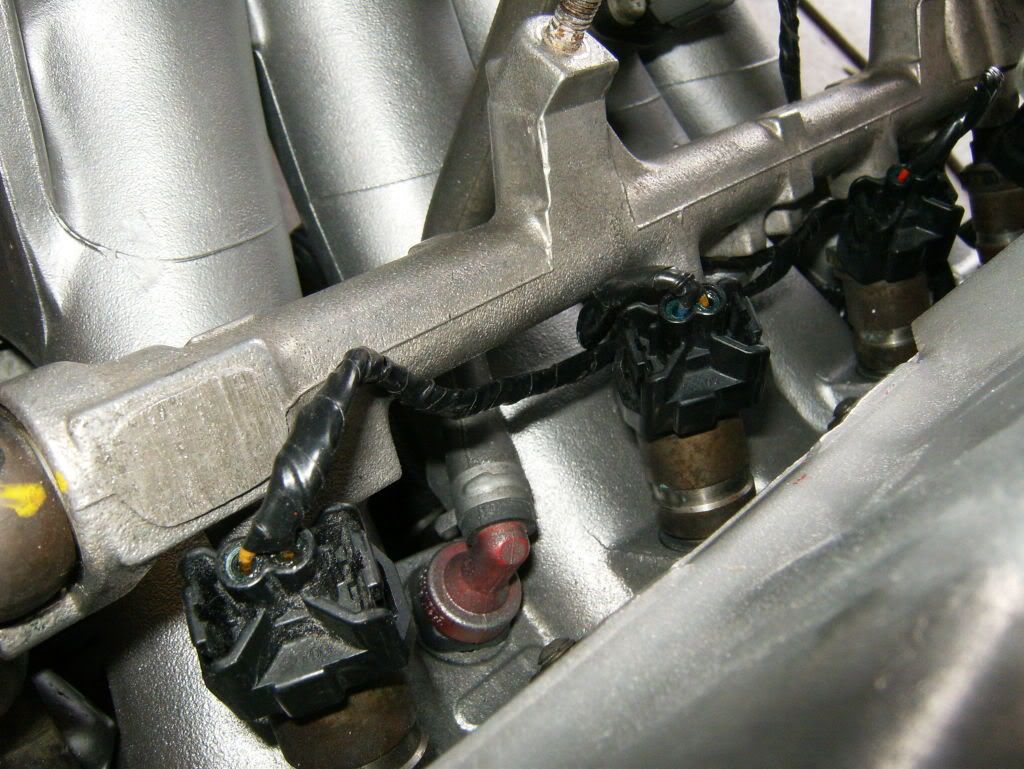
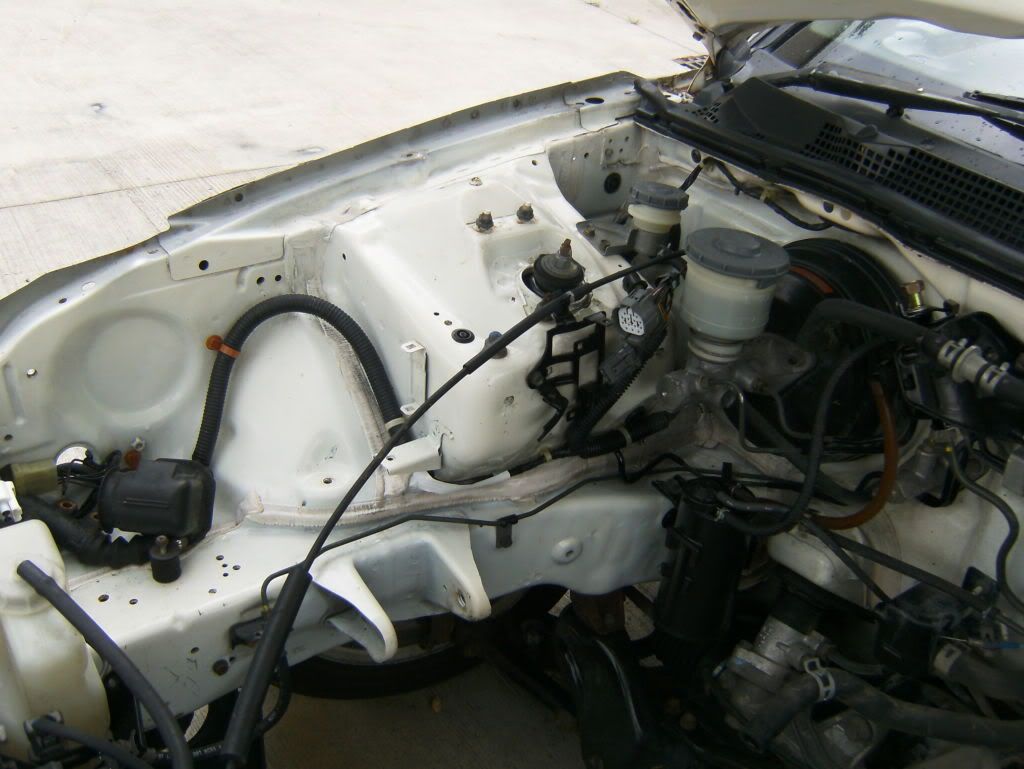
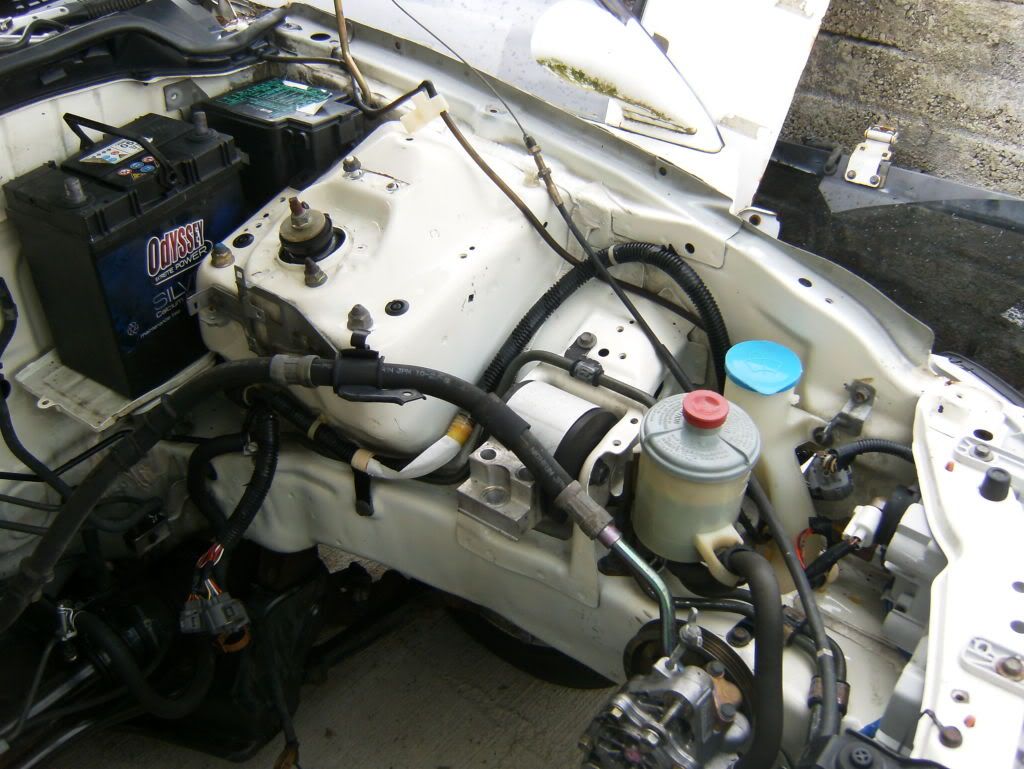
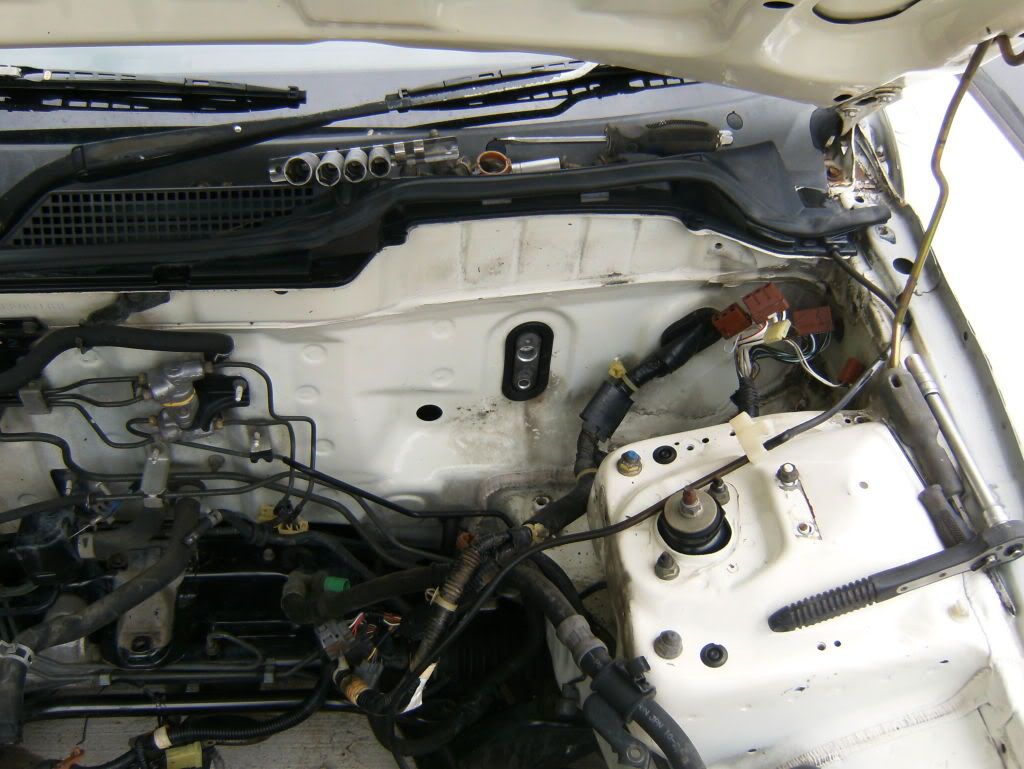
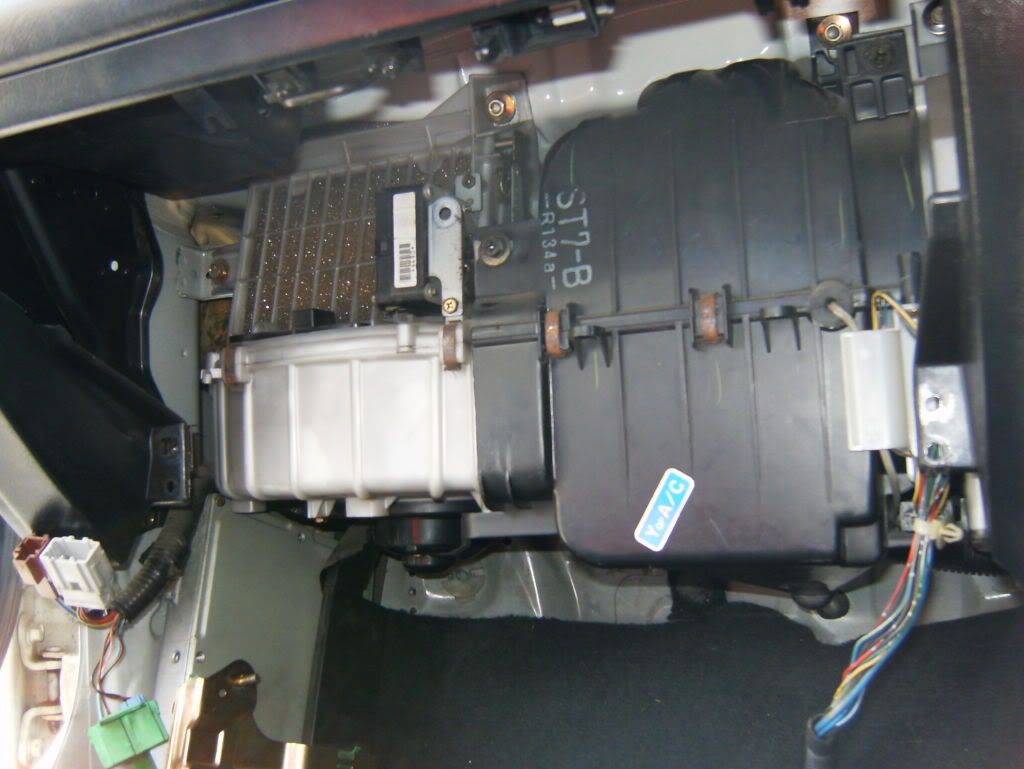
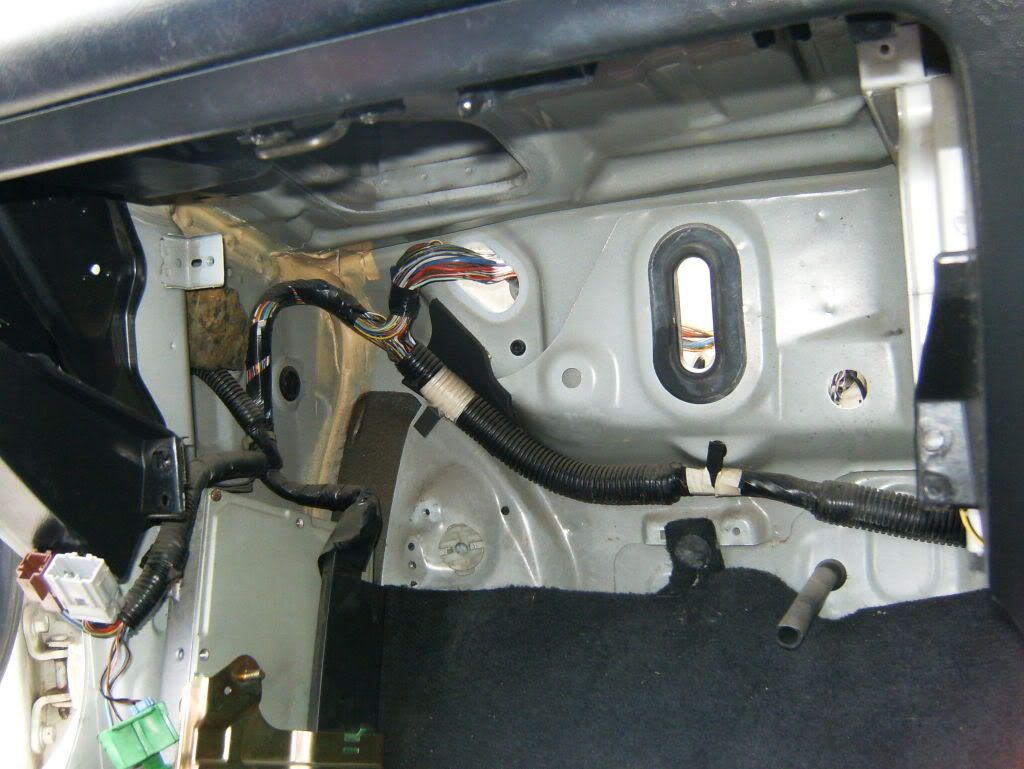
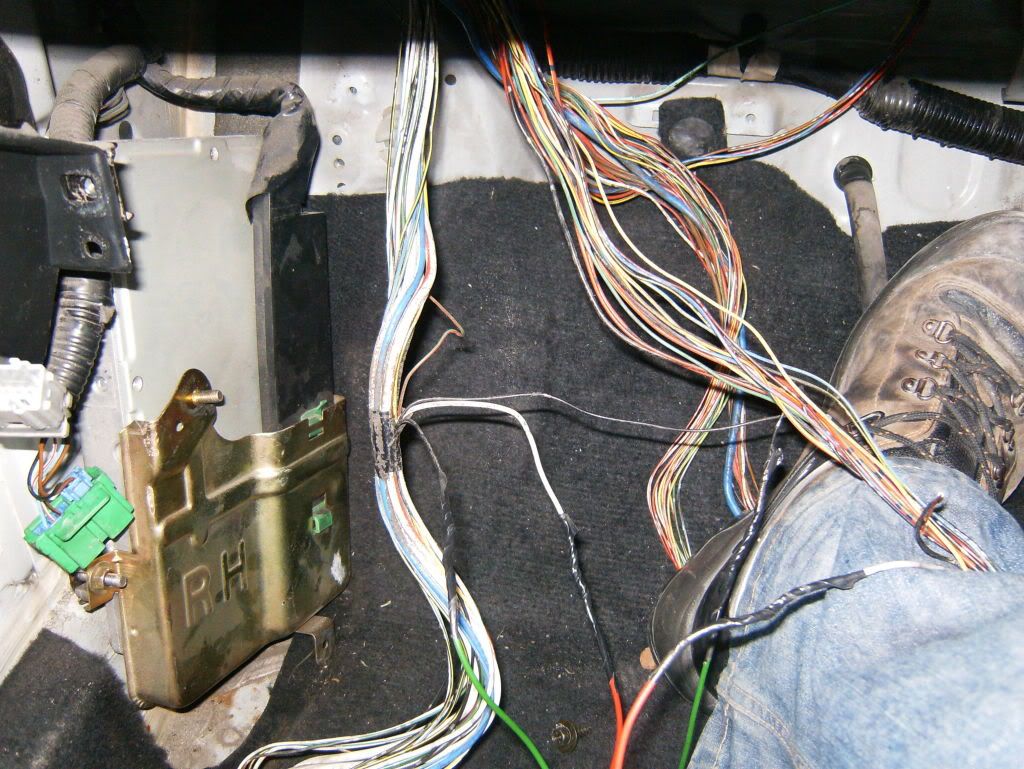
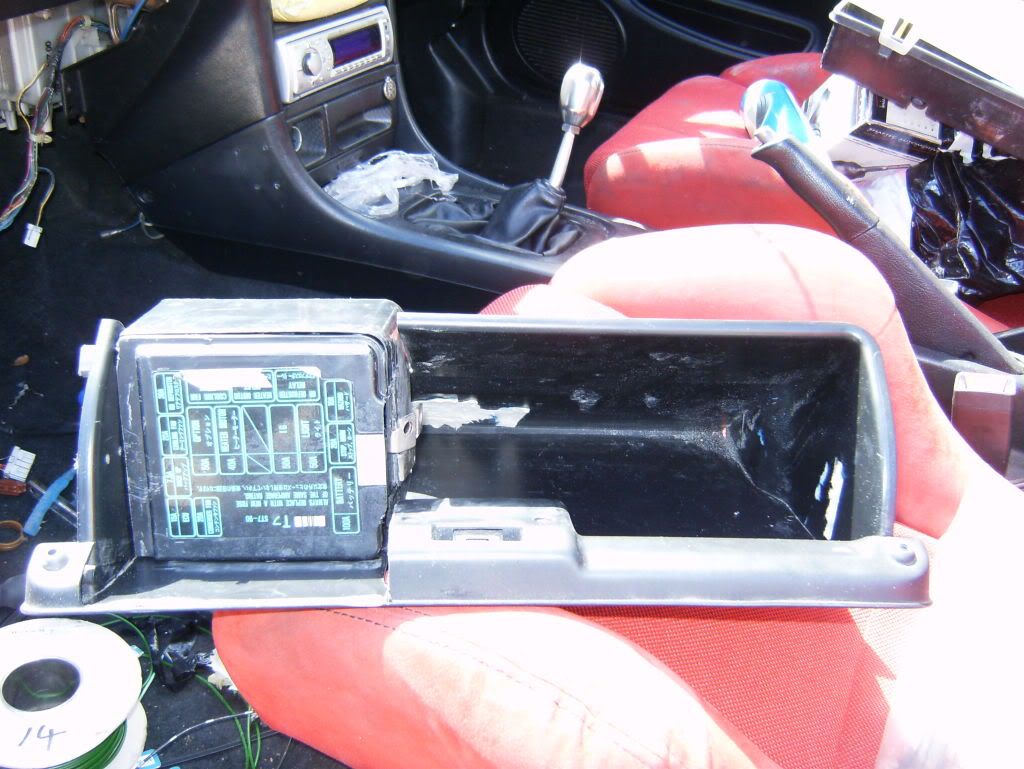
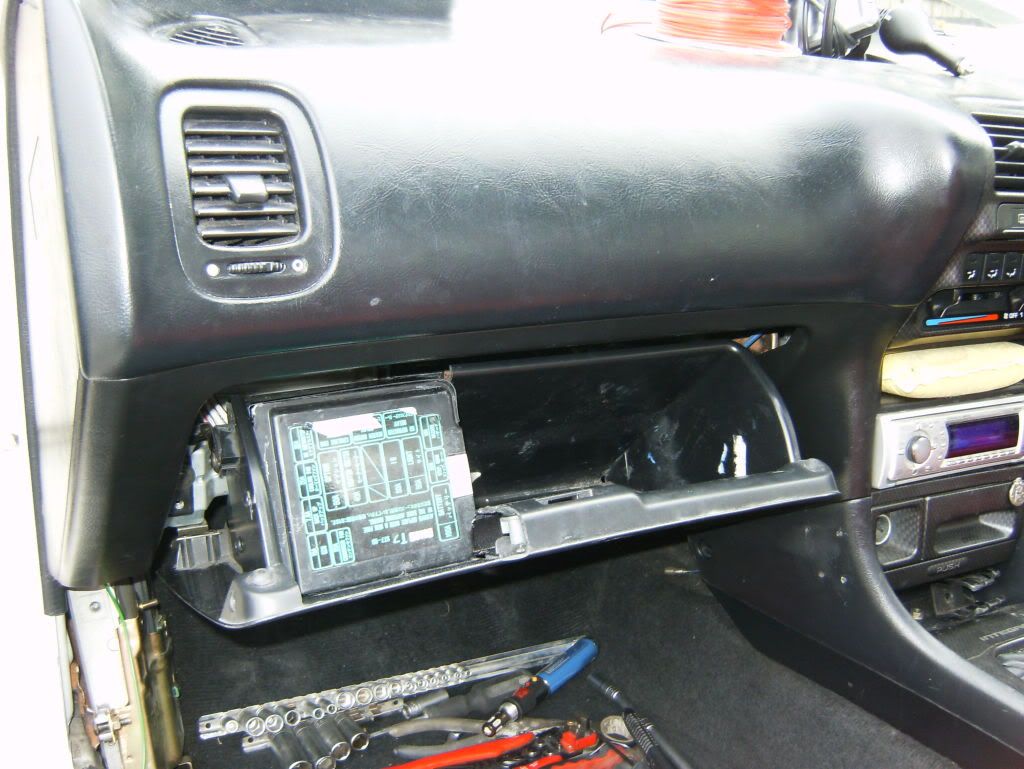
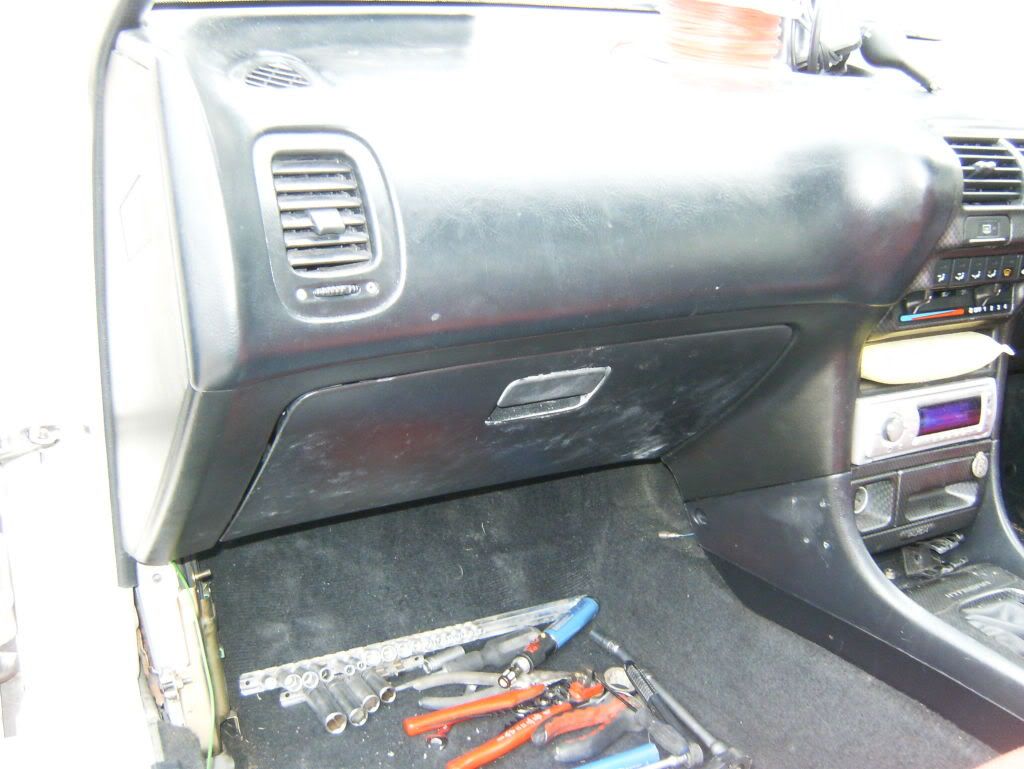
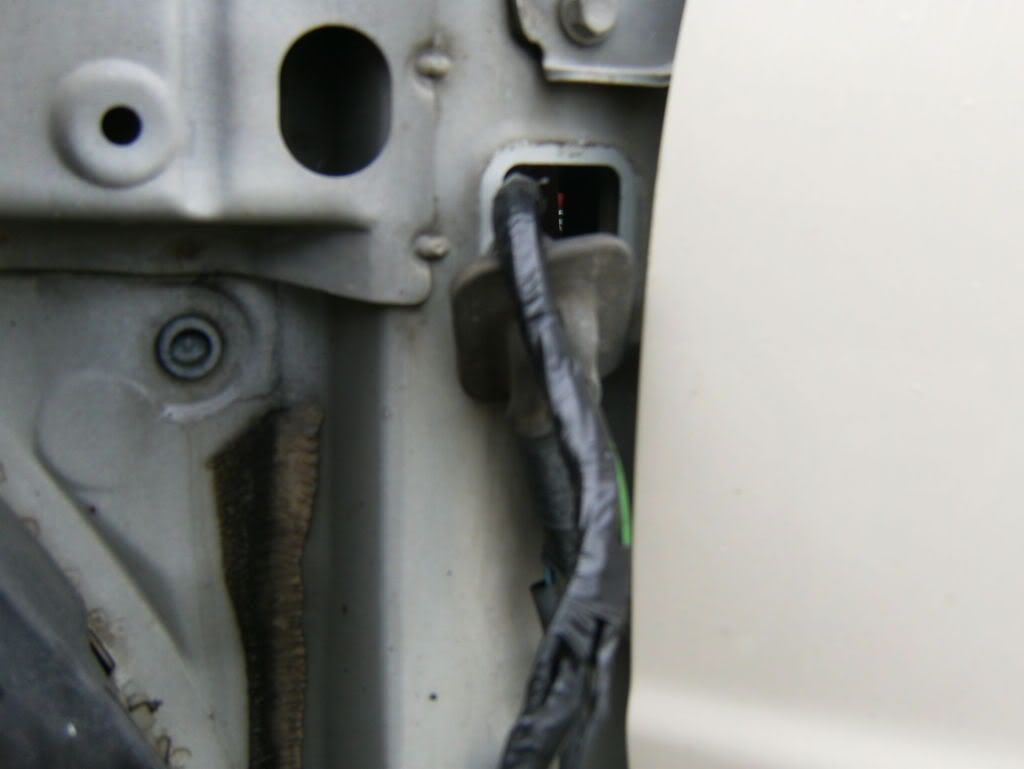
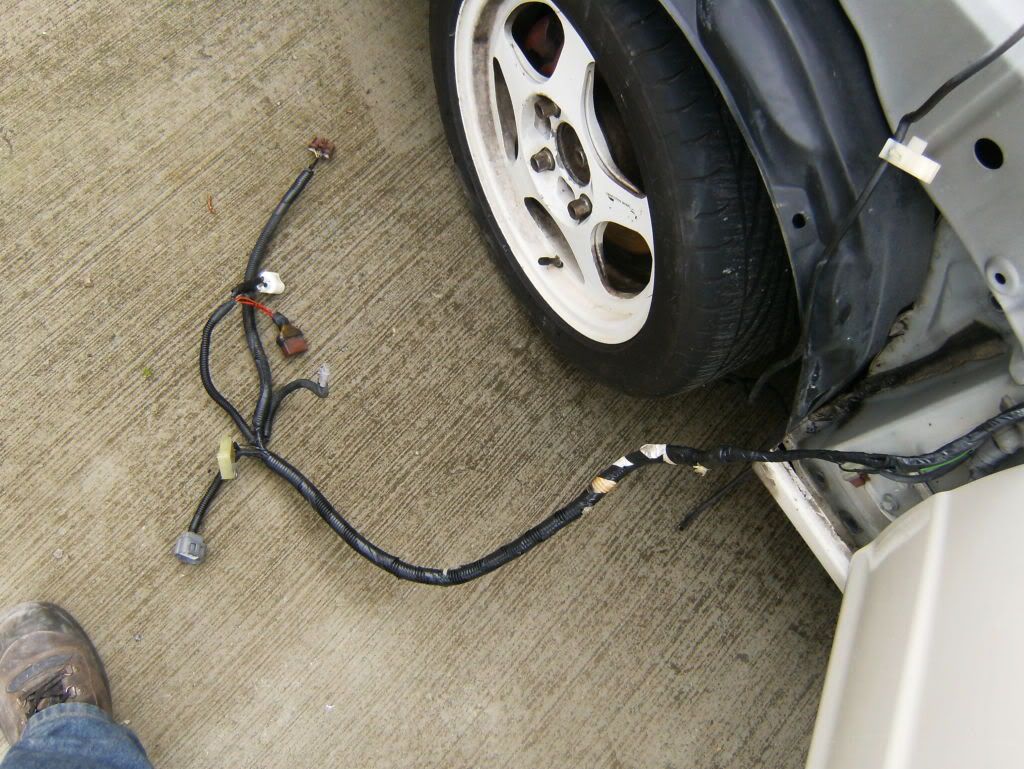
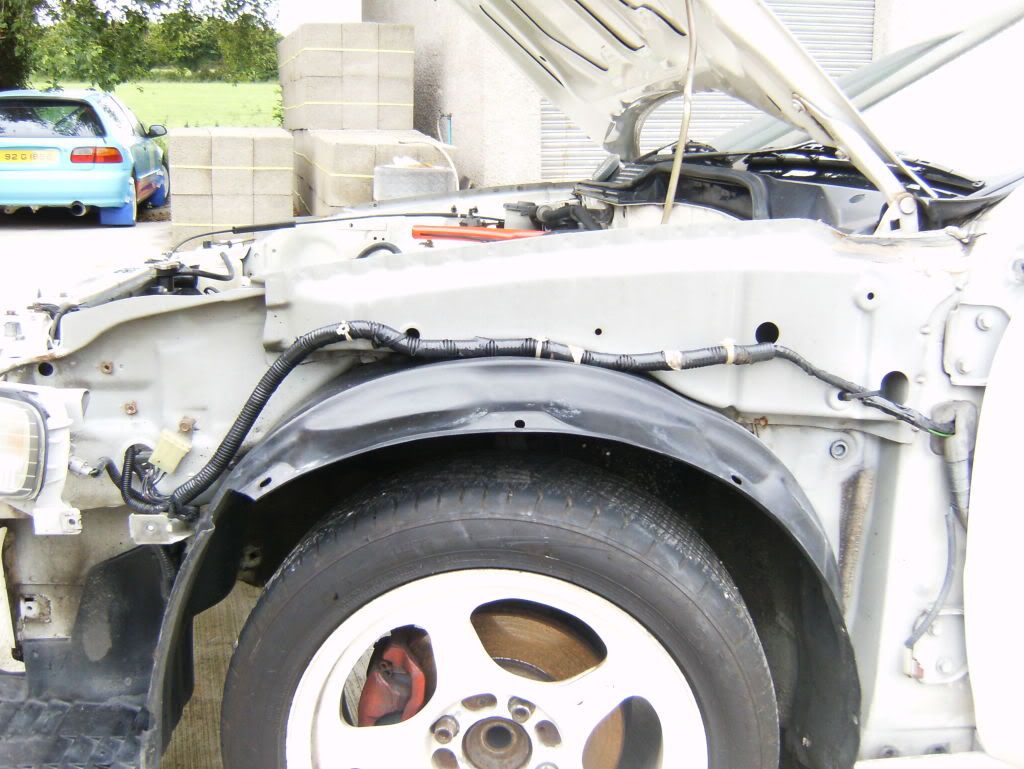
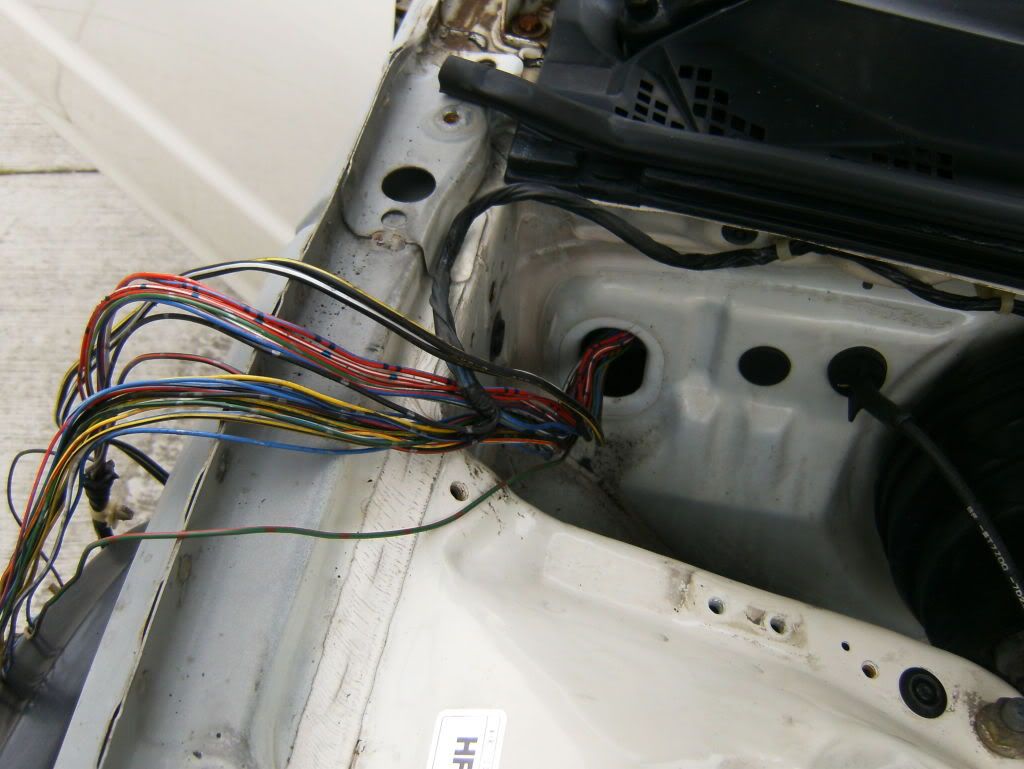
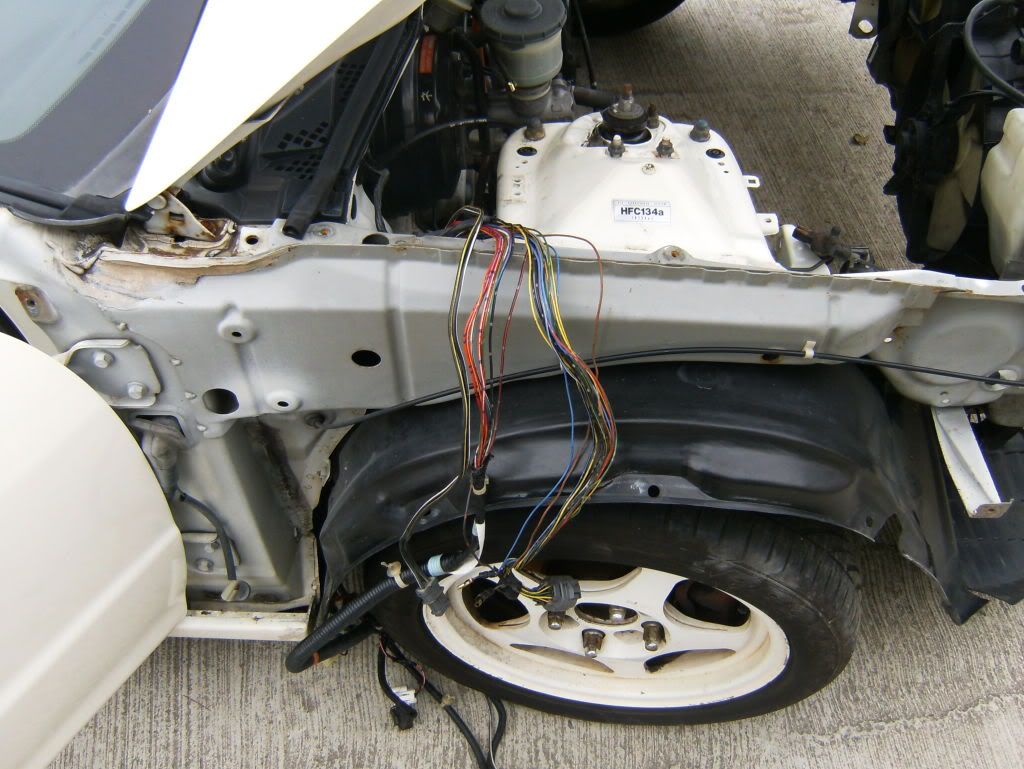
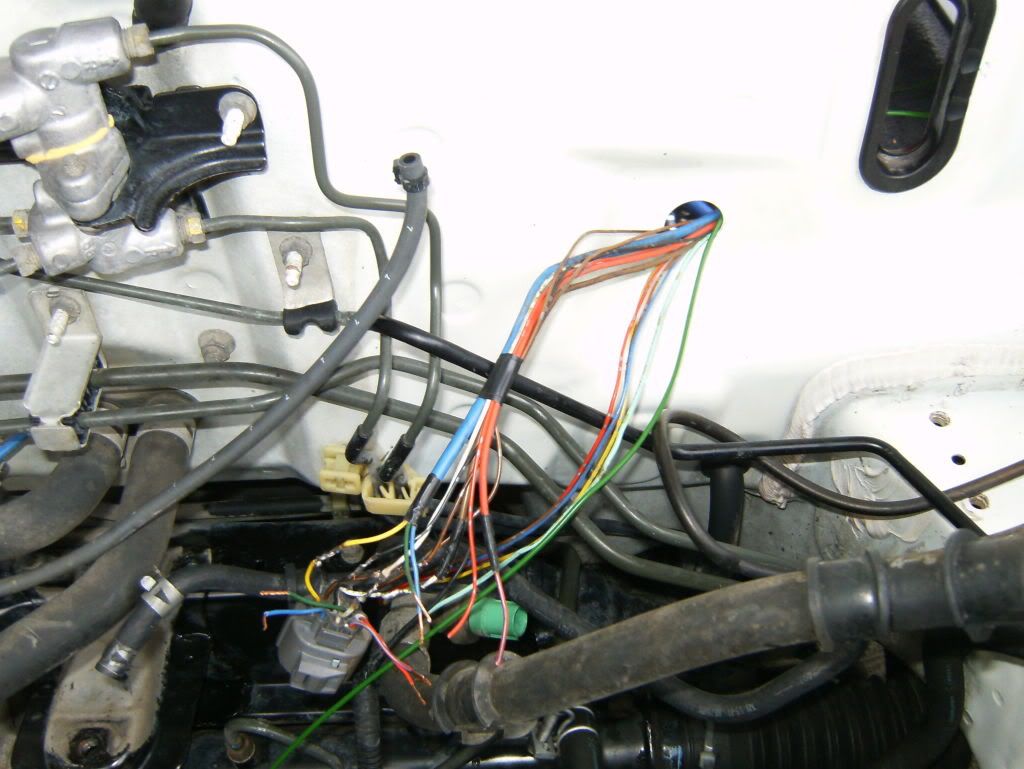
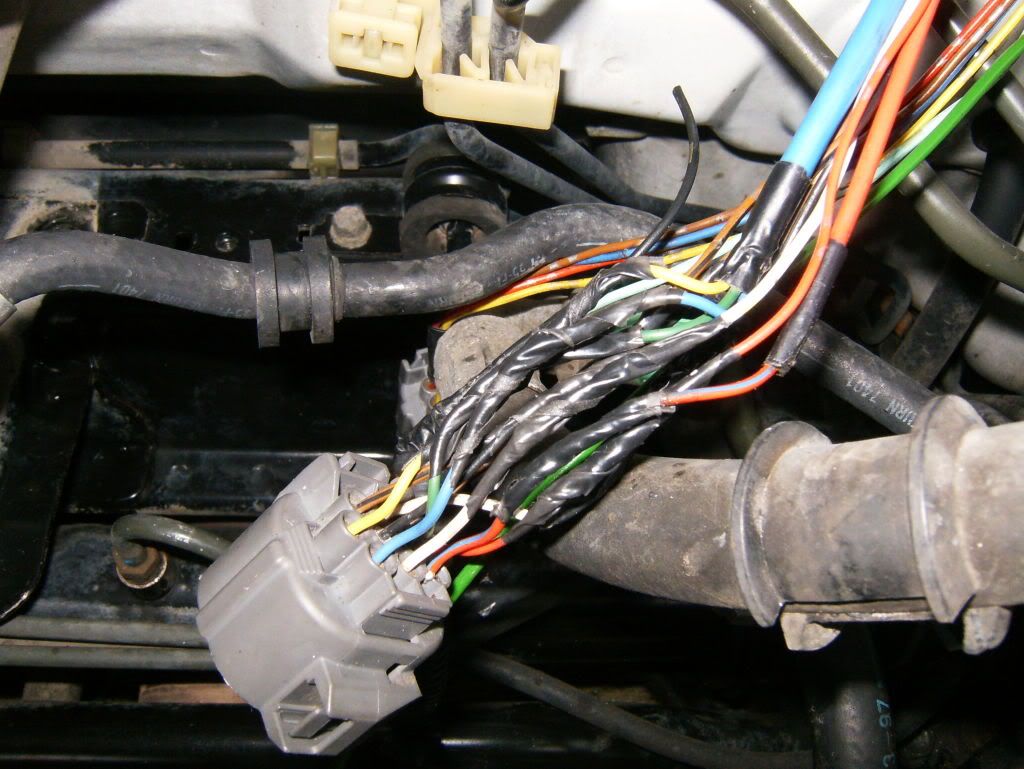
Yes yes the USDM bug hit. After looking at plenty of wire tucks and stuff from the states i really wanted to try it and make the car stand out from the many other integras about. Also felt that if im keeping this car for a while, I wanted to rebuild the engine. Poor oul Rhonda had done her fair share of km's and she was gettin smokey and burning oil. This gave me the opportunity to kill two birds wi the wan stone. Began buying away at parts from Honda and kept them all on me kitchen table until the time was right to do the rebuild.

I left the car out to Seán Quinn of Quinn Motorsports in Tyrone and he began last tuesday the 29th of may. I took a few photos but have yet to be uploaded. Guna take as many pics as possible of the engine rebuild and of doing the wire tuck. Stay tuned :D


and for those that thought its an SiR engine with the black rocker ;)
(my own one is getting refurbed, more pics to come of that)
DSCF3119.jpg
 
UPDATE

Ok as many told me, the rocker cover definately needed some TLC. I didnt want to respray because youl never get it to look oem no matter how well its done and it would always annoy me and then the flat paint jobs look (no offence at all intended to anyone who has it done) ****. Only two choices were to buy a brand new oem rocker from honda or try something different. so before parting with €200, i decided to do something different. As the end result is to have an uber clean engine bay i thought itd look cool to strip the remaining paint off the cover, sand it down to flat bare metal and then polish it up.

few pics

Before (brutal looking)

S7001139.jpg


after a dose of wire brush/sandpaper

Image004.jpg


At this point i was royally gettin ****ed off of having no feelin at all left in my thumbs so i needed help. Grabbed the girlfriends youngun, few brewskies, locka tunes and made him earn his pocket money haha

Image003.jpg


Image00123153456.jpg


So this is the finished product. Its not machine polished yet but all the roughness has gone and its really smooth

DSCF3121.jpg


After a machine polish (thanks to Tedman) Itl look like this :happy)

55A26E3054B34315B5F5702F900669C3-12.jpg
 
UPDATE - 10/06/2010

Ok a bit more progress made with this in the last week. Soon as we had the engine out, we took the head off to see what kinda shape everything was in inside. I took plenty of photos as pictures speak a thousand words and all that shite

Lots of carbon build up

HPIM0921.jpg


HPIM0920.jpg


Intake valves

HPIM0928.jpg


Exhaust ......

HPIM0923.jpg


.....again

HPIM0922.jpg


First thing we did was remove all the valves and springs and begin THE LONG task of cleaning them. trust me, this takes patience

DSCF3127.jpg


DSCF3126.jpg


HPIM0942.jpg


While Seán had the valves out and was cleaning them, i took the head down to Mervyn Elvin in letterkenny to get it skimmed, in on wed night, back first thing thurs morn bt:)

HPIM0944.jpg


HPIM0943.jpg


The block was taken out and given a little shower to clear all the gunk and shite off of it. This engine will be getting sprayed before its put back in but for the time being a good dose of the powerwasher will do


BEFORE

HPIM0931.jpg


HPIM0930.jpg


AFTER

HPIM0946.jpg


HPIM0945.jpg


Other thing that was checked was the oil pump as this is the only thing i havent bought for the engine yet and i was lucky enough as it was like brand new anyway

HPIM0937.jpg


Only thing that i bought this week that i actually have in me possession is a magnetic sump bolt from mugensi lol.

HPIM0941.jpg


Rest of the parts should be here by next wednesday. I have the full headset, timin belt, water pump here. All im waiting on now are the piston rings which are en route from japan, ACL race bearings and ACL thrust washers which were only ordered a few days ago

More to come soon bt:)
 
UPDATE 25/06/2010

Ok more progress with this

The agonising wait of parts to arrive is over :happy) . Heres a few pics of the treats that arrived at the door :D

The drives on this car were weird, the drivers side was perfect, no wear at all on either joint, the passo one, the two joints wer fcuked so....

New timing Belt and inner CV joint for passo side

Image001231.jpg


New outer Cv joint for passo side

Picture110.jpg


so that'll be the two drivves sorted now :D


Now onto the engine.......

All new seals, rings, gaskets for the head

Picture114.jpg


ACL con bearings, ACL race bearings, ACL thrust washers & OE Honda piston rings

Picture099.jpg


Picture098.jpg


And no point in havin a brand new fully rebuilt engine without having a brand new key to turn the motherfcuker over bt:)

Picture111.jpg


Ok so while waitin for all this stuff to arrive, the head was polished out and and all ports cleaned. A few pics of before and after me thinks

Before
HPIM0920.jpg


After
Picture101.jpg


Intake ports Before
HPIM0928.jpg


Intake ports After
Picture105.jpg


Picture109.jpg


Exhaust Before
HPIM0922.jpg


HPIM0923.jpg


Exhaust After
Picture104.jpg


These are just a few other pics o had of the head now all cleaned up

Picture106.jpg


Picture103.jpg


Picture102.jpg


Only other thing i got this week that I HAD TO HAVE was this......

Image001.jpg


........ A brand new drivers side recaro bolster from Recaro. This will freshen up whatever Recaros that go into this car. They leave the drivers bolster like brand new from what iv seen on ones that have been done before, removing all likes and creese marks


Hope to have more updates on this by early next week bt:)
 
good work mate looking forward to the finished product :nice: will feel like a totally new car when its finished
 
really good progress man how much will you be looking at once the rebuild is finished if you dont mind me asking. thanks
 
Great rebuild, and it will be running very well when its finished:naughty:
 
you have no idea how much i cant wait to hit vtec in this again :D

next toy im after is a j's racing 60rs :D
 
UPDATE 13/07/2010

once the engine was built it was primed and sprayed

Picture116.jpg


Picture117.jpg


Picture119.jpg


Block, manifolds and ancilleries primed and sprayed also
this is the engine finished and awaitin to be put back into the car

Picture115.jpg


Picture120.jpg


Picture122.jpg


Picture121.jpg


The next step is the wire tuck, cut down on as many wires as possible, started with in round the injectors

Picture126.jpg


Picture123.jpg


The old mounts were absolutely wanked as you can see below

Picture127.jpg


New ones were bought and filled to last longer

Picture130.jpg


Picture128.jpg


Picture129.jpg


More to come by the end of the week :D
 
2nd UPDATE OF 13/07/2010 :happy)


ok so heres the 2nd update of today and it goes a lil sumthin like this


wayyyyyyyy back at the start, the engine bay looked like this, full o **** wires and all that so i wanted them gone but the car still to work.......

S7001139.jpg


......ENTER WIRE TUCK

In the above picture, the abs has already been removed but i wanted everything moved out and hidden. A few months ago the air con was removed as much as possible while the engine was still in but now with the engine out, Quinn Motorsport really went to town on it.

heres a few pics of sum of the stuff that has been done so far

BEFORE PICS

DSCF3117.jpg


DSCF3123.jpg


DSCF3116.jpg


AFTER A QUICK CLEAN UP

Picture133.jpg


Picture132.jpg


WIRES BEING TUCKED

where the battery and fuse box used to be....

Picture135.jpg


the battery is being relocated to the boot, we decided to bring the fuse box in through the bulk head and locate it into the fuse box

below you can see the heater box behind the glove box

Picture137.jpg


the heater box was removed to reveal this side of the bulk head

Picture138.jpg


the wires being brought inside

Picture140.jpg


the glove box with the fuse box now located inside

Picture152.jpg


the heaterbox fitted and glove box fitted again with wires all connected up

Picture159.jpg


and the finished product, fits perfectly

Picture158.jpg


Once that was all done, the outer holes where the looms would have ran out to the battery and fuse box were bunged up

Picture154.jpg


Picture155.jpg


Next thing was onto the wire looms for the lights.

The looms were brought back inside the firewall and brought out through the holes wer the looms for the side indicators run

heres a few pics of what it looks like now

Picture142.jpg


Picture143.jpg


Picture146.jpg


these will be brought back in at the bottom right into the lights


Next thing is the engine looms


These wires were lengthened so they would be able to be hidden low down in behind the engine, wires were stripped and new length added, soldered and re-wrapped again

Picture160.jpg


Picture157.jpg


Picture145.jpg


Picture149.jpg


thats all i have for the time being, more photos within the next 2 days bt:)
 
Back
Top