::Project 9 - The Build of Frankenstein::


importchoice

Project 9
Donator
Joined
May 19, 2009
Messages
284
I was slightly reluctant to post the build of my 9 here as my project will be moving at a vastly slower pace to some of the other builds here due to work commitments and finances!

A bit of background to the build.

I am a self confessed Honda nut and have been for years (even before I passed my driving test all of those years ago). Over the last 12 years I have had quite a few Hondas including a 98 EK4 that was absolutely mint and totally standard as well as a 89 EF8 CRX that was in storage for 7 years of the 10 I owned it for. In that time I had amassed a shedload of parts for it but when the wife and I decided to buy a bigger house I posted everything for sale on the CRX forum, put the money toward the new house, purchased a sensible day to day car and left the scene for a few years. It wasn't until I went to Malta last year and whilst visiting relatives I was taken out in an ITR powered EG Civic, I got bitten by the bug yet again.

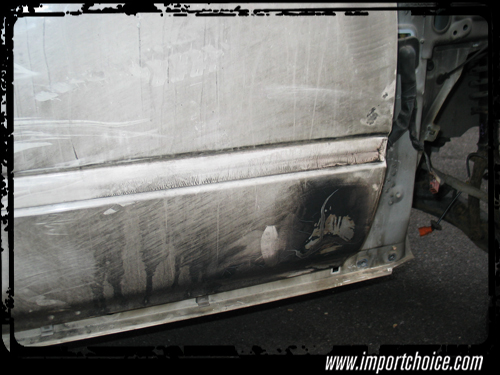
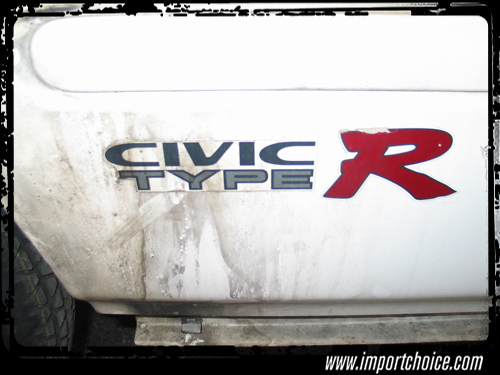
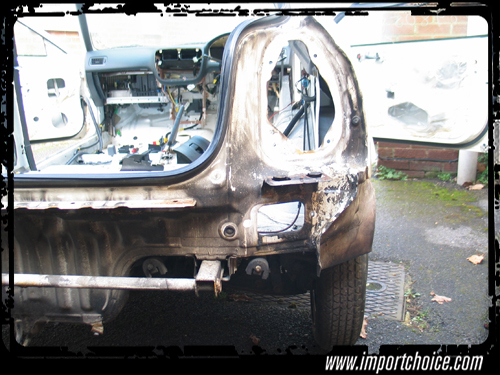
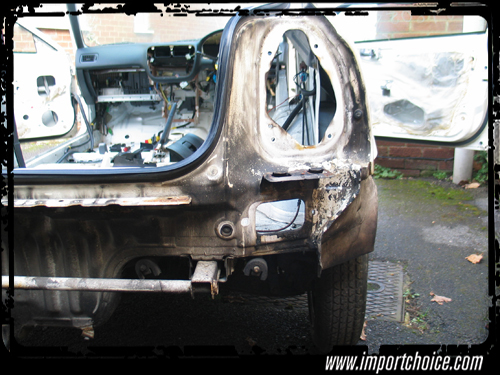
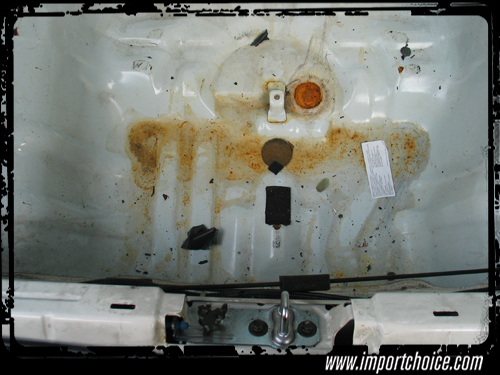
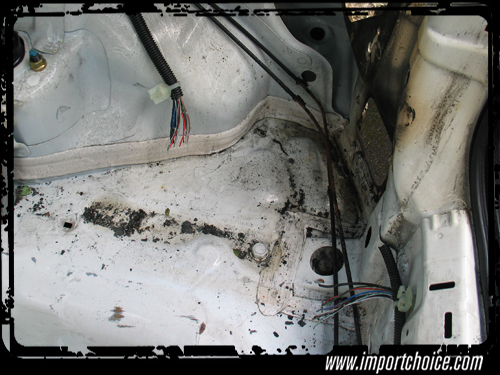
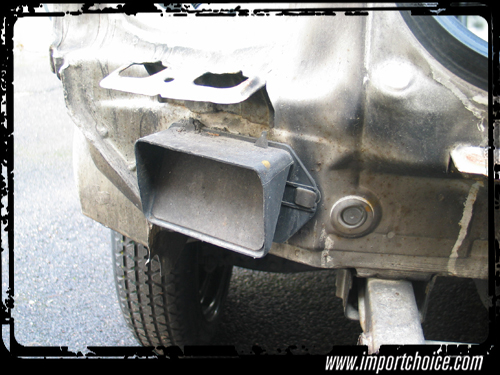
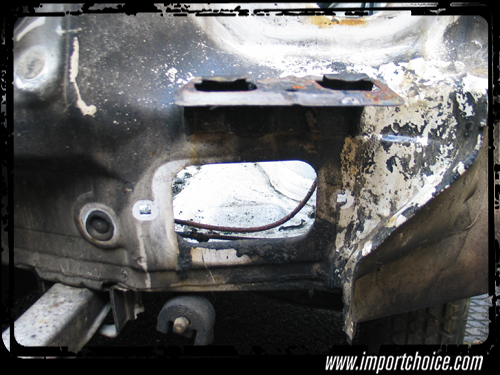
I trawled the net on the hotel computers looking for an EK9 rolling chassis as finances wouldn't stretch to a complete car. I was very impulsive and ended up purchasing a rolling chassis from Jap Performance Parts without even seeing it in person. Now in hindsight I probably paid over the odds for it considering it was a CAT D fire damaged car, but at that time I couldn't find anything else for sale in my price bracket and I guess I quite like the thought of bringing a car back from the dead.

Anyway no time to dwell on it now! I have got my own 9, I am happy and thats all that matters.

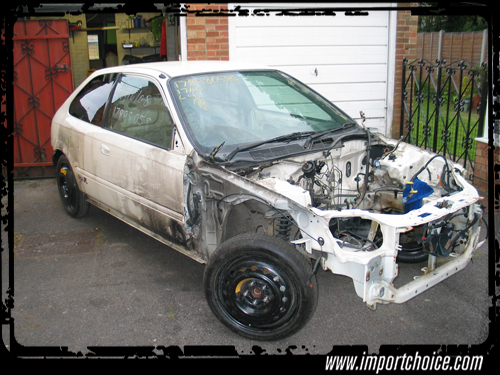
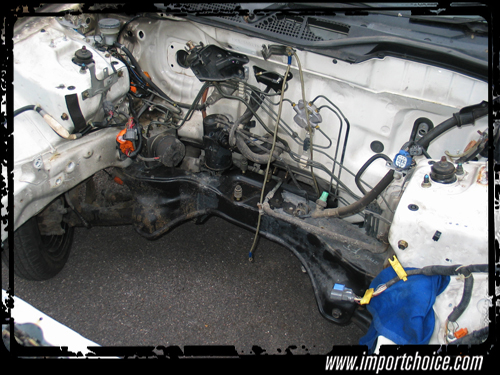
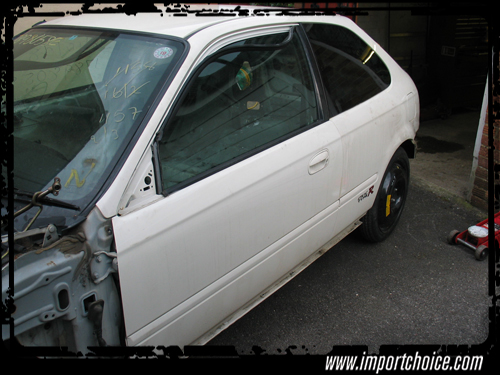
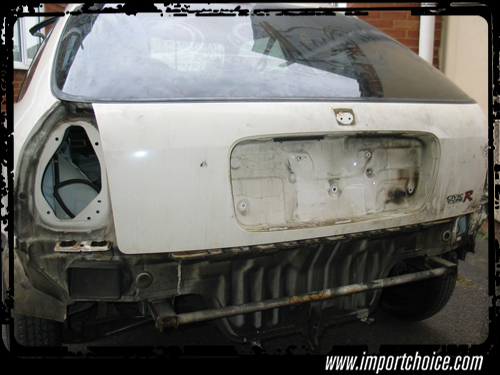
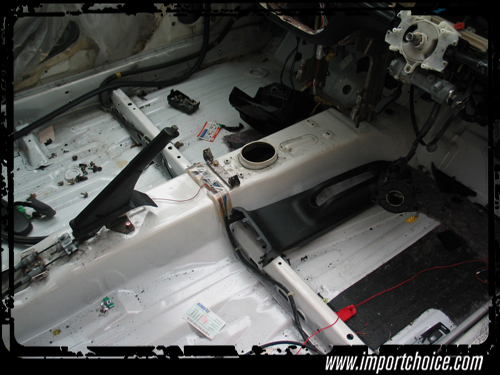
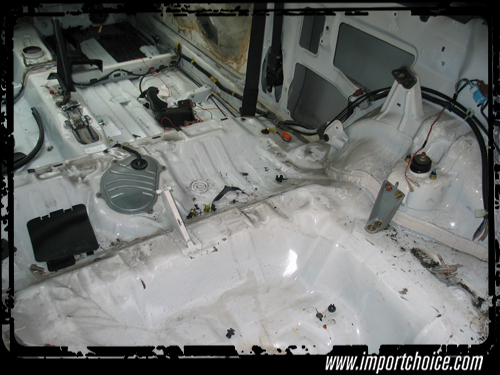
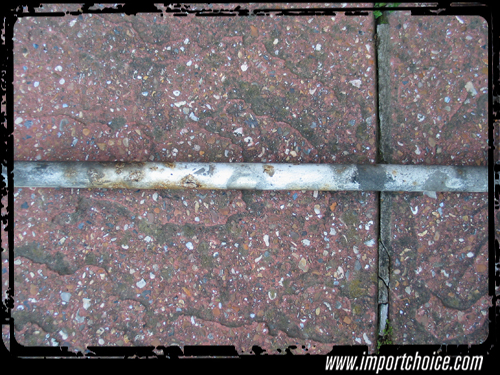
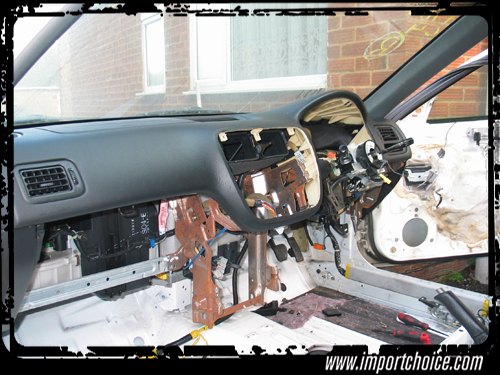
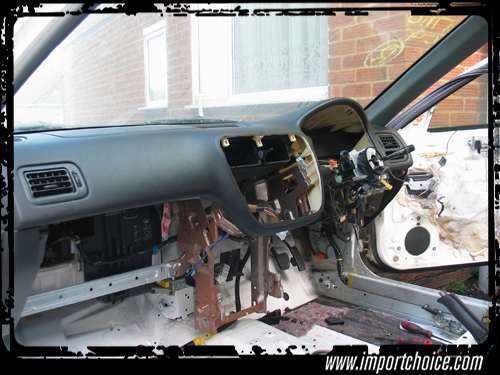
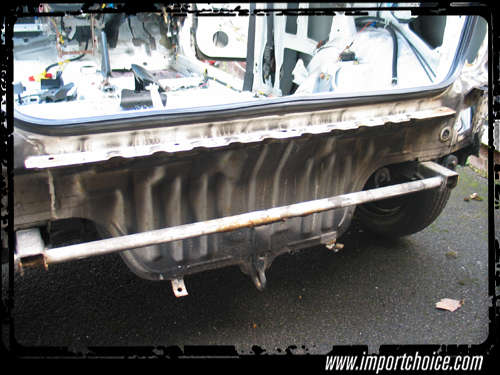
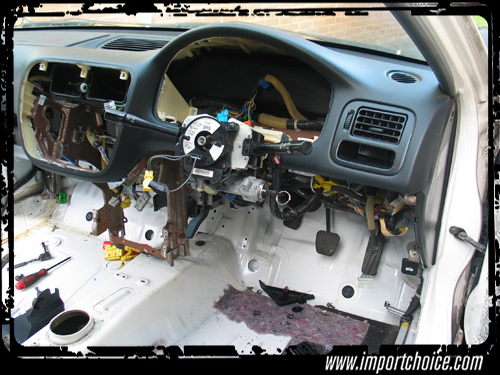
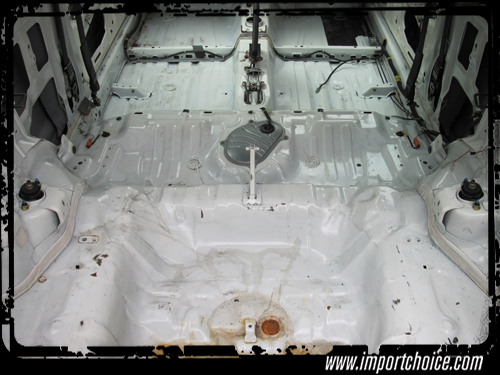
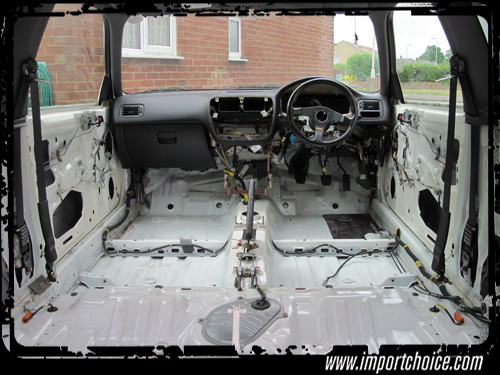
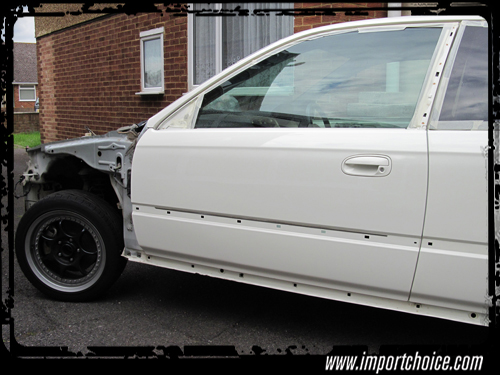
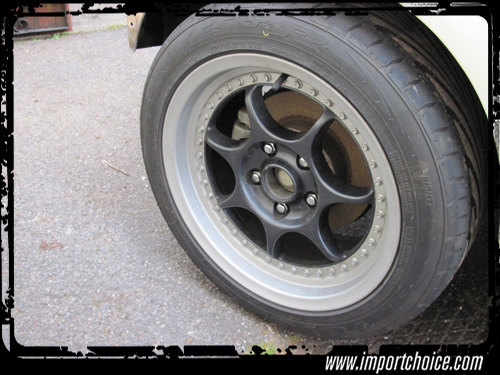
As soon as I was back from Malta, I hired a trailer and drove to Crawley to pick up my new toy! Below are photos from Jap Performance Parts prior to them stripping the car ready for my collection.

Picture-526.jpg


Picture-527.jpg


Picture-528.jpg


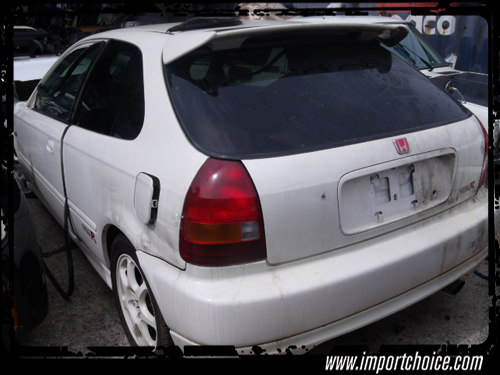
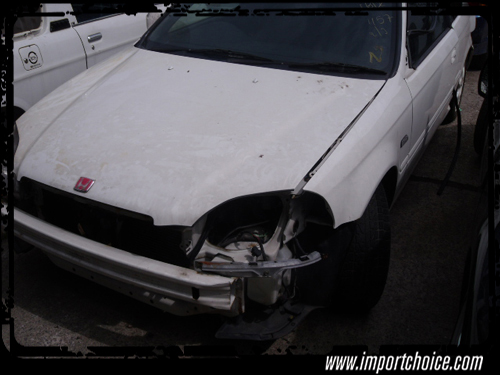
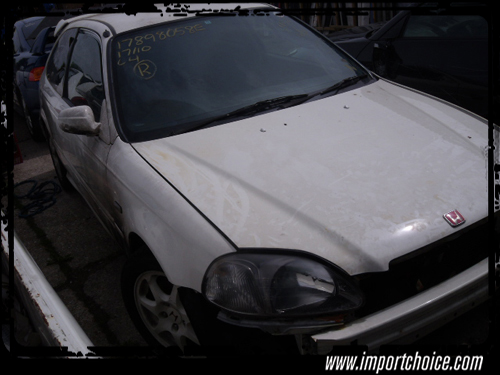
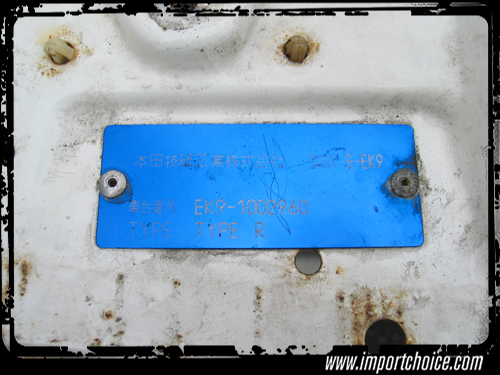
The car itself is a CW 97 pre facelift model. When I collected the car, the agreement was that it wouldn't have any wheels (apart from space savers), no carpet or seats, no speedo cluster, no front wings (fenders), no headlights or tail lights, no bumpers, grill, rear wing or lips, no side skirts and no bonnet (hood). I also didnt want the B16B or transmission as I already had plans to put a B18 into it.
I had already decided I wanted to 'face lift' the 9 and even though finances were tight, didn't see the point in purchasing all of those removed parts only to replace them at a later date.

As the car would be pieced together eventually with parts from other broken cars I thought it would be pretty apt to name it Frankenstein!
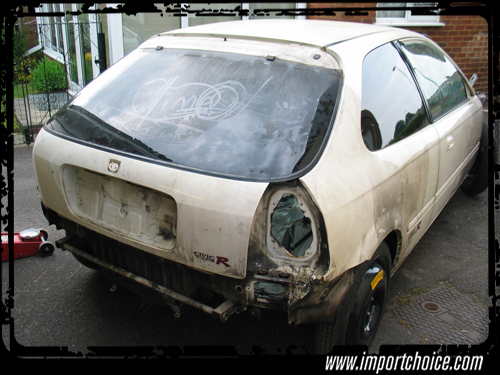
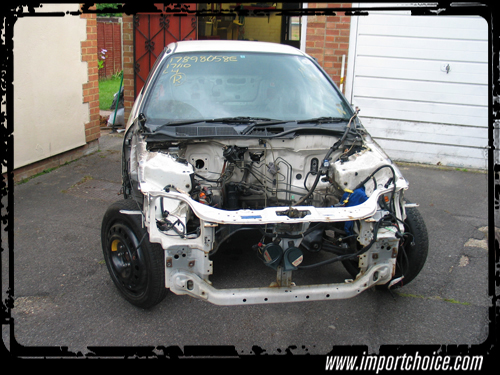
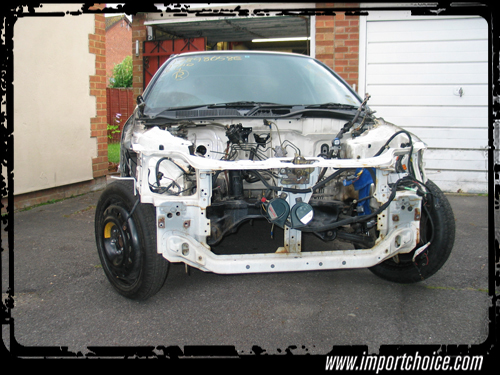
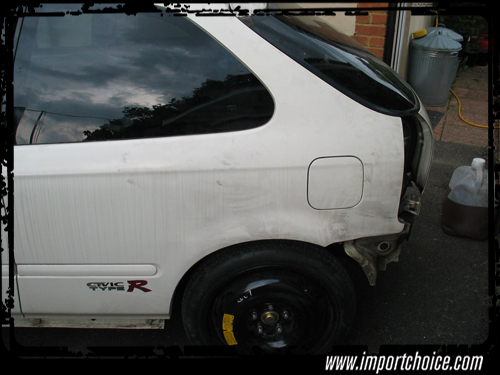
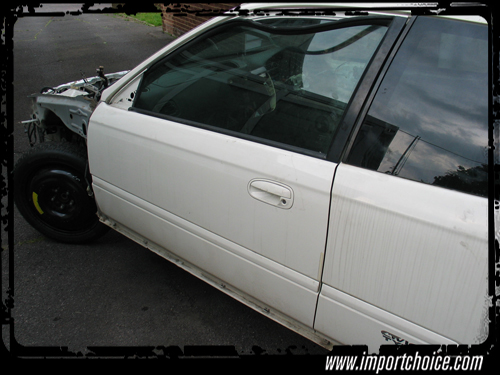
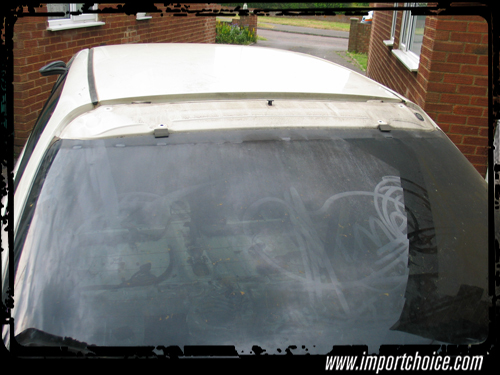
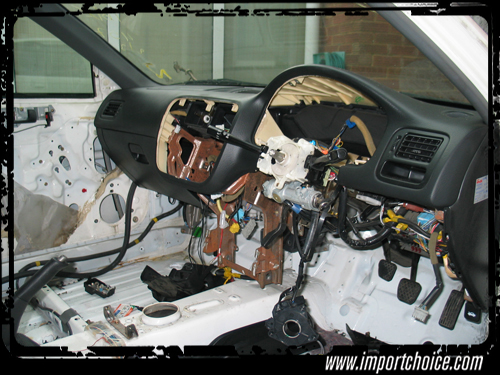
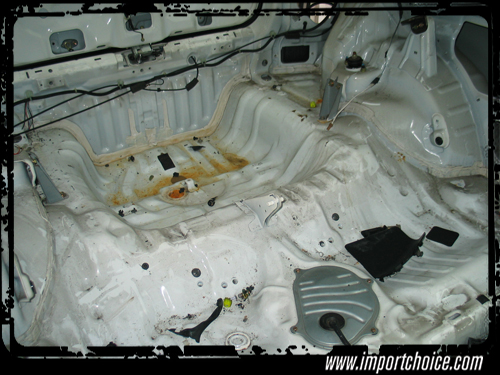
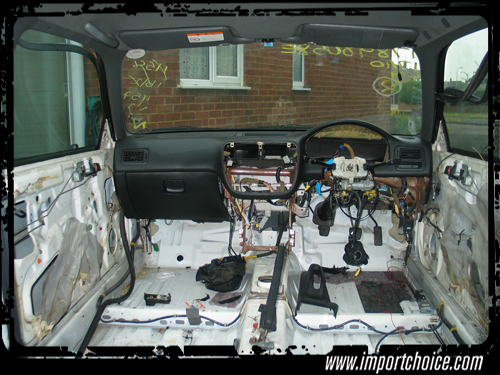
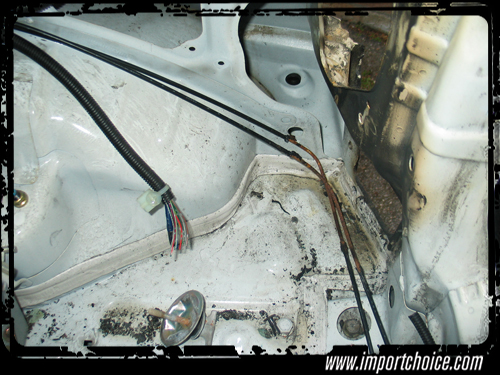
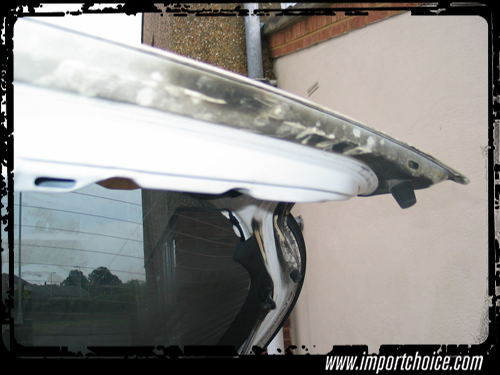
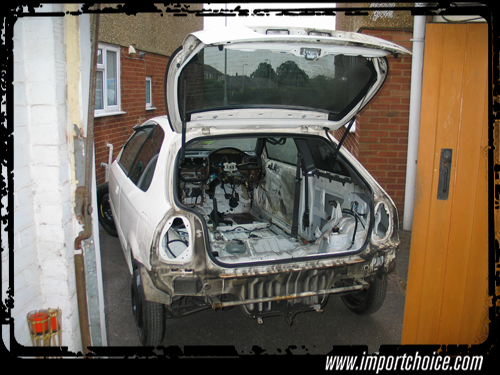
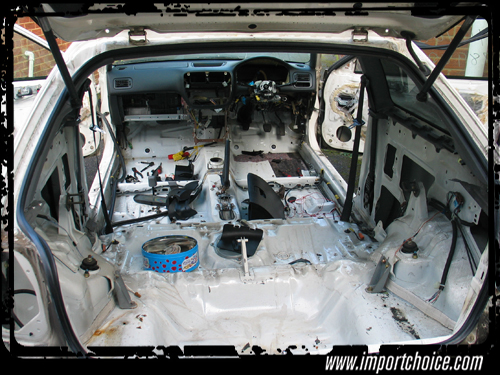
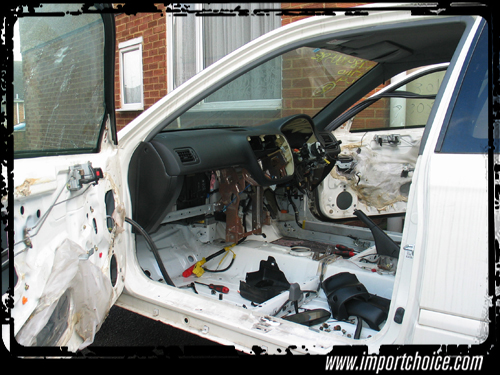
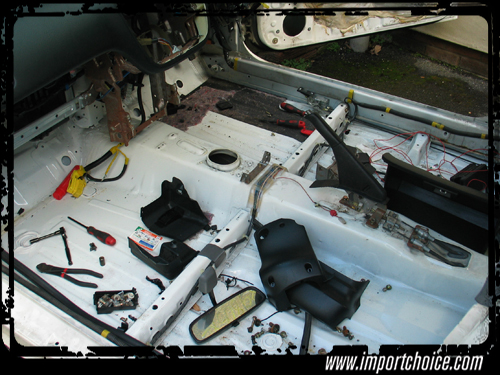
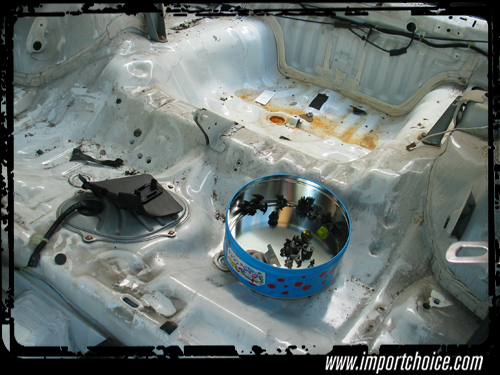
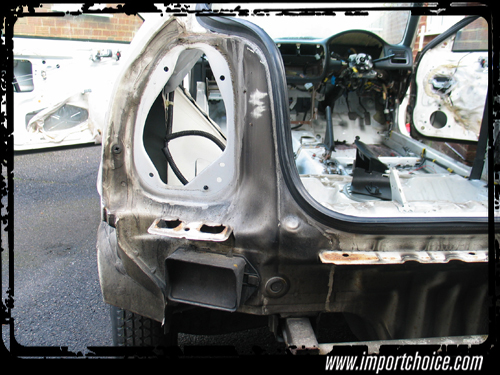
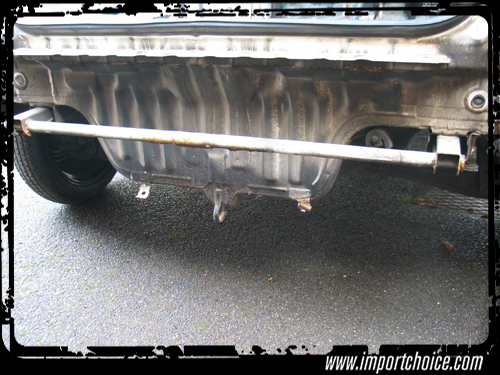
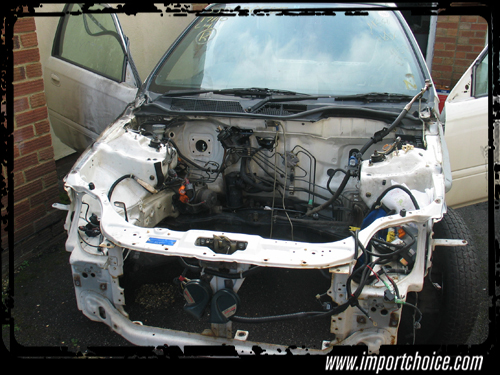
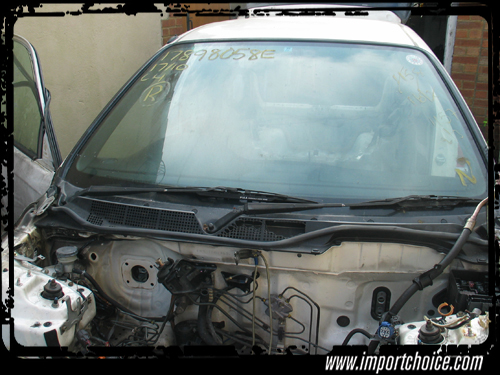
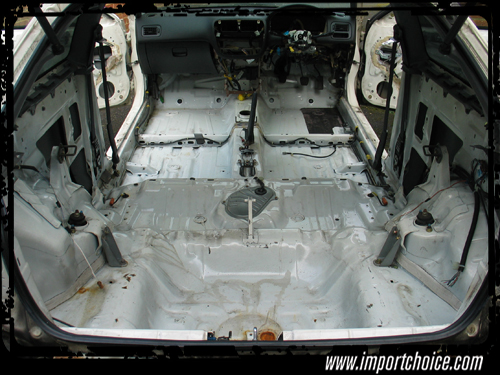
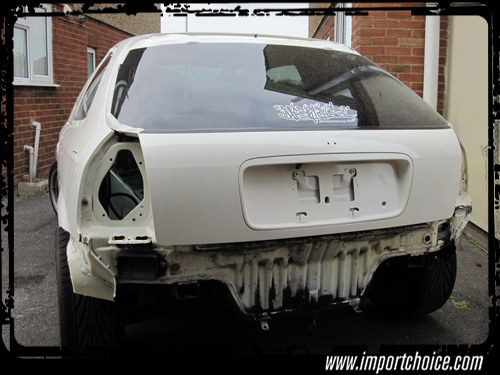
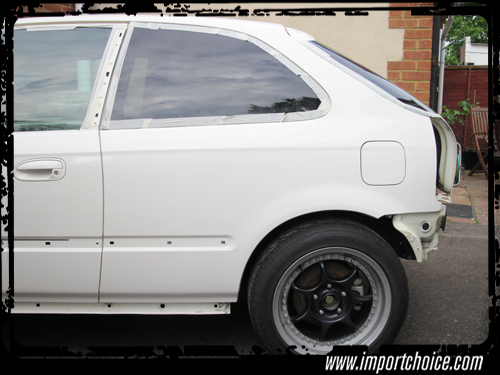
The car at home.

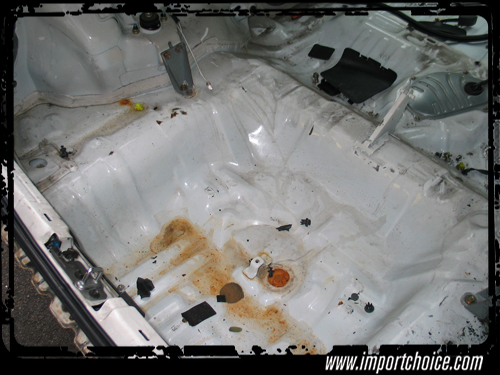
Below are photos of the car back at my house. It looks in a very sorry state doesn't it?

IMG_4860.jpg


IMG_4861.jpg


IMG_4862.jpg


IMG_4863.jpg


IMG_4864.jpg


IMG_4865.jpg


IMG_4866.jpg


IMG_4867.jpg


IMG_4868.jpg


IMG_4869.jpg


IMG_4860.jpg


IMG_4870.jpg


IMG_4871.jpg


IMG_4872.jpg


IMG_4873.jpg


IMG_4874.jpg


IMG_4875.jpg


IMG_4876.jpg


IMG_4877.jpg


IMG_4878.jpg


IMG_4879.jpg


IMG_4880.jpg


IMG_4881.jpg
 
Been watching you signature for a long time wondering when I would see this build looks like you have a lot of work ahead of you should be a great project. Sometimes I wonder if I should have done a ground up build but realistically I dont think Id have the space or time and money to do all I wanted.

Is it mostly just paint/cosmetic damage to the shell dosent look like the fire got to it too much? Do you know the story of it?
 
I started to clean the car and remove parts that could be renewed or restored. Below are photos of the rear crash bar. Have any of you found yours in a similar state? It was completely rusted through in places!

IMG_4923.jpg


IMG_4924.jpg


IMG_4925.jpg


IMG_4926.jpg


IMG_4927.jpg


IMG_4928.jpg


IMG_4929.jpg


IMG_4930.jpg


IMG_4931.jpg


Anyway, I gave it to a friend who re-welded a new tube into the brackets, had it sandblasted and powder coated white. As soon as its back I will post photos.
 
Last edited:
Thats the rear crash bar by the way not the tie bar.

Mine was ok starting to show spots of rust but its been rubbed down and everything behind the rear bumper undersealed. Perhaps the heat of the fire has accelerated the damage/rust.
 
Wow. Good on you mate, for taking on such a big project. I'm sure it will be worth-while bringing it back to life. Have you thought about getting it chemically dipped? I suppose that would be pretty pricey and defeat the object of what you're doing though.
 
Thanks for the kind words guys. I was told by Jap Performance that the car was owned by someone in Chelmsford. Supposedly, it was parked on a street and the car it was parked next to or near to caught fire and the 9 suffered a series of superficial burns and scorches but that was enough for tthe insurance company to step in.

You can see from the above photos that the hatch and fuel release cables were completely burnt through. Part of the rear loom is damaged and part of the front loom is also damaged. The only parts of paintwork that are really damaged are around the rear drivers side tail light and the bottom right corner of the drivers door. The thin moulding above this was also melted!
 
Thanks Championship White. I didn't consider chemical dipping but my initial plan was to assemble the car totally and carry out all required fabrication prior to another full disassembly once my garage is extended, I was then going to media blast the full chassis, repaint completely, underseal and re-assemble.

Its going to take a long time to build but im not in a particular rush and the end result will be well worth it.
 
Thanks Matt-EK9. Now amended to 'Crash Bar'.

Started the process of generally cleaning up the car to see exactly what state it was in and initially making lists of required parts.

IMG_4903.jpg


IMG_4904.jpg


IMG_4905.jpg


IMG_4906.jpg


IMG_4907.jpg


IMG_4908.jpg


IMG_4909.jpg


IMG_4910.jpg


IMG_4911.jpg


IMG_4912.jpg


IMG_4913.jpg


IMG_4914.jpg


IMG_4915.jpg


IMG_4916.jpg


IMG_4917.jpg


IMG_4918.jpg


IMG_4919.jpg


IMG_4920.jpg


IMG_4921.jpg


IMG_4922.jpg


When funds have become available I have been purchasing items from other forum members as well as from ebay and Honda (Lings)

Items purchased so far:
* Brand new facelift EK9 headlights
* Rear EK9 seat
* Hatch Carpet
* Rear Plastics
* Complete Seatbelt Set
* EK9 Door Cards
* Complete thin Moulding set (to replace the slightly melted items I had)
* Replacement Hatch and Fuel Release Cables
* Momo Steering Hub (from Championship White)
* NSX-R Momo Horn Button
* EK9 Shift Boot
* Various screws and fixings from Lings

I already had a 350mm Momo Corse steering wheel and my brother kindly gave me his 320mm one to also use.:nice:
 
I dont know why but the 2 outer door rubbers on the passenger side door were cut and left hanging out of the window. Also, I believe when the door wind deflectors were removed the rubber channel that the window fits into was pulled and didn't fit right anymore. This was the same on both doors. Each of the windows were open by a few inches and I could not put the rubbers back into place. I ended up using a 12v jump pack which I connected some thinner gauge wire / probes to in order to touch the pins of the window motors to fully open them. I was then able to undo the bolt to the lower channel at the bottom of each door and slowly manipulate the rubbers back into place. Once both doors were done I sprayed silicone spray into the channels and wound the windows up fully. The outer rubbers on the drivers side door are fine but I will need to source replacements for the passenger side.

I then removed the plastic sheet door liners from each door as they were badly damaged. The tedious job of using white spirit to remove the adhesive was underway and after a couple of hours both doors were complete.

I used a heat gun to remove the badly damaged stickers on each side of the 9 as well as on the tailgate. The remaining residue was then removed with white spirit.

I removed the external door trims / garnish (by the windows on both doors) and also removed the roof rubbers before washing the car and claying the paintwork to remove all surface contaminants. On closer inspection there was quite a bit of smoke damage to the paintwork (yellowing) so I decided to mask the car, borrow my friends rotary polisher and armed with a bottle of Meguiars Ultimate Compound set to work in cutting back the paint to eliminate the smoke damage.

Some of the detailing forums said that Honda paintwork is quite thin and I did actually find that out personally when i cut a little to much paint on the rear drives side quarter panel / sill. All in all you will see from the below pictures that it is a drastic improvement to what was there initially! Im happy. I also fitted the rear licence plate surround.

Lastly, I managed to obtain a set of my all time favourite wheels from ebay! The wheels in question are Enkei Racing S - 2 piece rims. I personally think that I got an absolute bargain with them as they came with almost new Toyo Proxes T1R's that alone are worth more than I paid for the wheels and tyres together. The wheels are absolutely mint but are missing the centre caps. Im not too worried though as I will fabricate some custom caps when I get a chance. The only downside is that they are in a staggered fitment (as they were from an MR2) 16x7+33 with 205x45x16 at front and 16x8+33 with 225x45x16 at rear. When I roll the rear arches I will also need to slightly pull them by around 5mm - 10mm in order to eliminate any rubbing when the car is lowered. The beauty is that the slight pull on the arches will still maintain the factory lines and not look too outrageous.:nice: Anyway here are the photos.

IMG_0320.jpg


IMG_0321.jpg


IMG_0322.jpg


IMG_0323.jpg


IMG_0324.jpg


IMG_0325.jpg


IMG_0326.jpg
 
good stuff mate nice to see one getting brought back to life instead of yet another one vanashing from the streets due to idiots writing them off and so on :nice:
 
good stuff mate nice to see one getting brought back to life instead of yet another one vanashing from the streets due to idiots writing them off and so on :nice:

Exactly what i was thinking fella

Good luck on the build hope it gets back its pretty looks again :nice:
 
good start

this is gonna be an awesome build, cant wait to see it finish
 
thats going to one sick project, cant wait for the finished product keep on posting bro
 
Coming along very well, good work so far. ill keep my eye on this :nice:
 
Top work so far buddy. Like others have said nice to see someone bringin a car back to life.

Keep it up:)
 
Amazing work so far and well done for taking on such a big project! :) great polishing and detailing work and good luck sourcing all the parts! :)
 
Back
Top