No compromise Supercharged ek9 build


GET IT MAPPED

I know what power this was putting out as one of the previous owners had it on a RR up in aberdeen and it was also compared in a straight line to a completely standard EK9

Not going to post any more, pm me if you want more details :)

Some effort in cleaning it up, dedicated for sure. Have heard this before and does sound cool with the charger :)
 
This is insane. In my 10yrs I've never came across a c's compressor! WOW! I would buy the car just for that. You have made some awesome mod's, and have did a great job refreshing all those bits. My only advice instead of watching you mess w/ all those intakes would have been to make or have made an aftercooler since it is supercharged, but anyway great job!!!!:win::win::win::win:
 
project is coming along well bud, see you cleaned those coilovers up a bit more, came out good, you got them on yet?

whats next?
 
Wouldnt bother getting it mapped by mase man, what if you change something else or it goes wrong, have to wait on him coming back to america aha.

Nahnah PerformanceTek is just Gerry. Henrys works for himself under the name TripleH performance, TripleH Performance, triplehperformance,.

Henry normally uses crome(chipped p28 ecu) for simple builds and DTA for builds that require more comprehensive management.
 
Thanks again guys for the kind words. Much appreciated :)

GET IT MAPPED

I know what power this was putting out as one of the previous owners had it on a RR up in aberdeen and it was also compared in a straight line to a completely standard EK9

Not going to post any more, pm me if you want more details :)

Some effort in cleaning it up, dedicated for sure. Have heard this before and does sound cool with the charger :)

Yup steven tell me about it. A faulty lambda sensor and worn out spark plugs werent doing it a world of good. It was bought as a project car and the condition it was in was refected in the price i paid for it. Just like any imported car mapped for jap fuel it needs a map to run on uk fuel and a good one at that. The map is top on my list once i get myself insured back on it ;)

Cheers man:) must admit though watching your project thread was a big inspiration for me. I Probably spent tooo much time in the garage cleaning it and gettig things in order but i really enjoyed doing it and learned alot at the same time. oh and yeh the sound of the charger is unreal. drowns out the sound of spoon its that loud lol

project is coming along well bud, see you cleaned those coilovers up a bit more, came out good, you got them on yet?

whats next?

cheers aaron mate. haha yeh gave them a once over when i got back home but they were pretty much mint when i picked them up from you anyways. They arent on the car yet as i thought its probably easiest to get them fitted along with the control arms when they get here at the same time.

Next on the list is a new standalone and a remap if all goes to plan mate.

Wouldnt bother getting it mapped by mase man, what if you change something else or it goes wrong, have to wait on him coming back to america aha.

Nahnah PerformanceTek is just Gerry. Henrys works for himself under the name TripleH performance, TripleH Performance, triplehperformance,.

Henry normally uses crome(chipped p28 ecu) for simple builds and DTA for builds that require more comprehensive management.


Yeh exactly man plus i dont think i would get hold of mase anyways. I really would like to stick to a local tuner as long as the service is good but like i said mate if it means i will get the best service possible i dont mind travelling to see will, just it will be an inconvenience if i get any other work carried out or if something goes wrong.
 
Last edited:
congrats on the car man..two thumbs up..btw..are you a muslim? i saw on your table where your laptop is layed a blue figuring with arabic scriptures on it...
 
its a seriously clean car with a sick amount of money spent on it fair play lad!! best of look with the big figures!! let use all know :)
 
this is one crazy build don't think ive ever seen someone go into the finest details like polishing up the springs on the exhaust clamps
 
Tidy! i like it

Although...i would have gone for a set of low offset 16s and made the porsche brakes fit. that would have made it really stand out!!
 
Thanks for the comments lads. Progress has slowed abit as i have started uni and the car is now off the road over the winter. bought an mb3 civic as a runaround to tide me over the winter months.

Dunsy im gutted the porsche calipers set up never worked out as it would have been a monstrous set up. if i ever get bored of the reggas i will buy a set of 16" wheels and get brackets machined for them, however realistically i think i will be investing in spoon brakes once a second hand set pop up as love the reggas too much.
 
havent updated the thread in a while so here are some more recent updates:

update:

Been busy this week with rebuilding a pitbike engine for my wee bro and striping down the carbs on my go kart so only managed to get a few things done to the car this week.

The pit bikes kick start idler gear was broken so the casings had to be split to get to them. Turns out that the shaft also snapped so i just put it back together for the moment until i manage to source a new gearset.

Photo2607.jpg


Managed to get the carbs off of the go kart aswell this week to clean them up as the floats were stuck and leaking fuel everywhere.

Photo2425.jpg


For those who are interested the carbs came off of this monster ;). Its gsxr powered go kart, which has kept me busy over the winter.

Photo0312.jpg


Anyways back to the car:

First job was to get my old tyres swapped over as they were of a lower profile. Also got the tyres filled with nitrogen instead of air for a change.

Before:

Photo2262.jpg


Photo2263.jpg


after (excuse, car was pretty manky when i came back from the tyre fitters)

Photo2430.jpg


Photo2431.jpg


Photo2468.jpg


I dont know if its just a placebo effect but the tyres do feel more grippy with nitrogen. im yet to properly test them out though ;)

When i came back i started installing the mugen foot pedals.

Photo2355.jpg


before:

Photo2353.jpg


after

Photo2360.jpg


Photo2359.jpg
 
I had to remove the radiator cooling plate to drill a hole out for the bonnet alarm switch so i took the opportunity to remove the bonnet catch to give it a good clean and paint

Photo2366.jpg


Photo2367.jpg


bonnet catch off the car:

Photo2351.jpg


i used an old toothbrush and a combination of autoglym engine degreaser and white spirit to clean it up.

Photo2371.jpg


i let it soak for about 30 mins

Photo2368.jpg


and then gave it a good blast with the brush

Photo2369.jpg


came out good but i stil want happy

Photo2414.jpg


Photo2415.jpg


Photo2417.jpg


so went over it with the polishing kit

Photo2416.jpg


and although it looked better i still decided to paint it in some of the vht anodized gold paint

Photo2588.jpg


Photo2590.jpg
 
Also fitted a few more anodised bolts around the car as i had a couple left over

Photo2449.jpg


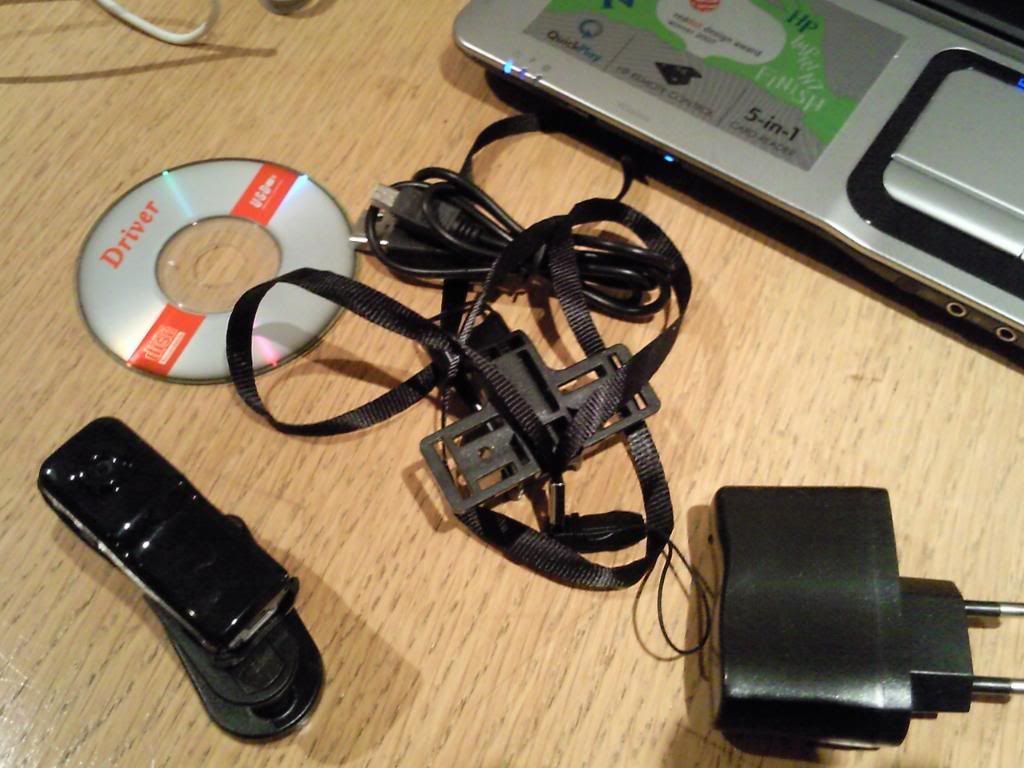
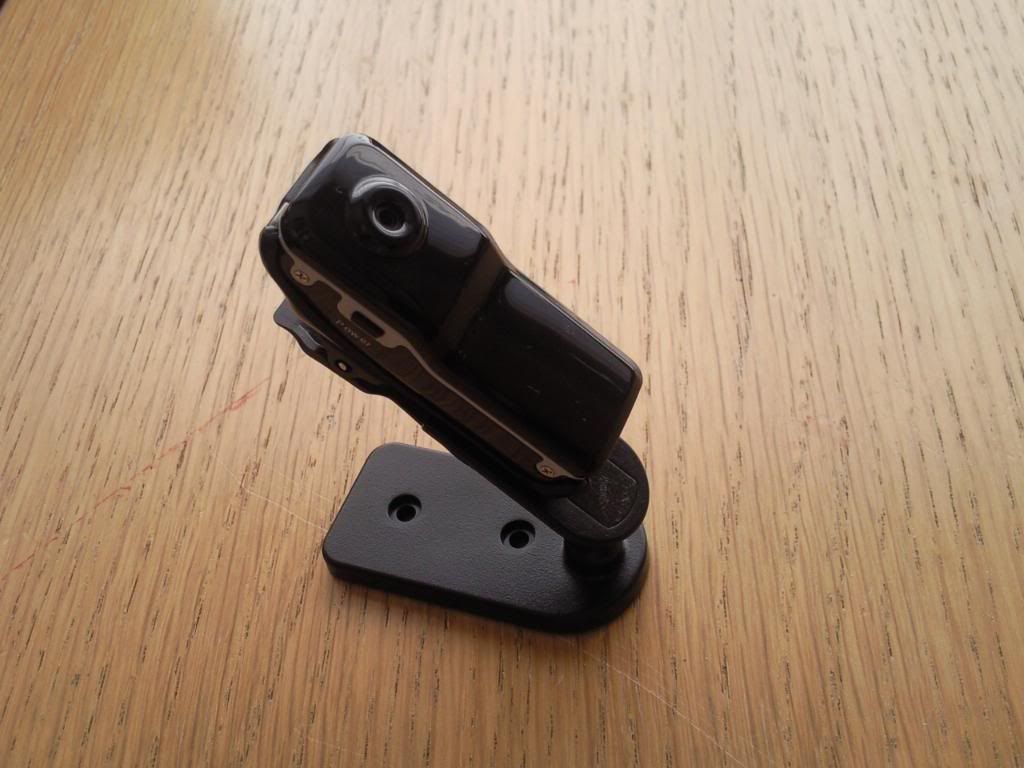
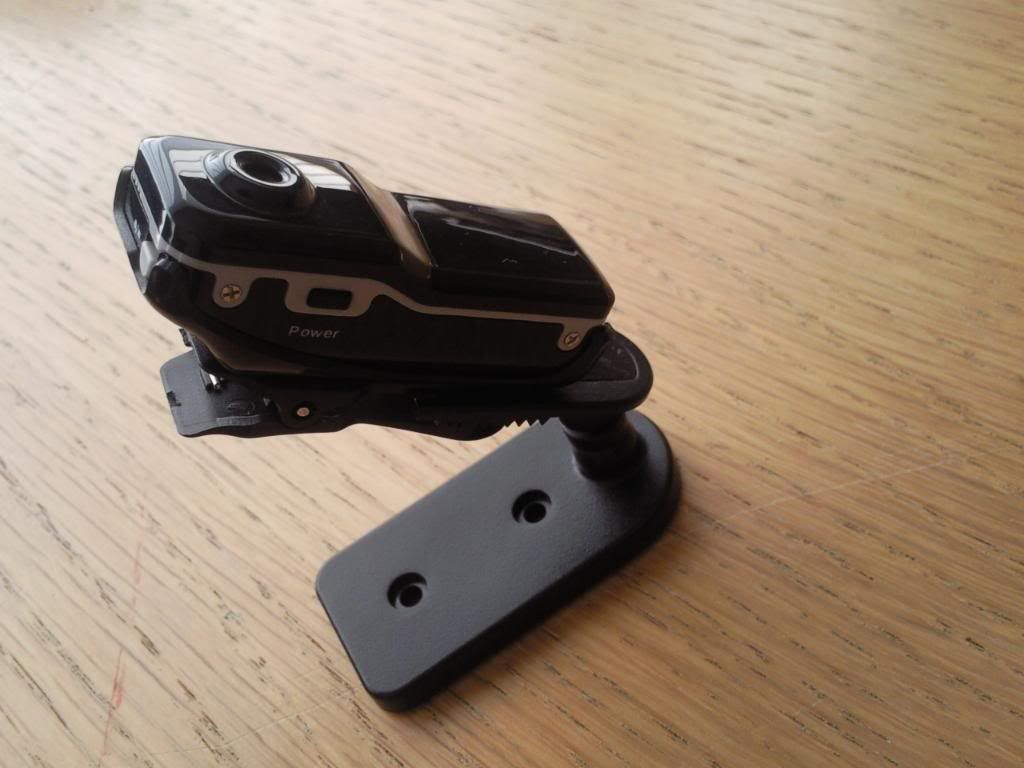
Also got this small camera a while ago but forgot about it at the back of the cupboard so will get a bracket made for that this week. hoping to use it maybe for track days or road trips/b road blasts ect.For the price it seems like a pretty good camera with decent quality footage.

Photo2271.jpg


Photo2283.jpg


Photo2284.jpg


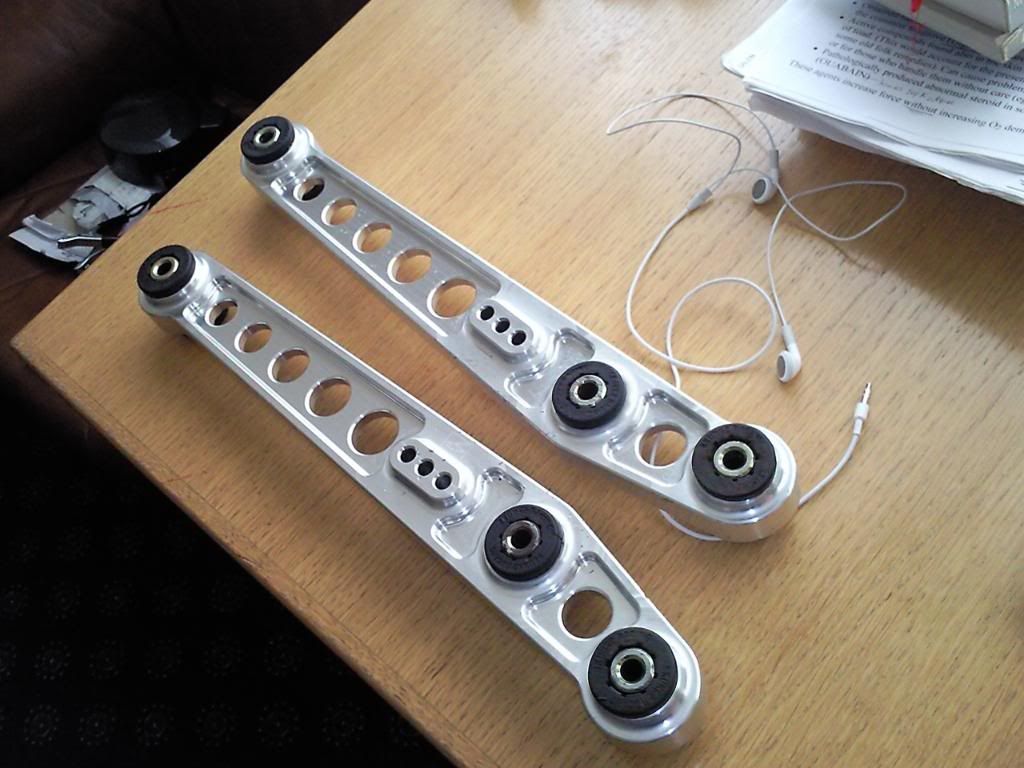
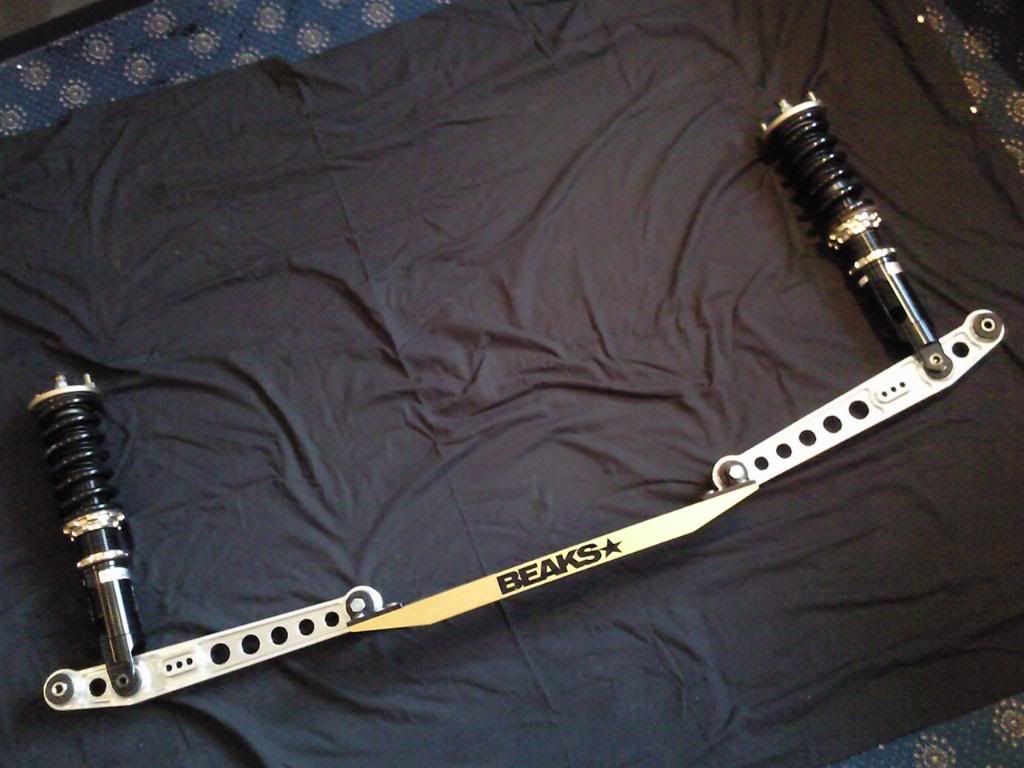
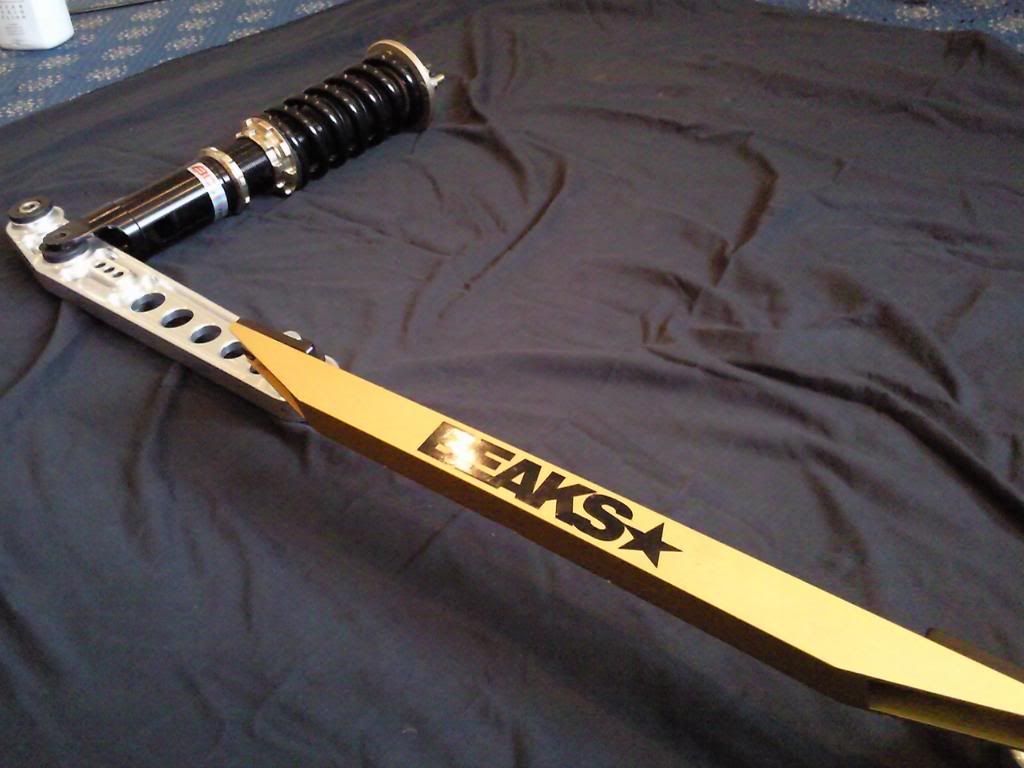
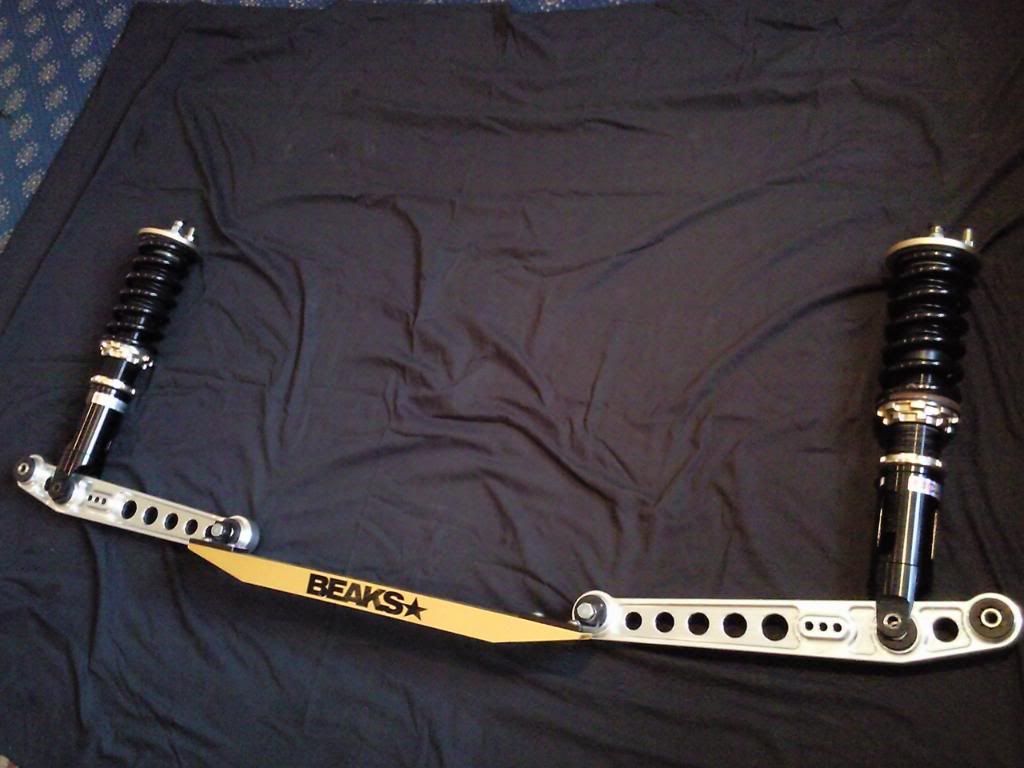
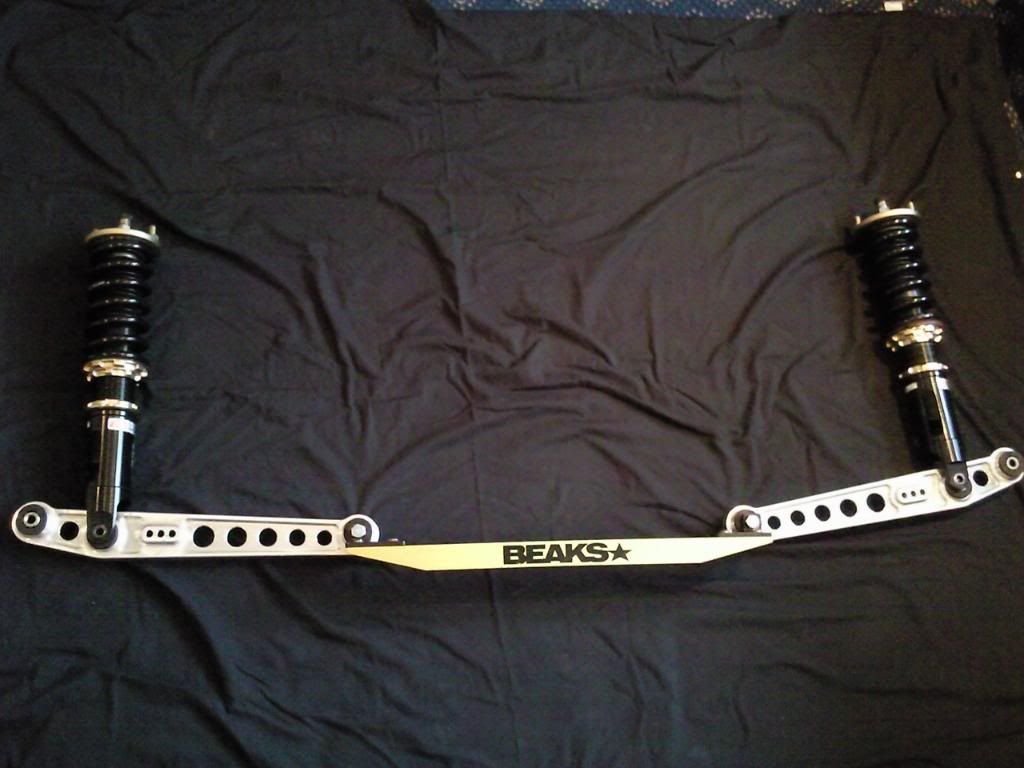
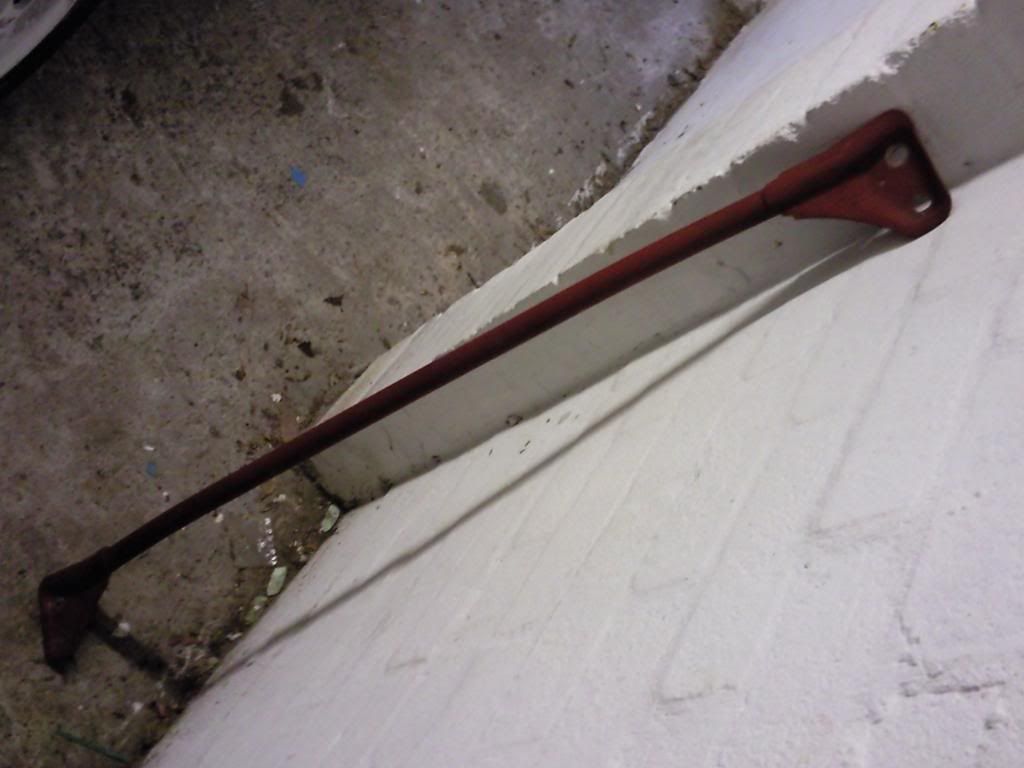
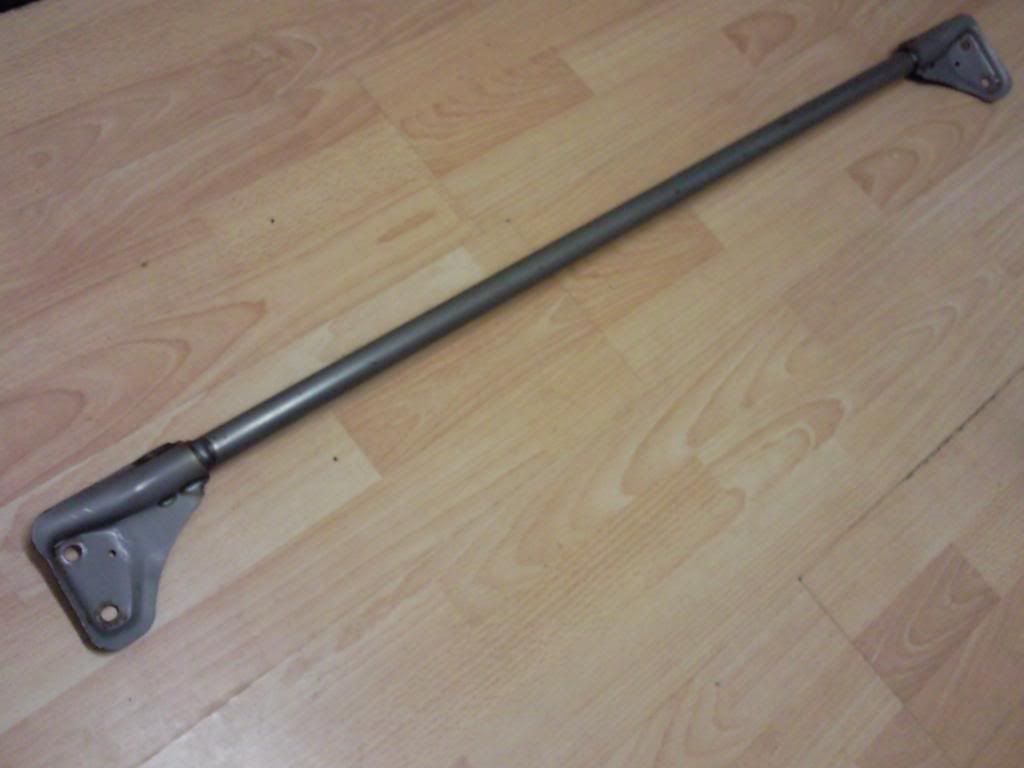
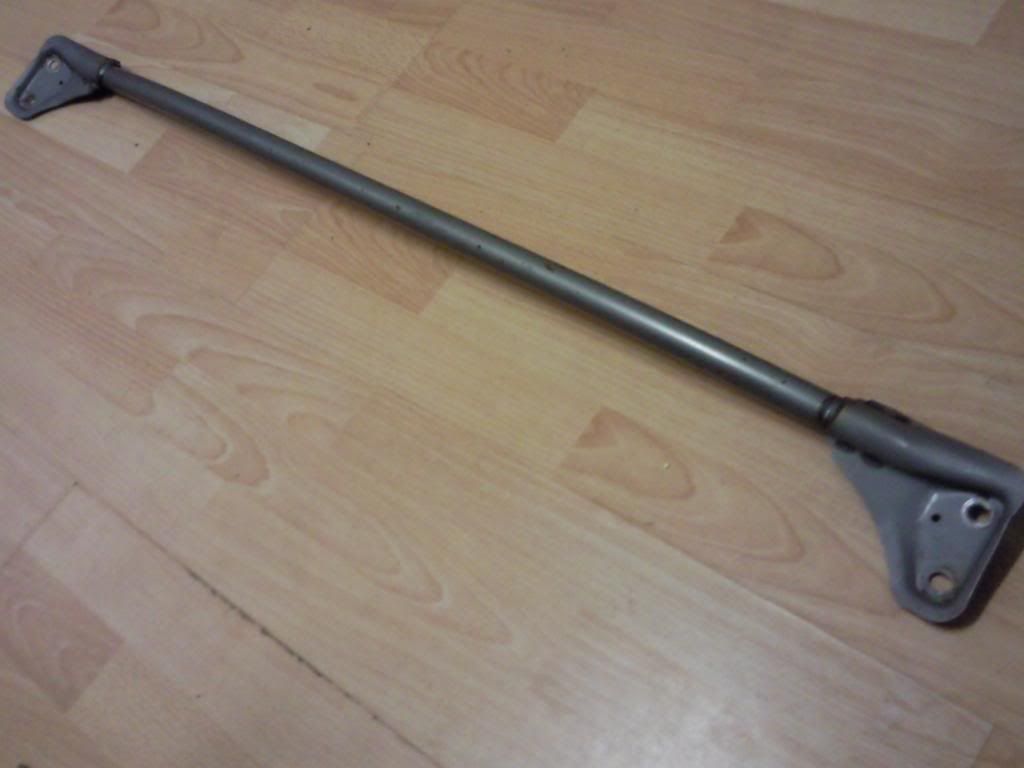
Also got my skunk2 control arms in brushed silver through the door this week

Photo2376.jpg


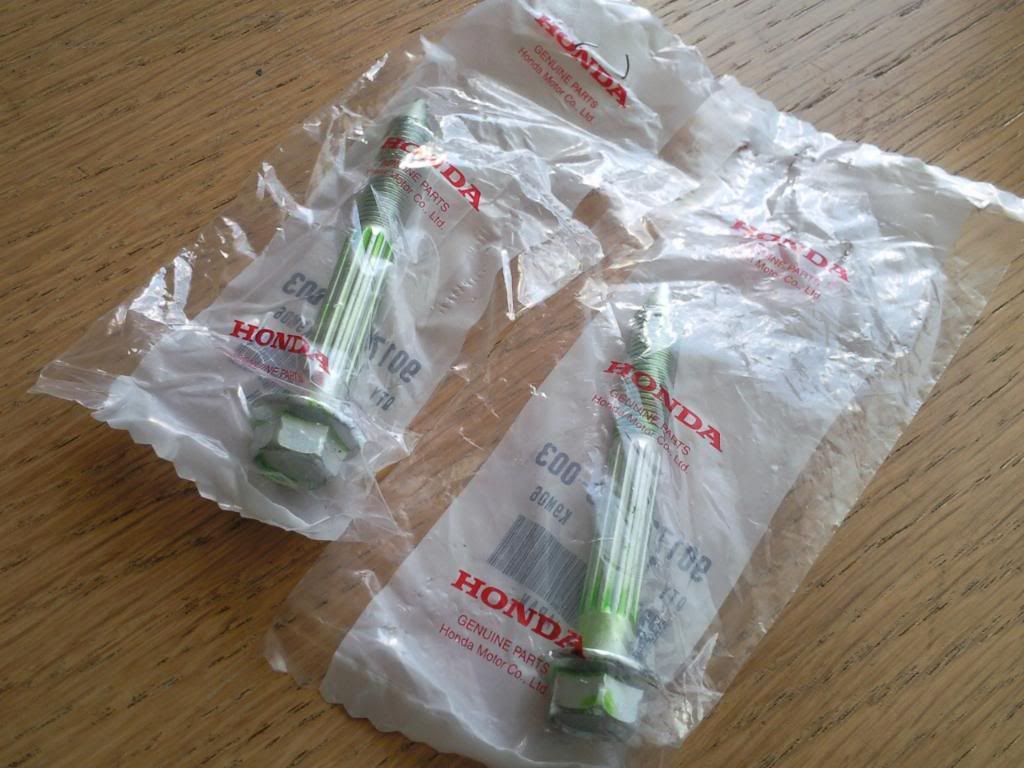
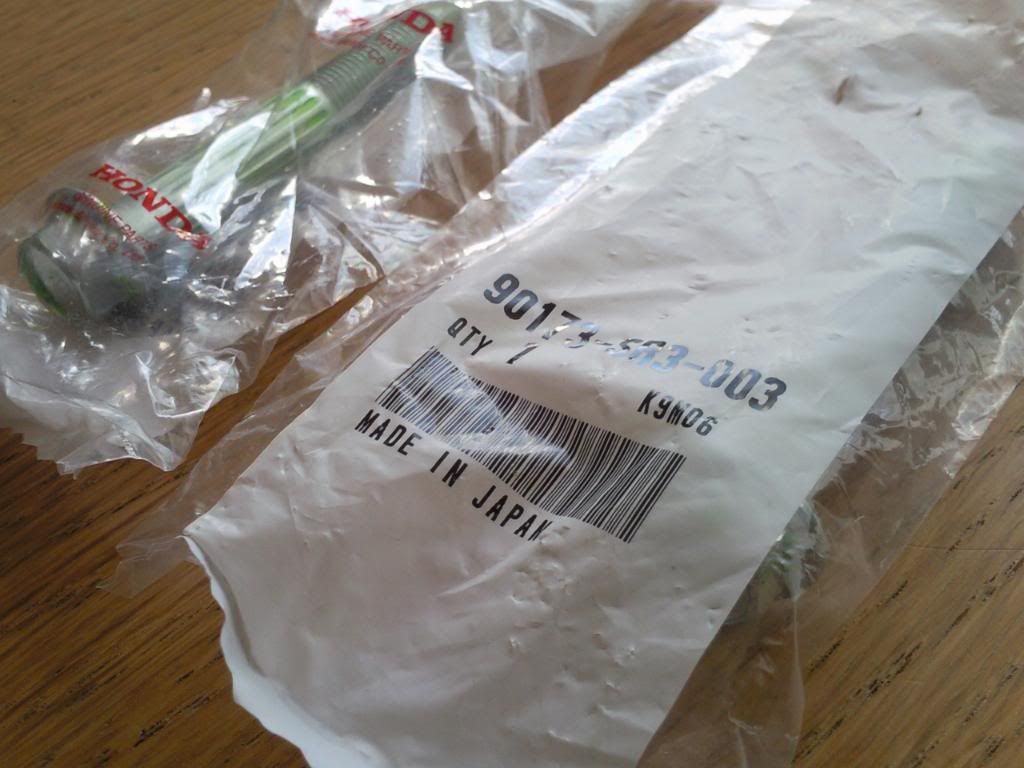
So mock fitted them with the bc coilovers and beaks tie bar to see what the set up will look like under the car. i was pretty happy with them especailly since they should save abit of weight over oem control arms and the bushes are meant to be stiffer too. Hopefully get them fitted as soon as i get the new bolts i ordered today from honda.

Photo2391.jpg


Photo2393.jpg


Photo2398.jpg


Photo2403.jpg


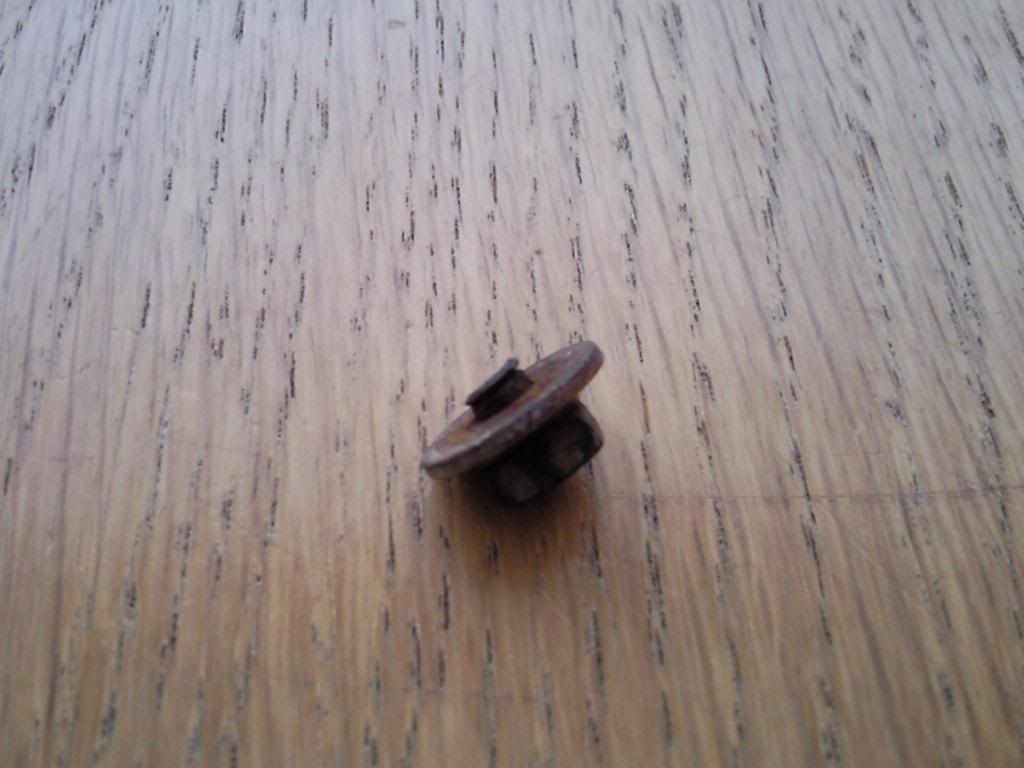
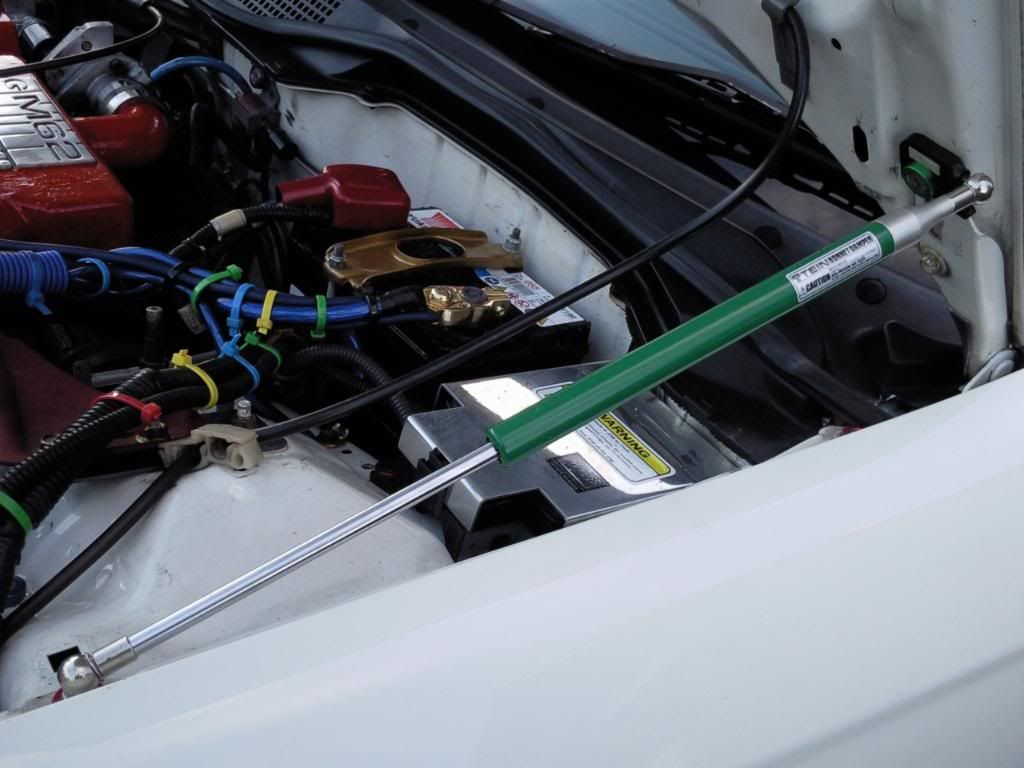
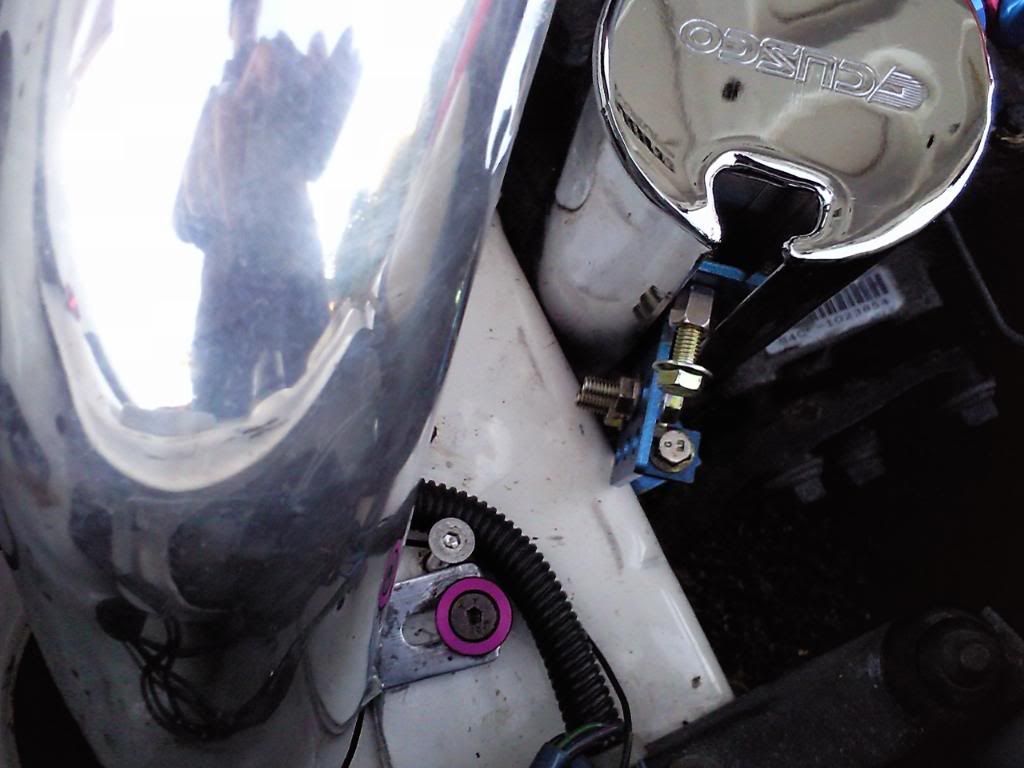
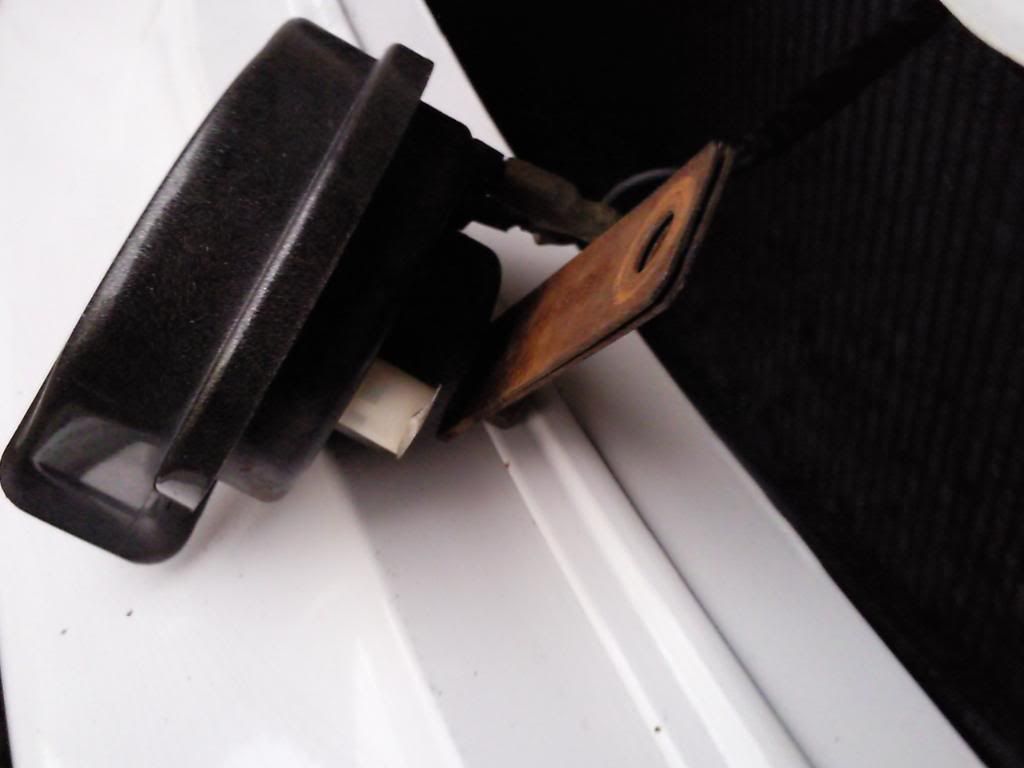
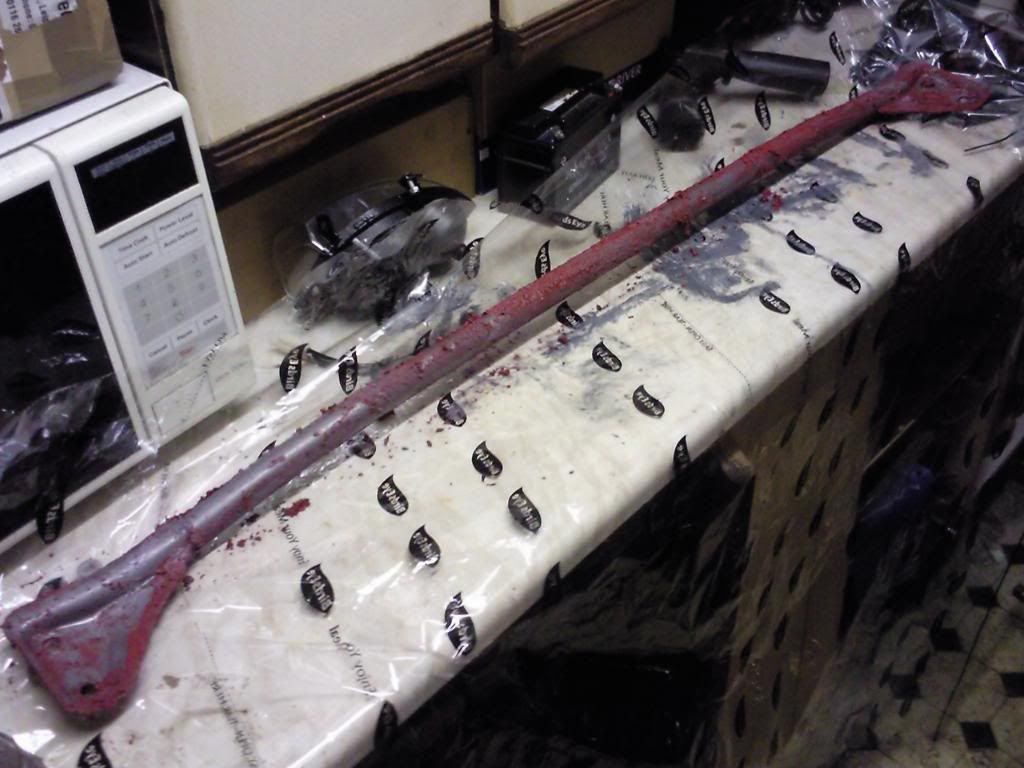
Things never seem to be straight forward with this car. Went to fit the tein bonnet lifters and as i was undoing the nut on the bonnet, it snapped in half :mad:

Photo2438.jpg


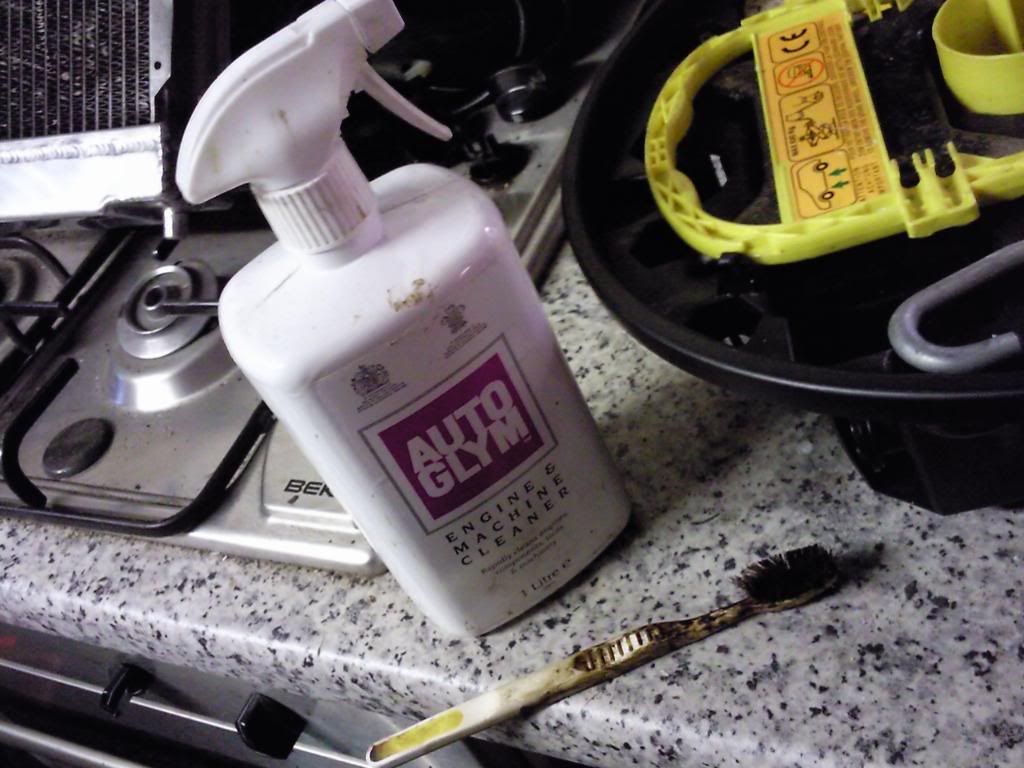
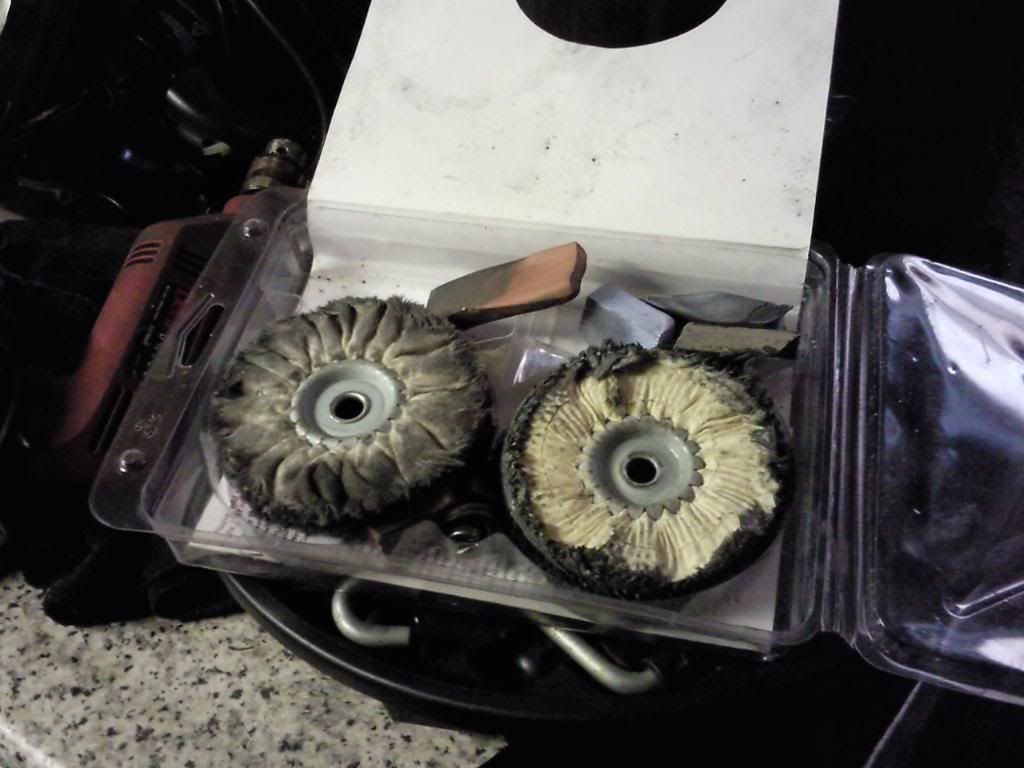
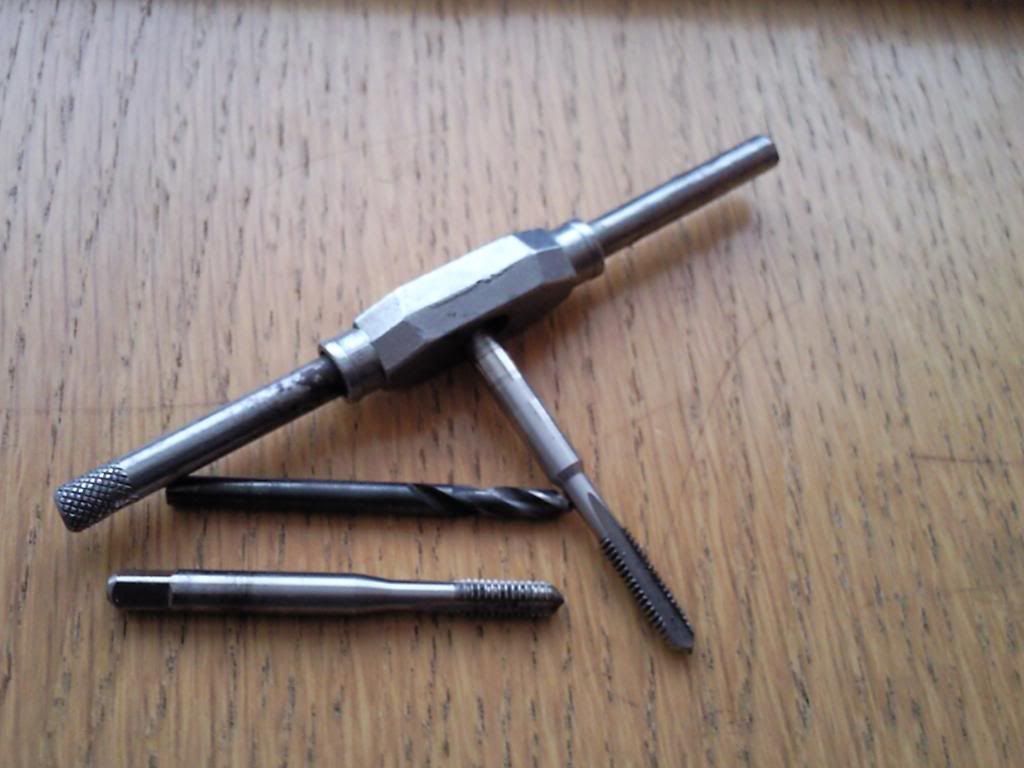
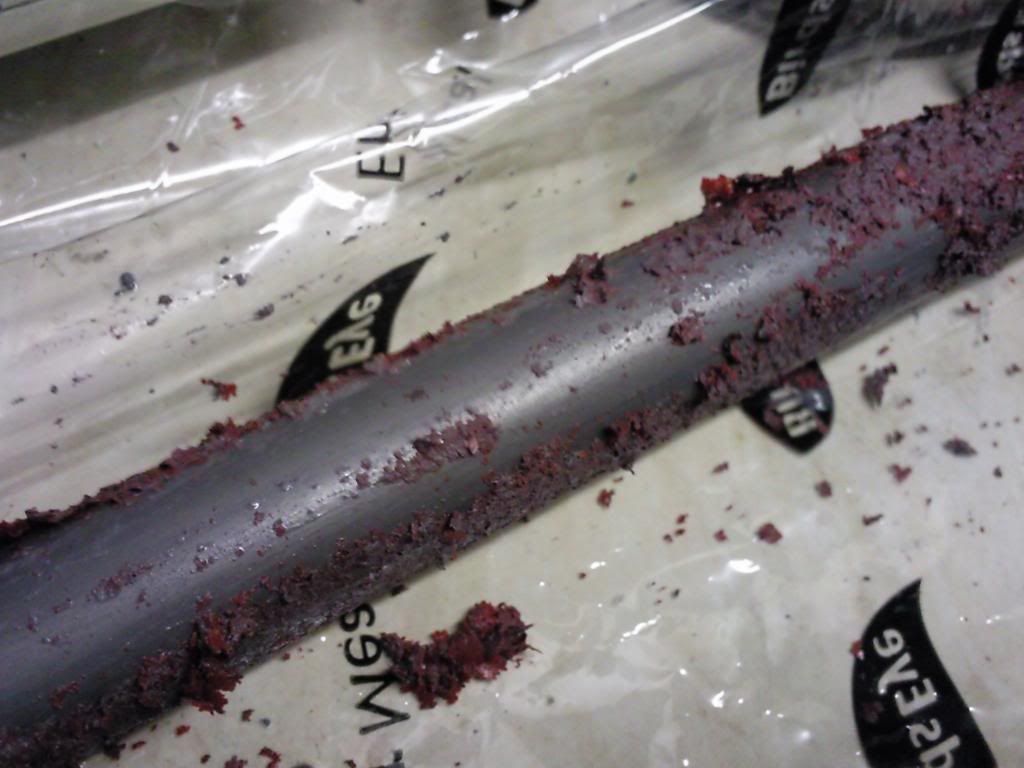
got the drill and carefully drilled it out.

Photo2444.jpg


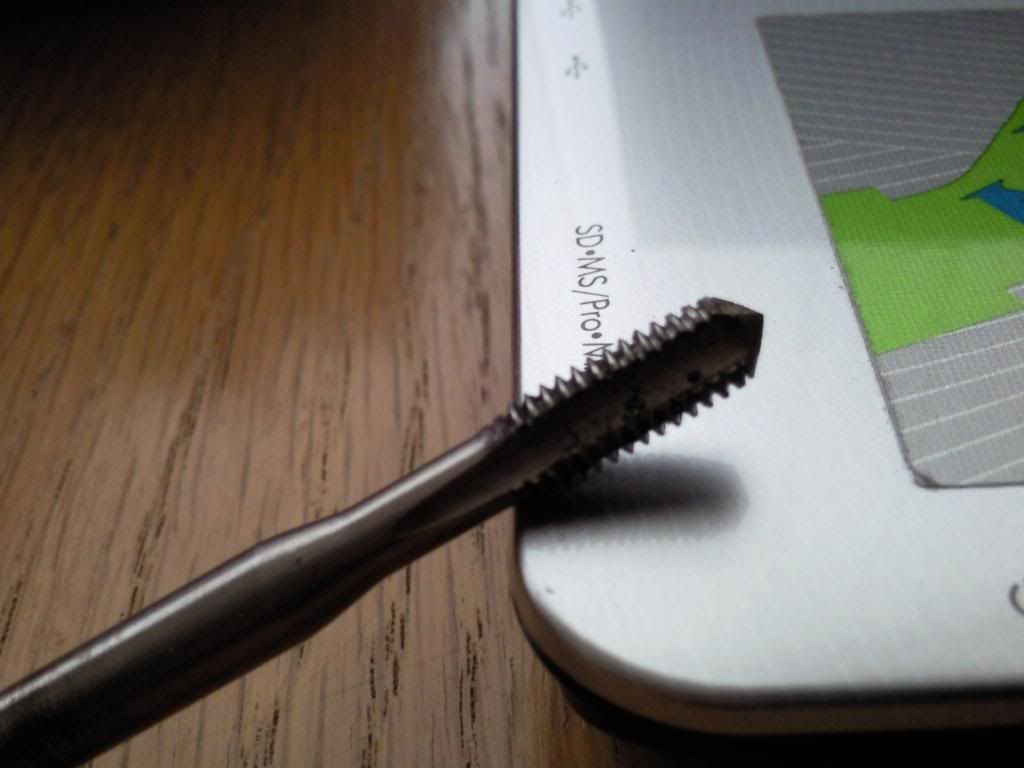
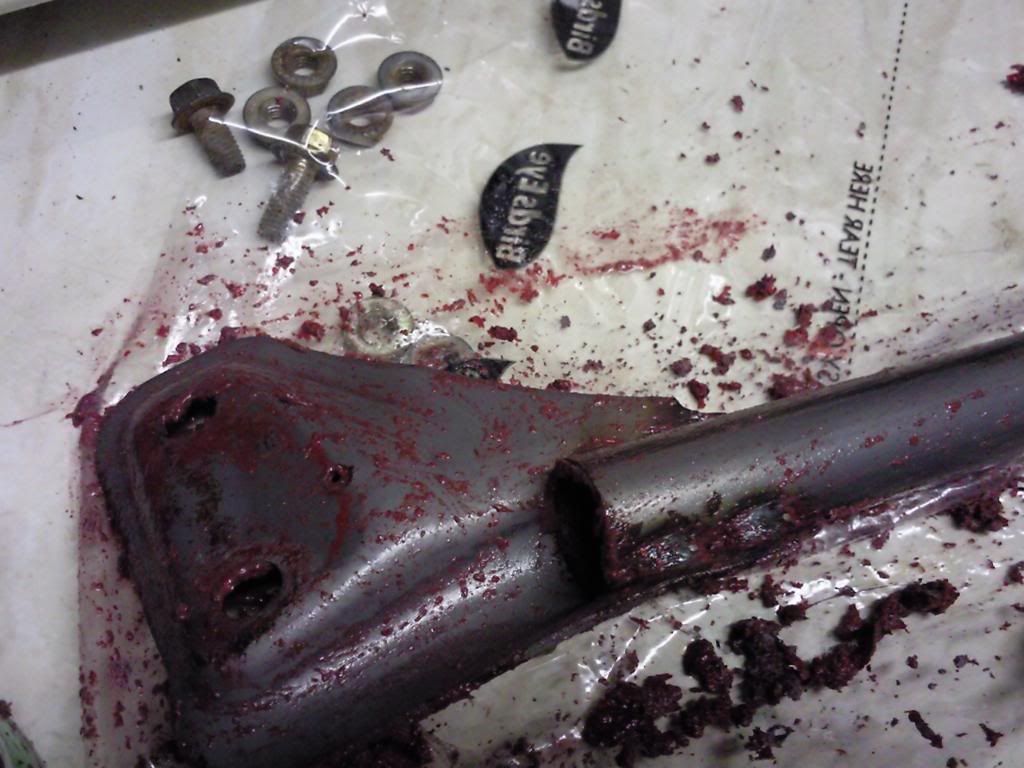
then retapped it using tap that i borrowed from a metal fabricator down the road.

Photo2439.jpg


Photo2440.jpg


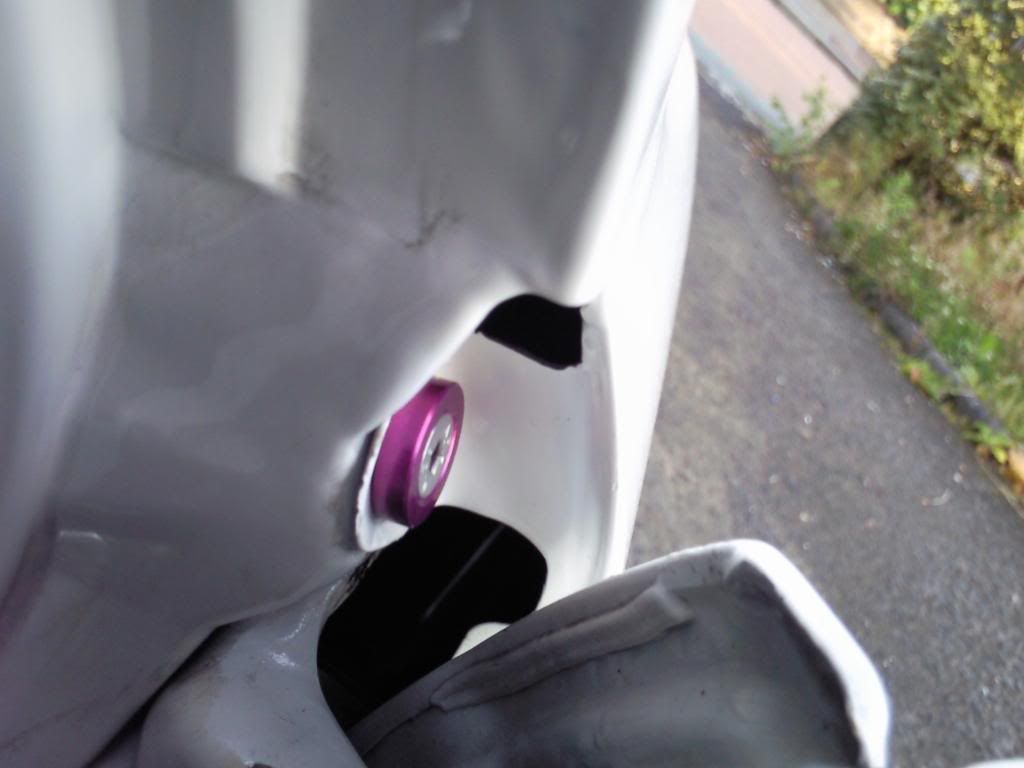
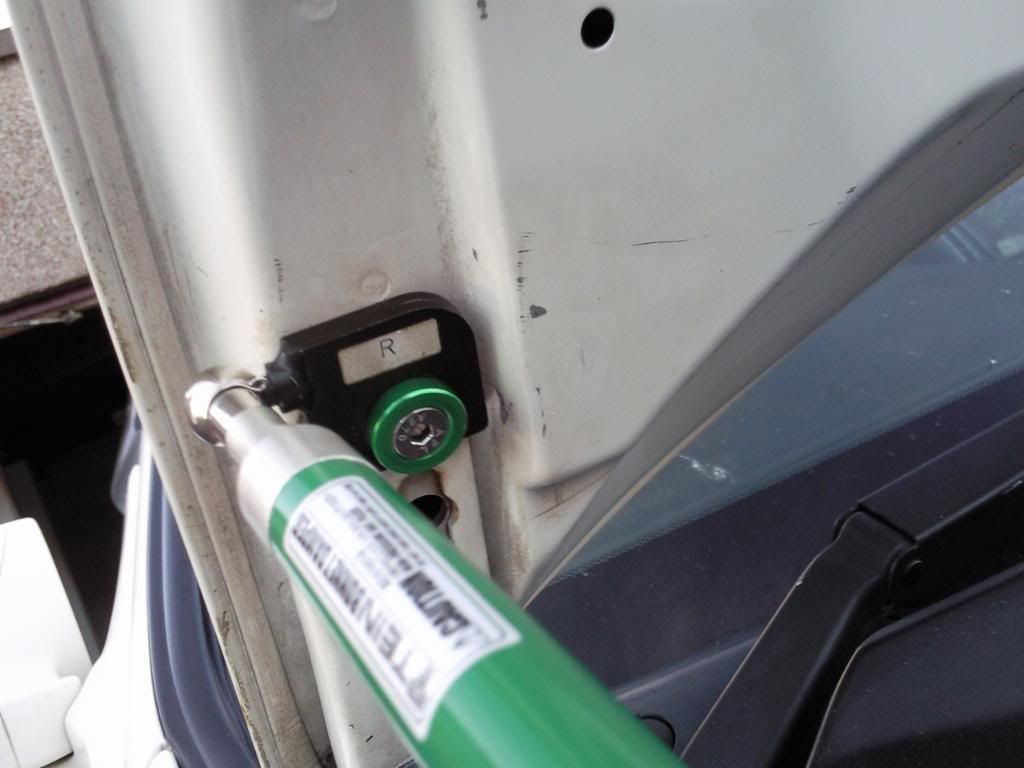
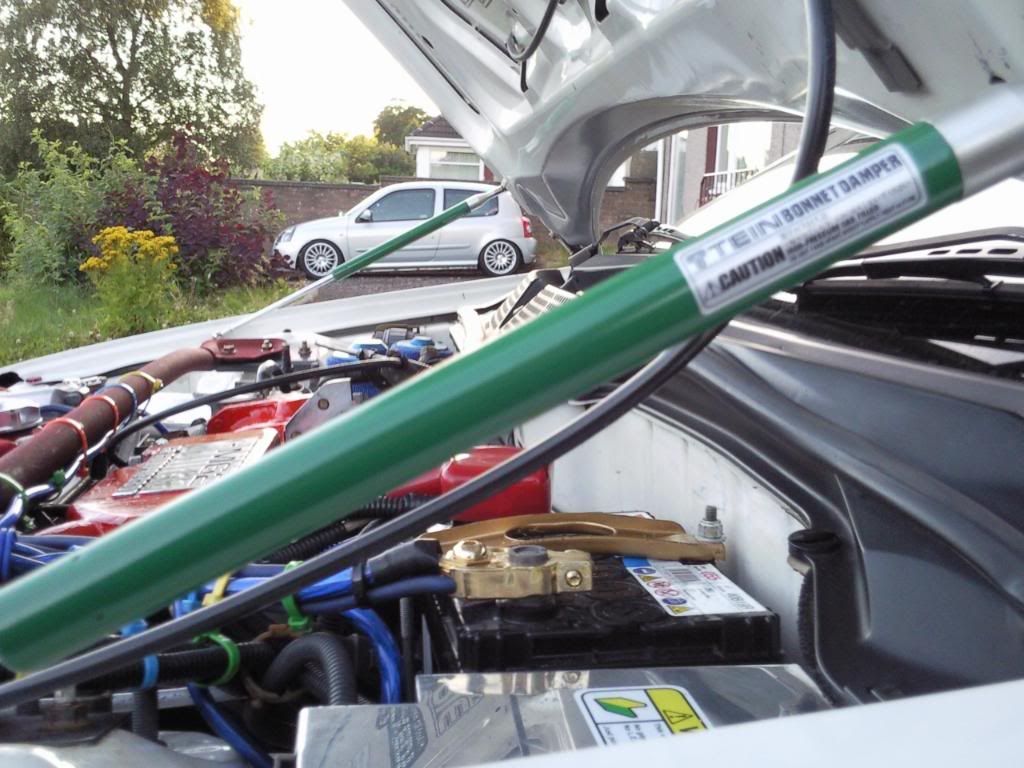
finally got it fitted along with a green anodized washer to go with

Photo2446.jpg


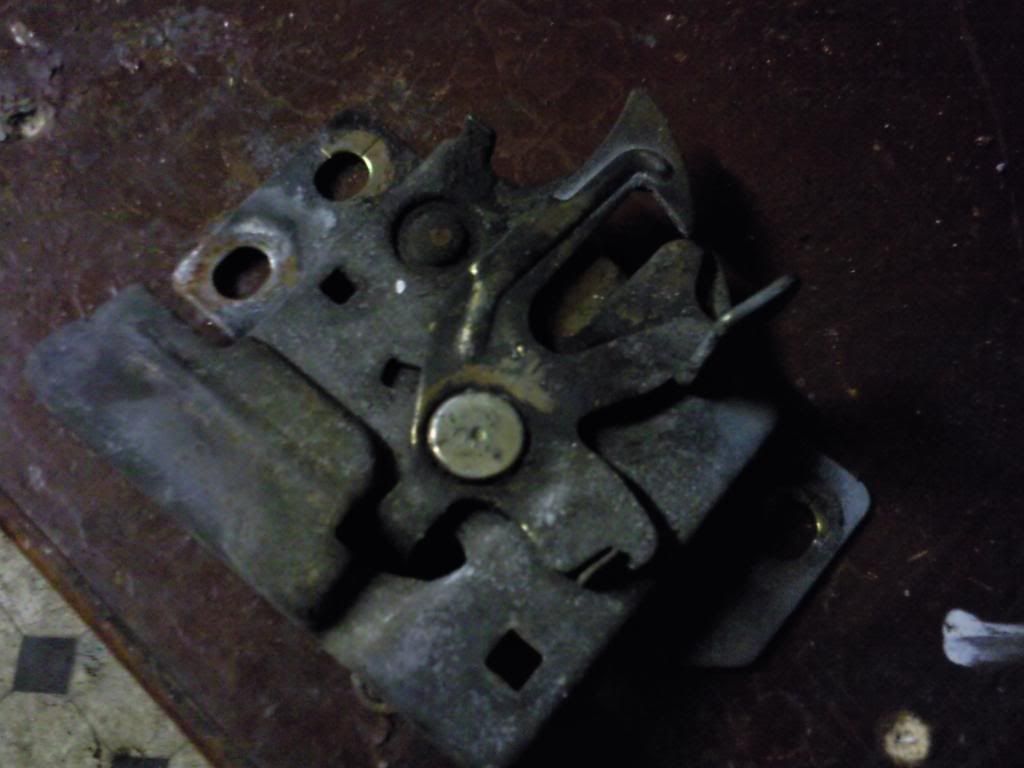
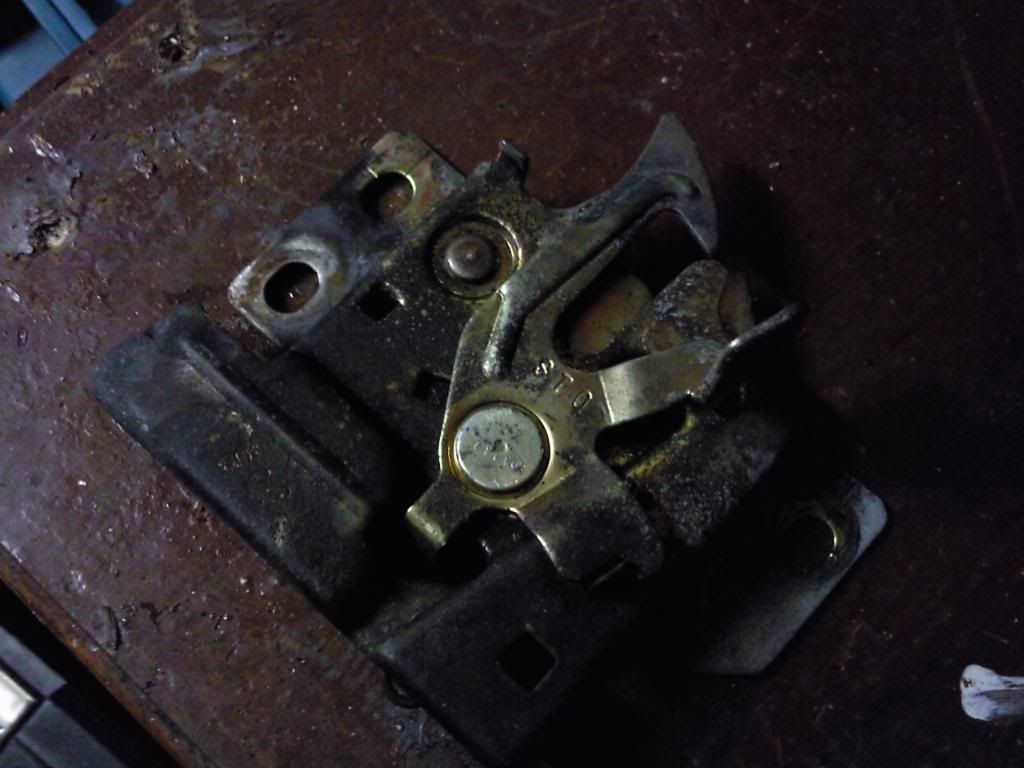
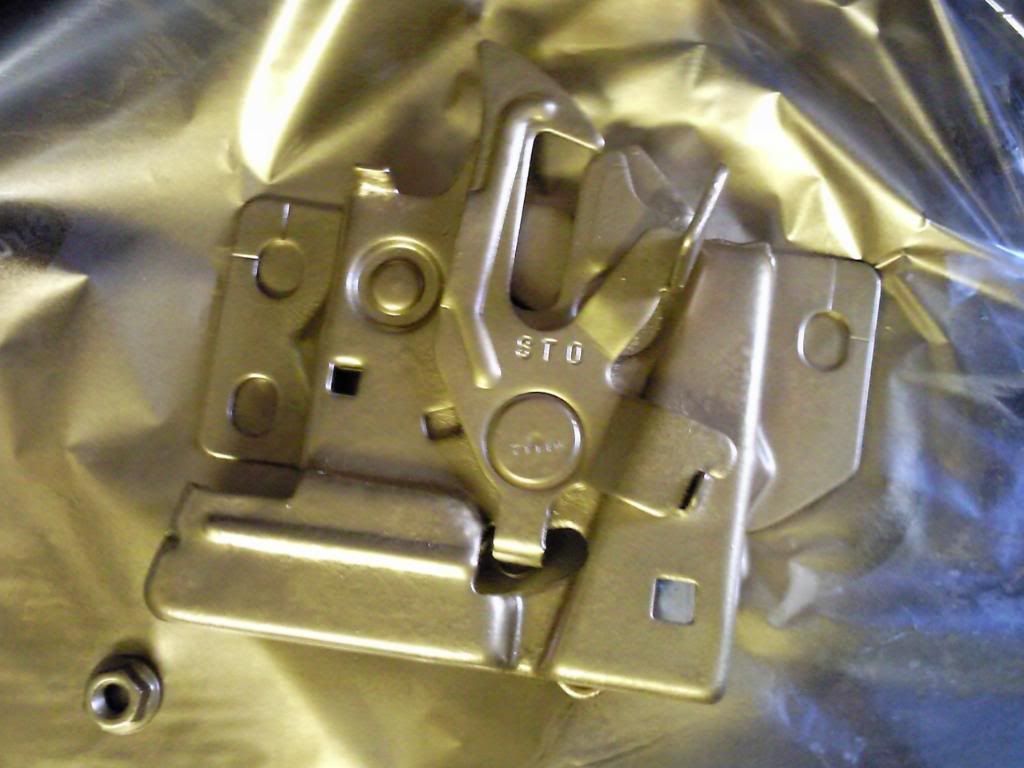
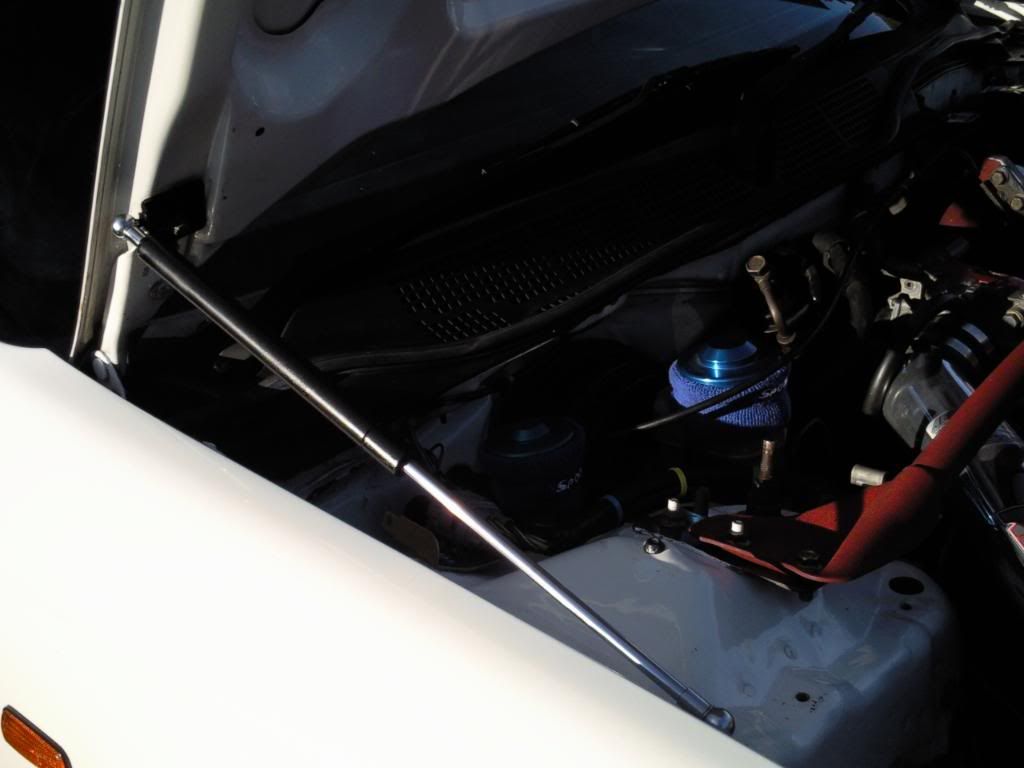
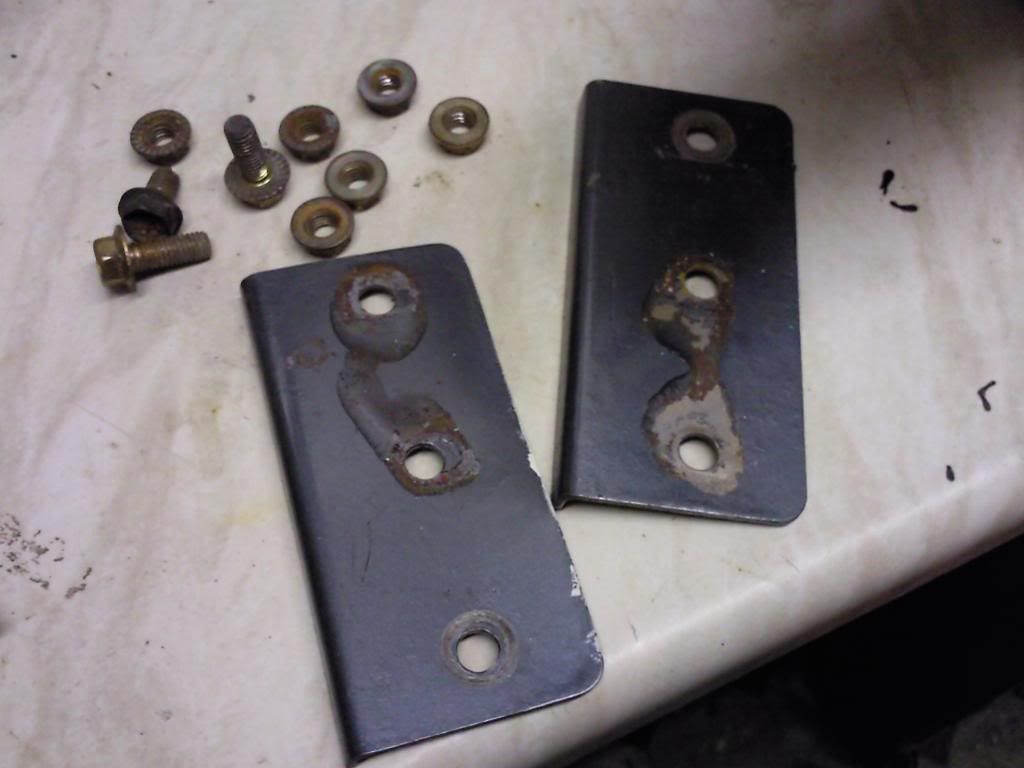
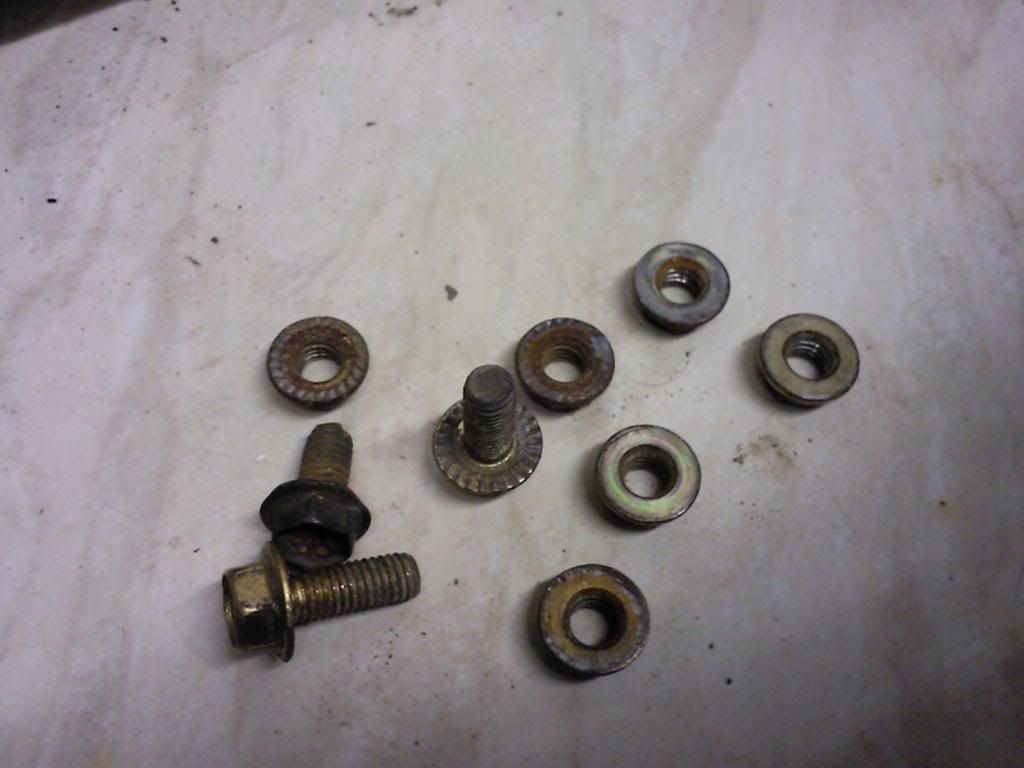
out with the old one
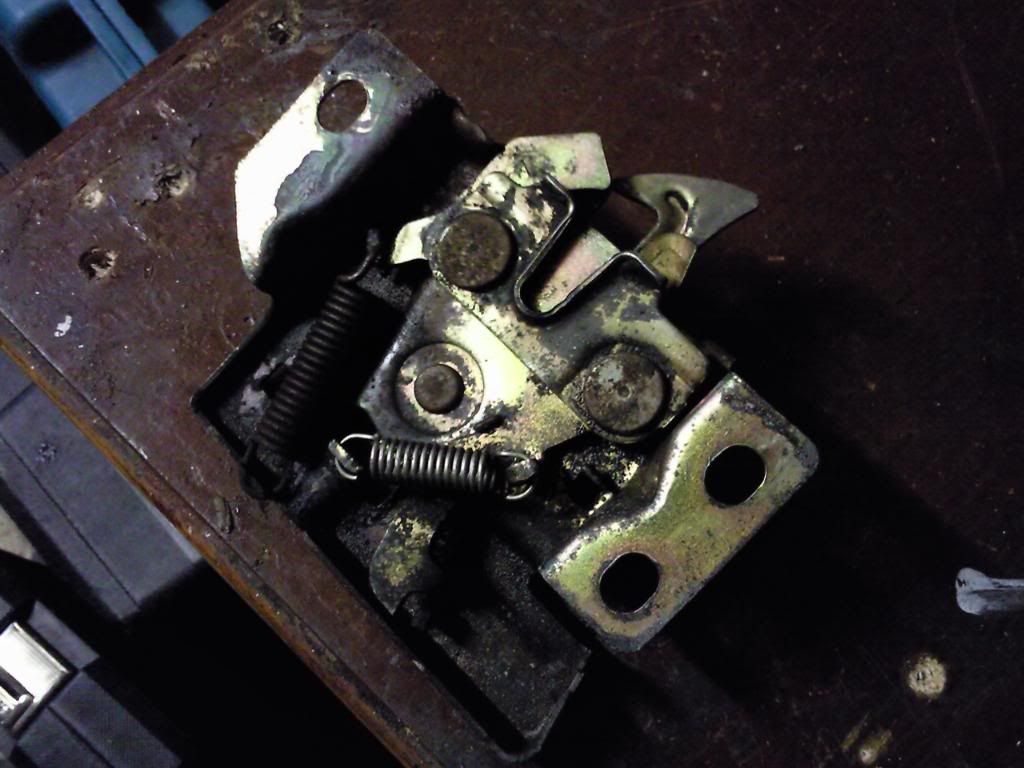
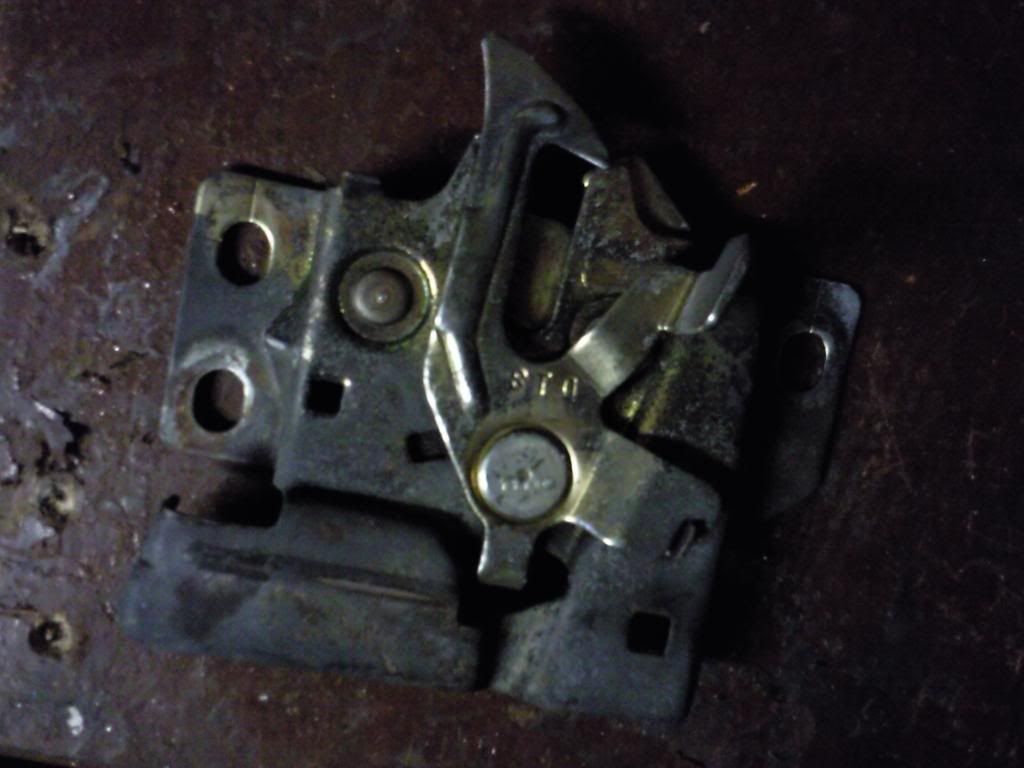
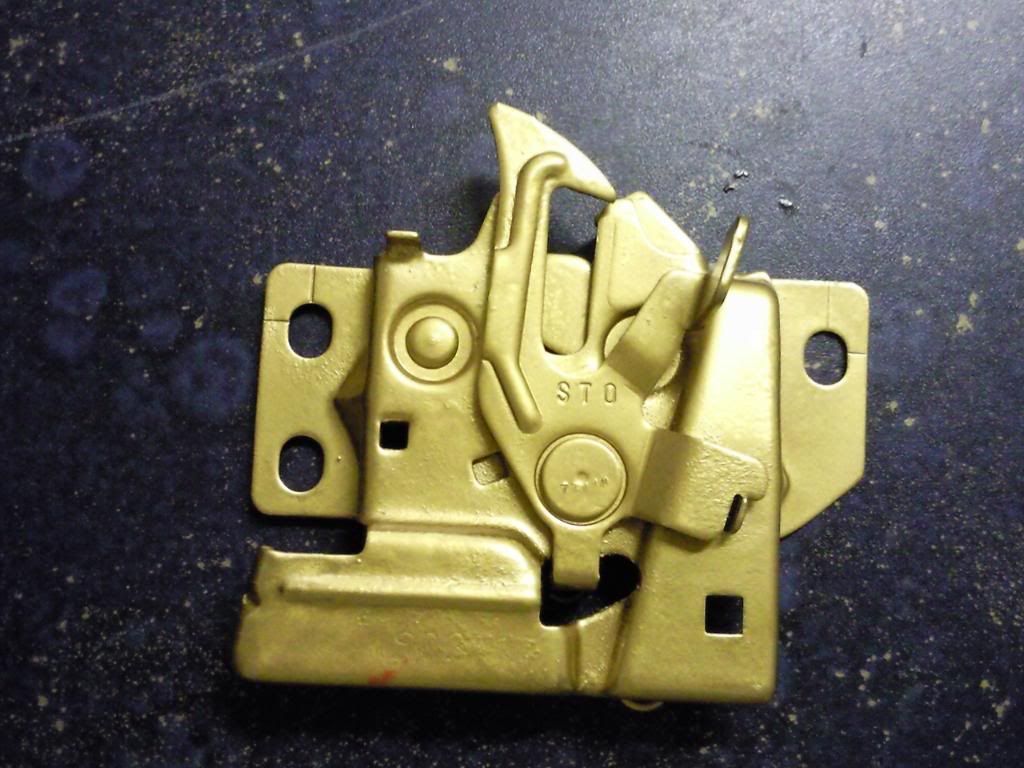
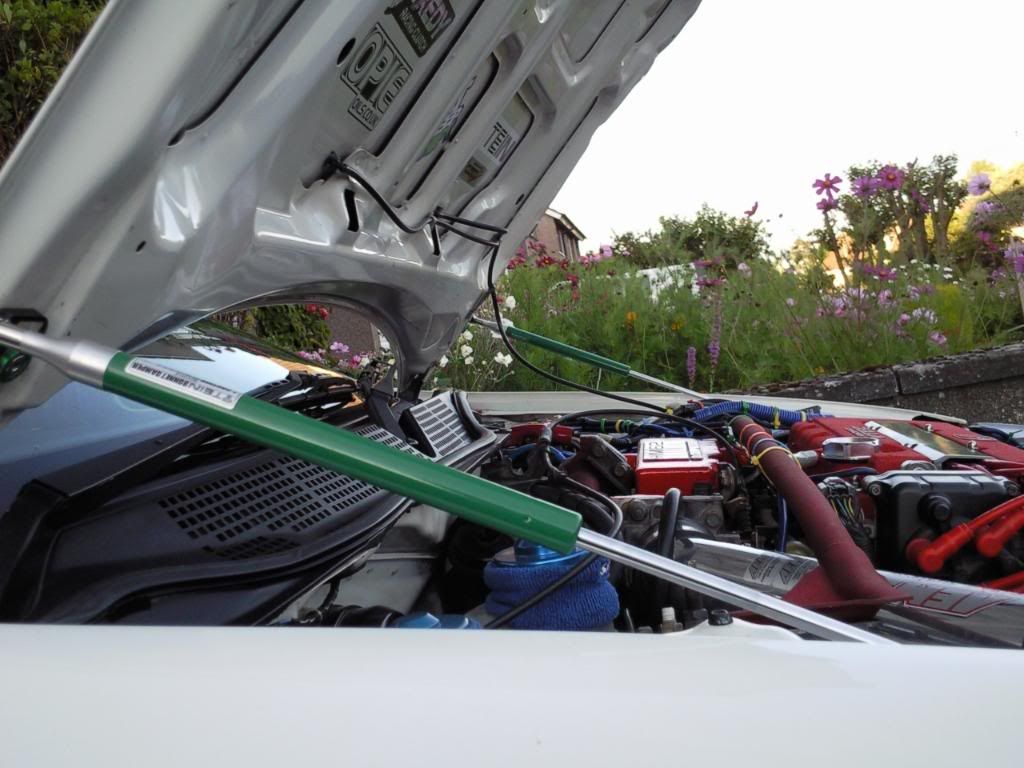
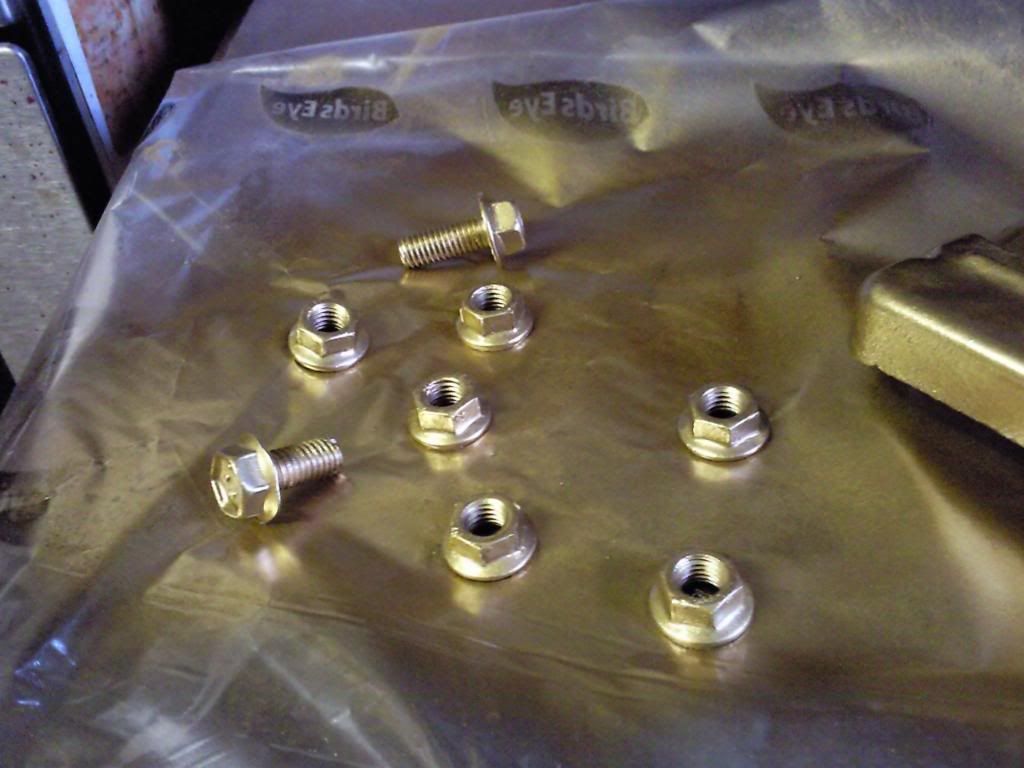
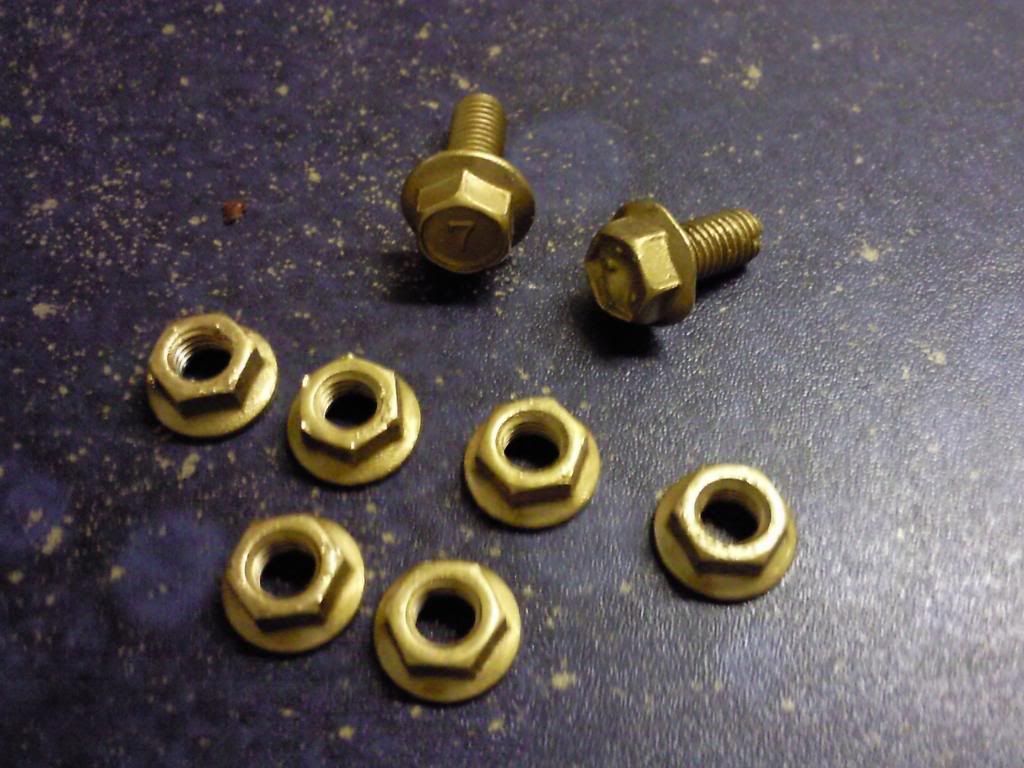
Photo2443.jpg


in with the new

Photo2451.jpg


Photo2452.jpg


Photo2453.jpg
#

Photo2454.jpg


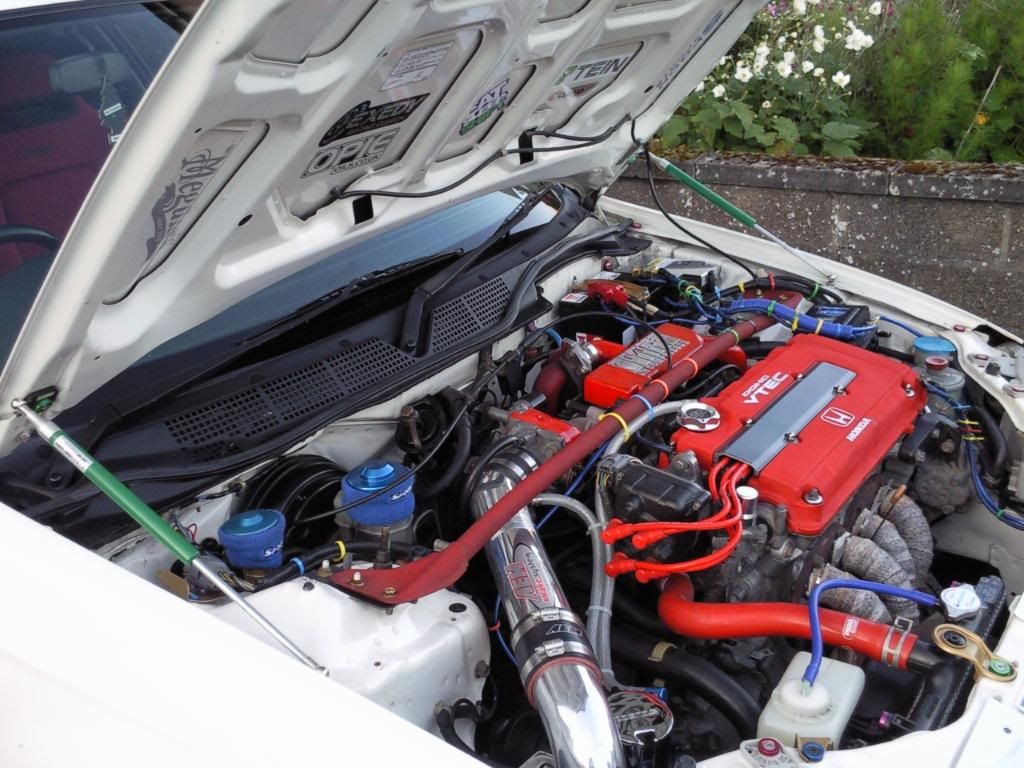
overall im very happy with the quality of the tein bonnet lifter over the generic one i had on before, although the tein ones arent as powerful

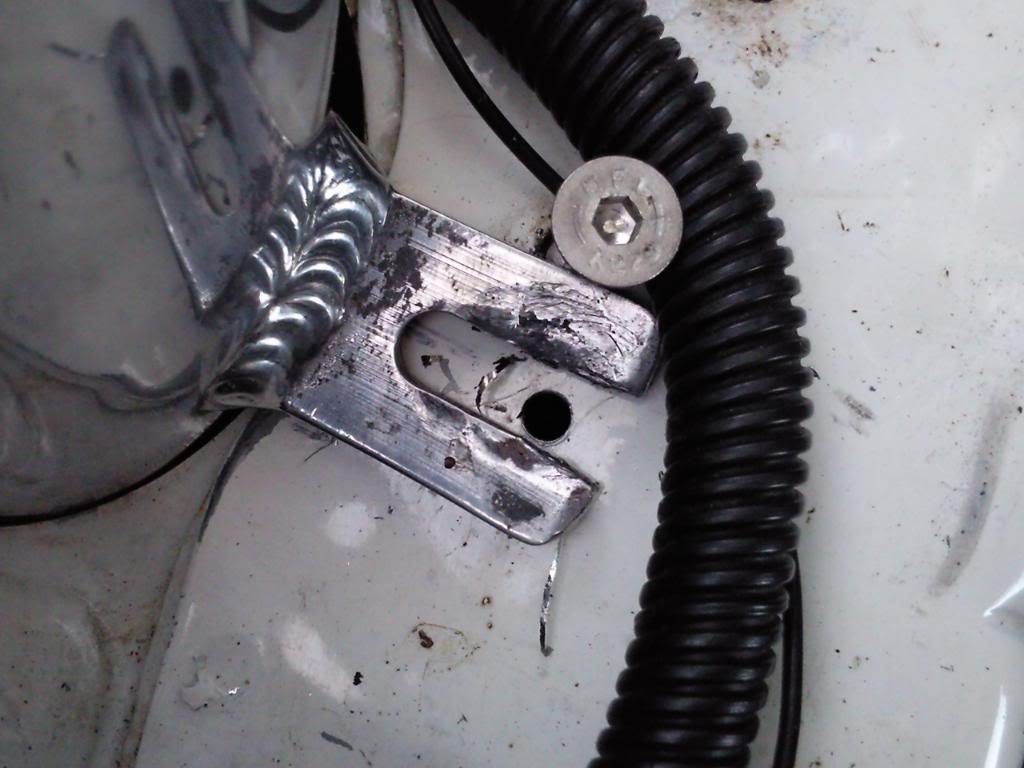
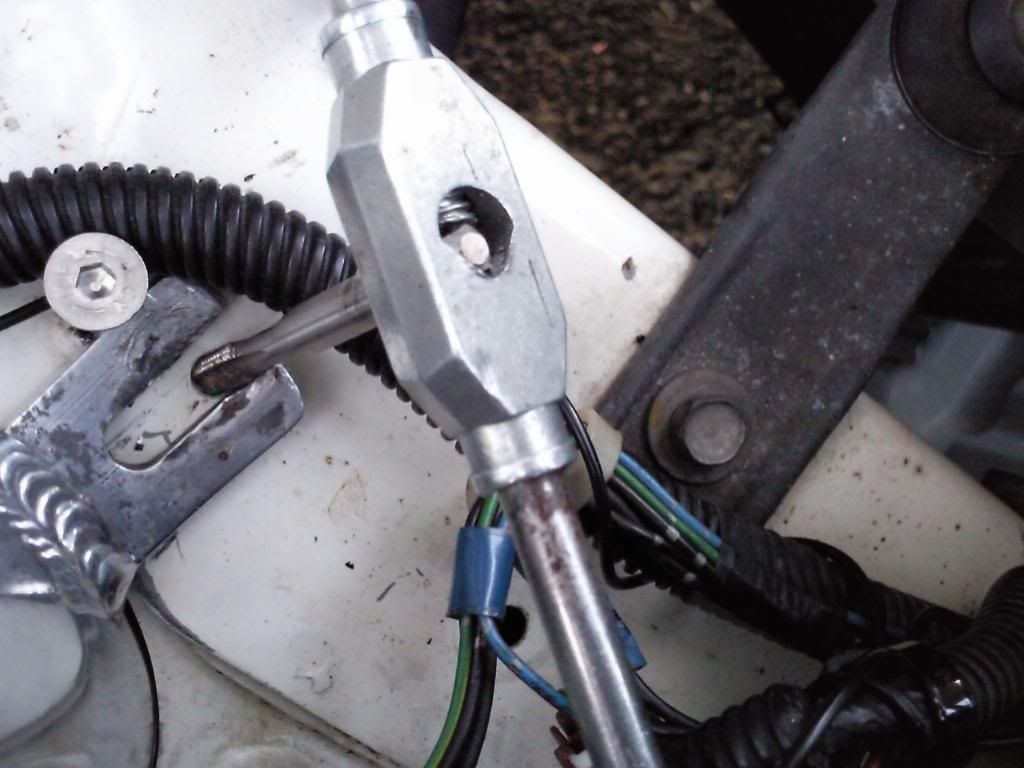
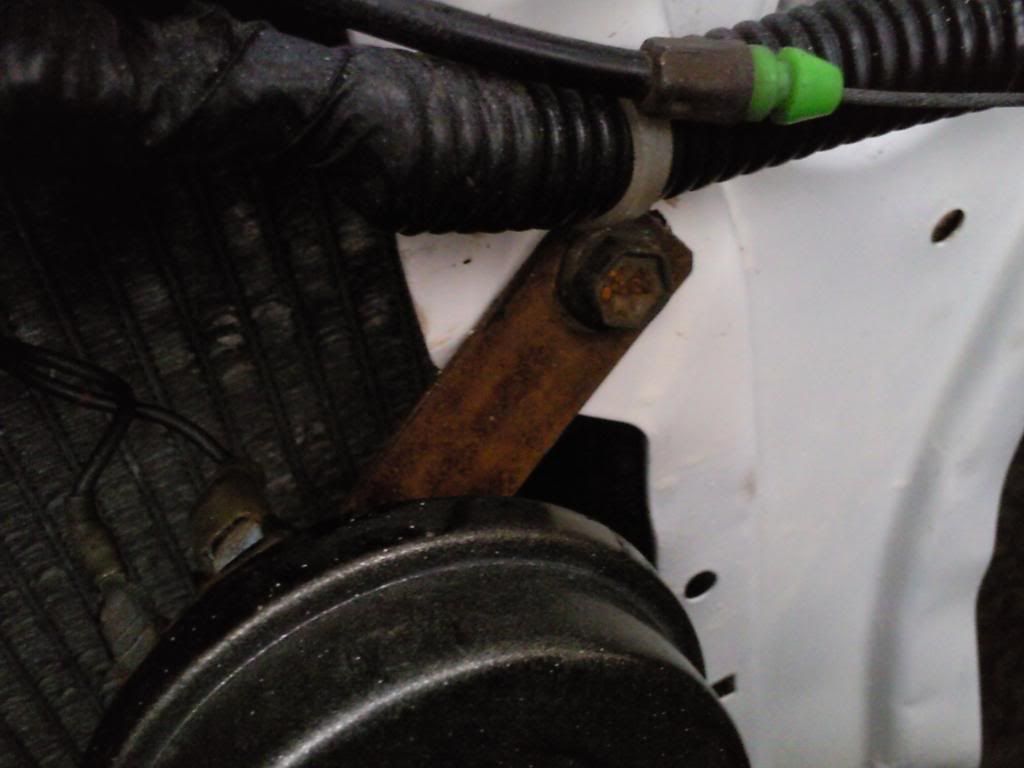
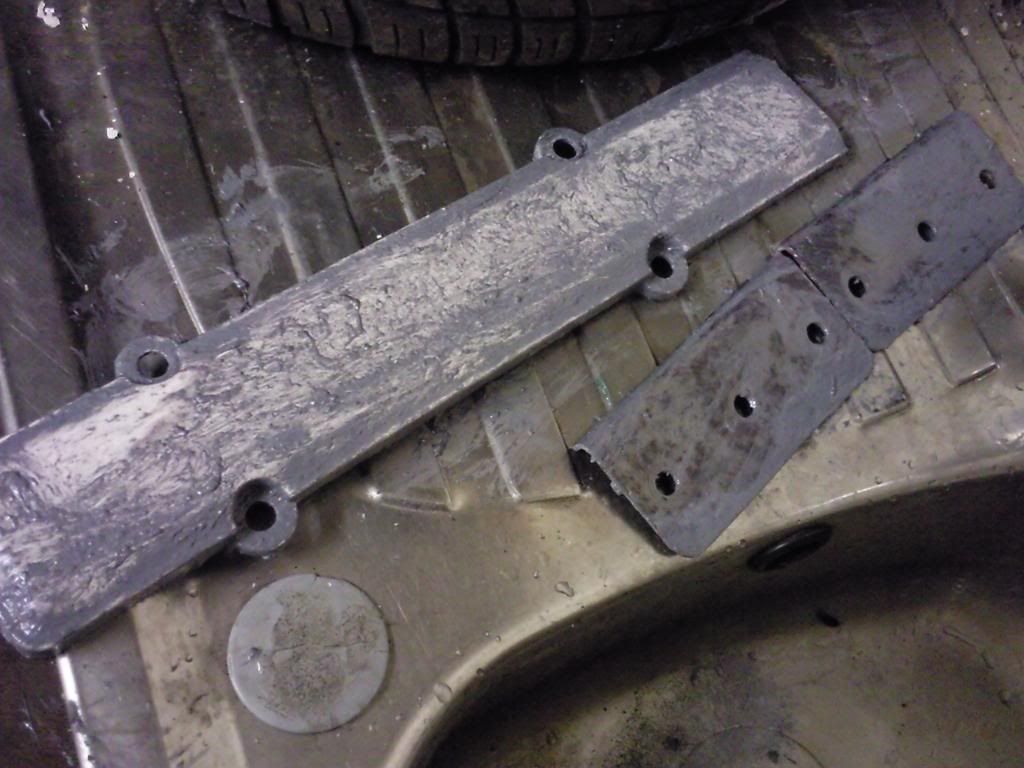
some of you may remember that a bit of cutting and adjusting was needed to get the aem long arm to fit due to the throttle body sticking out further on my set up so it was no surprise that the fixing point for the bolt holding it down was also displaced so i drilled a new one since i had the drill and tap handy

Photo2458.jpg


Photo2460.jpg


done

Photo2462.jpg


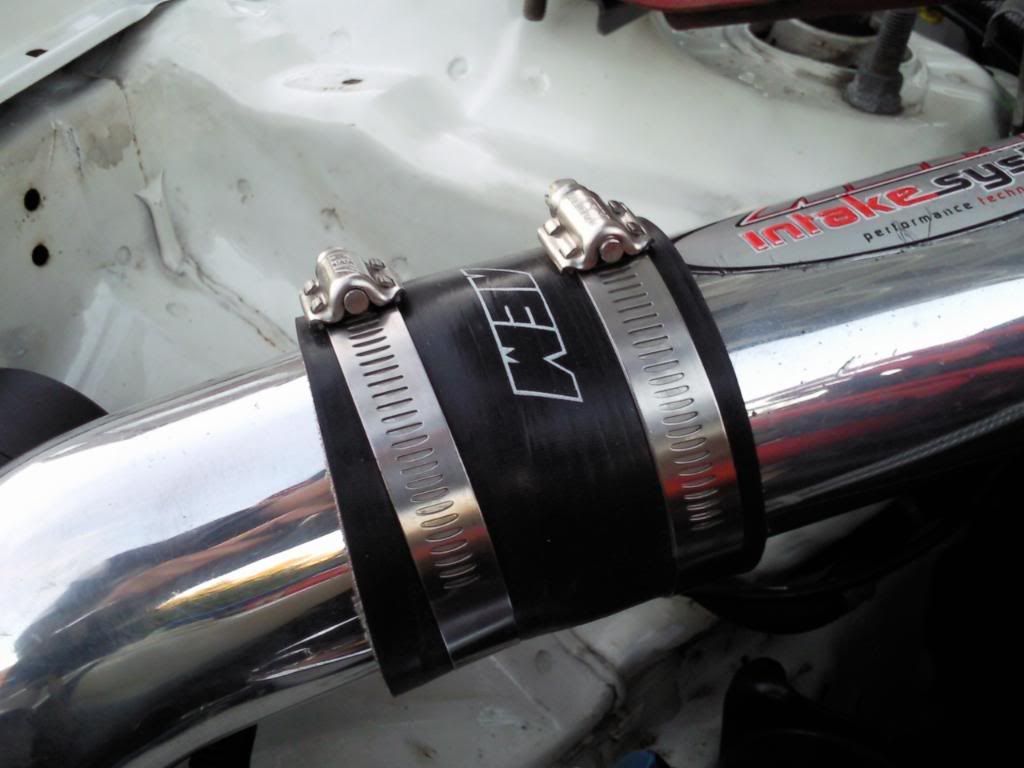
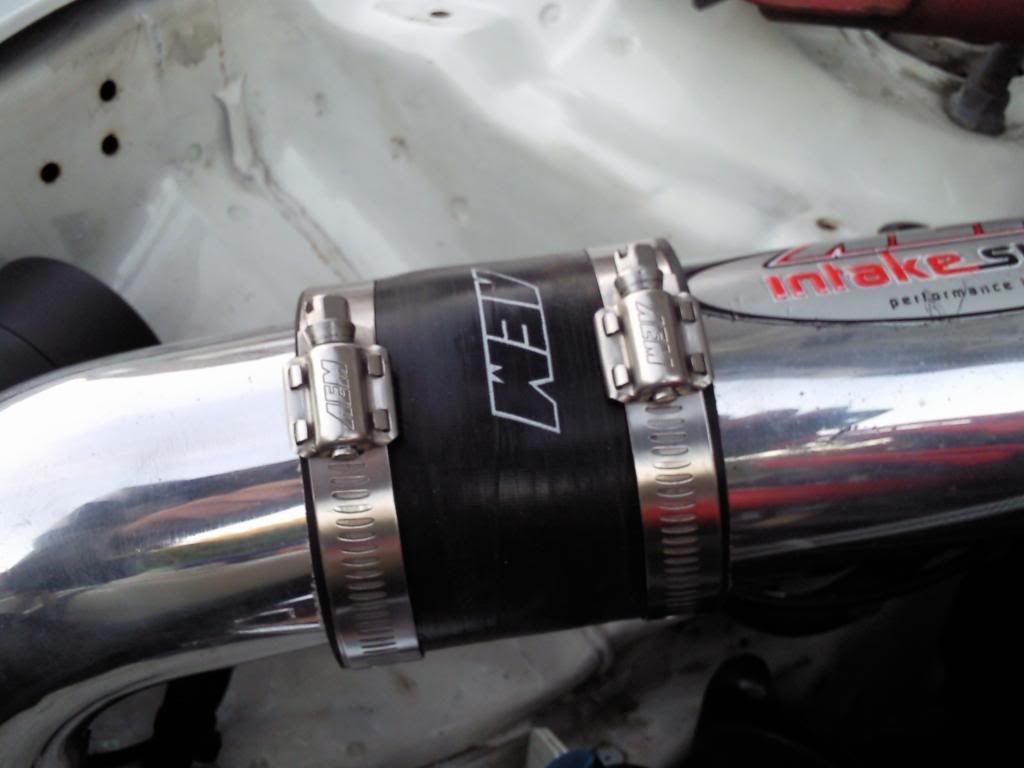
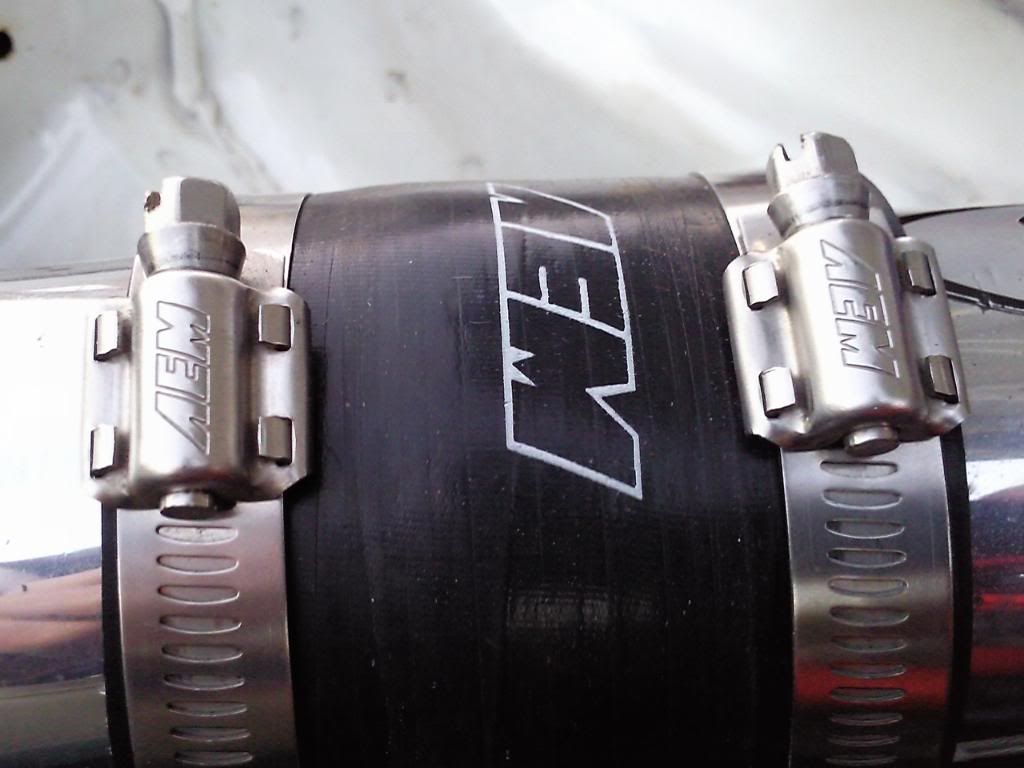
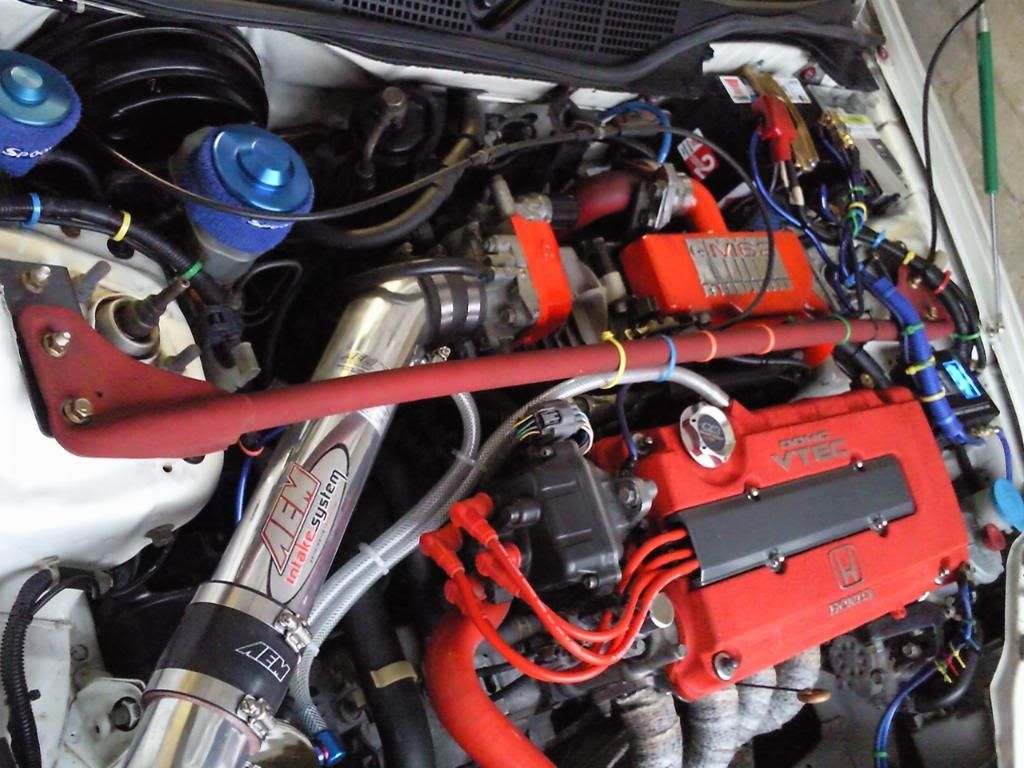
minor job but the squint position of the jubilee clips was also bugging me since the civic meet so i moved them in the correct place.

Photo2463.jpg


Photo2464.jpg


Photo2466.jpg
 
next day i tried fitting the coilovers and control arms but i couldnt get the bolts holding them on to budge even with a breaker bar. so took it into a garage to get the bolts loosened off but they couldnt get them out and i didnt want them to use and air gun incase the bolts snapped and i would end up having to walk home lol. i ordered replacements bolts from honda so as soon as they get here i will just get them out with an air gun and if they snap i will just drill them out but need to wait for he replacements first.

Photo2478.jpg


Photo2479.jpg


so managed to get 2 of the 8 bolts i need from honda today as it was in stock. £10 for 2 bolts is bloody extortionate imo. whats worse is they want £90 for arb rear drop links. just hope i dont end up snapping mines when i take them off.

Photo2554.jpg


Photo2555.jpg


Photo2557.jpg


The bracket holding the horn on was rusted so that came out for a lick of paint.

Photo2492.jpg


Photo2493.jpg


next i wanted to freshen up the strut brace and i also wanted the colour of the strut brace to match the colour of the rocker cover and supercharger so i removed it and took it next door

Photo2489.jpg


off the car

Photo2497.jpg


These are the brackets and bolts holding the strut brace on. the brackets were custom made to move the strut brace forward and allow it to clear the supercharger. i recently painted them anthracite but i wasnt happy as it started to flake. i decided to get them done in vht wrinckle red to match the rocker cover and strut brace and also to give them more of an oem look.

Photo2498.jpg


strut brace bolts looking abit dull

Photo2495.jpg


so decided to give them a blast with the vht anodized gold paint

Photo2586.jpg


Photo2591.jpg


same with the spark plug cover. although painted recently there were a few imperfections that i wanted to sort out. i kept it anthracite as its similar to the oem colour honda used.

Photo2500.jpg


whipped it off

Photo2501.jpg


got the nitomors paint stripper and vht wrinckle paint out

Photo2508.jpg


Photo2509.jpg


Photo2510.jpg


Photo2511.jpg


Photo2512.jpg


Photo2513.jpg


Photo2515.jpg


everything down to the bare, hosed/dried and wiped down with white spirit i was ready to get painting.

Photo2516.jpg


Photo2517.jpg


Photo2519.jpg


Photo2520.jpg


Photo2535.jpg


Photo2537.jpg


Photo2560.jpg


Photo2568.jpg
 
Back
Top