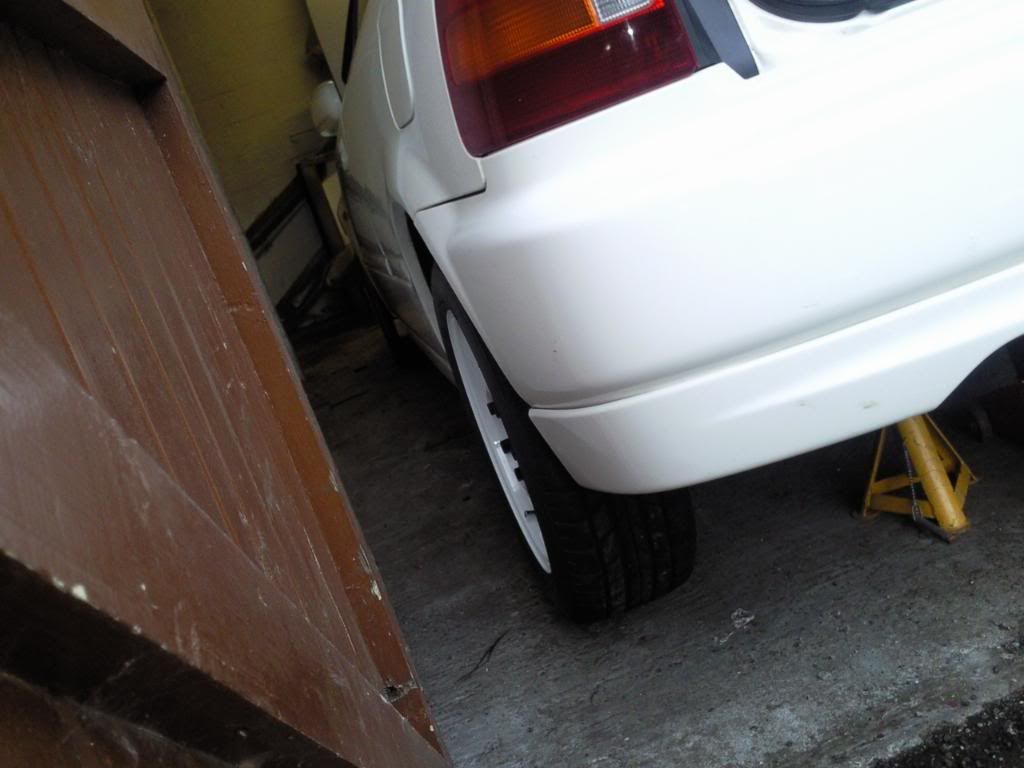
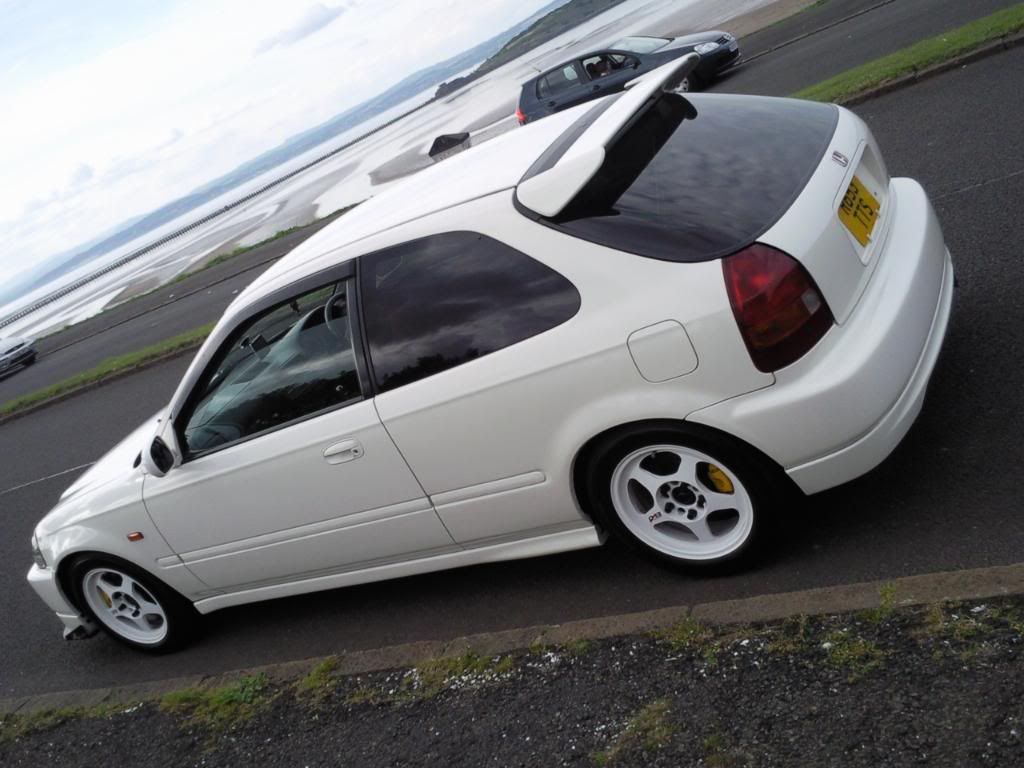
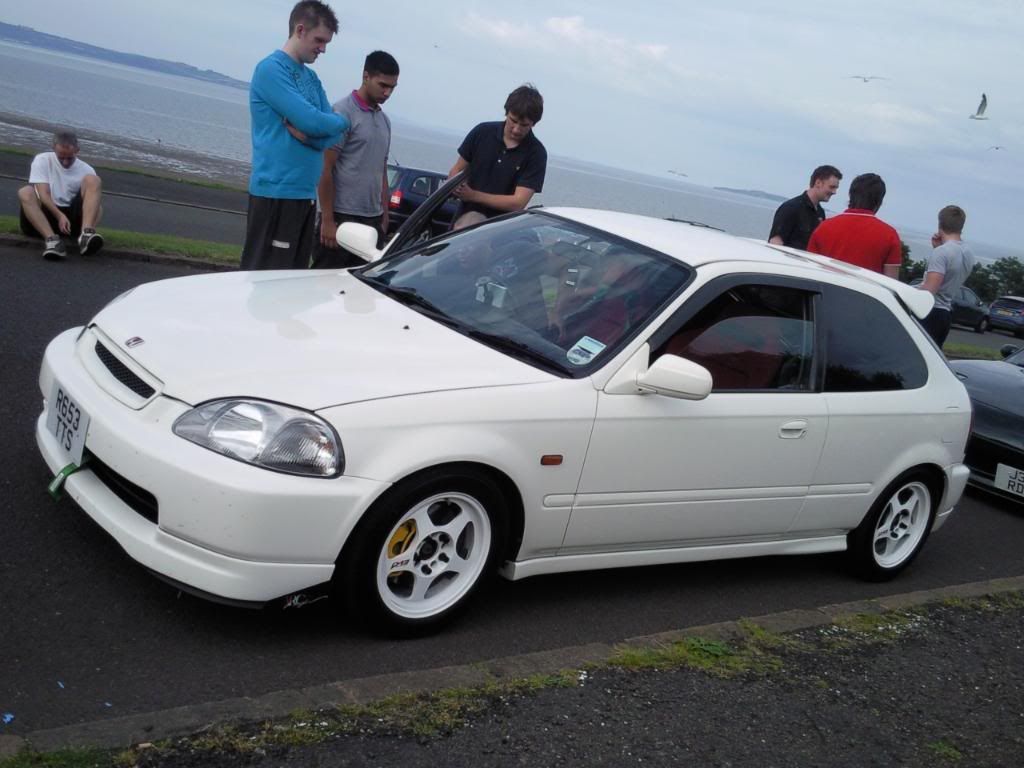
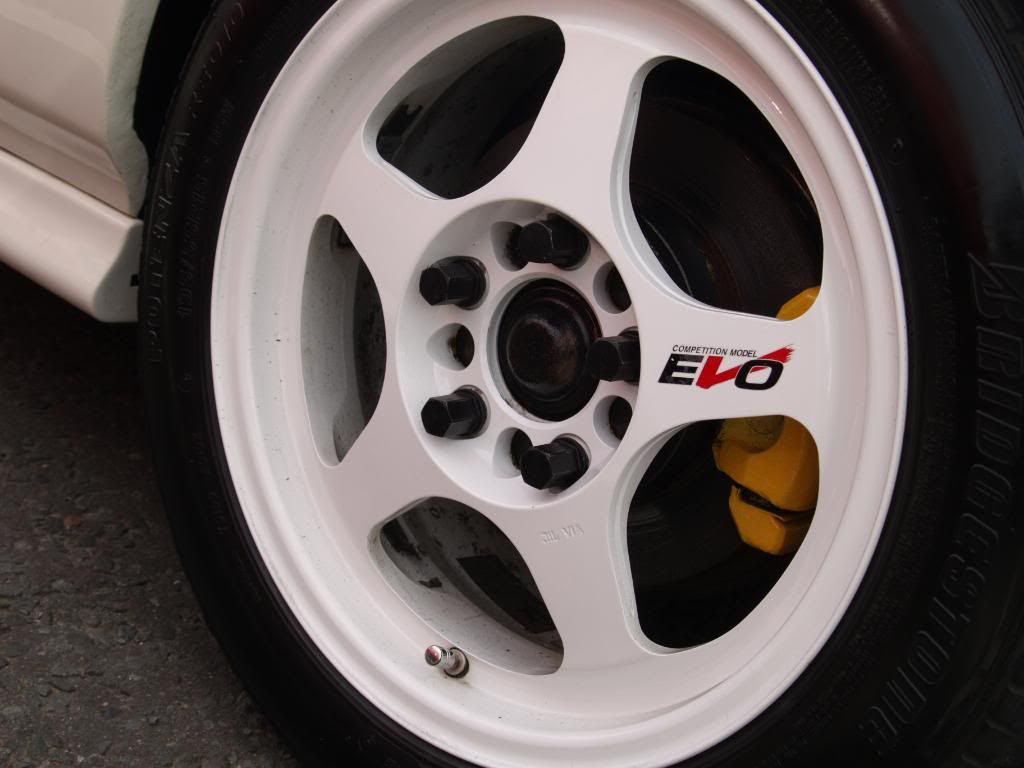
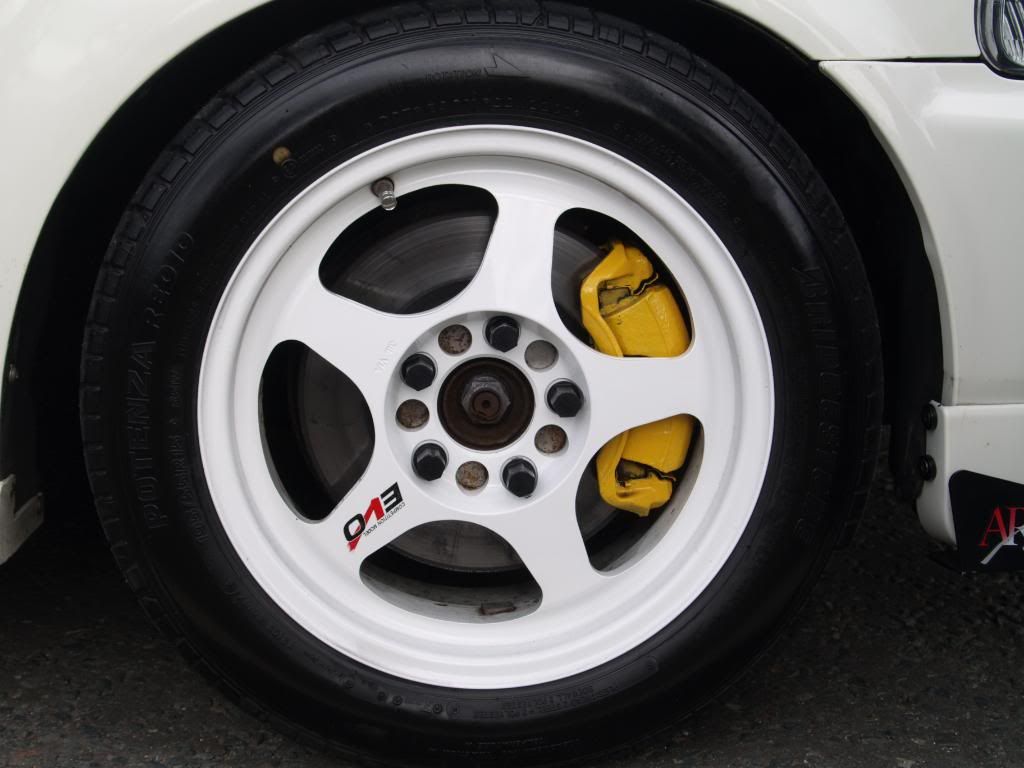
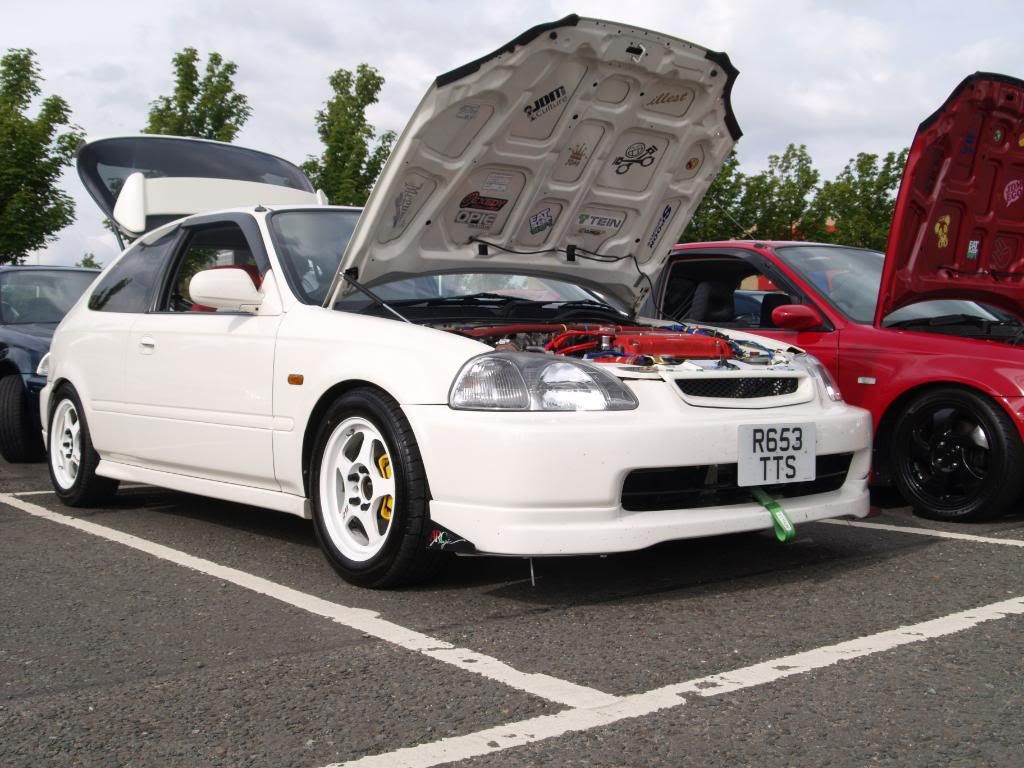
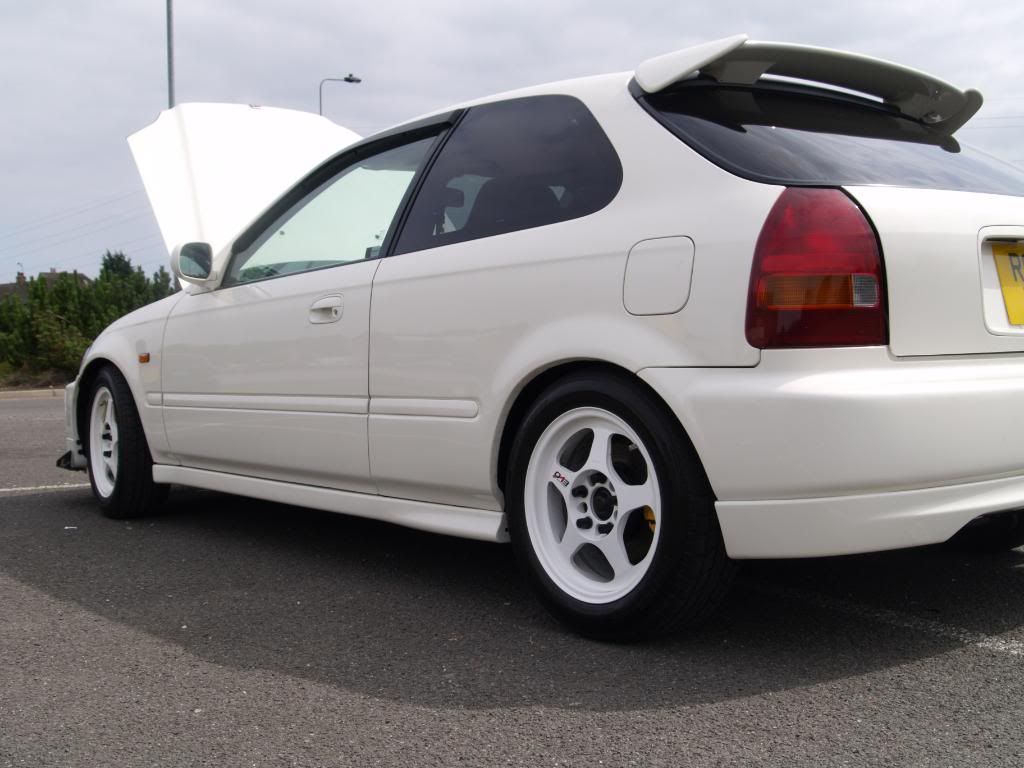
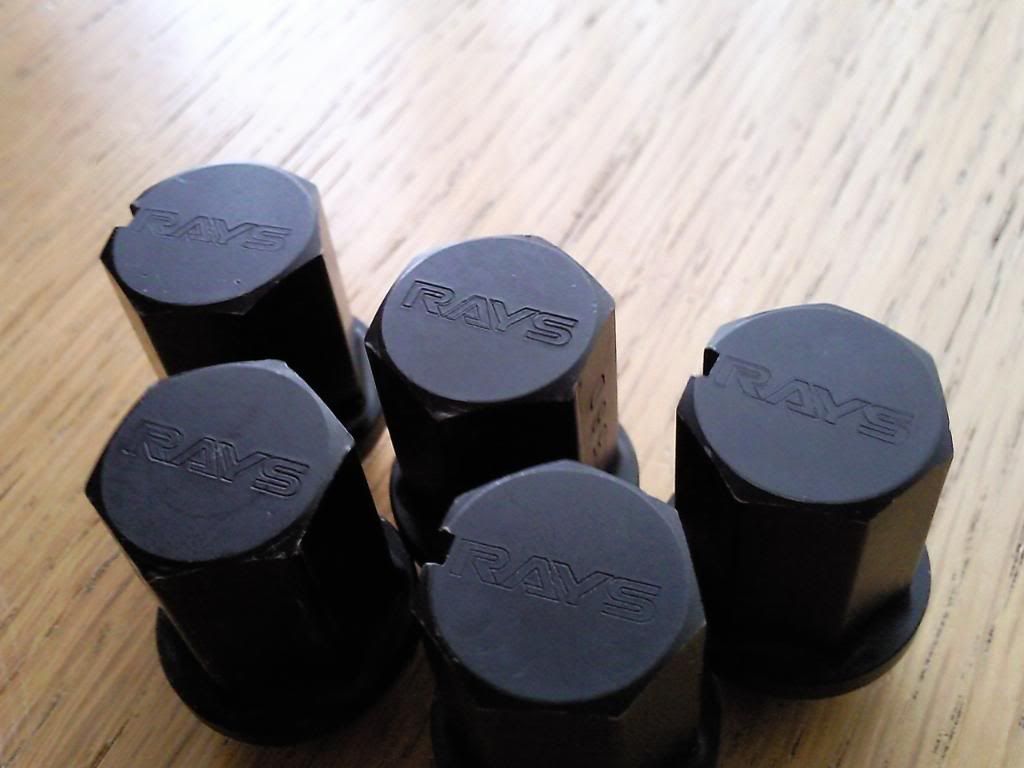
With these wheels you cant use standard wheel nuts as you risk damaging them so i got some forged rays engineering lug nuts in anodised black with the wheels. i would have liked red but red lug nuts fade eventually go pink, which i didnt want anyways.
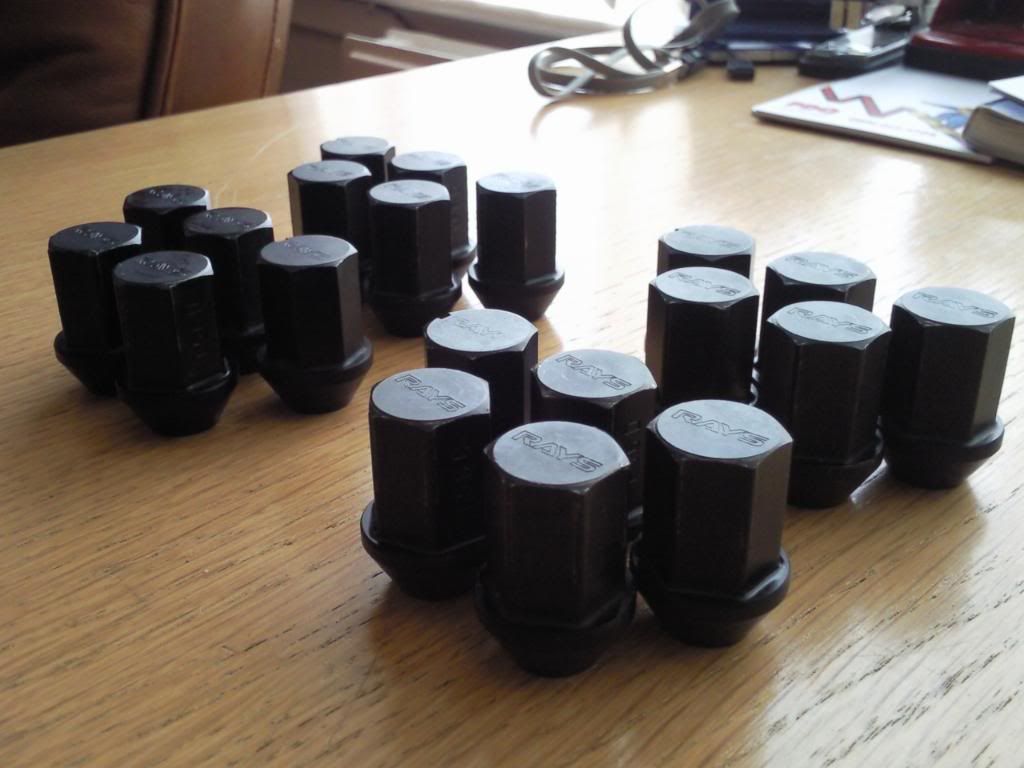
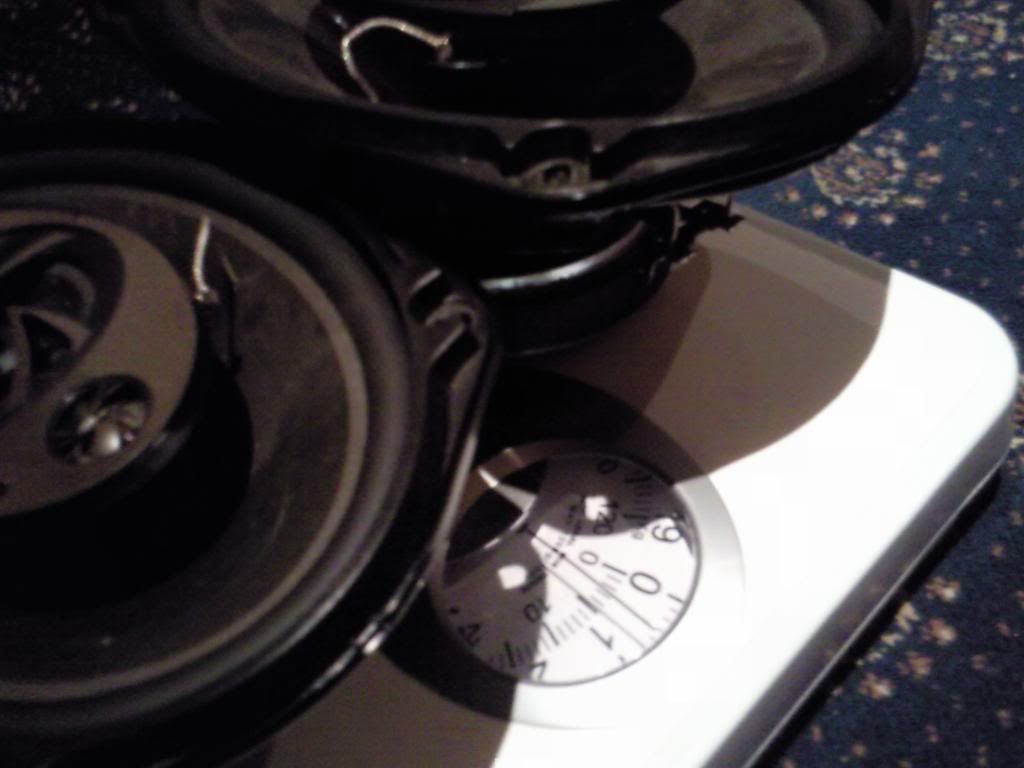
since these are forged i was interested in seeing the difference in weight compared to standard so i weighed them.

10x rays nuts
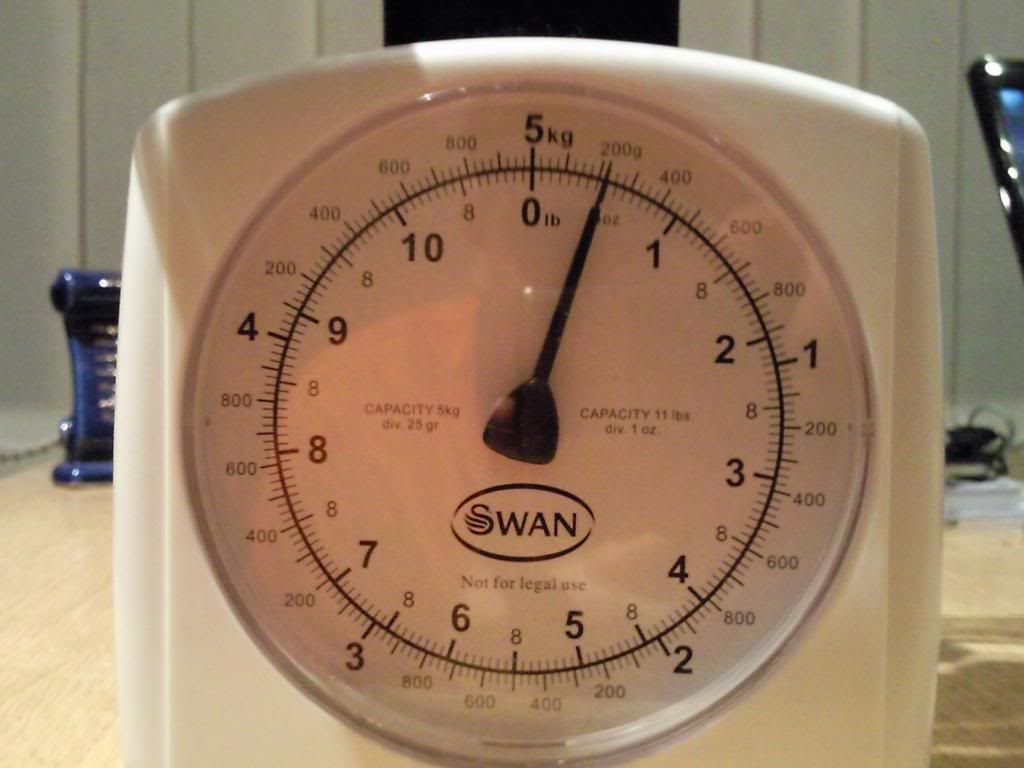
10x stock ones
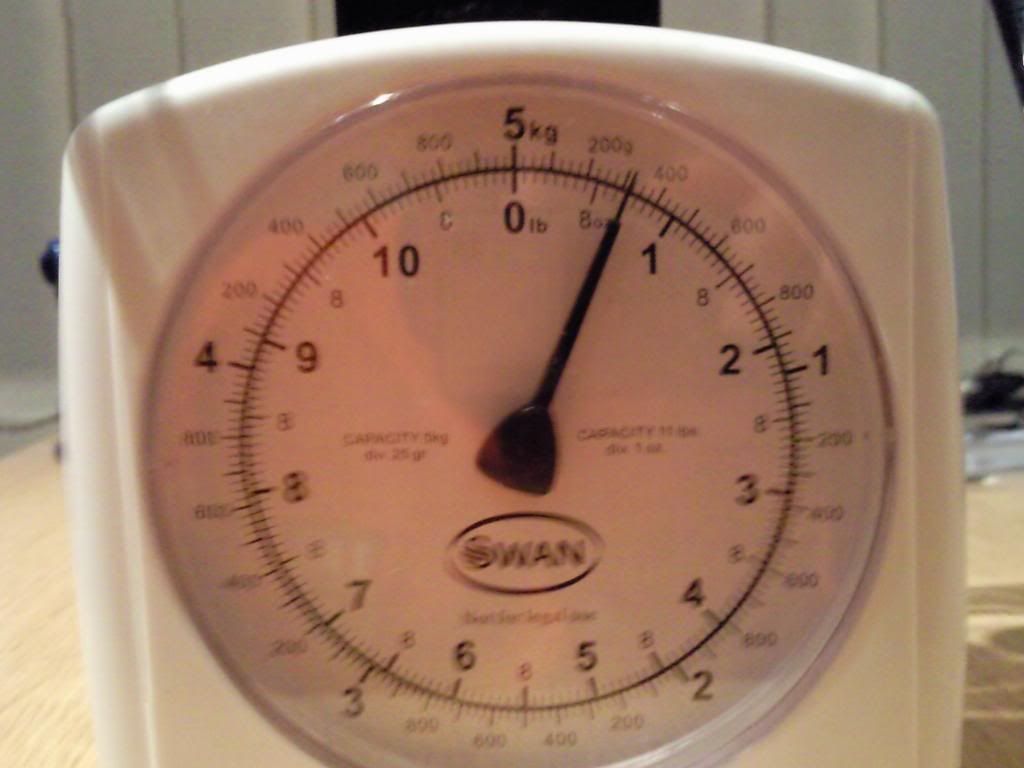
Not an awful lot in it really so if you were wanting to buy the rays lug nuts to save weight then your probably best off spending the £115 somewhere else.
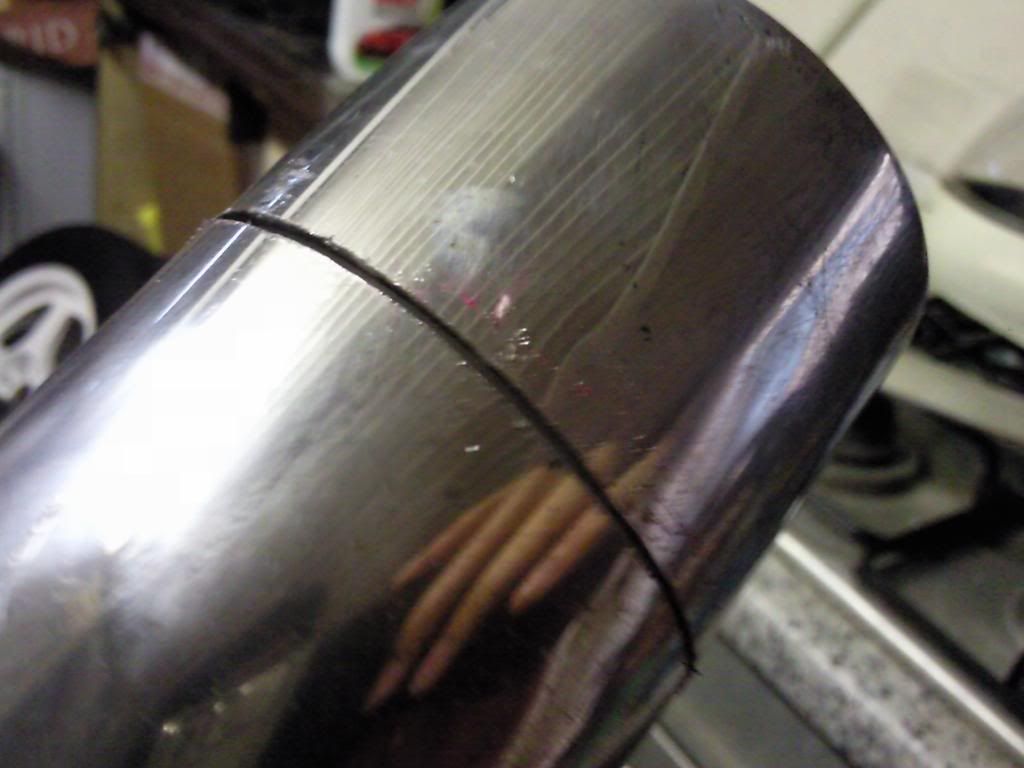
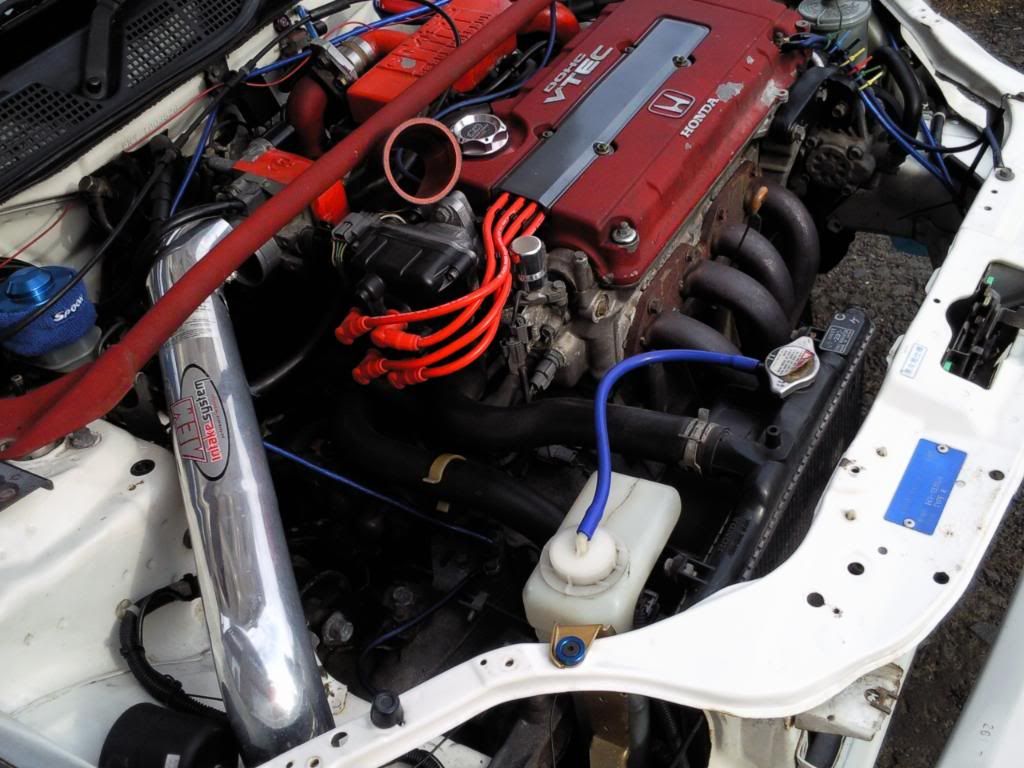
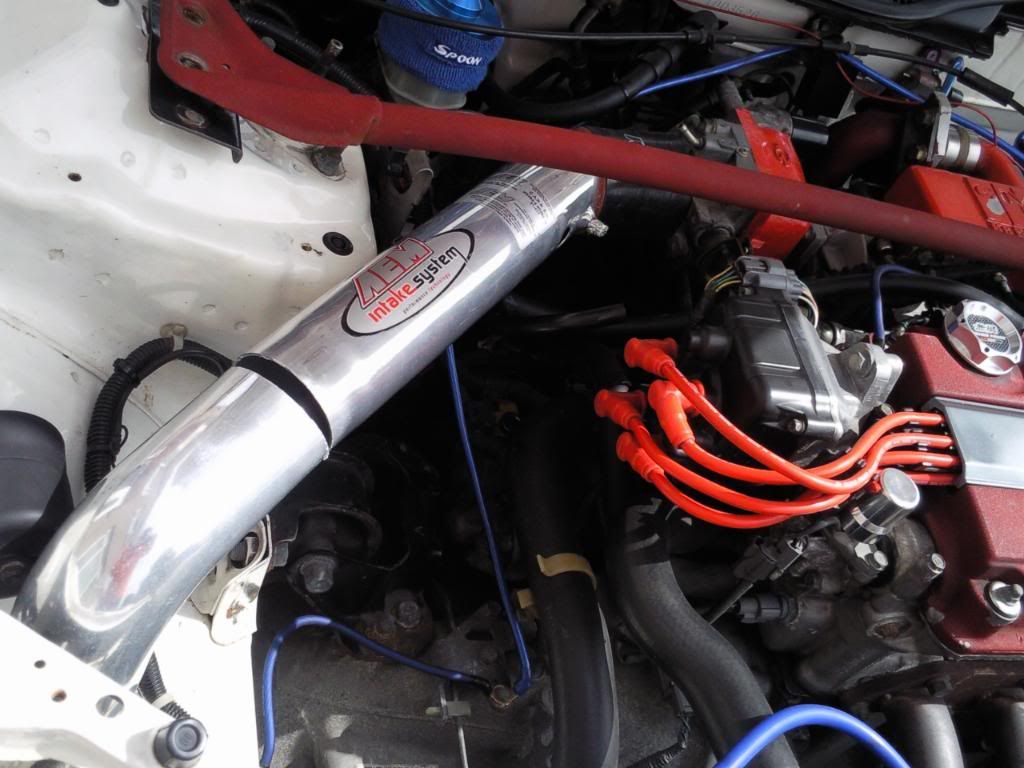
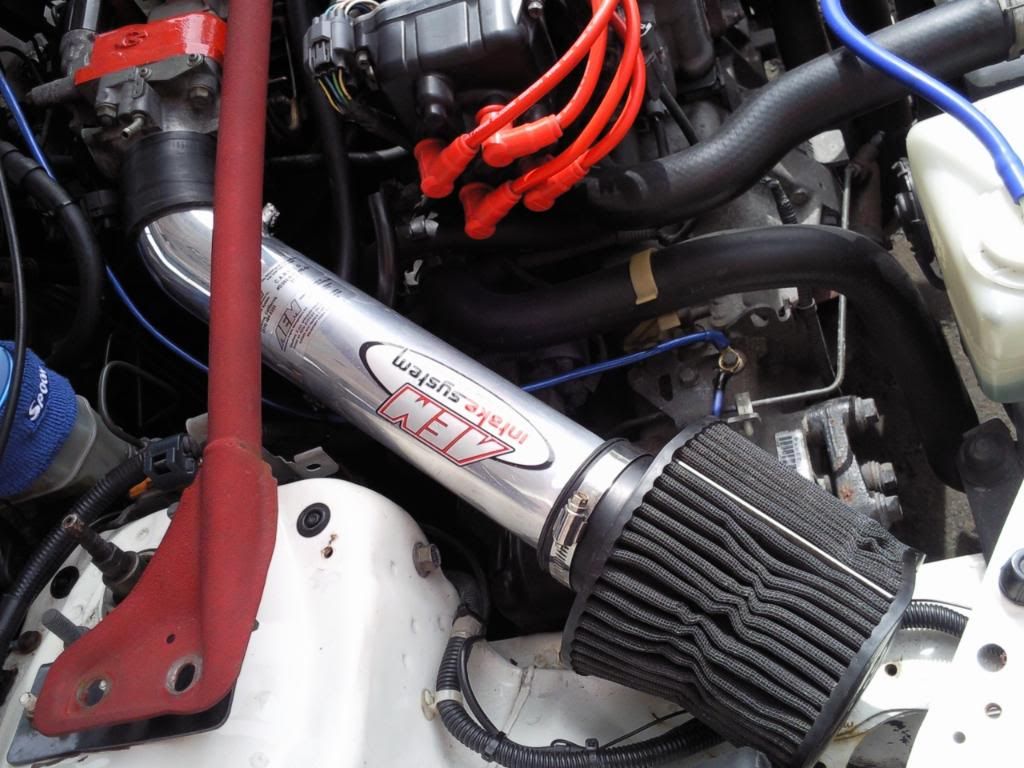
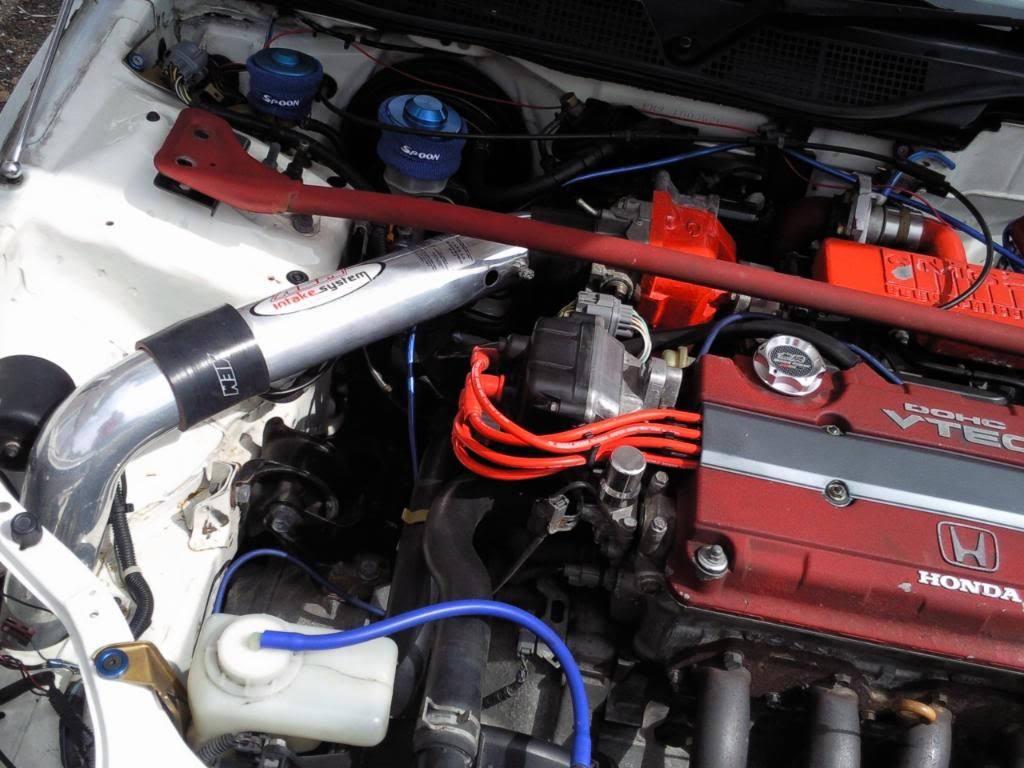
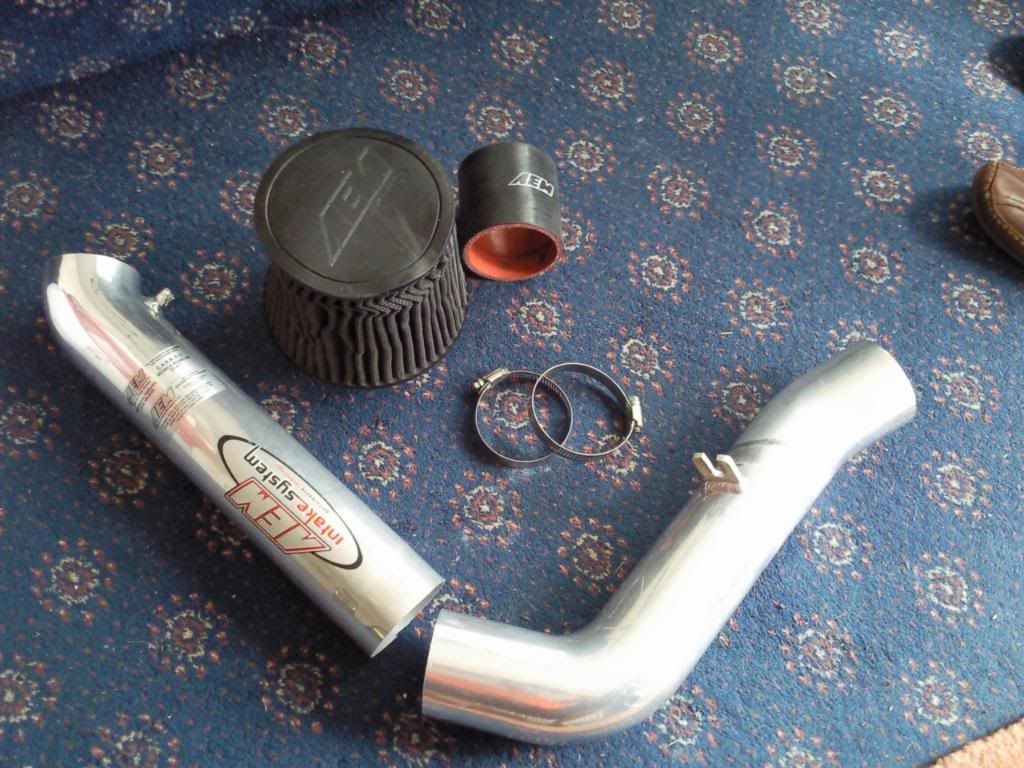
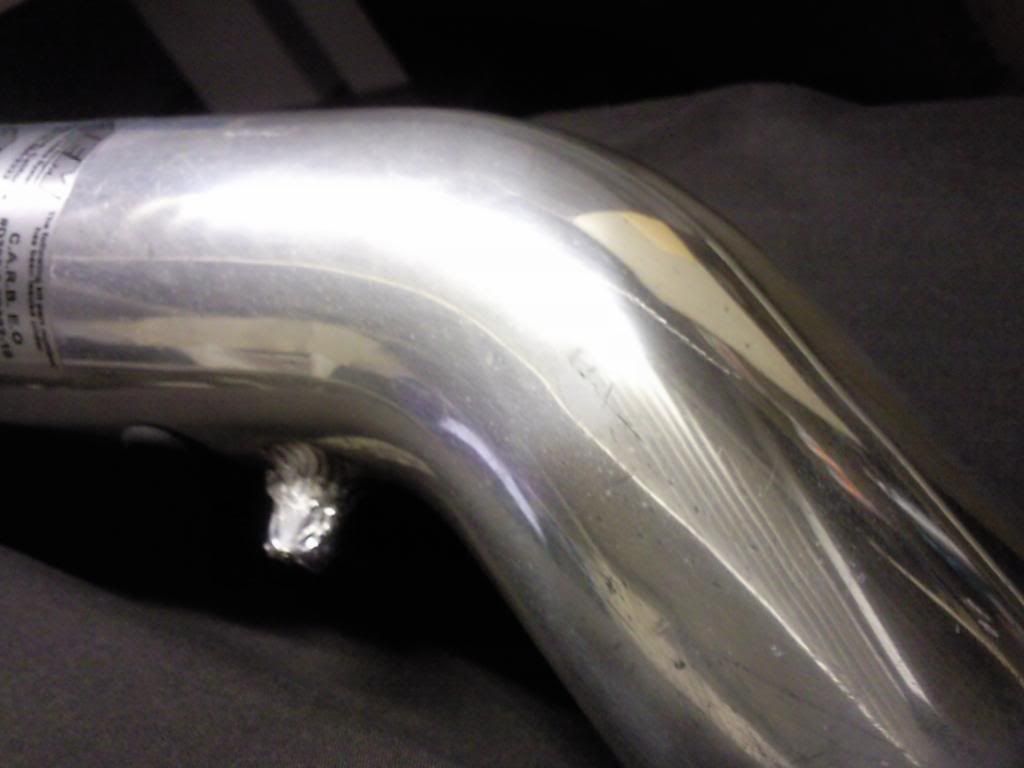
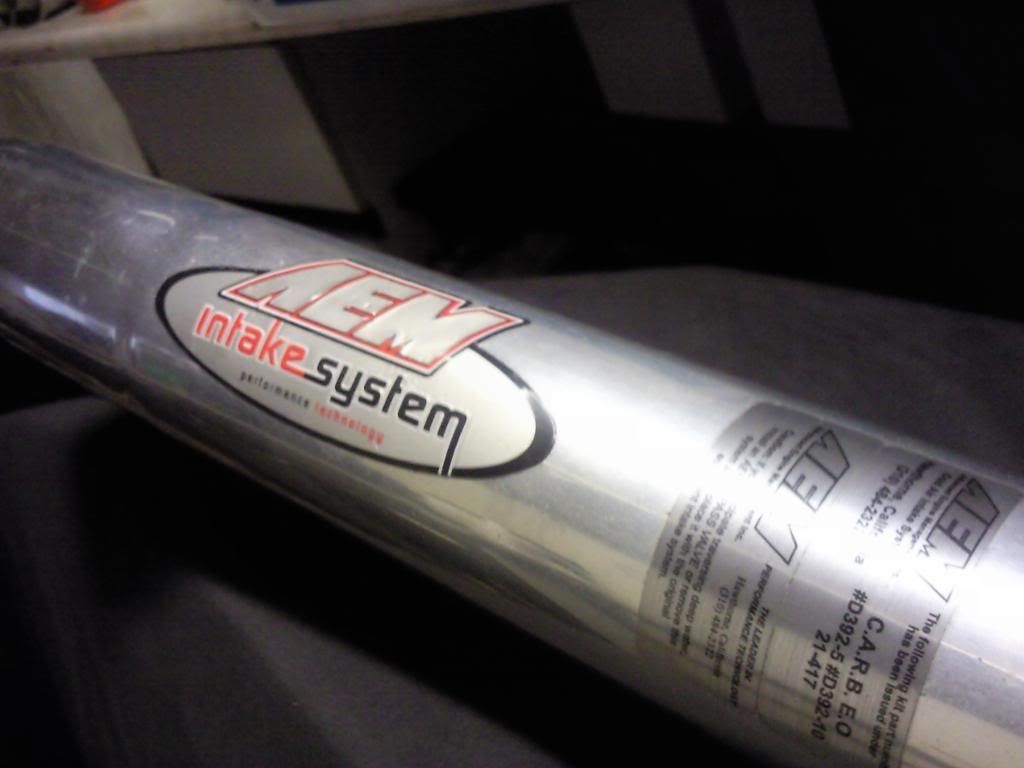
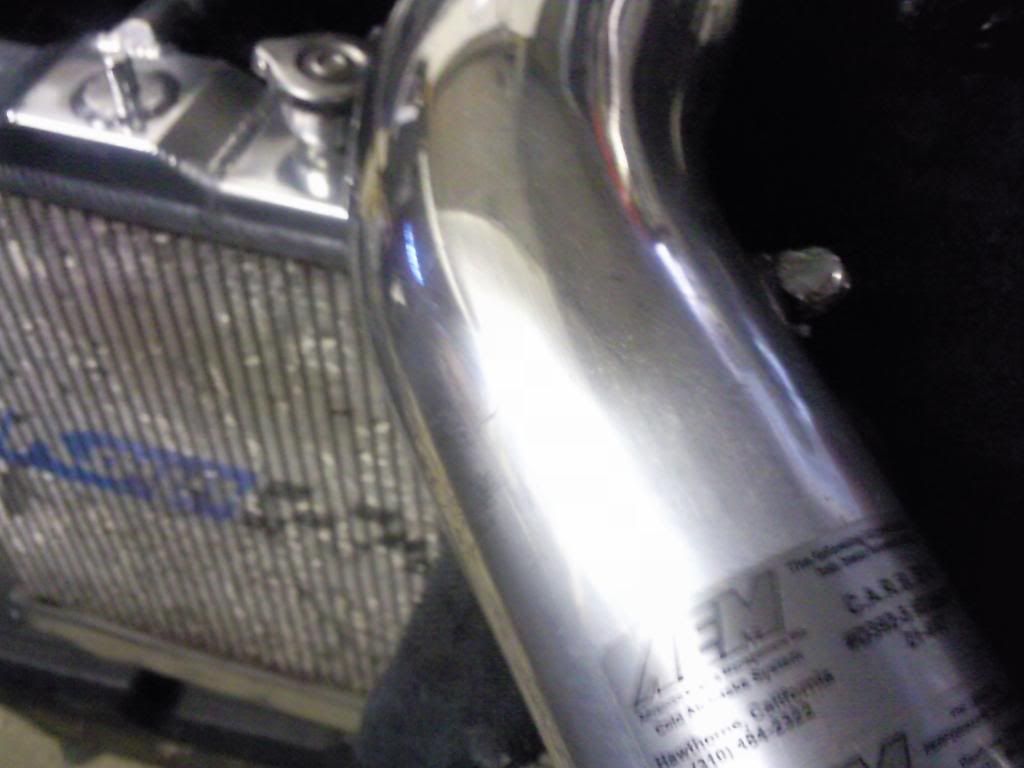
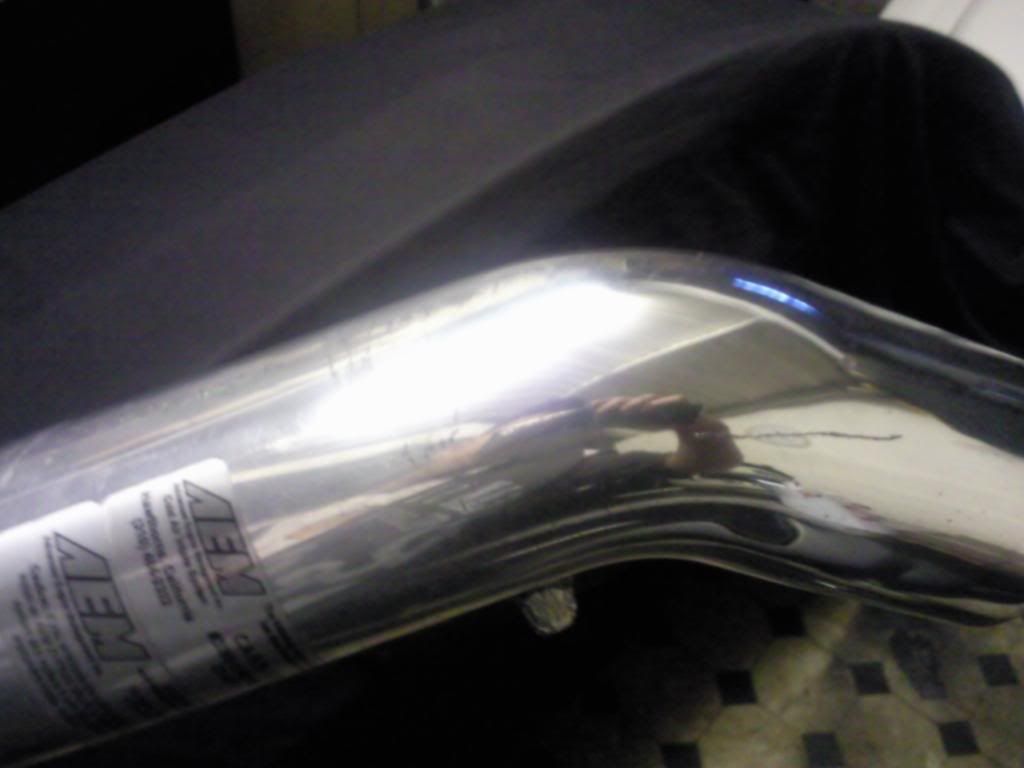
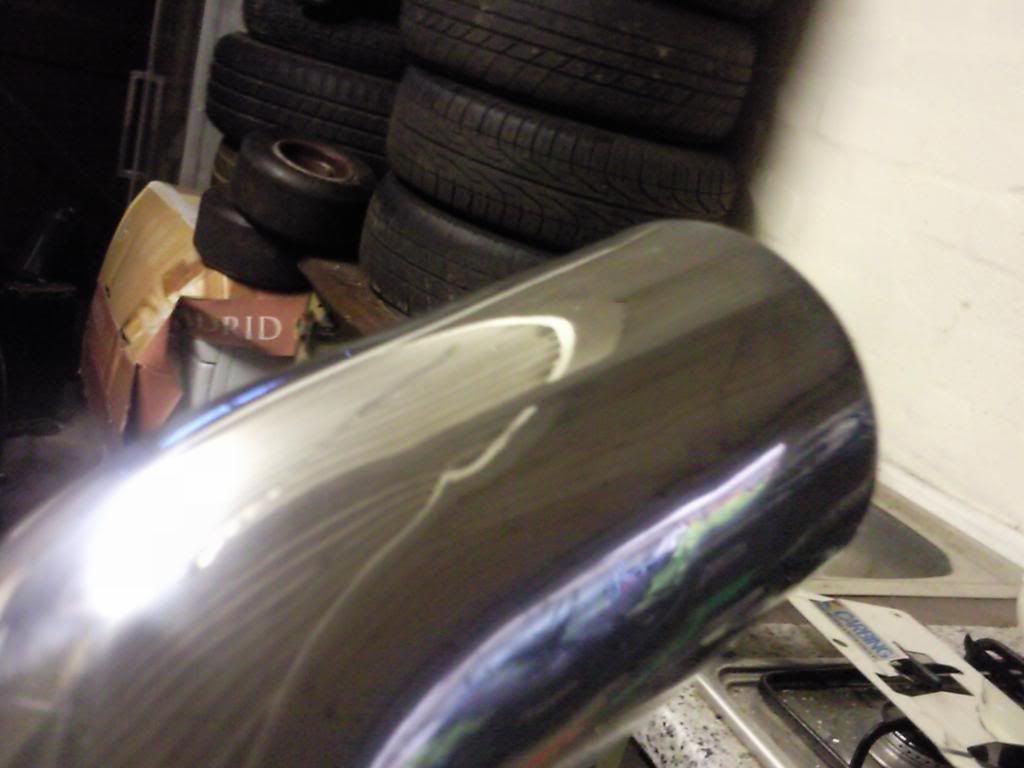
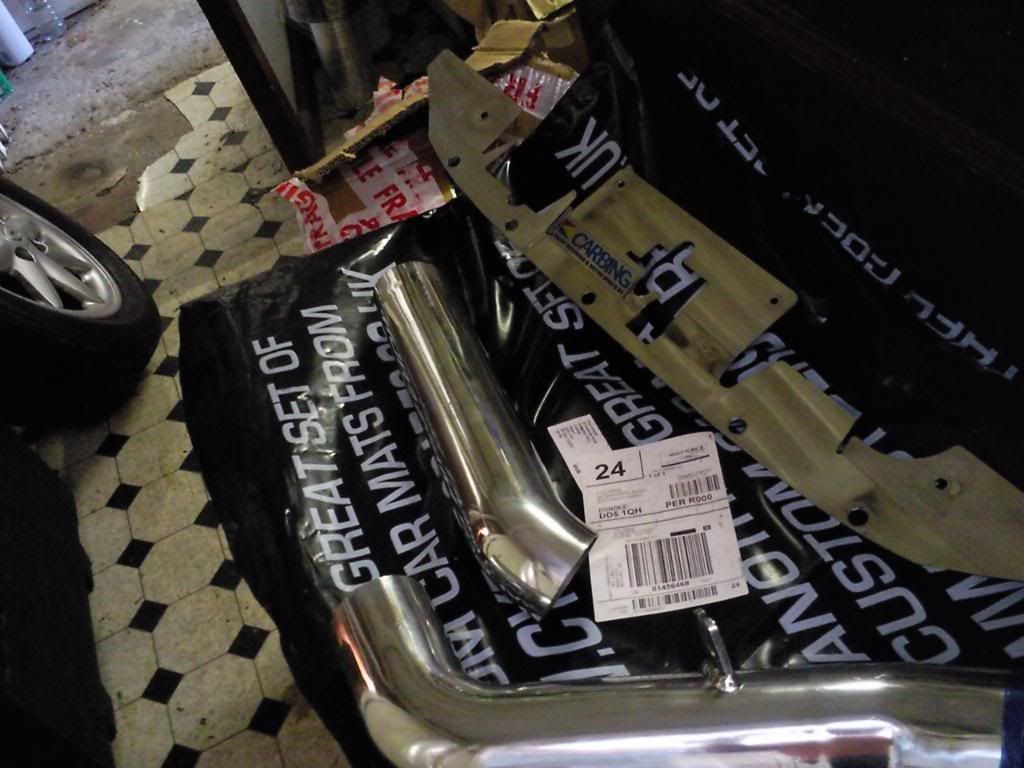
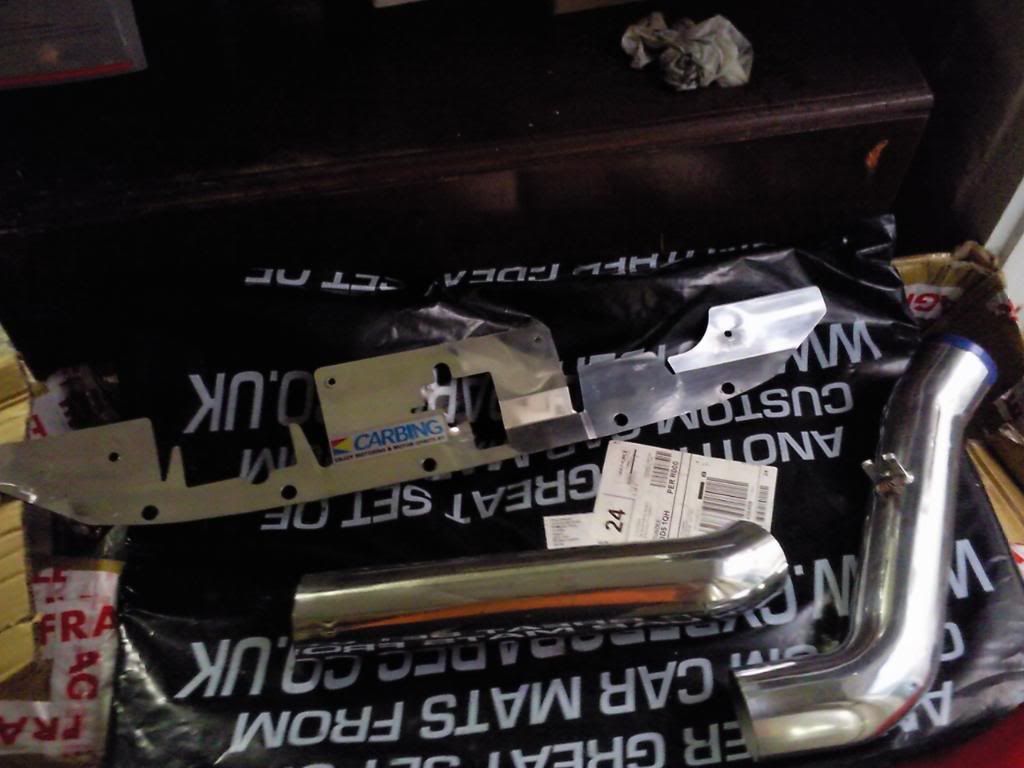
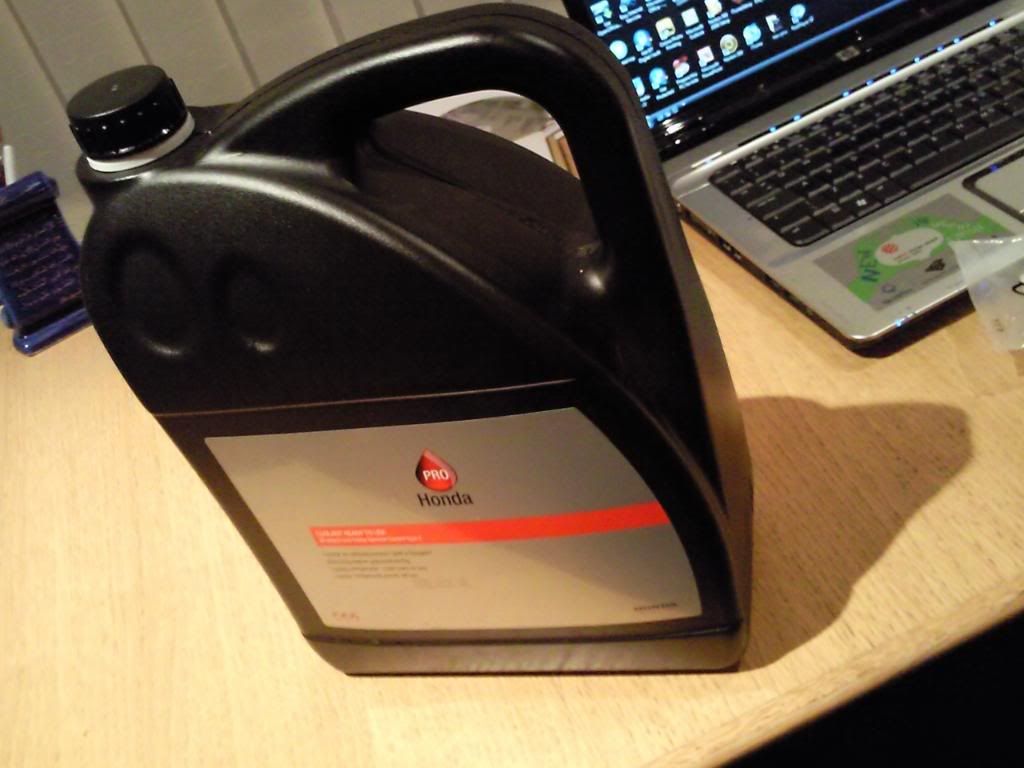
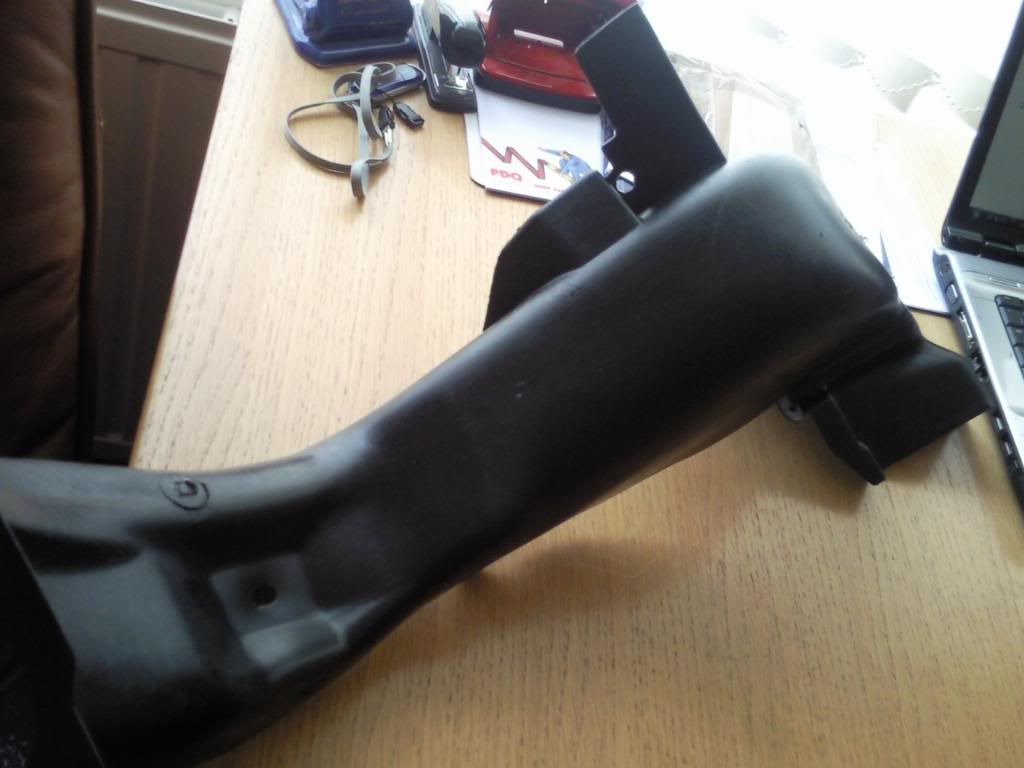
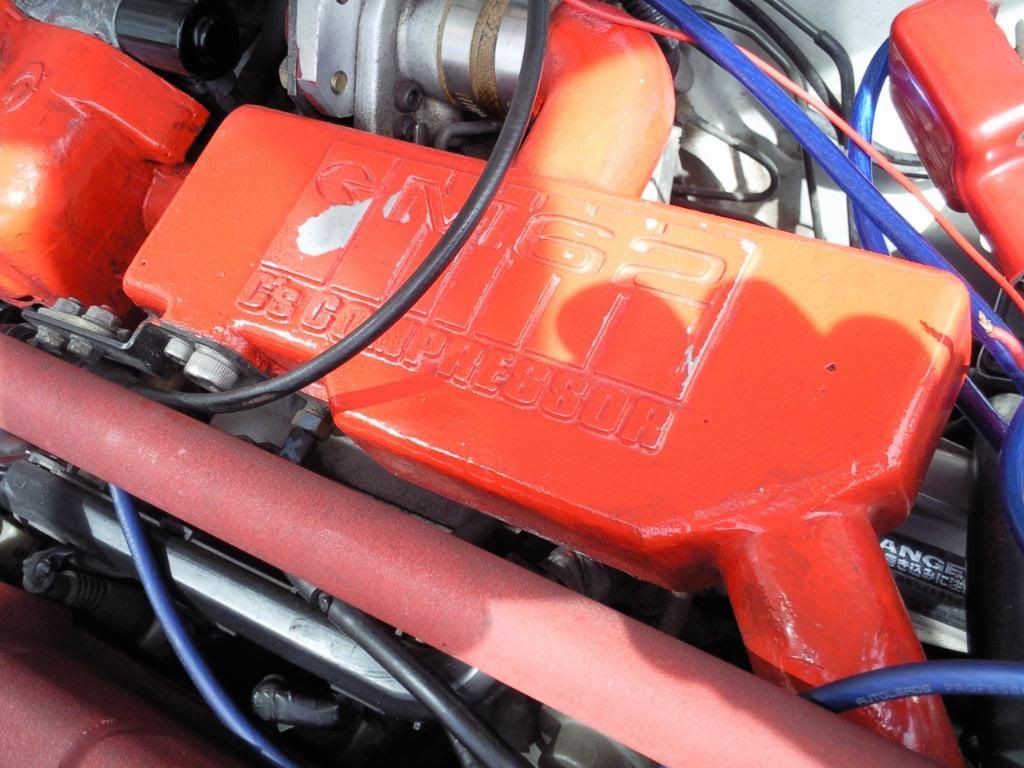
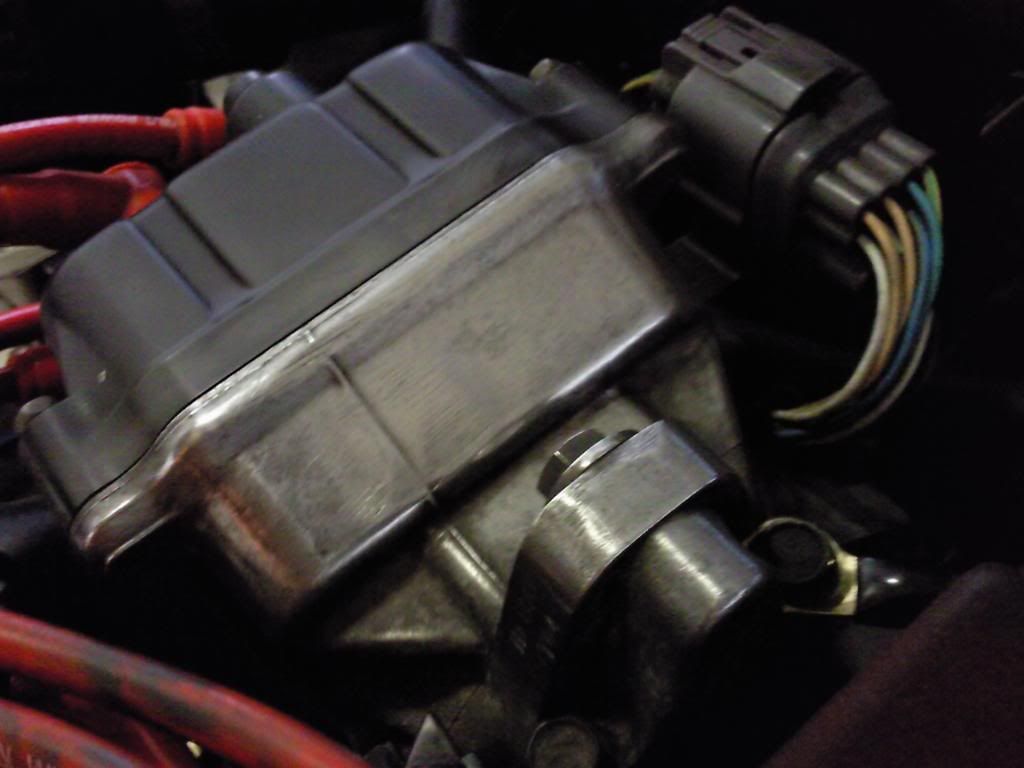
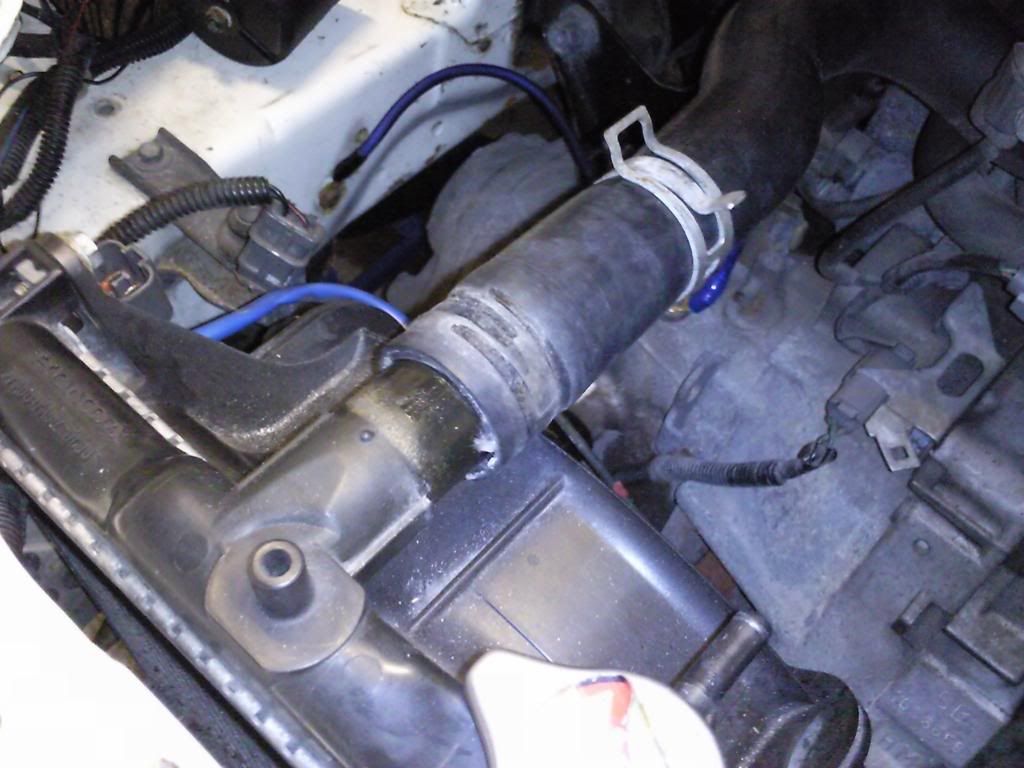
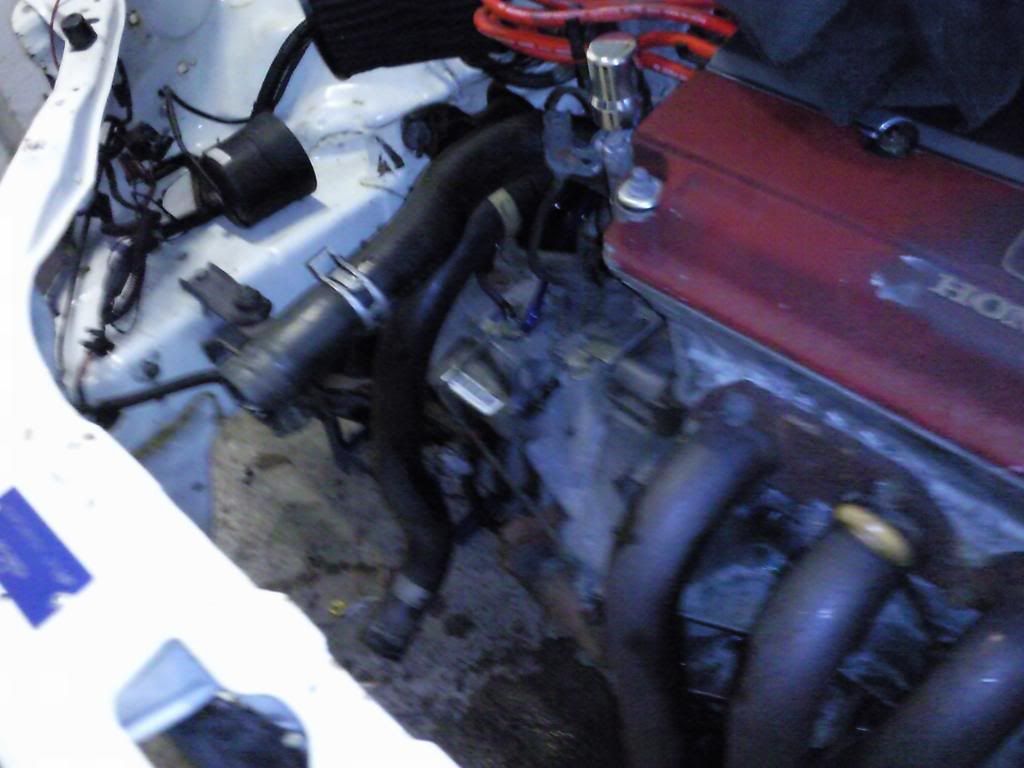
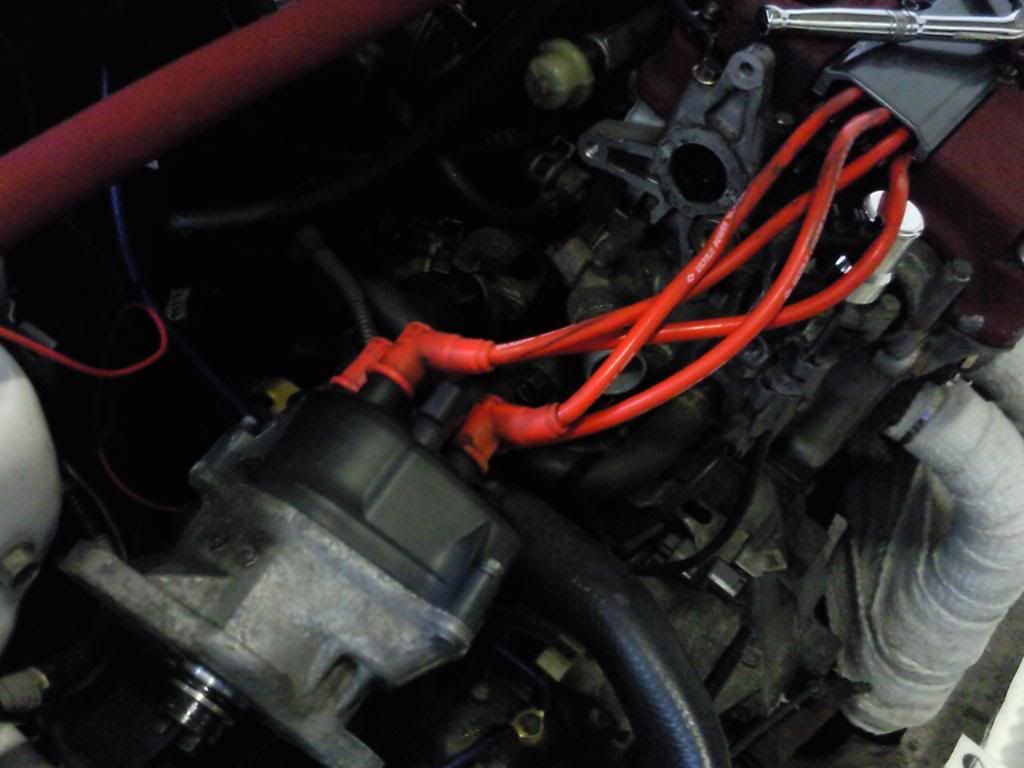
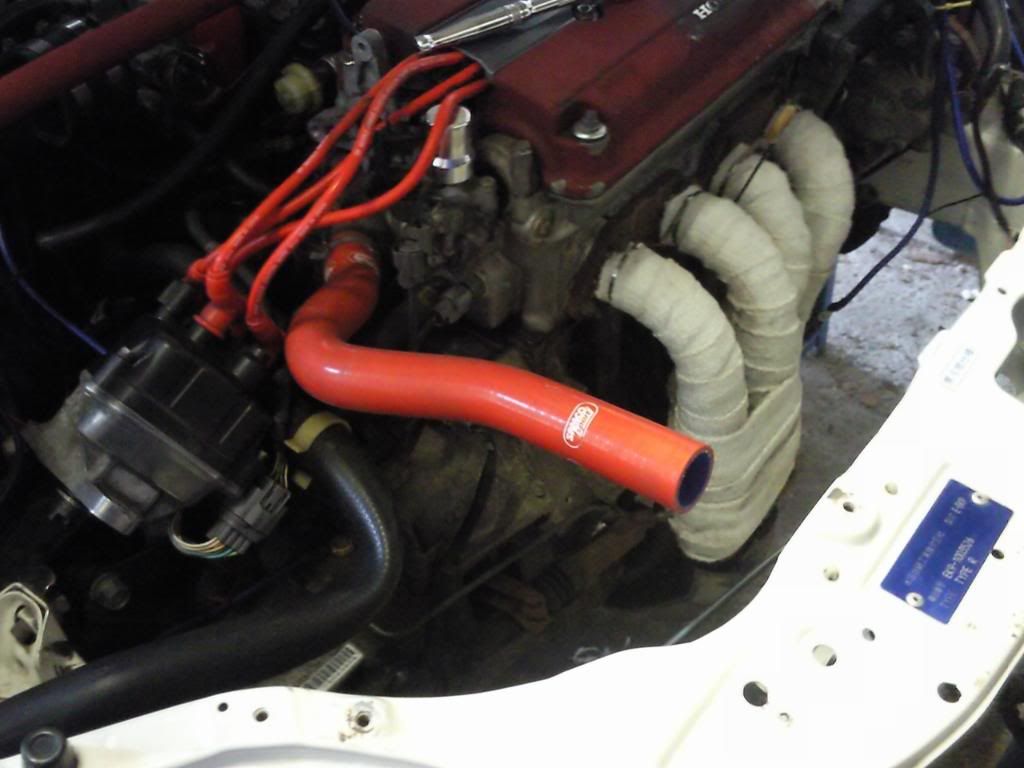
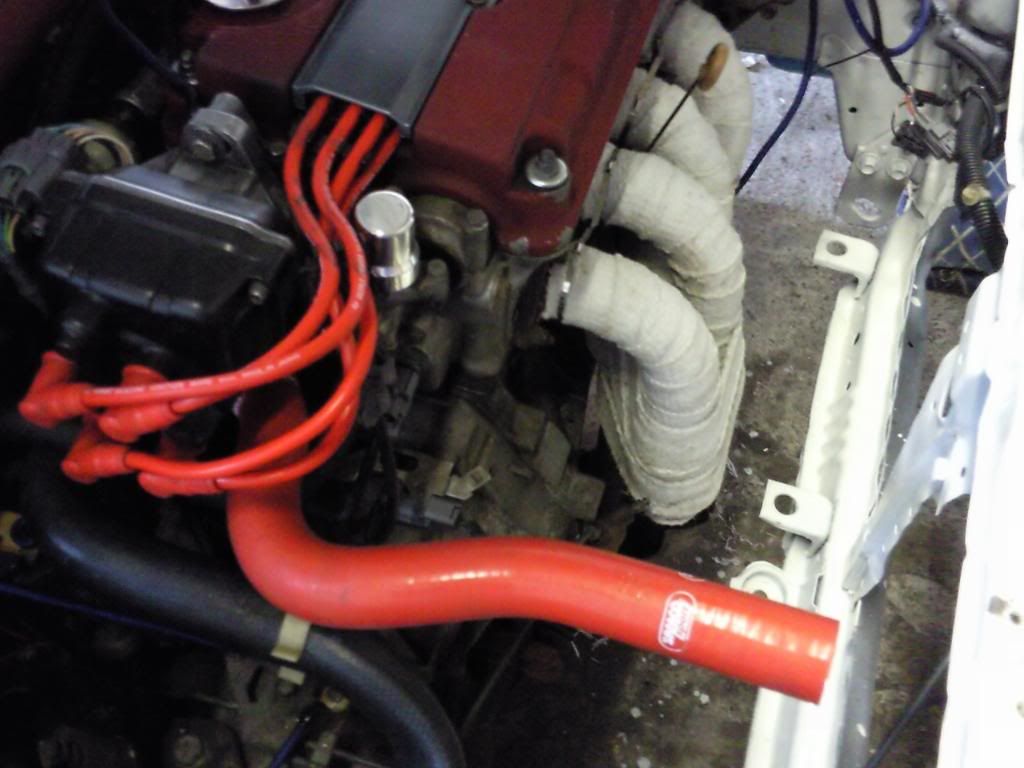
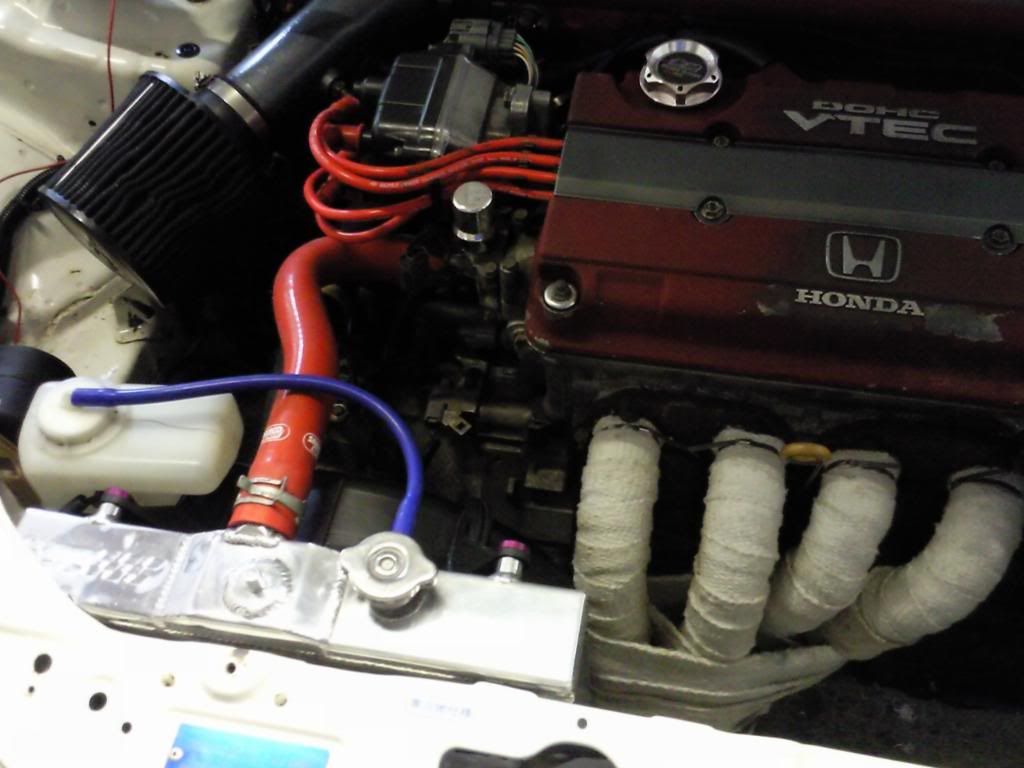
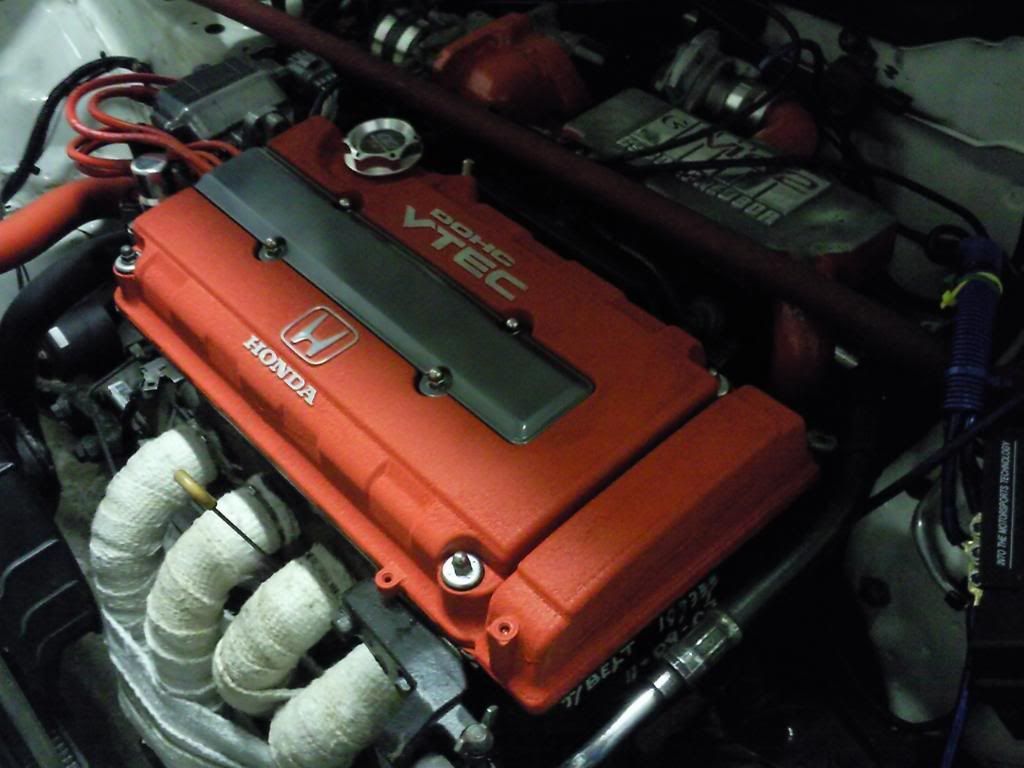
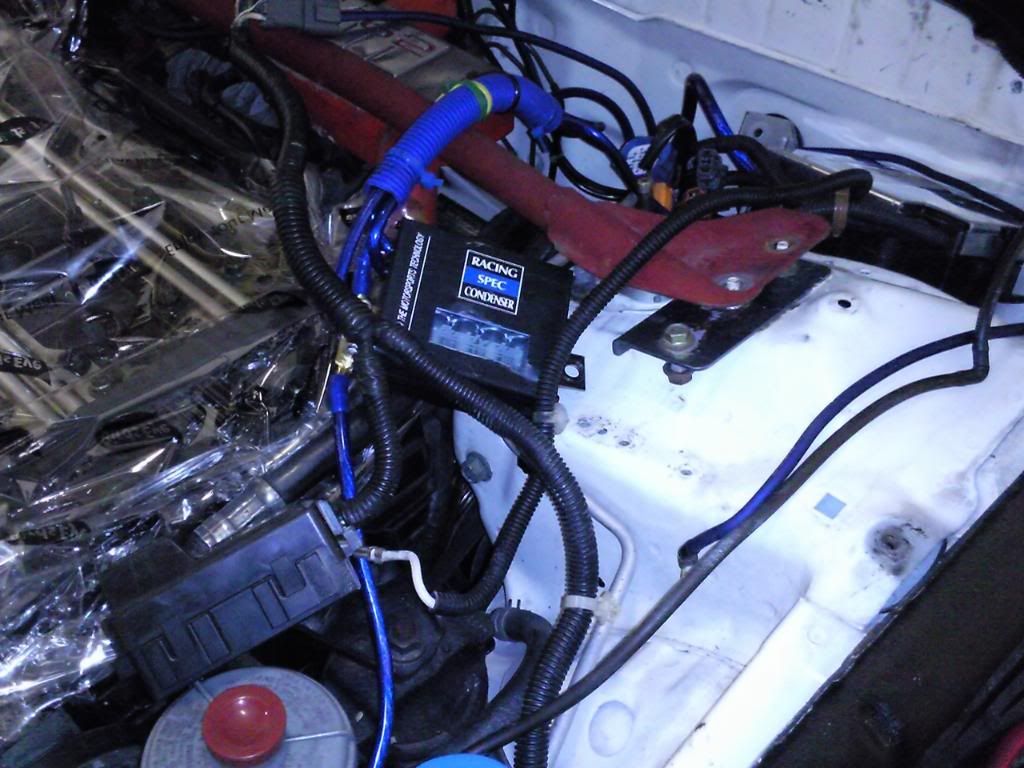
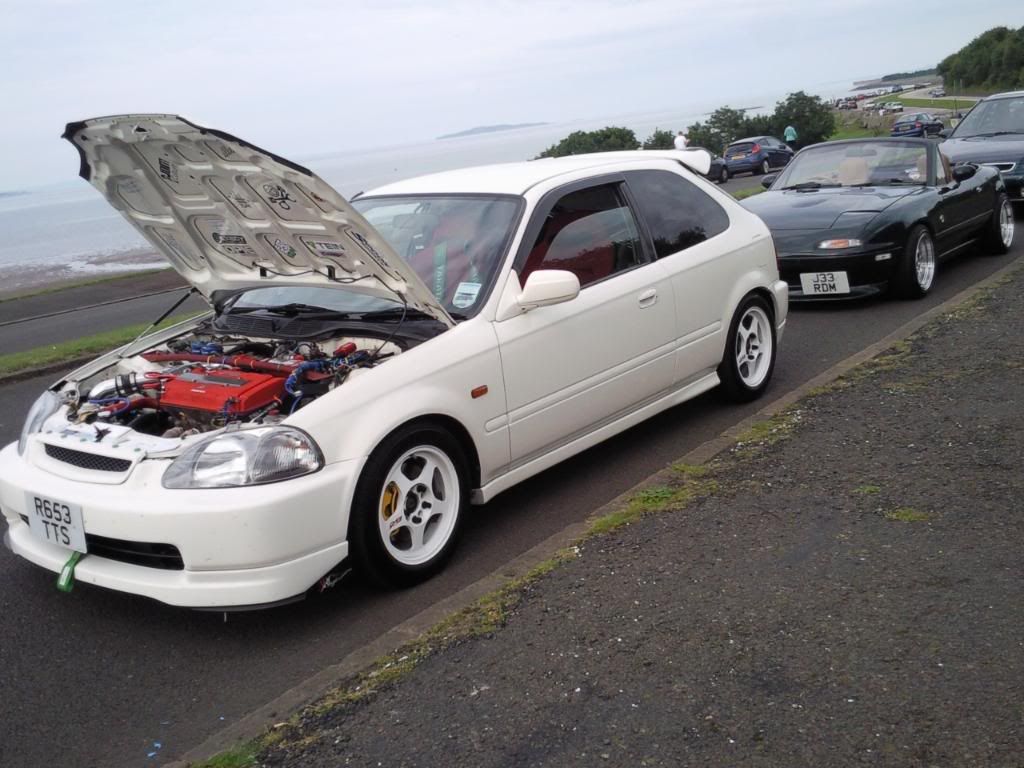
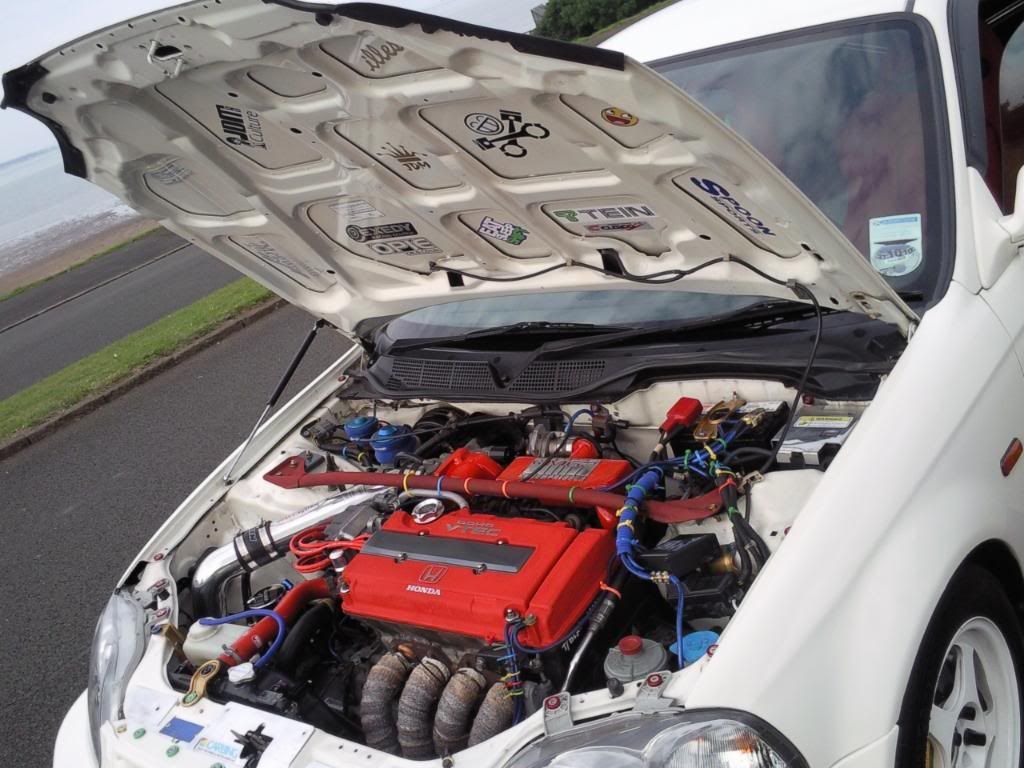
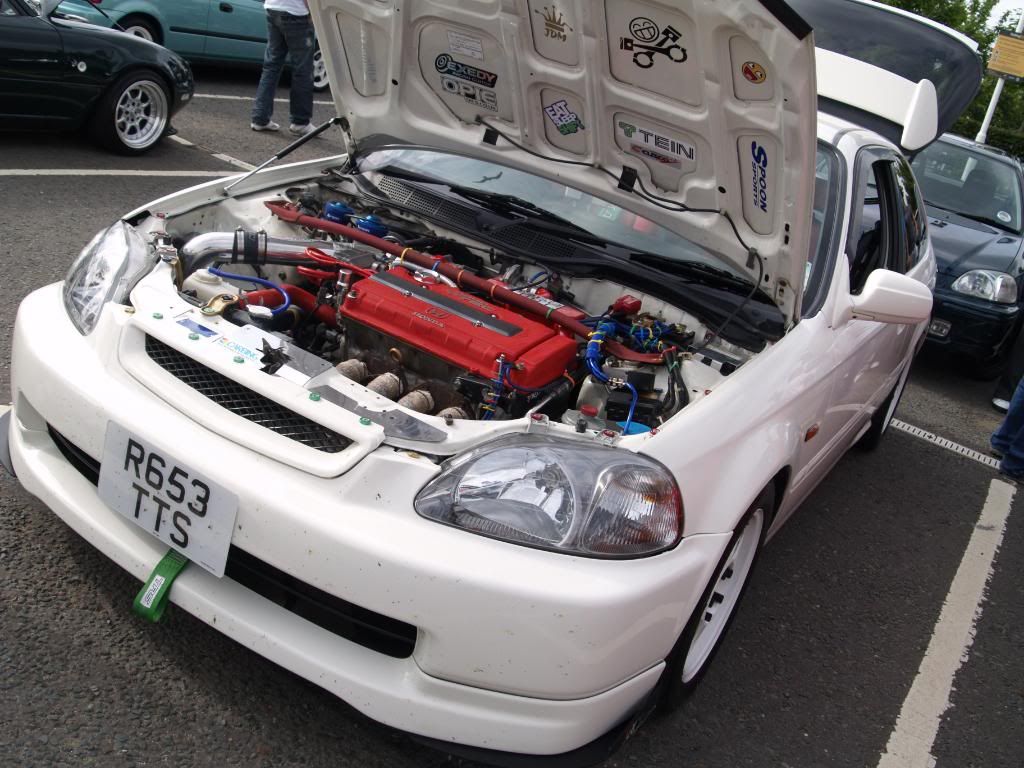
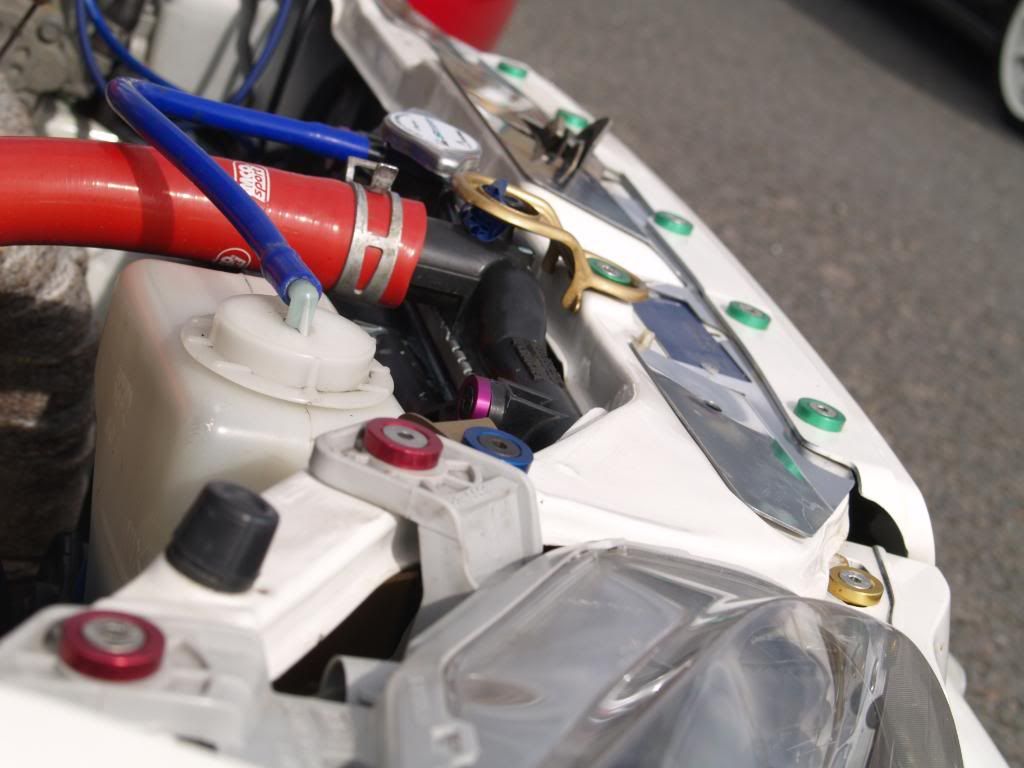
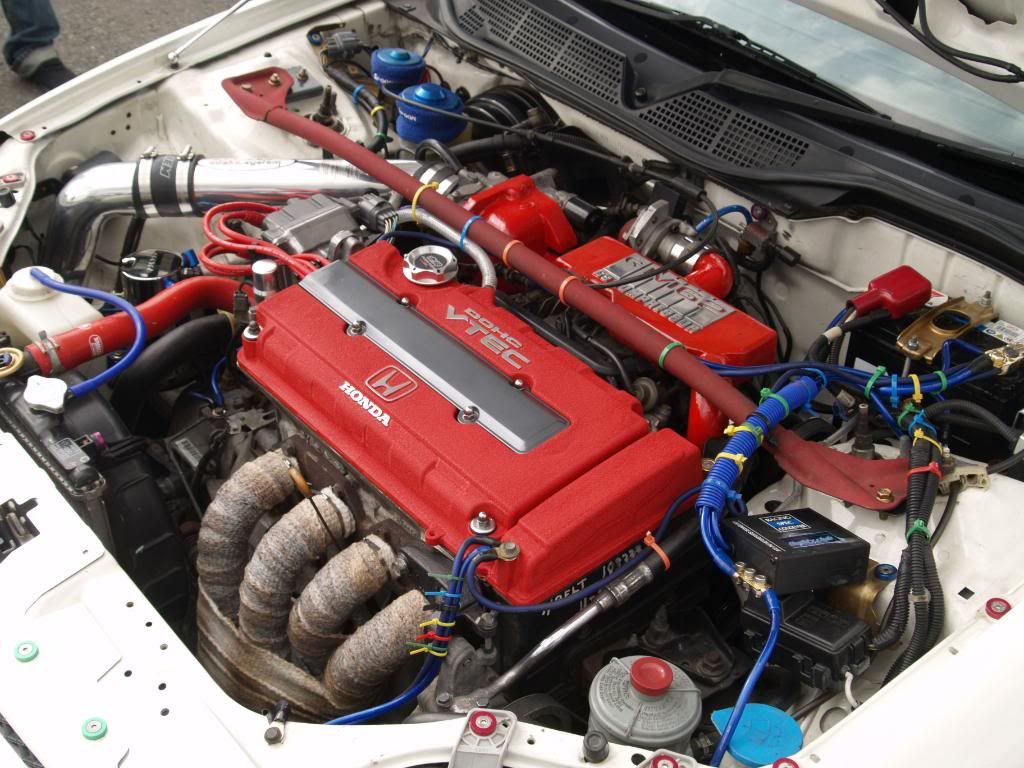
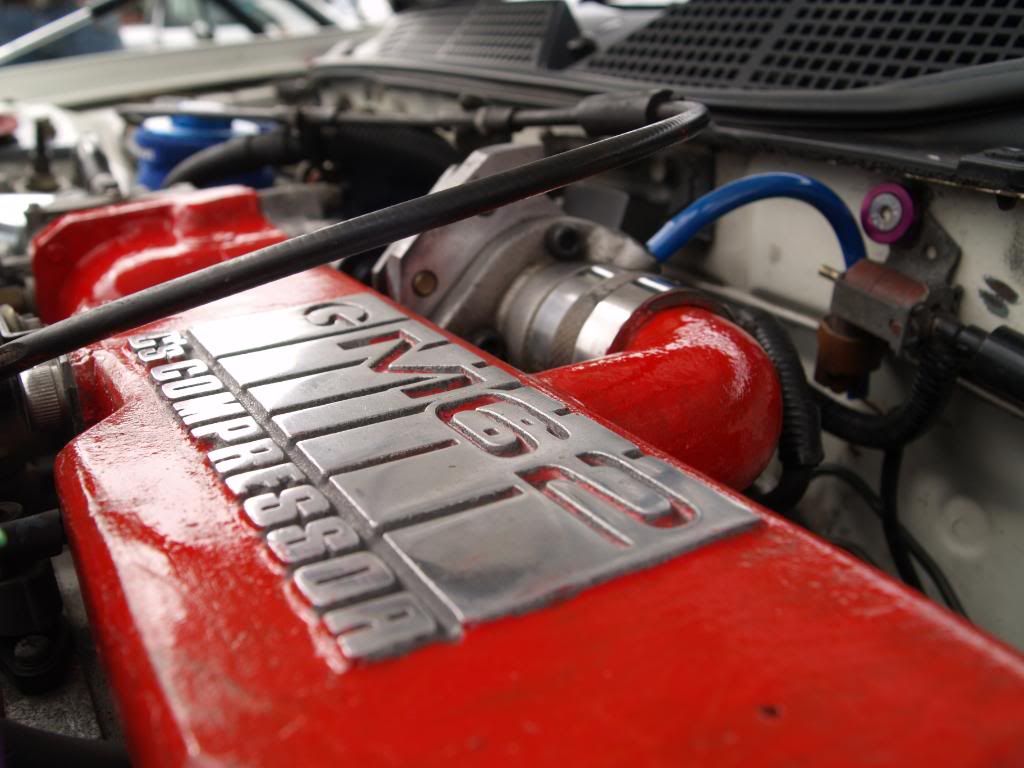
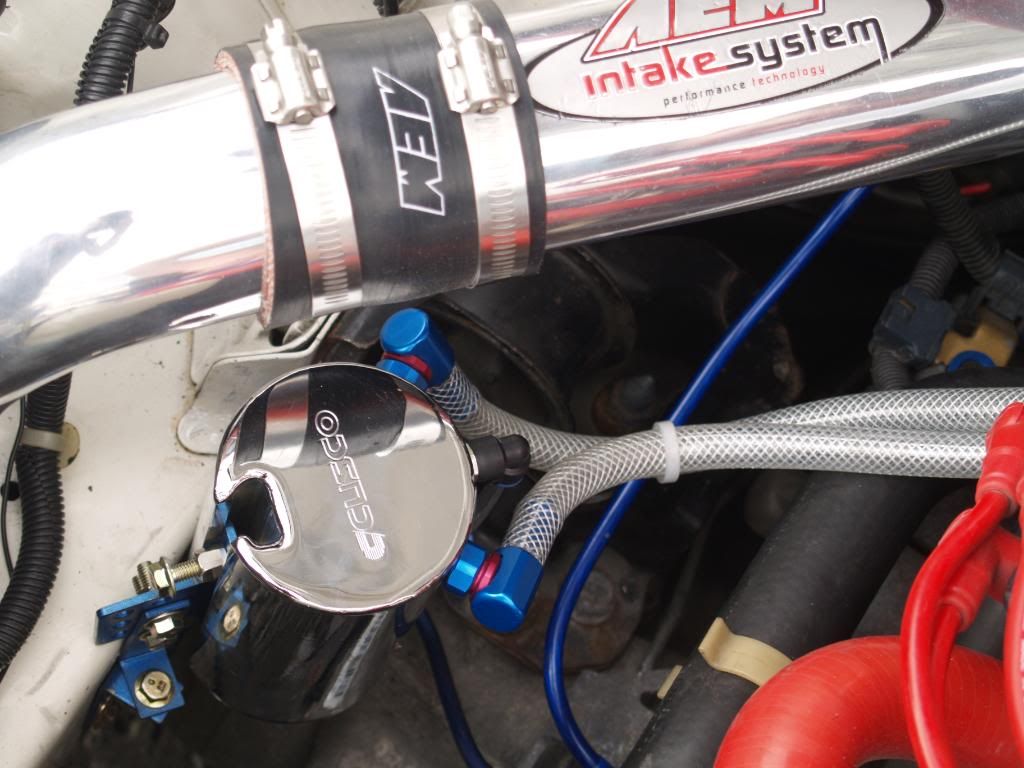
I also decided that i wasnt going to use the mugen icebox so i bought an aem v1 to go on instead.
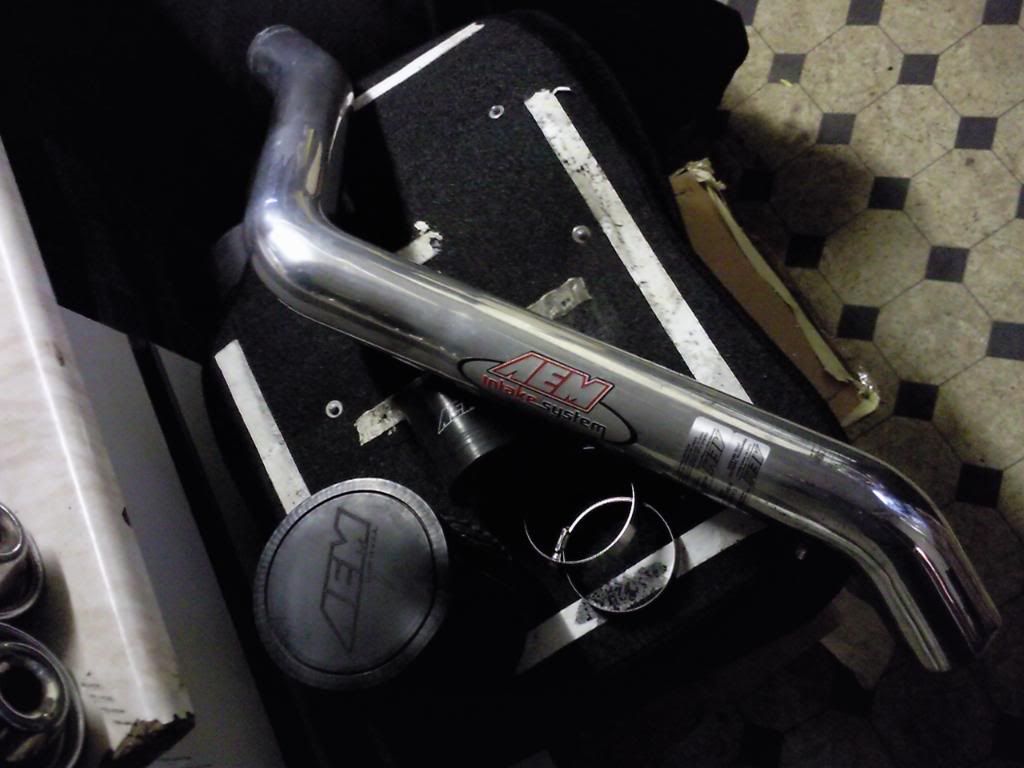
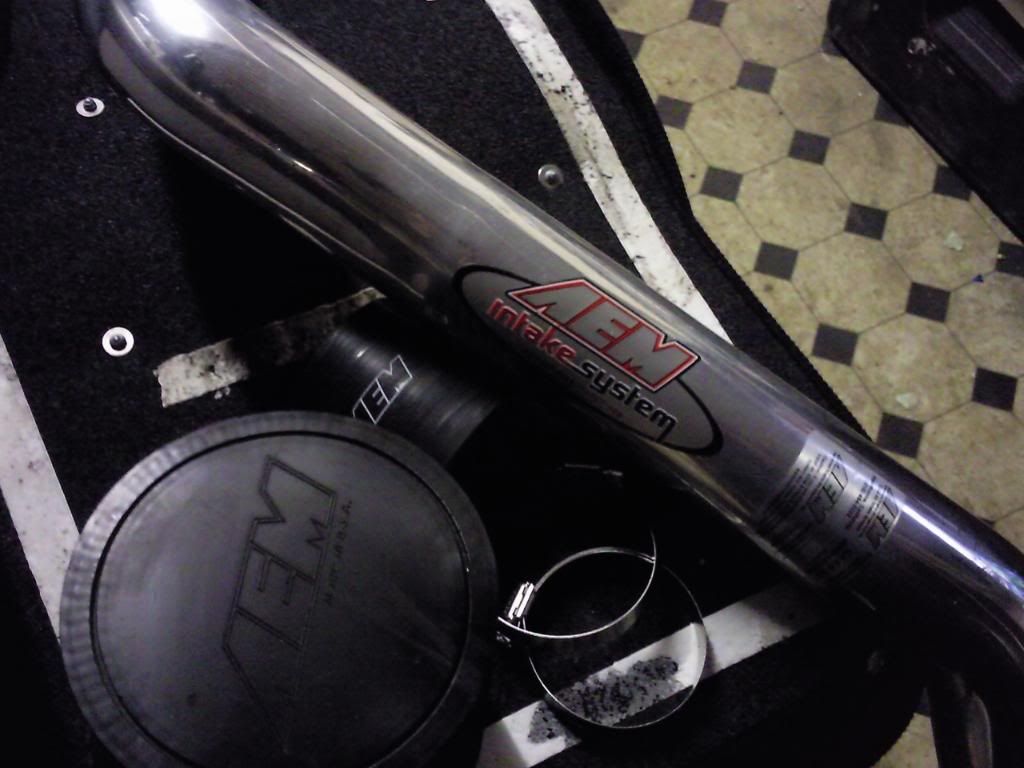
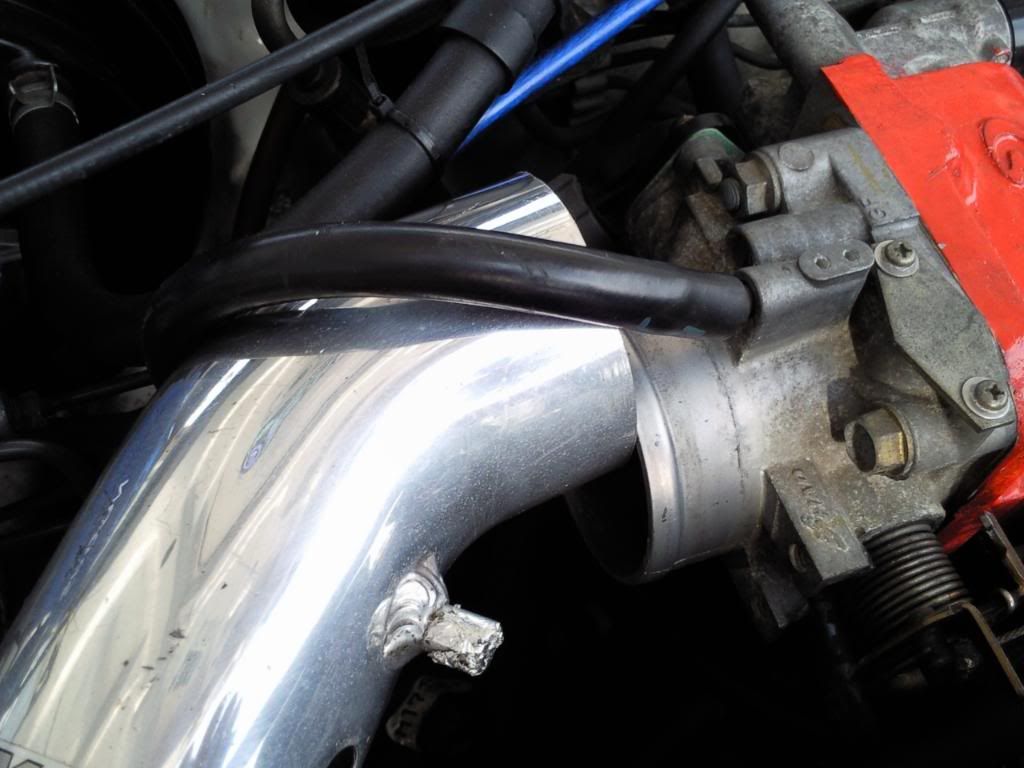
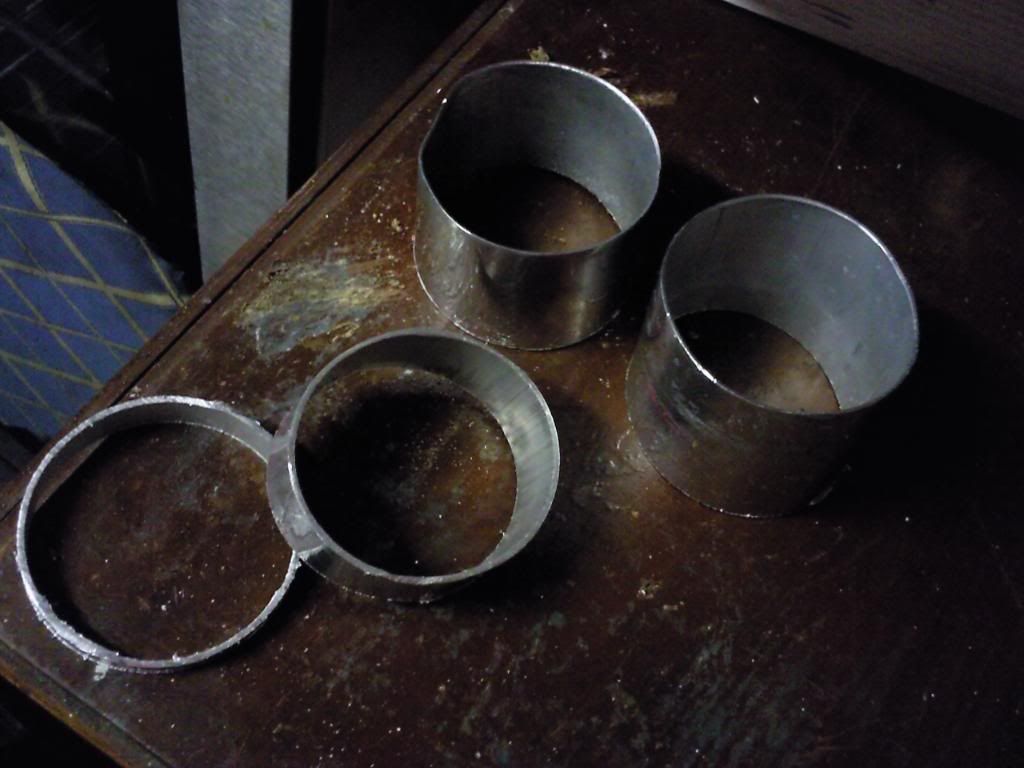
It wasnt going to be a straight fit as my throttle body sticks further out than a normal b16b would so i had to cut bits of it off.
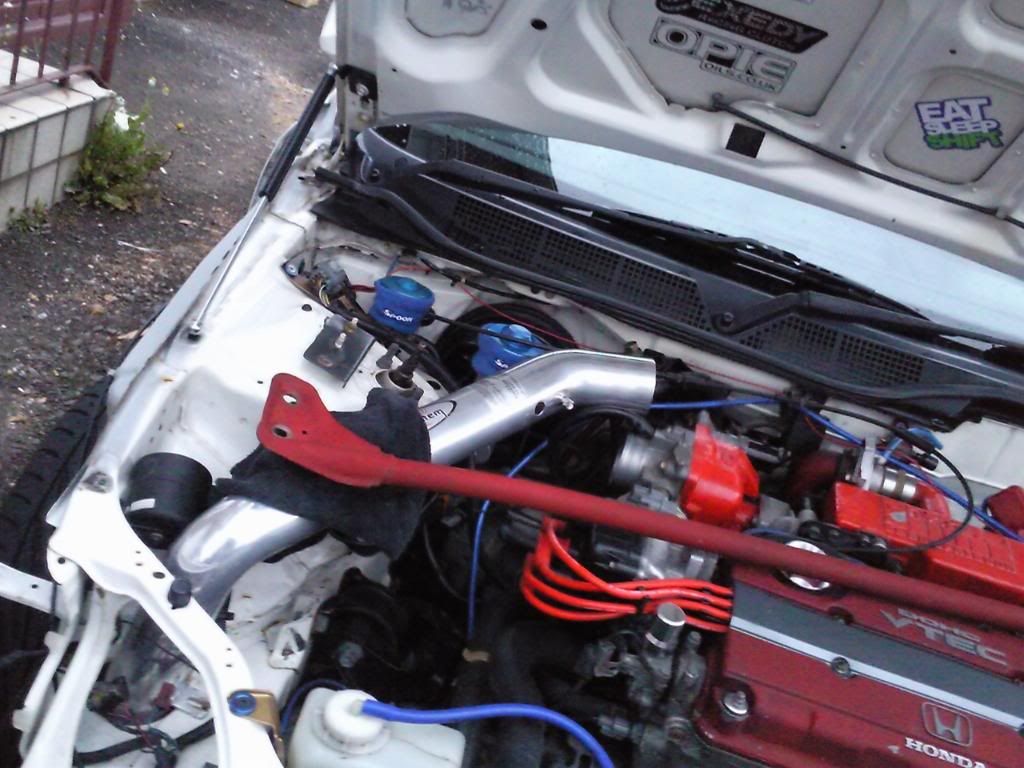
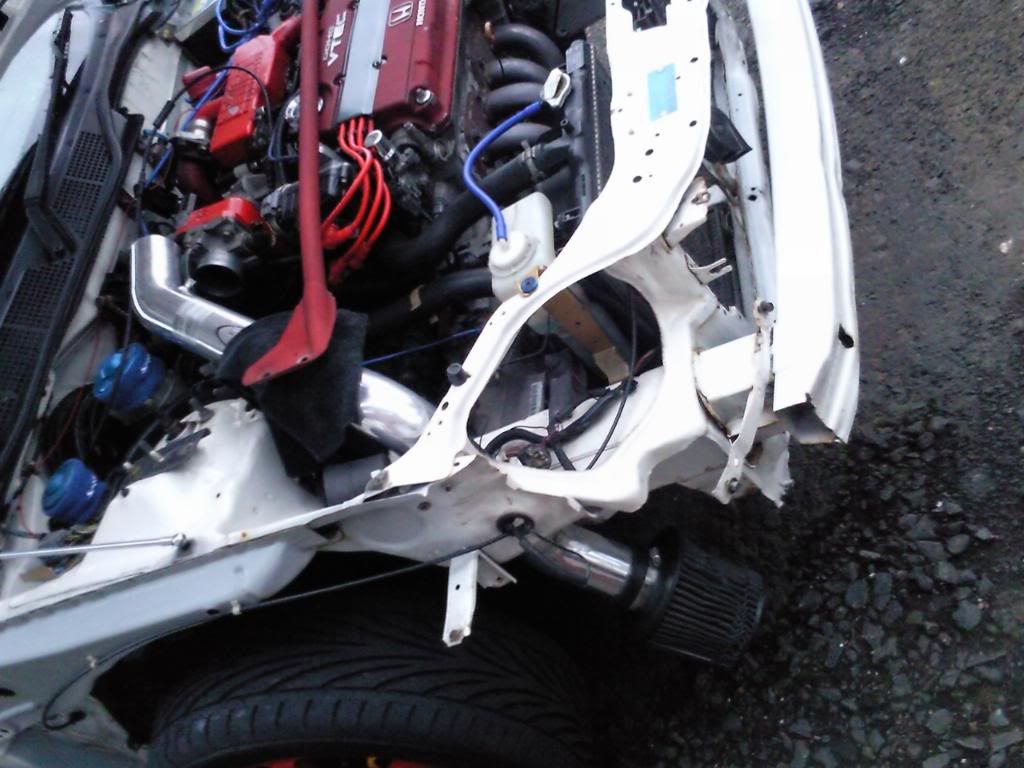
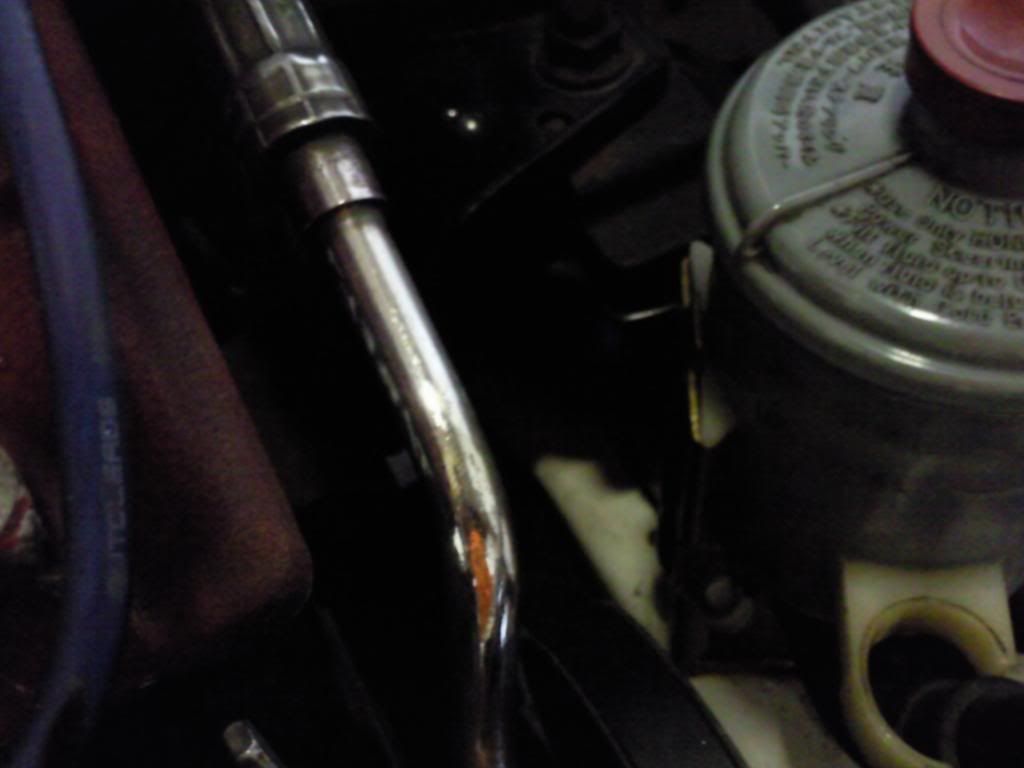
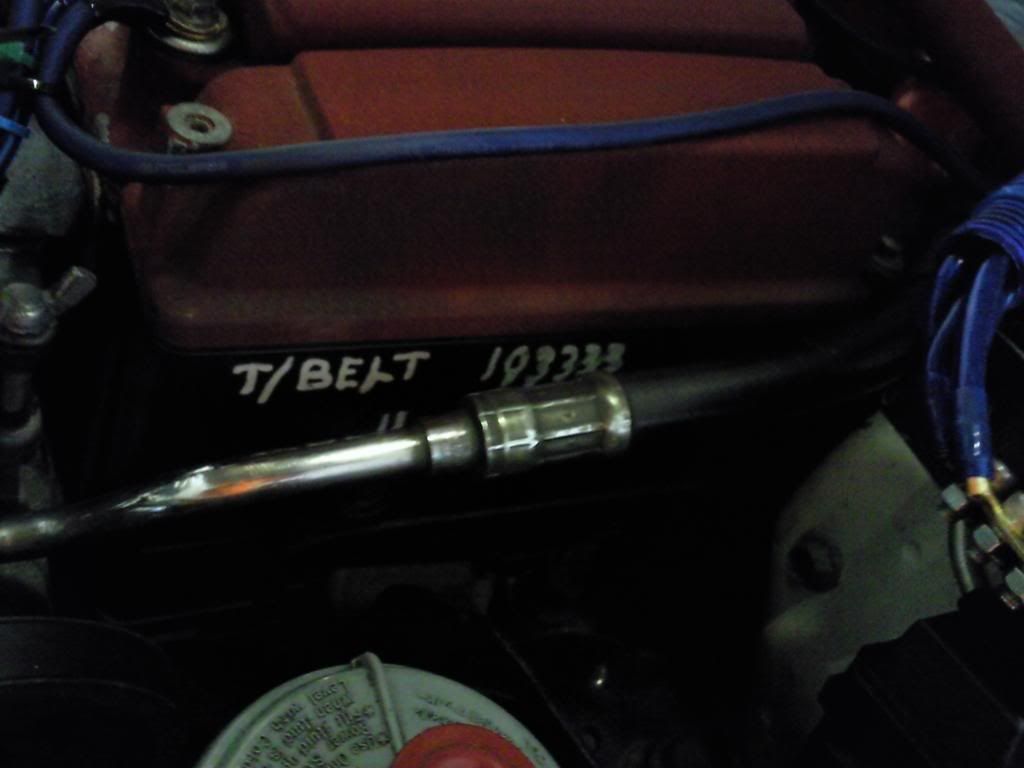
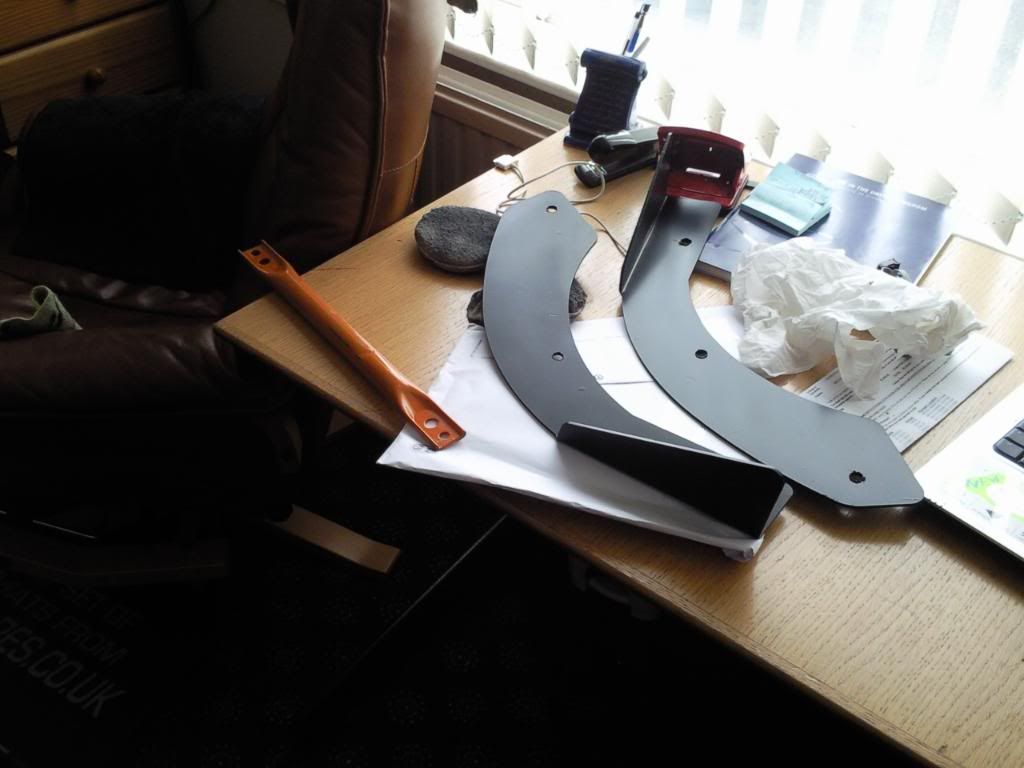
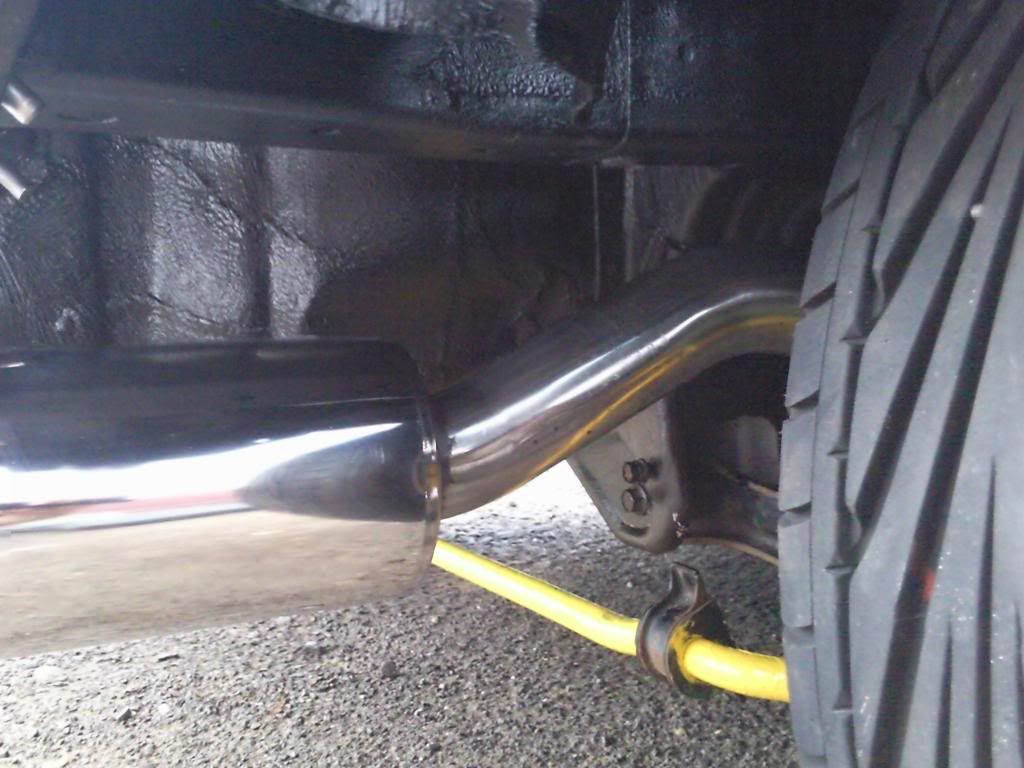
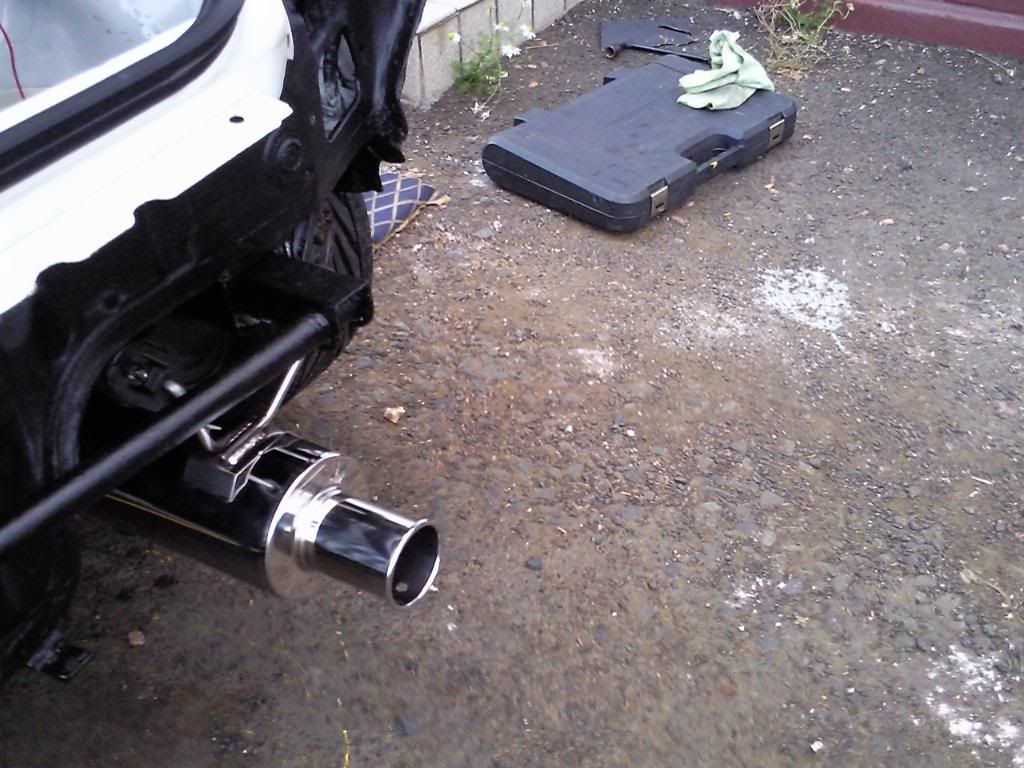
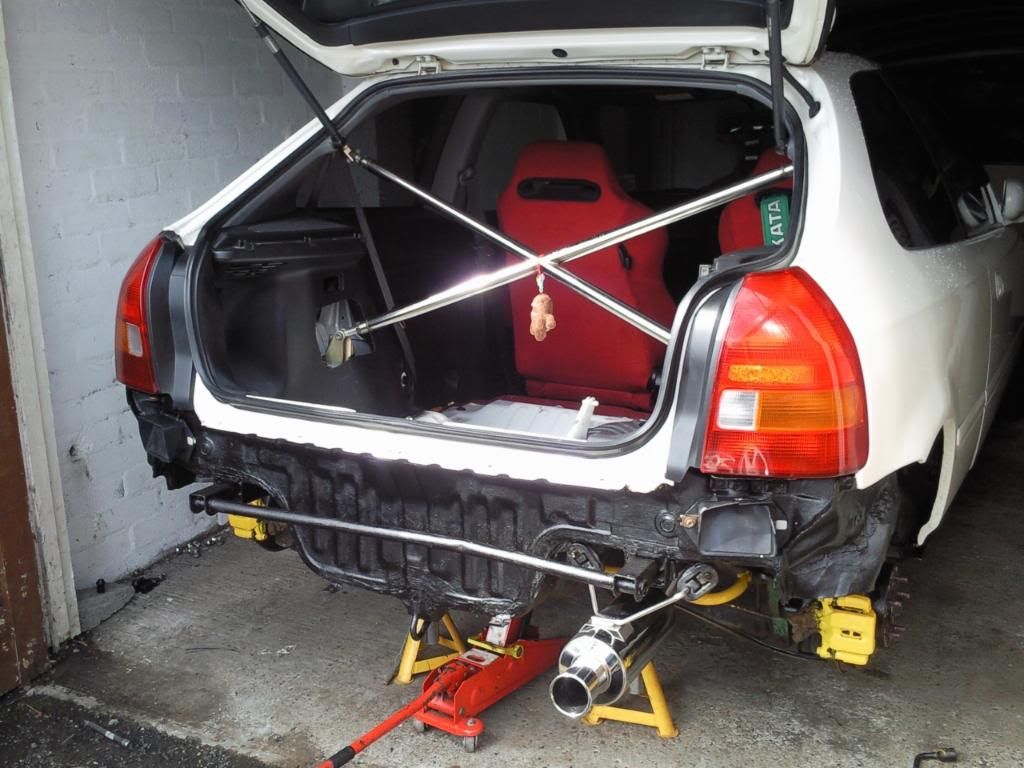
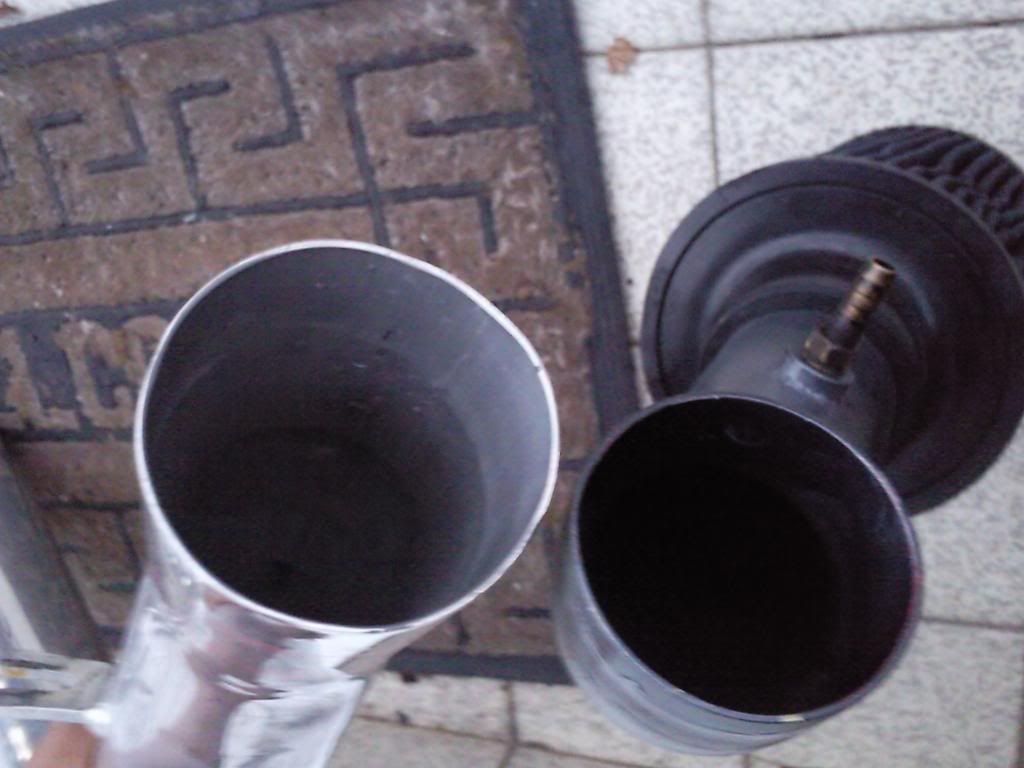
The long arms i bought was also a slightly larger diameter than the short arm i had on before, which should allow for better breathing
since these are forged i was interested in seeing the difference in weight compared to standard so i weighed them.
10x rays nuts
10x stock ones
Not an awful lot in it really so if you were wanting to buy the rays lug nuts to save weight then your probably best off spending the £115 somewhere else.
I also decided that i wasnt going to use the mugen icebox so i bought an aem v1 to go on instead.
It wasnt going to be a straight fit as my throttle body sticks further out than a normal b16b would so i had to cut bits of it off.
The long arms i bought was also a slightly larger diameter than the short arm i had on before, which should allow for better breathing
Last edited: