Civic EG6 SIR2 overhaul.


But at the same time I hate it because it makes my efforts on my EG6 feels so inadequate in comparison :((.

i thought the same! you should send this build to Total Honda mate, i was going to with mine but dont see much point when its nowhere near the spec of yours! :angry::))
 
Fantastic build as said by others real attention to detail! What is the cobra bucket seat you have fitted? Seems to fit the car perfect, a lot I have looked at seem to bulky for the interior.

Thanks mate.

Its a Cobra Suzuka with a Kevlar shell, its from about 2000 so a bit old now but i love it, it feels so comfy and holds me really well but im a slim build any bigger and you wont fit in it. The new Cobra Suzuka's are still a slim seat and feel great.

i thought the same! you should send this build to Total Honda mate, i was going to with mine but dont see much point when its nowhere near the spec of yours! :angry::))

I have thought about it but i need someone to do a photo shoot for me as im useless with the camera and then there's the write up etc but i will do it at some point but thanks man :)
 
awesome build i love checking in here and keeping a eye on this build top notch work just like i enjoy doing one my eg hatch! keep it up mate!!
 
Well after driving on the road with the APR mirrors they just had to go unfortunately as there just not good enough for road driving, not big enough to judge cars from behind at speed and overtaking is made a lot harder i like to look in the mirror see what i need to see and go not sit there and think is something there i cant see, parking and reversing are also made a lot harder.

Pic from Mimms meet

P4081455.jpg


Also had my ARP studs for the rear of the car turn up yesterday from H-Tune so know what i will be doing this weekend also means i can run my AIT wheel nuts on the rear at last and do away with the aluminium ones for good :)

DSC05642.jpg
 
Well a lot has happened here since i last updated this, not long after the post above i seized the gearbox up on track and i lost interest in the car for the rest of that year :( so left her to sit on the drive but with another new year started (2013) i regained interest, got my self a workshop with my Brother and a mate and work began on the old girl replacing the gearbox for an S80 with diff and a whole lot of other things but the car was near on bare shelled and rebuilt up to how it stands today but has lived the past year and bit on axle stands!! This will change for 2014 ;)

How the interior stands, fire extinguisher to install yet and missing that cage!!

DSC06746_zps9abcdc85.jpg

DSC06747_zps10f93305.jpg

DSC06750_zpsf5c68e87.jpg

DSC06748_zpsda782a7f.jpg

DSC06761_zps0b247838.jpg

DSC06763_zps9f8b802b.jpg


Exterior, I still want to do a front splitter that goes to the back of the engine bay and deeper sideskirts plus a few extras here and there so will be something I work on over the next few months other than that a set of new pads, full detail and shes ready to go

DSC06752_zps2a0d851b.jpg

DSC06751_zps61994ebc.jpg

DSC06753_zpsbe202eba.jpg

DSC06760_zps27b8bfb9.jpg

DSC06754_zps3151b74a.jpg


More can be found on thrll

 
This gets better every time, tidy work. One of your tyres has my name on it hehe
 
really a clean and nice build :shocked:
Love your attention for details and a lot of quality parts also.. keep going!
 
Glad to see you update on here, although I follow you on thrll anyway. One of my favorite builds, just on your simple choice of mods for function, and you attention to getting the car so mint.

Keep the update coming please!
 
this is beyond good ! inside of the car is brilliant and the attention to detail throughout the whole car is second to none, great work bud keep it up ! :)
 
Thanks for all the kind words guys glad you all like :) now to tackle the exterior
 
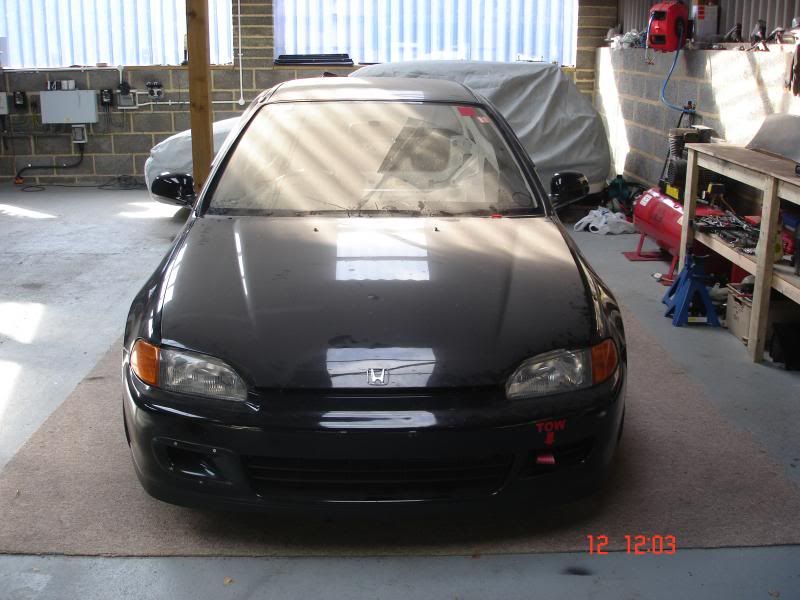
Thought i would update the build properly seeing as there has been a lot of work carried out. So from where i left off last year haha enjoy guys :) :blinx:

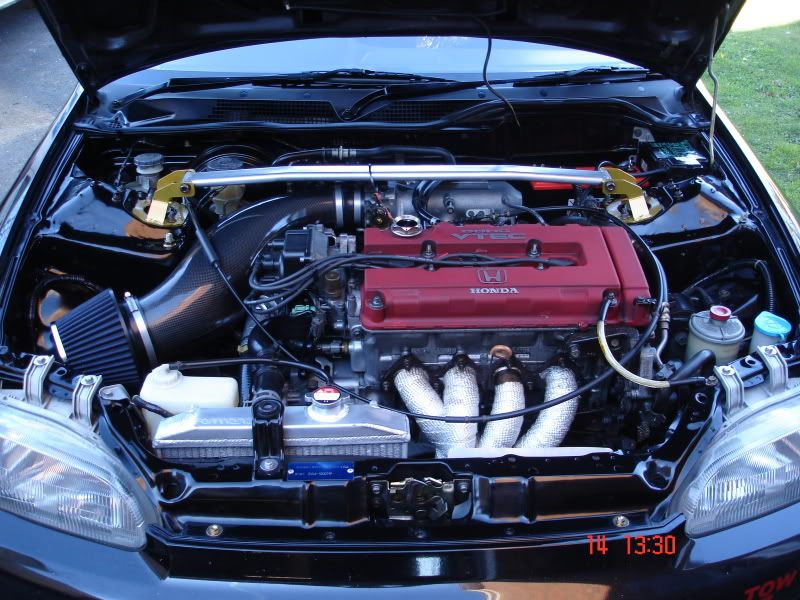
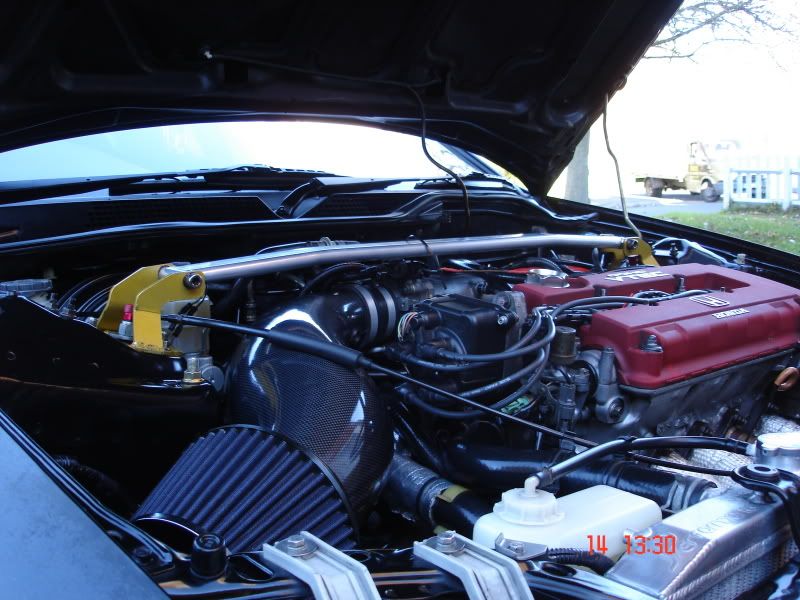
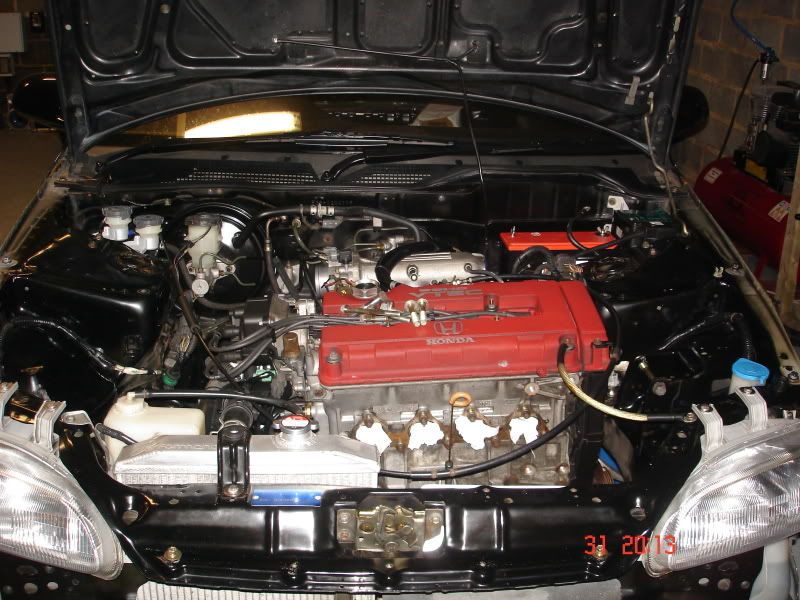
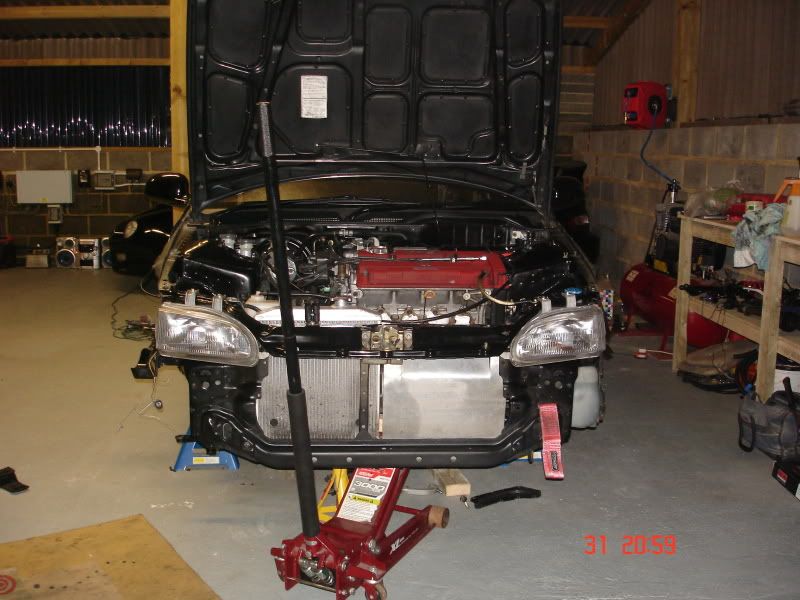
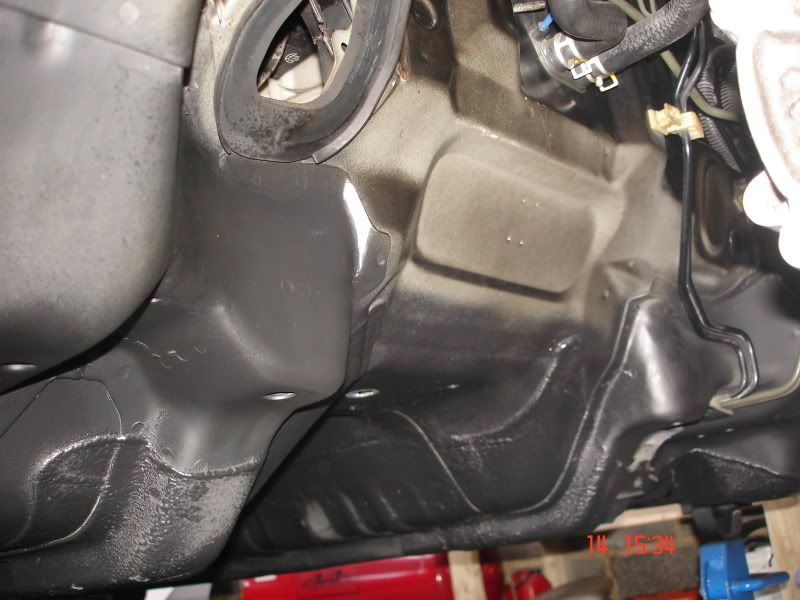
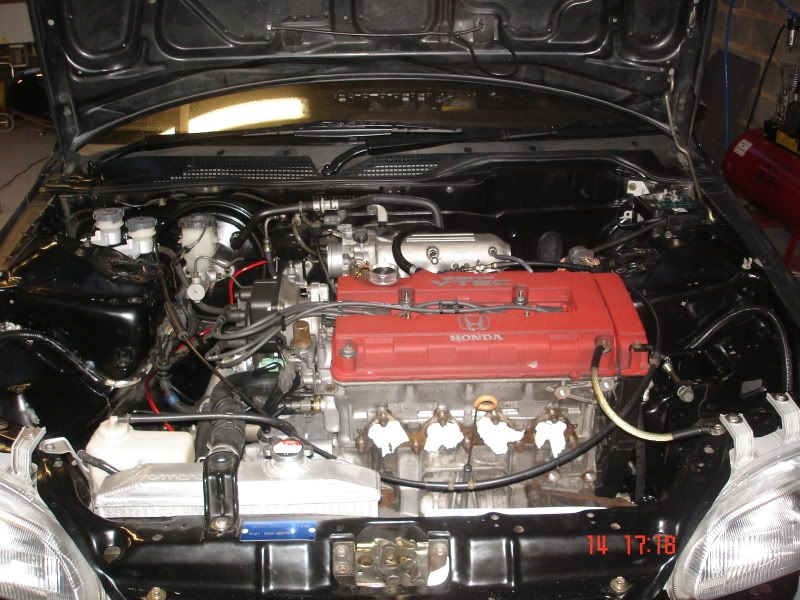
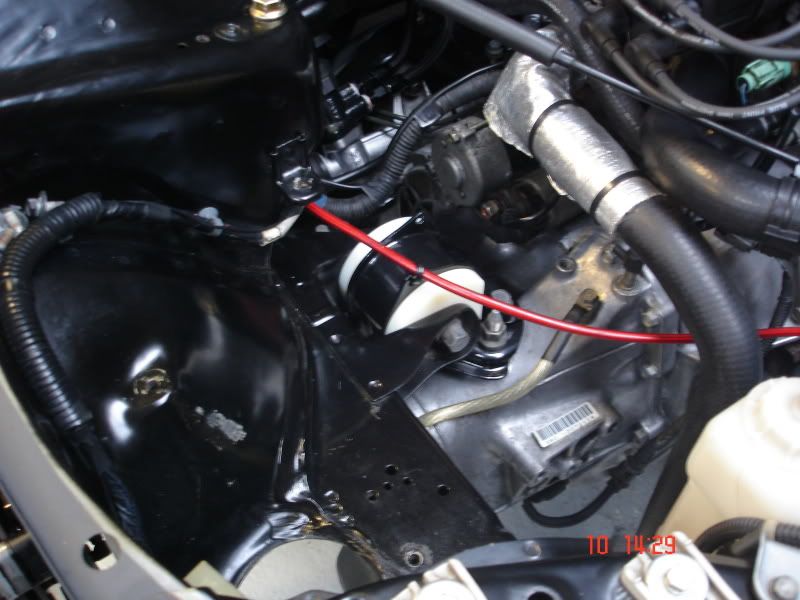
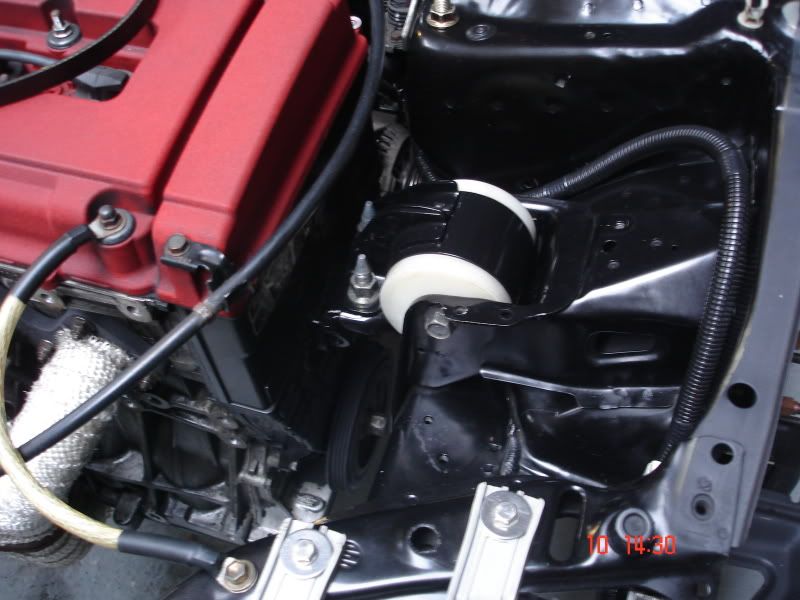
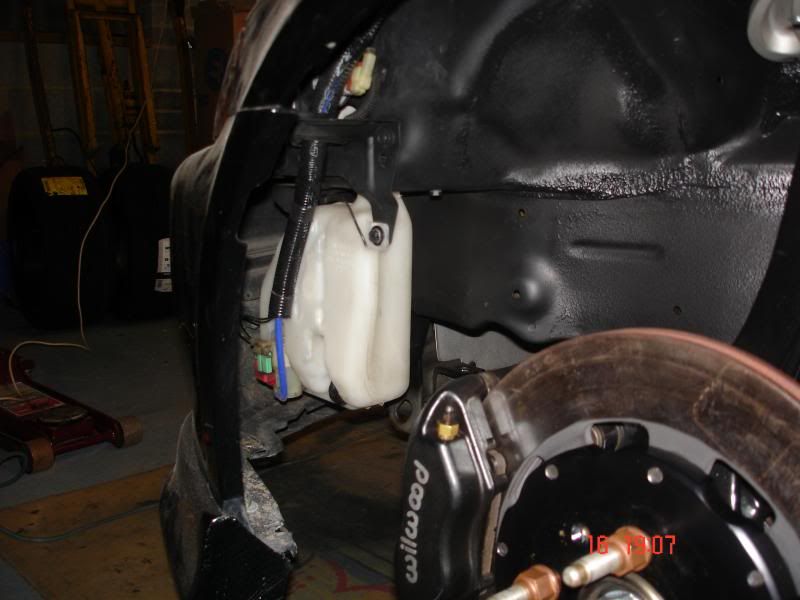
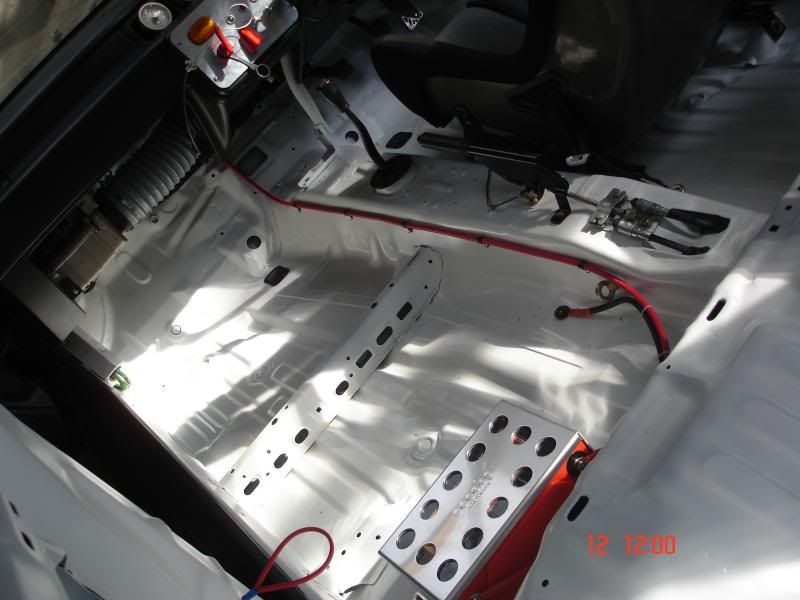
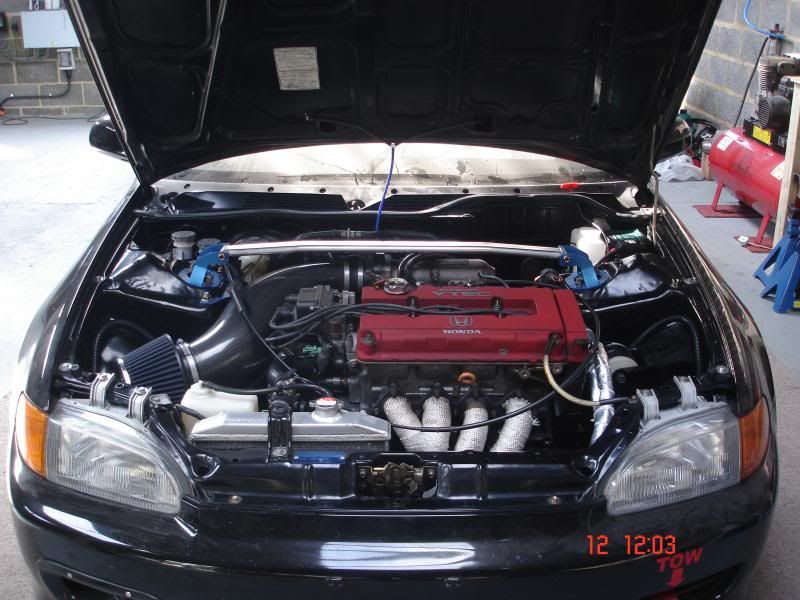
Decided to give the engine bay a clean up considering it was covered in cobwebs and dust from laying up for 5 months

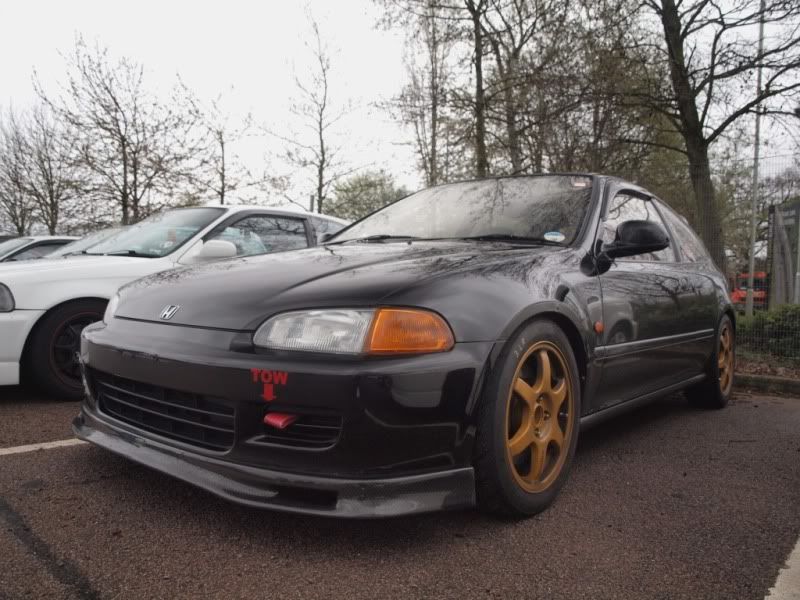
She sure does scrub up well
DSC05965.jpg

DSC05966.jpg


Be a shame to rip it all part in the next few weeks for its new gearbox and other goodies :)

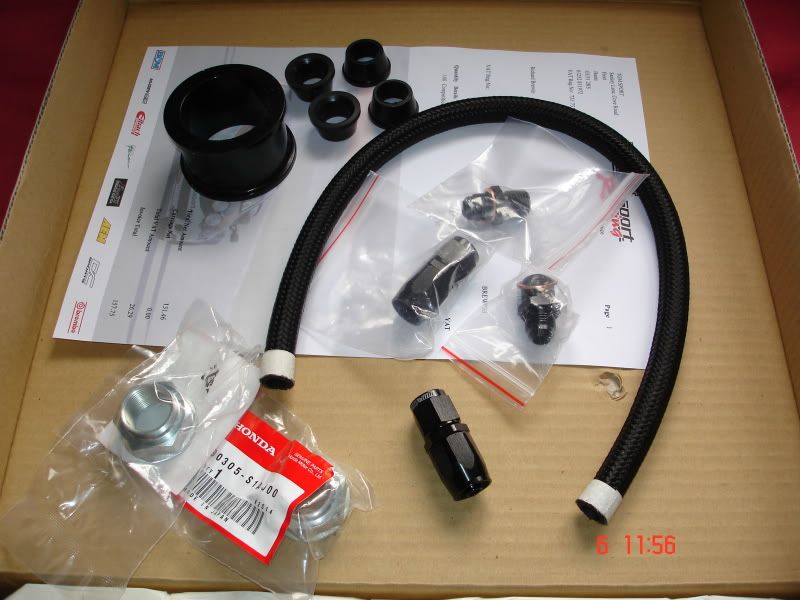
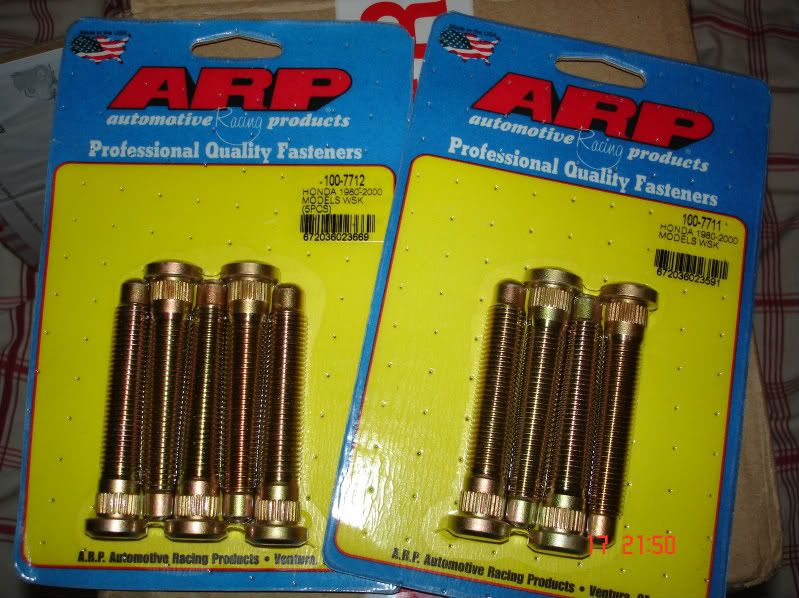
Not much of an update but a few bits turned up in the post,

DSC06030.jpg


Bolts Bolts PAS delete kit
New Honda driveshaft nuts
Racing XS Polyurethane steering rack bush kit ( Super Hard)

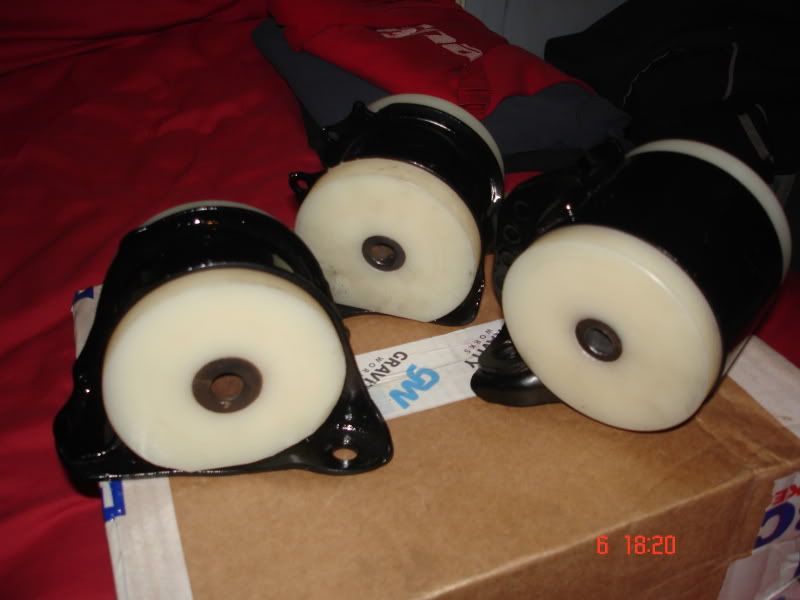
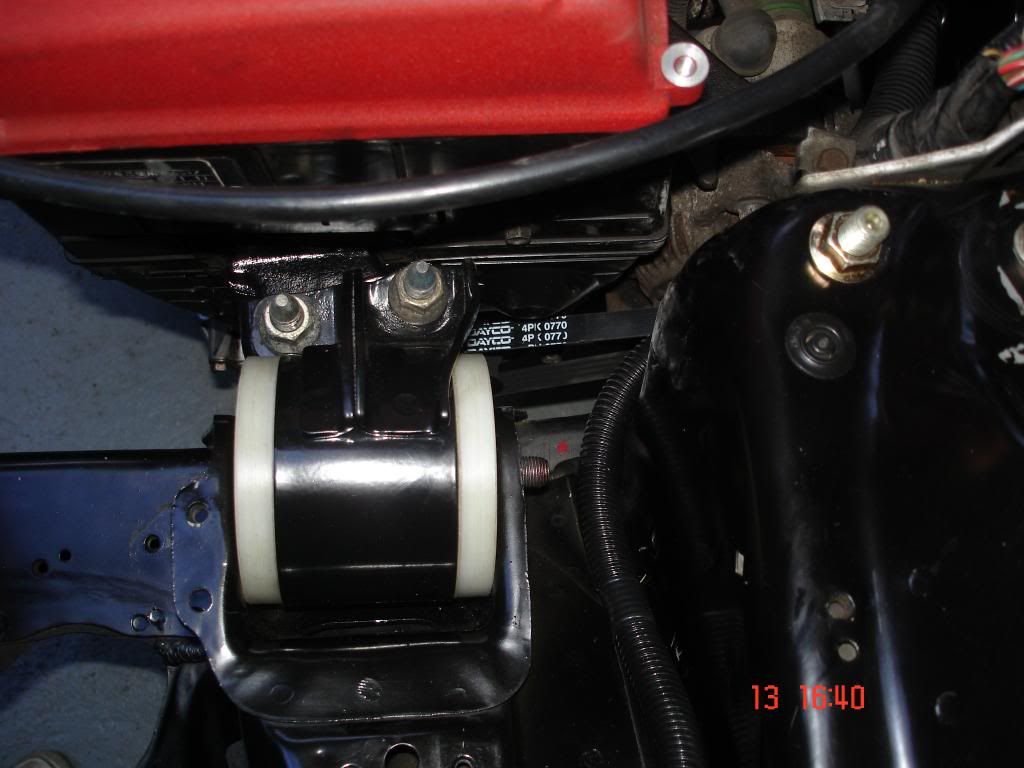
Orderd some SW Motorsports Poly engine mounts that are used in the Civic cup race cars and there Subframe lock kit, hopefully get theses soon and still waiting on the Buddyclub short shifter as i thought while its all off why not :D

Soon as i get everything sat here its all go, car will be torn down front and back, cleaned, inspected, lubed and re built ready for next years fun :) 
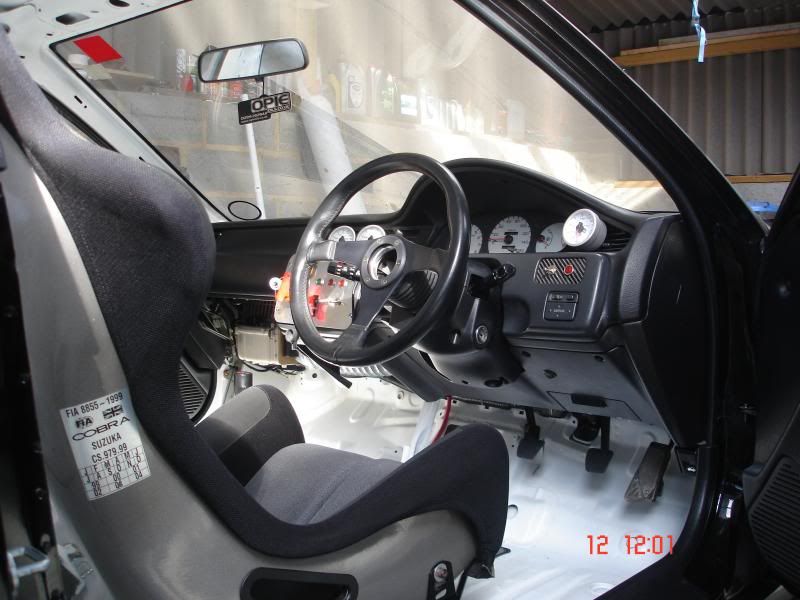
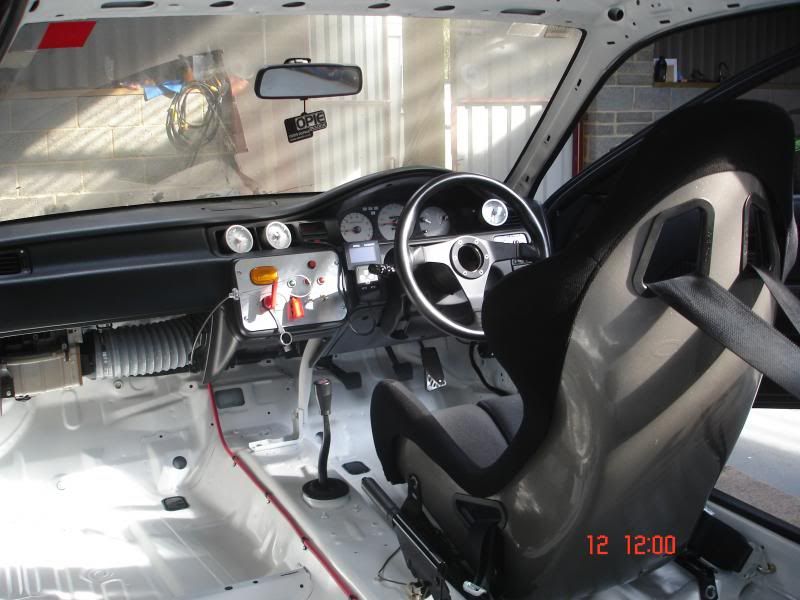
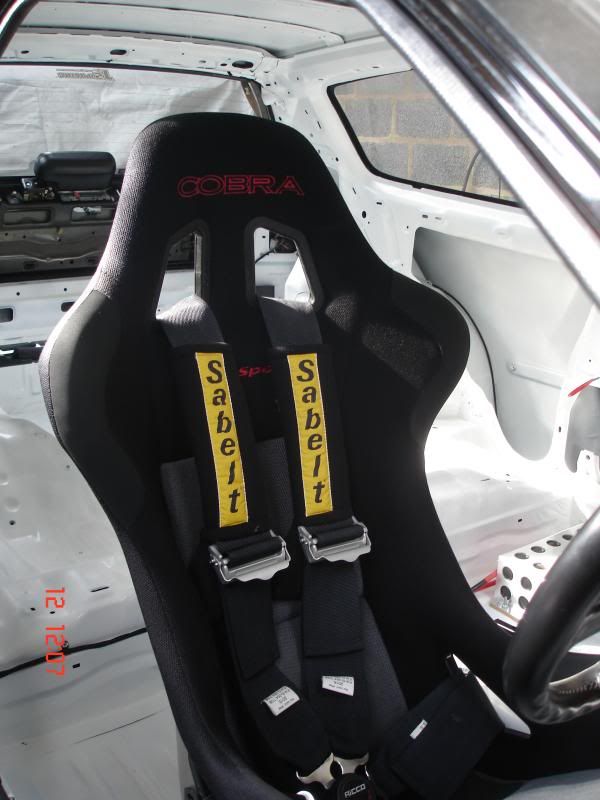
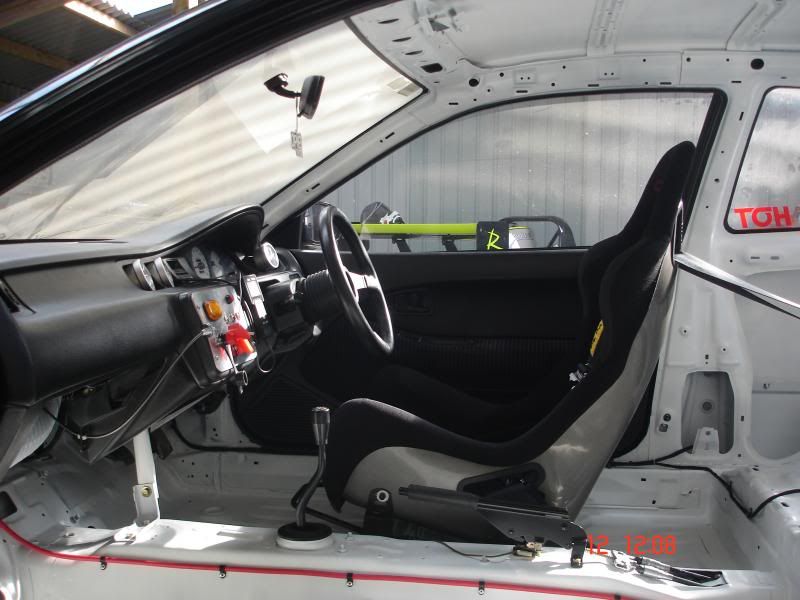
oh and not to forget the interior changes, pics to follow when i get properly stuck in with that.

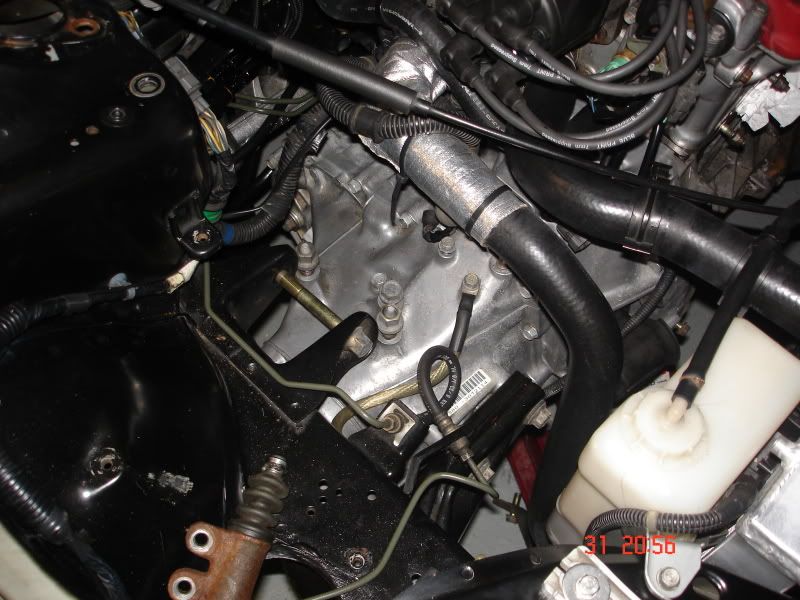
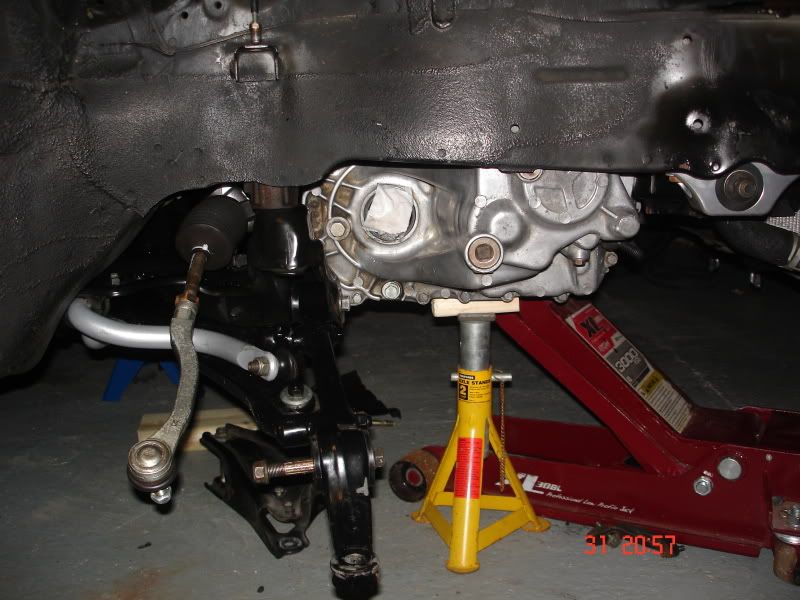
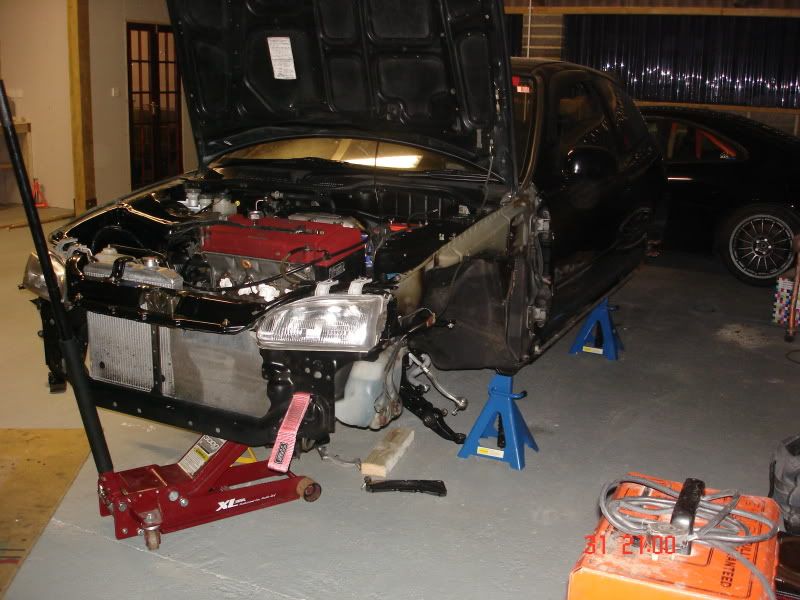
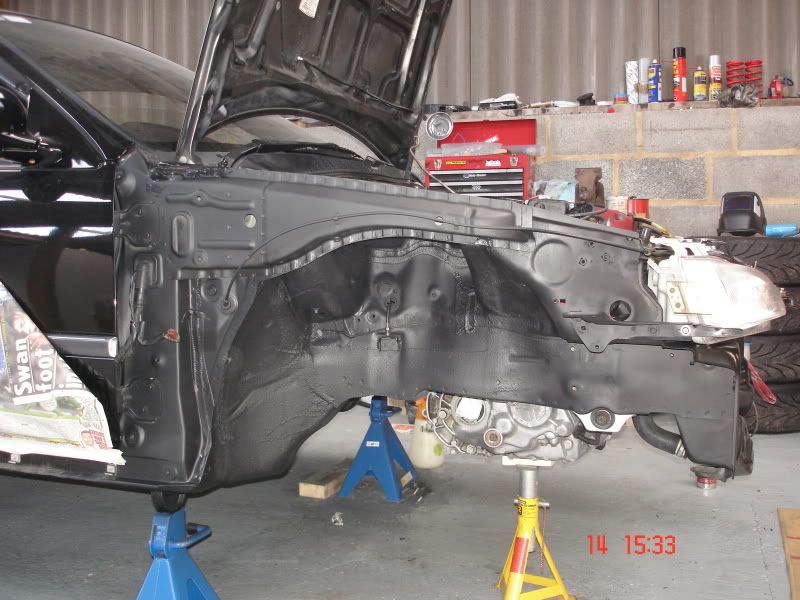
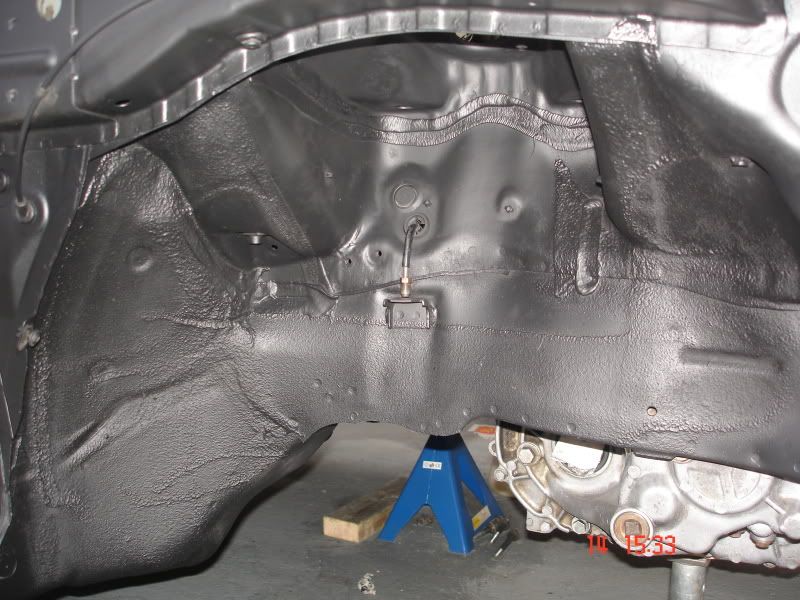
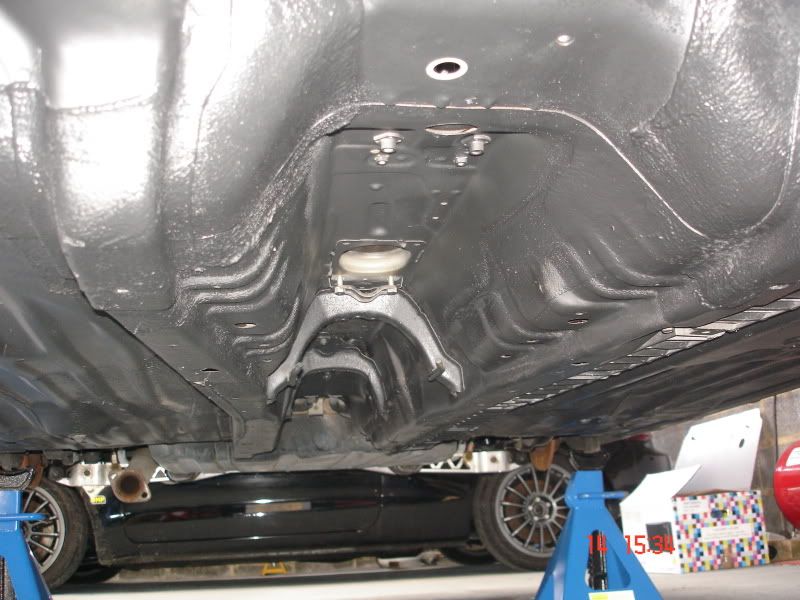
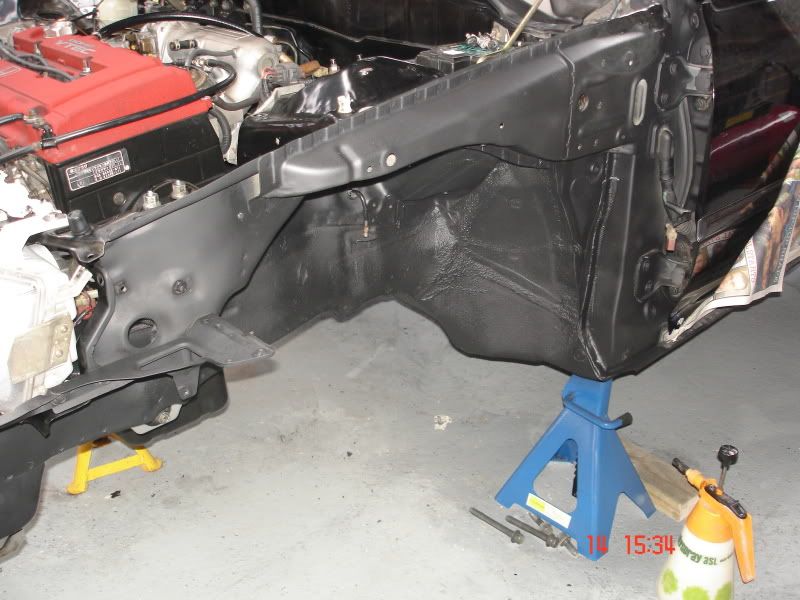
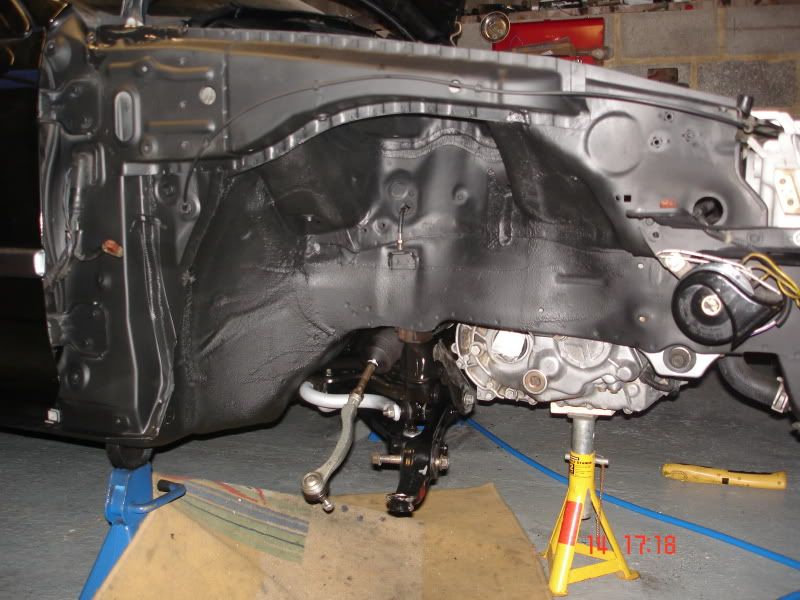
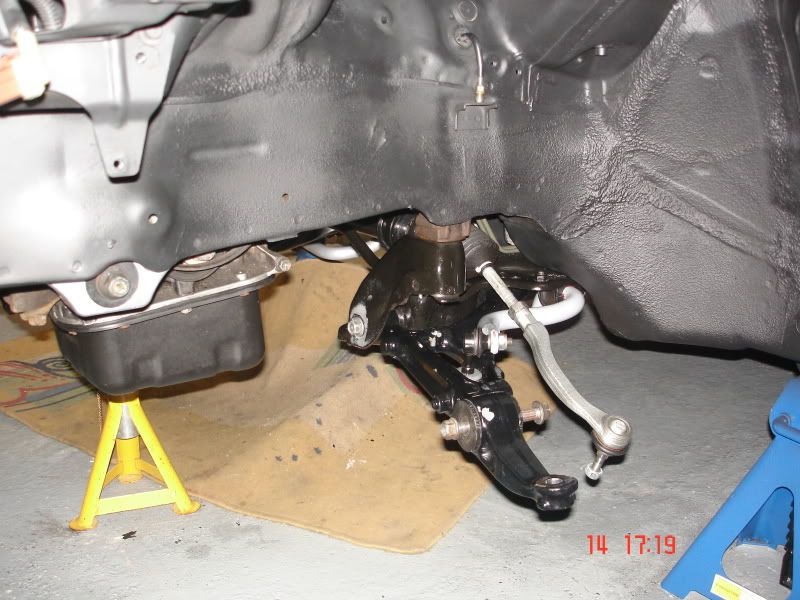
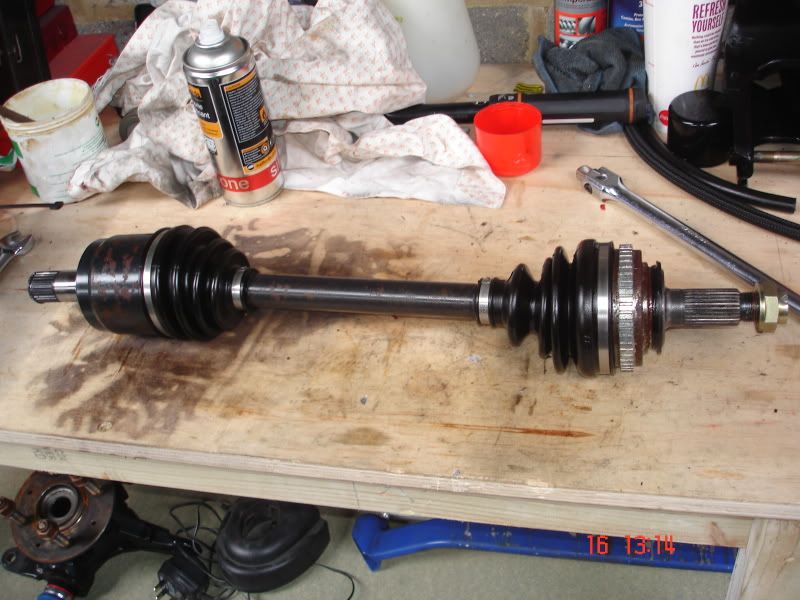
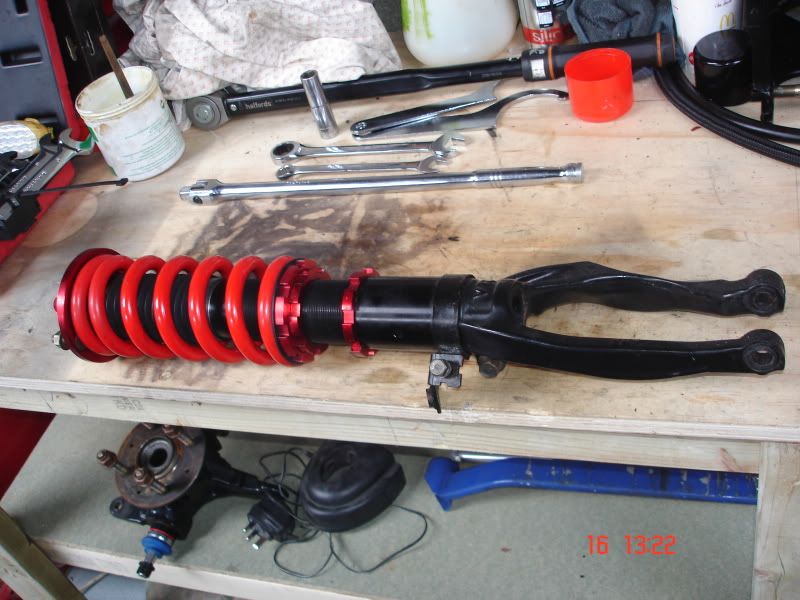
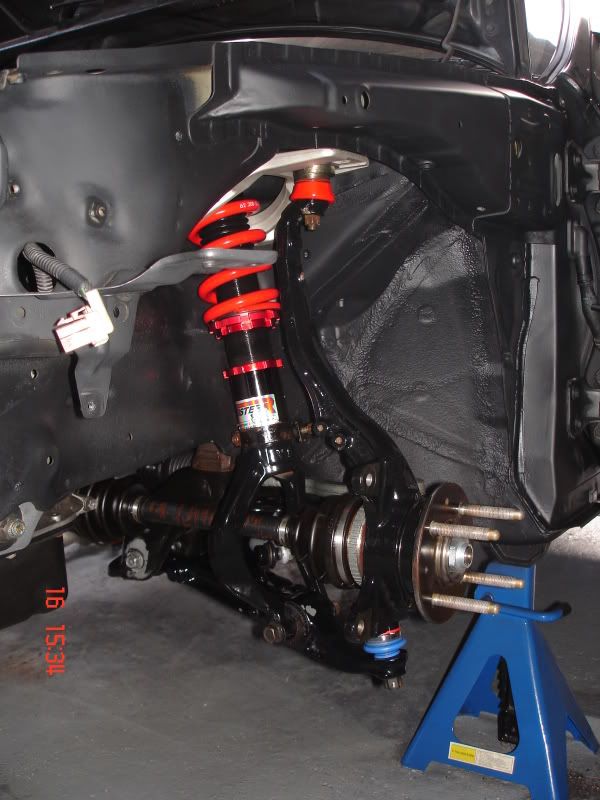
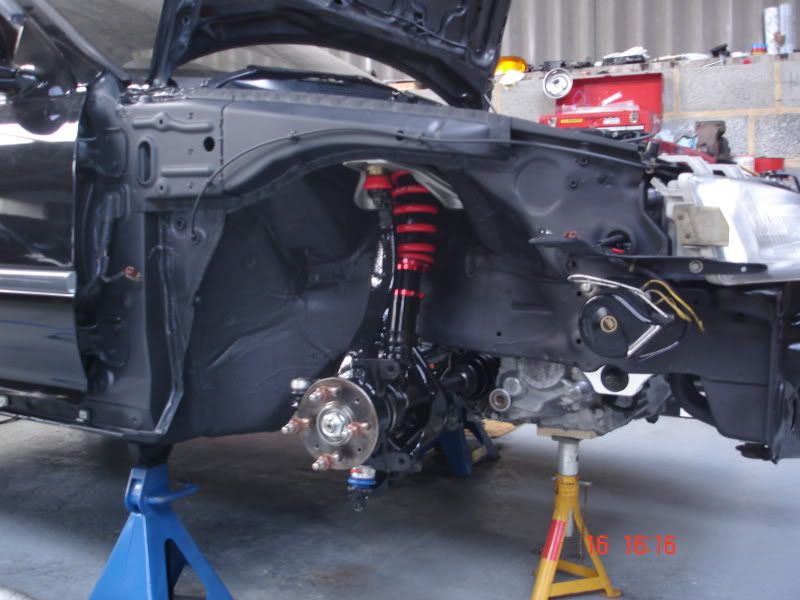
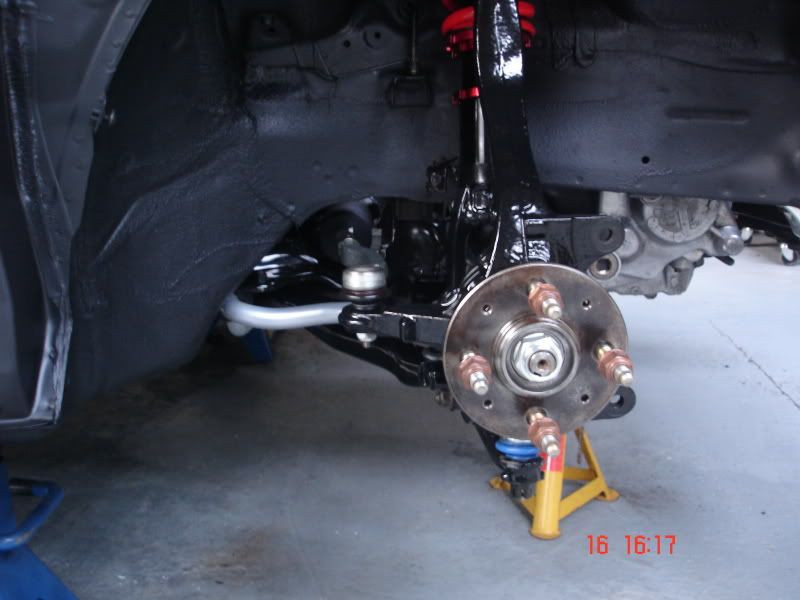
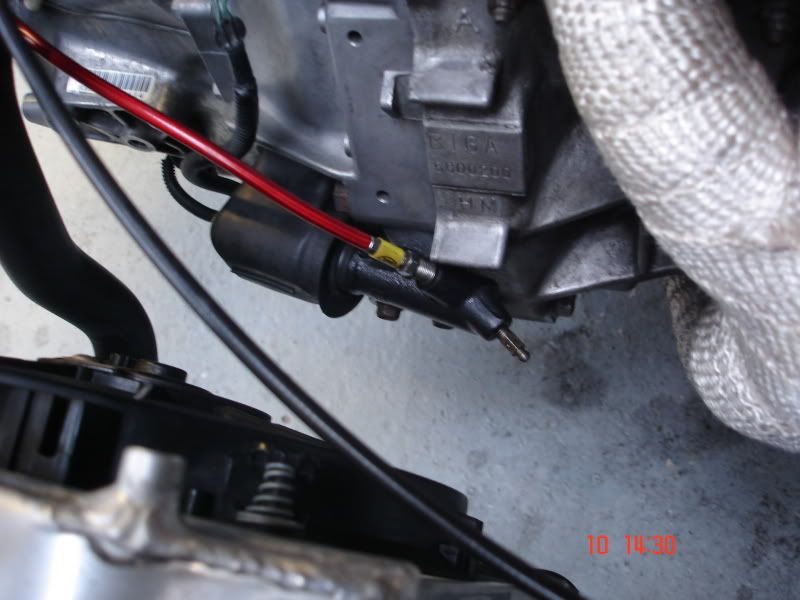
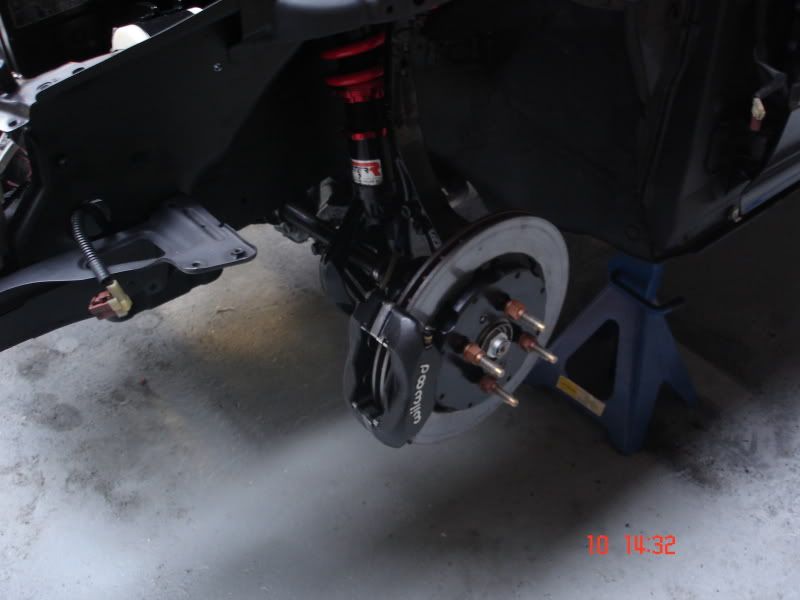
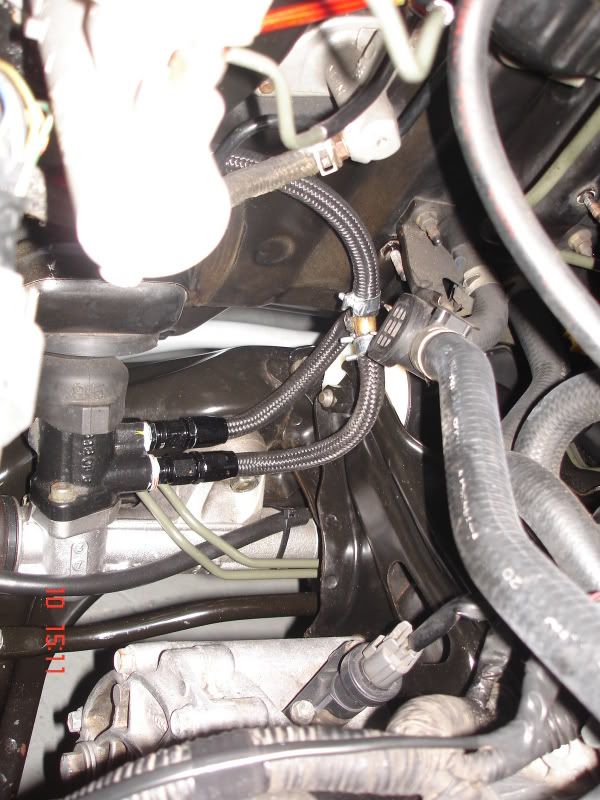
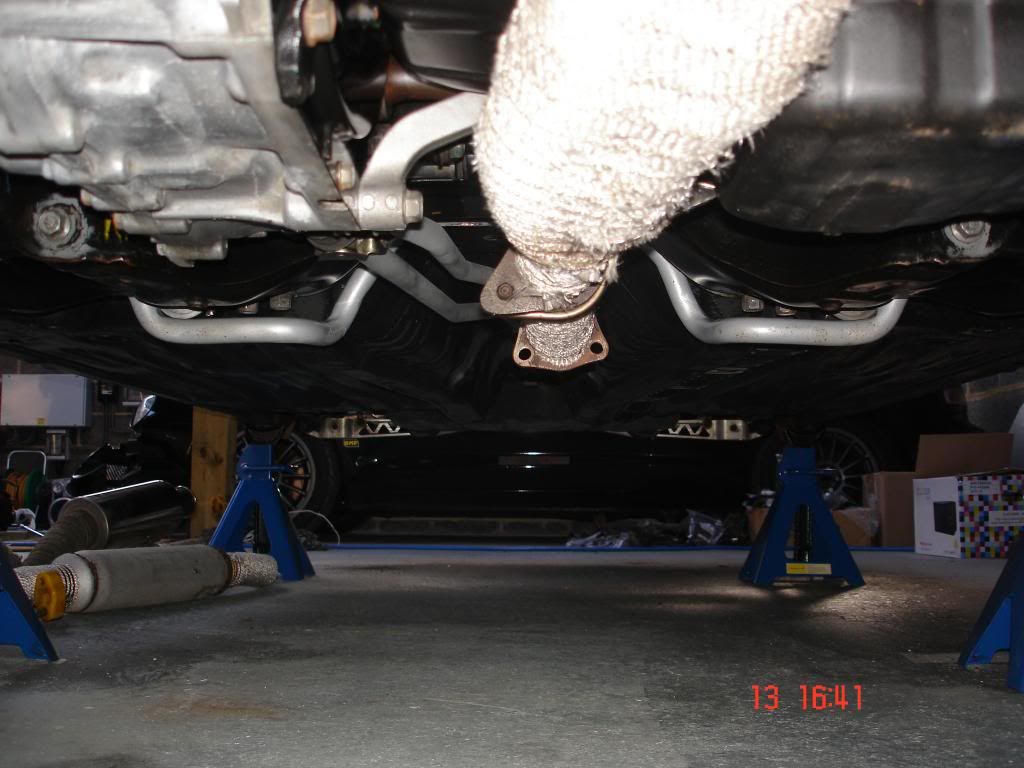
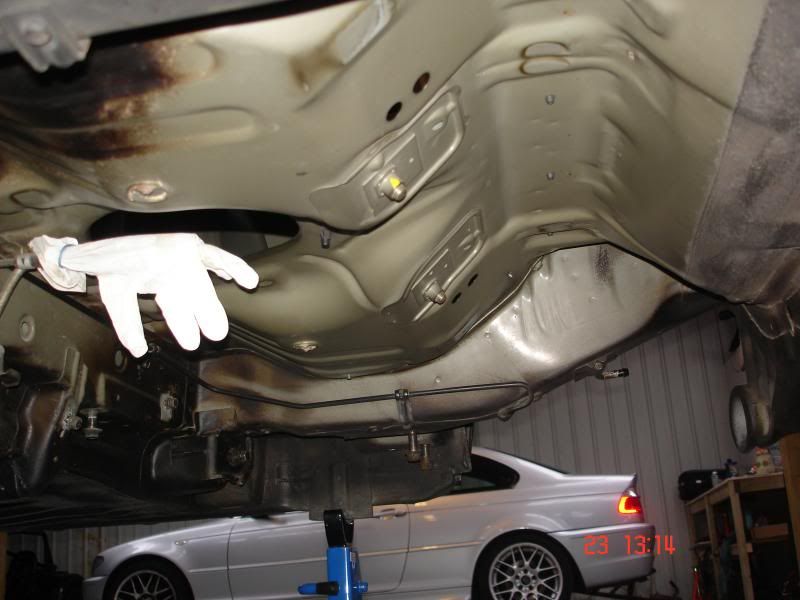
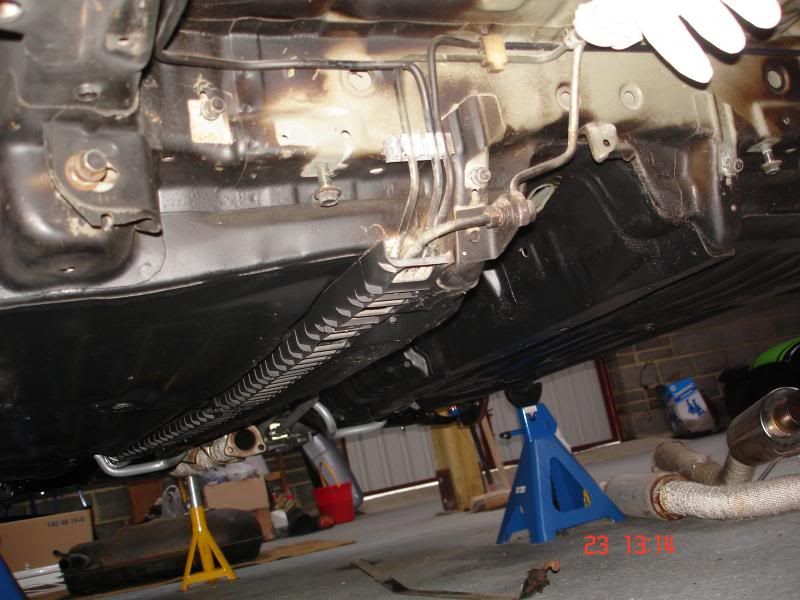
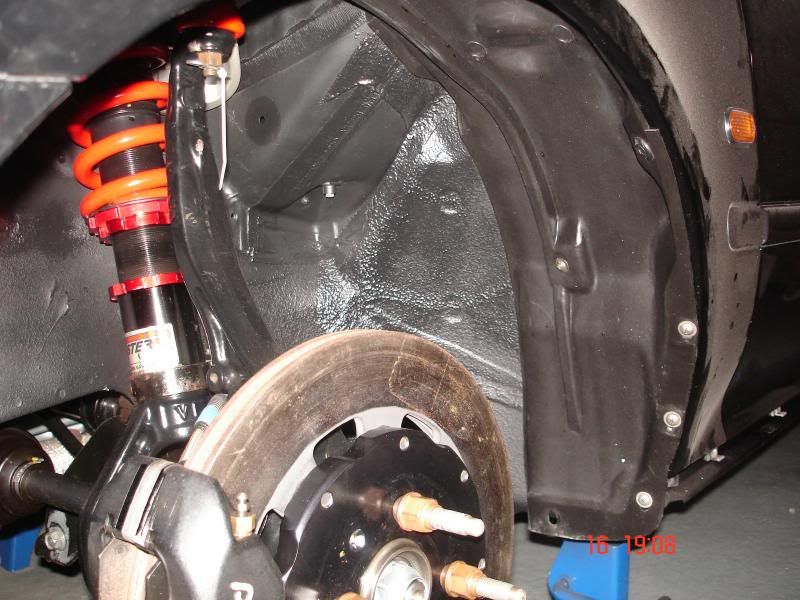
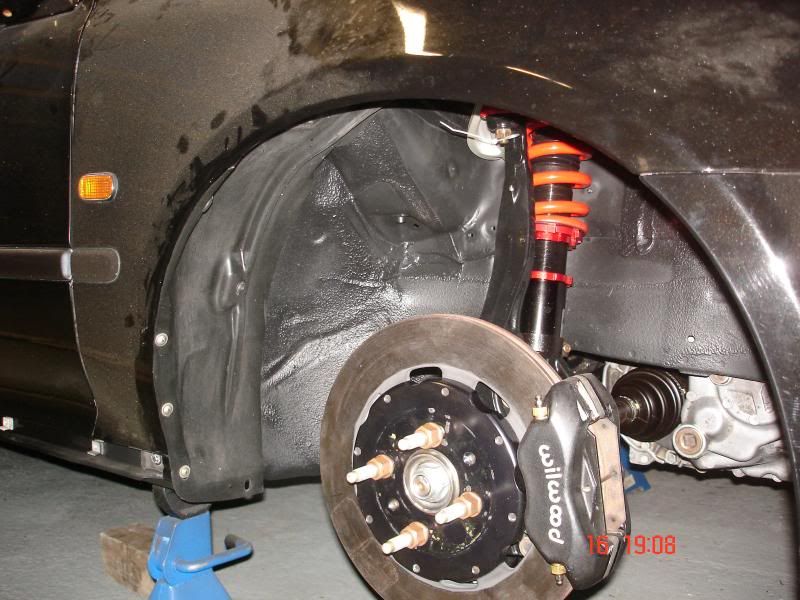
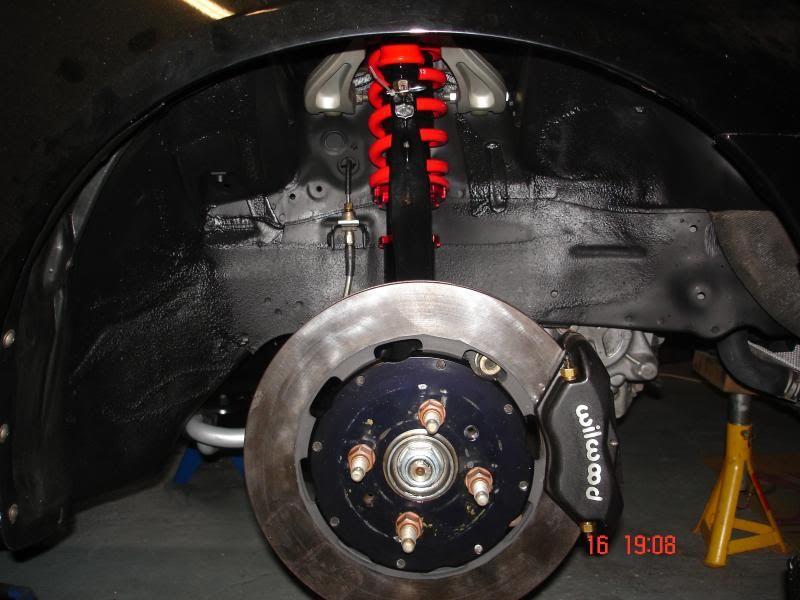
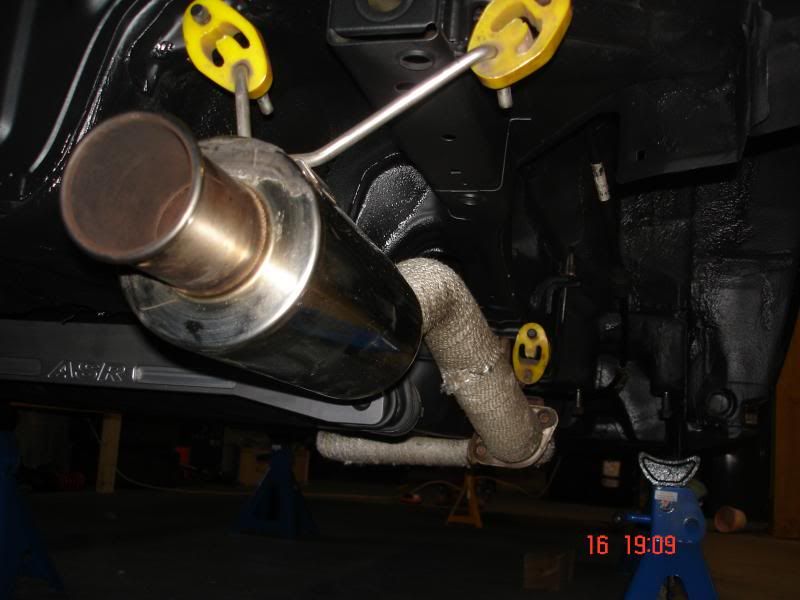
Well braved the cold and cracked on with tearing the front of the civic down this afternoon, stripped all the suspension off, driveshafts and gear linkage inc. Removed all of the power steering gubbings, Removed all the engine mounts bare the 2 front torque mounts leaving the engine supported on an axle stand so i can send the mounts off to SW Motorsport to be spruced up :) 
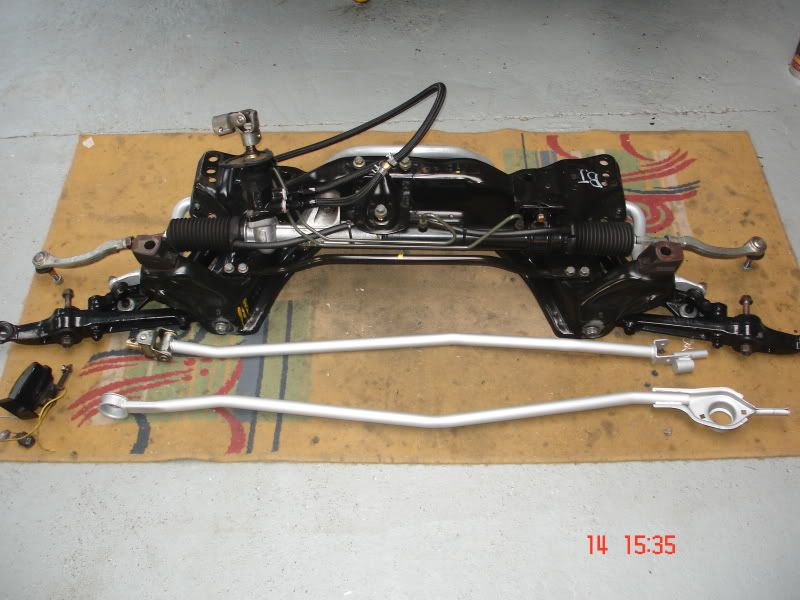
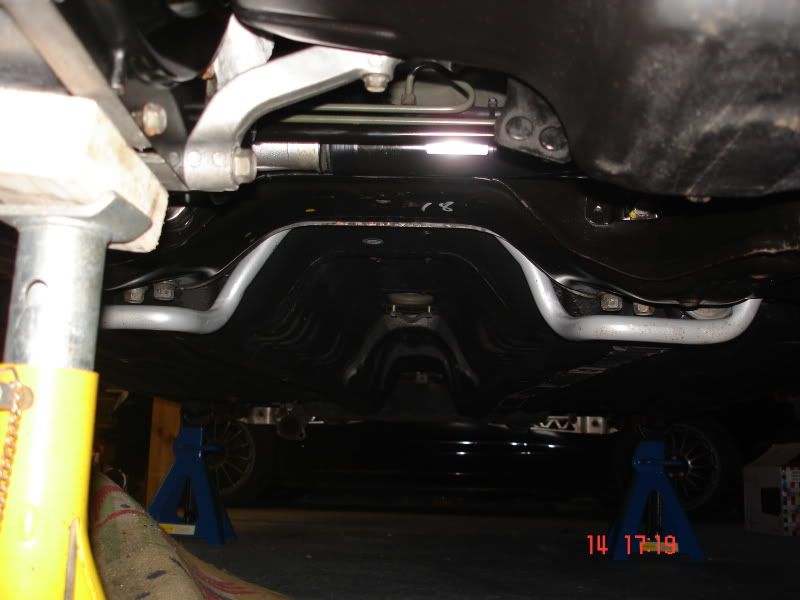
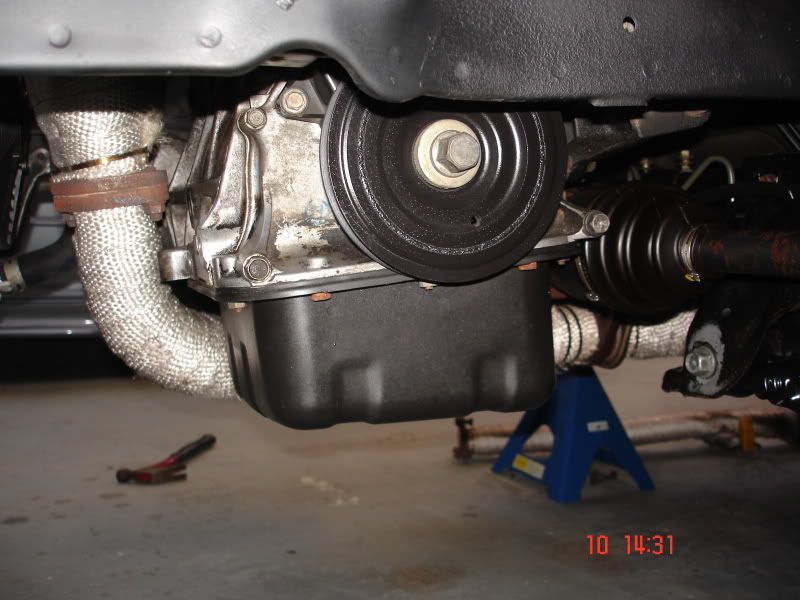
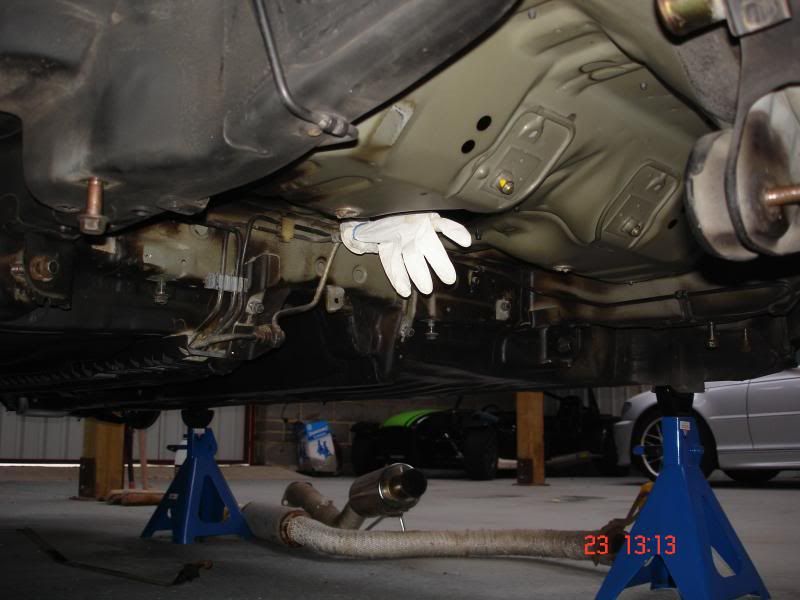
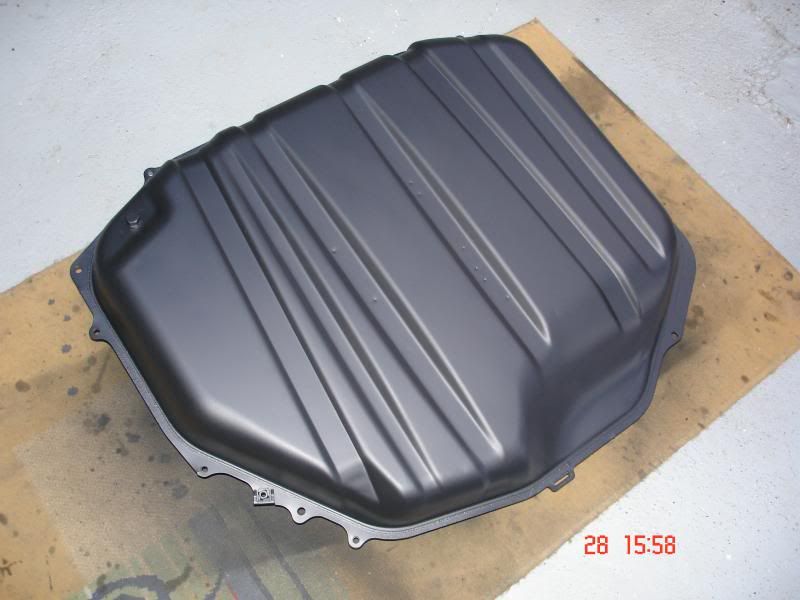
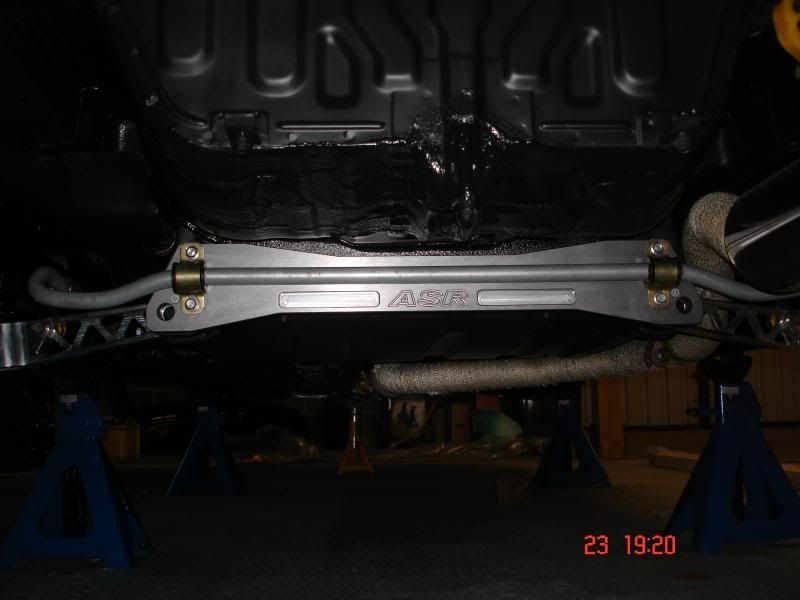
Last but least the Subframe...

DSC06036.jpg


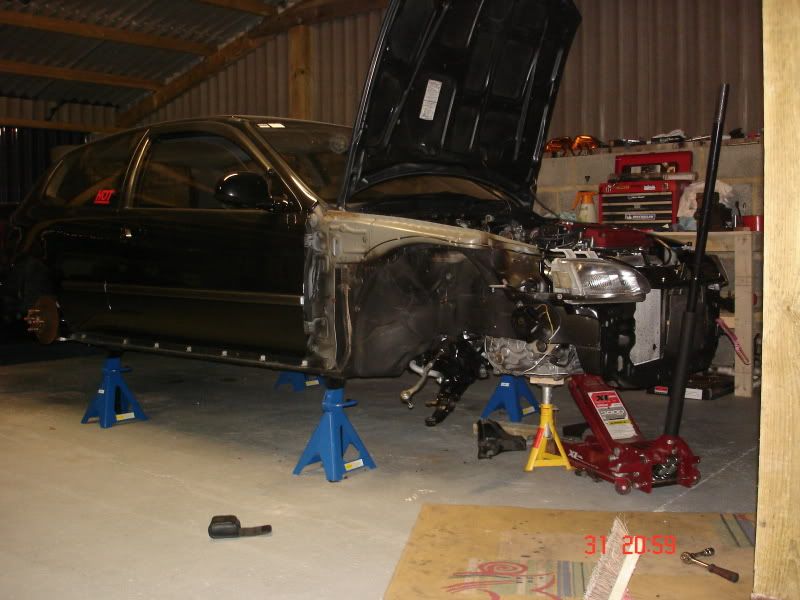
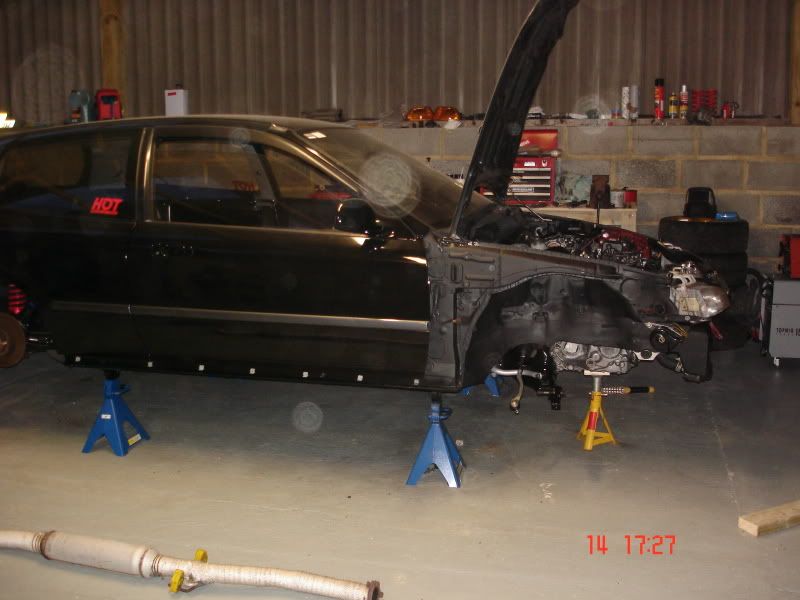
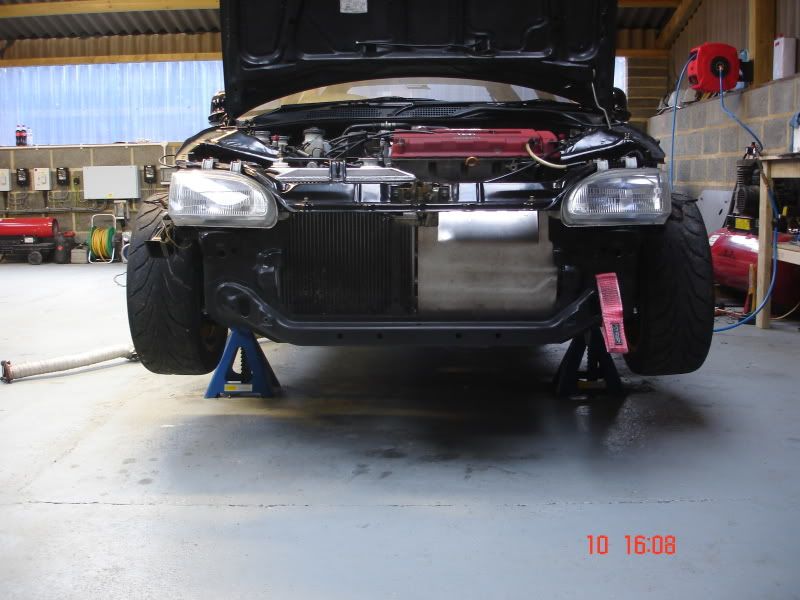
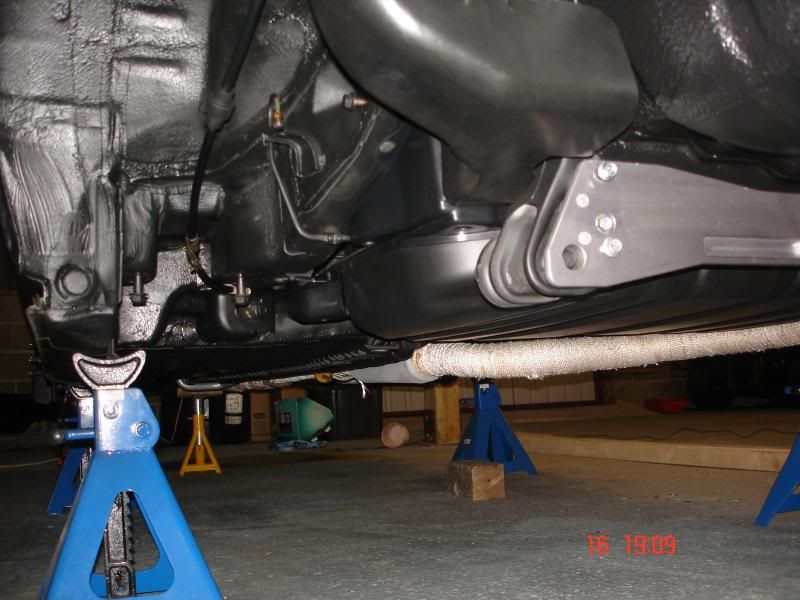
Didn't get any pictures of the rest of the car as it was dark by the time i packed up but the bay is looking fairly empty at the min :(

Shall crack on during the week with stripping the subframe down, cleaning and fitting the new bits ready to be fitted back on the car another weekend :)

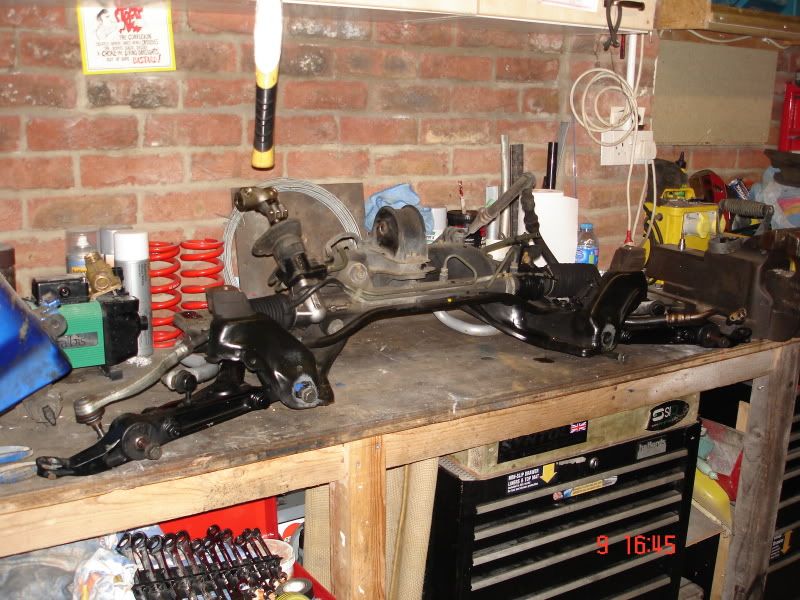
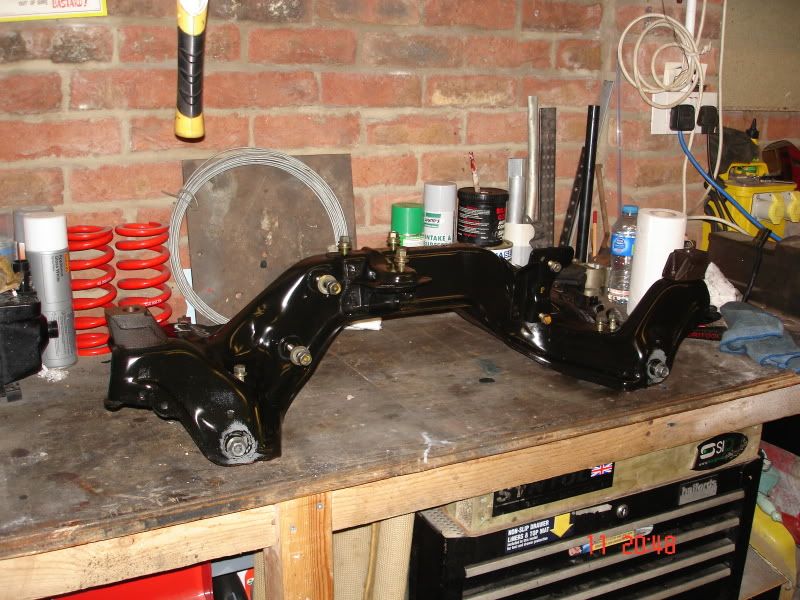
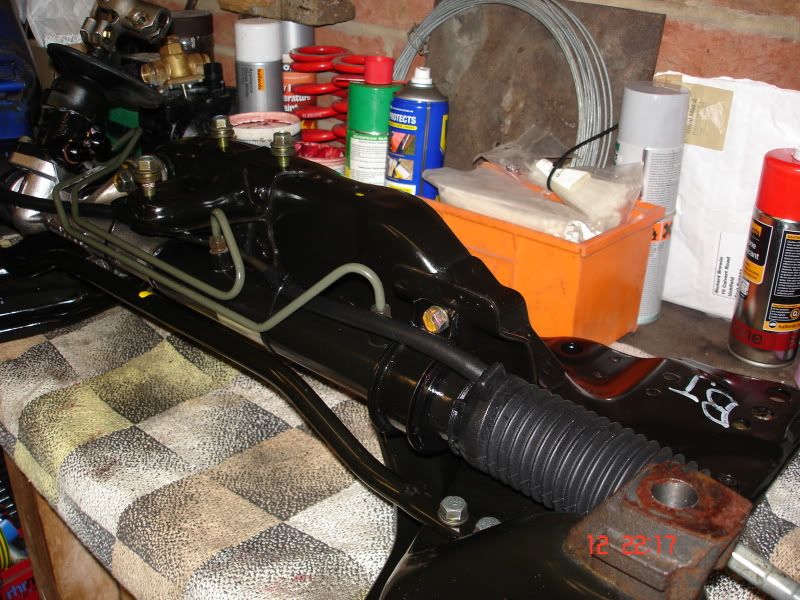
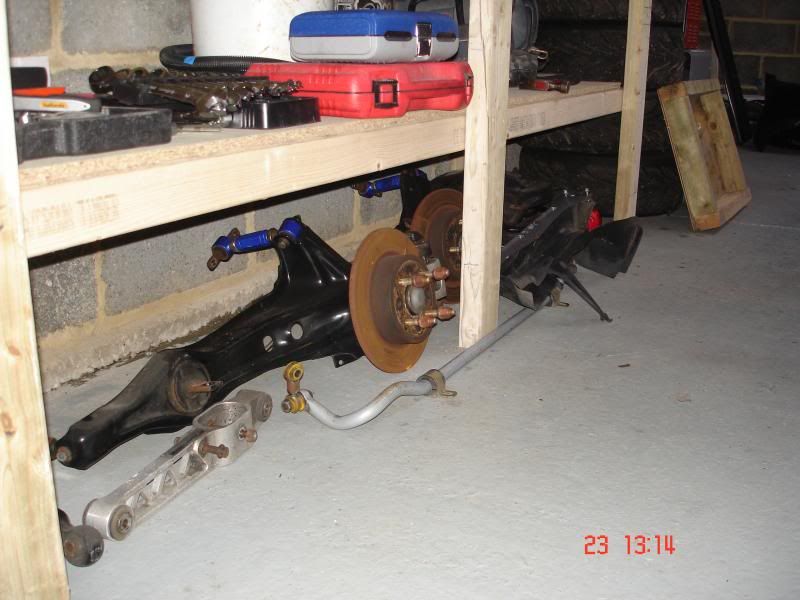
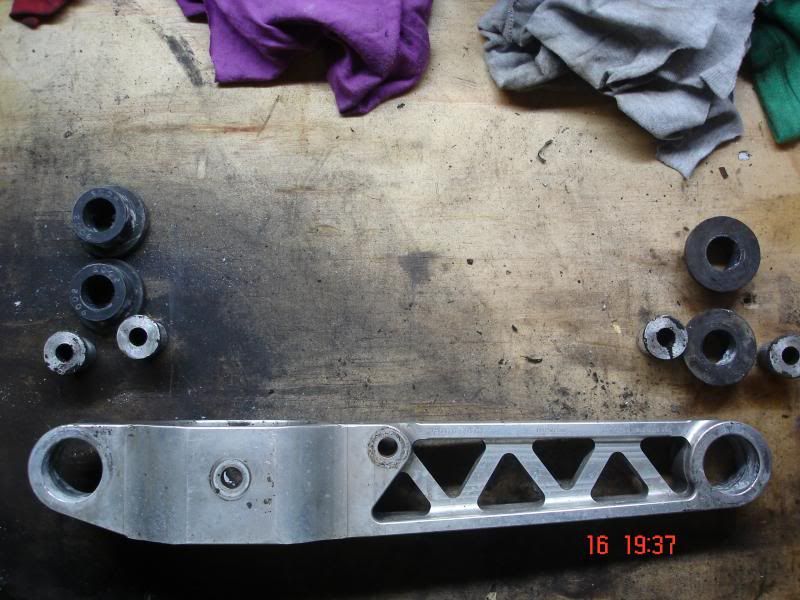
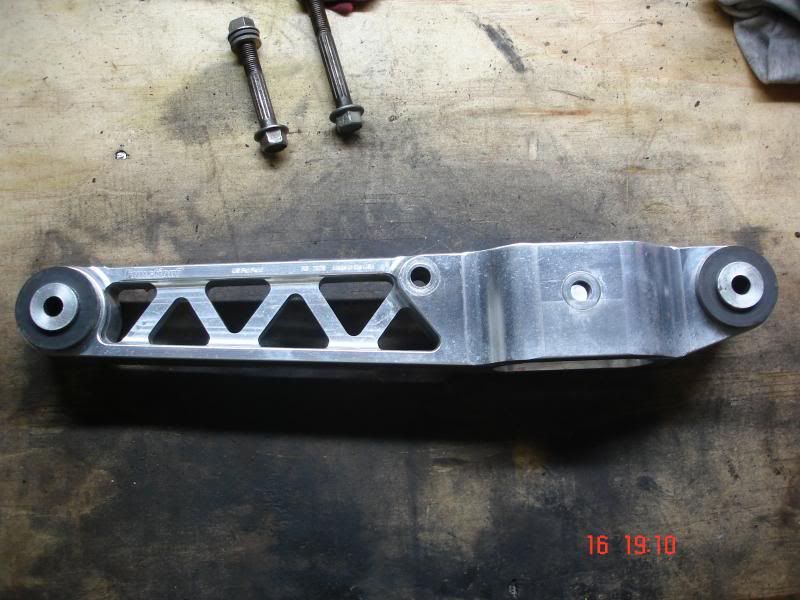
Cracked on a little tonight, got myself out in the garage and stripped the subframe down and got cleaning and inspecting.

Really surprised by the subframe not having any rust, she cleaned up a treat so no need for powder coating :)
DSC06038.jpg


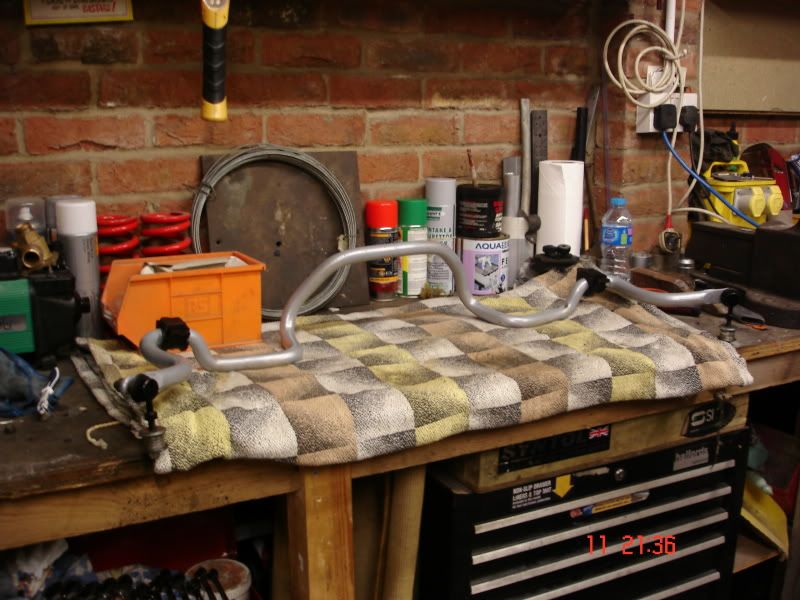
Cleaned the ARB and lubed the bushes back up with some rubber grease as they were very dry and noise. Not impressed with the powder coating its starting to show signs of rust all ready only after 2 yrs :(
DSC06040.jpg


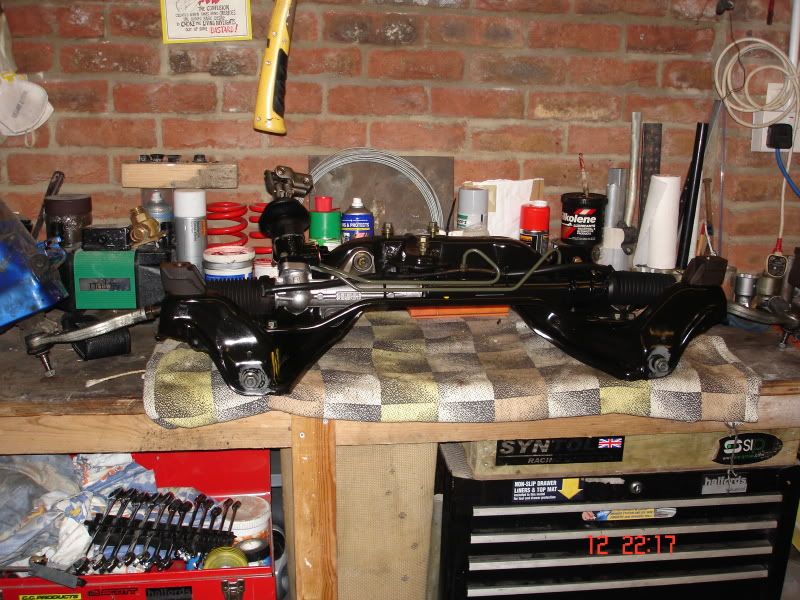
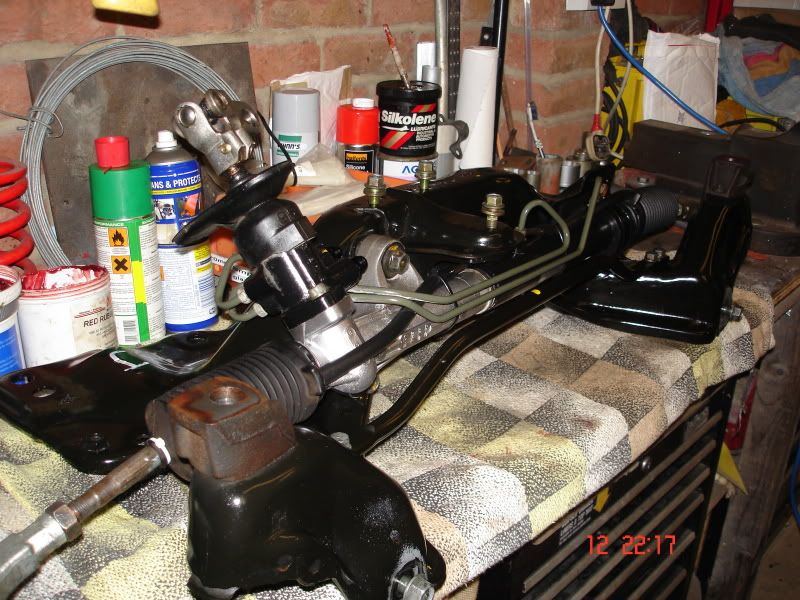
Will do the power steering rack tomorrow night, get the new poly bushes fitted and the loop kit also fitted.

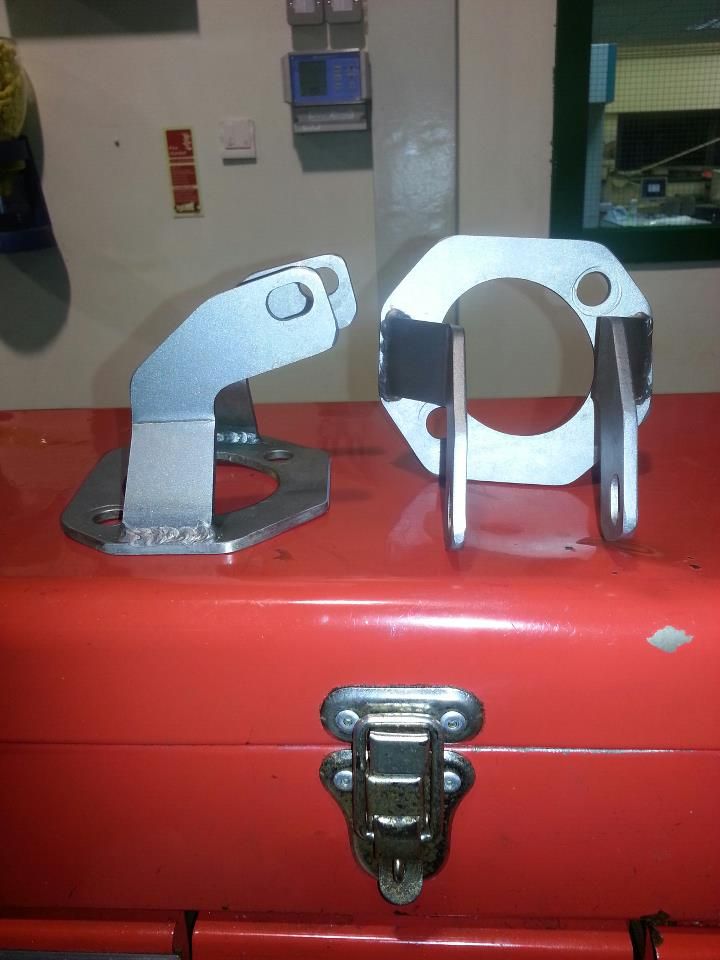
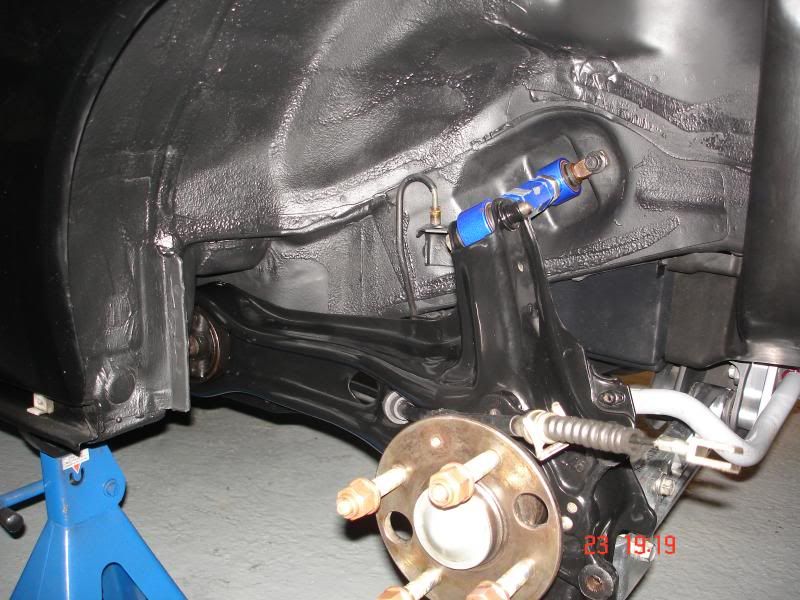
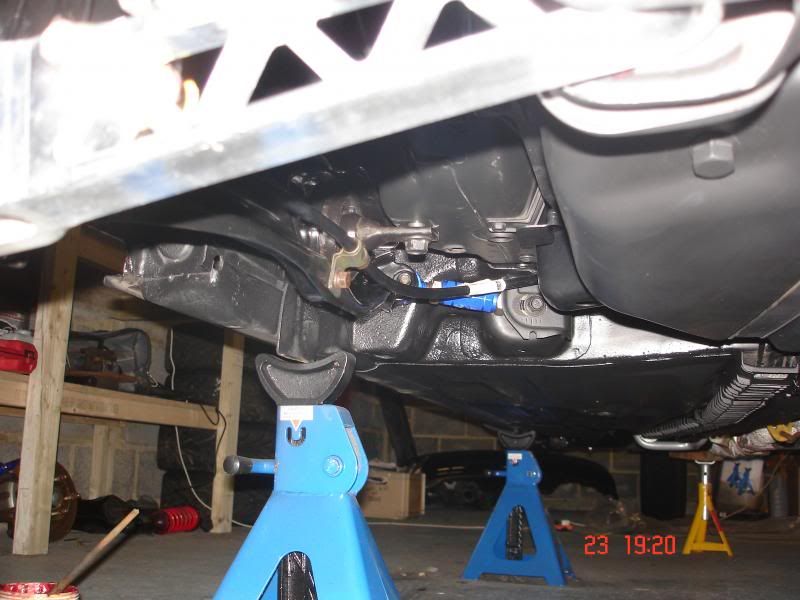
Right power steering rack is cleaned, stripped the inner and outer track rods off, cleaned all them up and re packed the inner ball and outer ball joint with grease, new steering rack boots, fitted the poly bushes (What a cow they were) modified the bracket that holds the steering rack as there was a part that was no longer needed so weight saving in mind cut it off and re coated black then reassembled it all back on the subframe :)

DSC06042.jpg

DSC06043.jpg

DSC06044.jpg


More tomorrow !!

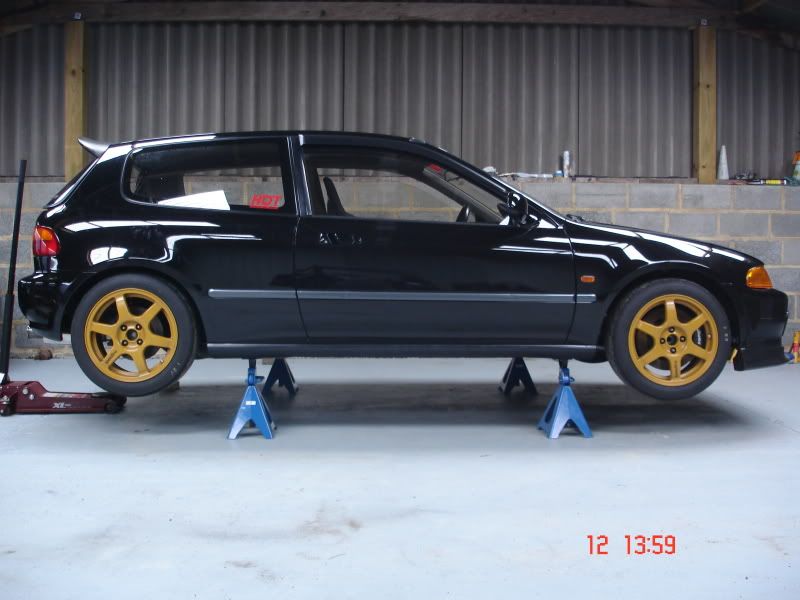
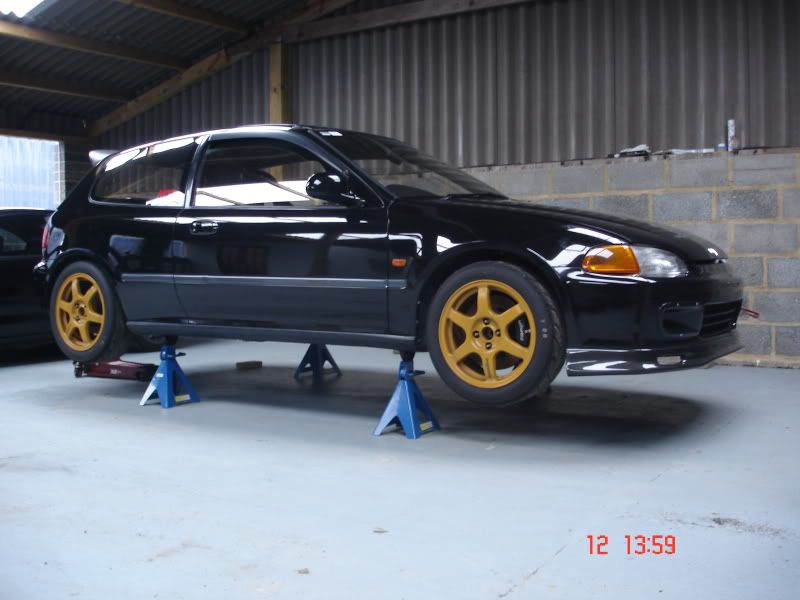
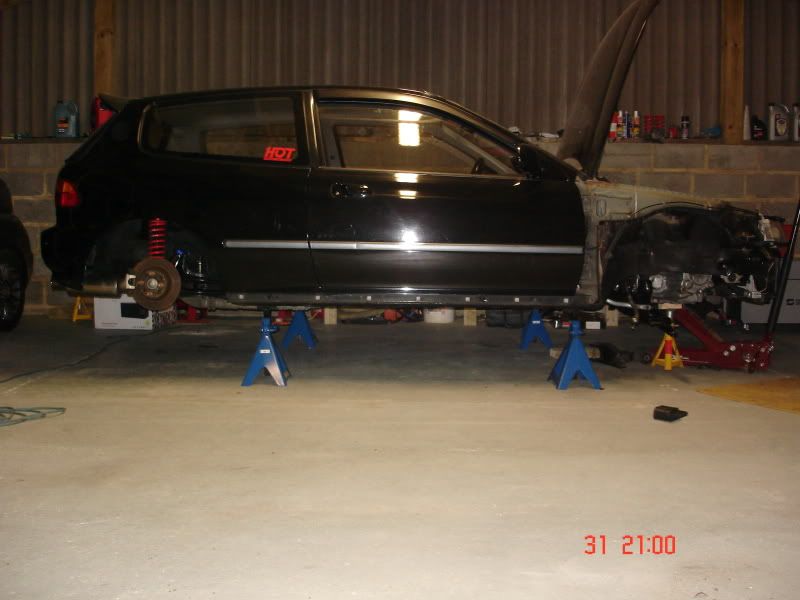
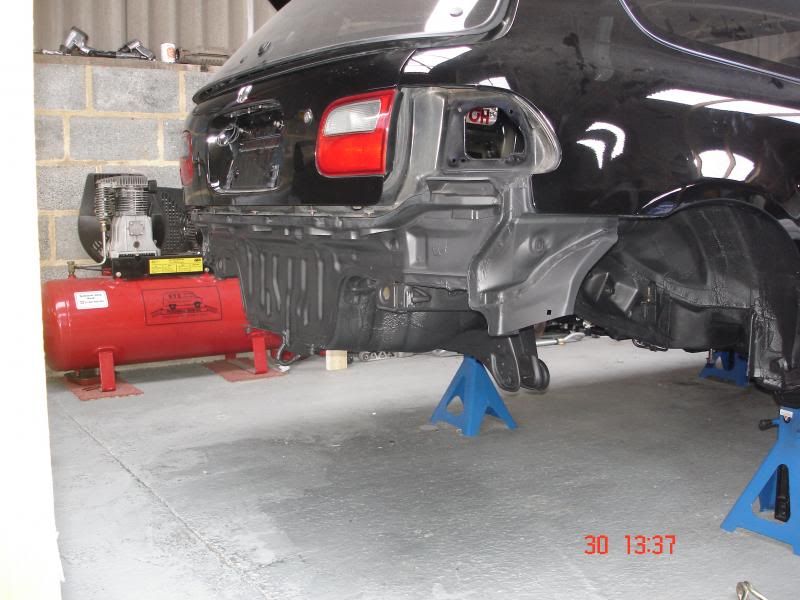
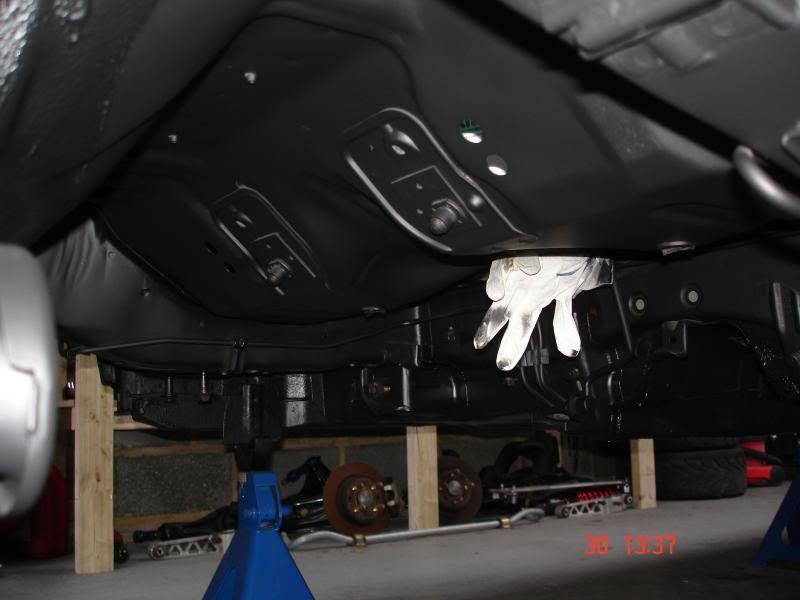
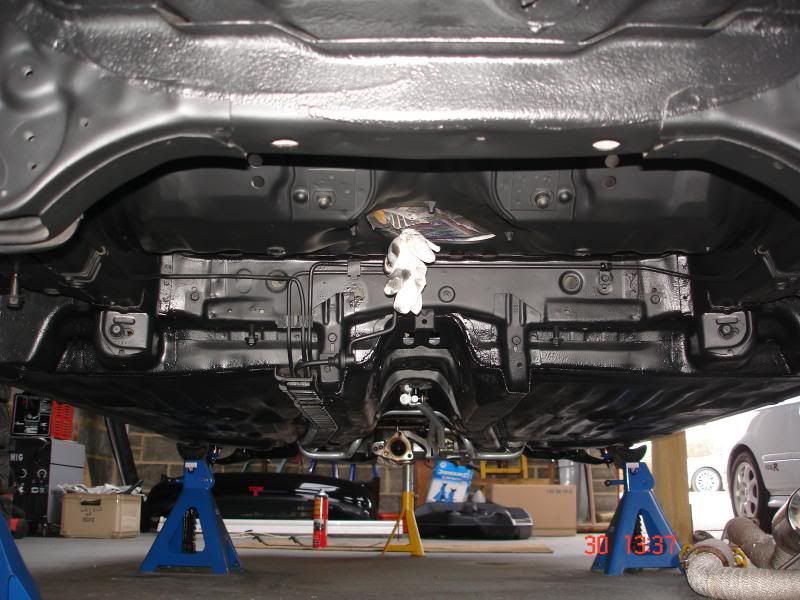
Well finally found a unit to rent with a couple friends of mine so quickly chucked the civic back together (No engine mounts so wood was used here) and got it in there :)

Civic is all washed and in the unit, now to strip her down for a good overhaul again :)

DSC06115.jpg

DSC06116.jpg


Little update,

Civic is stripped down at the front everything from gearbox to lights, to wings, decided whilst its in bits i might as well go all the way and strip it down properly and clean it all up, spray bits, wire tuck bits etc..

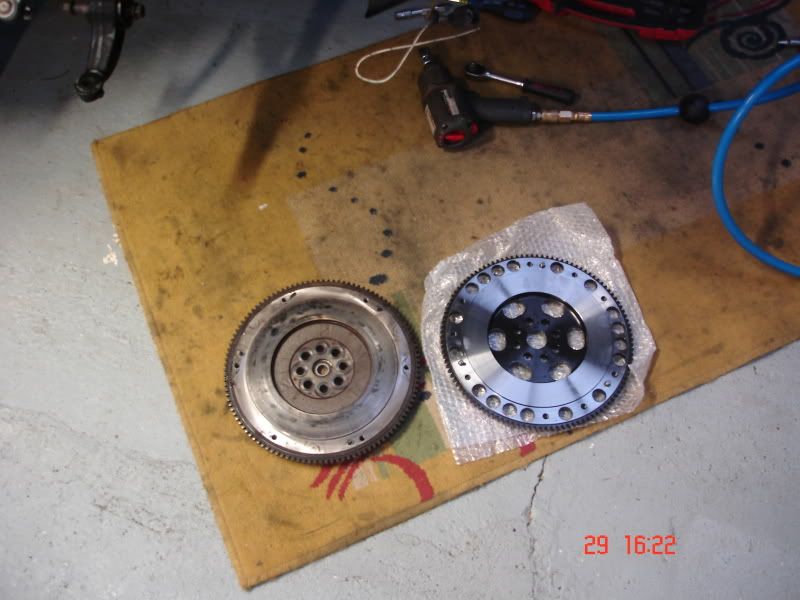
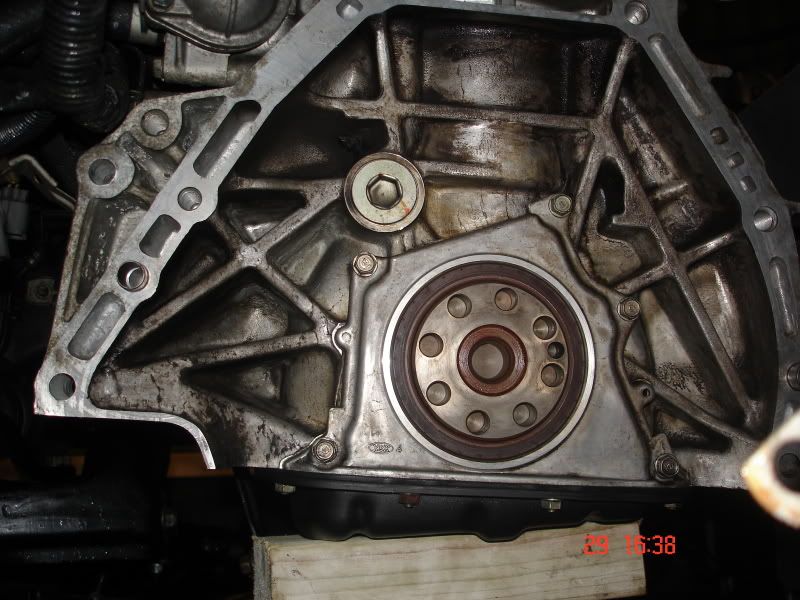
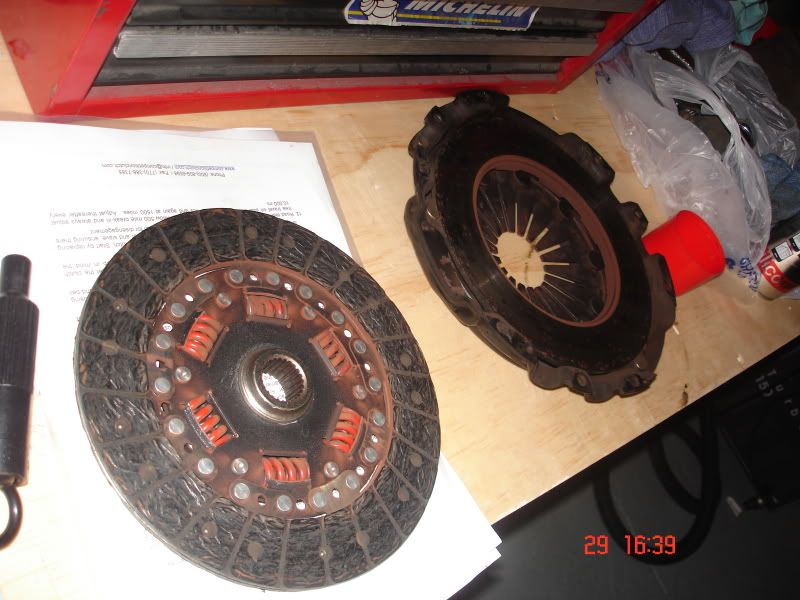
Didn't manage to get any pics yet as the camera decided to be a complete ****! but got a few of the flywheel and clutch off. Be back at the unit tomorrow with a new camera :)

DSC06131.jpg


DSC06134.jpg


Needs a bit of a clean.

DSC06137.jpg


Plenty of life left in this yet, but thinking stage 4 puk clutch soon so i can really tear the civic a new arse hole when its back on its wheels which i cant wait for :D

Hopefully have the box back on tomorrow and subframe back off ready for its subframe lock kit and engine mounts to be fitted.

Also had my strut brace ends media blasted as the paint was starting to flake
396102_10152394651385577_1934407323_n.jpg
 
Popped up the Workshop for an hour this evening to slip the gearbox back on :) Love how easy it is to work on this car.

Pre gearbox
DSC06139.jpg

DSC06141.jpg


And new gearbox on
DSC06142.jpg

DSC06143.jpg


Car in several bits including the interior
DSC06147.jpg

DSC06149.jpg

DSC06150.jpg

DSC06153.jpg


With a bit of luck my engine mounts will show up tomorrow along with the subframe lock kit so i can re assemble all the suspension etc. but still have the front chassis legs to spray and new ITR rad to fit so plenty to do :) then its onto the rear of the car.

Whipped my crank pulley off for my buddy to turn down at work, nice bit of free weight saving :D Lick of paint and back on it goes.


HondaB16Acrankpulley_zps76805833.jpg

HondaB16Acrankpulley2_zps0ef54dfc.jpg


New solid engine mounts arrived today, unpacked had a look then re packaged them up. Turns out the Gearbox mount and finish is wrong :( still, they looked pretty :)

DSC06156_zps08d08787.jpg


Update time...

Been busy at the unit most nights this week and cracking on with a few jobs, decided the car is having a full tear down, so with everything removed from the front i decided to re coat the arches and full underside of car, well to the tank for now.

Got my subframe locker kit from SW motorsport so put them in, been wire tucking, removing god knows how much wiring and old brackets, removed and thrown away the charcoal canister, took the line from the front to the tank out, and generally taking bits off, cleaning, painting and re fitting so all time consuming stuff but actually enjoying it all again :)

Lights re fitted and masking all off, happy with the result
DSC06158_zps234c49a5.jpg

DSC06159_zps3193e165.jpg

DSC06160_zps82bb174e.jpg

DSC06161_zps4d849845.jpg

DSC06162_zps2ae9d77b.jpg


PAS loop kit fitted, subframe lockers fitted and all ready to go on. Had the gear linkage sprayed, be awhile till thats fitted due to painting the inside of the car
DSC06164_zps5f30b7d1.jpg


Subframe fitted, PAS connected and bled
DSC06165_zps443063ab.jpg

DSC06167_zps238fbfdb.jpg

DSC06168_zpse36618bd.jpg

DSC06171_zpsb06db07d.jpg

DSC06166_zpsd757e889.jpg


Shes squeaky clean at the front, just a matter of dismantling the coilovers and cleaning, removing the pistons from the Wilwoods to inspect clean, re build and do the same with everything else on the front, once that's back together i can focus on the back of the car removing the tank etc...
 
Right cracked on a little over the weekend, everything seems to be taking an age to do but think that's because im taking my time cleaning and making sure everything is good to go.

Got the drive shafts all cleaned up, inspected the boots etc.. all good here so set about fitting them and as always they slipped on nicely with a dab of grease on each end for good measure :)
Only got a pic of the one shaft as i got carried away with the other but you get the idea :)
DSC06181_zpsc15df7e8.jpg


Next up was to clean the coilovers which meant stripping them down, quick clean and rebuild.

One Meister R coilover
DSC06182_zpsfce2e042.jpg

DSC06186_zps1400a707.jpg

DSC06190_zps67043245.jpg

DSC06191_zps6146e44b.jpg


re build with ACF-50 spray.
DSC06192_zps2ab9e124.jpg


Back on the car, preload and height set.
DSC06193_zpse2f7395d.jpg

DSC06194_zps67b68964.jpg


Knuckles all cleaned up, Camber arms stripped, cleaned, rubber grease on the bushes, a little ACF-50 on the ball joint slider plate, back on they go along with some new drive shaft nuts :)
DSC06198_zps5467baa3.jpg

DSC06199_zpsa7c69041.jpg

DSC06200_zps49366930.jpg


Brakes to strip down, clean build back up then its on to the rear of the car, tank to drop and rear suspension to overhaul.

Thinking of re doing all the fuel and brake lines but in side the car with braided lines... oh god i can feel a spending spree coming on, someone please stop me!

We have engine mounts people!!!! :D

Chuffed with the end result of the mounts, solid, powdercoated and do the job perfectly :) but also fitted like a glove !
DSC06212_zpse6d29f02.jpg

DSC06213_zps7e0e2929.jpg


and obviously the third one hiding round the back but you get the idea the engine is supporting itself once again!

Stripped the slave cylinder down lick of paint and re built with new seals
DSC06214_zps2b1ab516.jpg


Crank pulley that was turned down now nicely painted and back on awaiting its new belt
DSC06216_zpsc8b37d7e.jpg


Callipers i stripped down, took all the pistons out cleaned and inspected them and had the seals out, all of it was still in perfect condition :) so re assembled them. Unfortunately i didn't get any pics of this stage as i forgot the camera the other day but there now fitted back on the car awaiting some new pads.
DSC06217_zps76e5d969.jpg

DSC06218_zps2dbaaa7a.jpg


Powersteering Y loop kit that i made using the Bolts Bolts standard loop kit and found a supplier of the same grade pipe to use for the vent.
DSC06225_zps68ba1200.jpg


Looking hench with its wheels on
DSC06228_zpsfd5537f0.jpg


Few little bits to tidy up like wiring etc.. then its on to the back of the car :)

Well not much of an update as decided to give the unit a good tidy up but got the new alternator belt on and set,

DSC06240_zpsbeb1c3da.jpg


Got the gear linkage reassembled, rubber greased up all the moving parts, inspected the Energy suspension linkage bushes and the ITR short shifter fitted with new rubber and all linked up to the new gearbox, what a difference... cant say i have sat in any other EG before with such a tight and precise shifter, each gear change just feels and sounds perfect, going to be awesome knocking this up and down the cogs :D

DSC06241_zpsd04b5d48.jpg

DSC06242_zpse61c450d.jpg


With the front nearly completed other than a few little bits its time to crack on with the rear tear down
 
Well stripped the rear of the civic down the other day, seeing as its all been off before it didn't take long which was nice :)

Tank off and drained, surprisingly no crud came out and quarter of a tank of Vpower for the beemer :) tank was a bit rusty and dirty but will soon get that turned around.
DSC06250_zpsc94ecd03.jpg


Rear arms etc all off
DSC06251_zps41d39614.jpg

DSC06252_zpse9e79b1d.jpg


Was surprised to see no rust under where the tank lived, really is a rust free shell :)
DSC06253_zps3753e623.jpg

DSC06254_zps0861ef6f.jpg

DSC06255_zps89fc7d7c.jpg


Lot of cleaning and inspecting to do.
DSC06256_zpse80bb4d2.jpg


Rust removal in progress, will have that all painted up in no time
DSC06257_zps08513570.jpg


Just to underseal the rest of the underside of the car.

Tank is all painted, surface rust removed, bit of etch primer and a top coat of stone chip.

DSC06276_zpsb08a6563.jpg

DSC06273_zps6304dd9e.jpg


Finally all the underside re coated for a few more years.

DSC06282_zpse243f72d.jpg

DSC06283_zps7a51192d.jpg

DSC06284_zpsb742e38c.jpg


Now for the welding and rebuilding of suspension so i can then move on to the inside of the car :)

Been cracking on every night last week, doing 10hrs at work an then straight to the unit for another 4hrs has almost killed me but its been worth the progress.

So, have got all the front end back together and buttoned up, engine all connected back up, tank is back on and connected up, exhaust back on, drop of fuel and was time to see if she would fire up after sitting for the last 6 months and sure enough first turn of the key she fired in to life like a little charm very pleased to hear it running again as it has given me more motivation to get thi done and back out to have some fun.

Carbon lip is going to make way for a different kind of splitter
DSC06295_zpsde973d57.jpg


DSC06296_zps45839a78.jpg


DSC06297_zps15bcb300.jpg


DSC06298_zps91230e7b.jpg


DSC06299_zpse3eb7f05.jpg


DSC06300_zps090ec766.jpg


DSC06301_zps082761d6.jpg


Started work on stripping down the rear suspension components, Rear function 7's being taken apart, first time since I fitted them the other year and what a cow it was removing the inserts, stuck solid but got them out, dry as a dry thing on a dry day so cleaned up, lubed up with some fresh rubber grease and simply pushed back together, should help the rear suspension do its thing a bit better now

DSC06305_zps8cd3d11c.jpg


DSC06303_zps8bda667b.jpg


Car needs a good cleaning session on the top side now as it has about an inch worth of dust and crap will have to wait till it has some wheels back on it.

Well im getting there slowly, got one side cleaned up and back together minus the caliper and disc, trying to resist just chucking it all back on and booking a trackday.

DSC06319_zps9d7aff69.jpg


DSC06321_zps756909b2.jpg


DSC06322_zps8932e238.jpg


Just got the other side to clean up, fit, clean up and paint the discs and callipers so there nice and fresh, coilovers to strip down and build up, torque up all the bolts, bit of brake fluid and a quick check of everything then she can go back on her wheels for a test drive Whooop :D
 
Back
Top