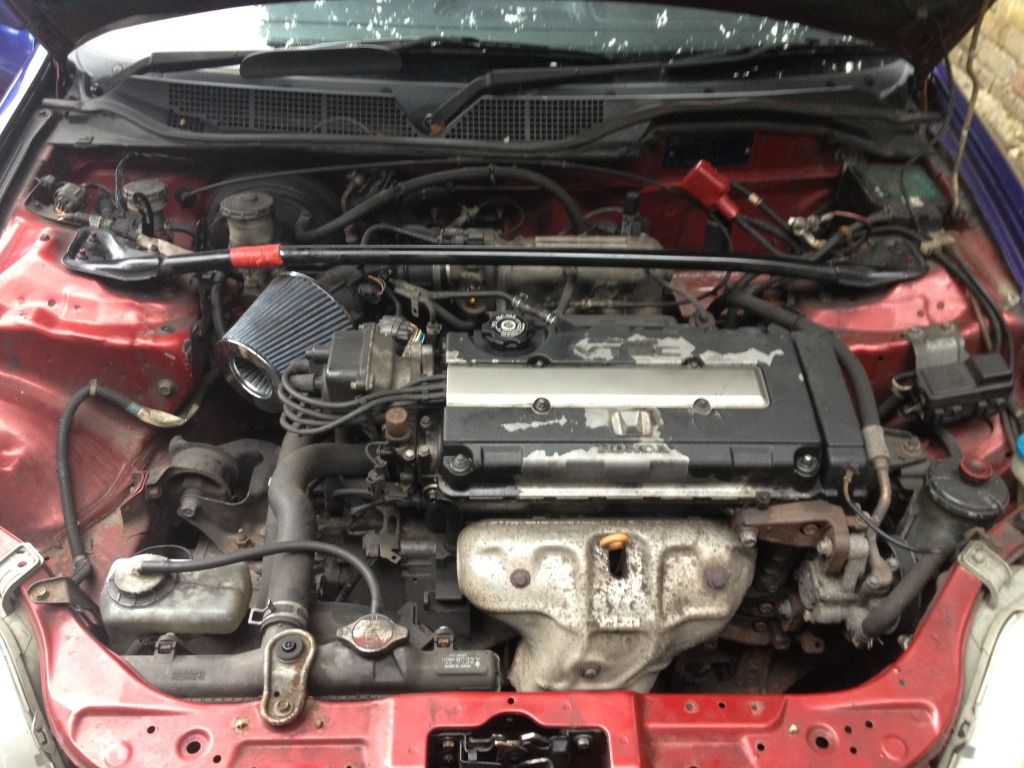
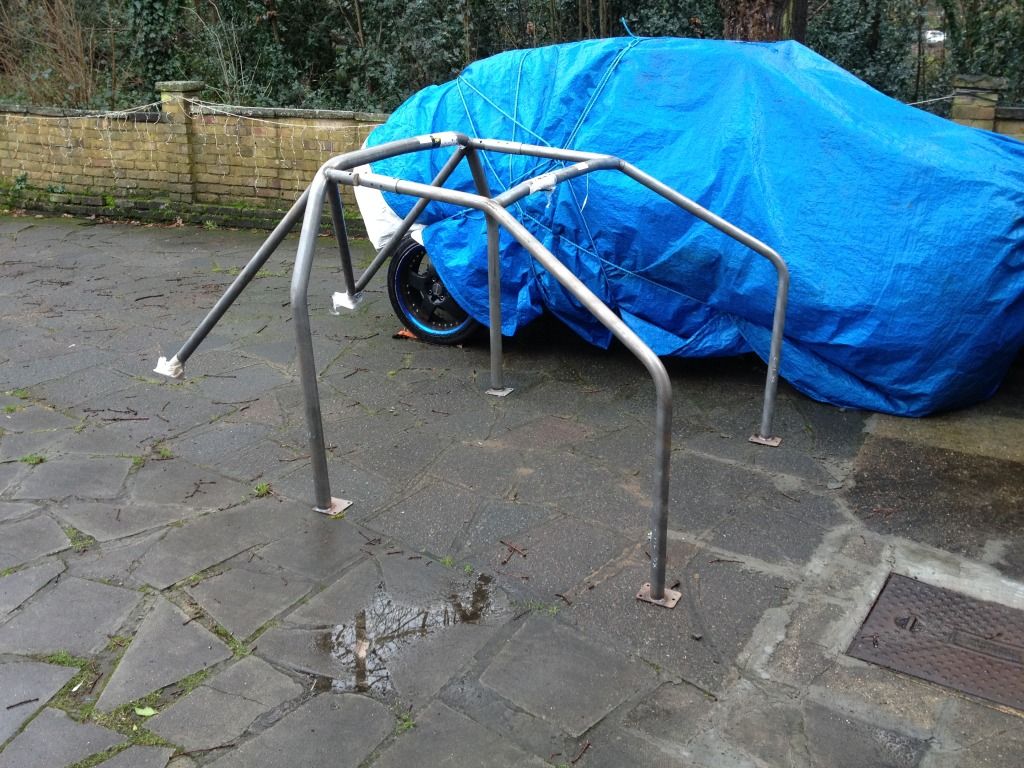
Hi all and welcome to whats going to be a very slow project. I bought a 1999 Honda Civic EK4 with a B16A2 engine with the aim to strip the car out, lighten as much as I can, rebuild the engine, put it all together and take it to as many track days as I possibly can.
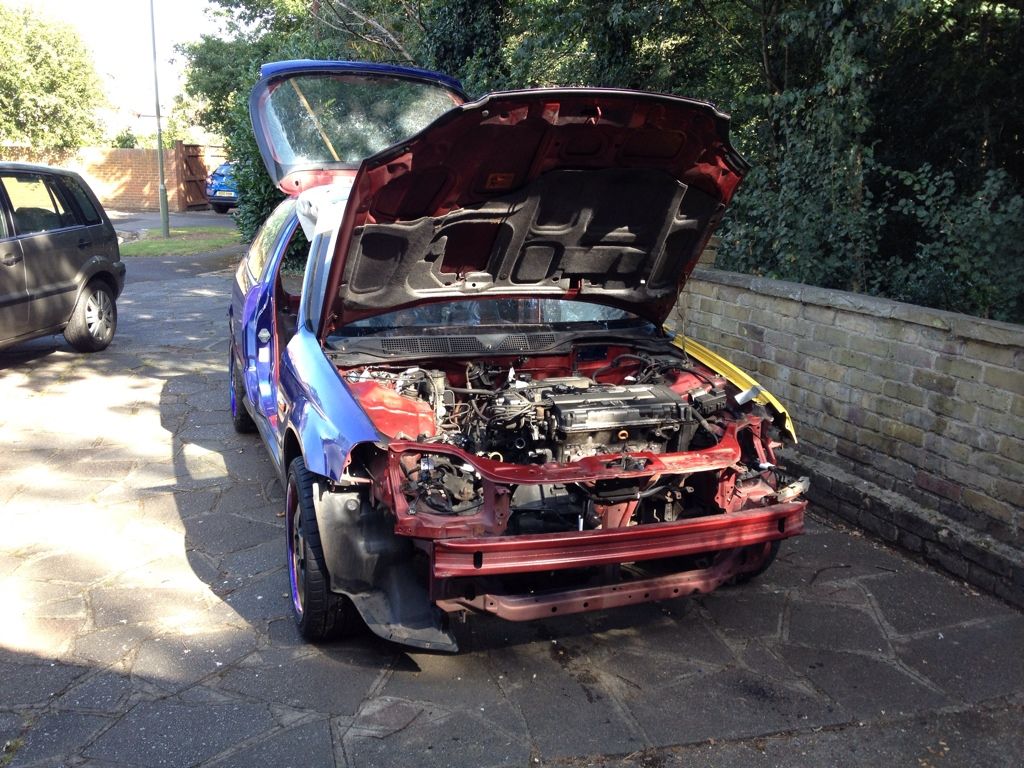
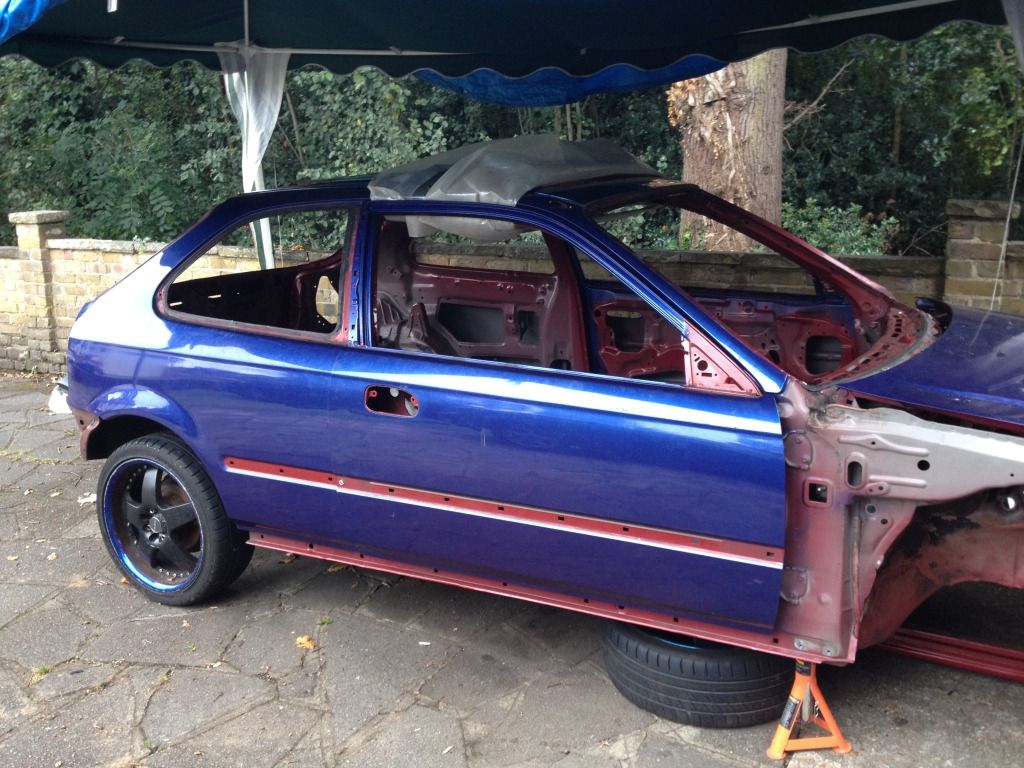
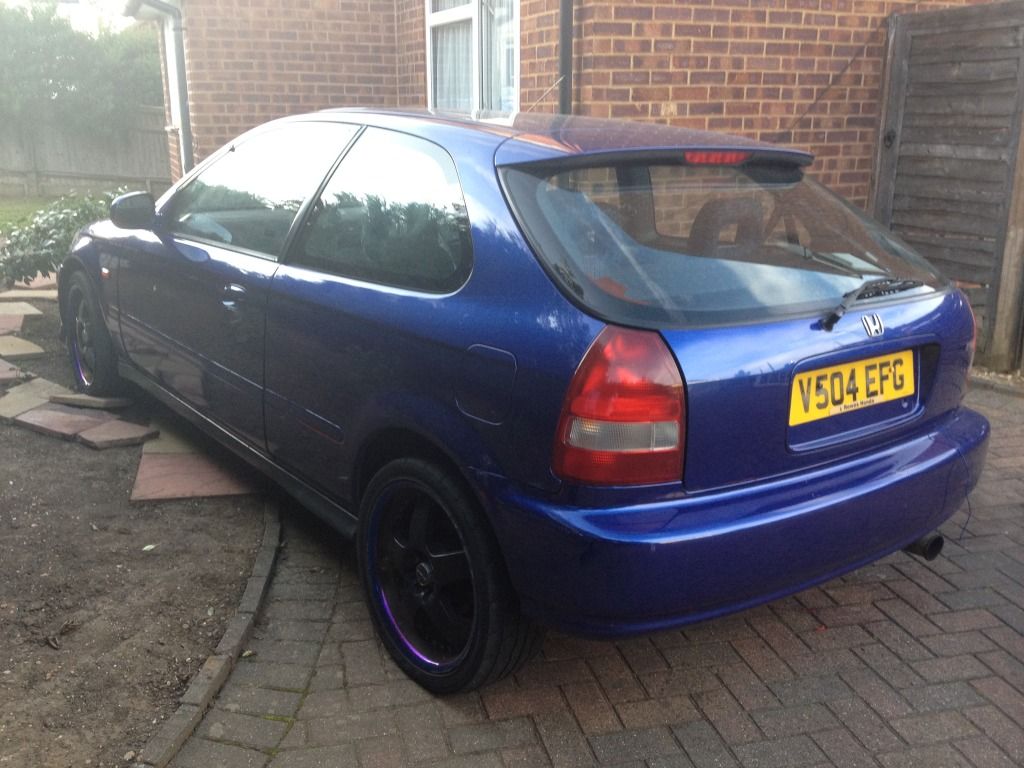
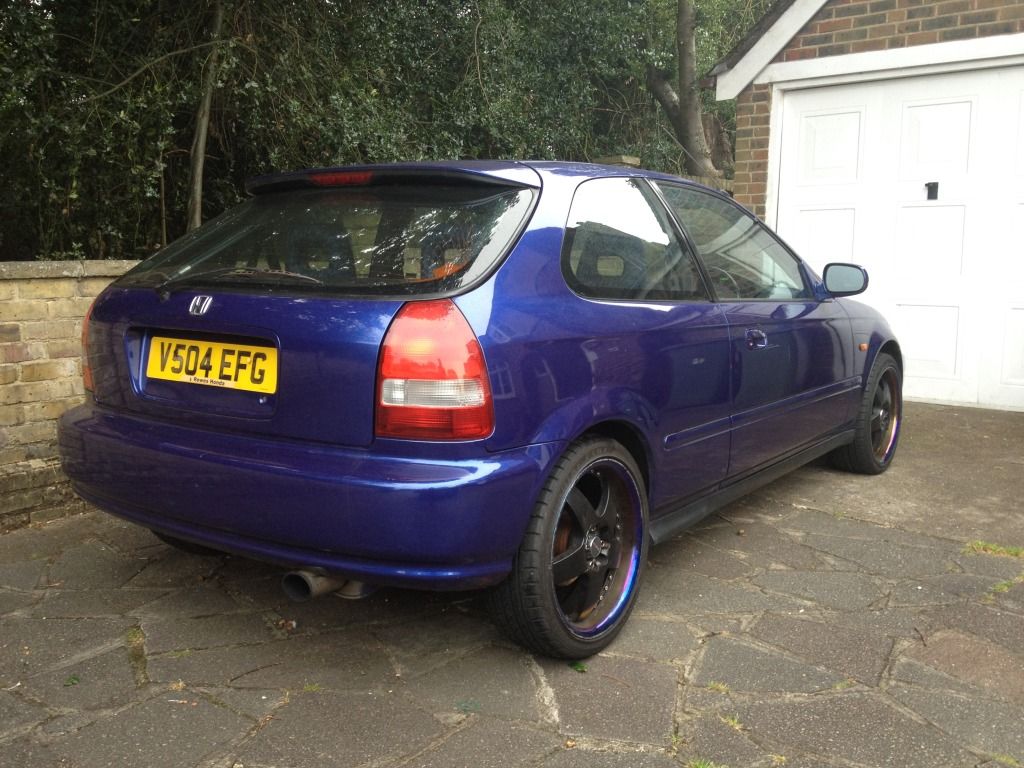
I will start with a pic of the car when I first saw it.
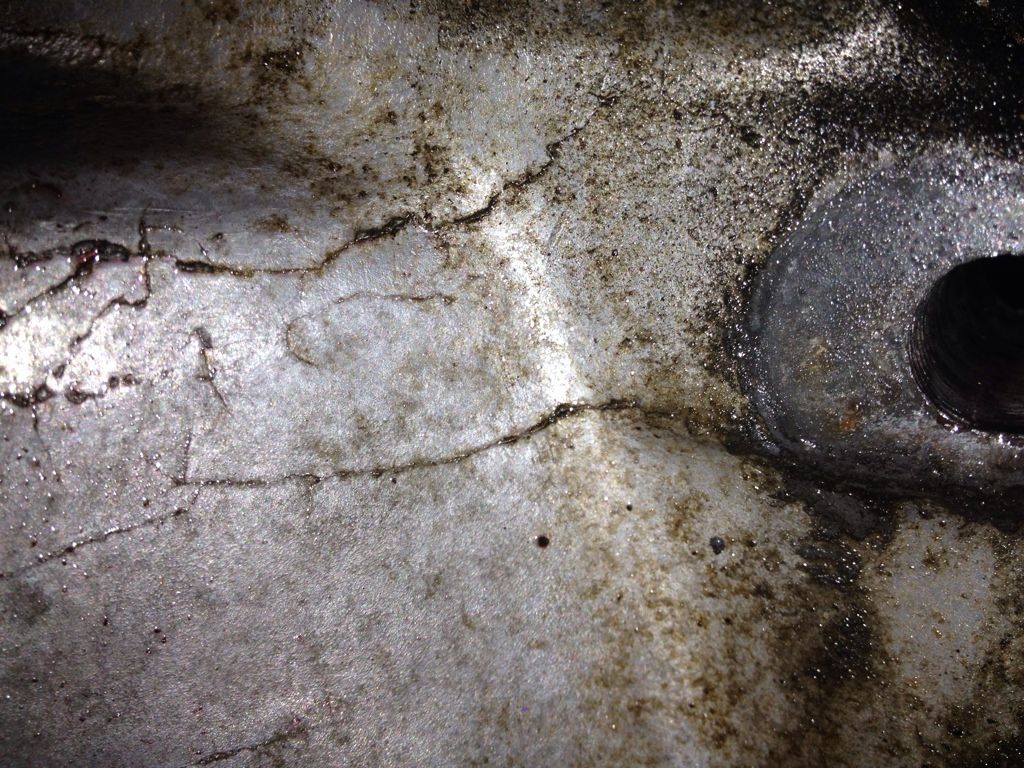
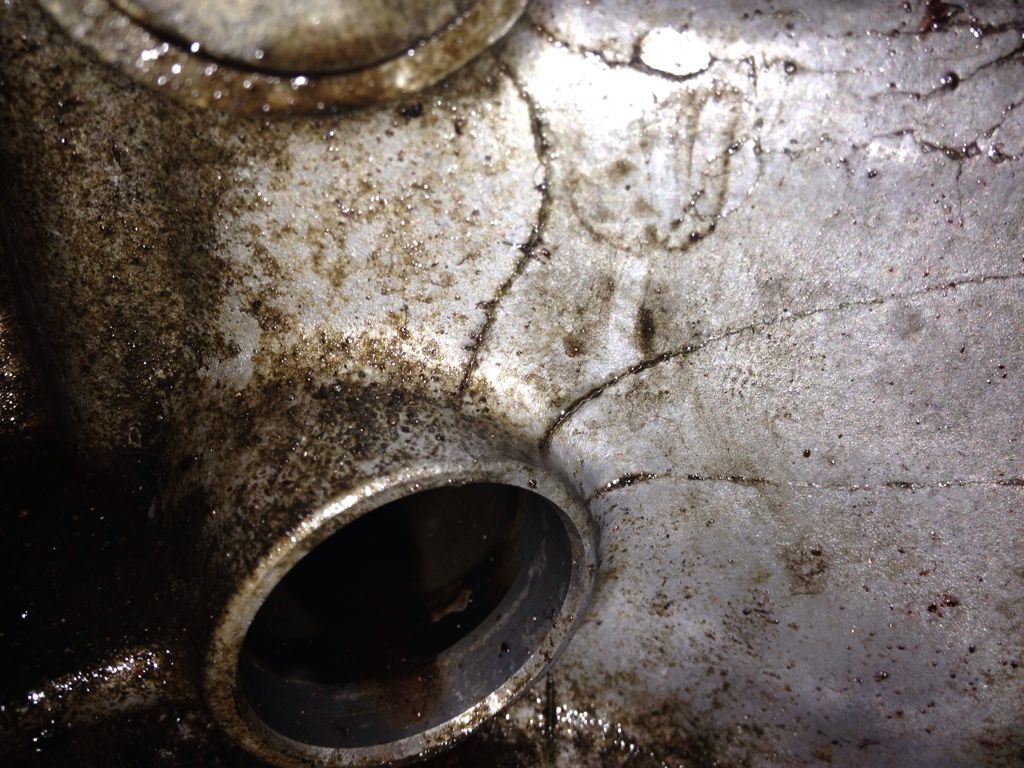
The car may appear to be blue but I can assure you it is not. At some time in its life it has had a really bad respray, paint on paint, no prep. The engine went ok, with a slight knocking and it was straight and had the engine I wanted in it. So I gave the guy £700 for it and drove it home.

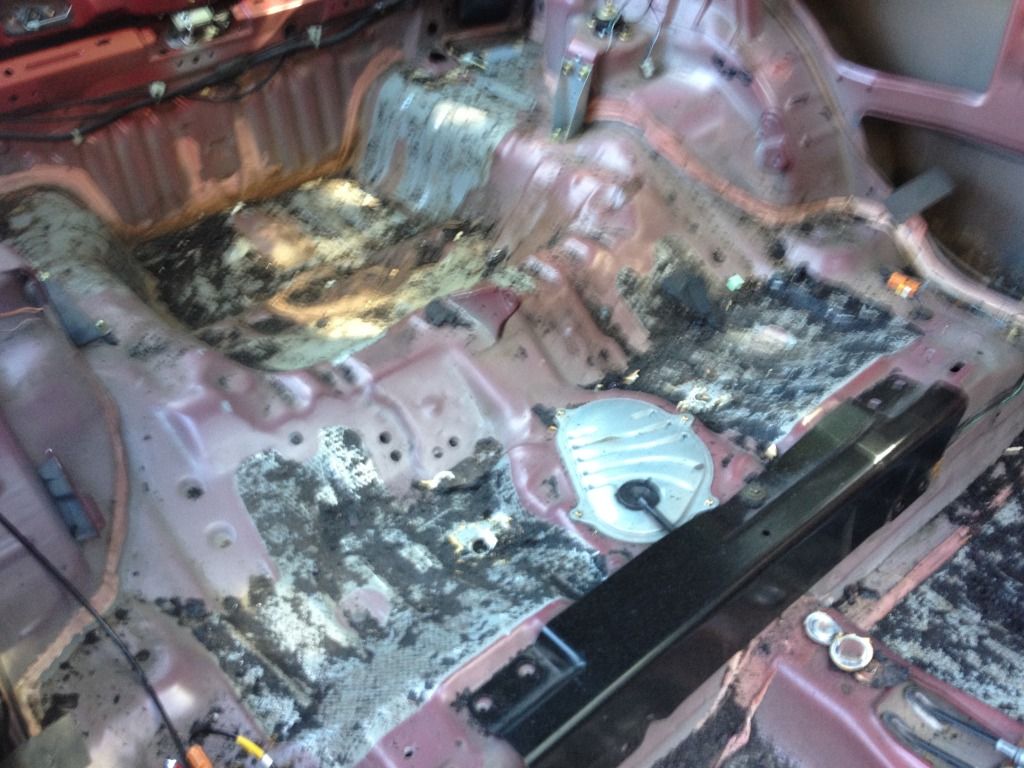
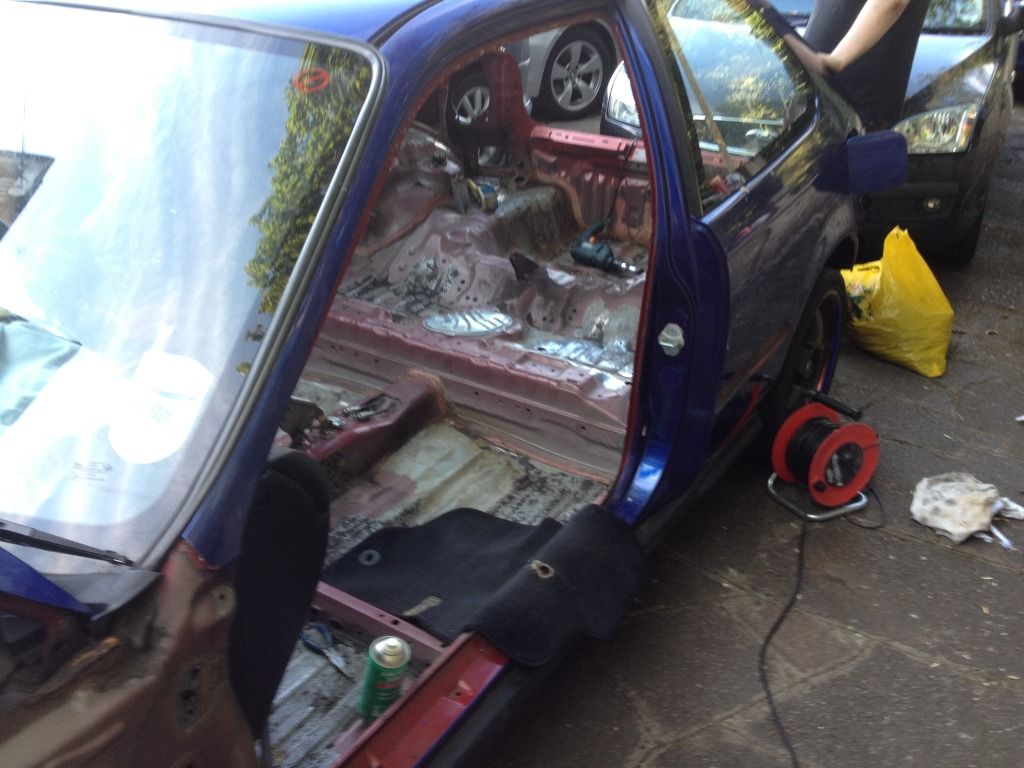
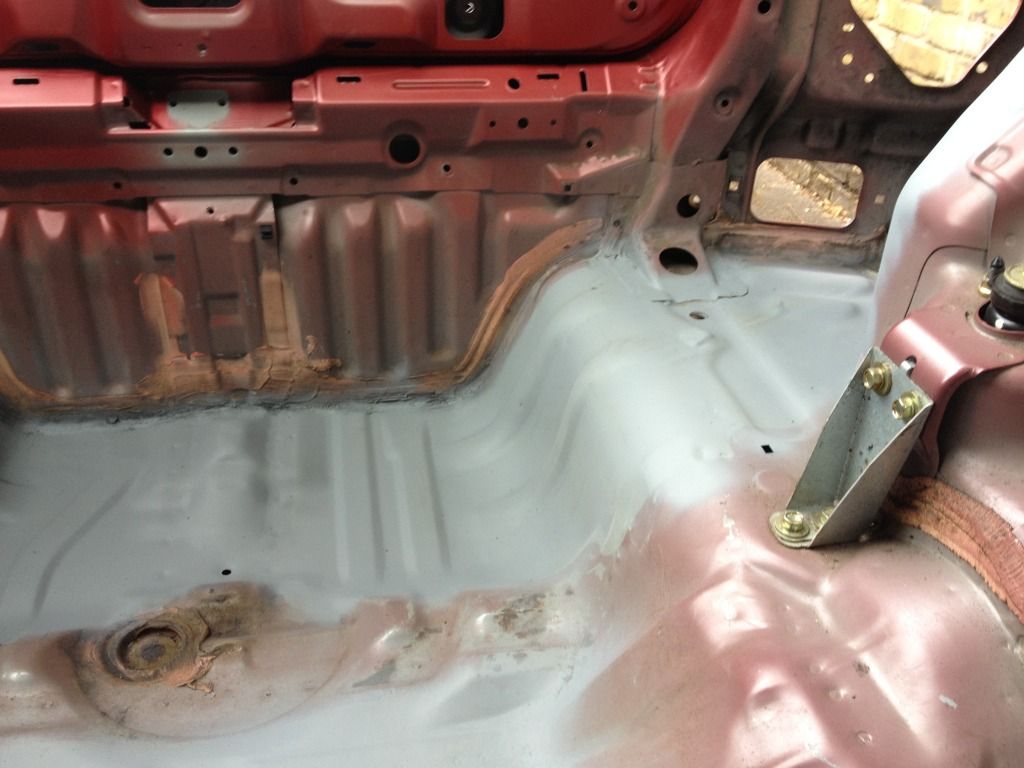
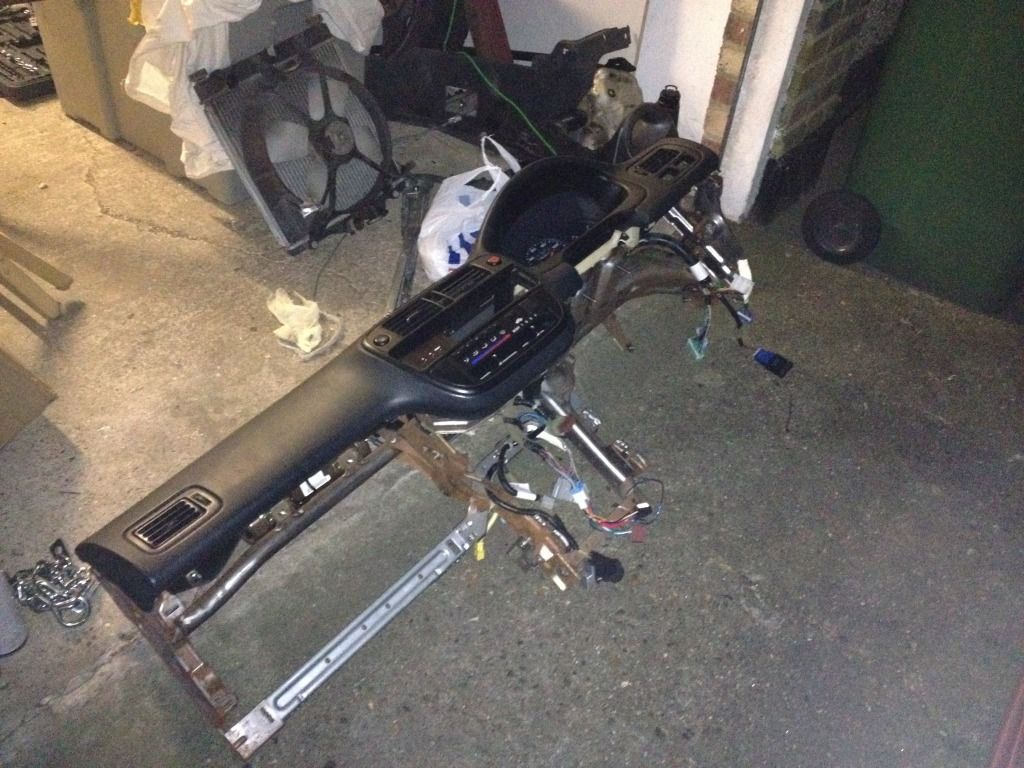
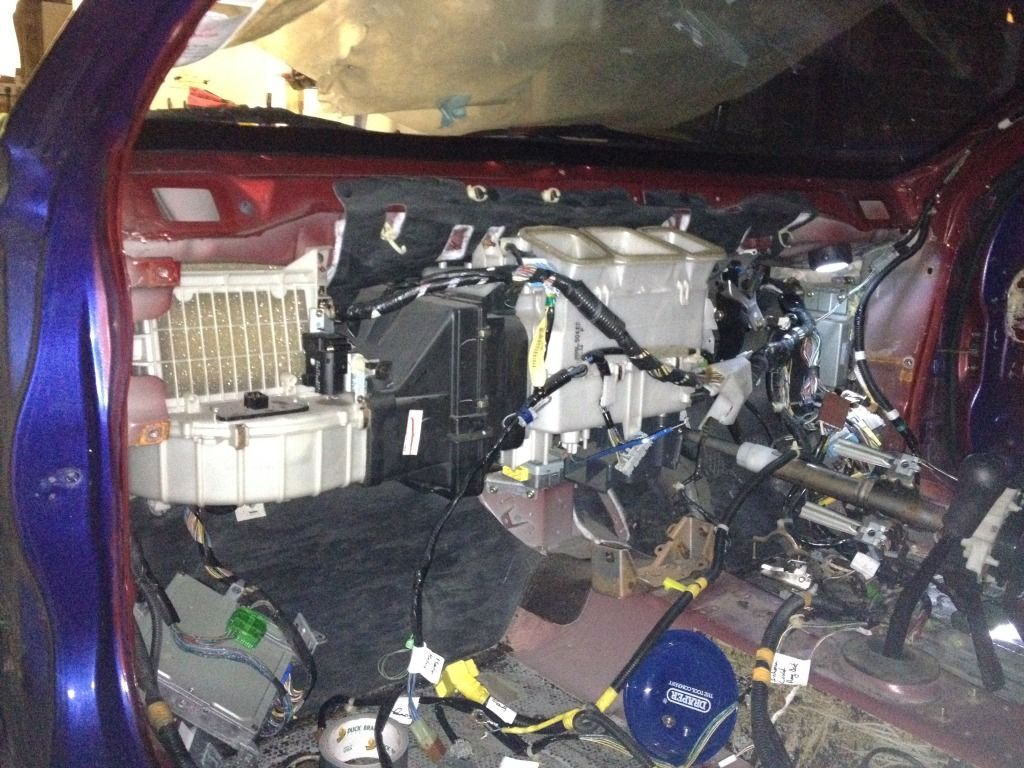
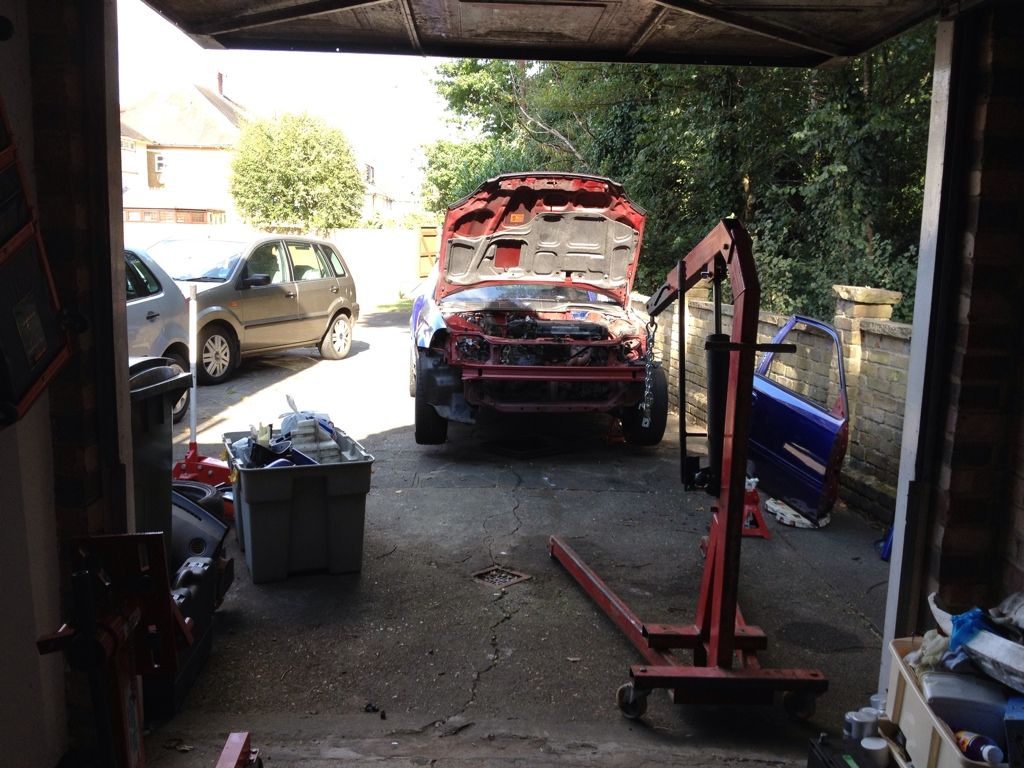
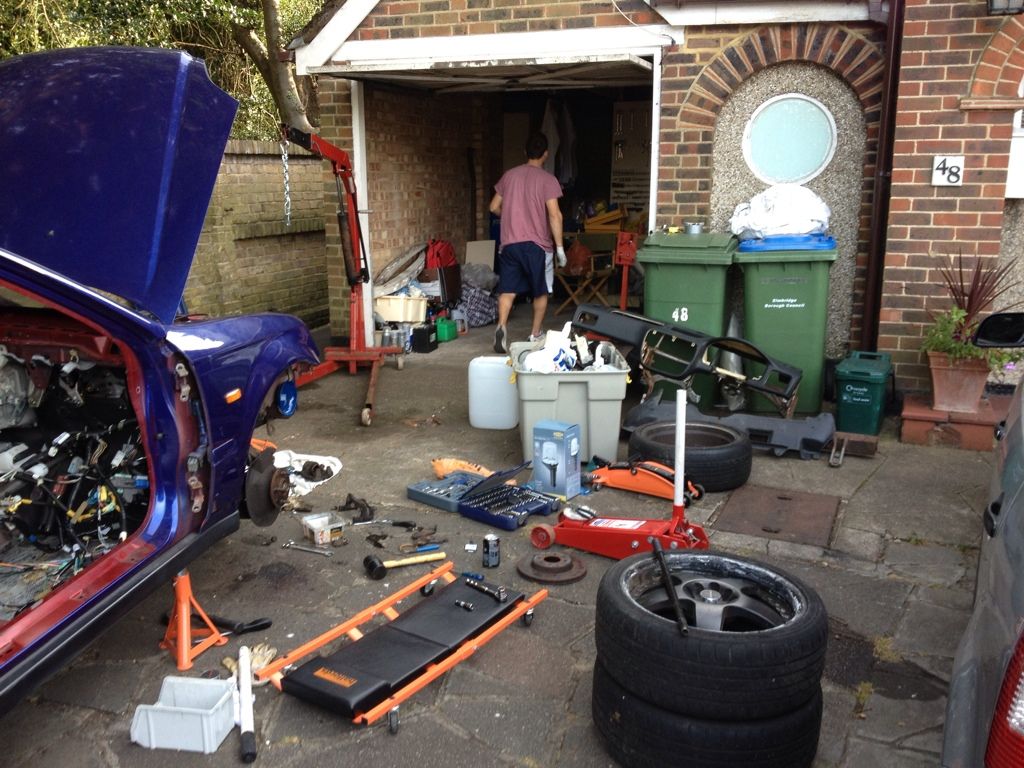
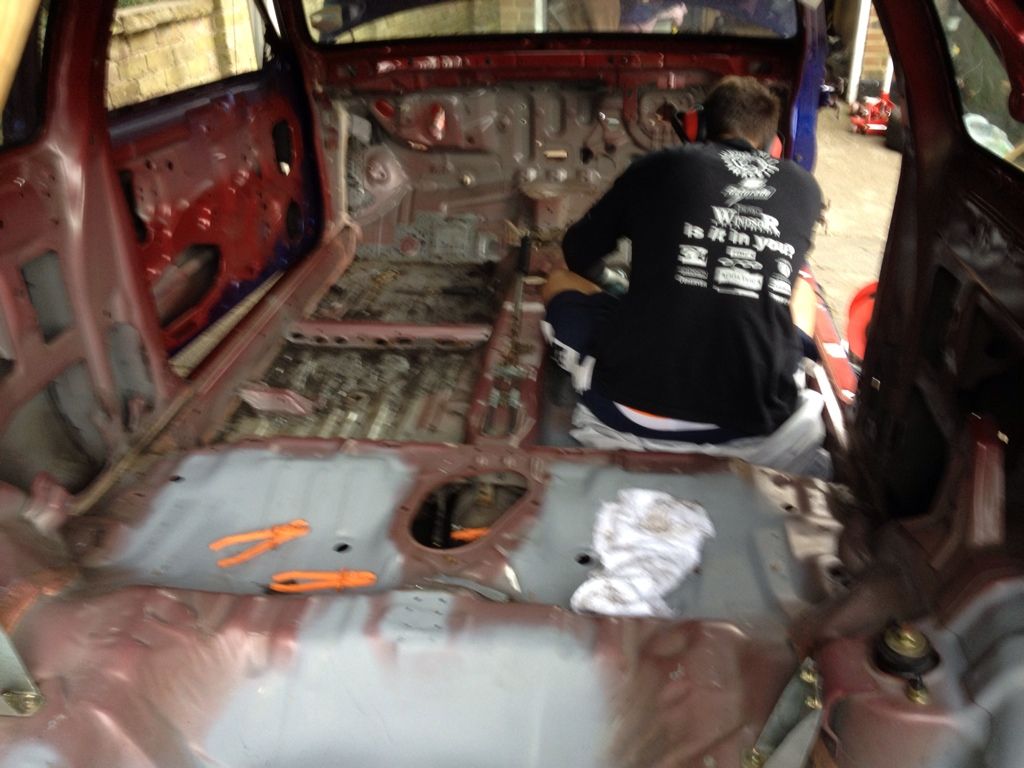
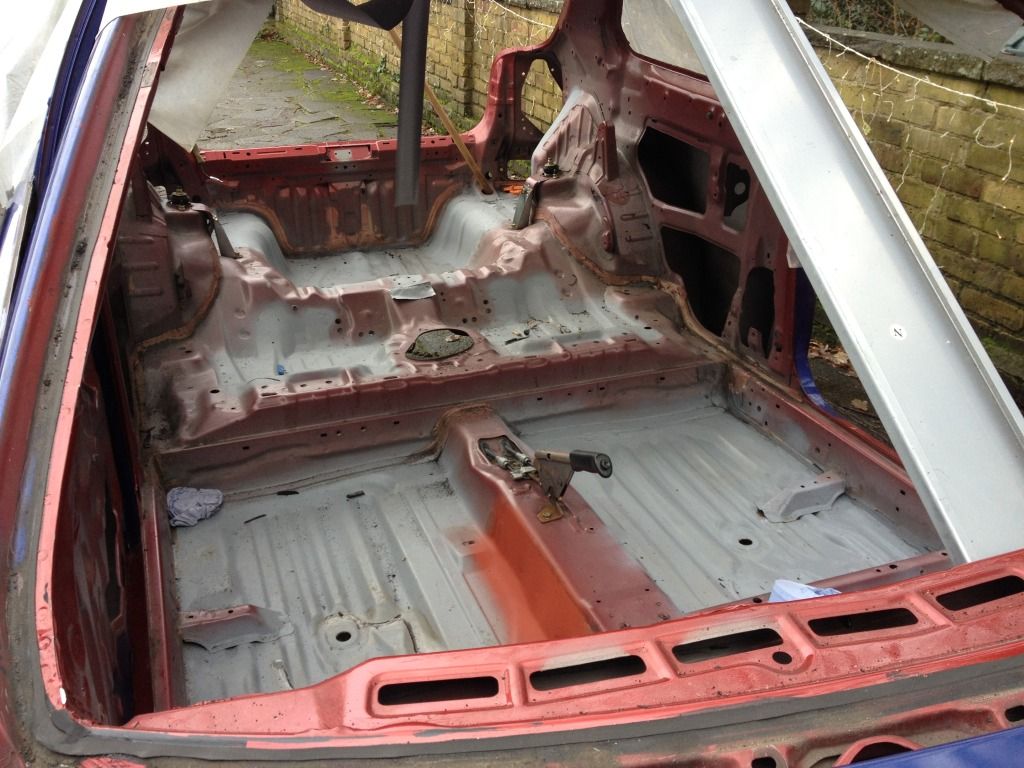
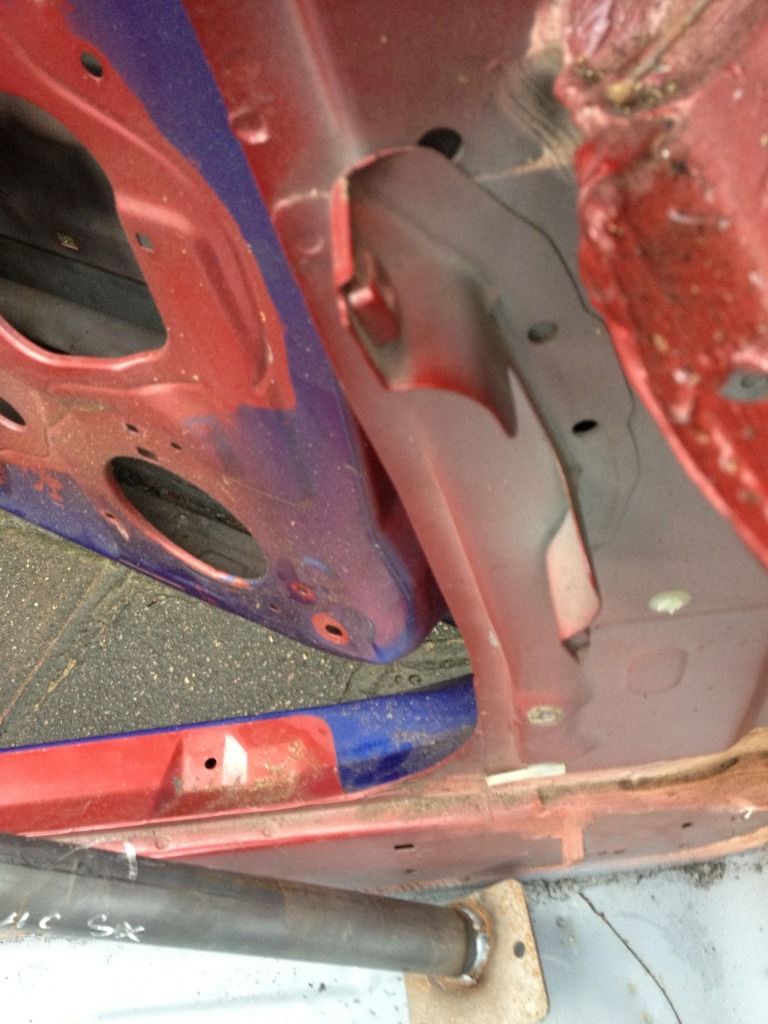
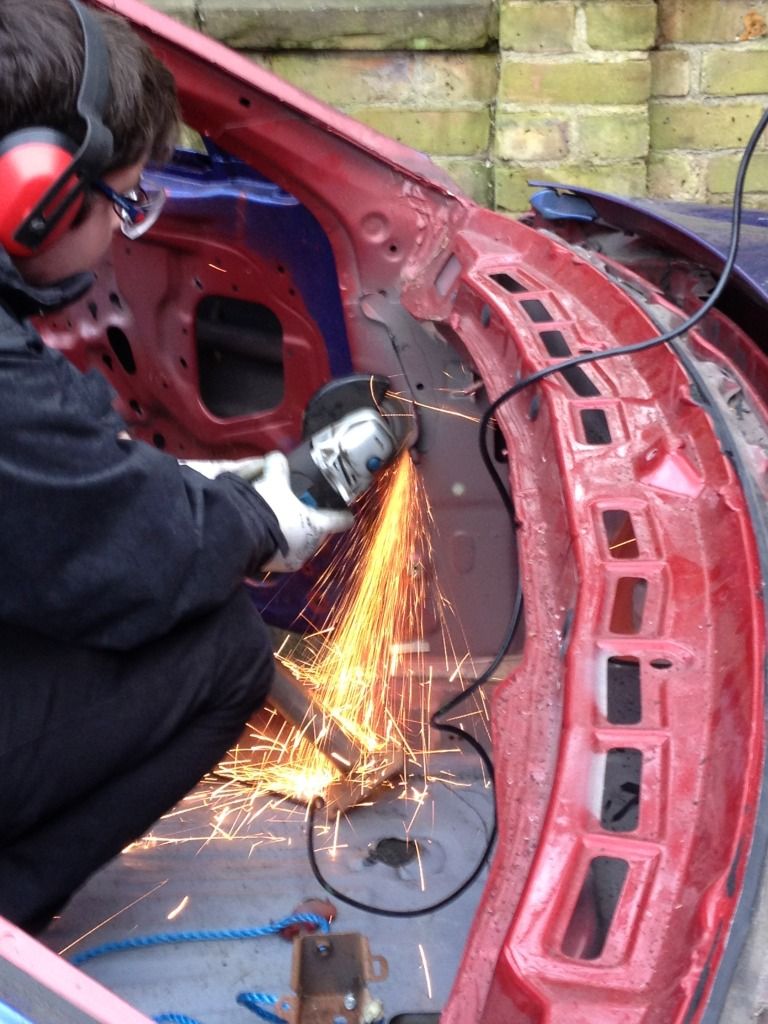
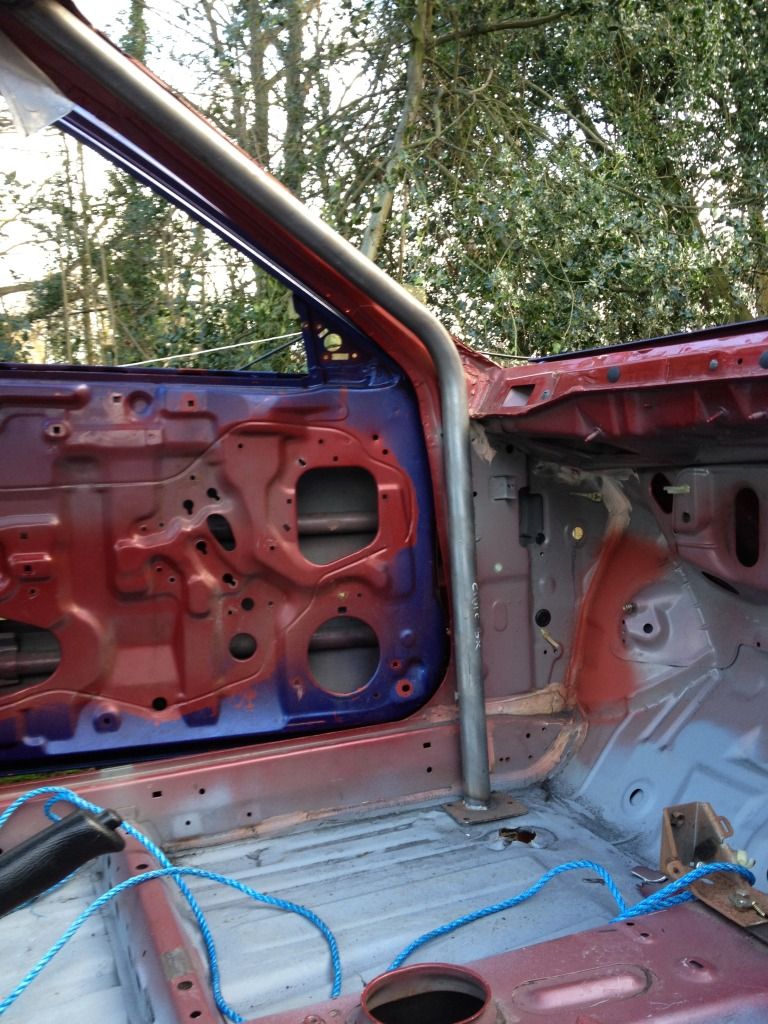
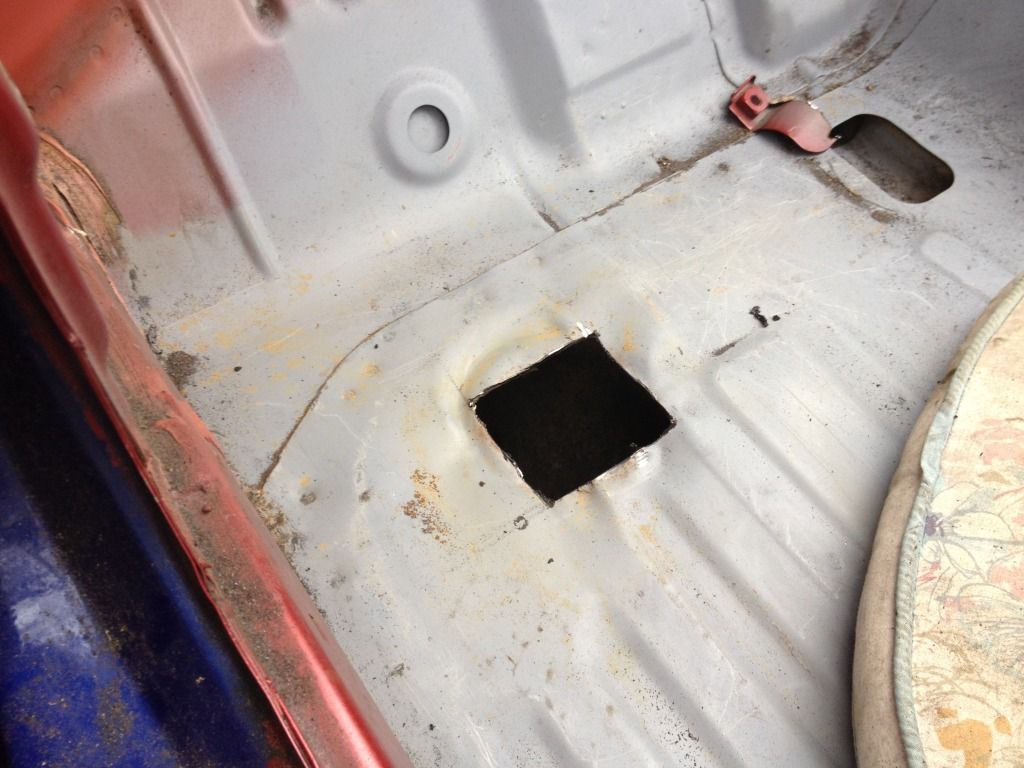
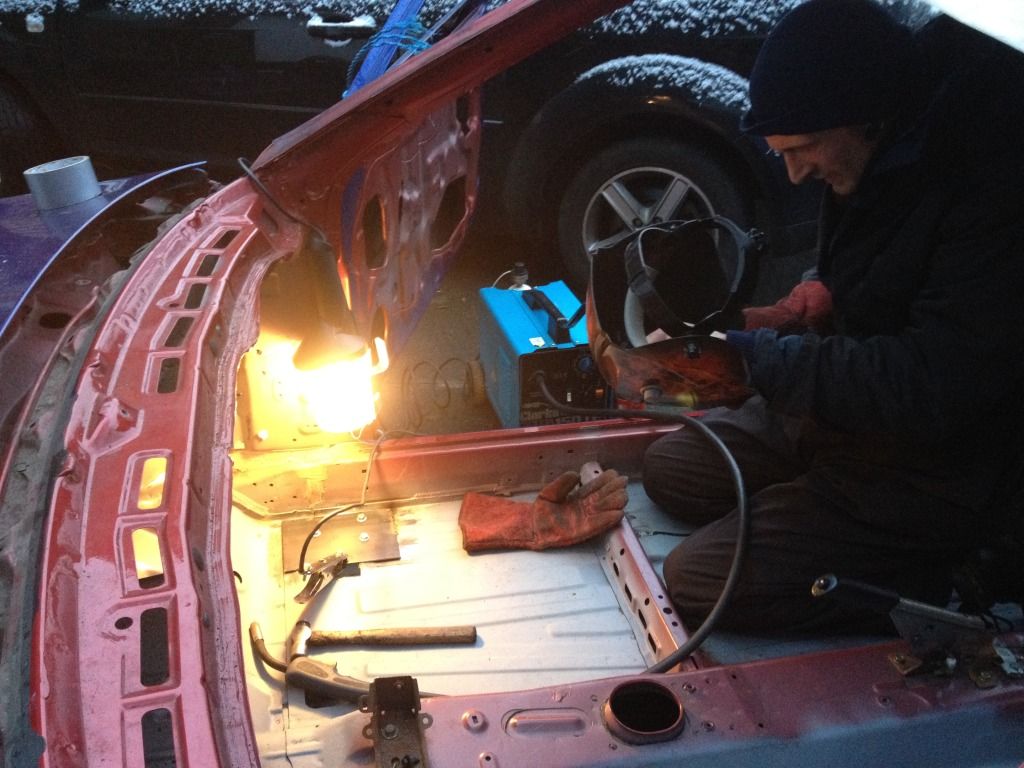
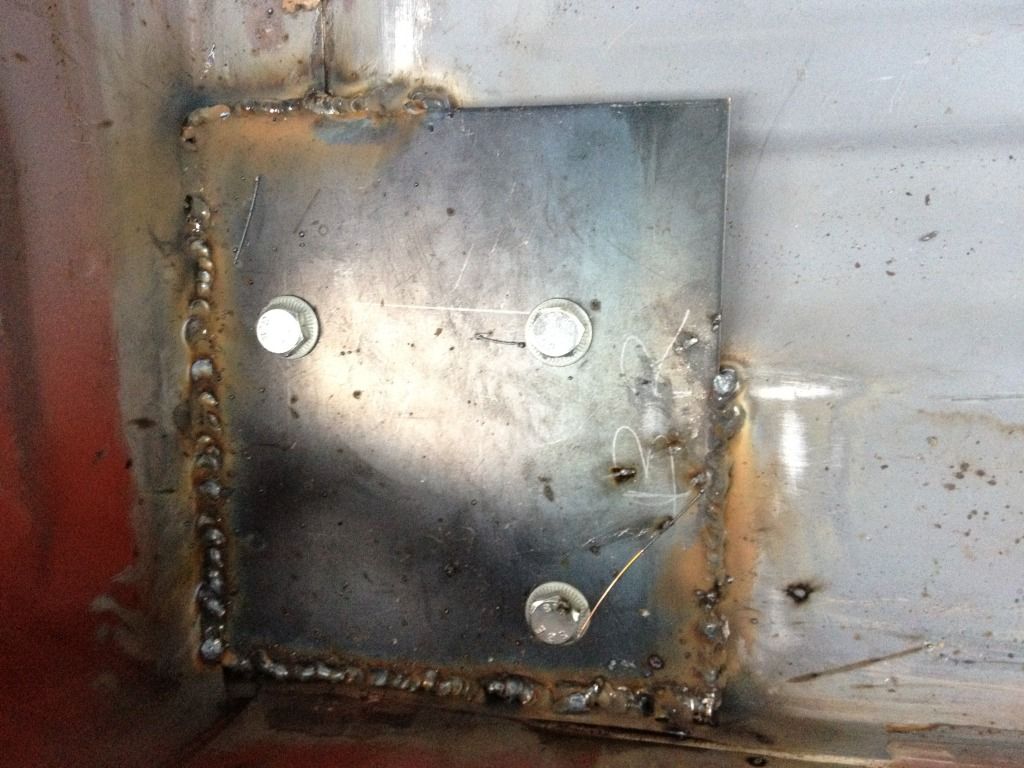
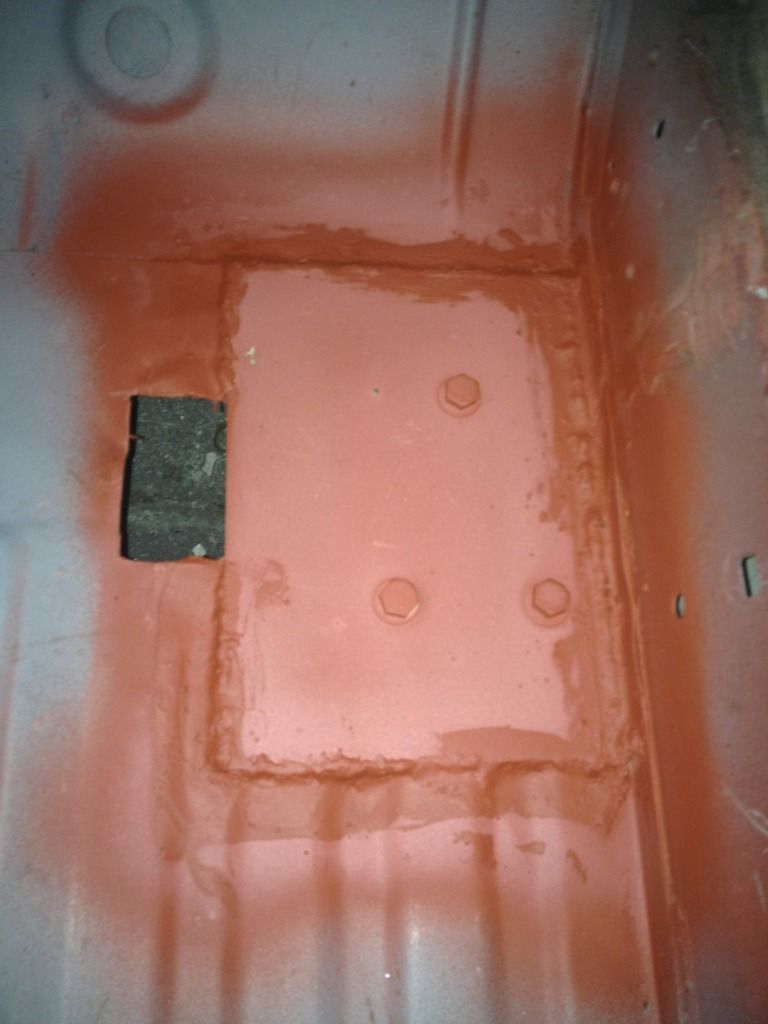
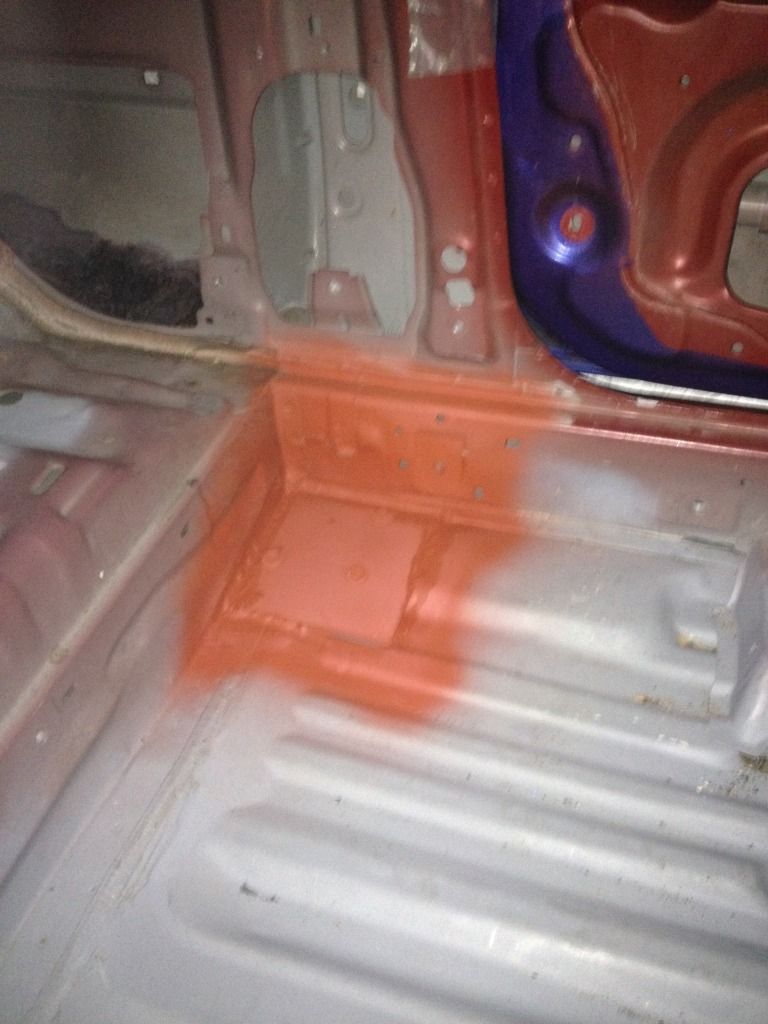
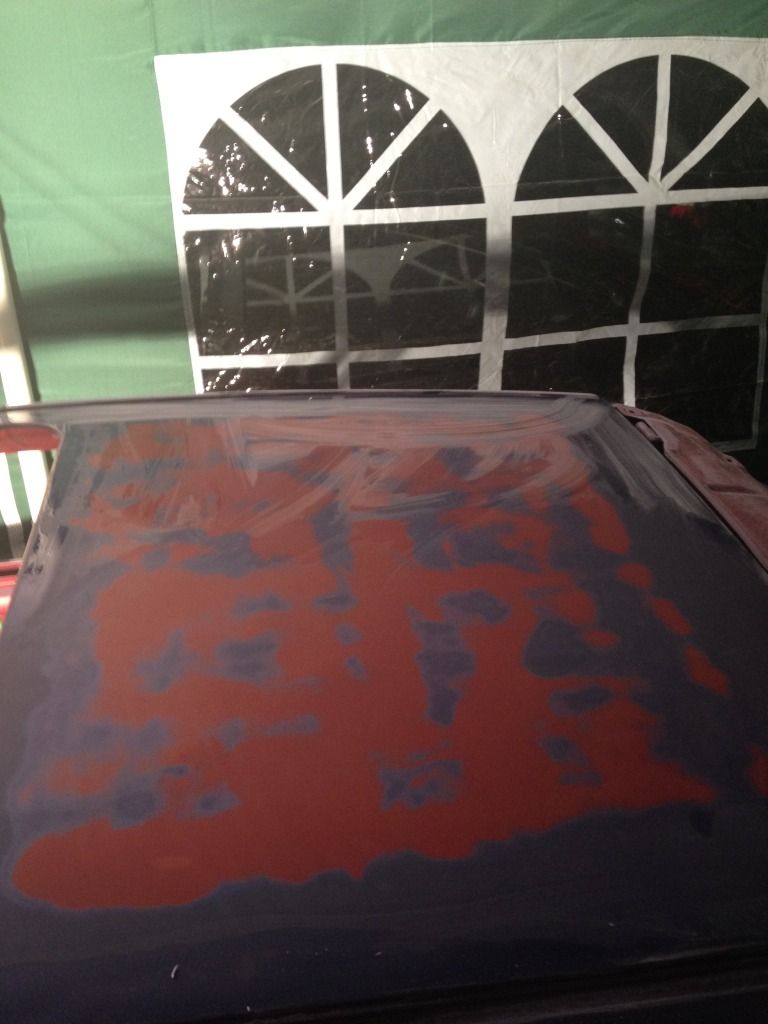
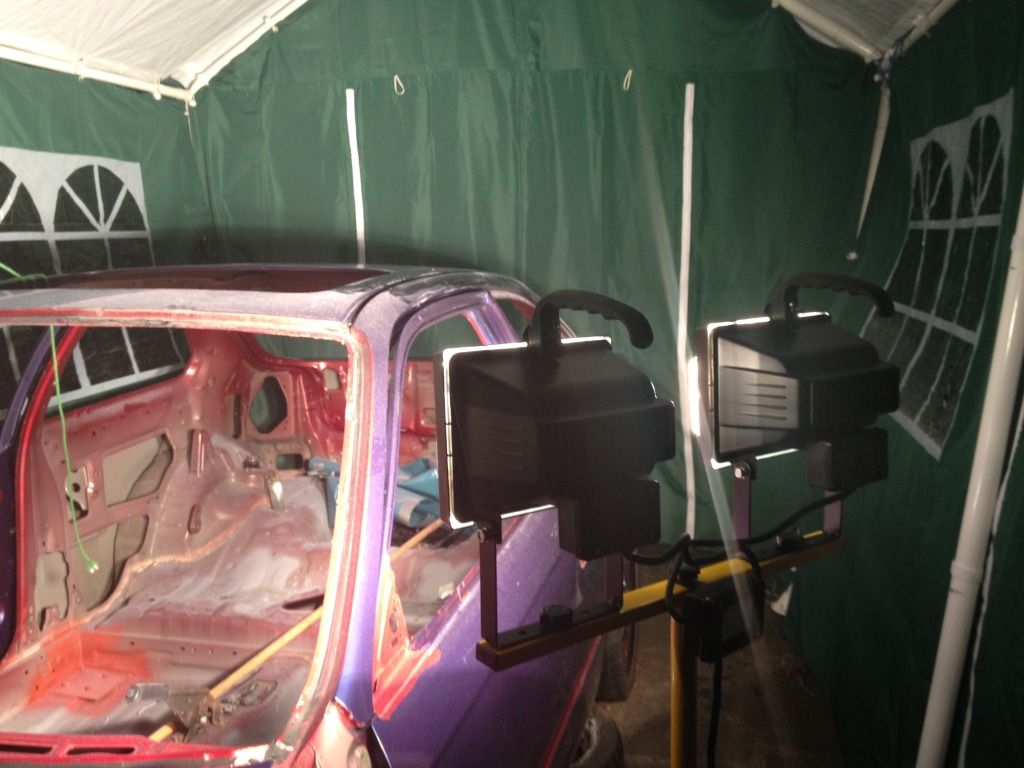
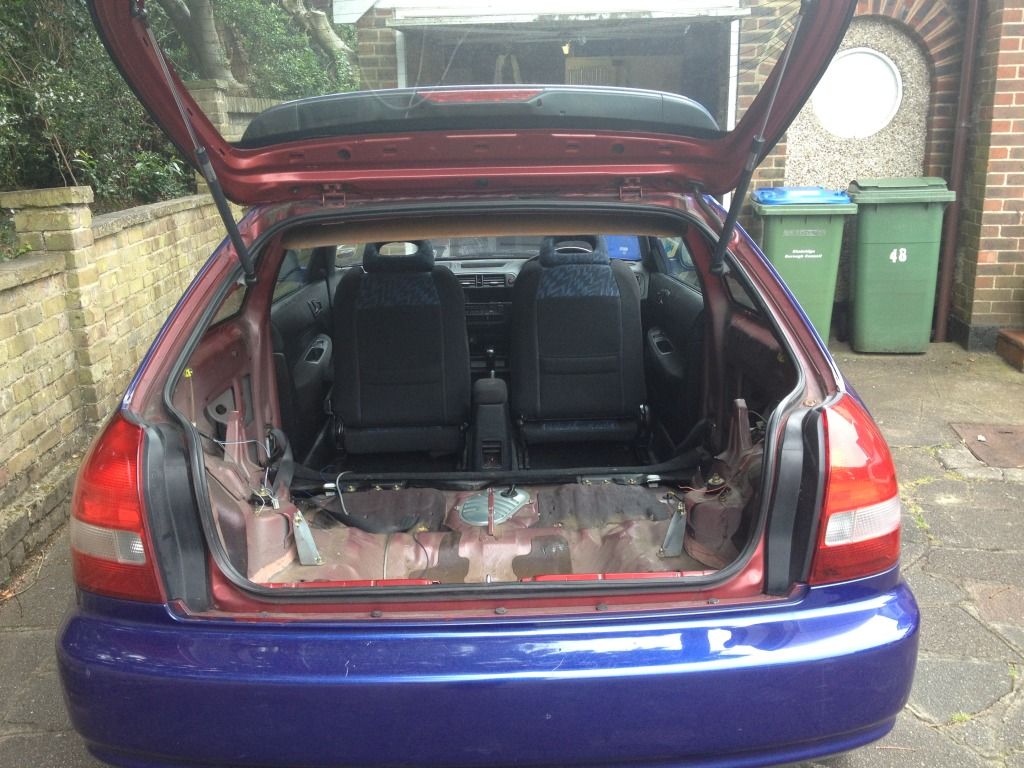
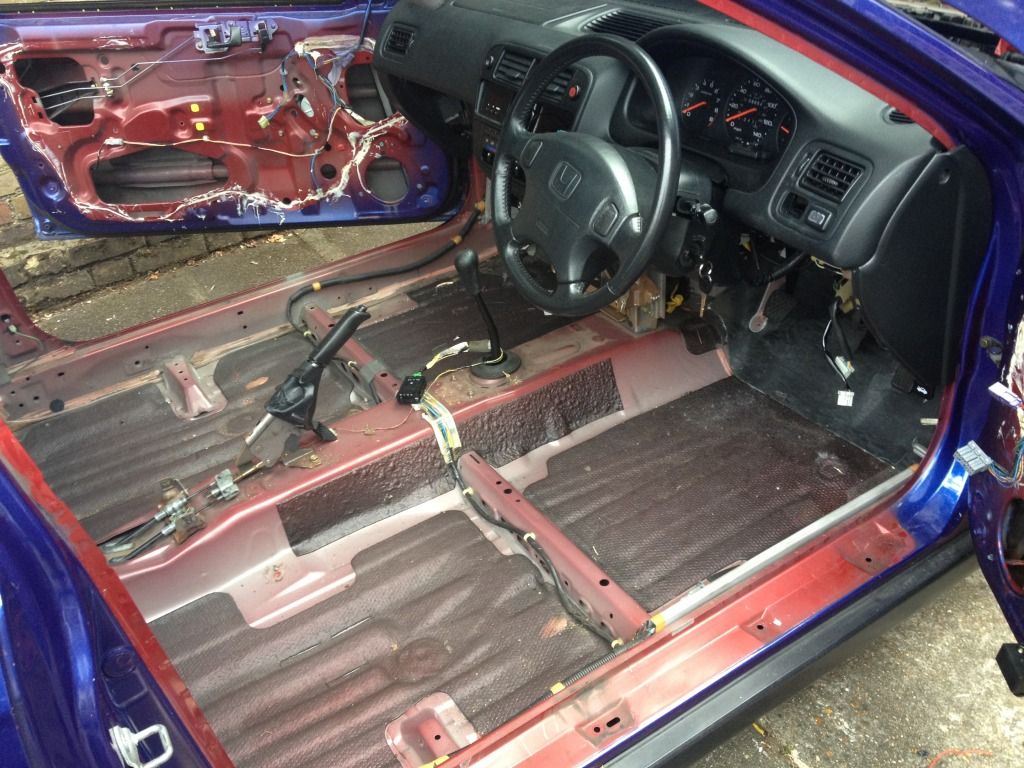
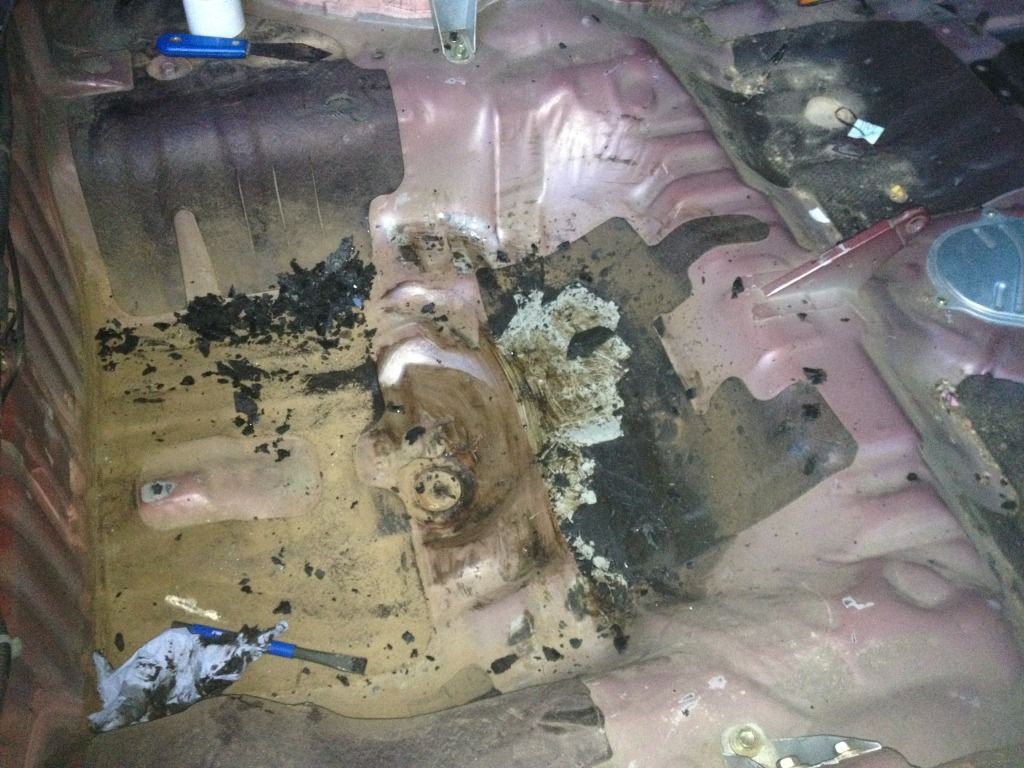
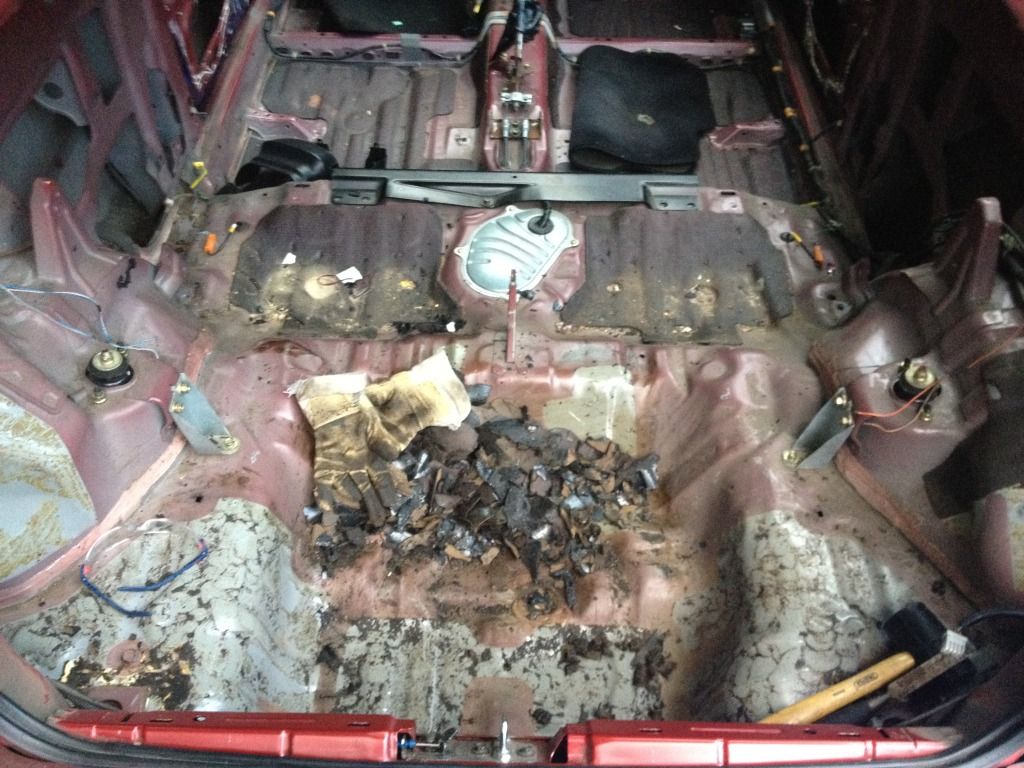
It wasnt long before I had the interior out and started on the sound deadening.
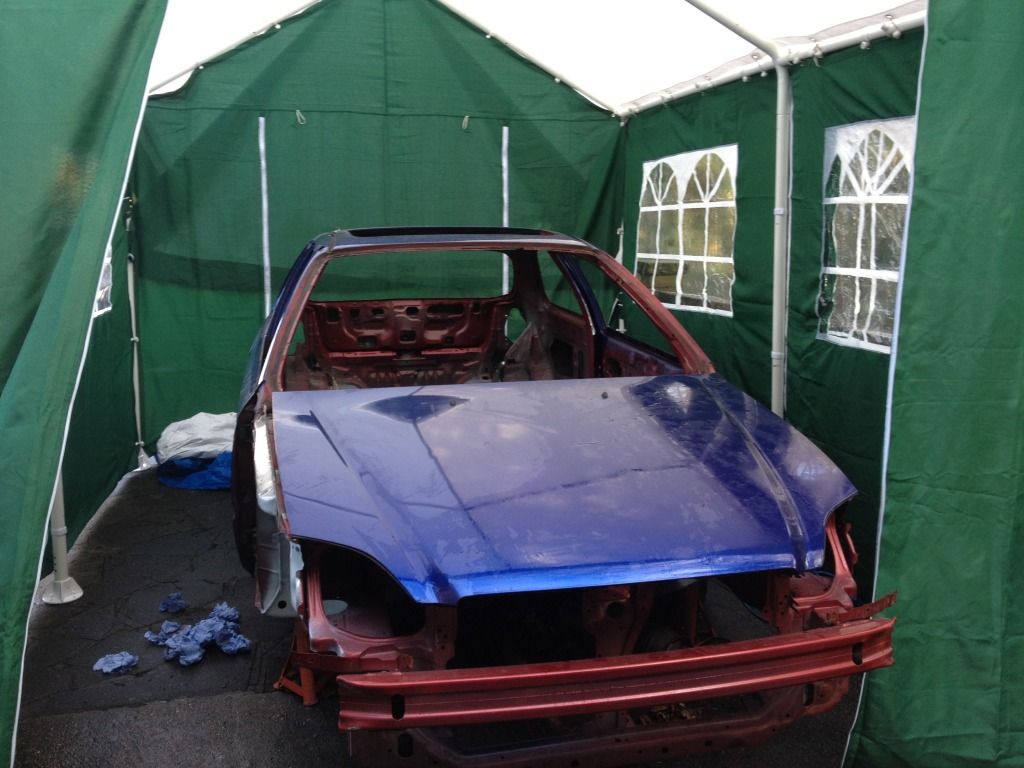
I will start with a pic of the car when I first saw it.
The car may appear to be blue but I can assure you it is not. At some time in its life it has had a really bad respray, paint on paint, no prep. The engine went ok, with a slight knocking and it was straight and had the engine I wanted in it. So I gave the guy £700 for it and drove it home.
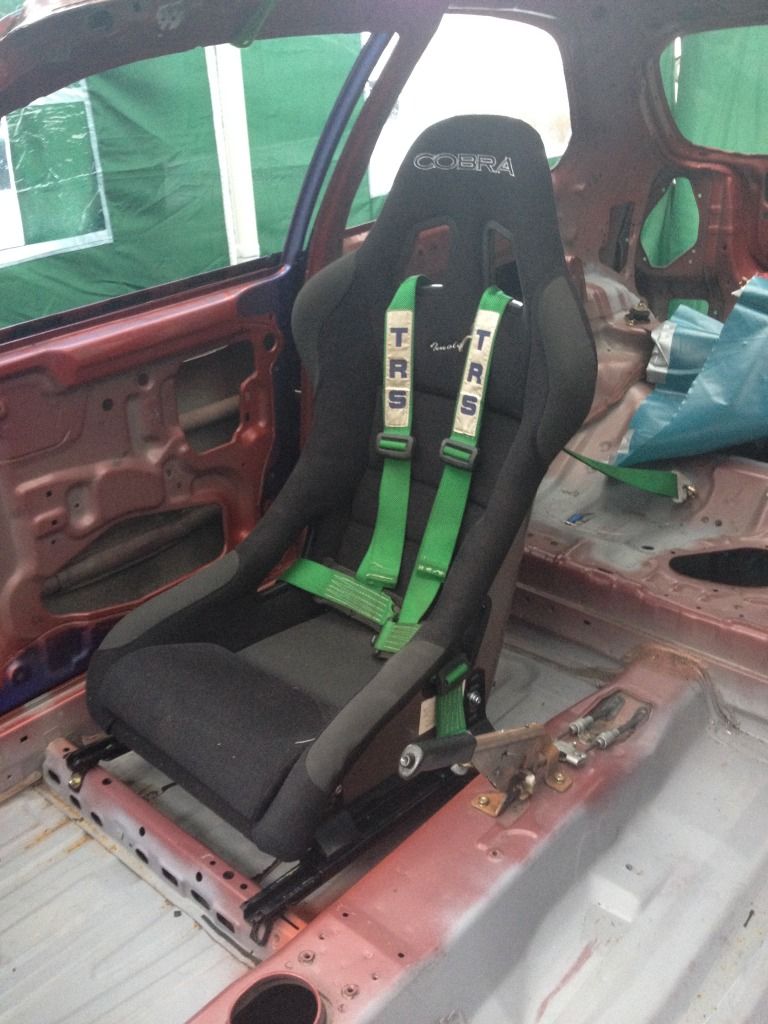
It wasnt long before I had the interior out and started on the sound deadening.
Last edited: