
You are using an out of date browser. It may not display this or other websites correctly.
You should upgrade or use an alternative browser.
You should upgrade or use an alternative browser.
Nunos turbo ek take 2
- Thread starter Nuno@Camtec
- Start date
killa_vtec
Active Member
- Joined
- Nov 28, 2008
- Messages
- 780
Good stuff man! will be glued onto this one ")
- Joined
- Nov 8, 2011
- Messages
- 465
Thanks for all the comments guys, its what builds up the motivation to do well.
another load of updates coming up now.
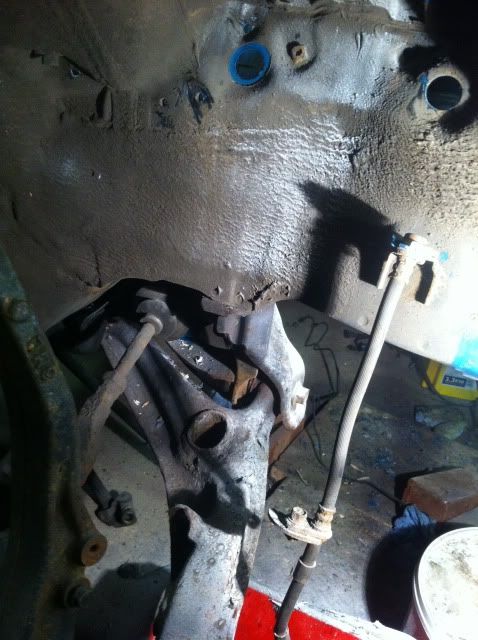
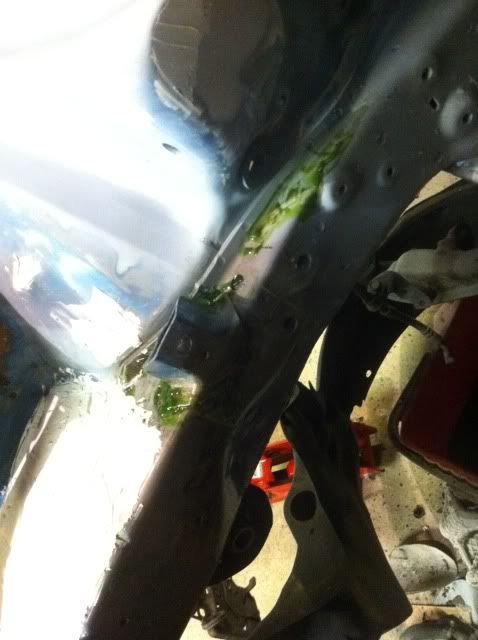
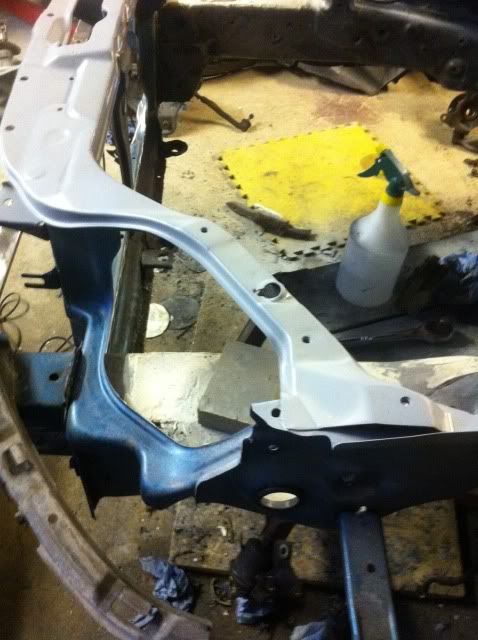
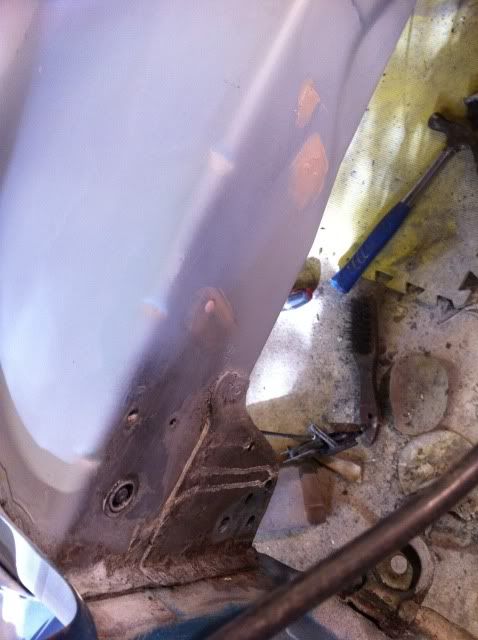
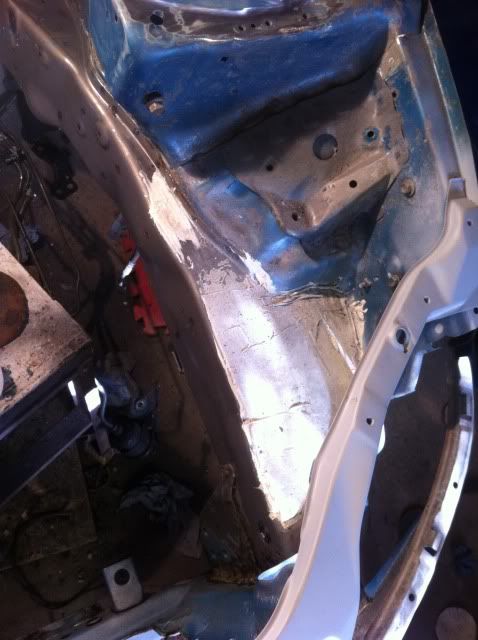
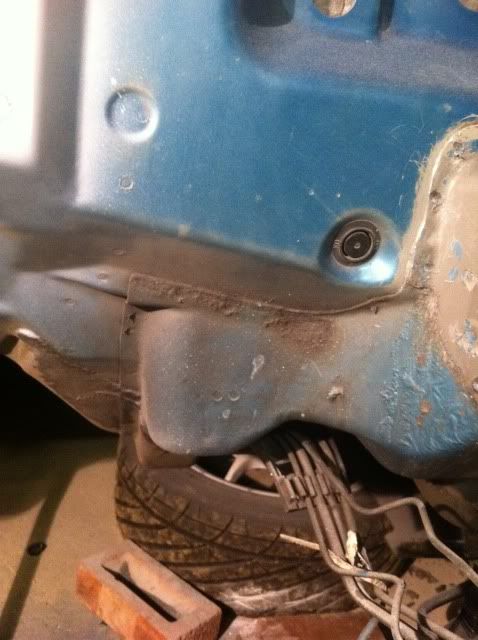
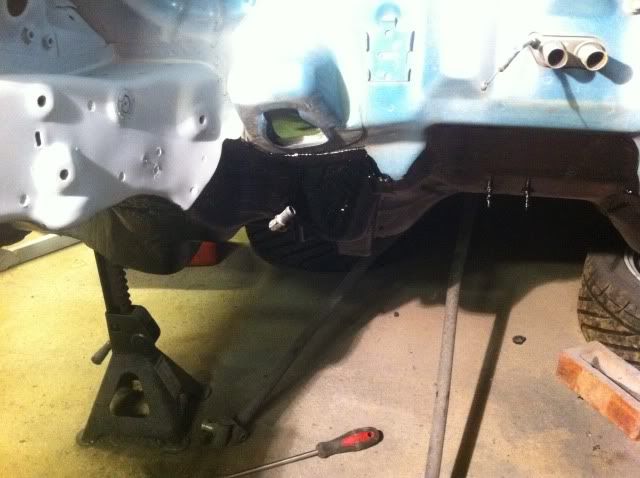
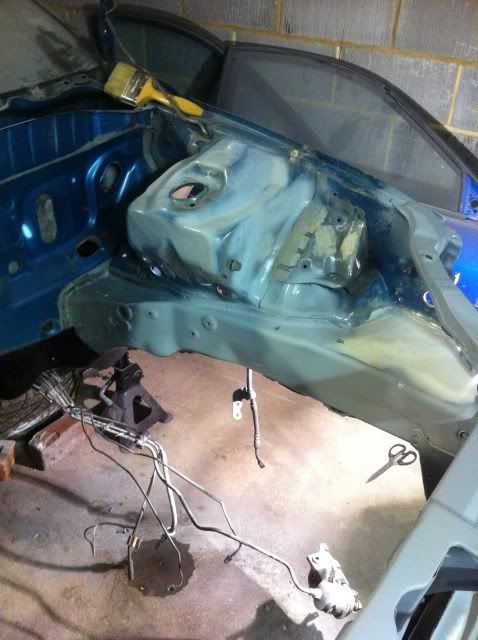
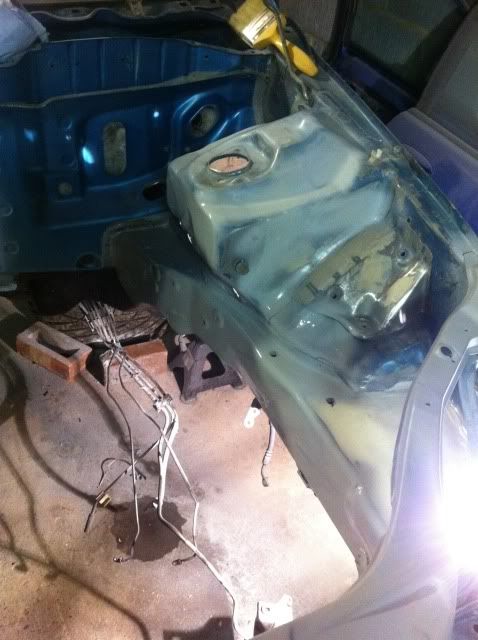
here removing the drivers side hub, preparing for subframe drop.
then passenger side
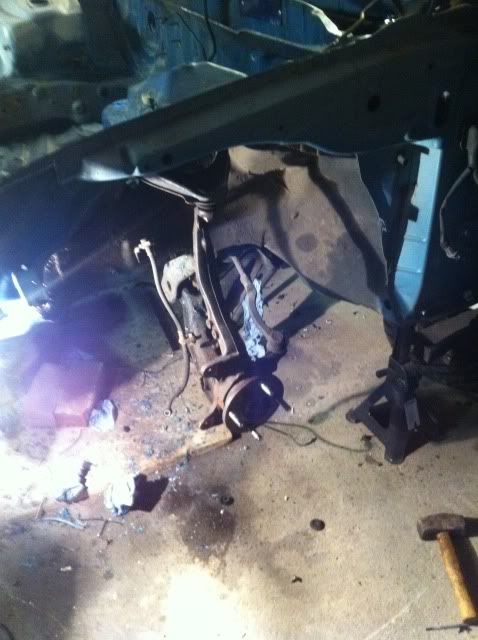
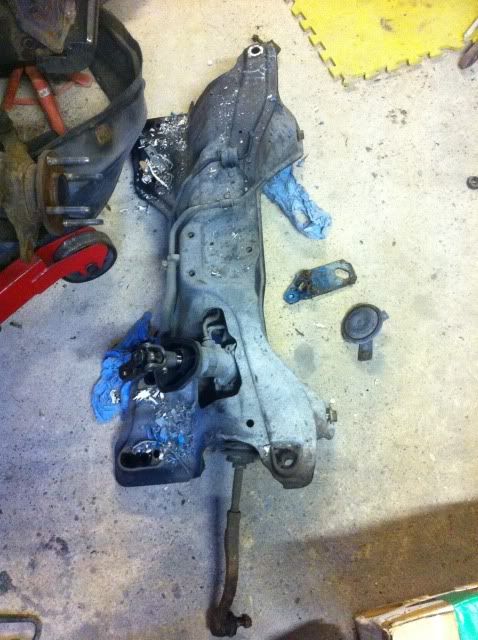
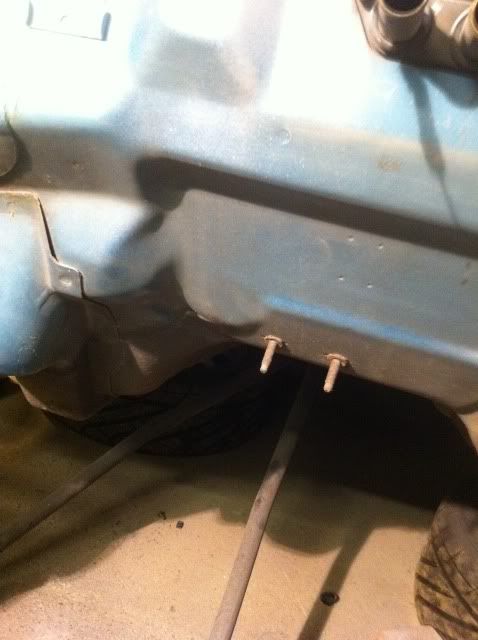
subframe loose
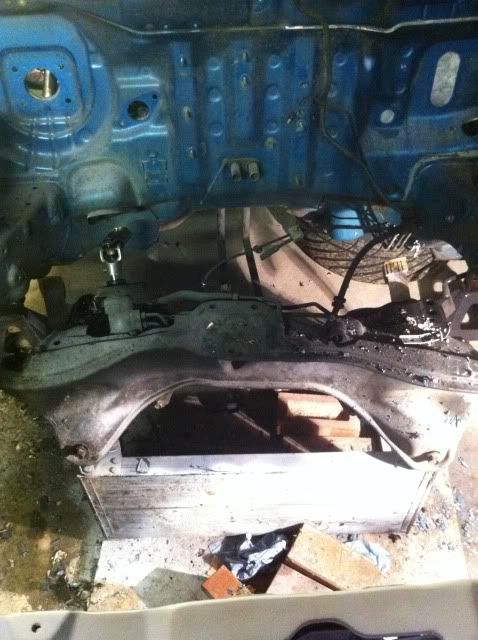
subframe gone.
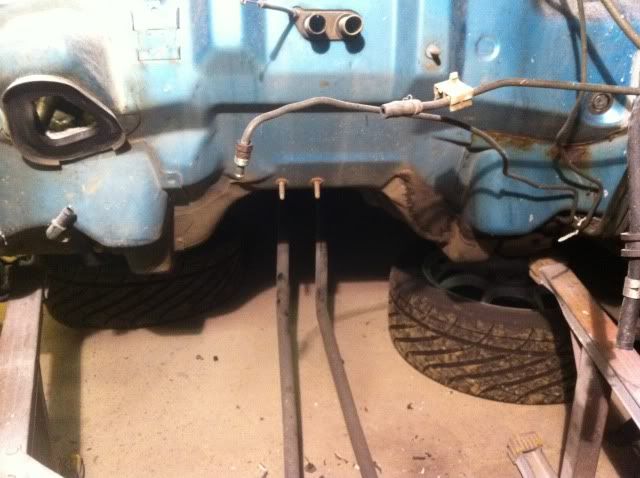
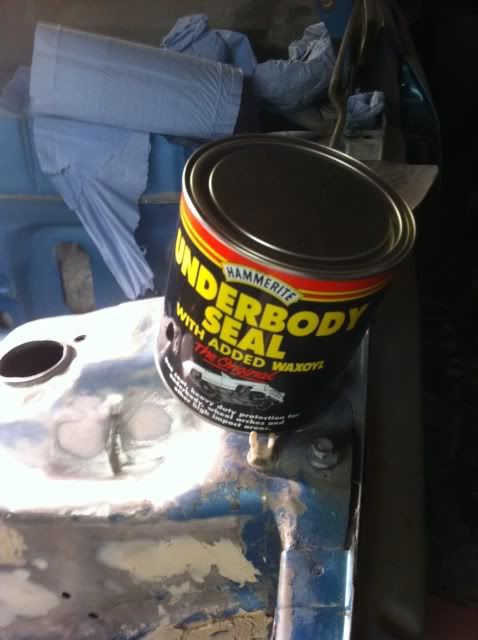
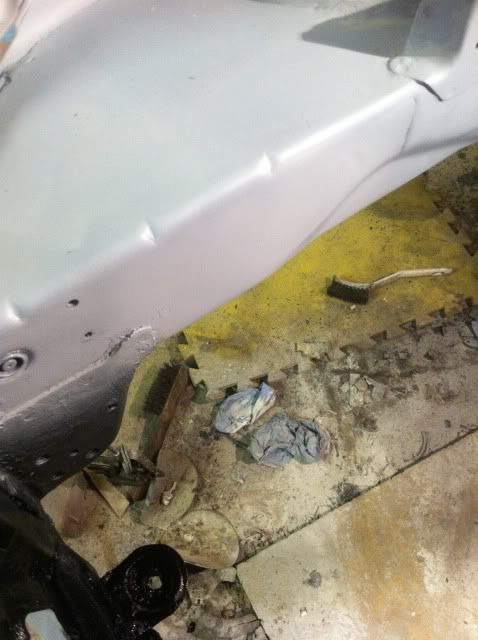
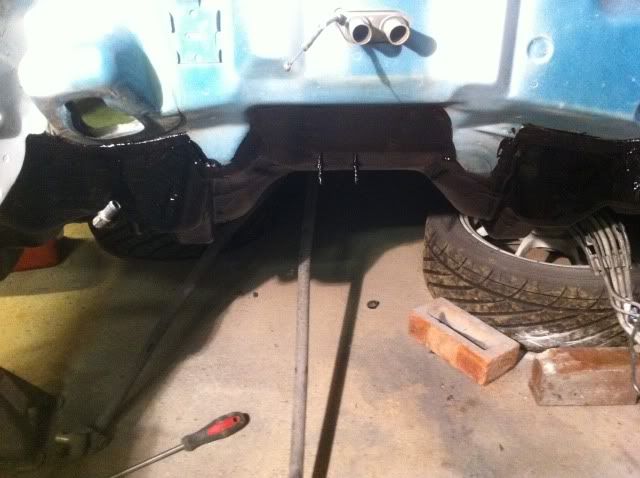
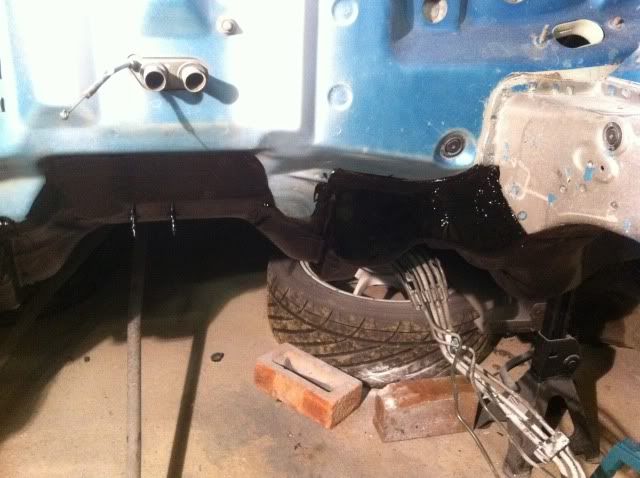
then starter cleaning the underneath of the car ready for the underseal.
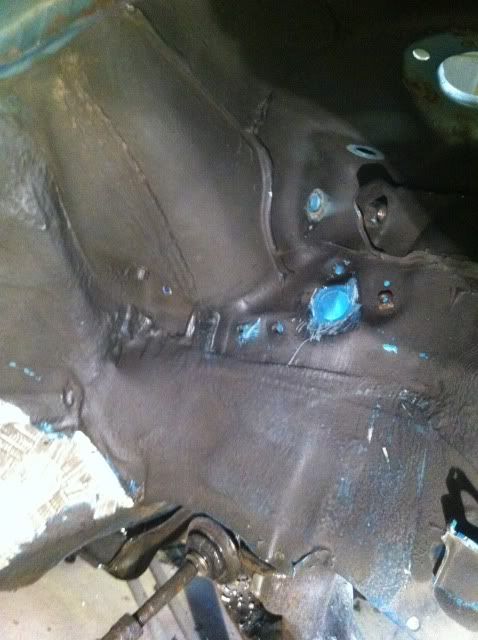
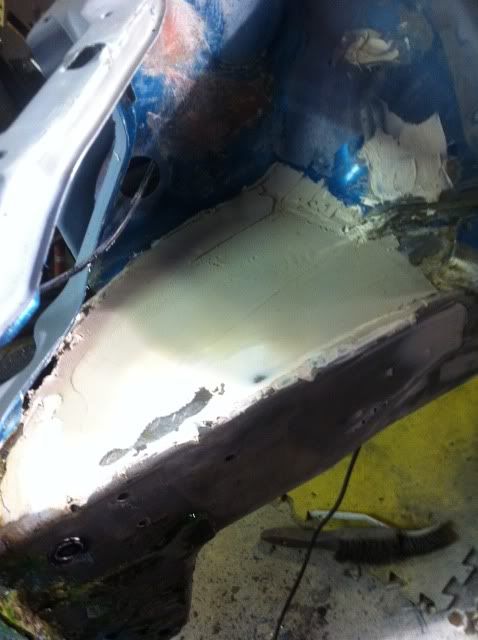
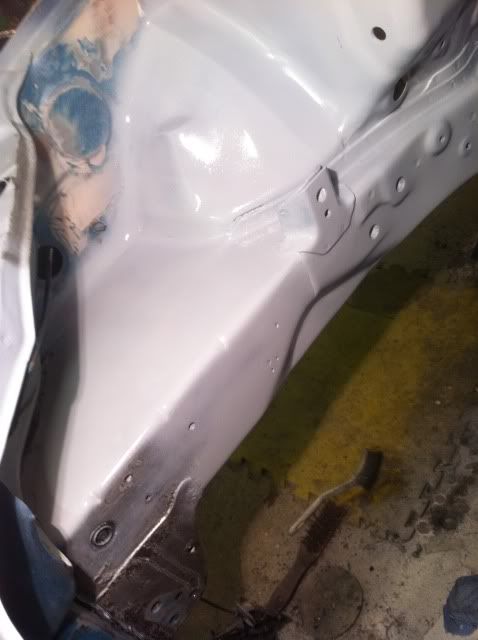
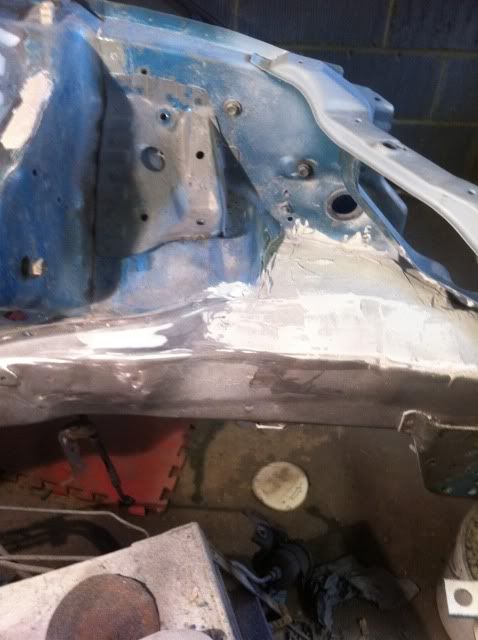
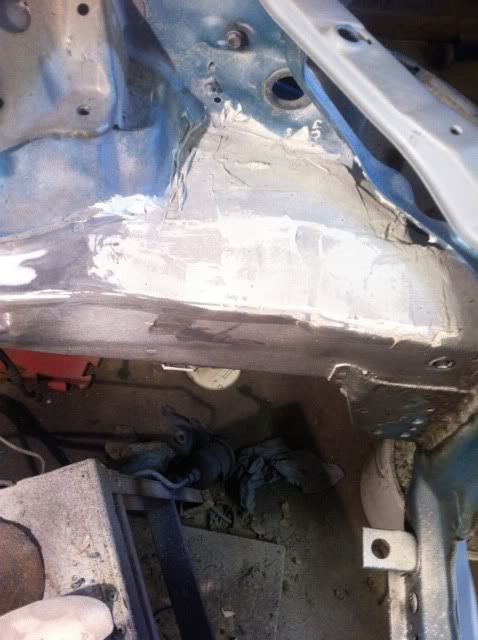
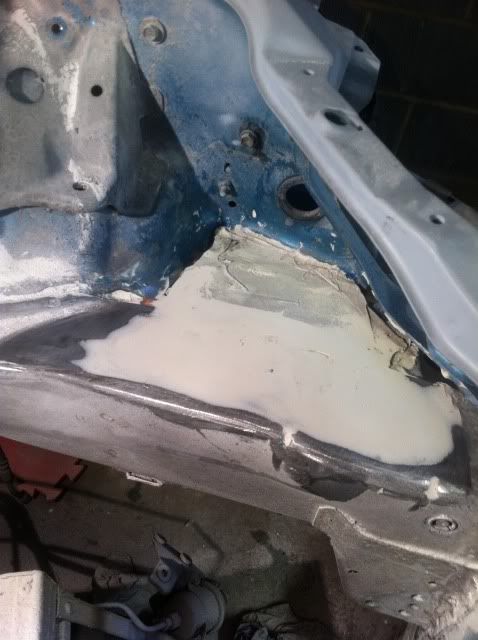
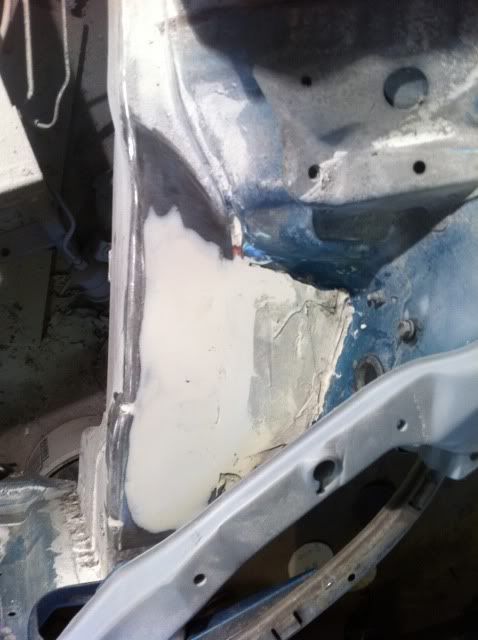
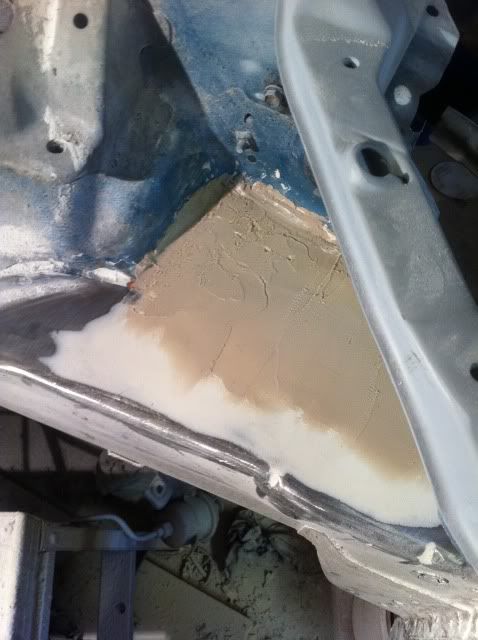
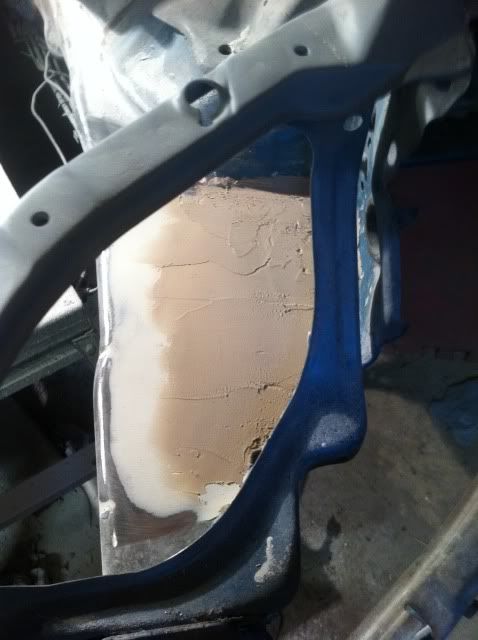
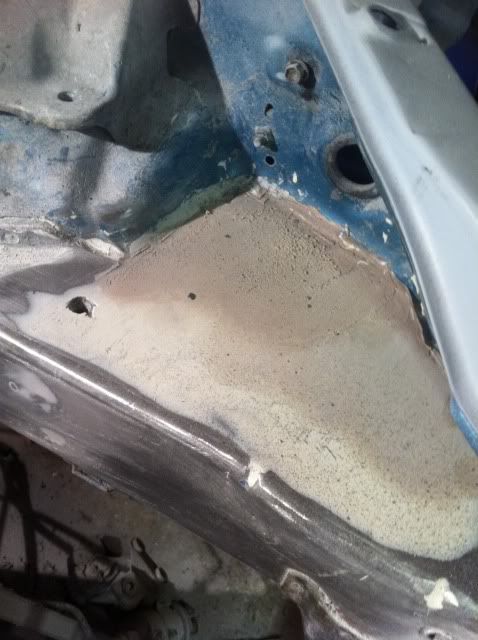
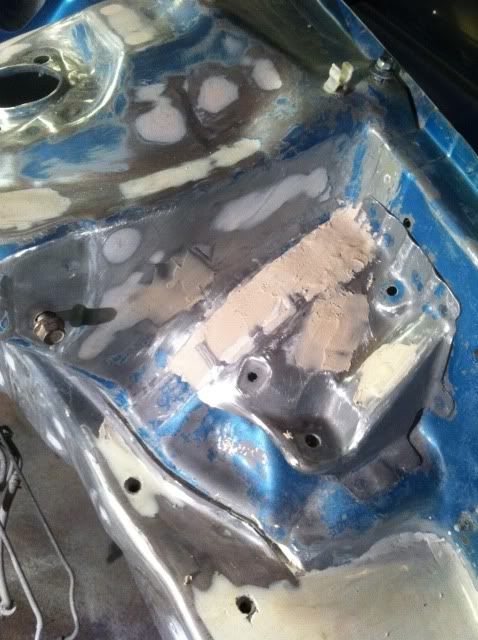
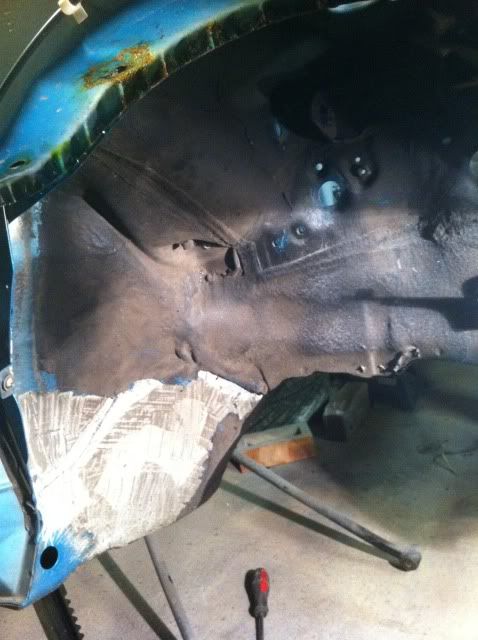
and done some more filler work.
got some etch primer on some pre finished parts to stop any potential rust.
then some more filler.
Will update some more later.
Nuno.
another load of updates coming up now.
here removing the drivers side hub, preparing for subframe drop.
then passenger side
subframe loose
subframe gone.
then starter cleaning the underneath of the car ready for the underseal.
and done some more filler work.
got some etch primer on some pre finished parts to stop any potential rust.
then some more filler.
Will update some more later.
Nuno.
- Joined
- Nov 8, 2011
- Messages
- 465
thanks guys.
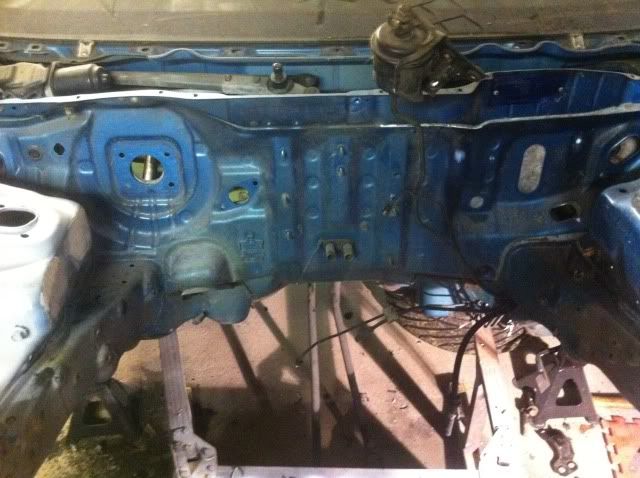
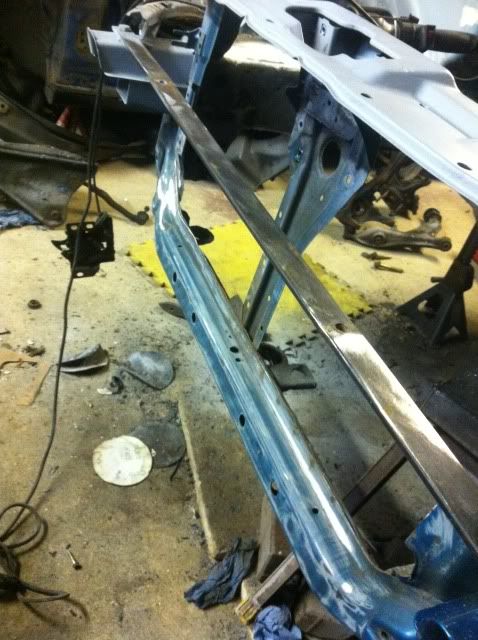
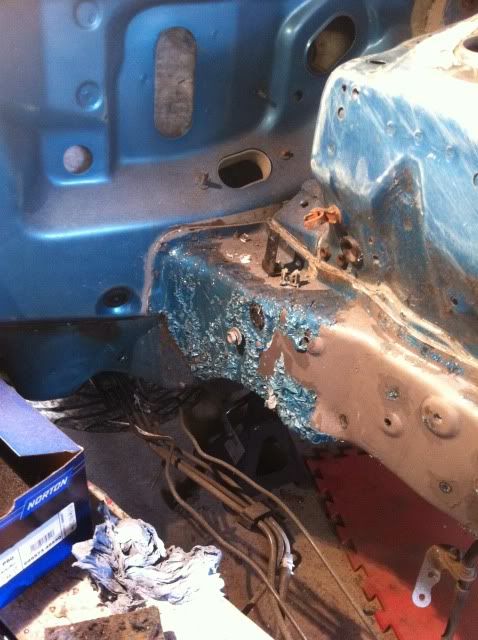
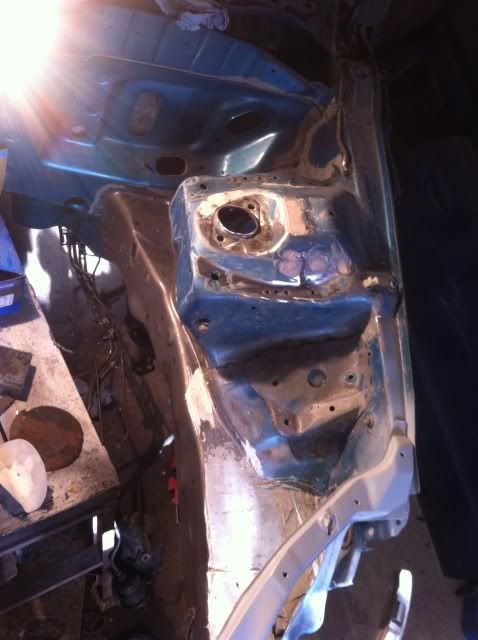
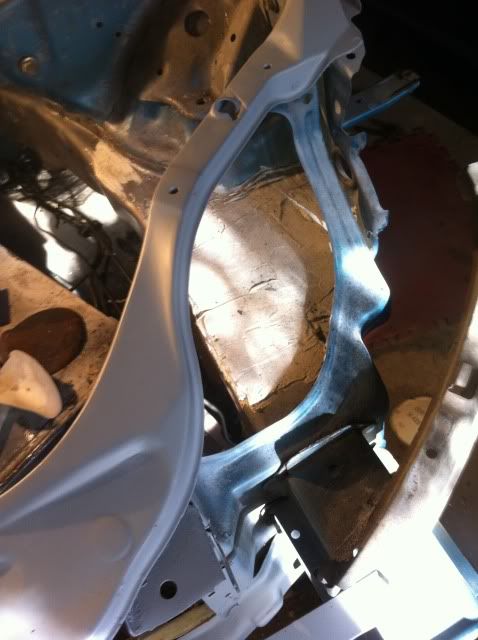
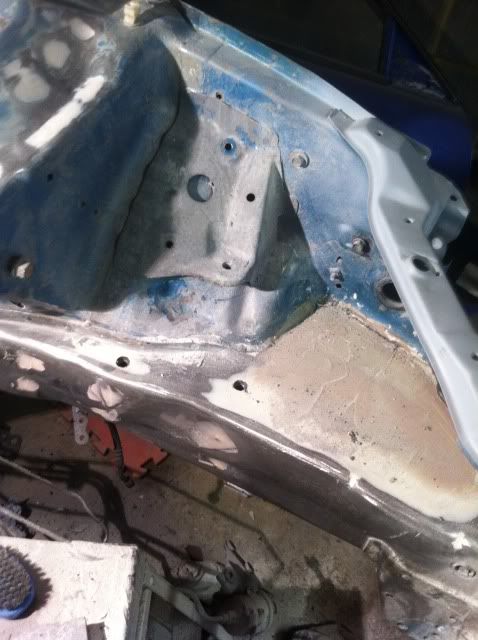
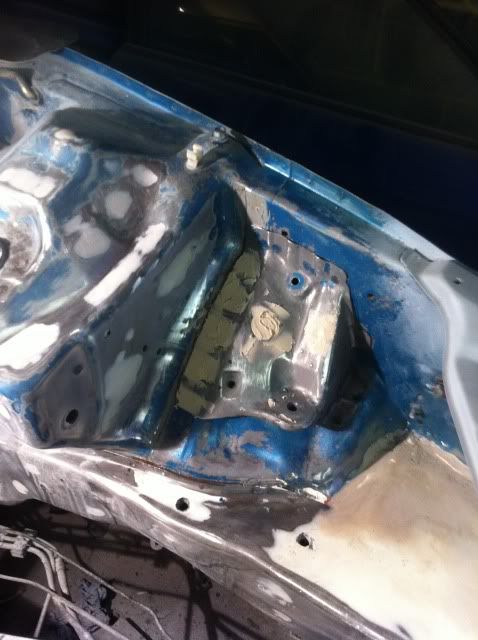
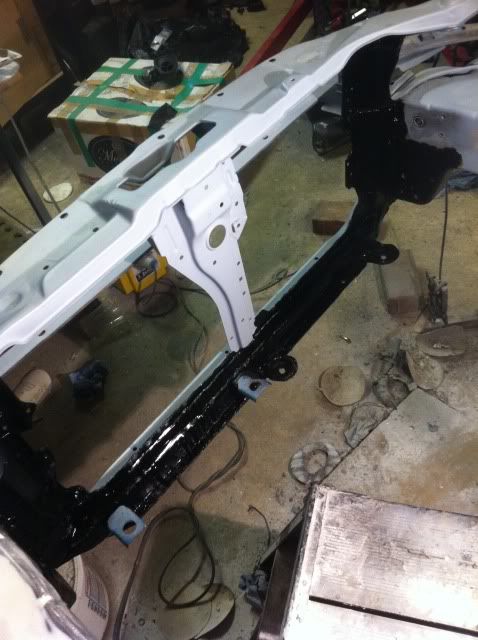
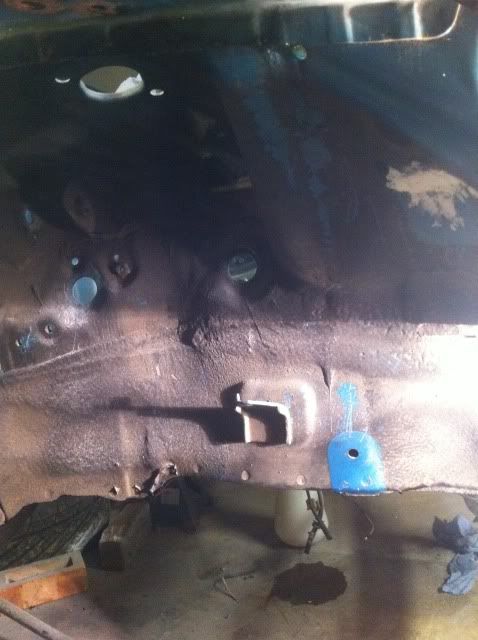
now that the bubframe is out of the way the real work can start muwahaha.
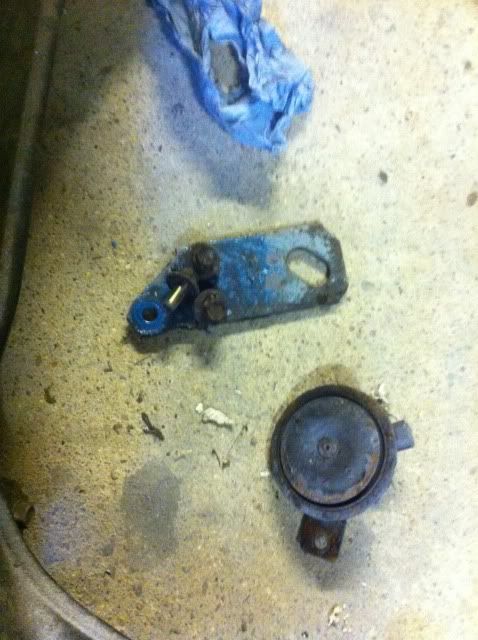
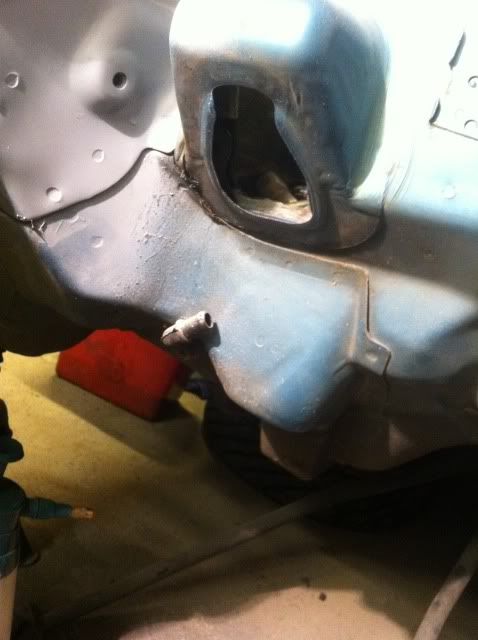
also removed the rusty horn and OEM tow hook.
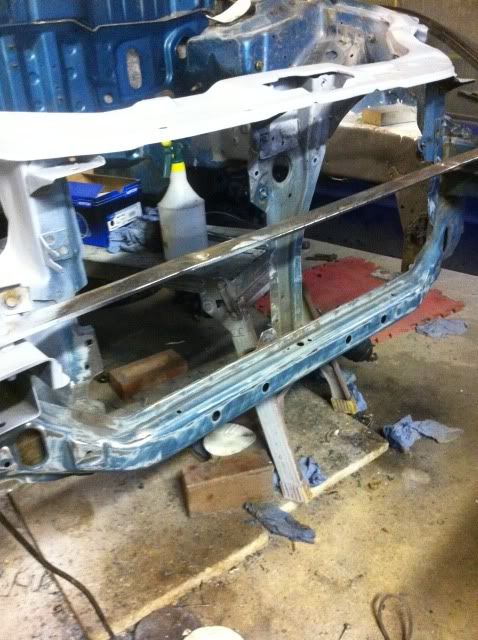
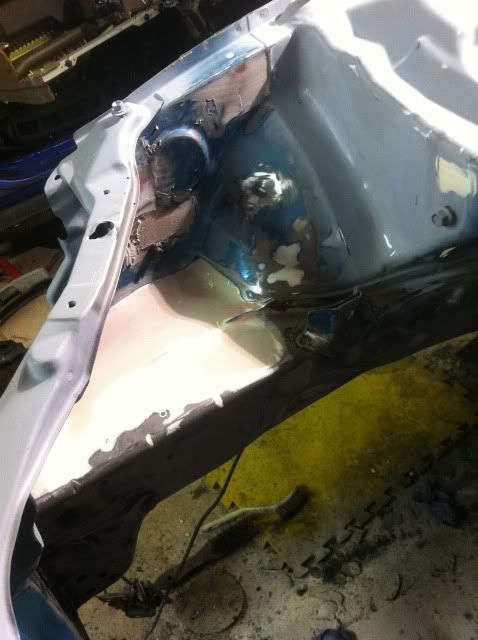
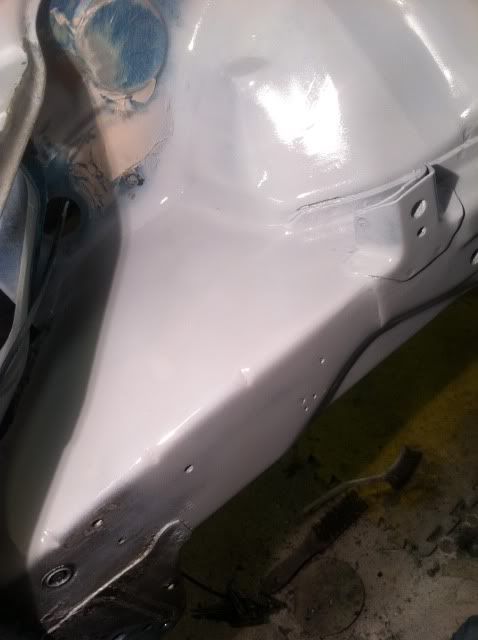
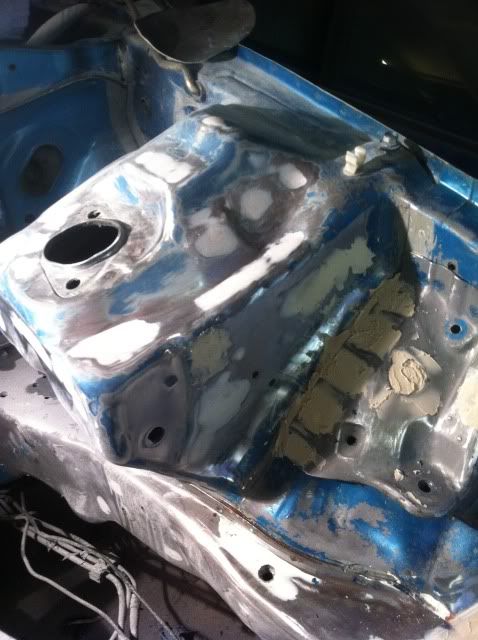
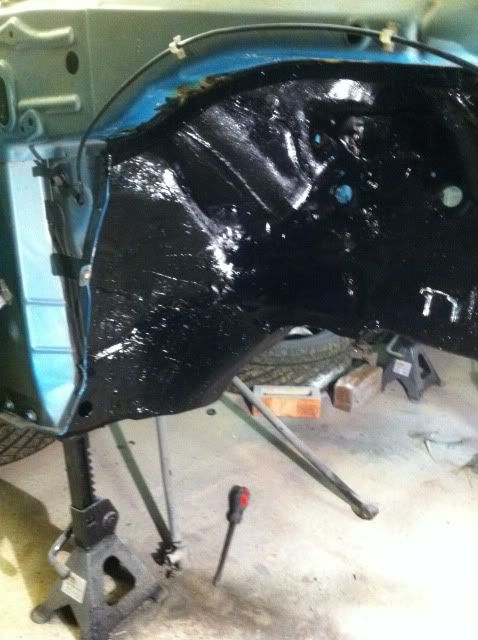
then rubbed down the front end of the bay aswell as my front mount support bar.
hit it up with some more etch primer
then rubbed down the inside and primed the middle bar too.
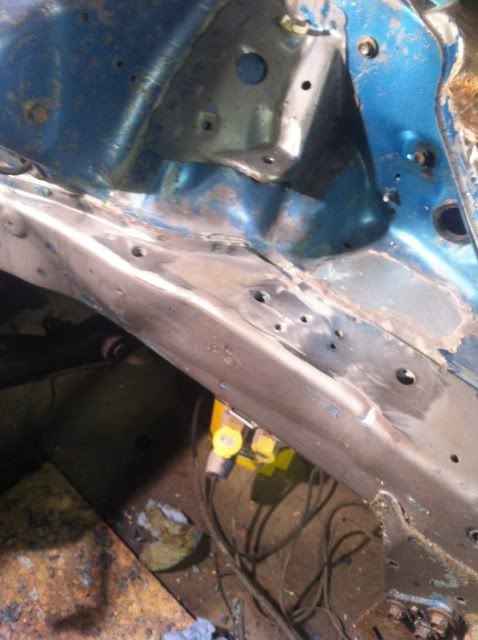
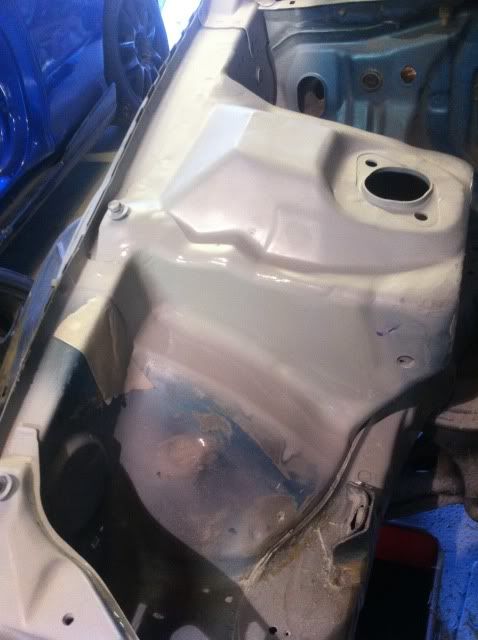
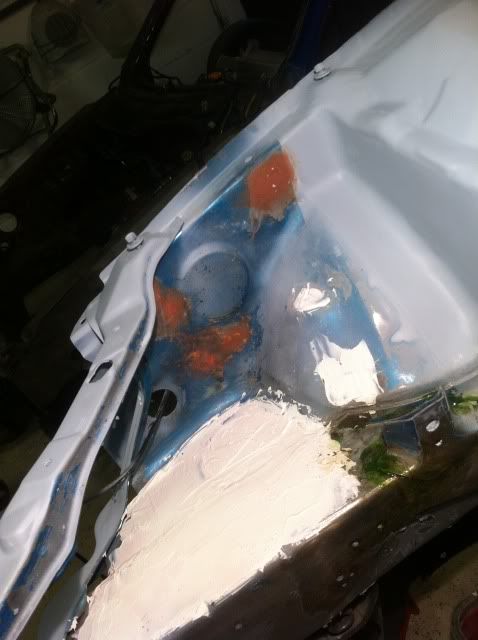
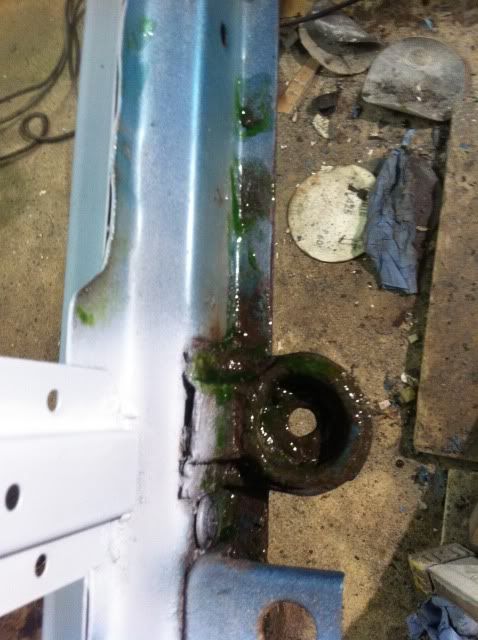
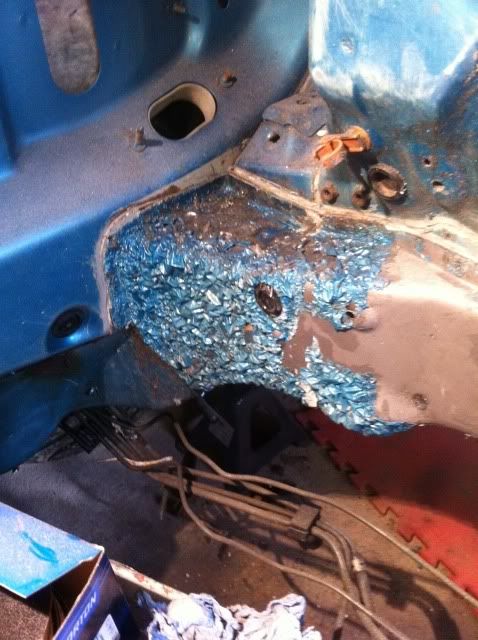
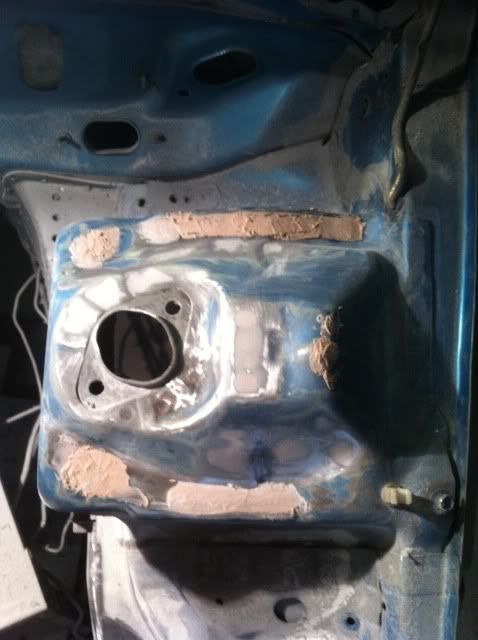
then started to sort some more rust out

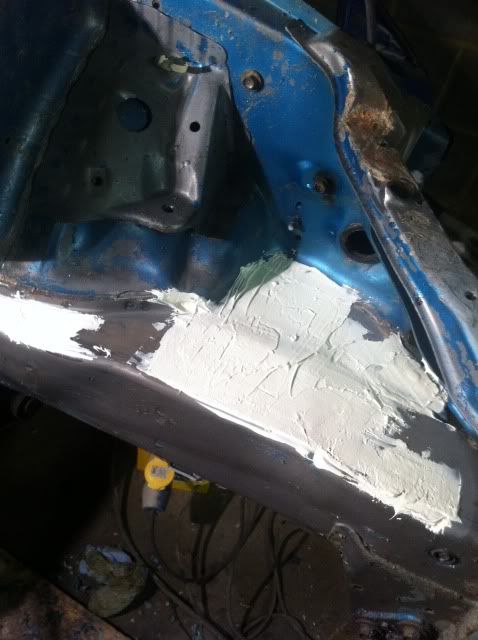
meanwhile more filler went down and so did more sanding lol
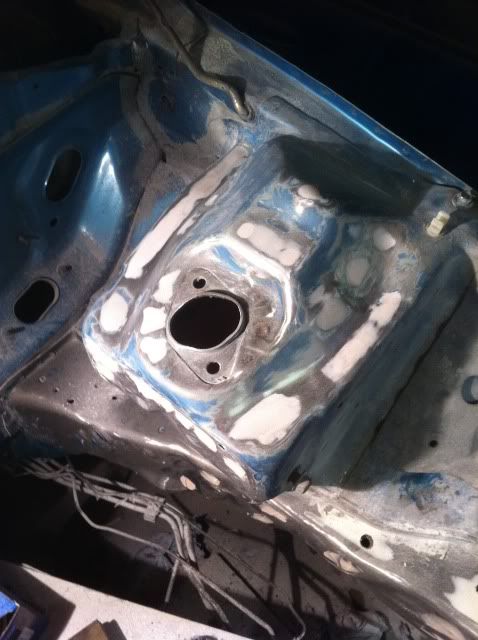
then once wet sanded etc, some more primer went down.
More soon.
now that the bubframe is out of the way the real work can start muwahaha.
also removed the rusty horn and OEM tow hook.
then rubbed down the front end of the bay aswell as my front mount support bar.
hit it up with some more etch primer
then rubbed down the inside and primed the middle bar too.
then started to sort some more rust out
meanwhile more filler went down and so did more sanding lol
then once wet sanded etc, some more primer went down.
More soon.
- Joined
- Nov 8, 2011
- Messages
- 465
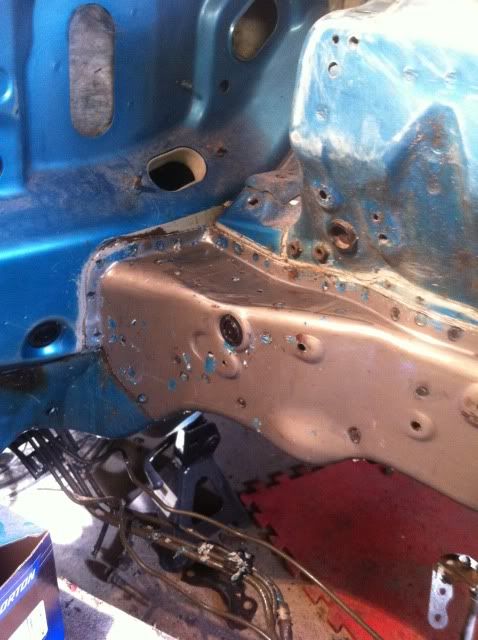
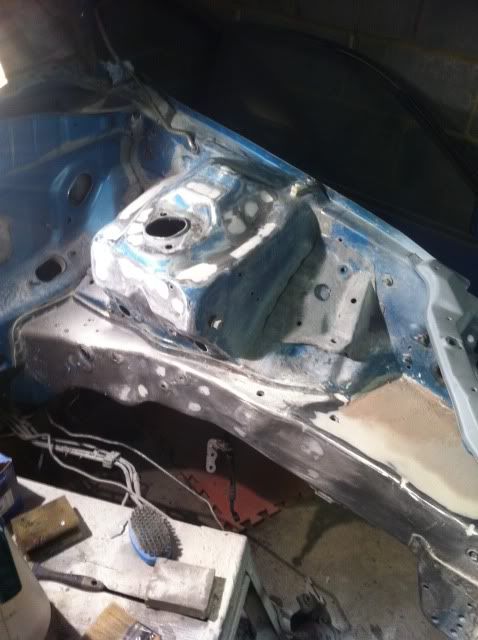
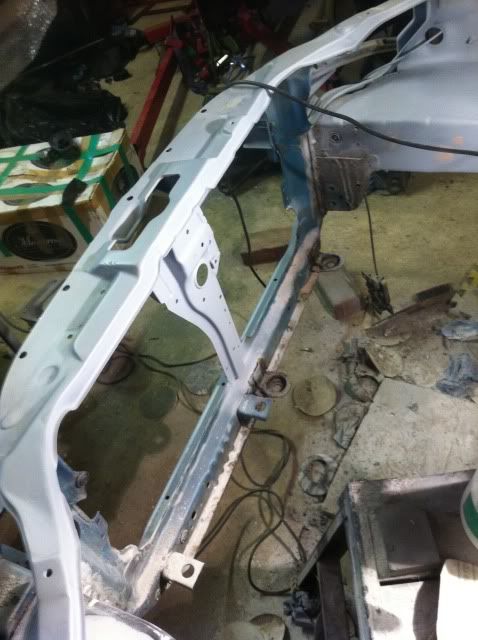
the next step was watch paint dry lol

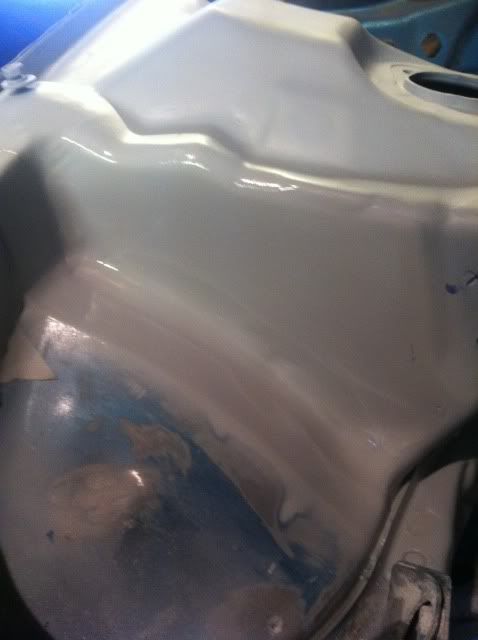
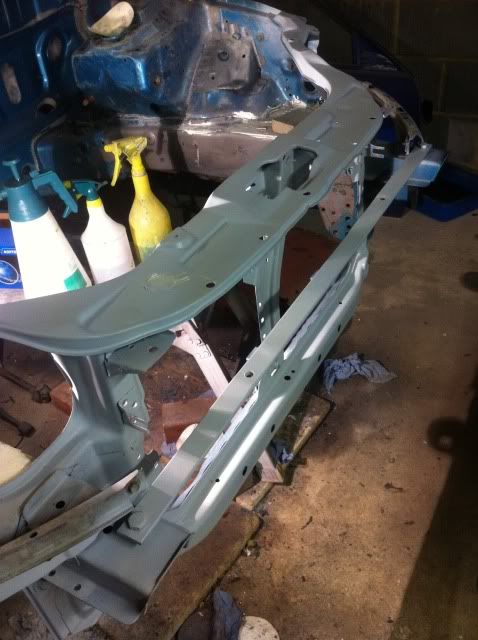
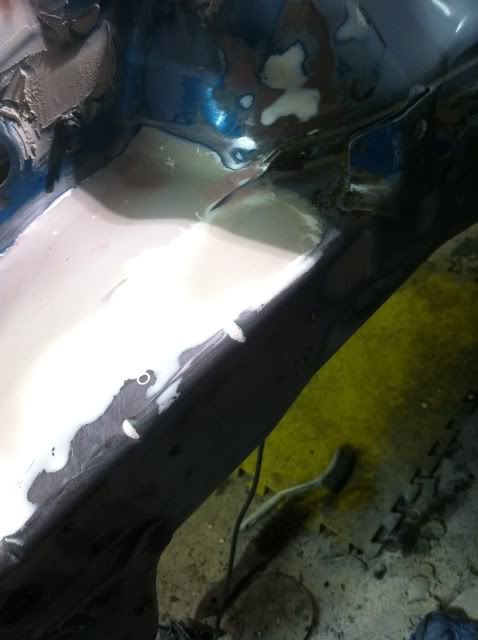
drivers side prep work officially half way through was finally starting to look a bit smooth.
noticed some bits were missed, so got straight on the case.
then turned attention over to the passengers side.
nitro moors is ur friend
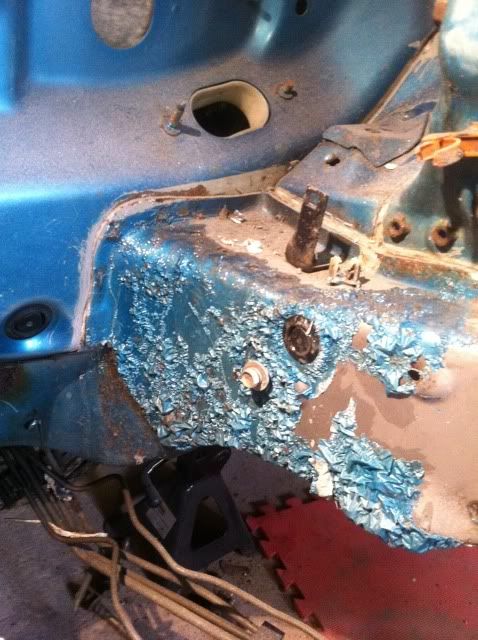
then more filler and sanding.
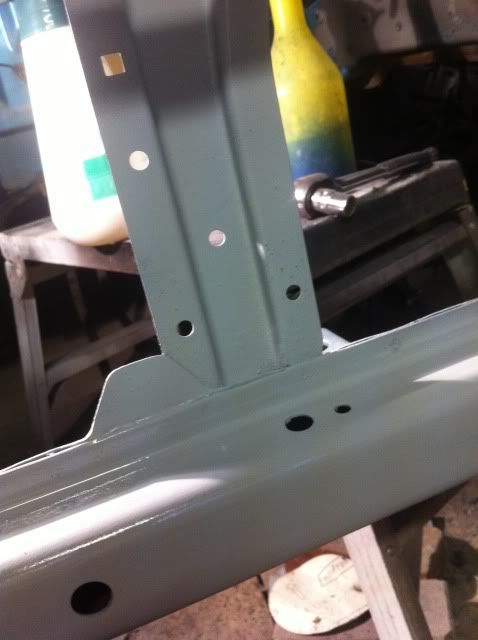
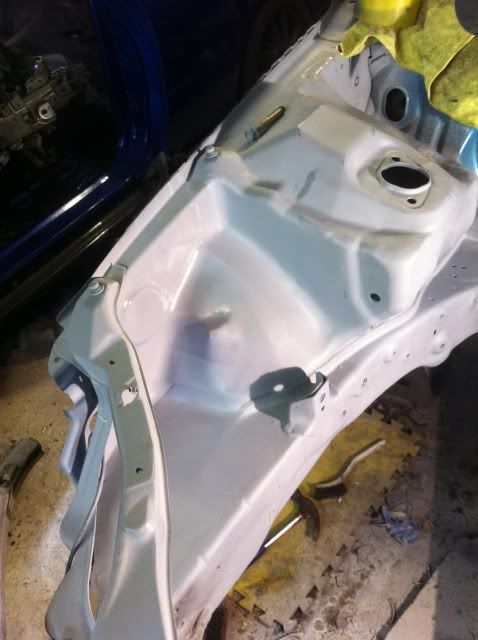
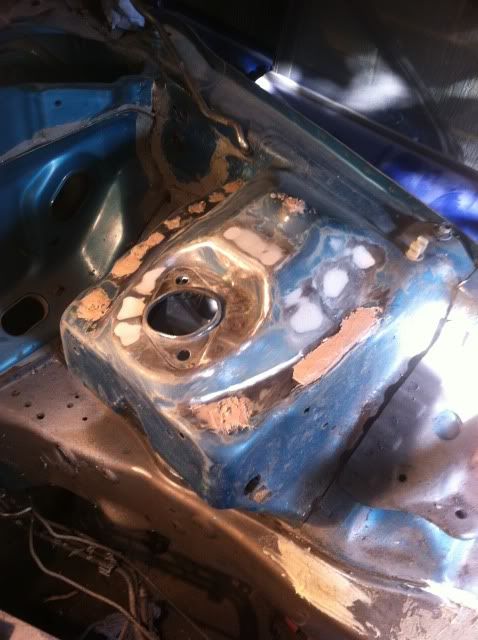
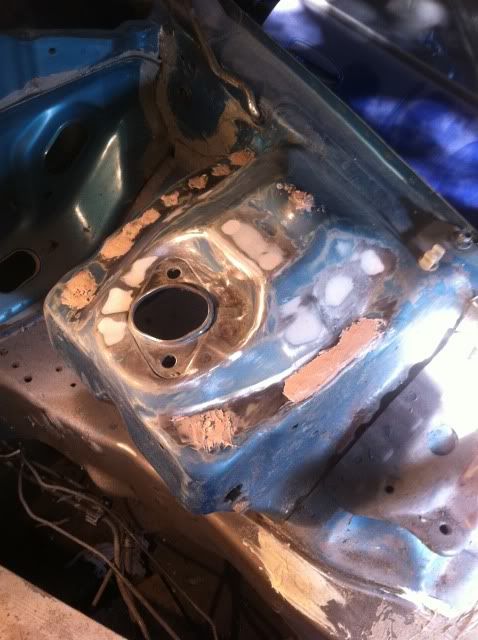
here u see i smoothed over the engine mount holes (dumbass) eventually i realised it and drilled back through them.
more later.
Nuno
drivers side prep work officially half way through was finally starting to look a bit smooth.
noticed some bits were missed, so got straight on the case.
then turned attention over to the passengers side.
nitro moors is ur friend
then more filler and sanding.
here u see i smoothed over the engine mount holes (dumbass) eventually i realised it and drilled back through them.
more later.
Nuno
- Joined
- Nov 8, 2011
- Messages
- 465
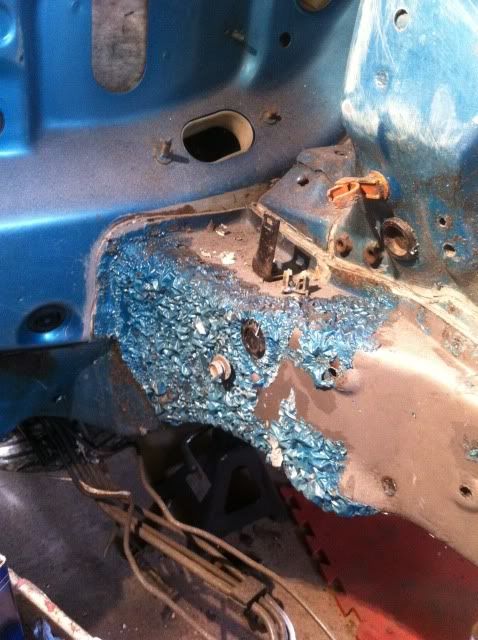
right update time
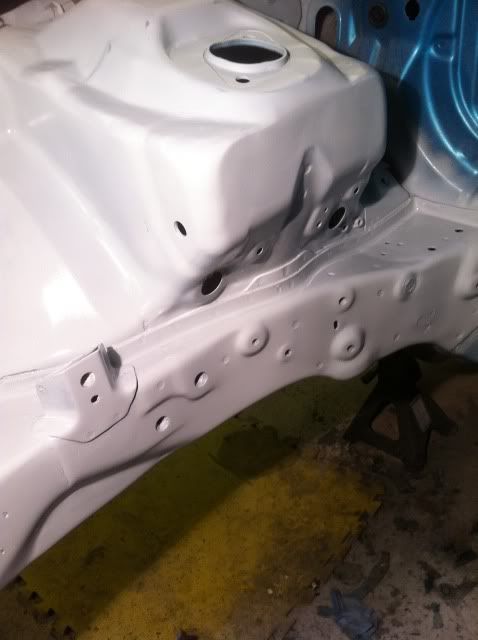
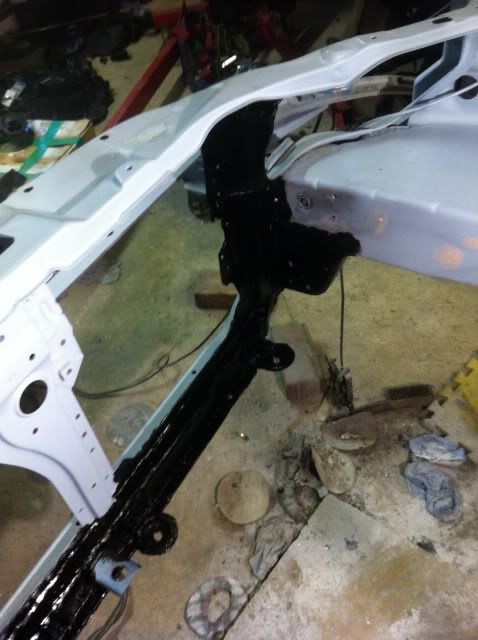
started on the passenger strut, with more filler and sanding woohoo....
then onto more sanding and filler
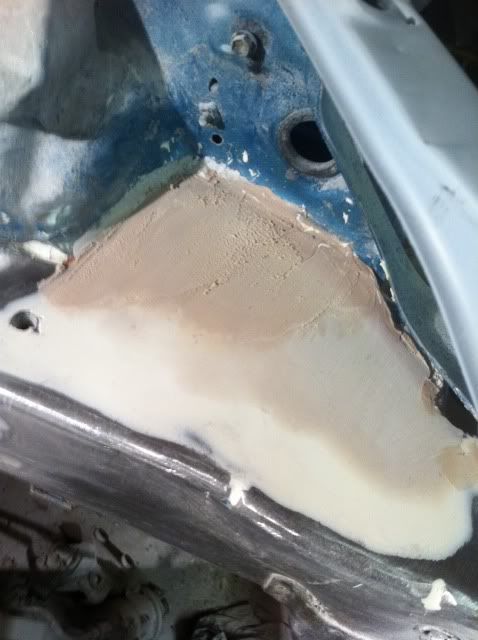
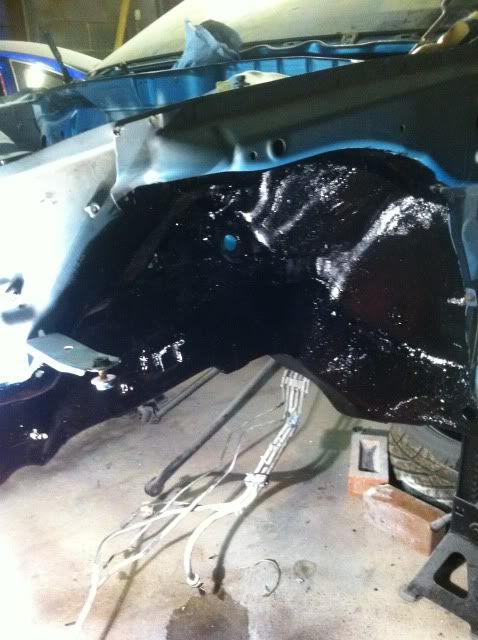
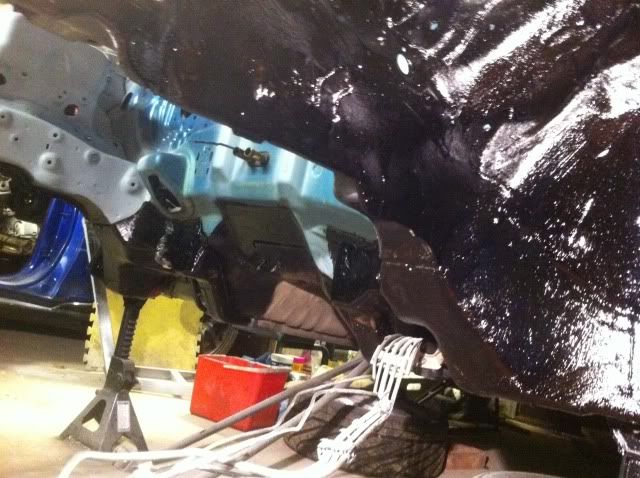
also took care of under sealing the front end of the car inc some of the front slam panel (the rad and oilcooler will cover it up anyway, and it will be sprayed over so wont really be able to tell it has underseal on it)
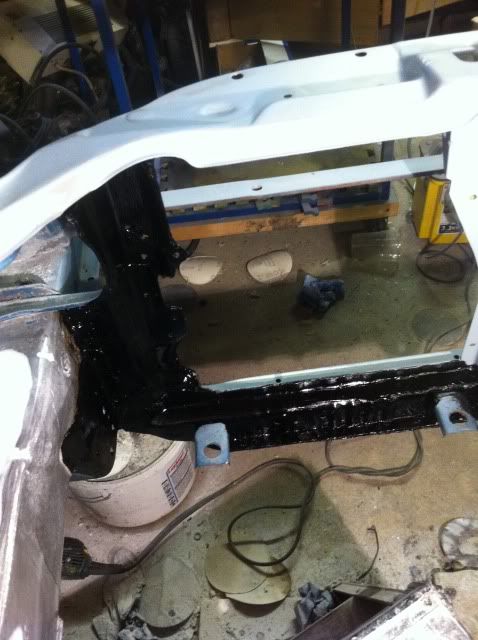
also the little bits that were missed on the drivers side got filled sanded and primed.
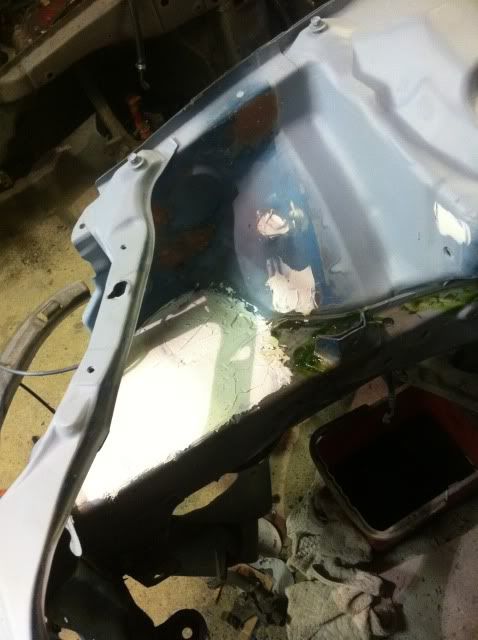
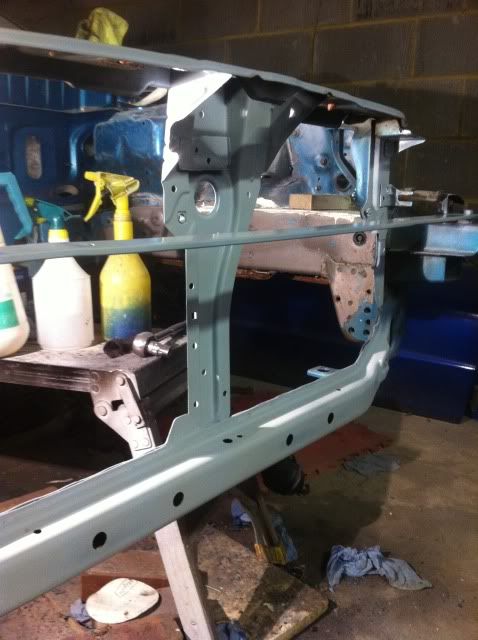
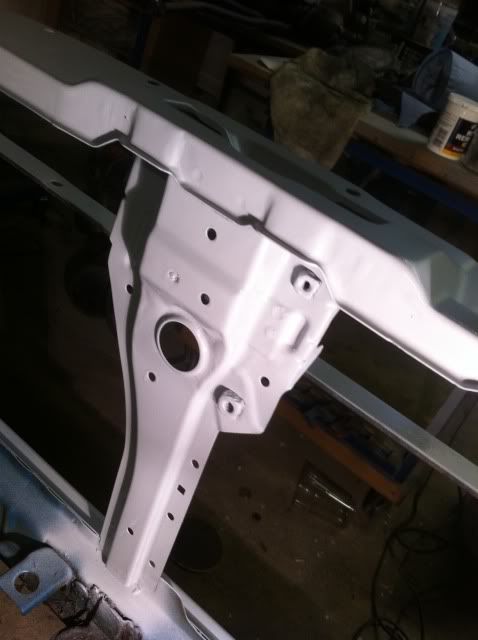
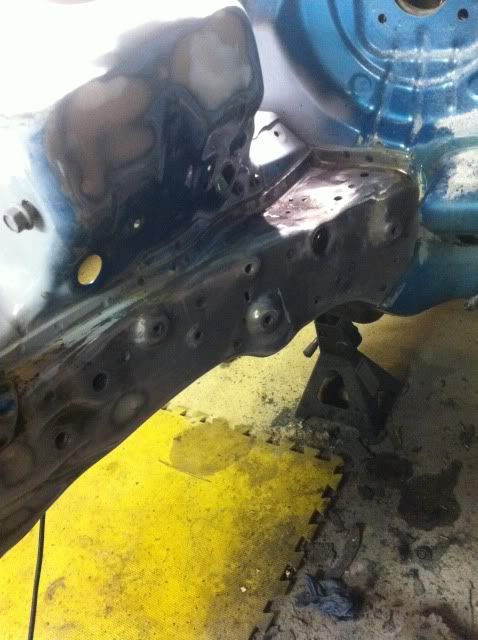
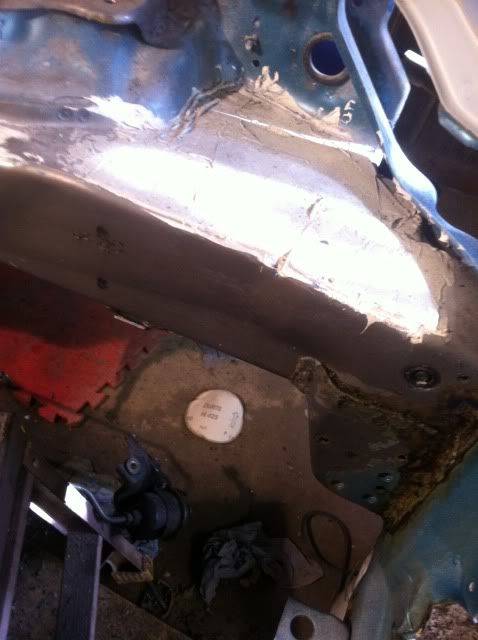
i then grinded the extra studs on the firewall that i felt weren't going to be needed.
then slapped some primer on them.

then a bit more sanding and a bit more filler.
started on the passenger strut, with more filler and sanding woohoo....
then onto more sanding and filler
also took care of under sealing the front end of the car inc some of the front slam panel (the rad and oilcooler will cover it up anyway, and it will be sprayed over so wont really be able to tell it has underseal on it)
also the little bits that were missed on the drivers side got filled sanded and primed.
i then grinded the extra studs on the firewall that i felt weren't going to be needed.
then slapped some primer on them.
then a bit more sanding and a bit more filler.
- Joined
- Nov 8, 2011
- Messages
- 465
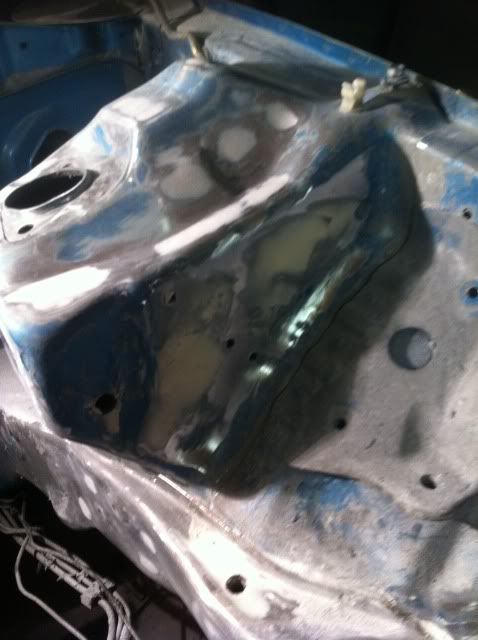
then set off with a task to underseal the front end.
some before shots and after shots.
afters.
some befores on the arches.
then some afters.
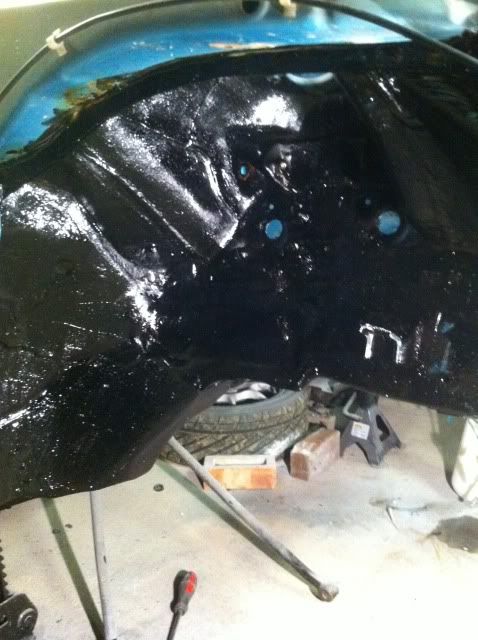

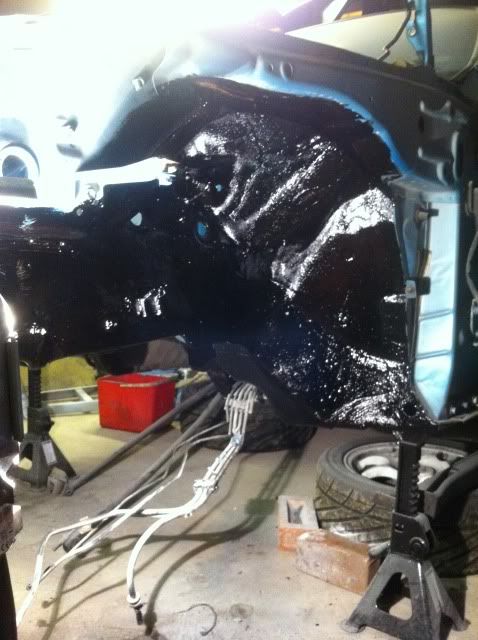
after that was done. a little more sanding etc and some primer went down on the passenger side to prevent rust and look for rough spots and still need work on that might have been missed.
As it stands the project is roughly only about 3 weeks delayed on here now, will keep the work and updates going.
thanks
Nuno.
some before shots and after shots.
afters.
some befores on the arches.
then some afters.
after that was done. a little more sanding etc and some primer went down on the passenger side to prevent rust and look for rough spots and still need work on that might have been missed.
As it stands the project is roughly only about 3 weeks delayed on here now, will keep the work and updates going.
thanks
Nuno.
- Joined
- Nov 8, 2011
- Messages
- 465
engine bay is painted, a update due later.
its coming along nicely.
Nuno.
its coming along nicely.
Nuno.
killa_vtec
Active Member
- Joined
- Nov 28, 2008
- Messages
- 780
Looking forward to seeing the engine bay pics mate
CivicTypeR89
Member
- Joined
- Jan 10, 2011
- Messages
- 507
looking good, lots of effort gone into this.
- Joined
- Nov 8, 2011
- Messages
- 465
Update will have to be today as been extremely busy on the car to even scratch my ass.
Thanks.
Nuno
Thanks.
Nuno
- Joined
- Nov 8, 2011
- Messages
- 465
some job nuno
Cheers Steve, Should finally look how I've always wanted it to look.
- Joined
- Nov 8, 2011
- Messages
- 465
Car is also fully painted now!! Woohoo so happy lol.
Need to update this thread ASAP for you guys.
Nuno
Need to update this thread ASAP for you guys.
Nuno