
- Joined
- Jan 4, 2009
- Messages
- 5,094
Right today i was bored and it was very sunny, i had a few bits to take of my EK4 anyway so i thought i'd take some photo's and do a write up of how to Tilt the stock EK spolier...
Seen alot of people asking about it and alot of people saying it is easy just go and try it. it really is very easy but for those that may be a bit weary of working on their car's here is a step by step tutorial ( if you can call it that ) showing exactly how to do it.
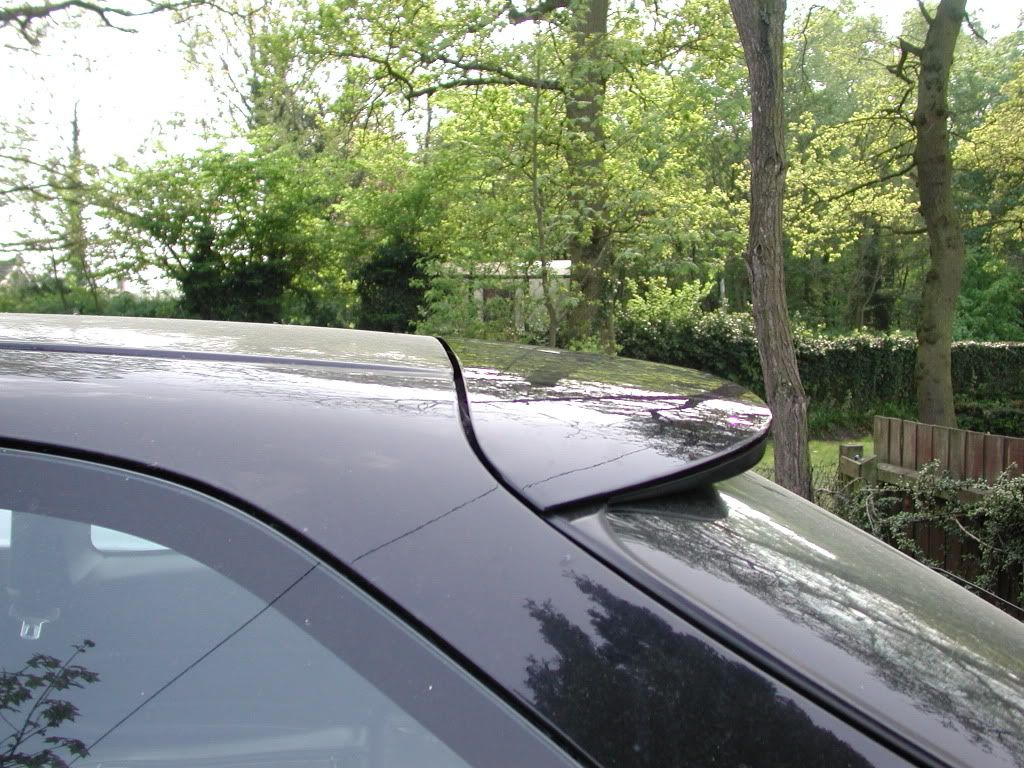
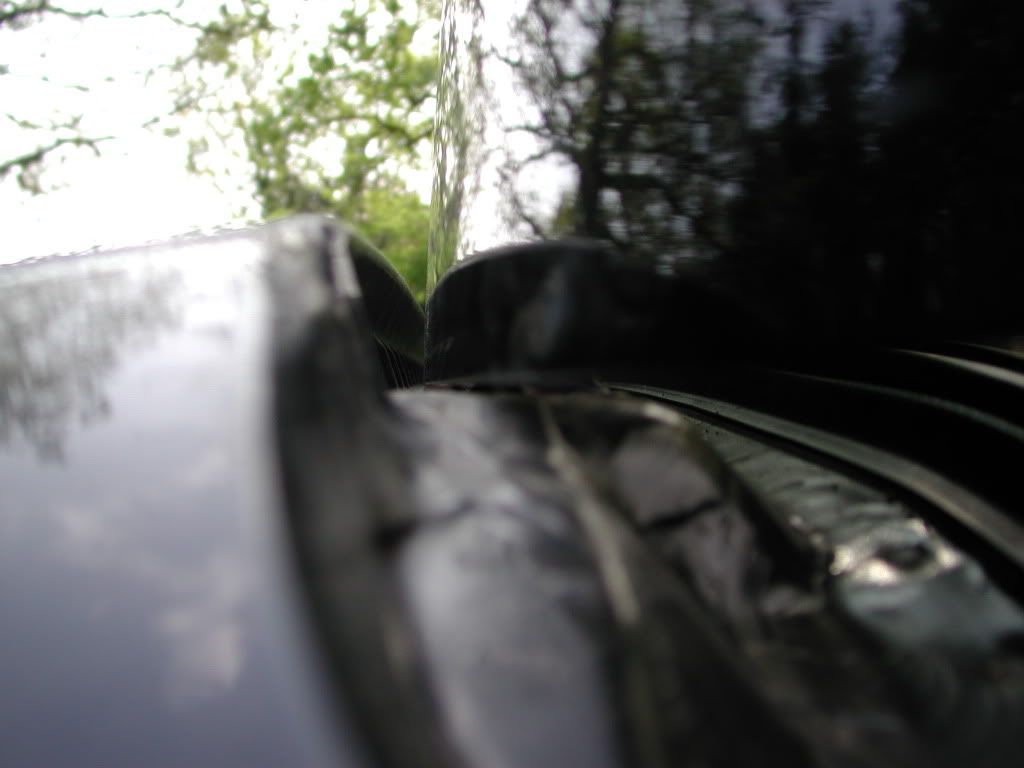
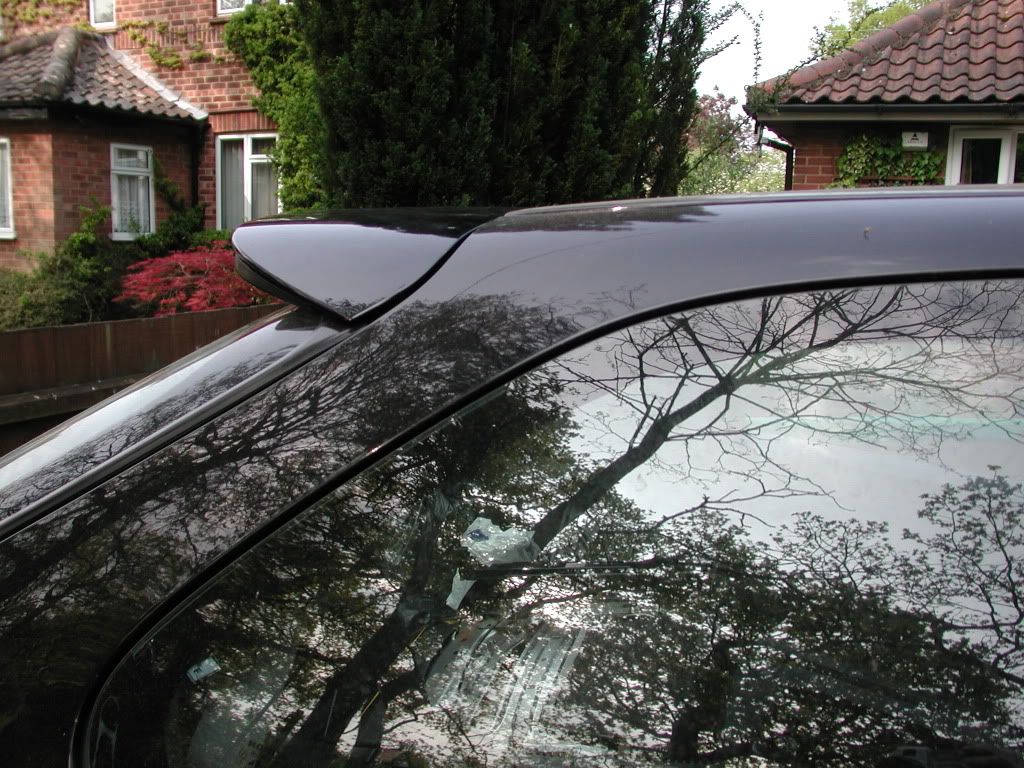
Here is the boring EK spolier setup, it actually drops off the roof line.. which doesn't look good
You will need to take off the plastic trim in the tailgate..so you can see this
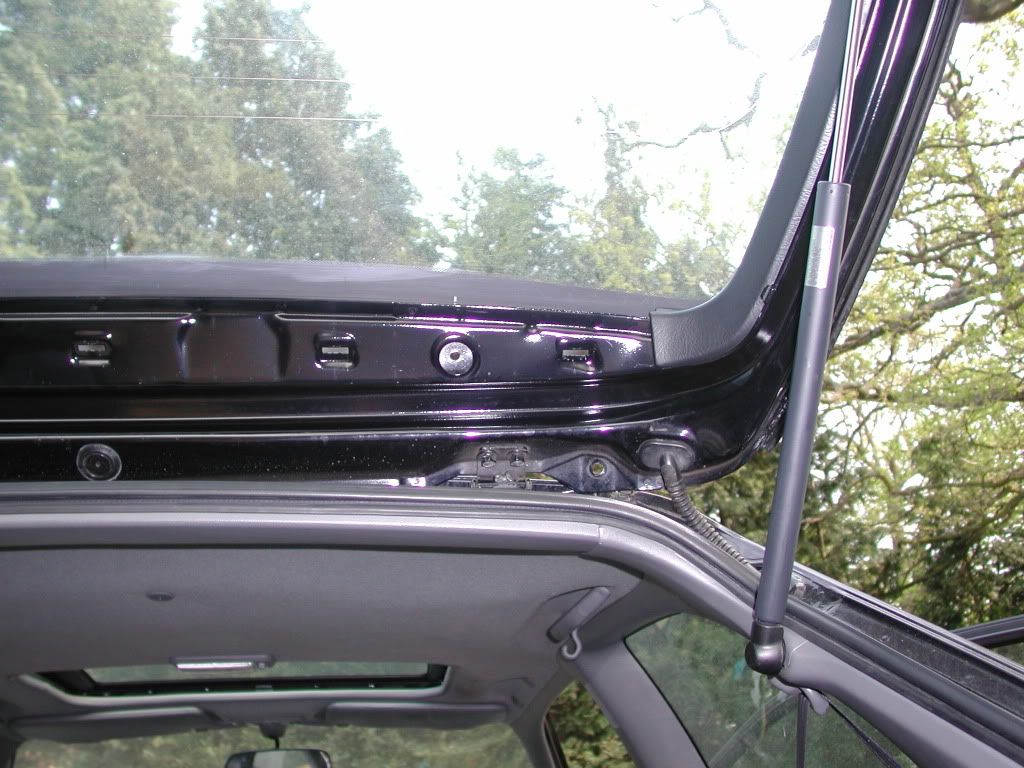
Once you have this off you will see 2 bolts either side...
Simply remove these bolts...
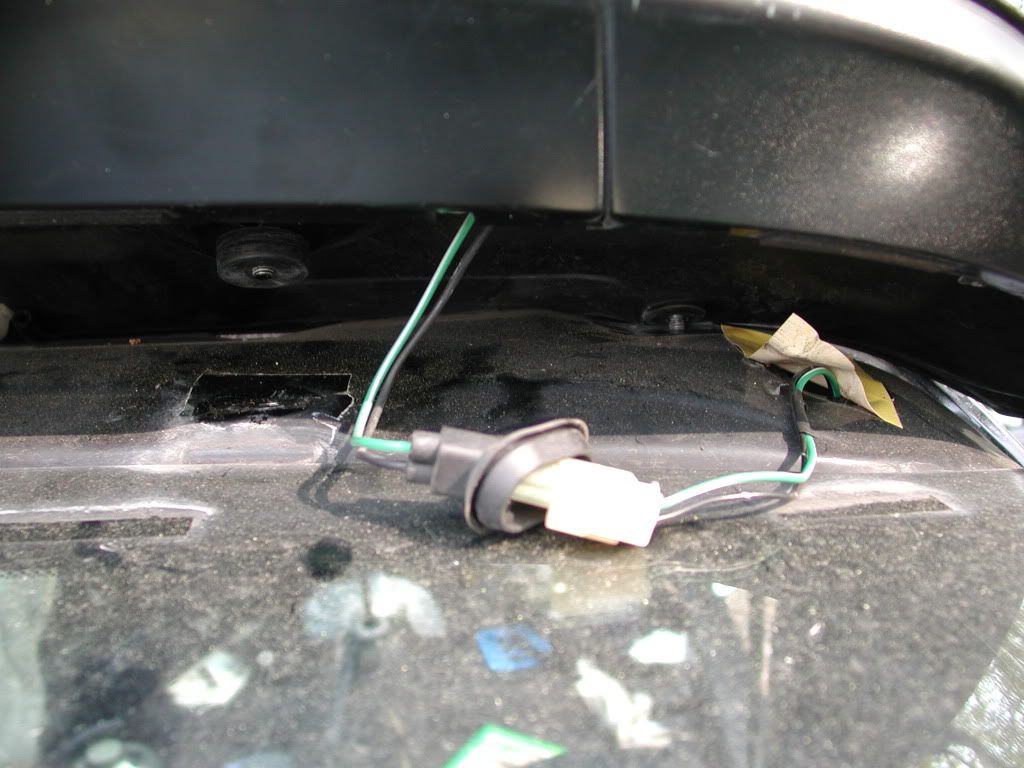
Take off the spolier carefully if there is a brake light simply disconnect it. there is a clip over on the right hand side of the spolier..
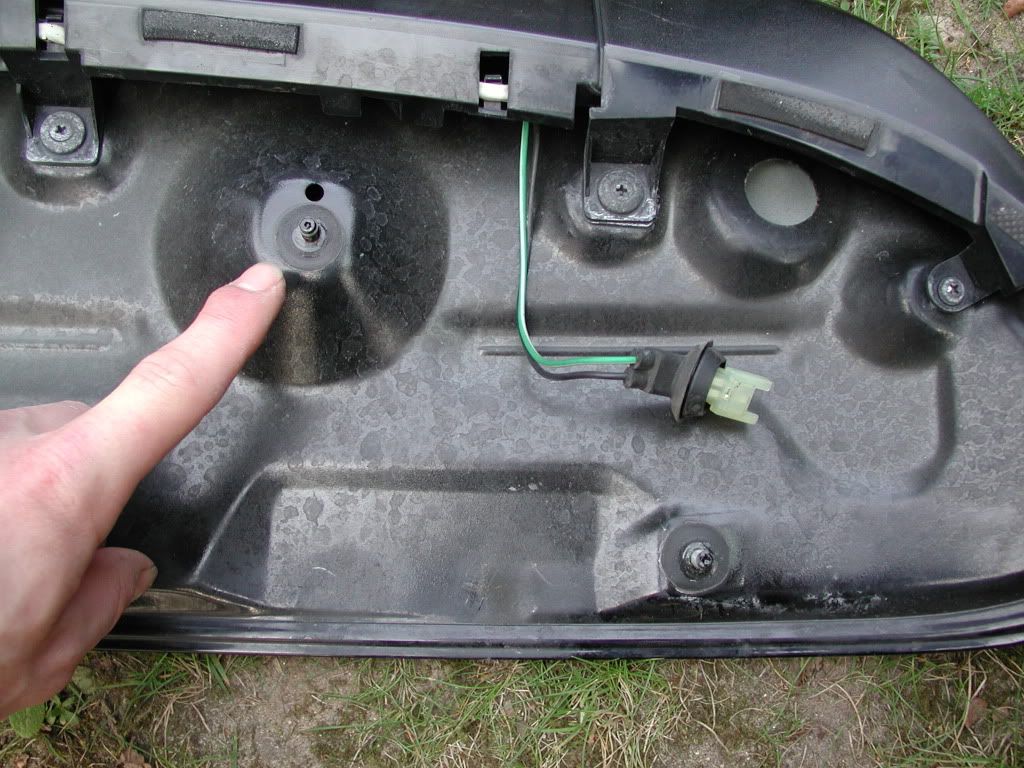
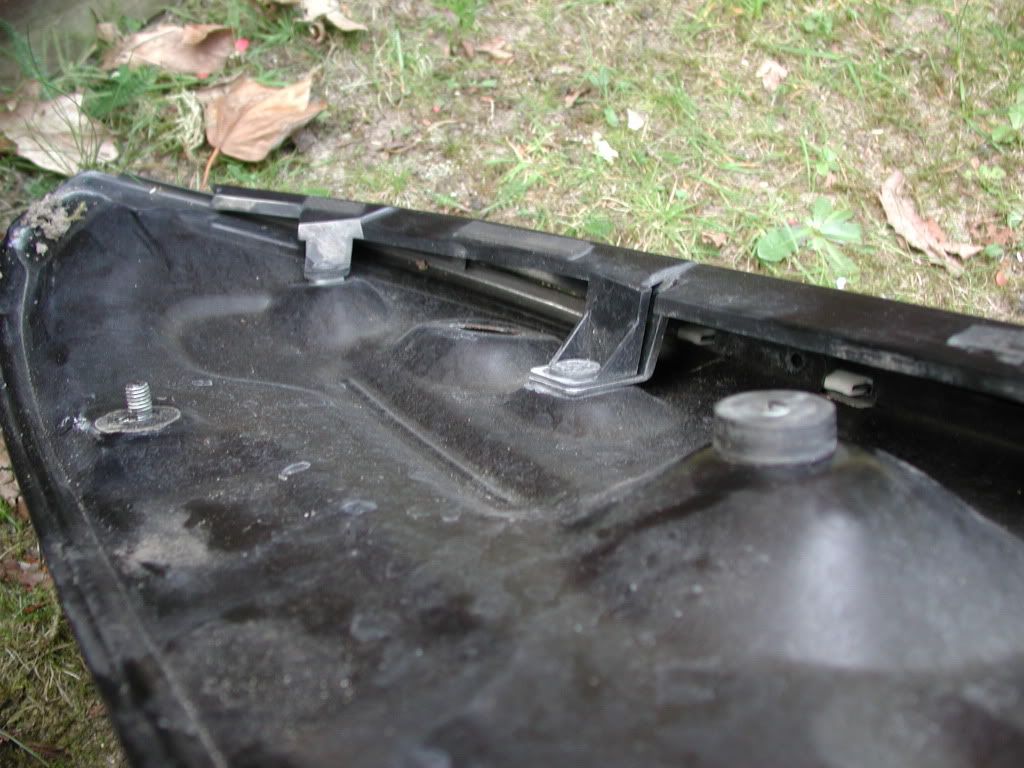
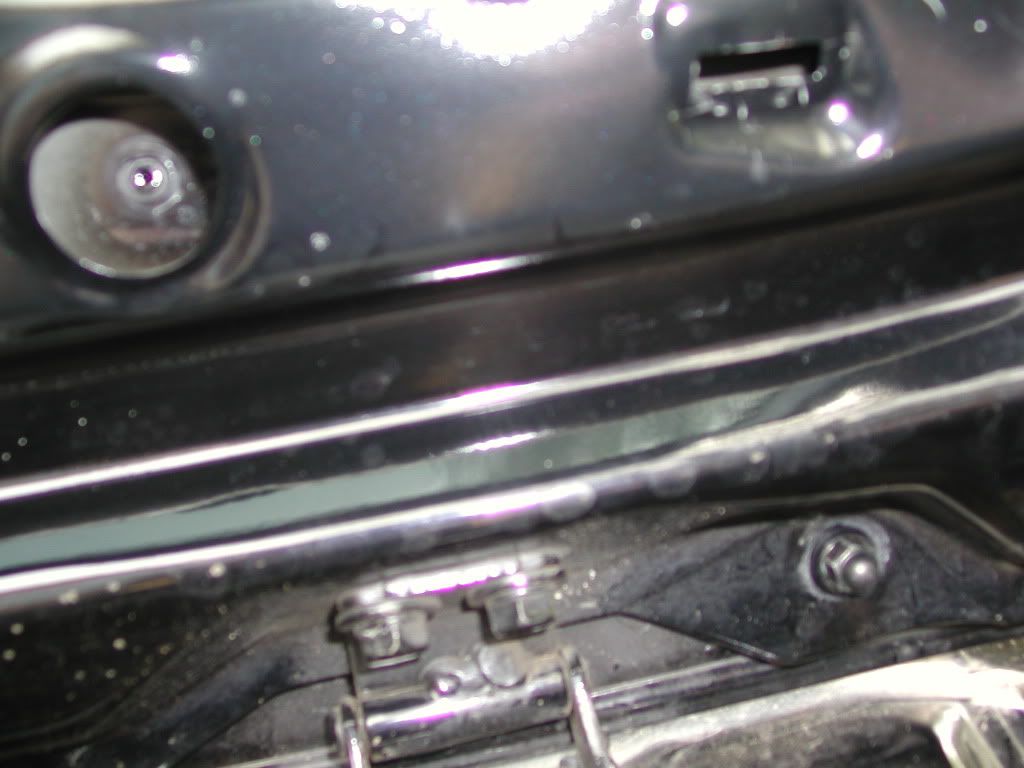
once the spolier is off you should be able to see these holes

We will only be using the Hole on the right hand side...
Reverse this for the left hand side of the spolier as well.
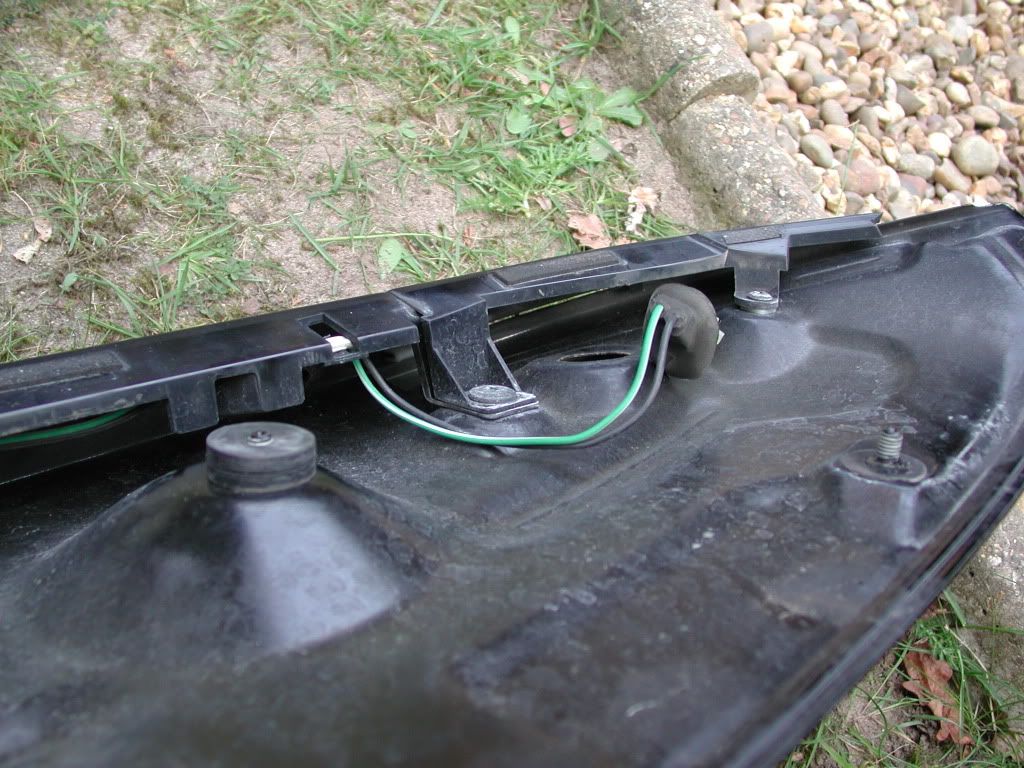
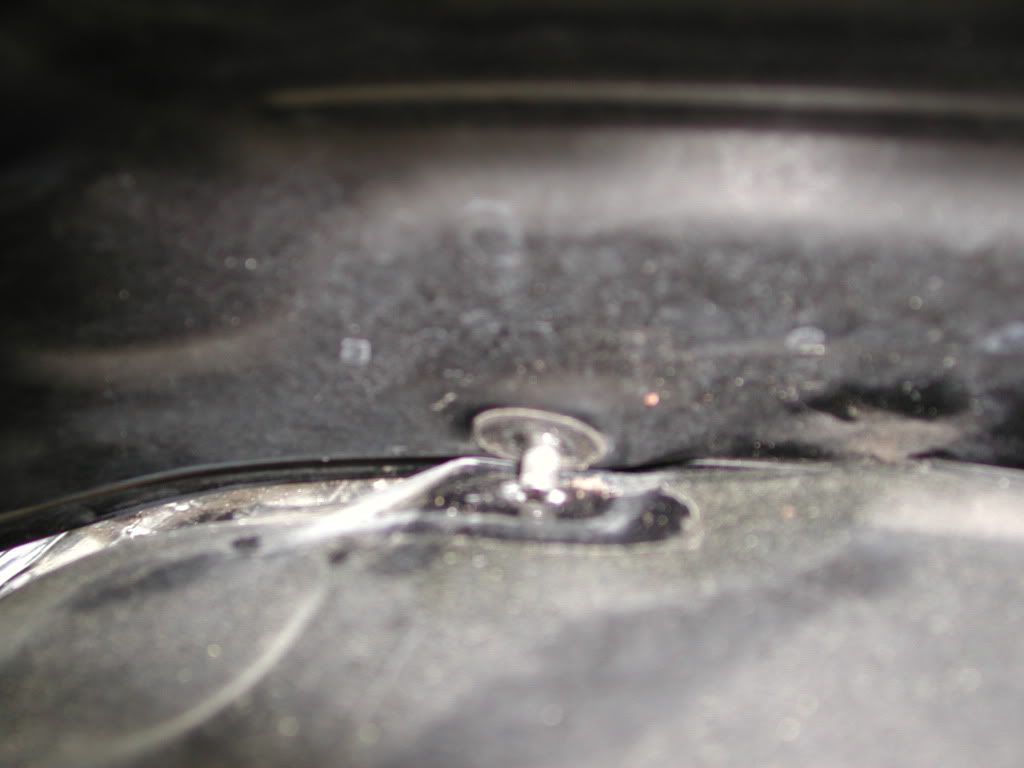
This is the bolt that we will be building up the washer on..
LIKE SO .....

I used rubber hard rubber washers, alot of people use actuall bolts with tape over. I thought by using these rubber washers there would be less vibration and also it gives a more professional looking job than some tape and washers.. lol
Do this both sides on the bolt that has a raised piece underneath it. like so
Now carefully relocate the bolts without the washer on them. Like so..
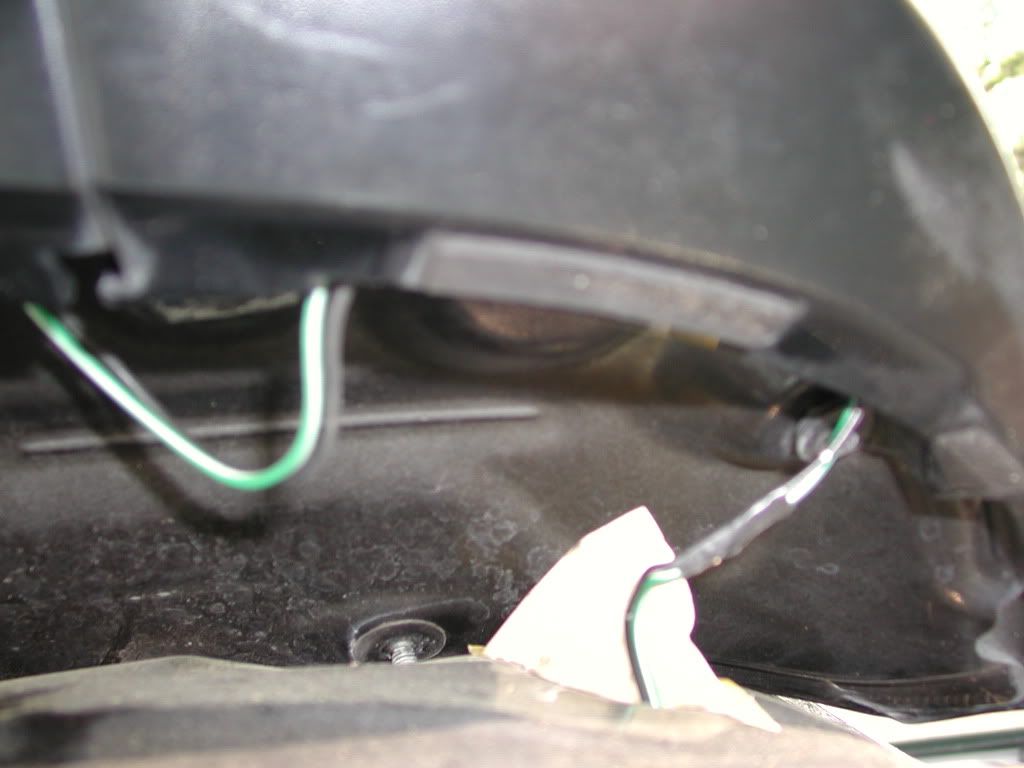
Now is a good time to clip the brake light wires back together
Tuck this into the spolier
Now hand tighten the Nuts onto bolts that DO NOT have the washers on them.
Once you have hand tightened them both sides.... Check the spolier for clearance...
I Found that building the washers up so that they are just about level with the top of the bolt is about the perfect tilt ...
Check Clearance
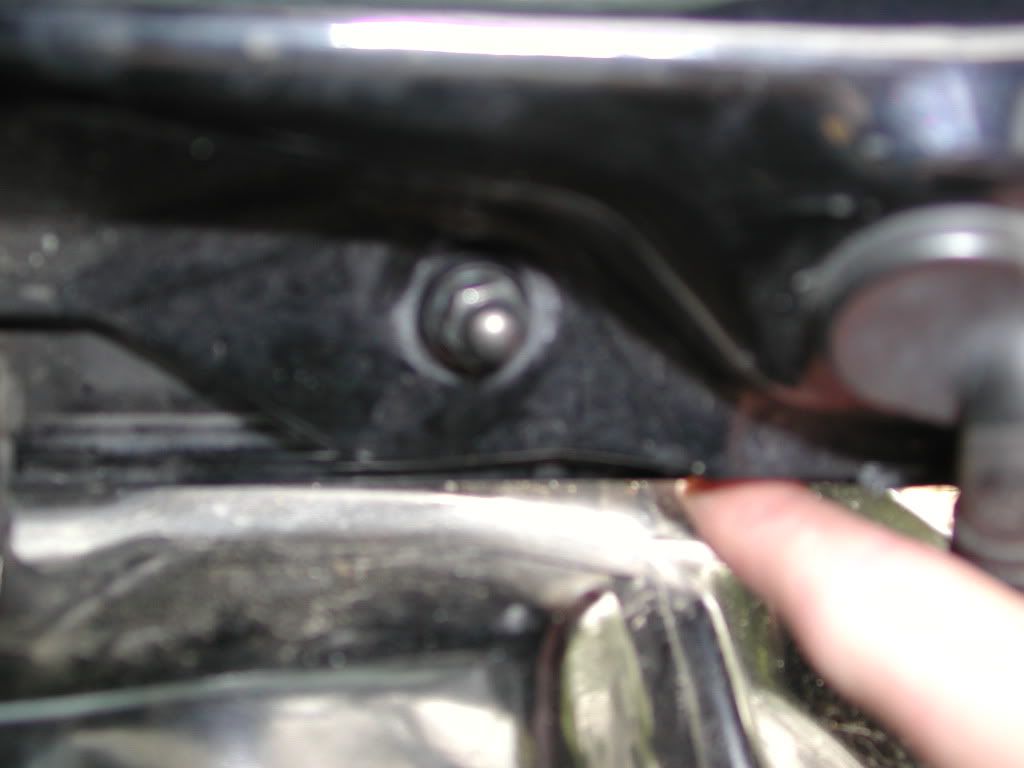
i then had to prop the spolier up with my finger while i tightened the Nuts so that the spolier had more clearance giving it about an extra 1mm of clearance was all it needed. otherwise the roof side of the spolier mashes into the car and can scratch it..
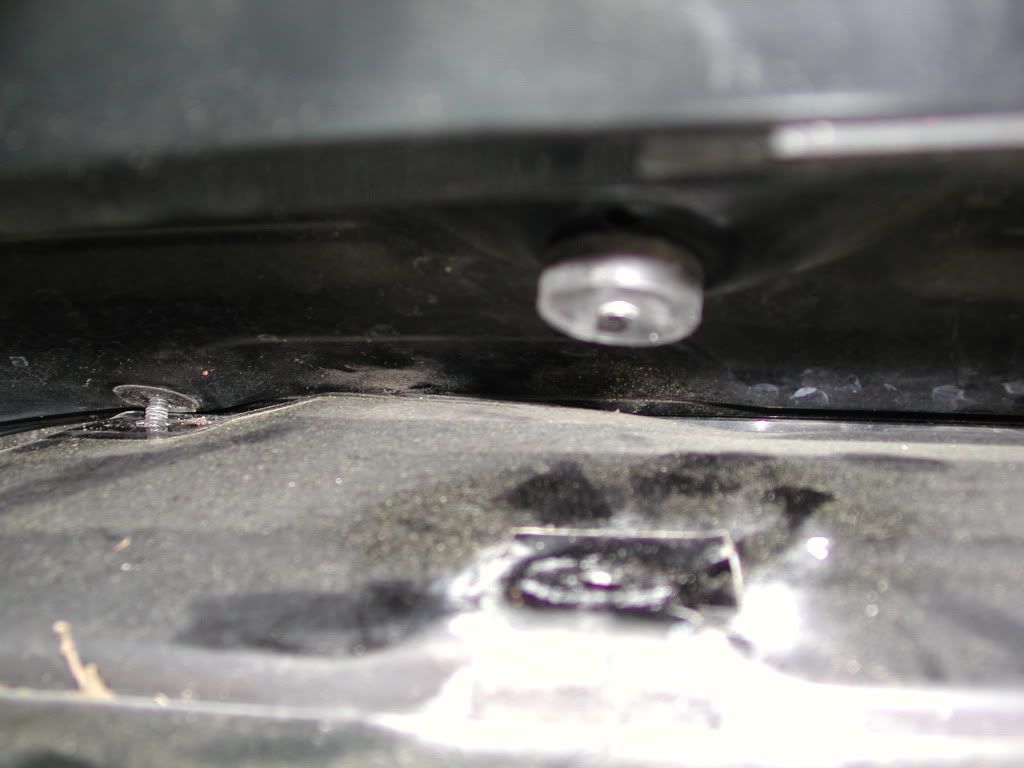
Once both nuts are tightened on to the bolts you should have something like this either side.. where you have a bolt with nuts tightened on them and a blank hole.
 Then stand back and Revel in your new baller status
Seen alot of people asking about it and alot of people saying it is easy just go and try it. it really is very easy but for those that may be a bit weary of working on their car's here is a step by step tutorial ( if you can call it that ) showing exactly how to do it.
Here is the boring EK spolier setup, it actually drops off the roof line..
which doesn't look good
You will need to take off the plastic trim in the tailgate..so you can see this
Once you have this off you will see 2 bolts either side...
Simply remove these bolts...
Take off the spolier carefully if there is a brake light simply disconnect it. there is a clip over on the right hand side of the spolier..
once the spolier is off you should be able to see these holes
We will only be using the Hole on the right hand side...
Reverse this for the left hand side of the spolier as well.
This is the bolt that we will be building up the washer on..
LIKE SO .....
I used rubber hard rubber washers, alot of people use actuall bolts with tape over. I thought by using these rubber washers there would be less vibration and also it gives a more professional looking job than some tape and washers.. lol
Do this both sides on the bolt that has a raised piece underneath it. like so
Now carefully relocate the bolts without the washer on them. Like so..
Now is a good time to clip the brake light wires back together
Tuck this into the spolier
Now hand tighten the Nuts onto bolts that DO NOT have the washers on them.
Once you have hand tightened them both sides.... Check the spolier for clearance...
I Found that building the washers up so that they are just about level with the top of the bolt is about the perfect tilt ...
Check Clearance
i then had to prop the spolier up with my finger while i tightened the Nuts so that the spolier had more clearance giving it about an extra 1mm of clearance was all it needed. otherwise the roof side of the spolier mashes into the car and can scratch it..
Once both nuts are tightened on to the bolts you should have something like this either side.. where you have a bolt with nuts tightened on them and a blank hole.
Then stand back and Revel in your new baller status
Last edited:
).gif ":)) :))")

