well i think this project thread is long overdue now so here is the build up of my supercharged ek9 so far:
Some of you may remember my clio, which was genuinley my pride and joy for the last 3 years but i got to a stage earlier on in the year where there was nothing else i could do to it so i felt i needed a new challenge. I could never in a million years imagine selling the clio before but i just felt it was time to let go and move onto something more special with a greater potential. The faithful old clio:


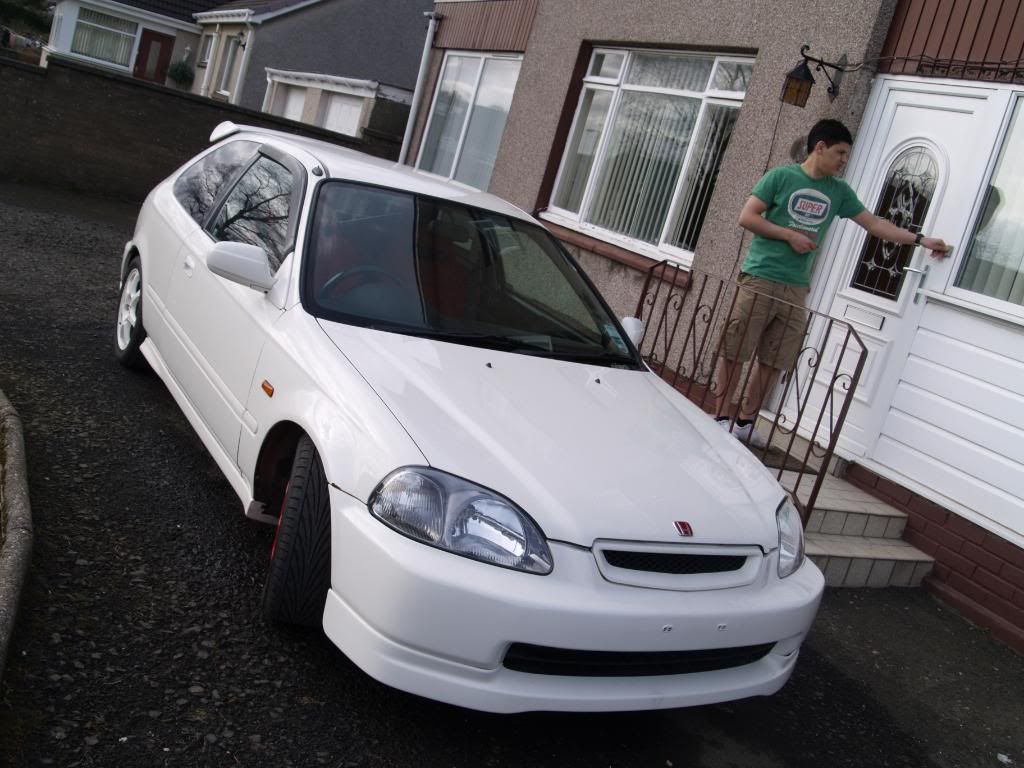
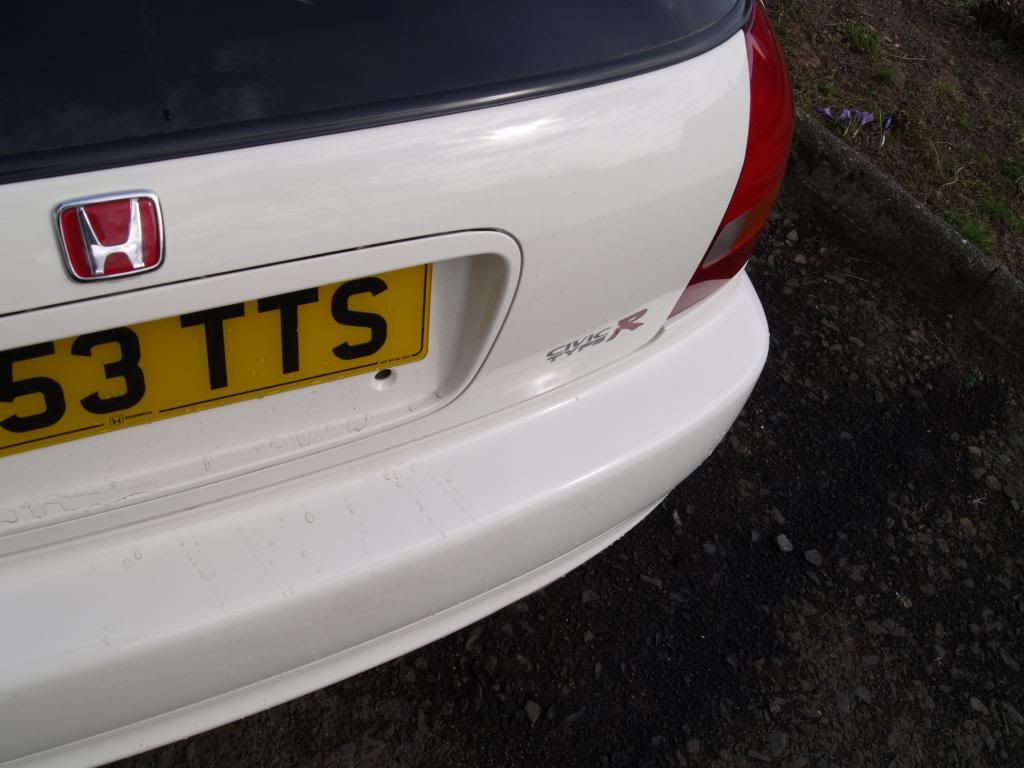
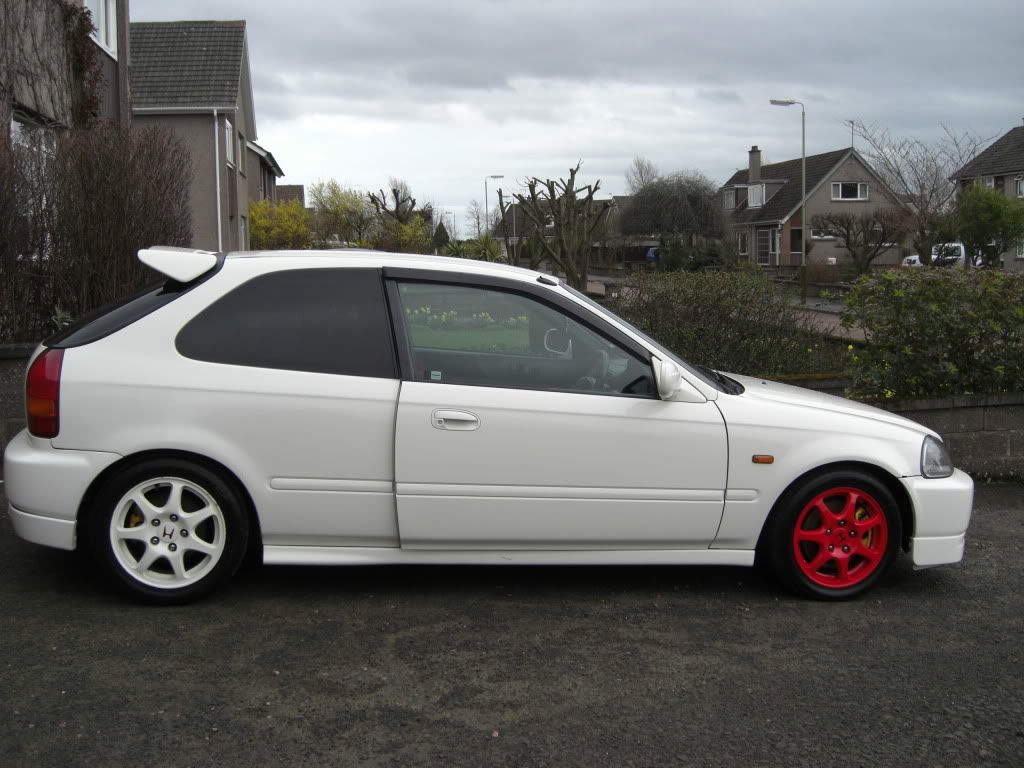
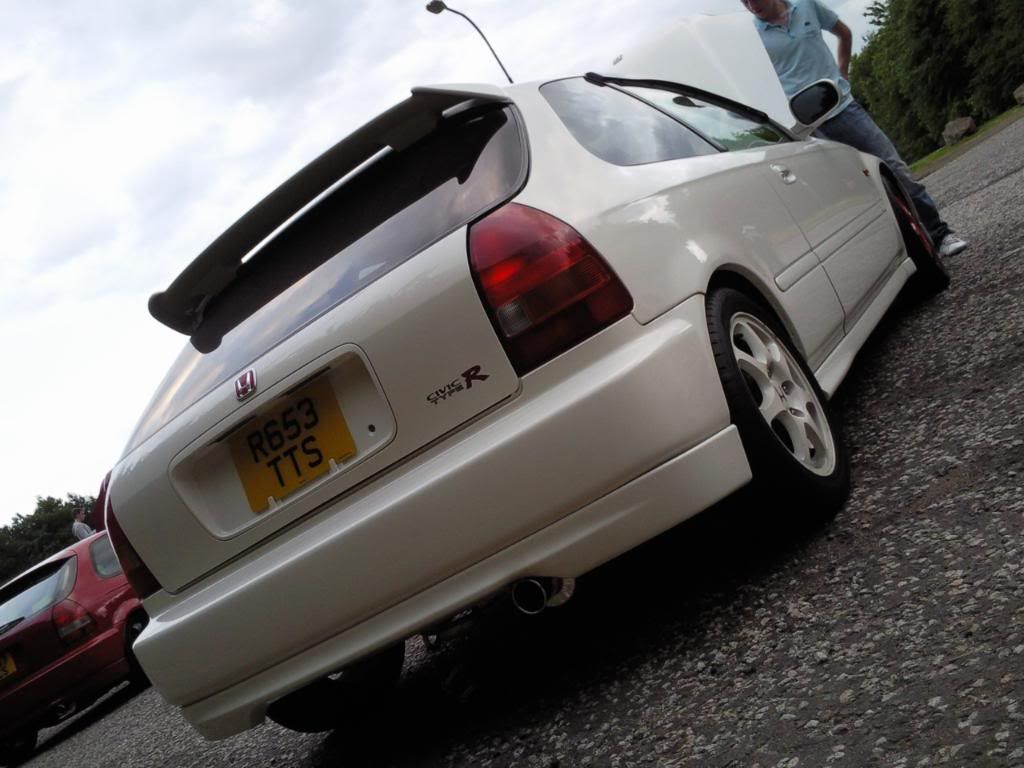
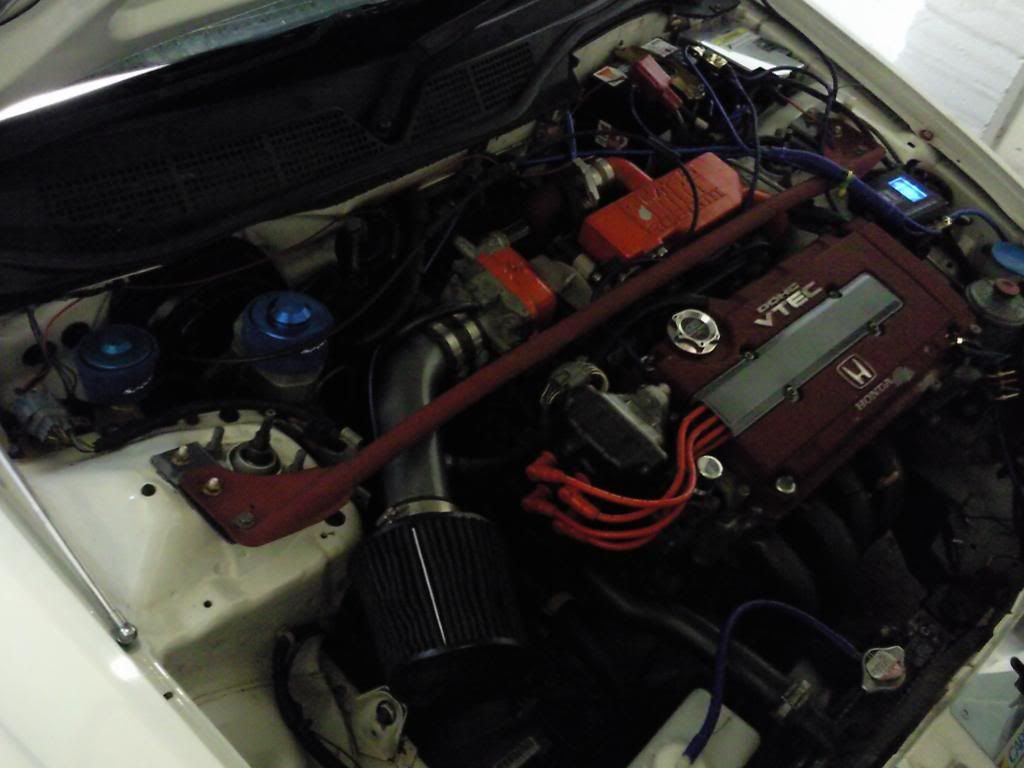
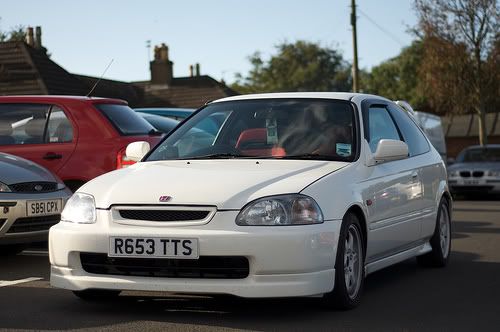
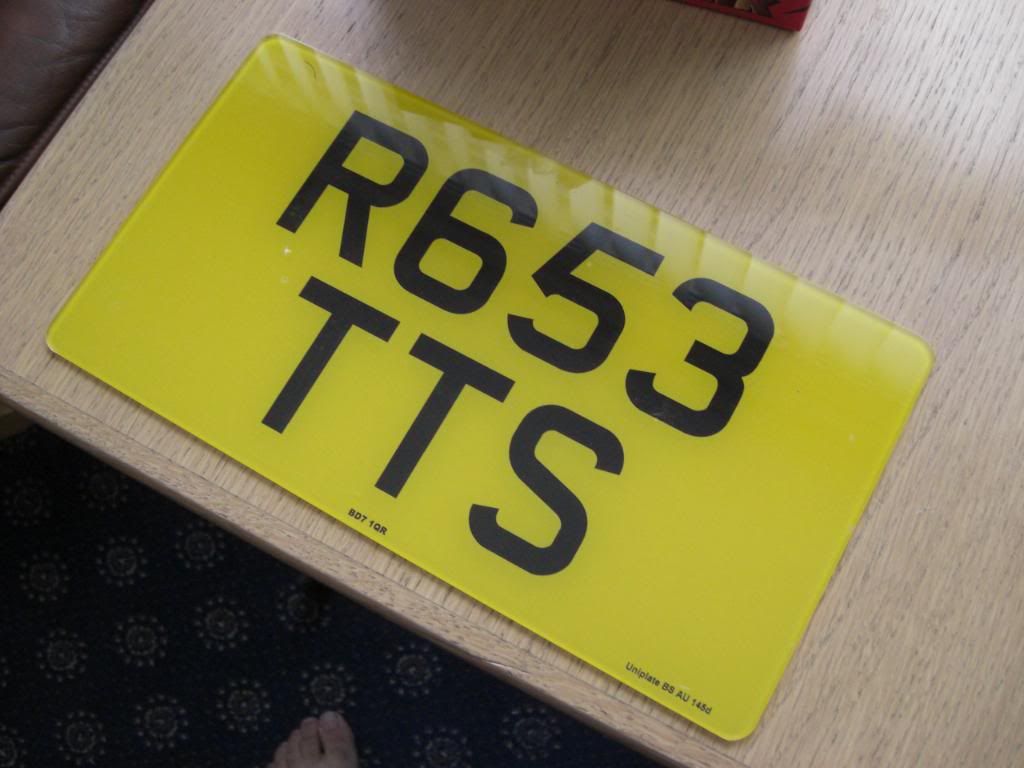
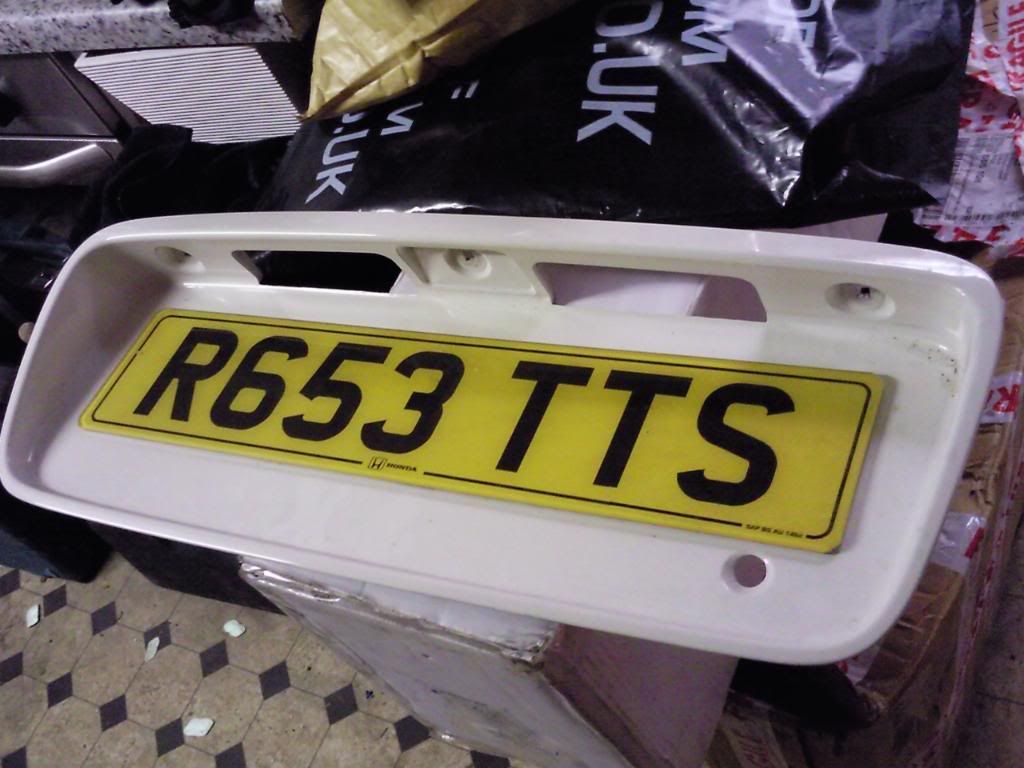
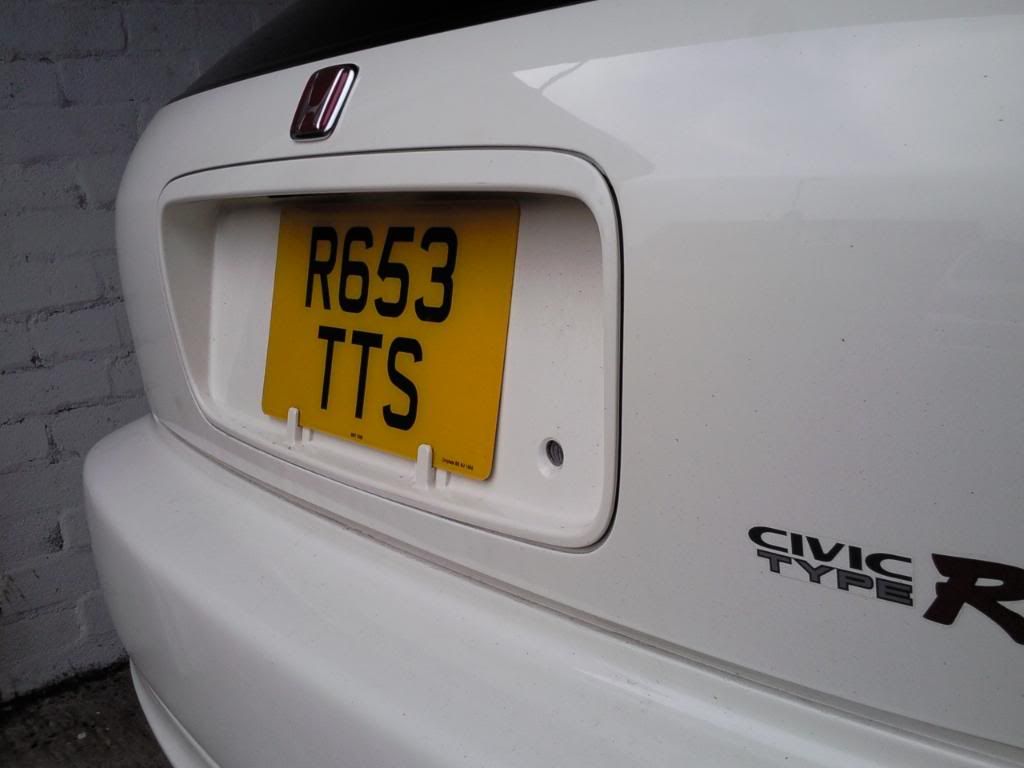
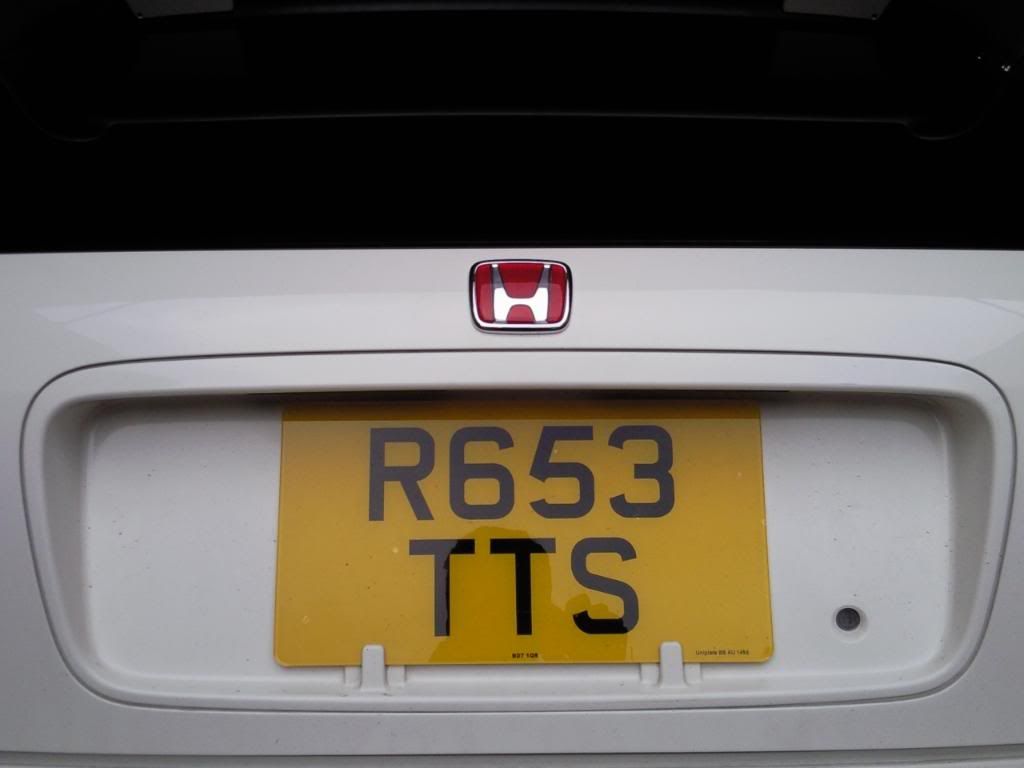
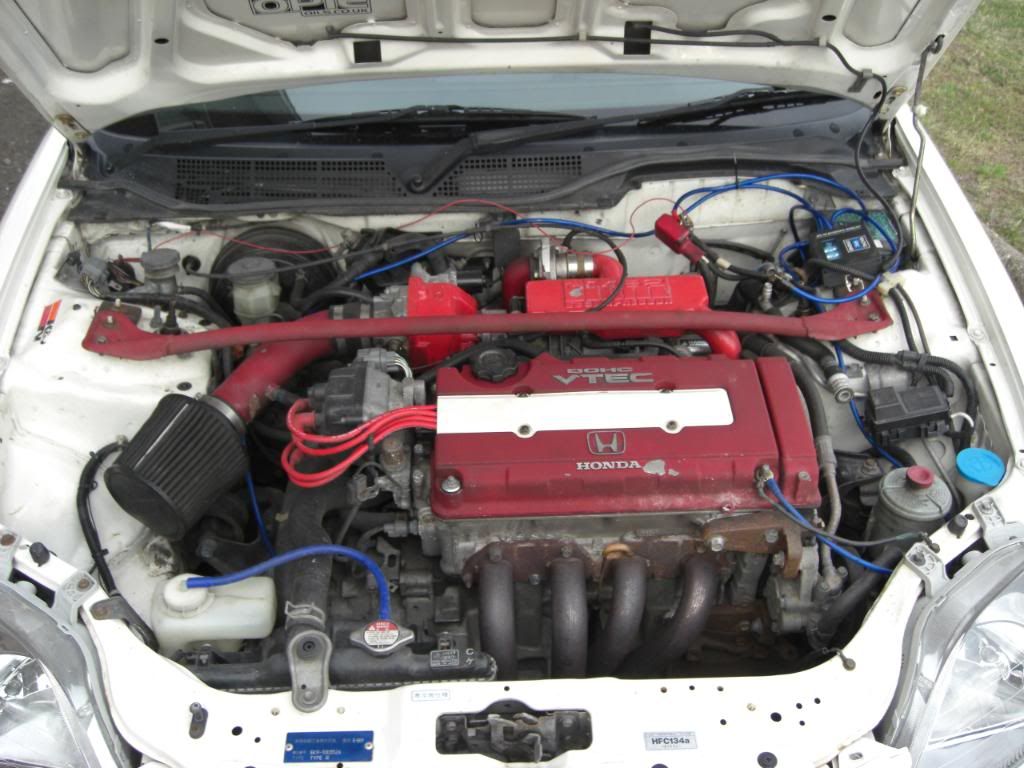
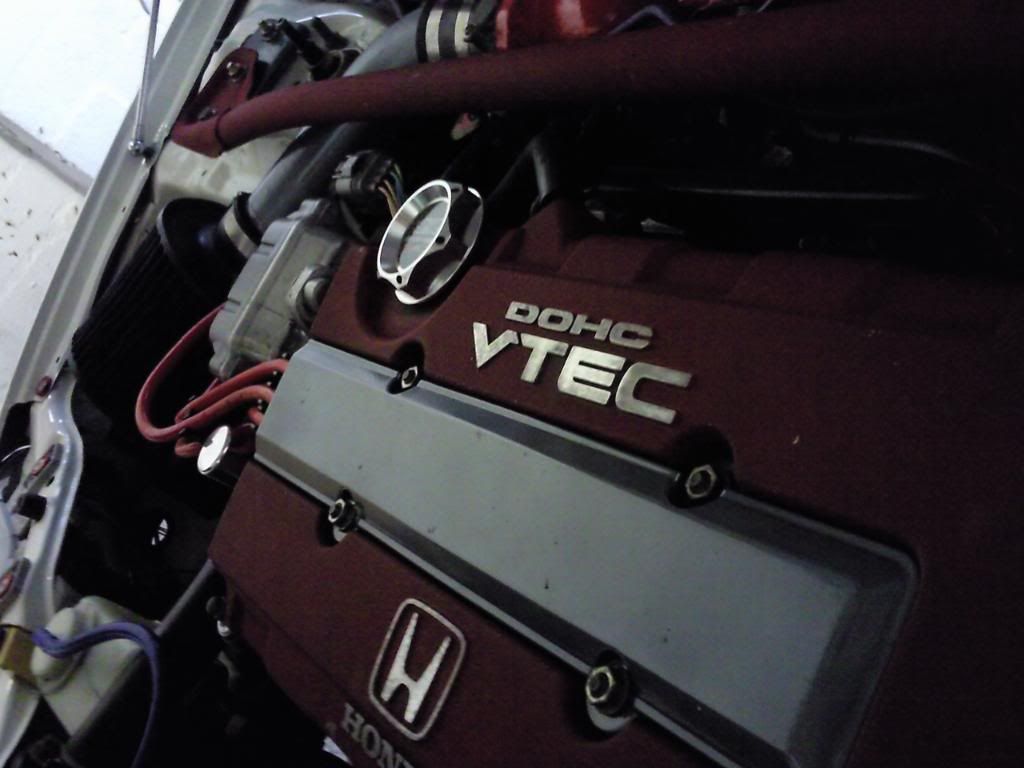
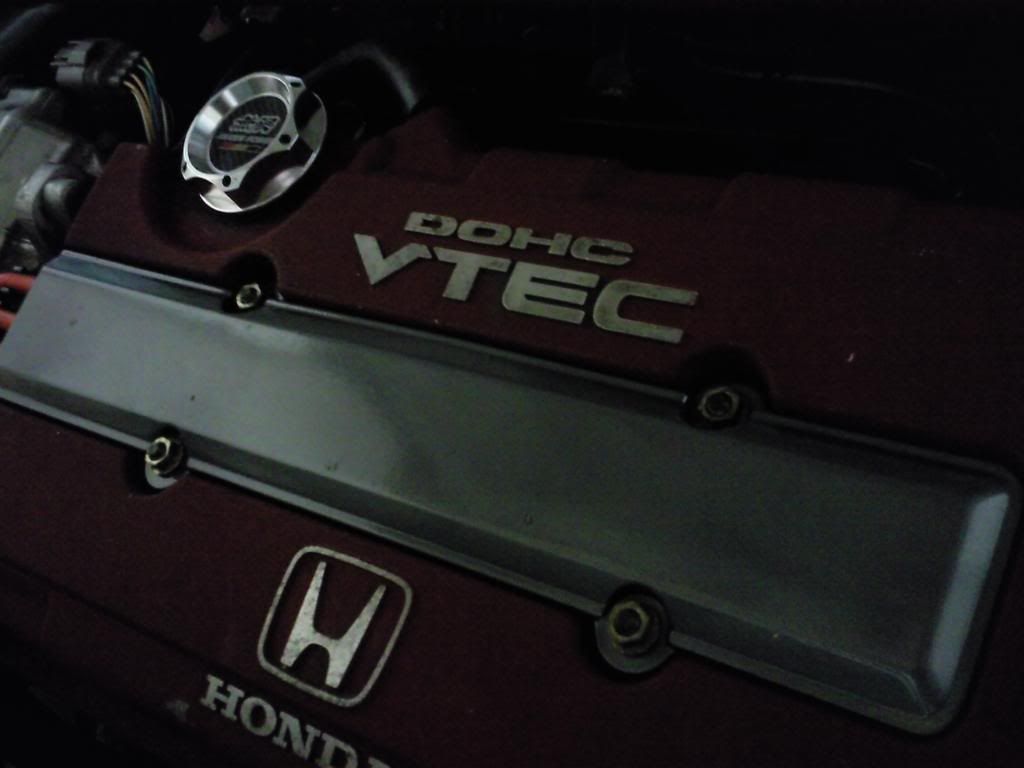
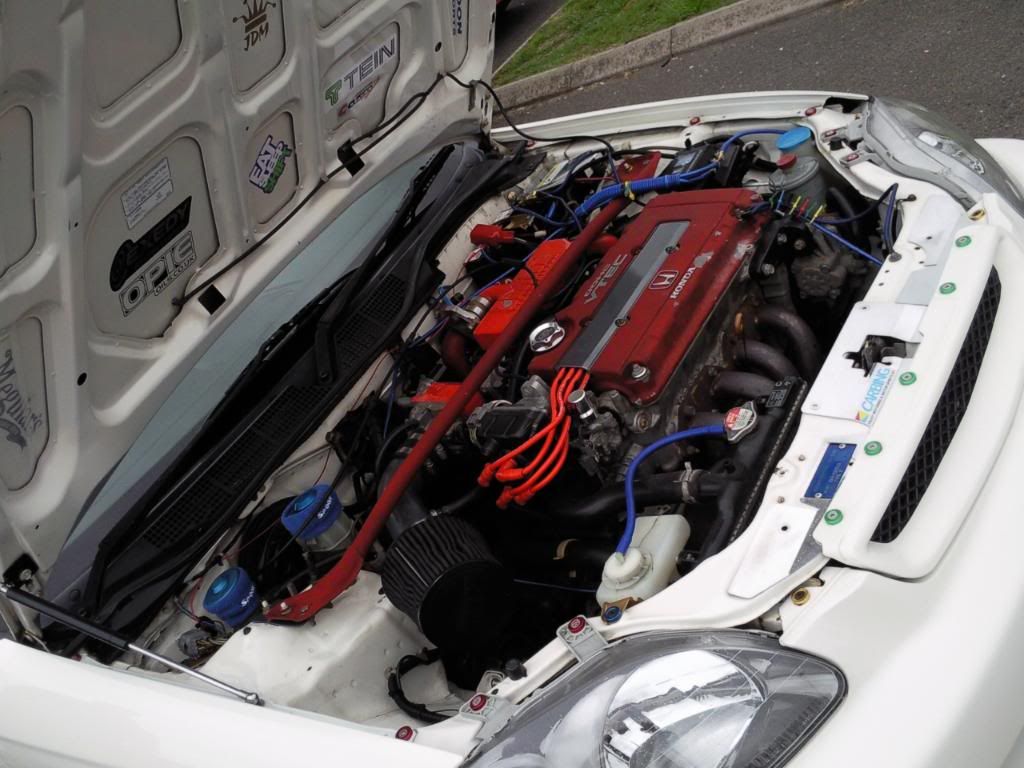
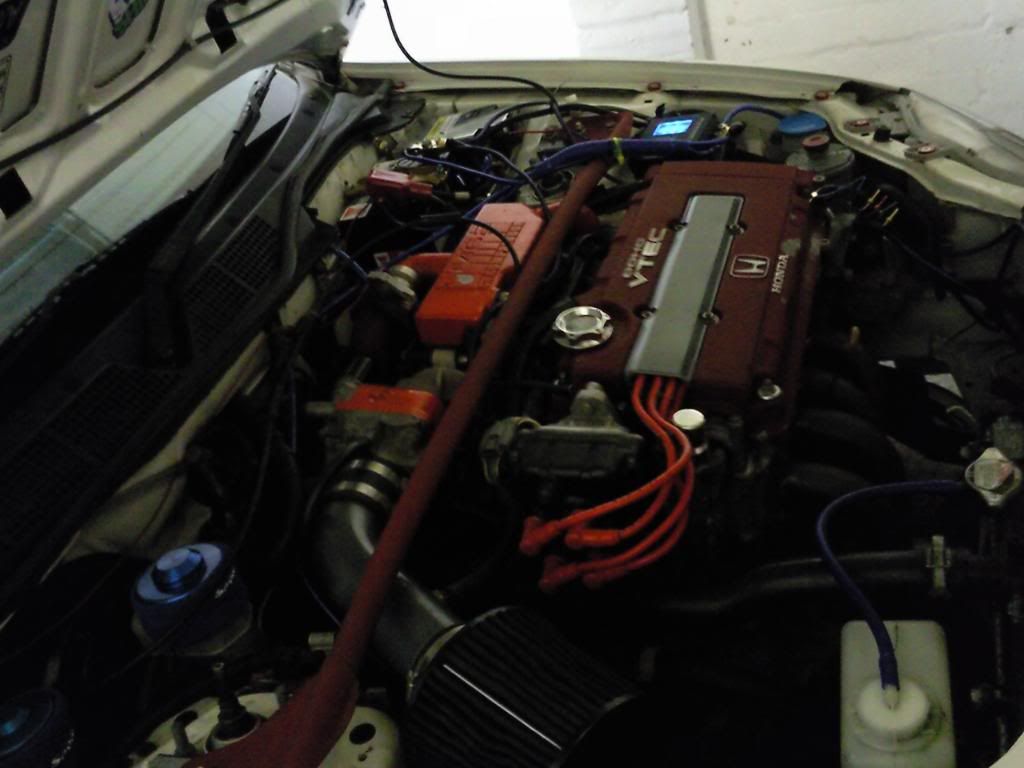
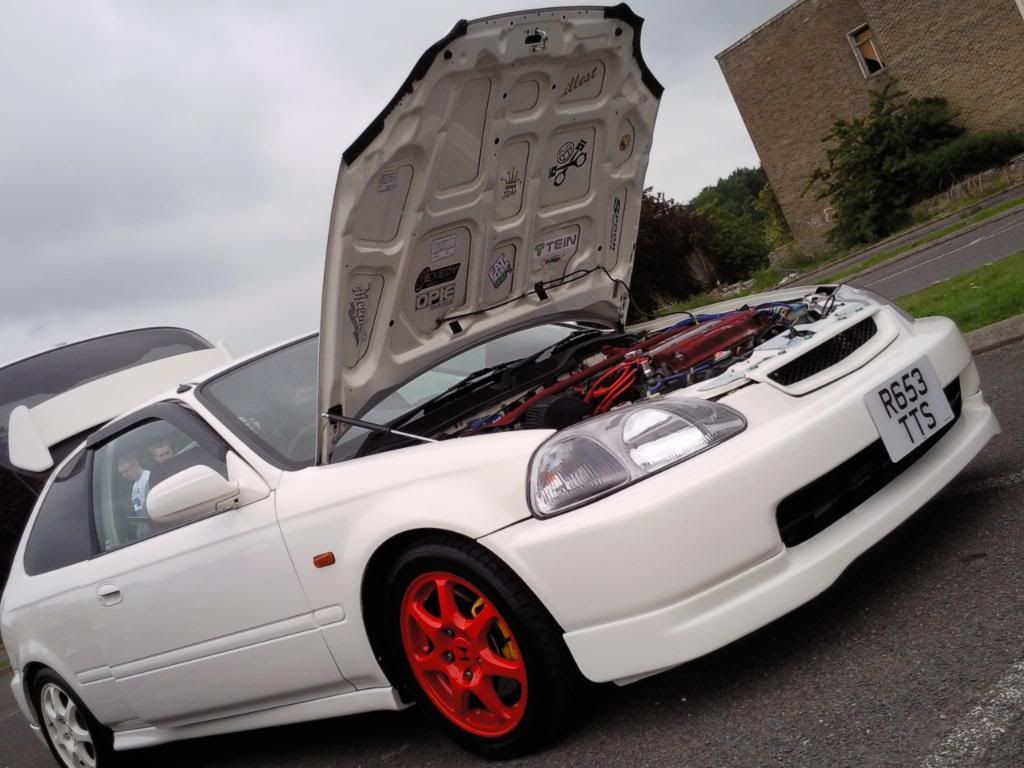
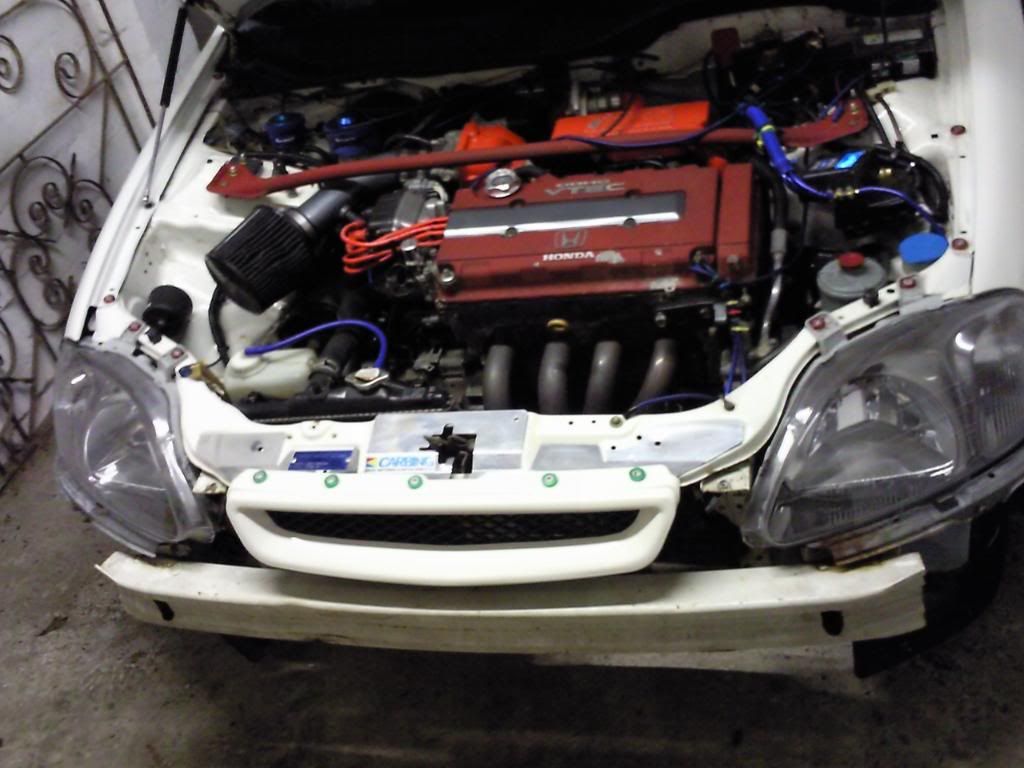
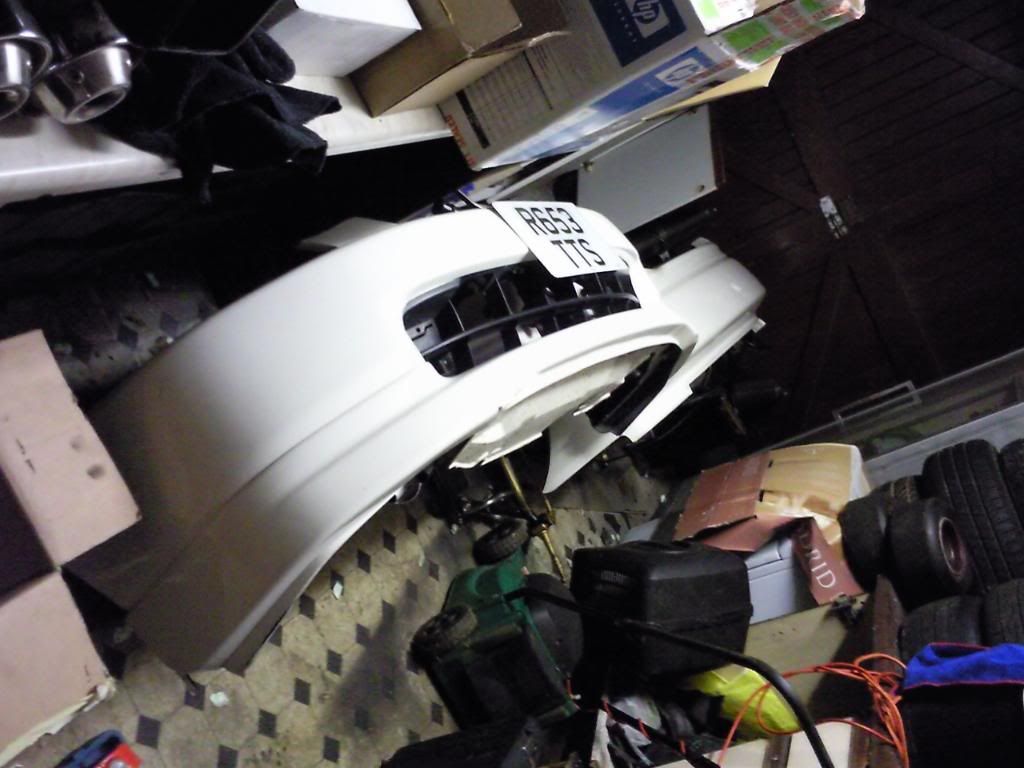
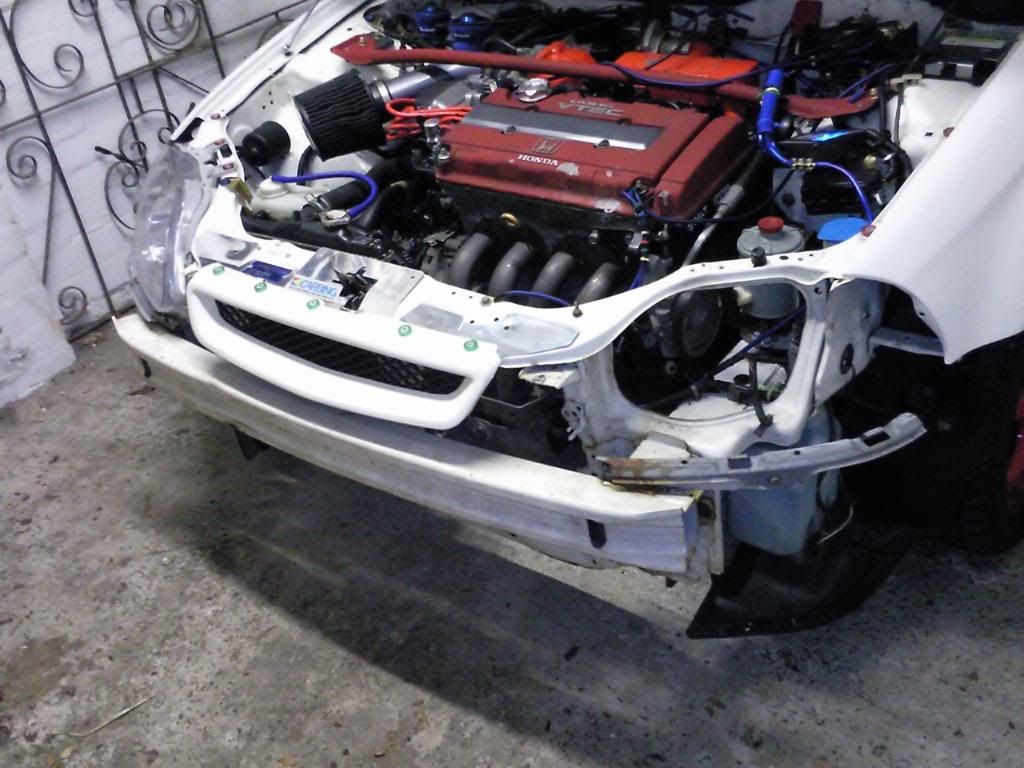
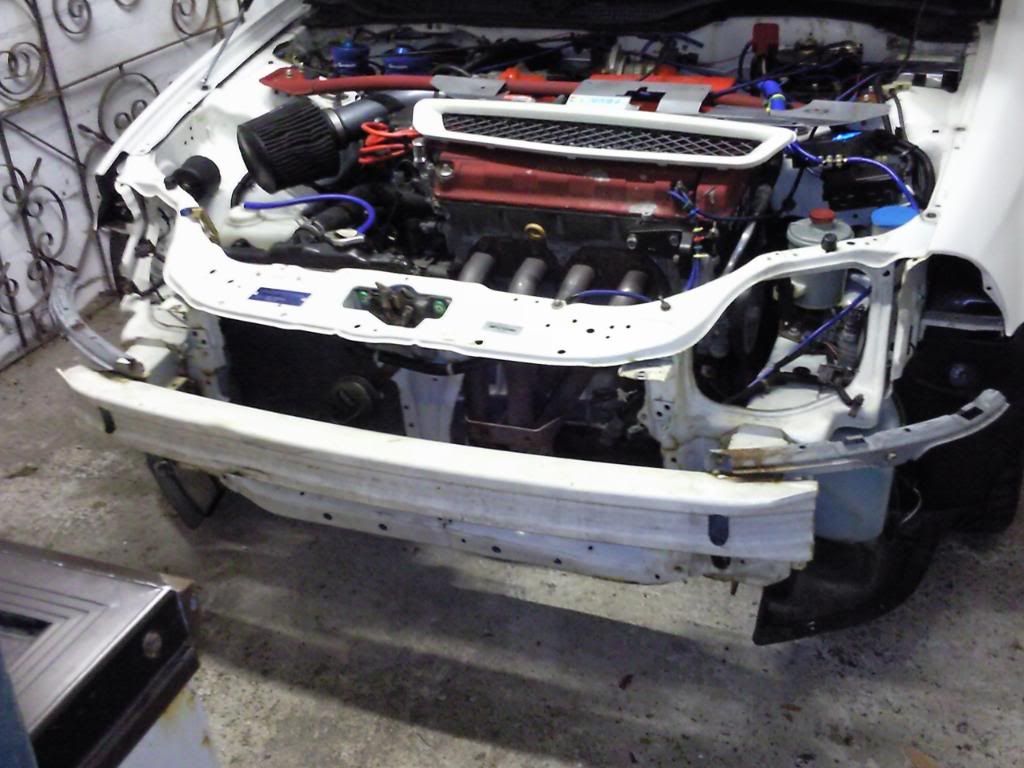
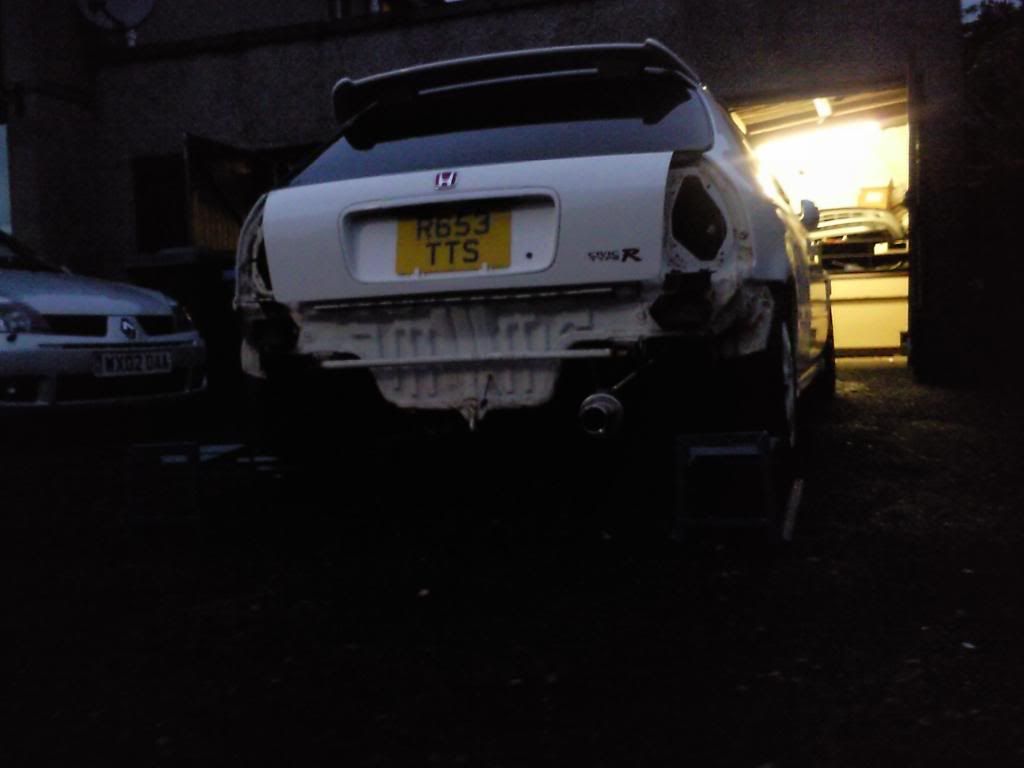
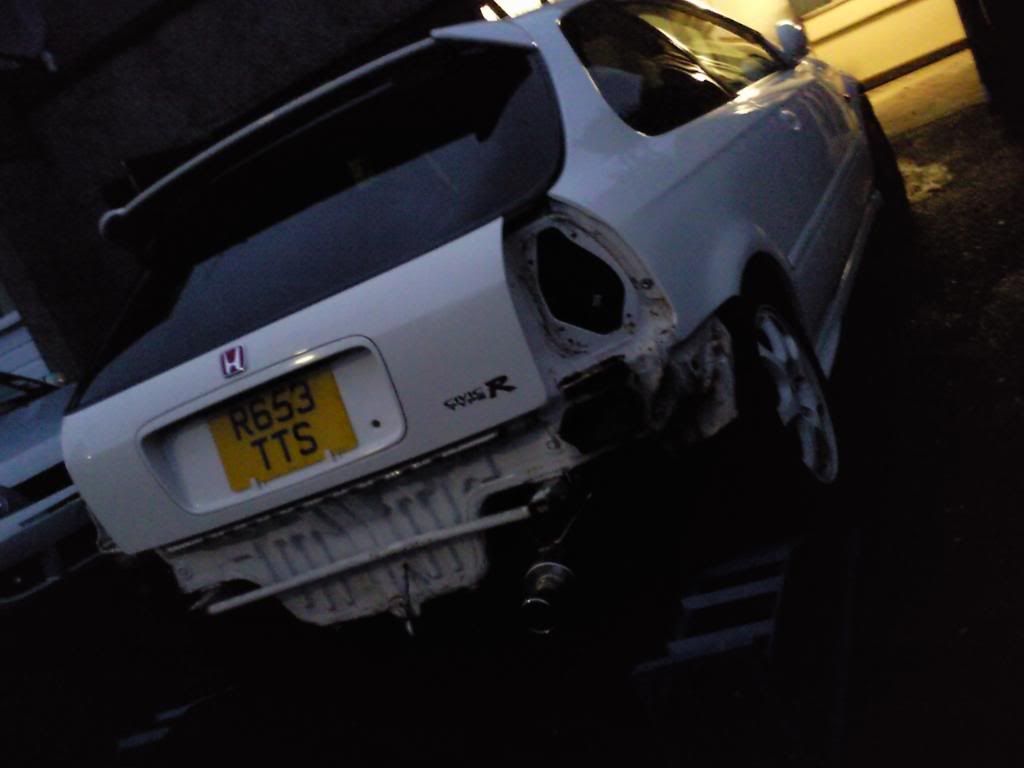
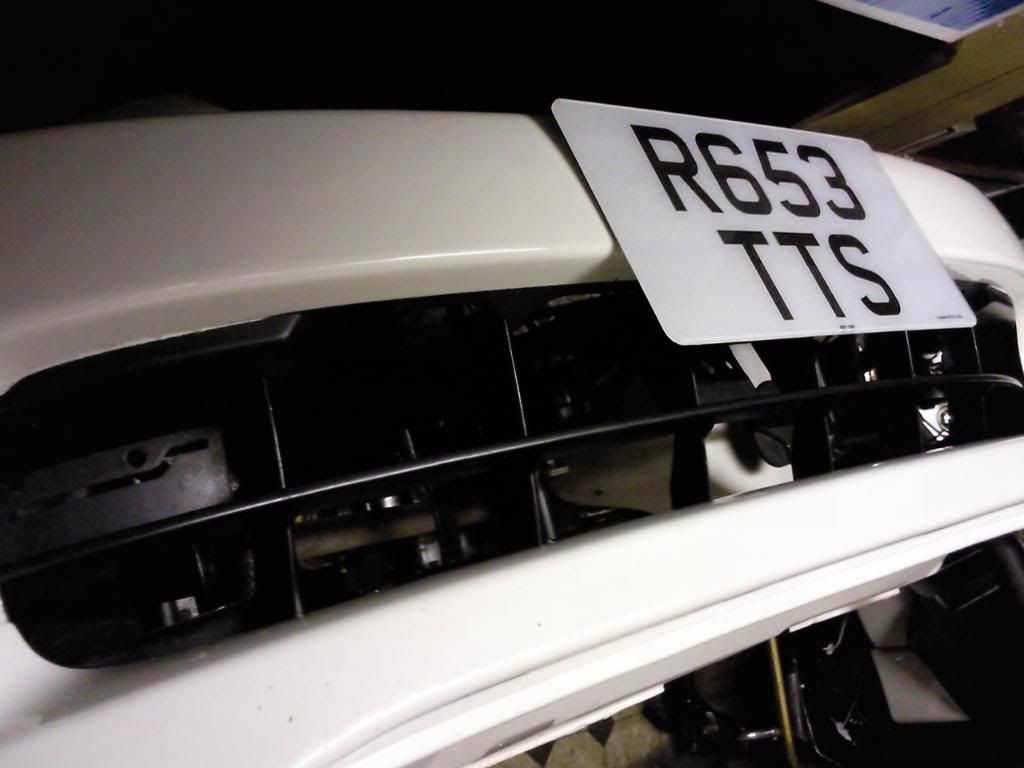
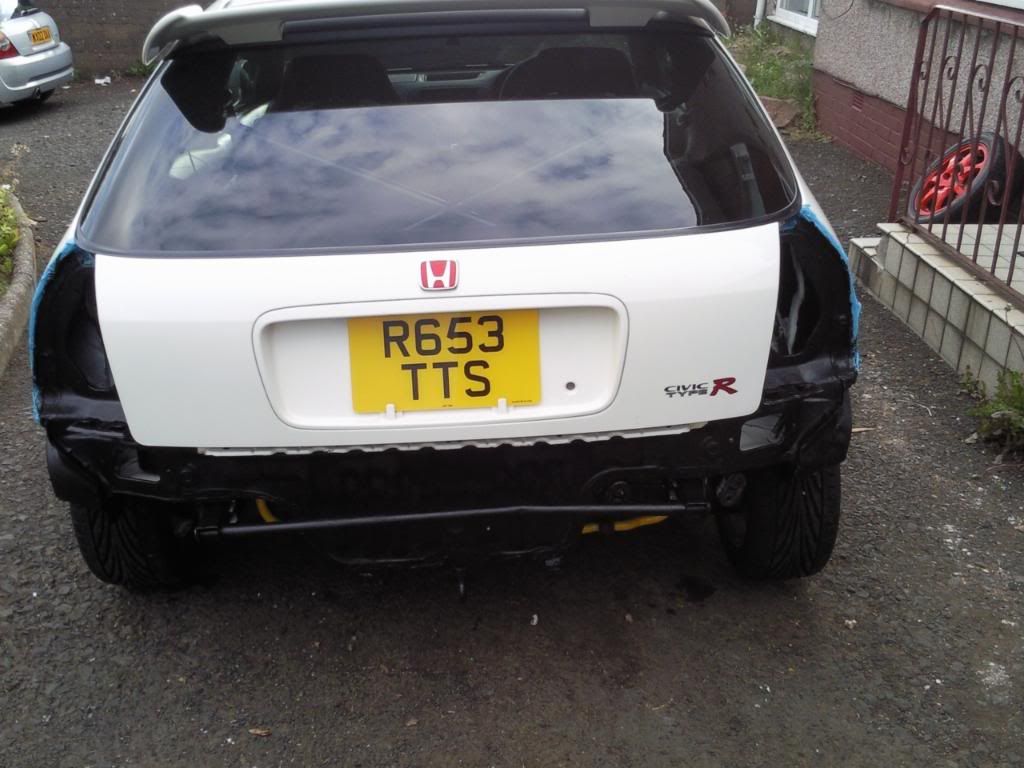
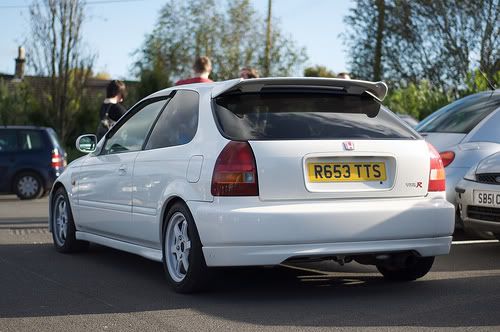
I first spotted ek9 on pistonheads but the previous owner was someone that i knew before anyway and i heard that he was thinking about selling up because he needed something more practical for work. The car was on 78k miles, imported in 1997 and first registered in dundee (hense the last 3 letters on the registration, TTS). I actually managed to speak to the guy who first imported it aswell and managed to get a few extra details about it, which was handy. It also featured:
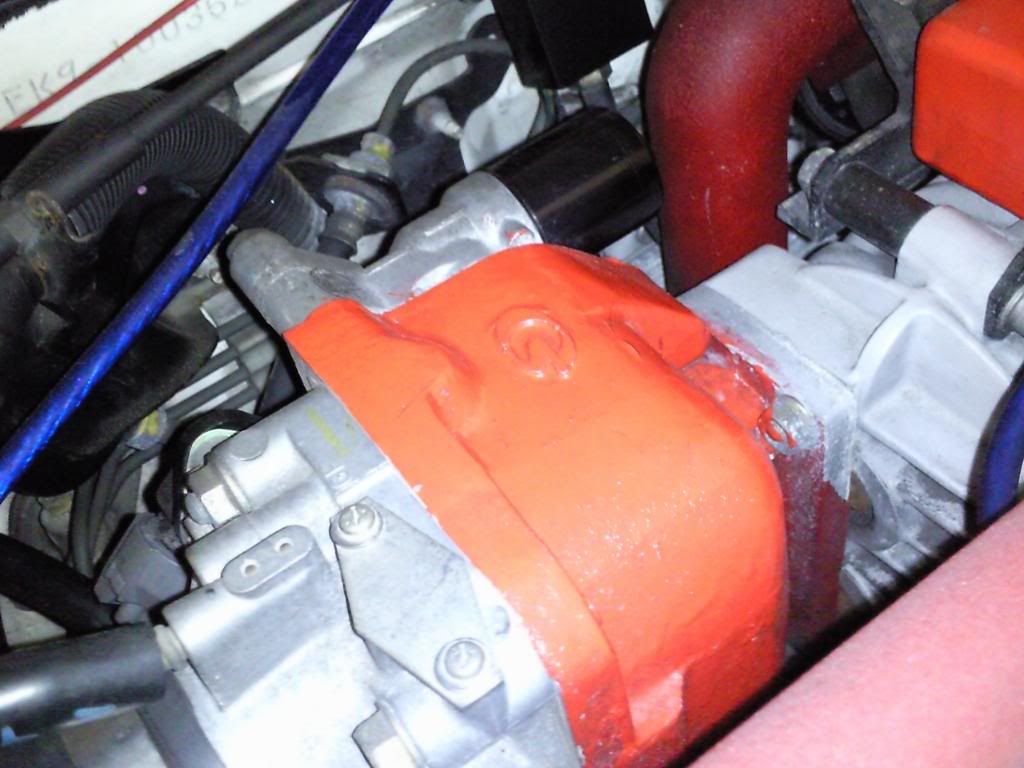
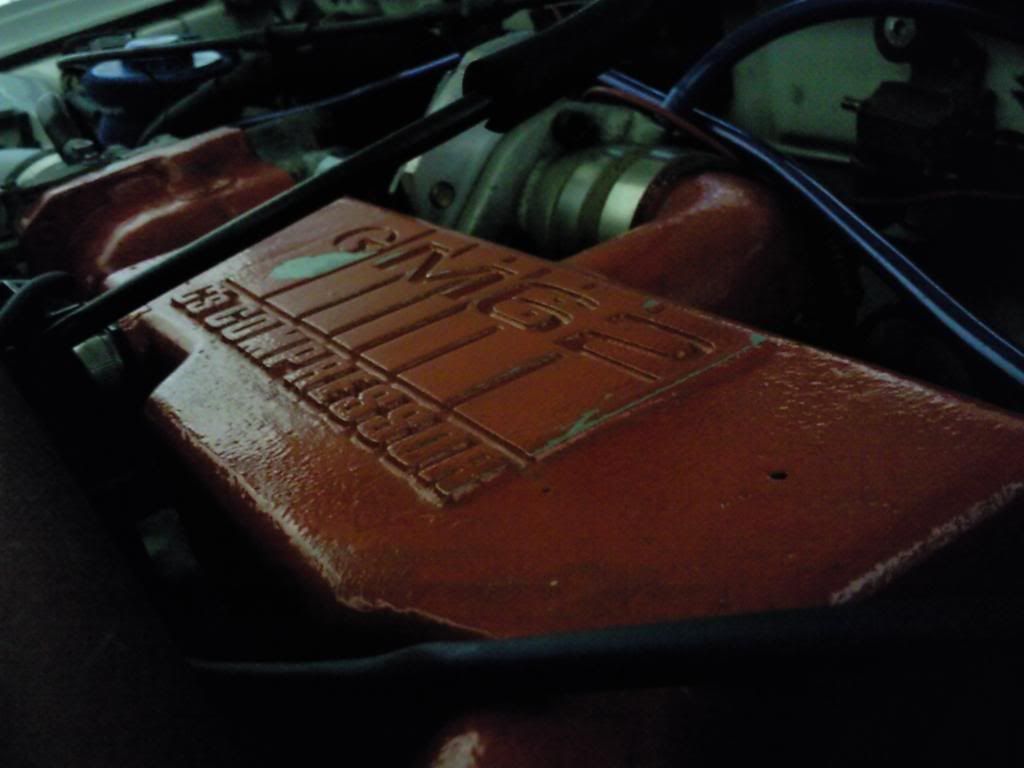
C's Compressor Roots Type superchargerCharger
c's ecu
TEIN superstreet Fully Adjustable Coilovers
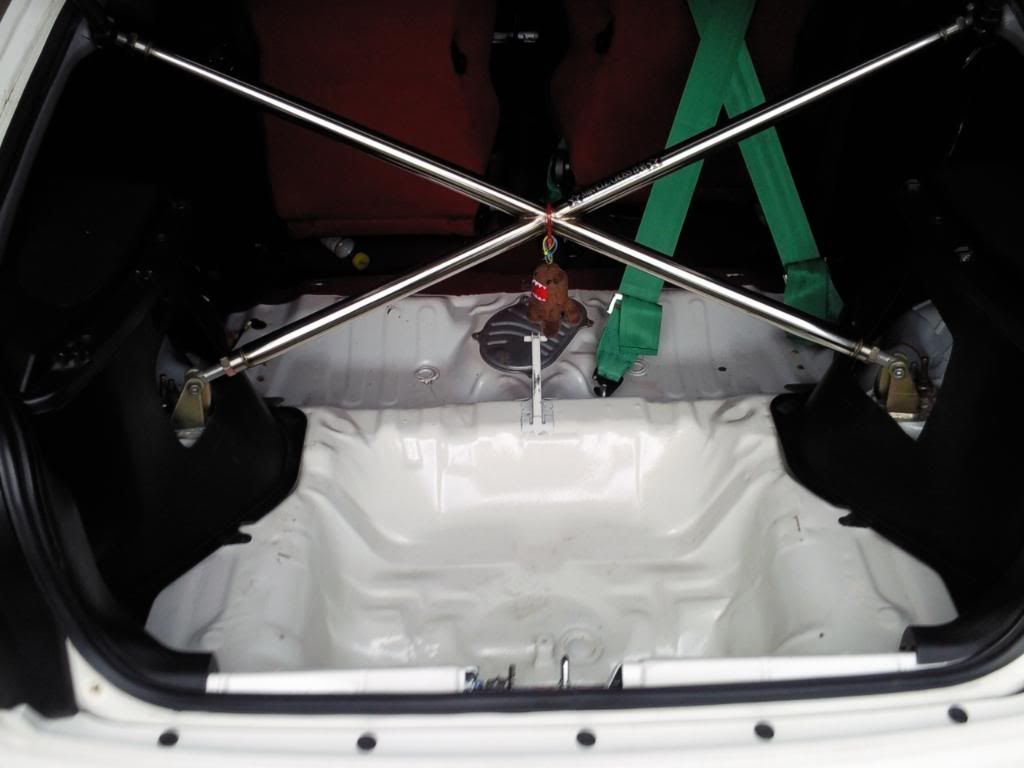
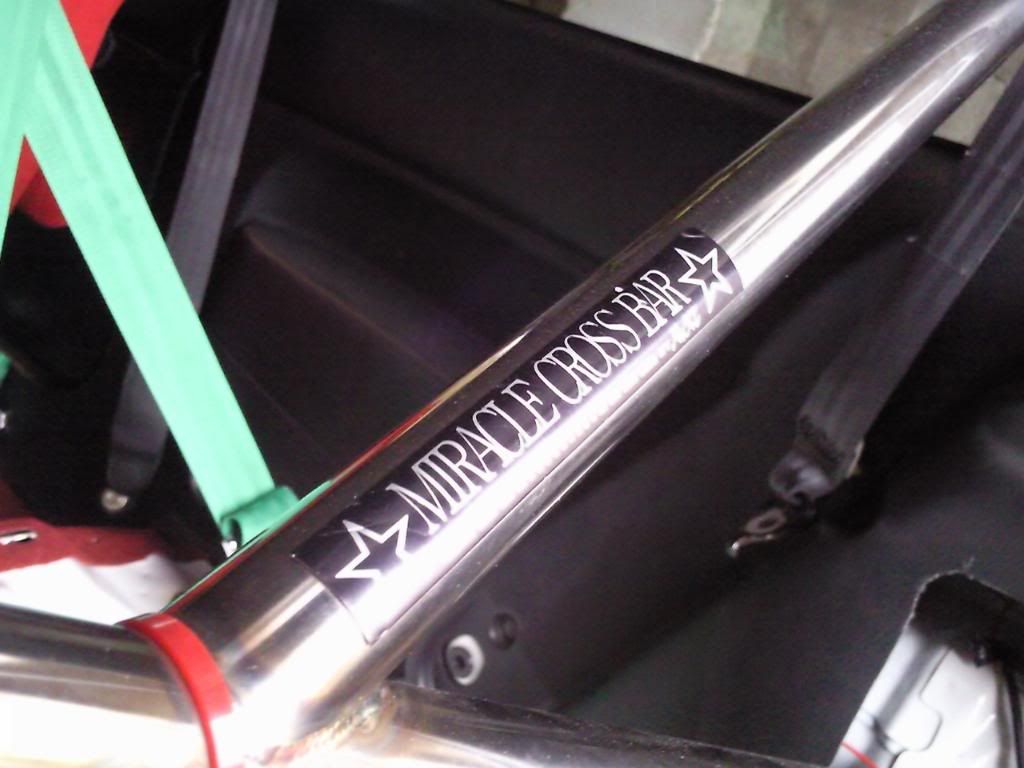
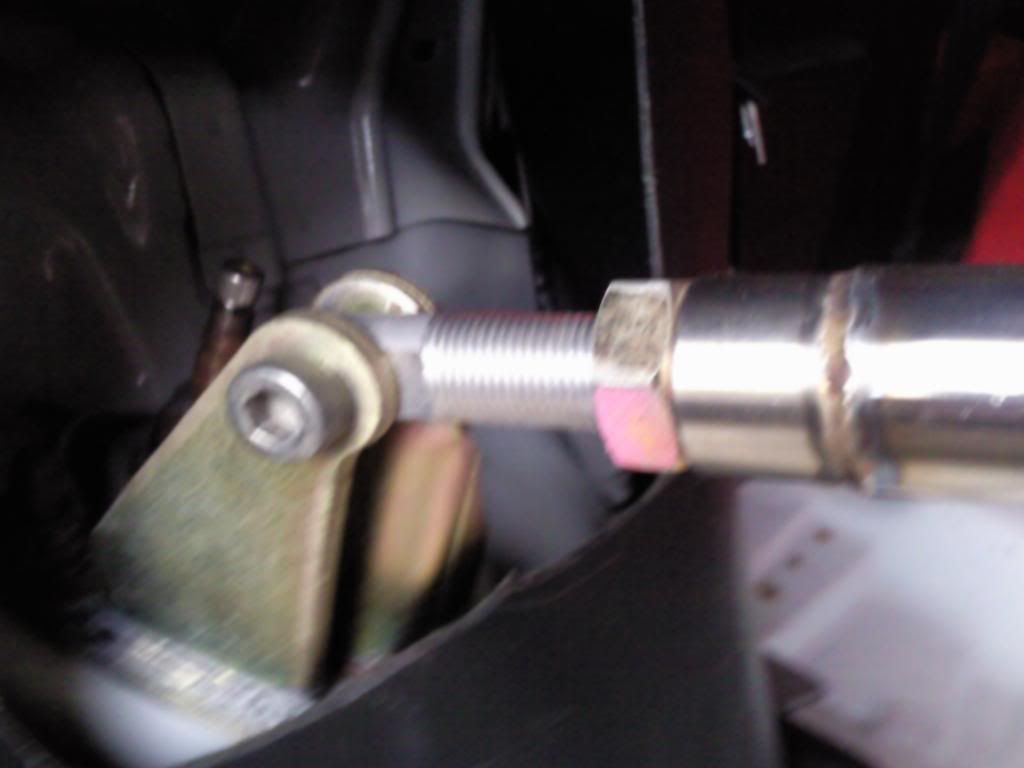
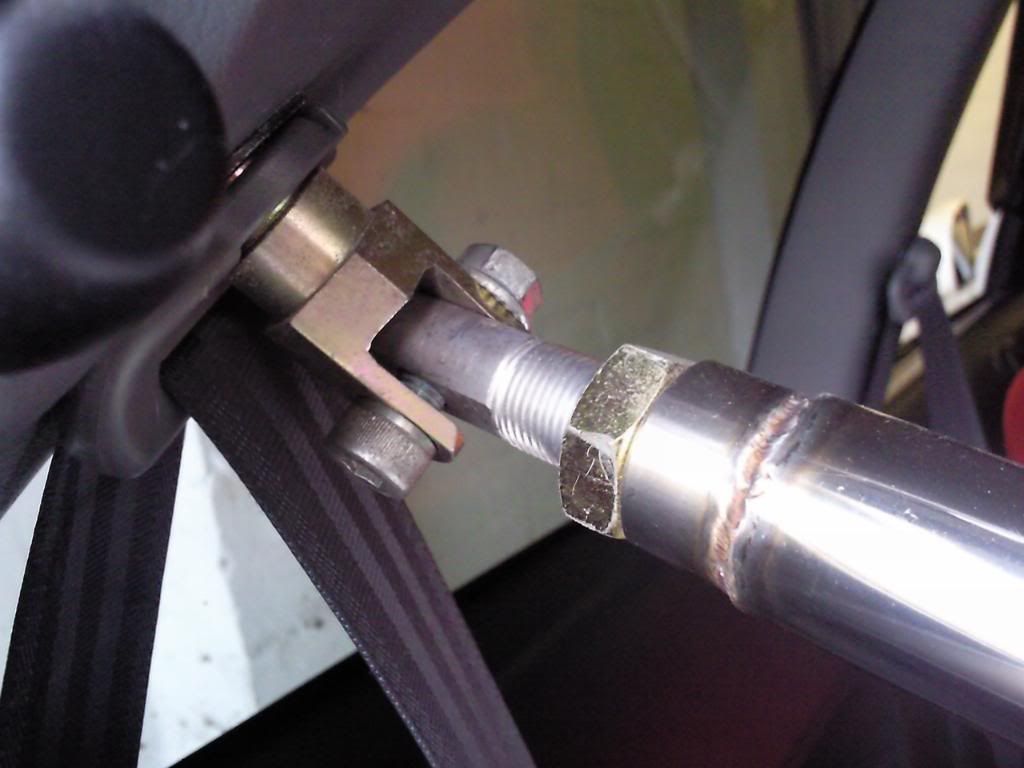
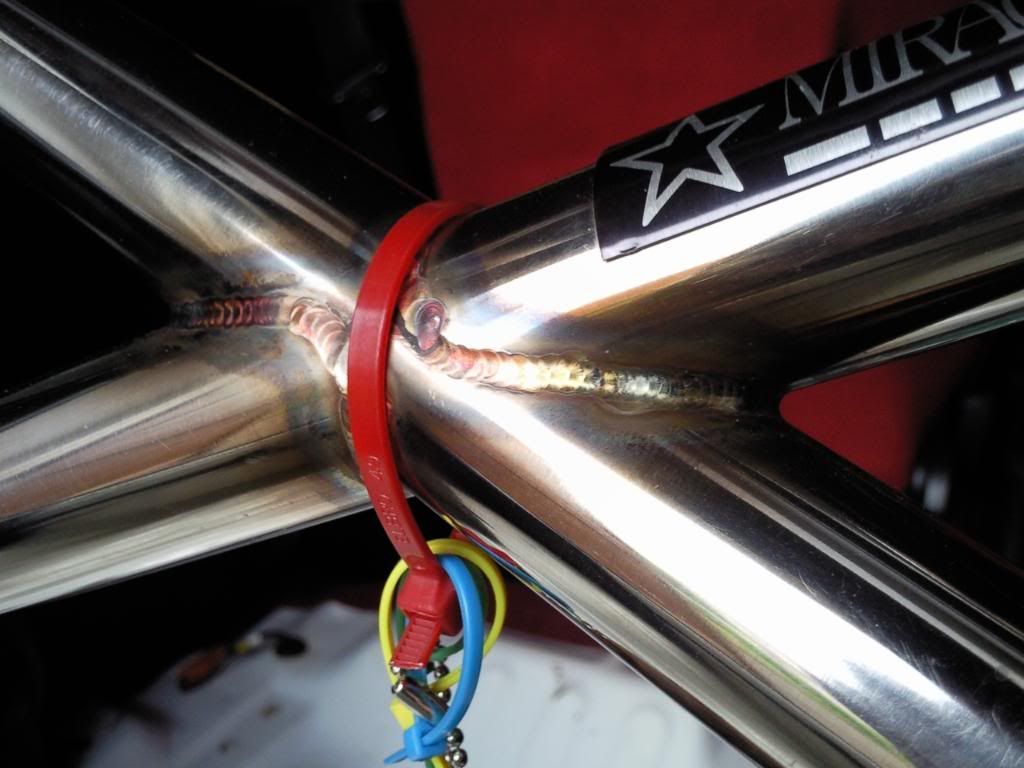
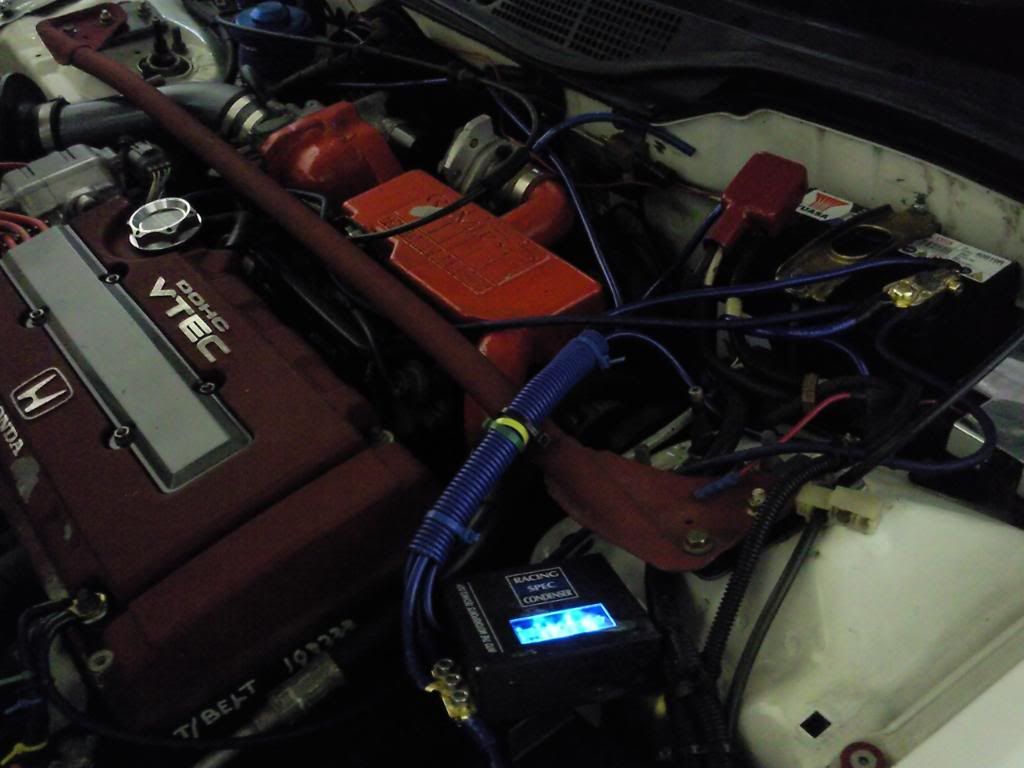
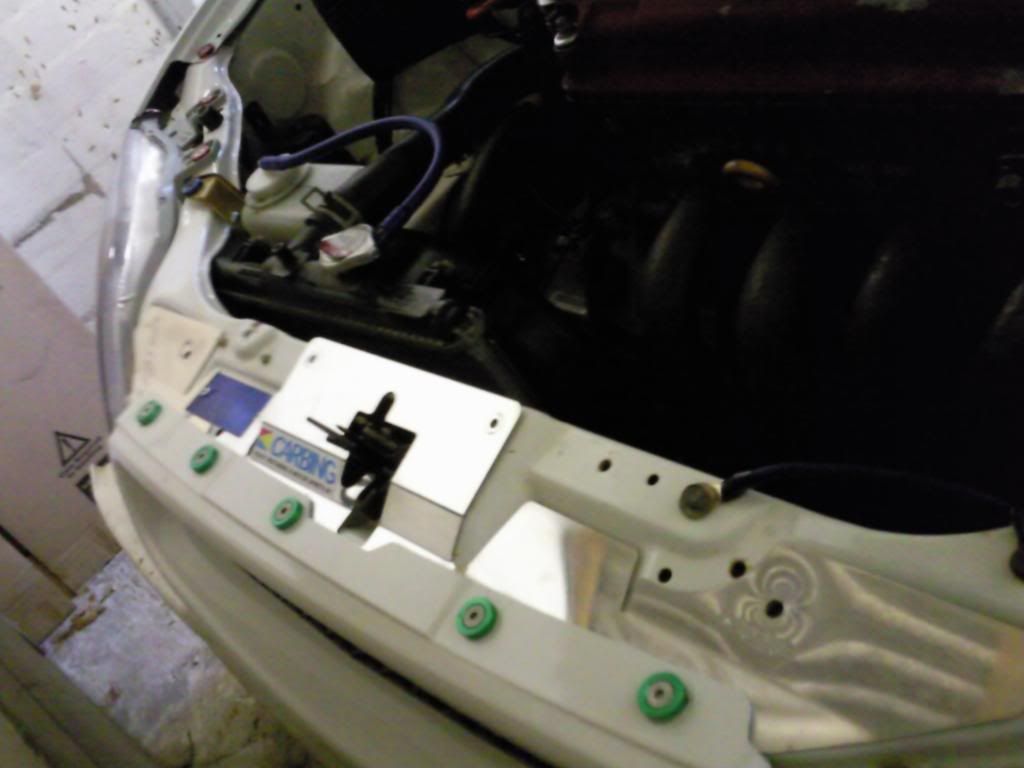
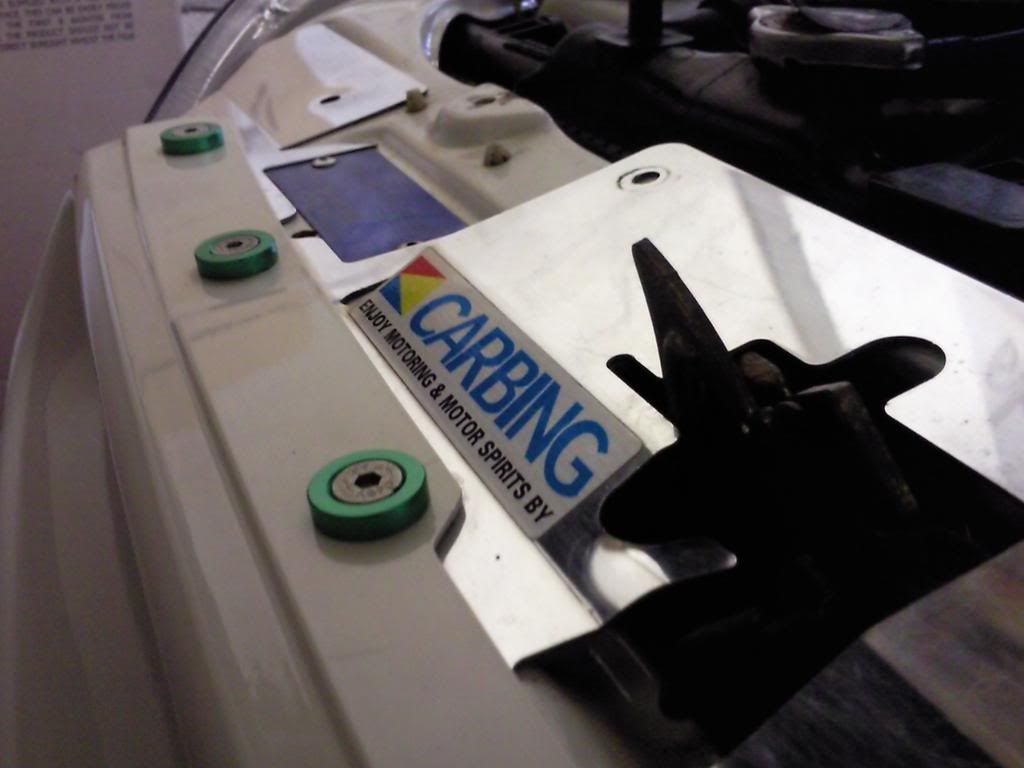
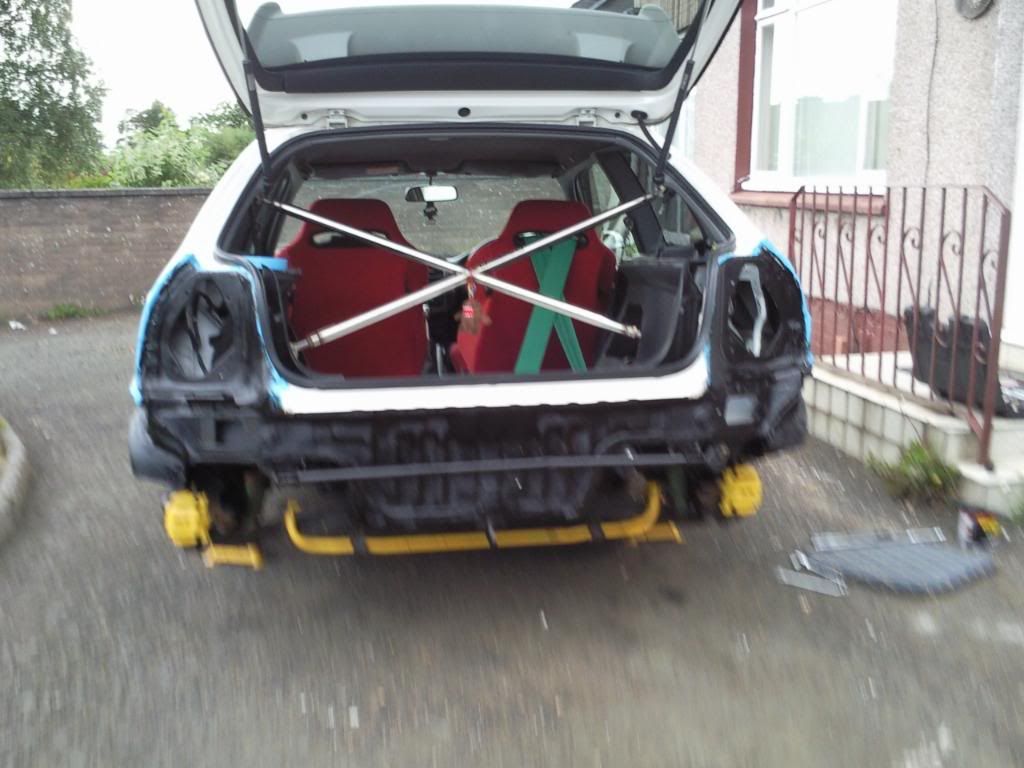
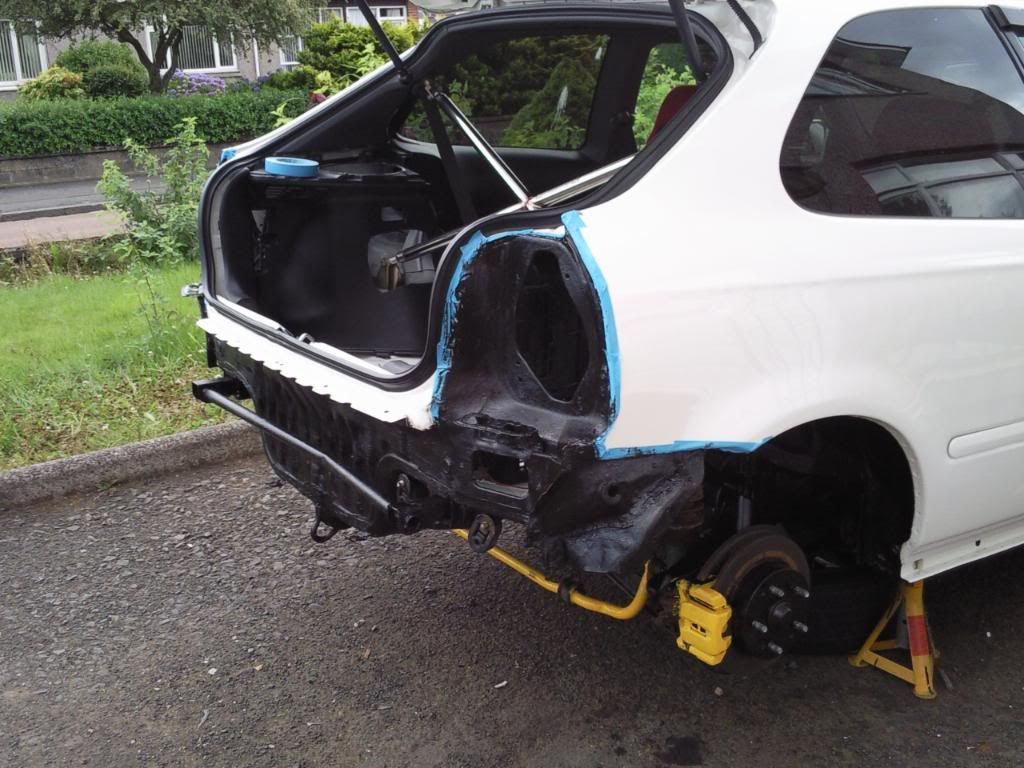
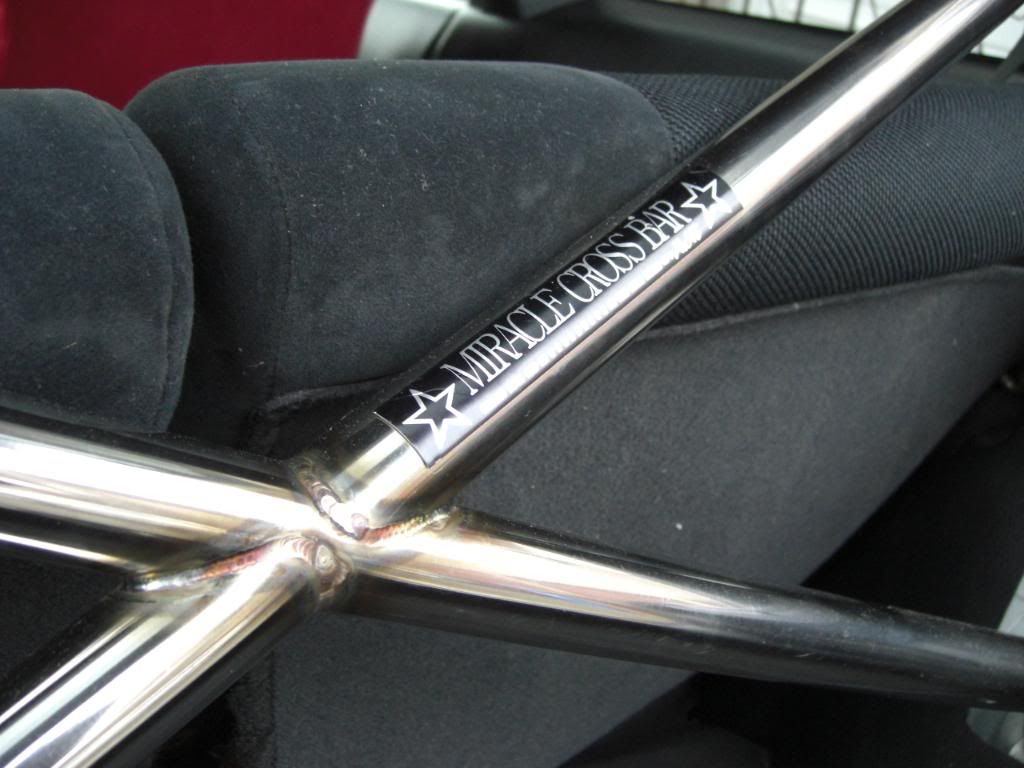
Miracle Cross Bar
98 spec jdm DC2 Manifold
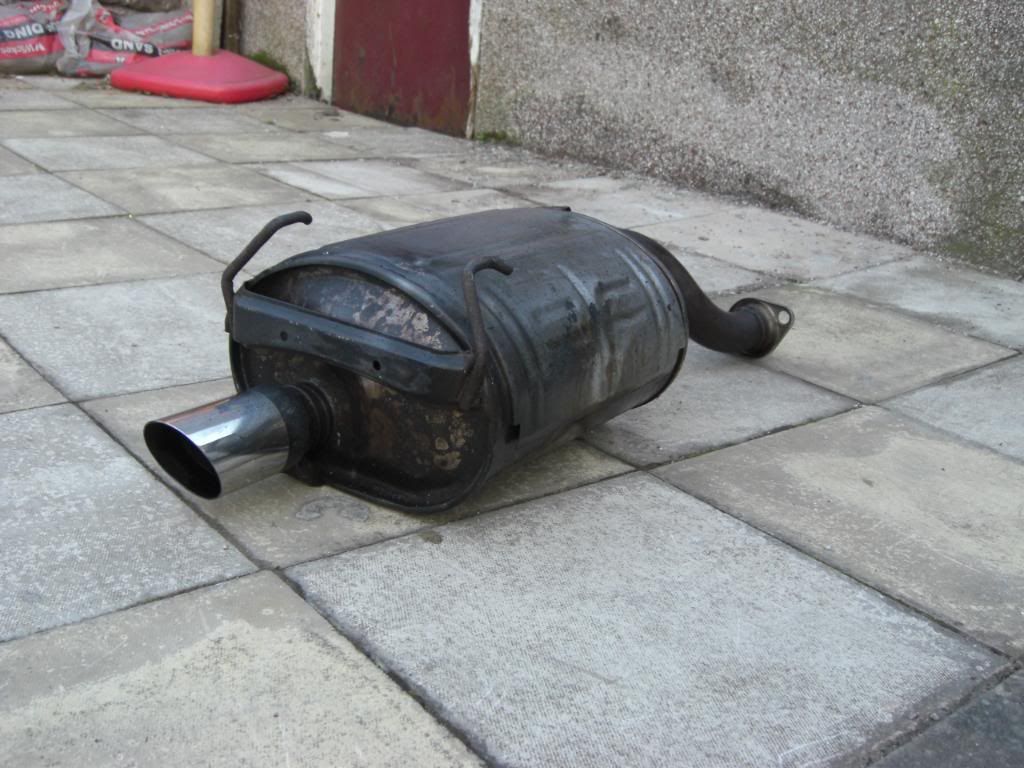
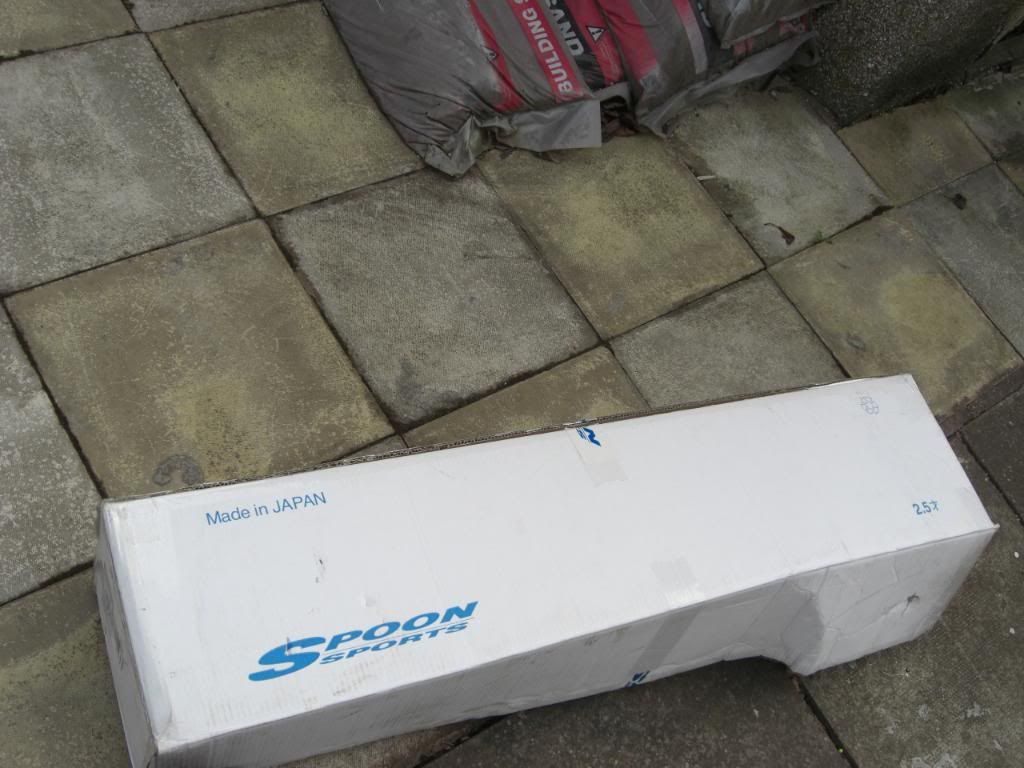
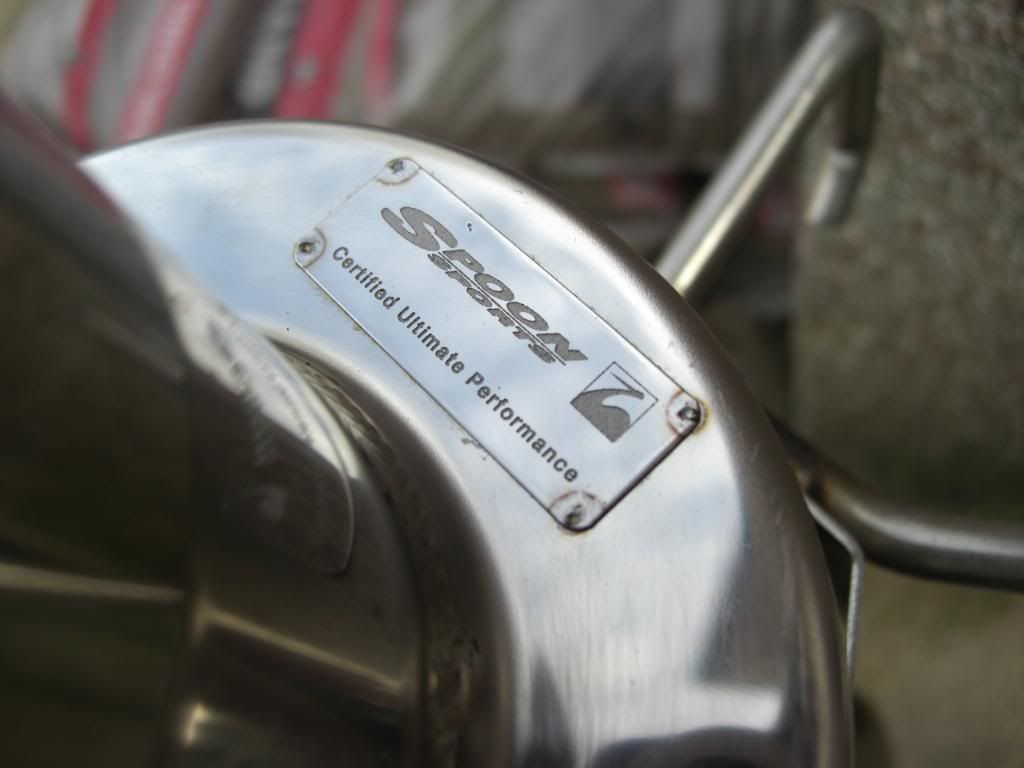
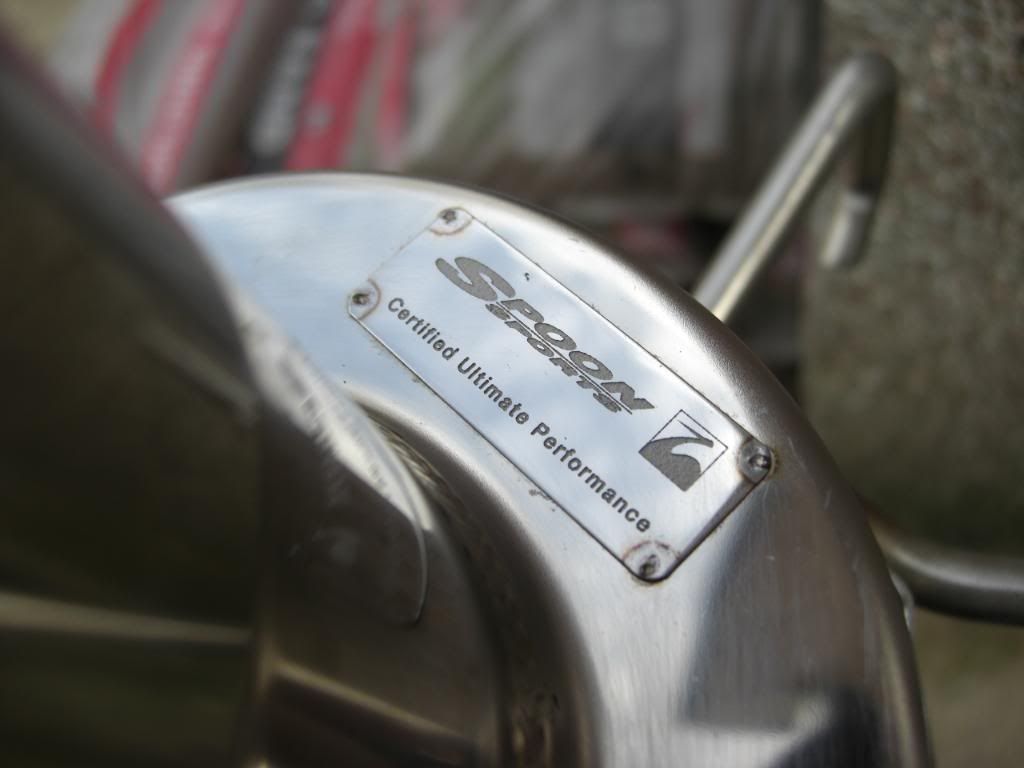
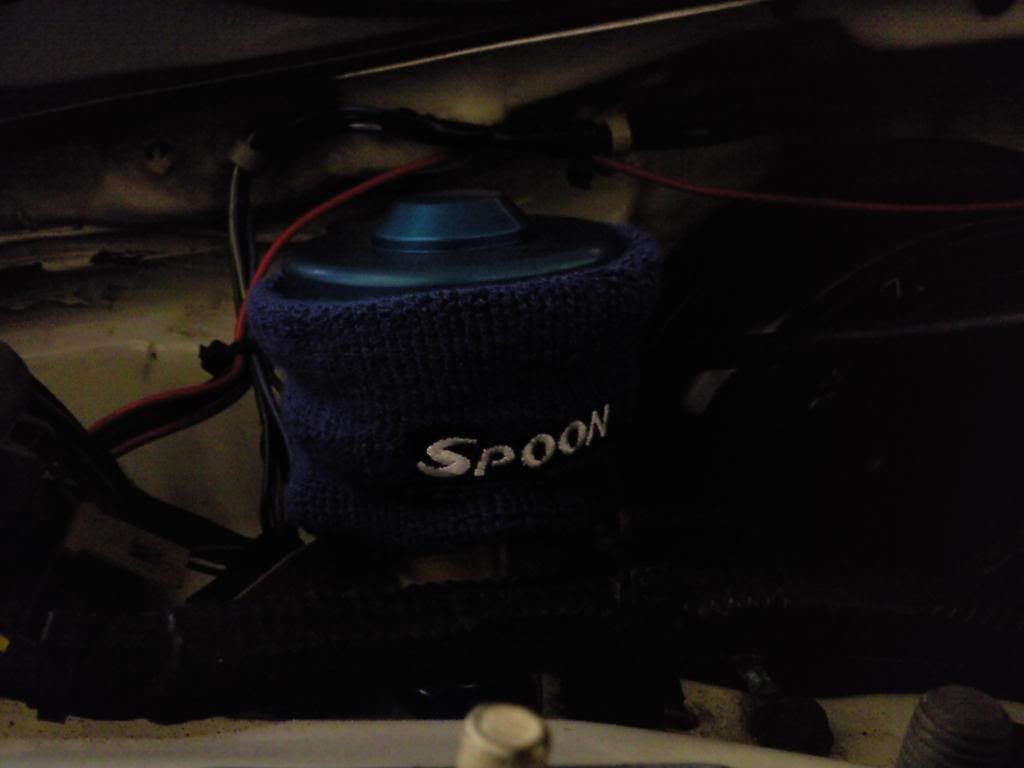
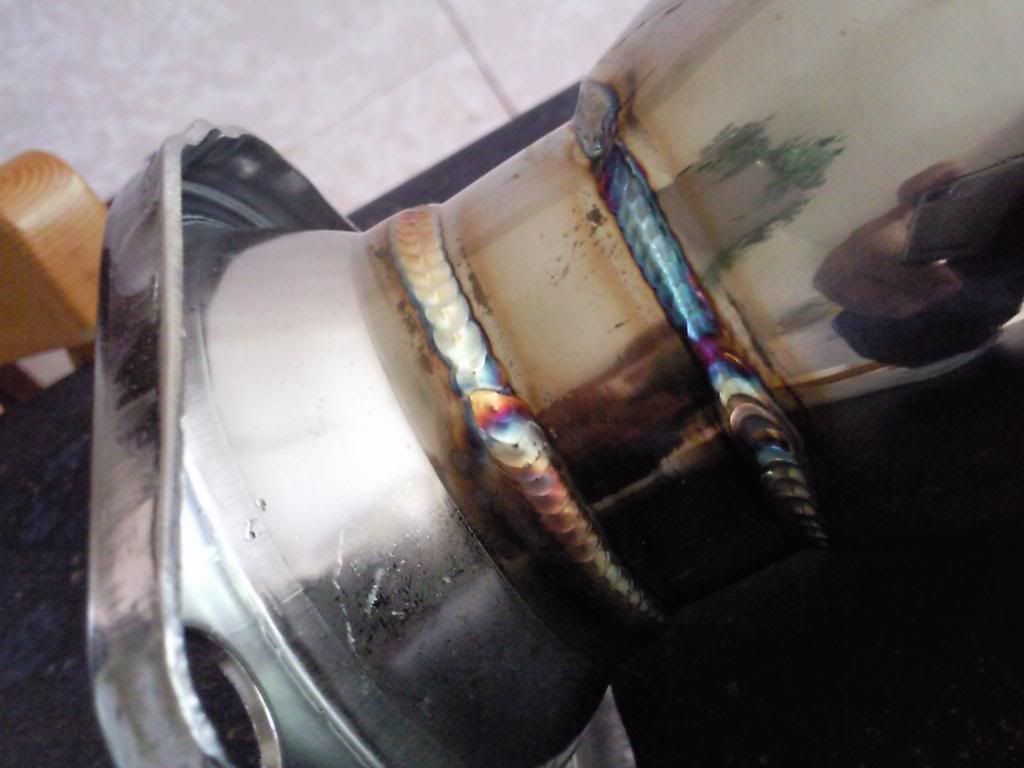
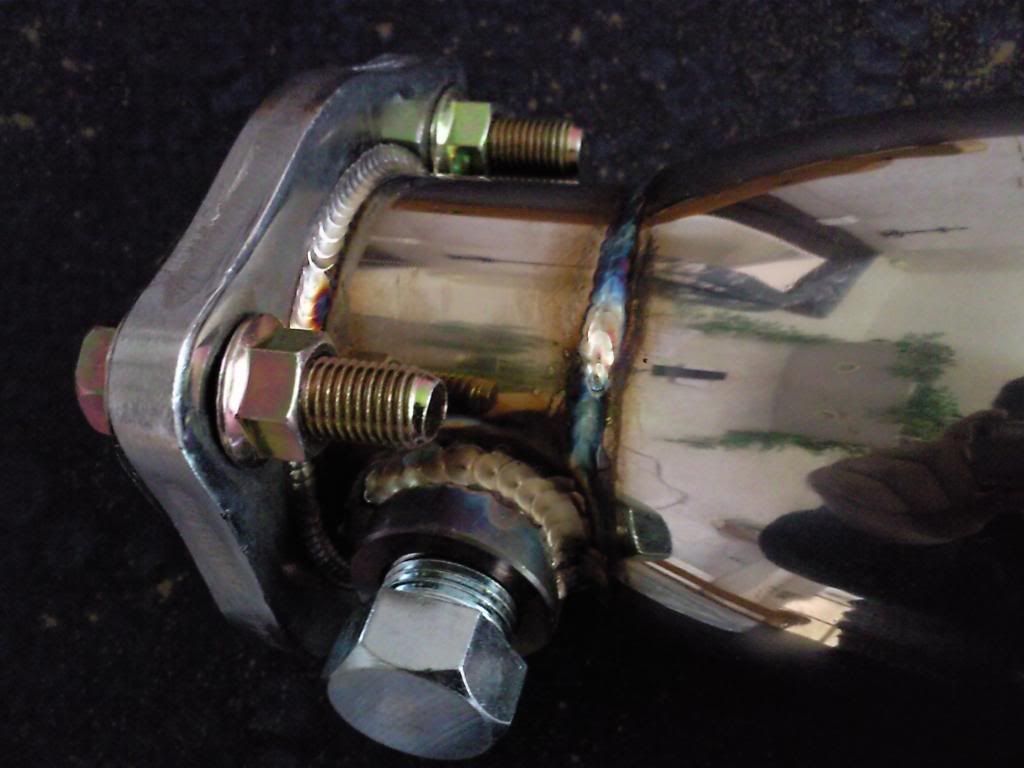
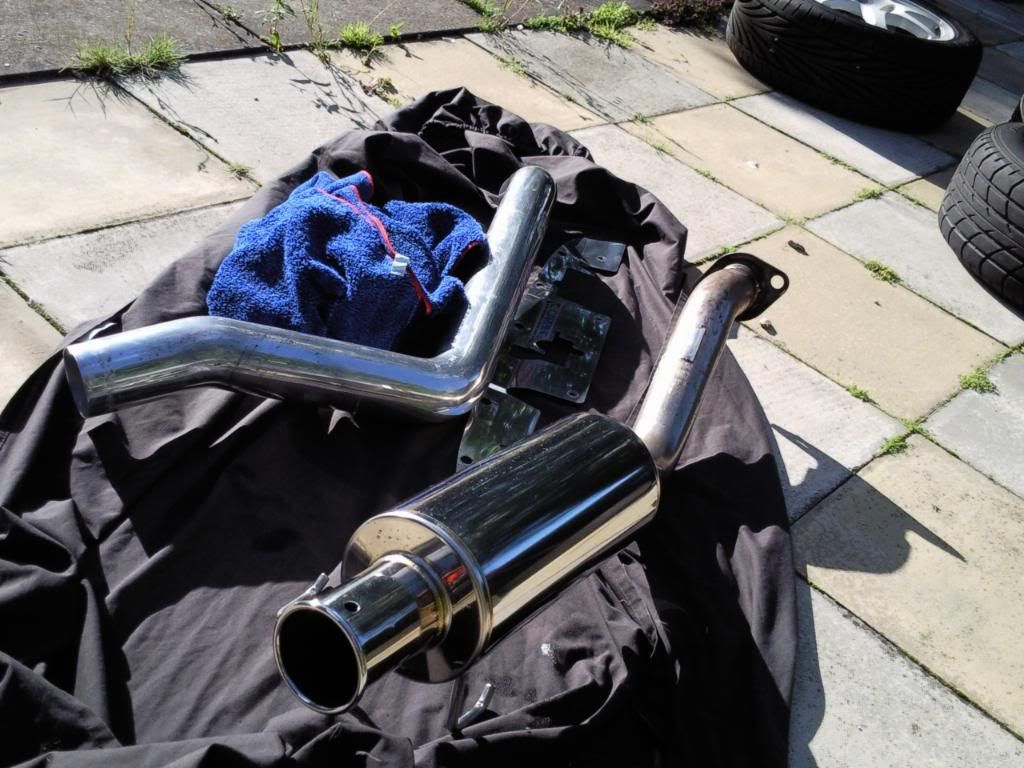
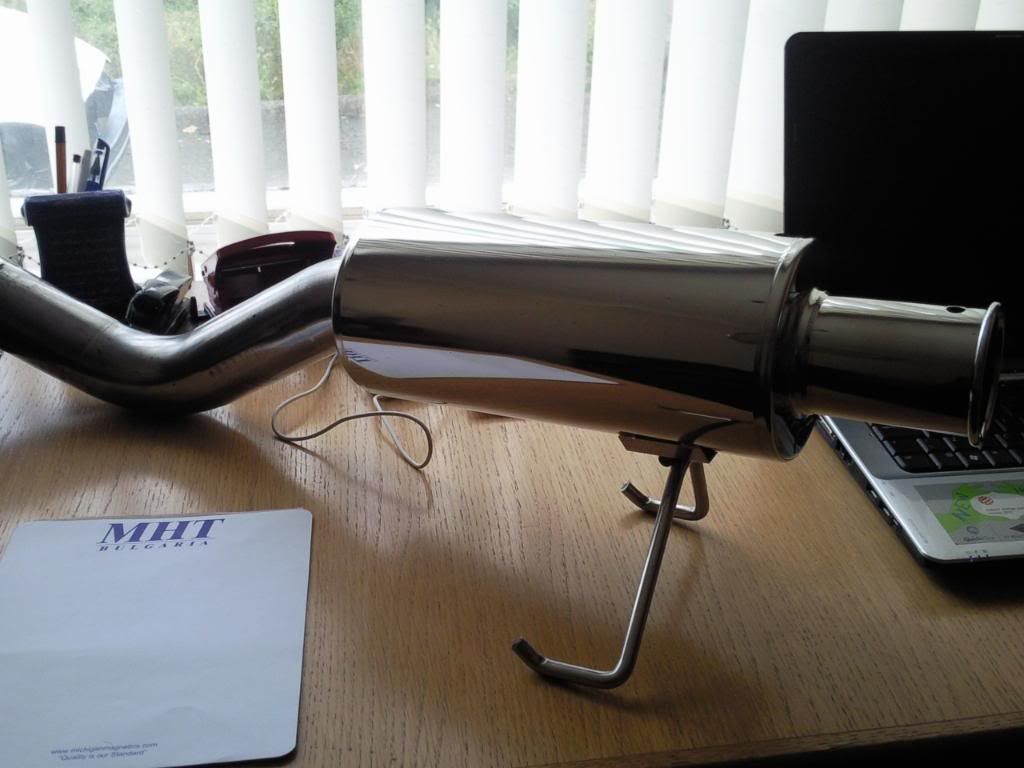
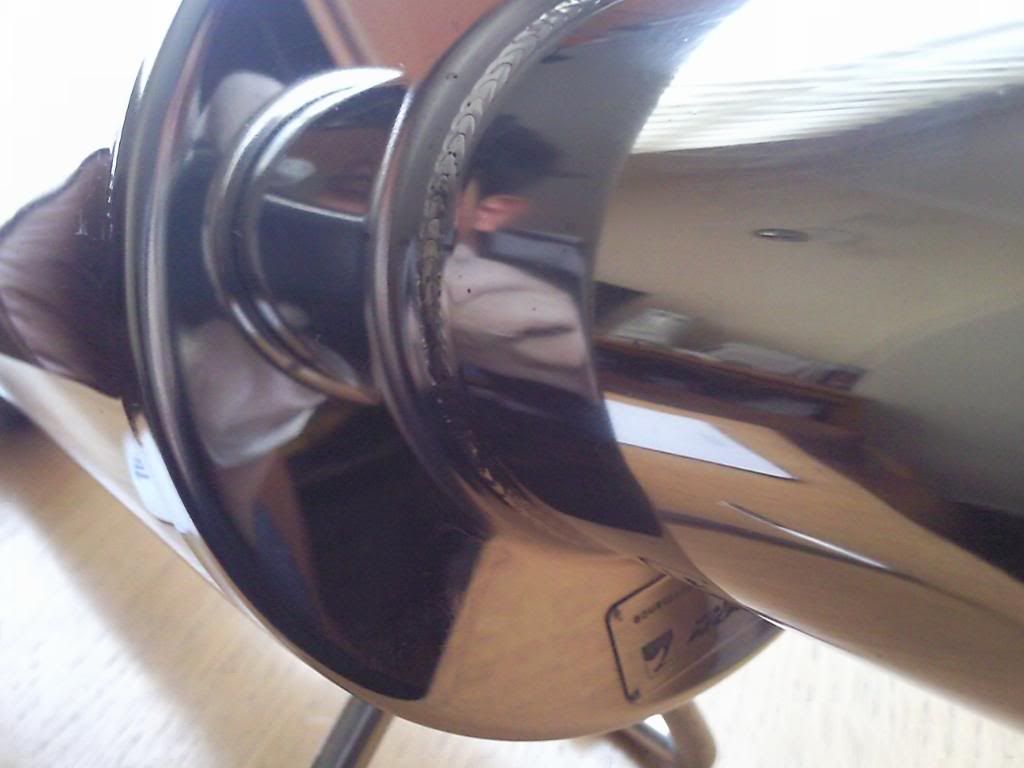
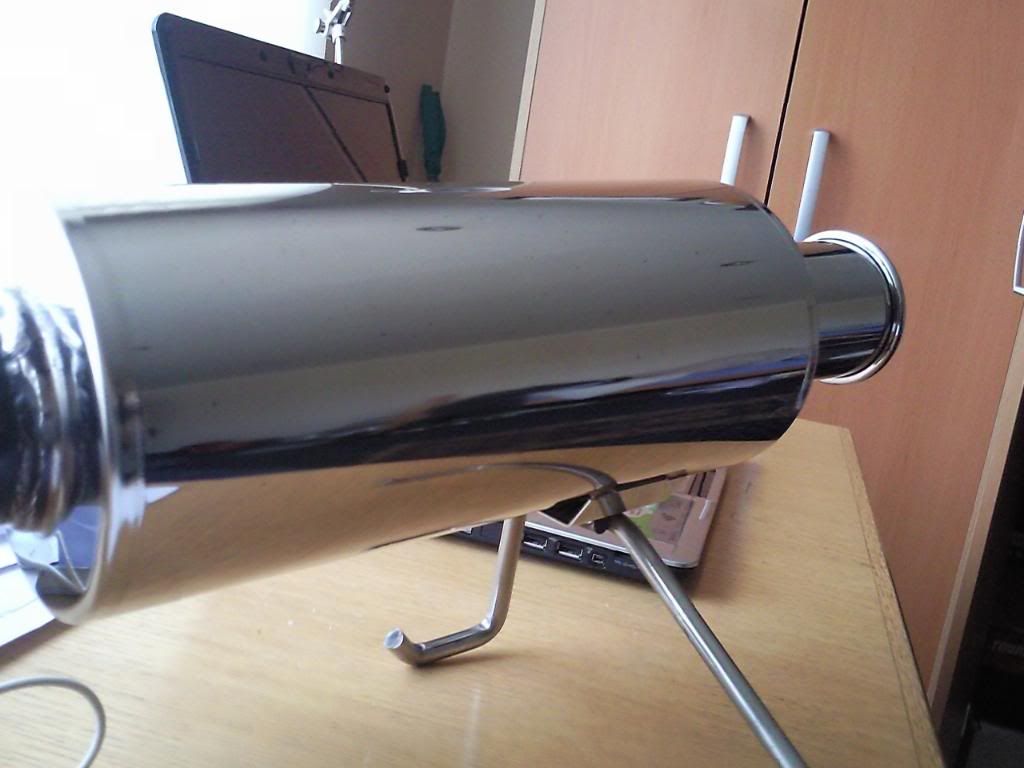
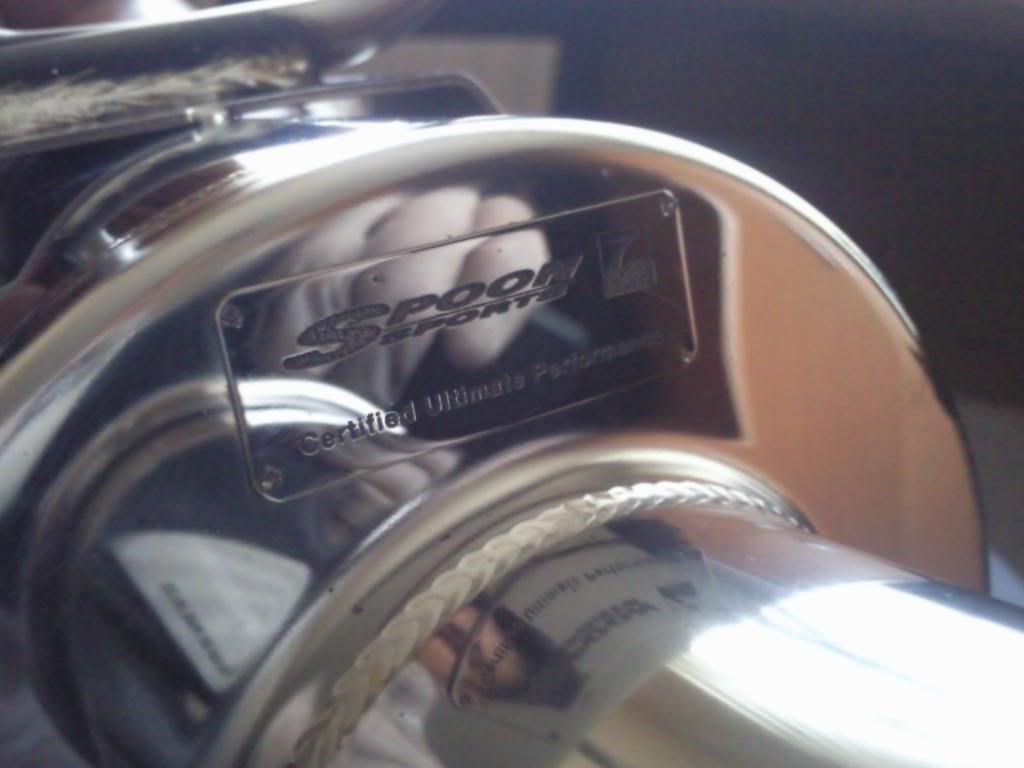
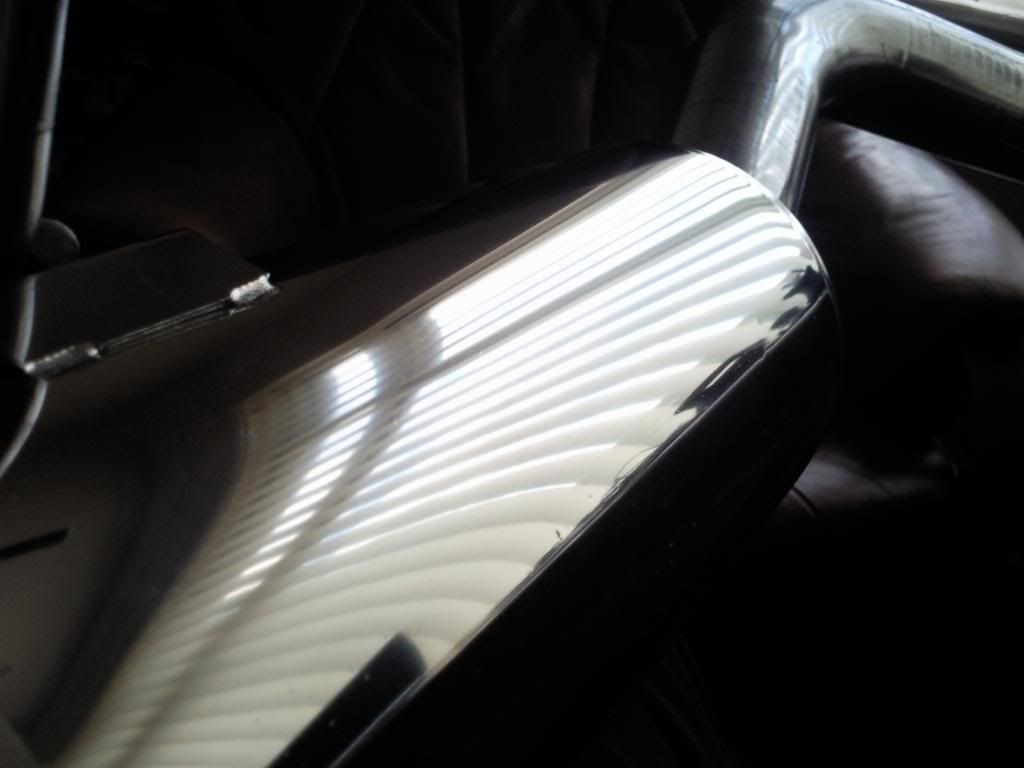
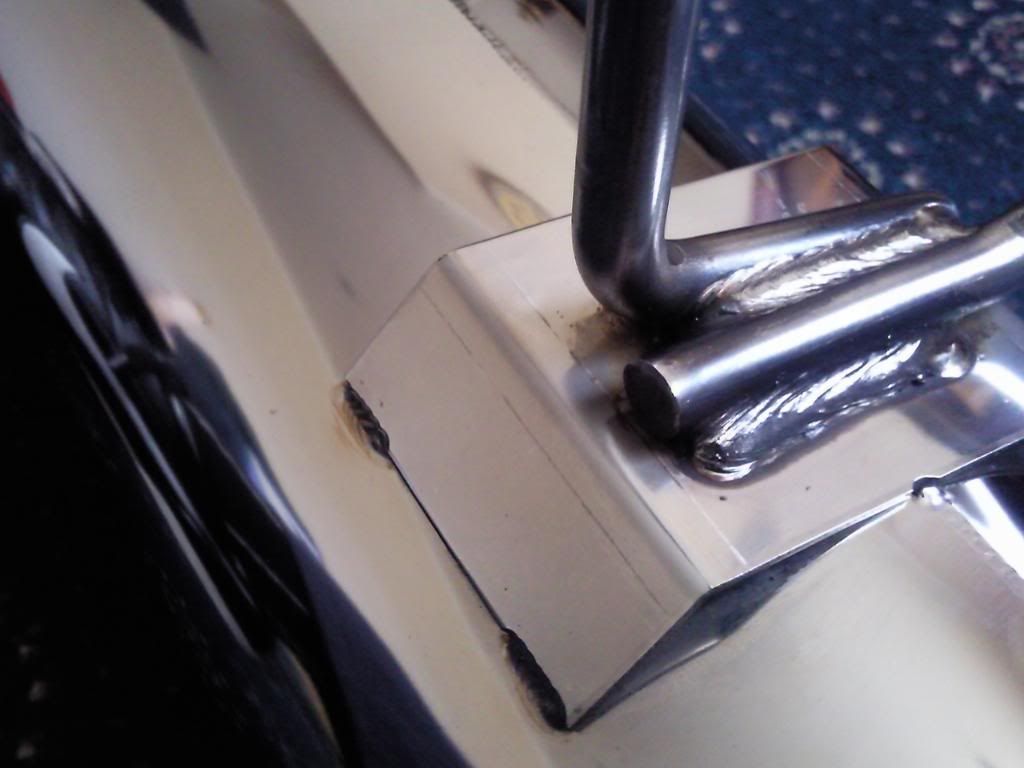
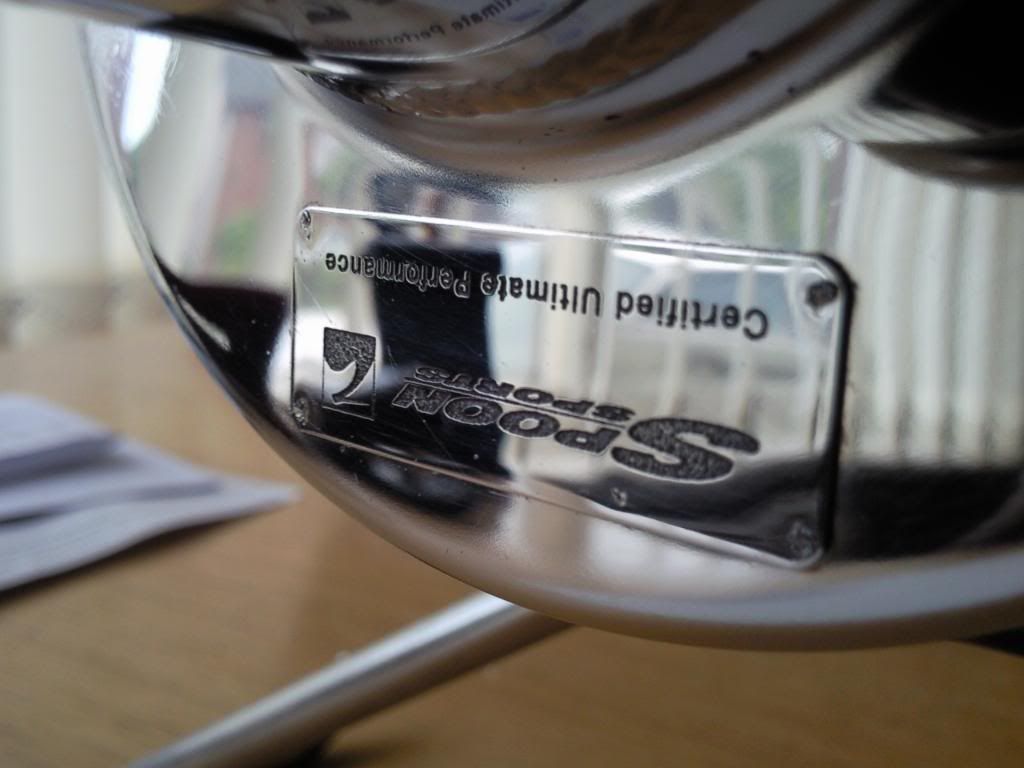
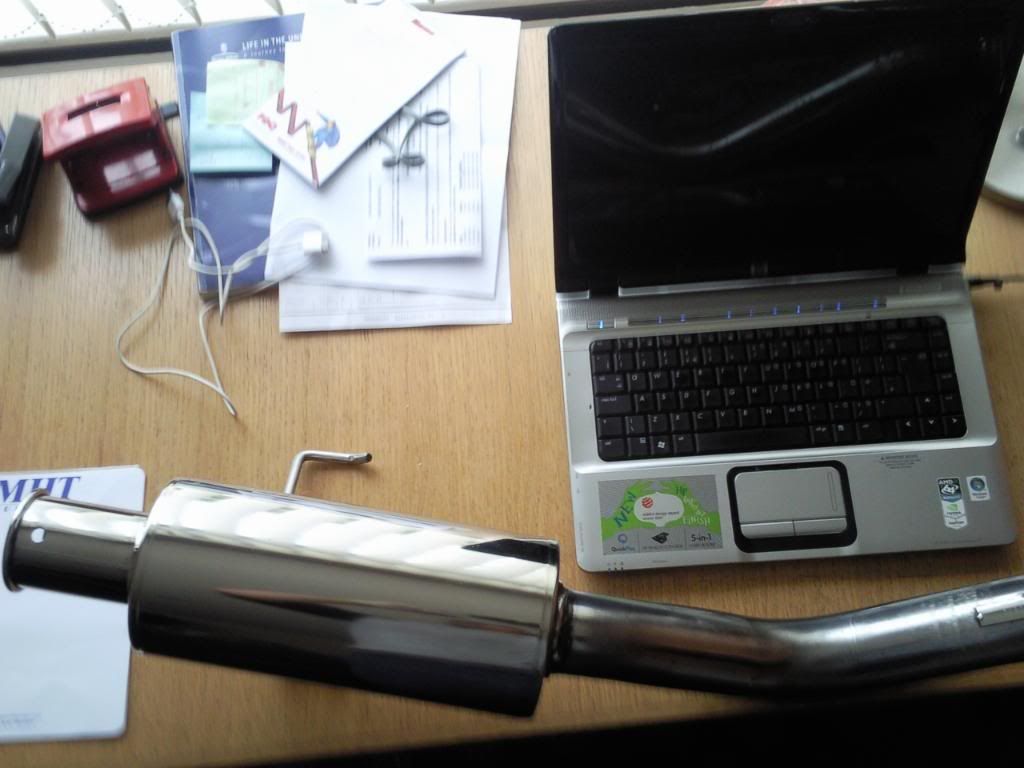
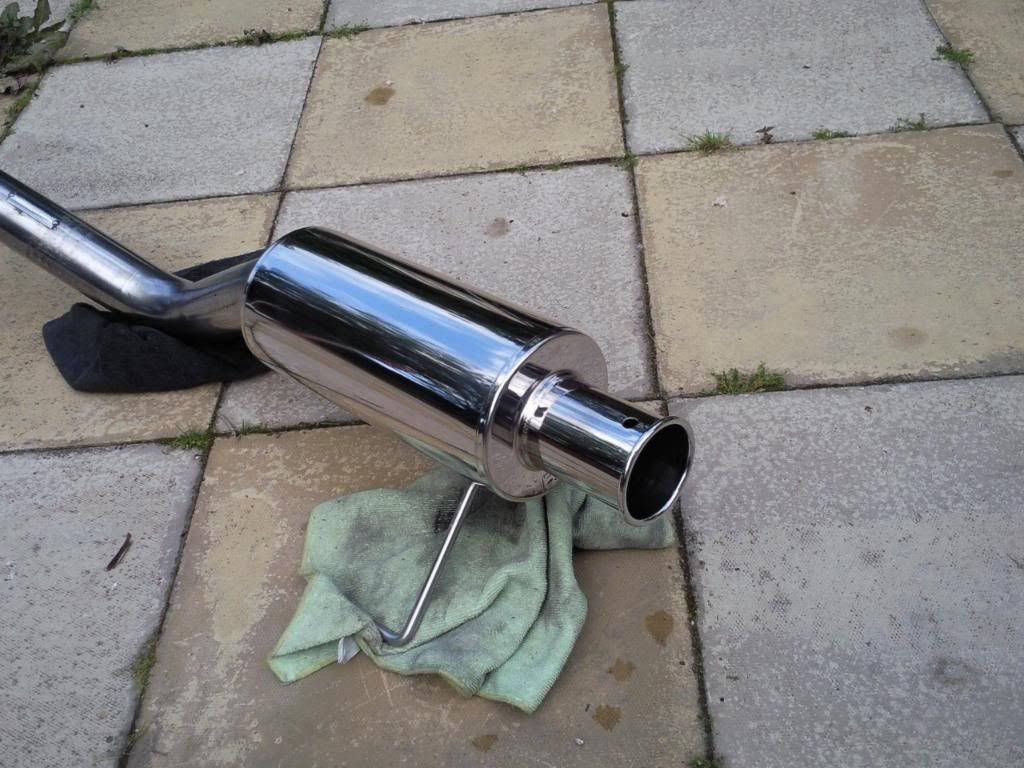
Spoon N1 exhaust
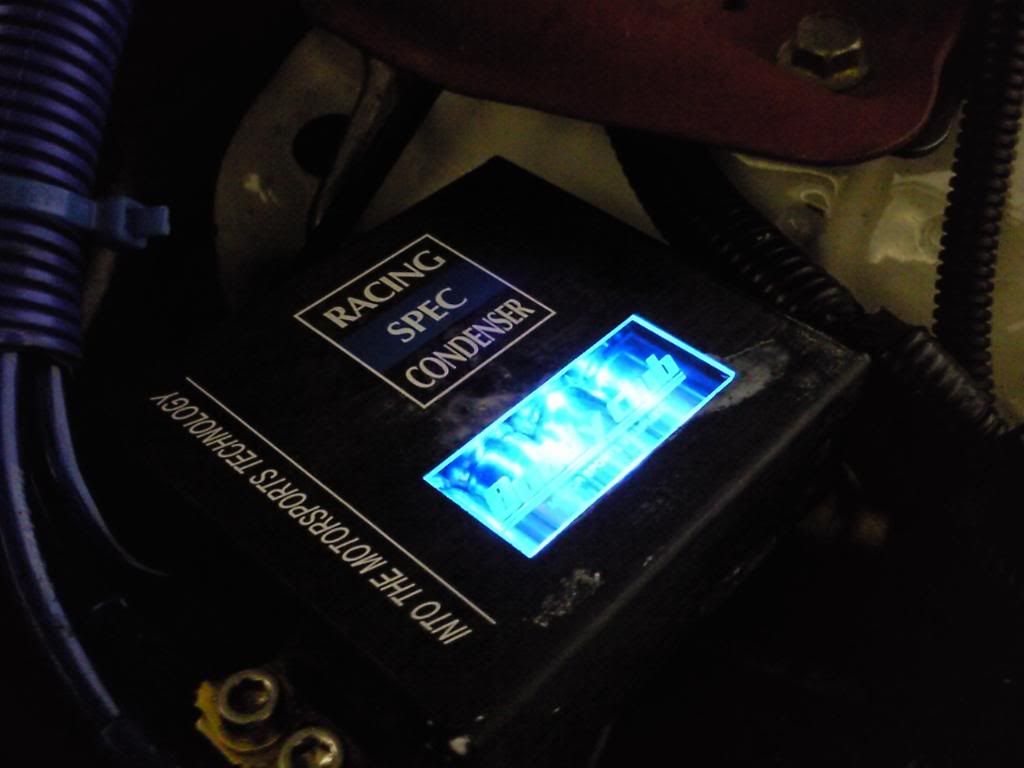
Buddy Club Racing Spec Condenser
Standard Ek9 Wheels
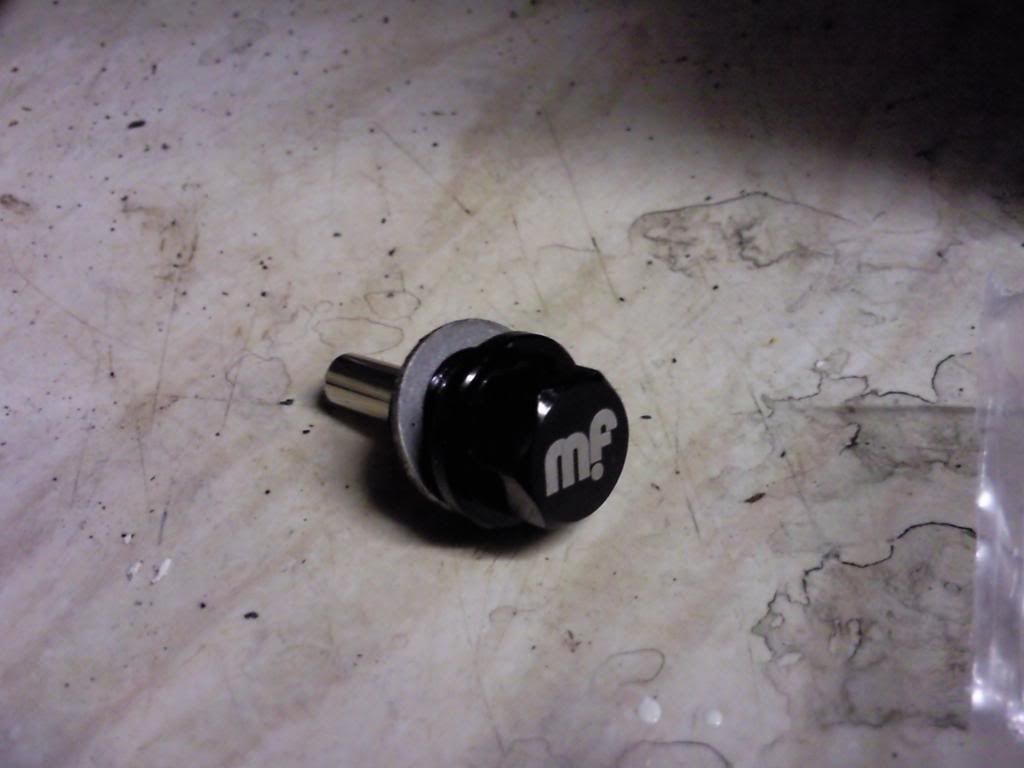
magnetic sump plug
yellow stuff brake pads
Exedy stage 2 organic racing clutch
Uprated map sensor
Thicker head gasket
stainless middle section
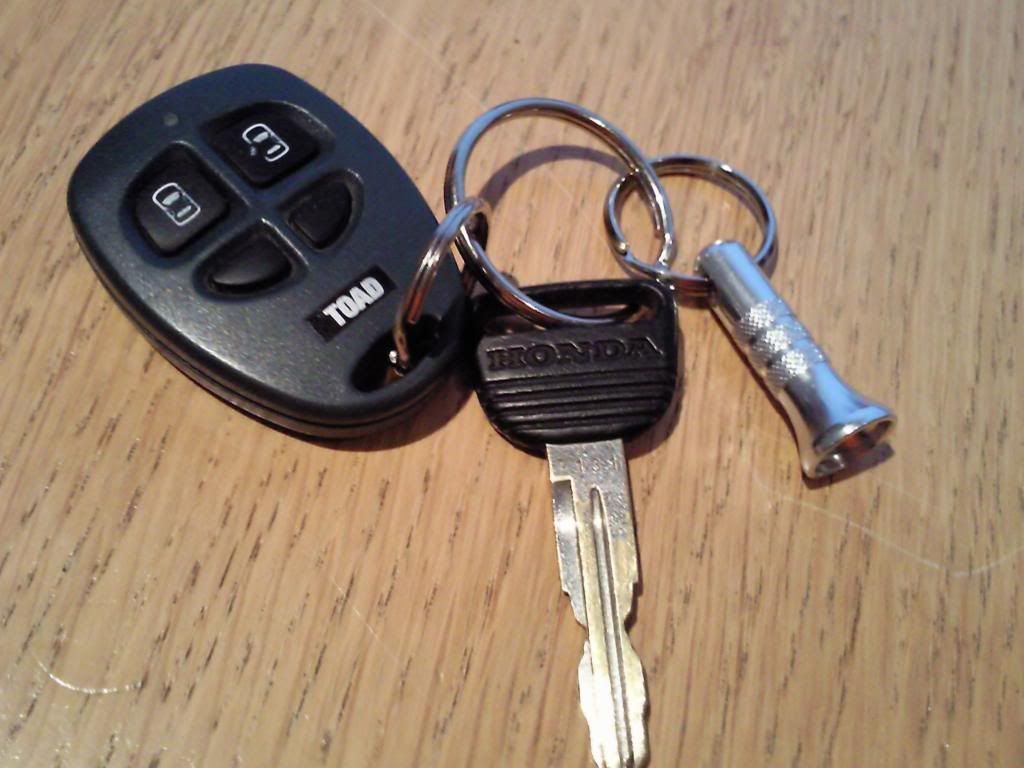
Fully Fitted TOAD Alarm With 2 Fob's
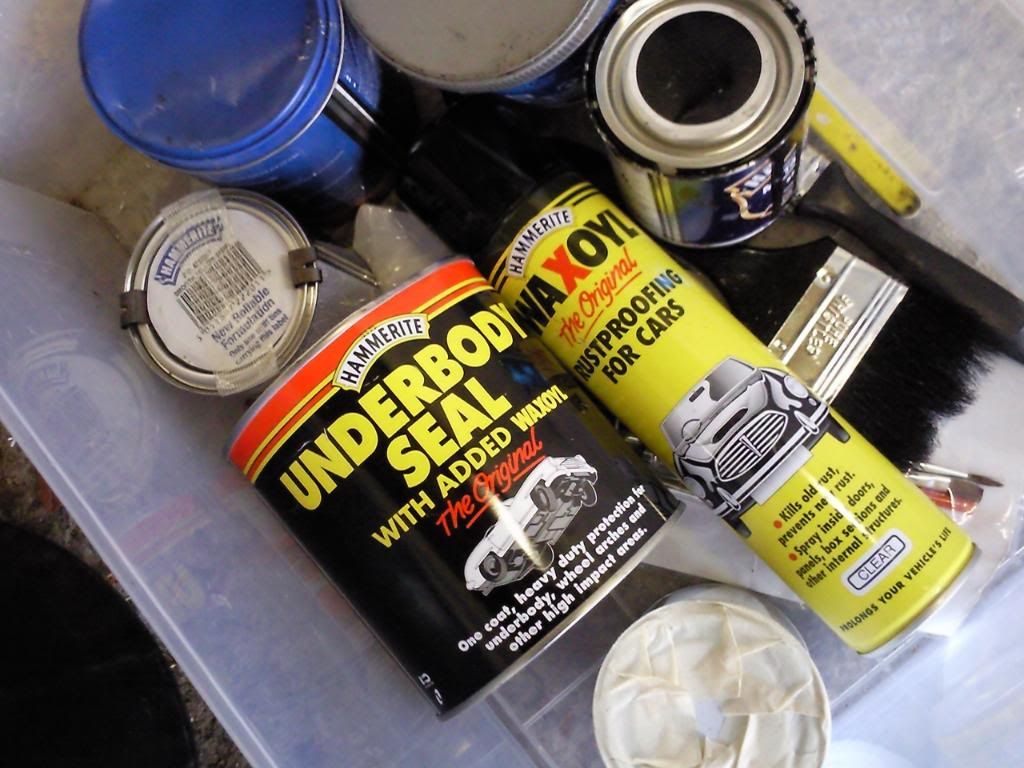
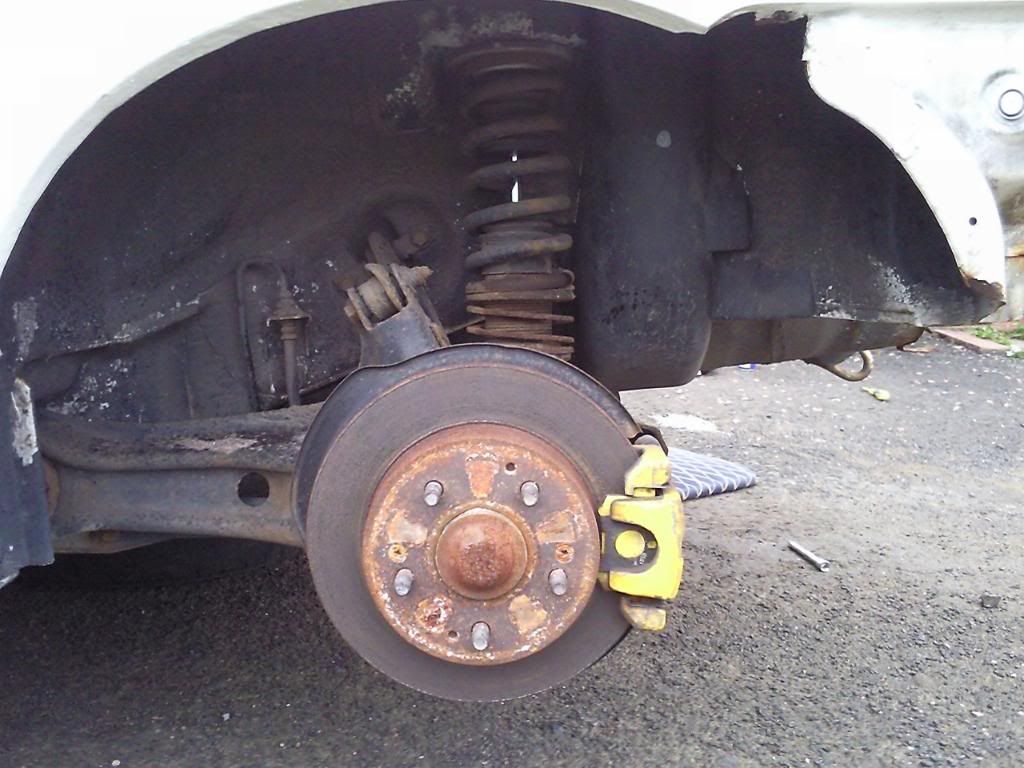
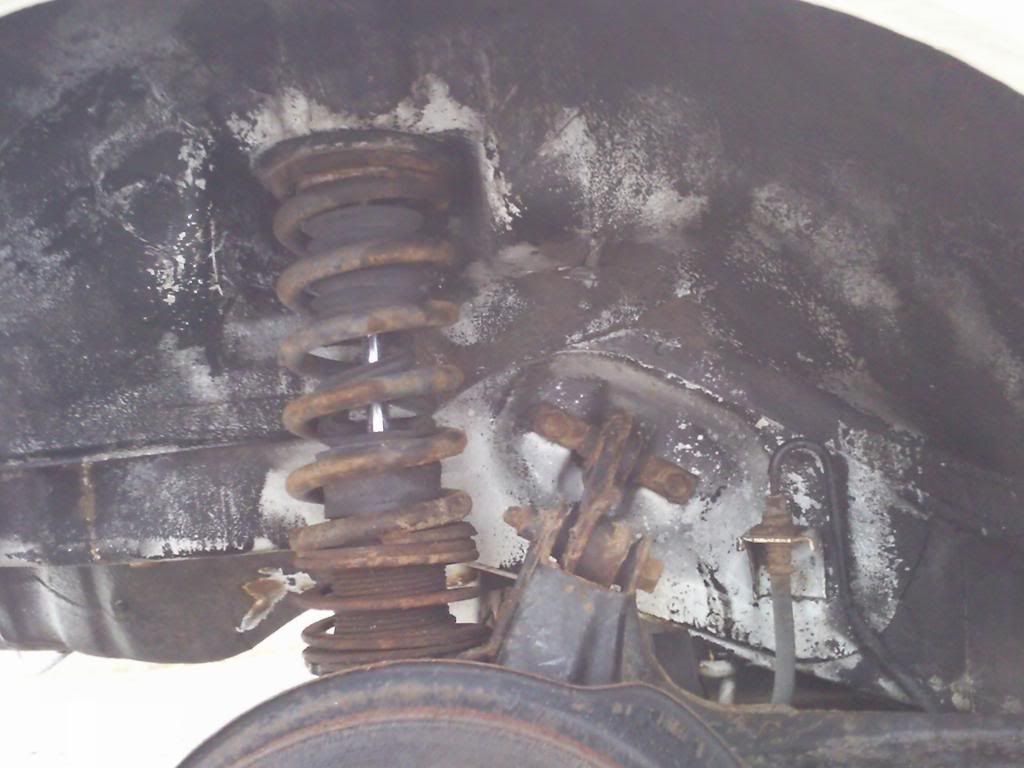
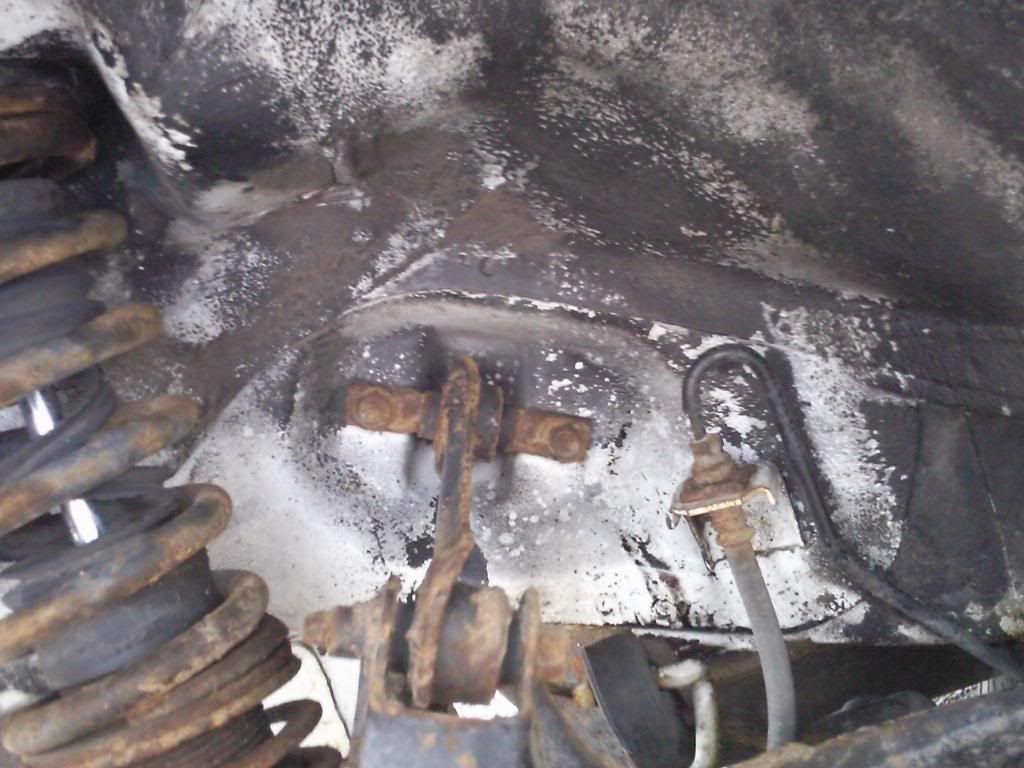
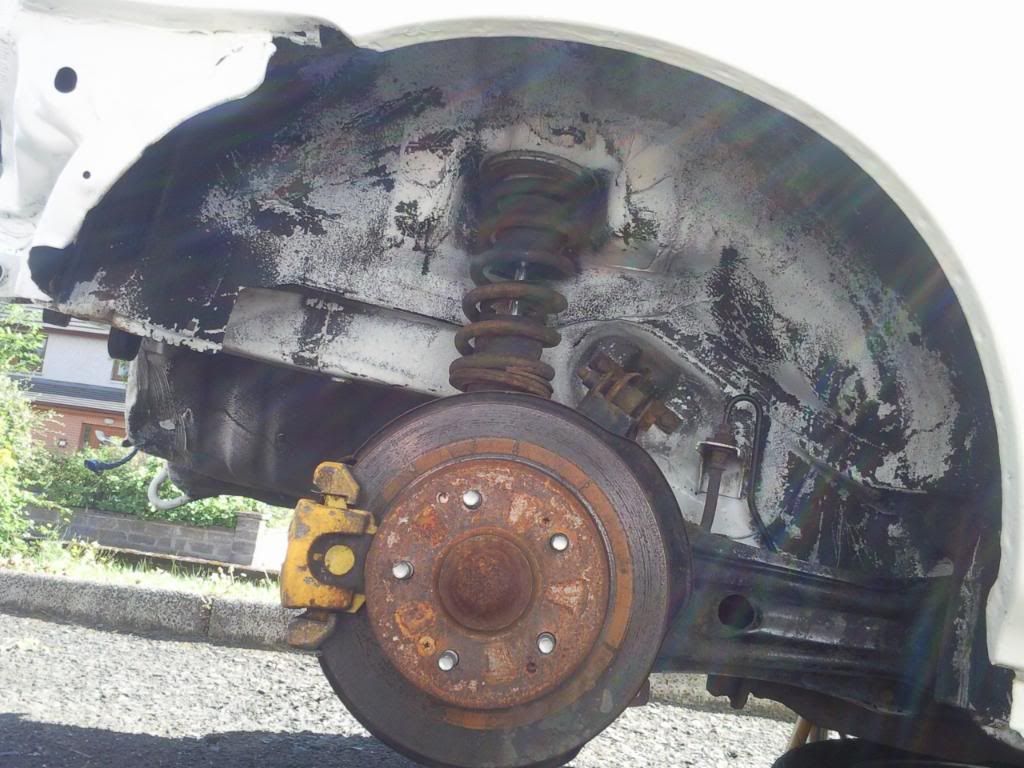
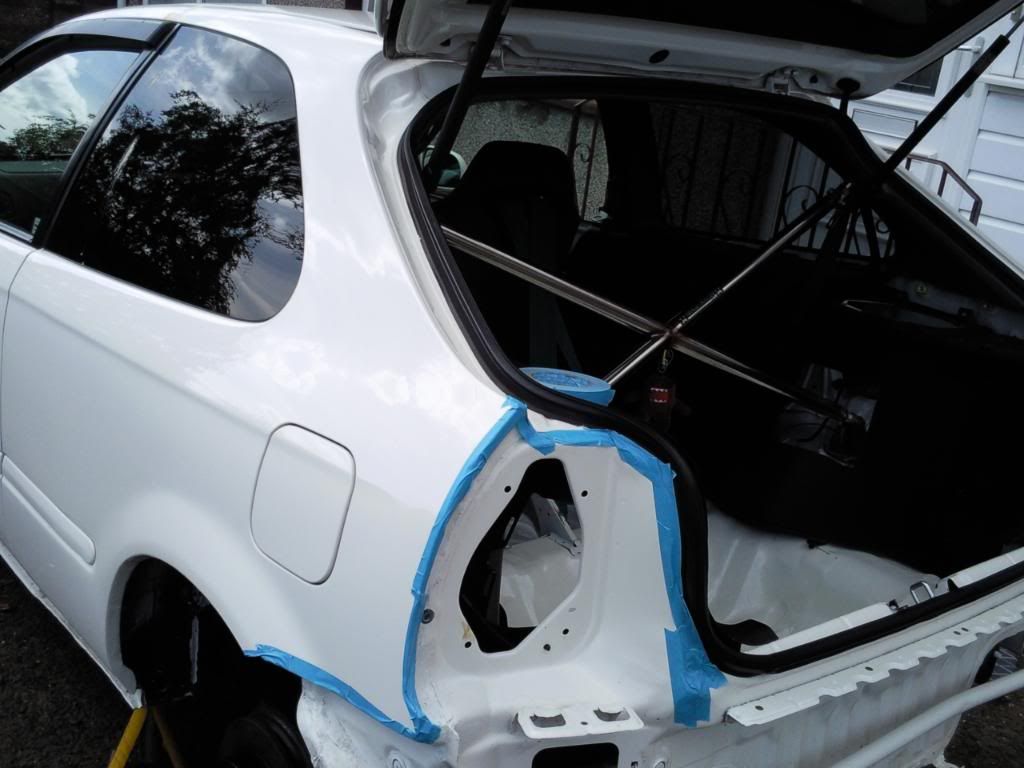
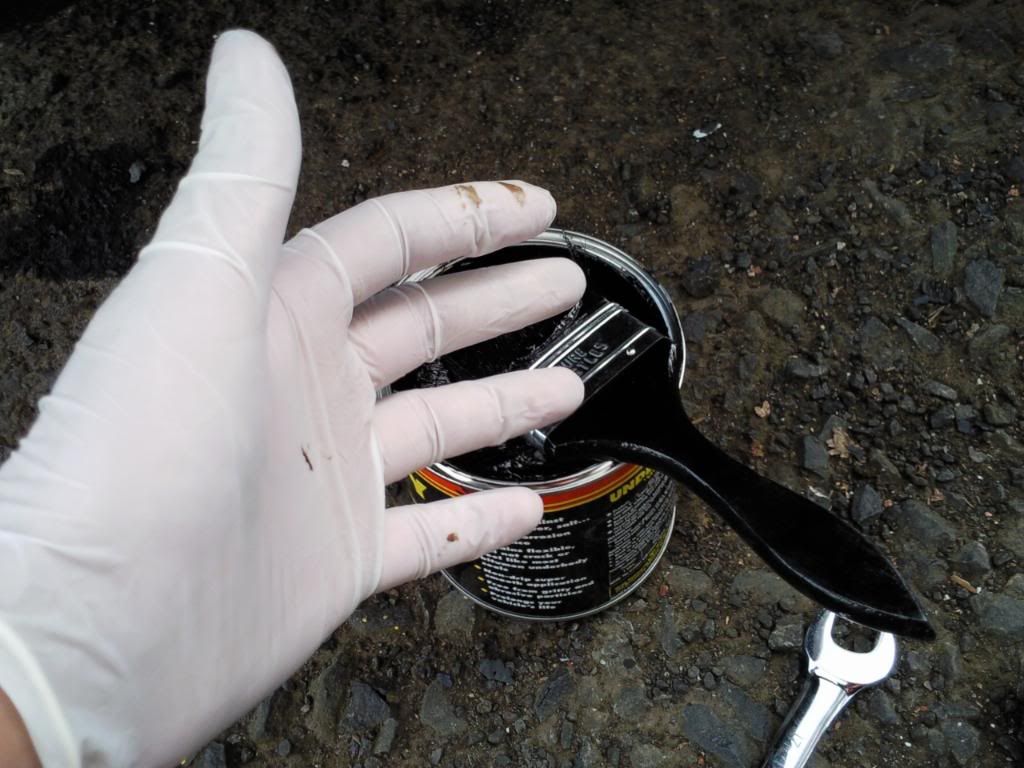
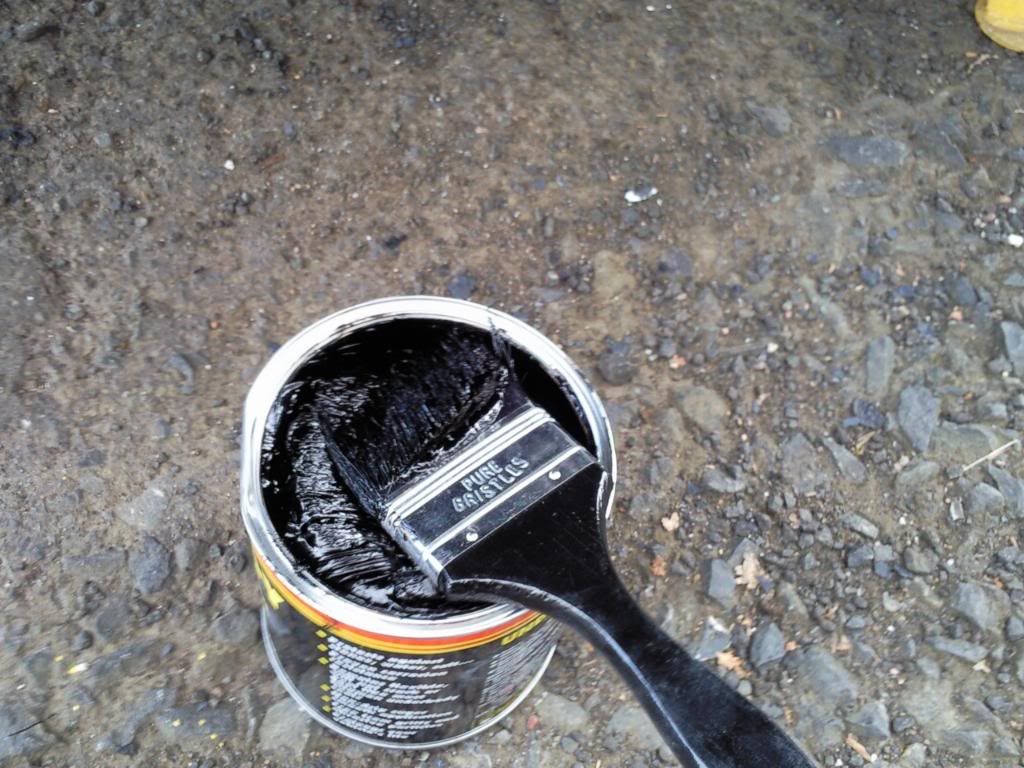
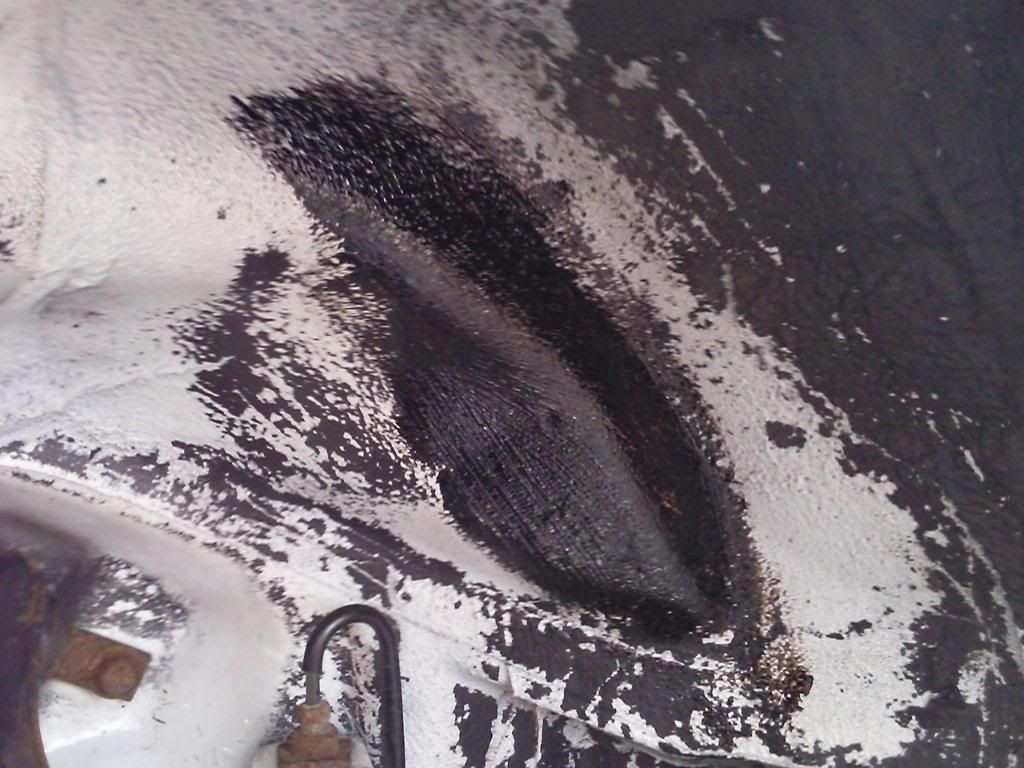
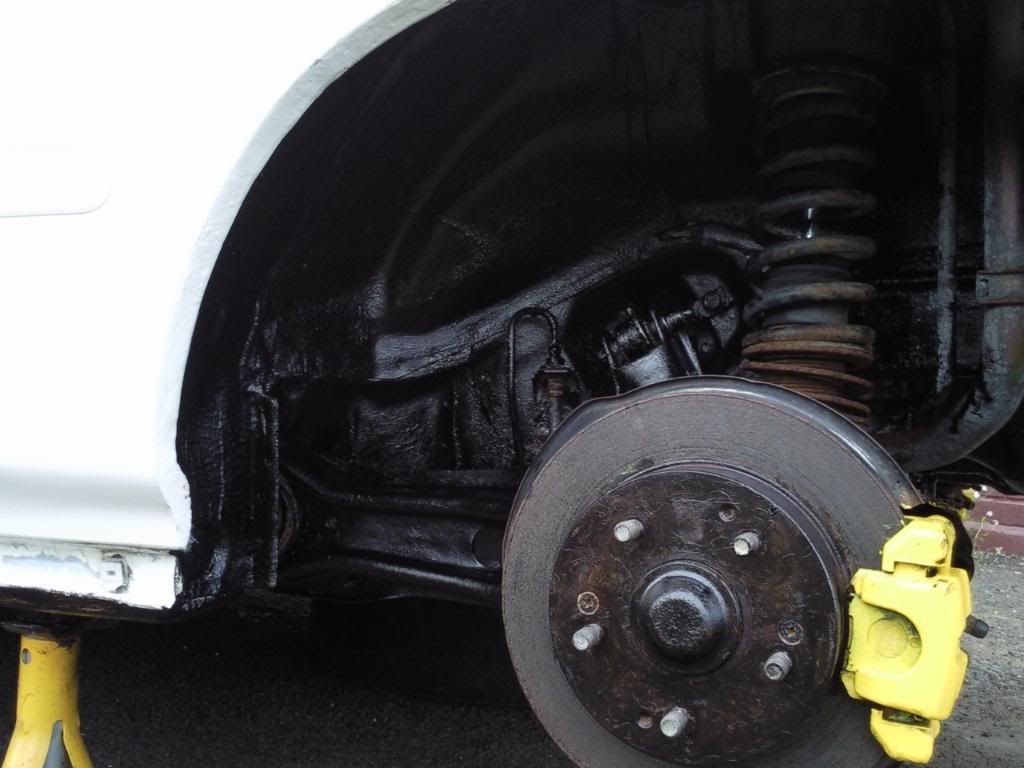
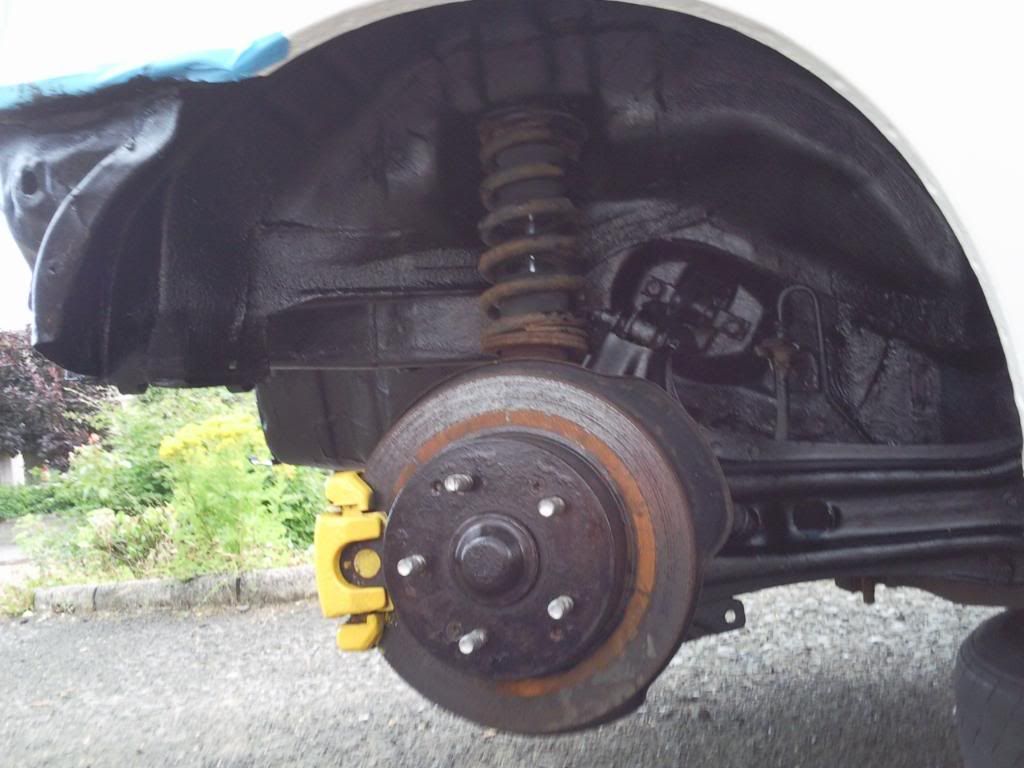
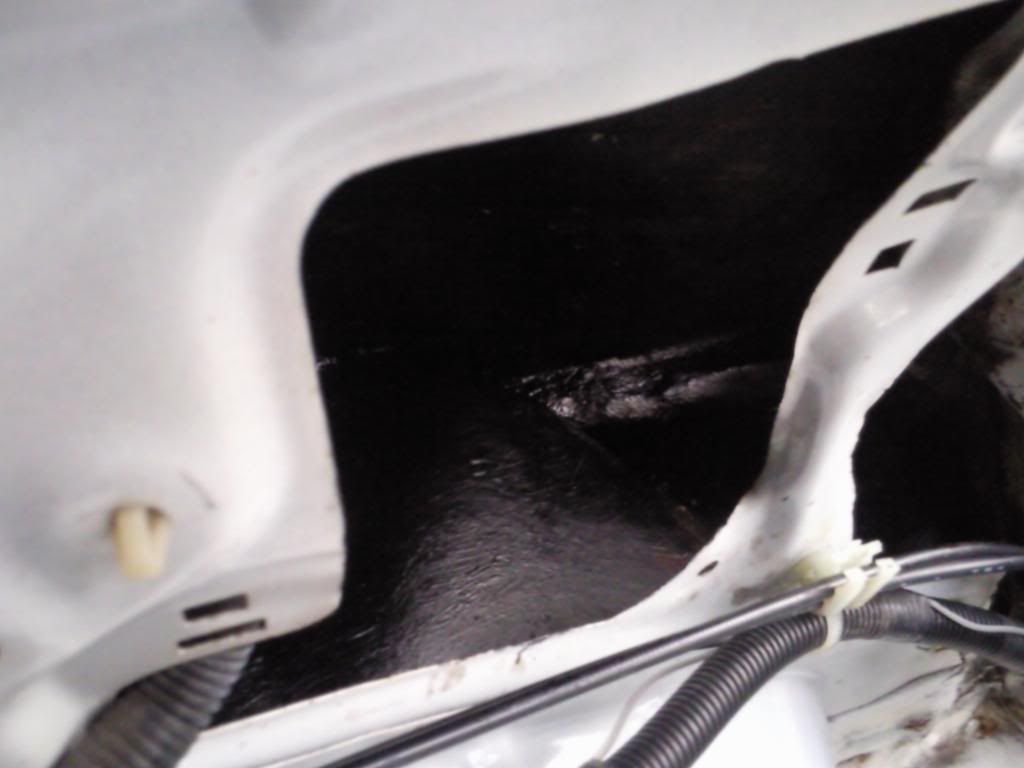
Fully Under-sealed
MOT'd Till May 2011
Taxed Until October 2010
Timing Belt Done 10,000Km ago
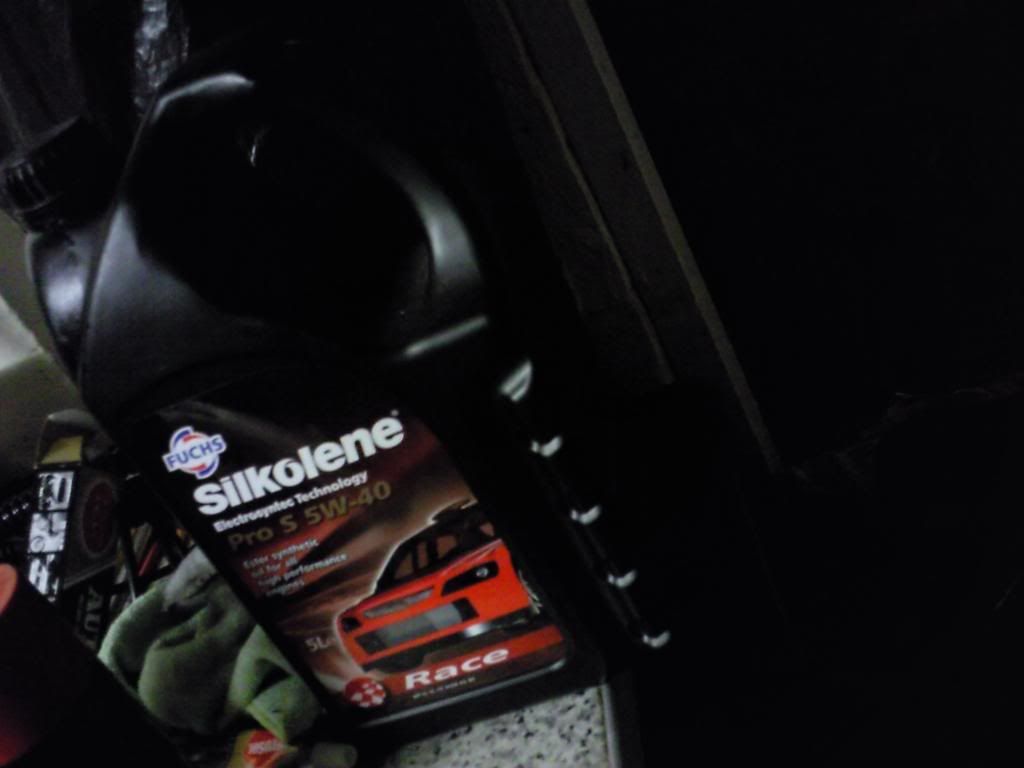
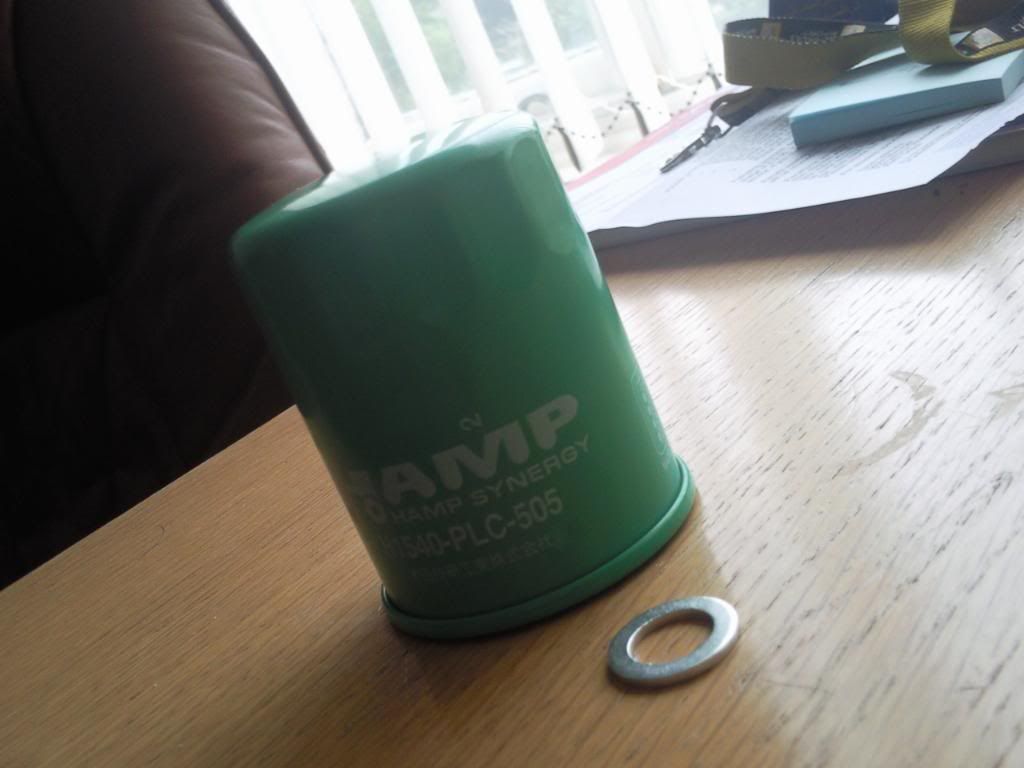
Serviced 500 Miles Ago With Silkolene Pro & HAMP Oil Filter & Gear Box Oil With Honda MTF
4 x New Toyo T1R's Covered Under 500 Mile's
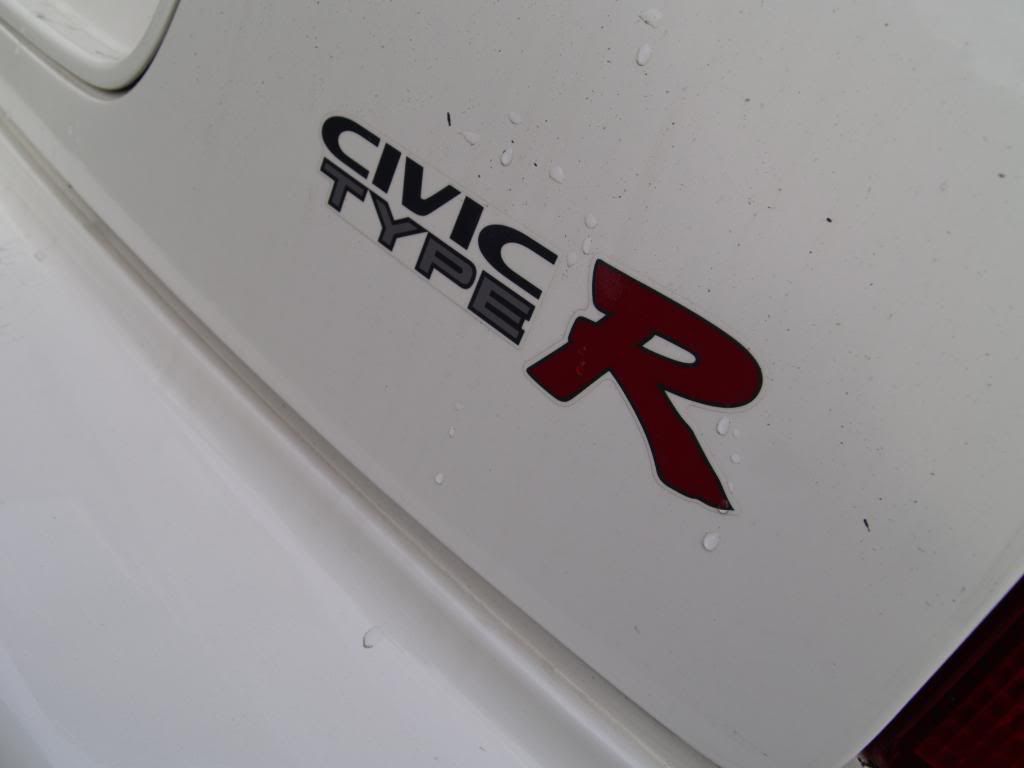
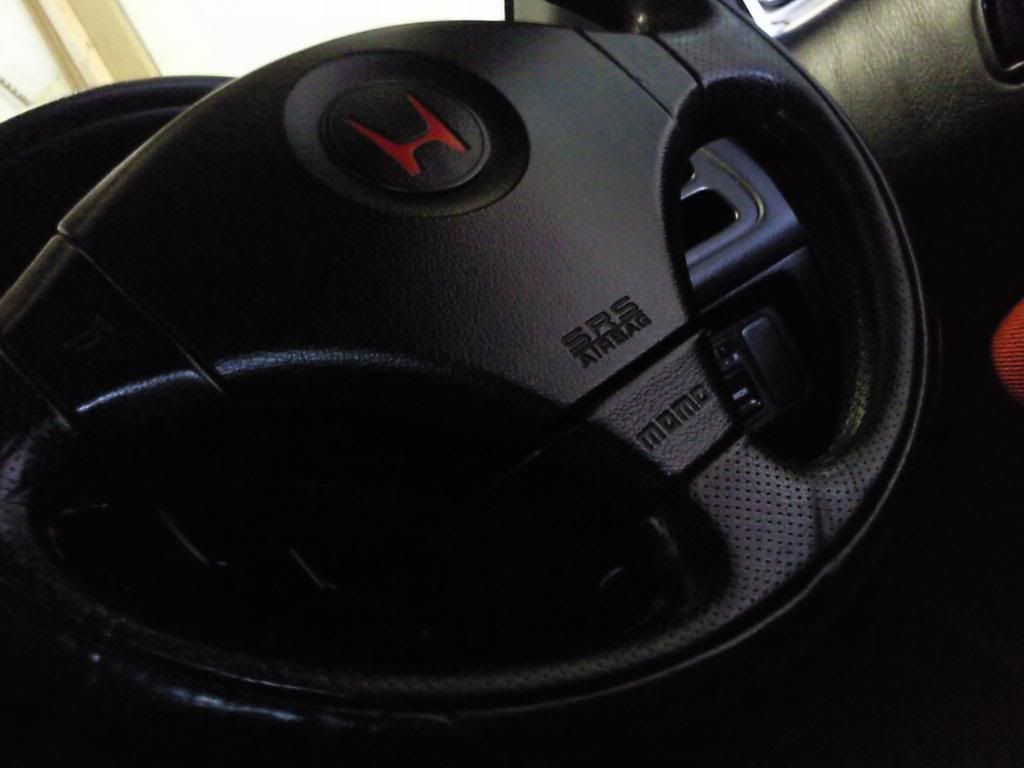
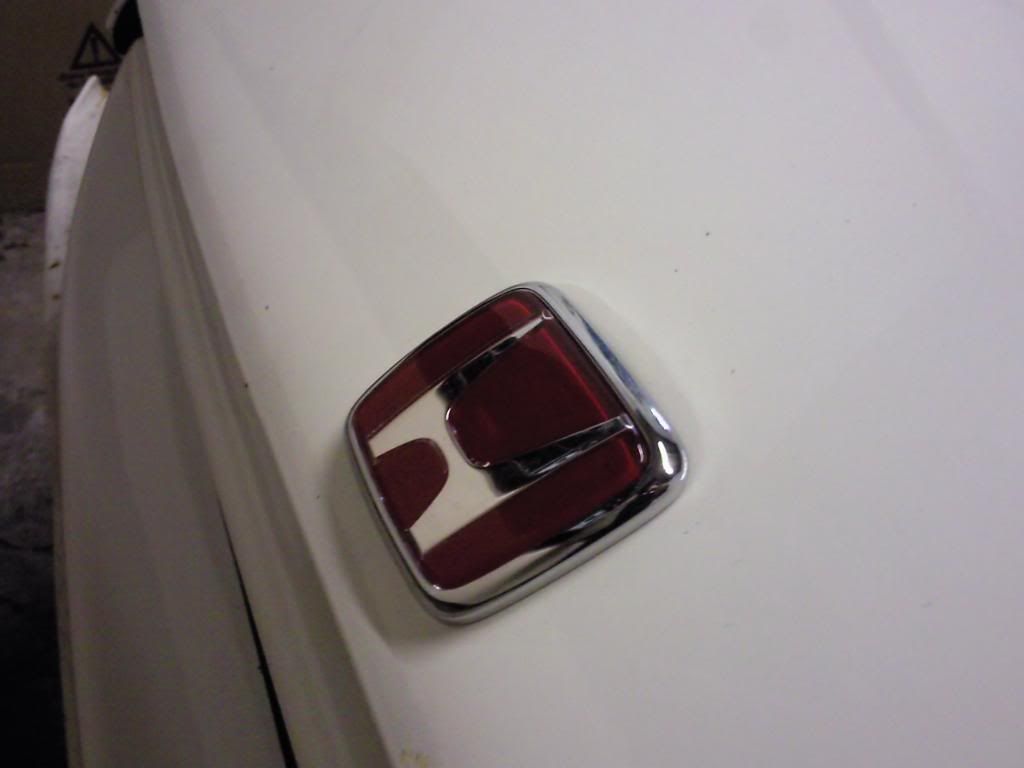
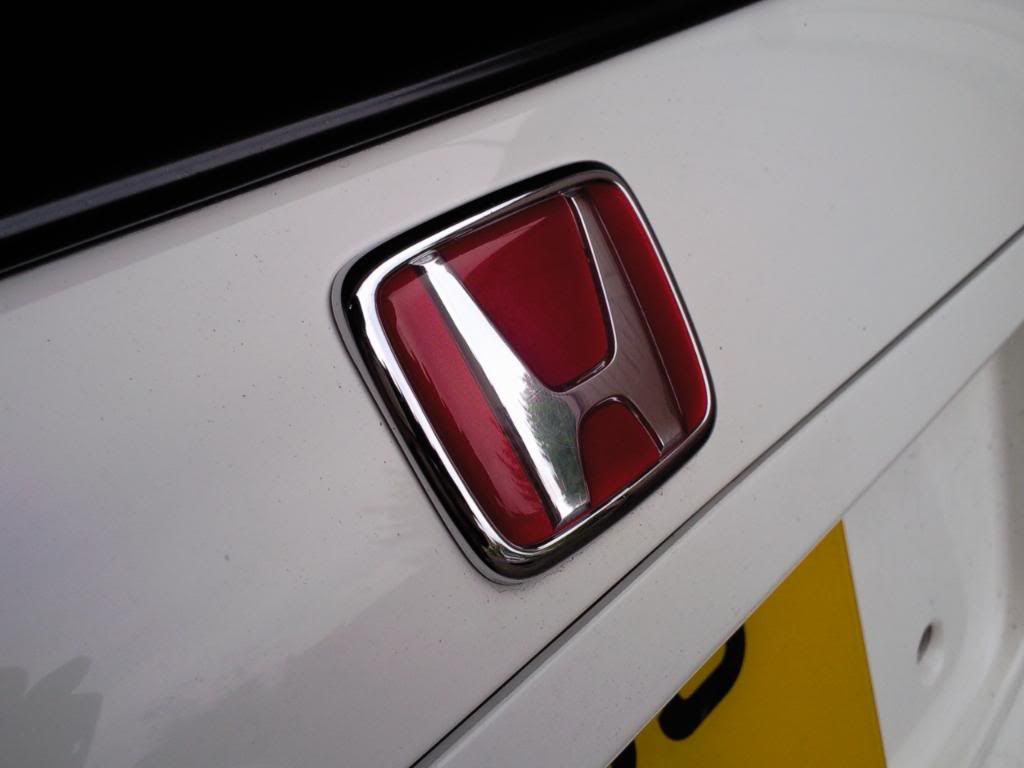
New Red Honda Badge's Also Fitted As Others Were Faded
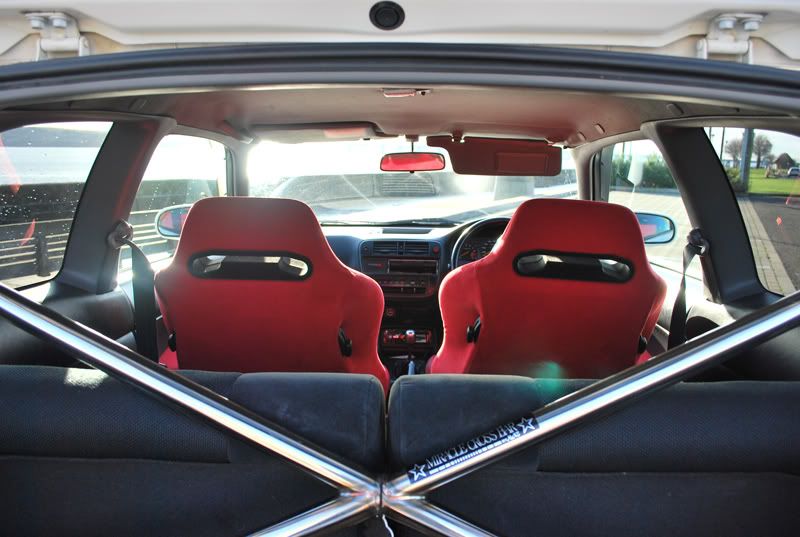
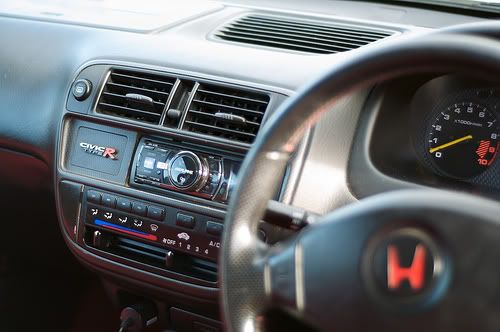
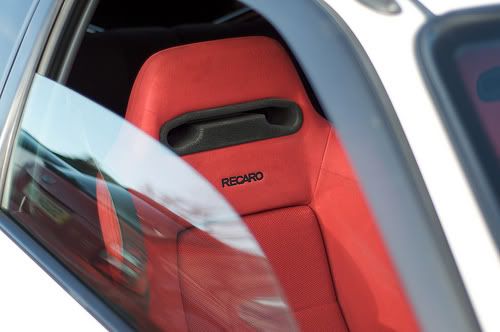

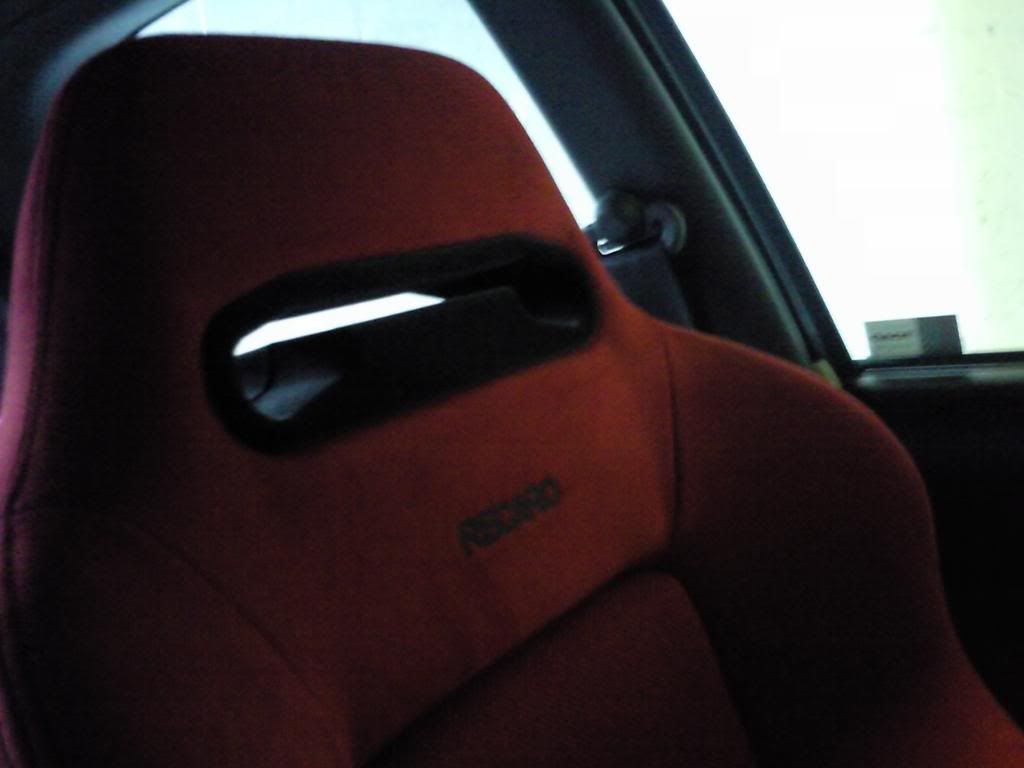
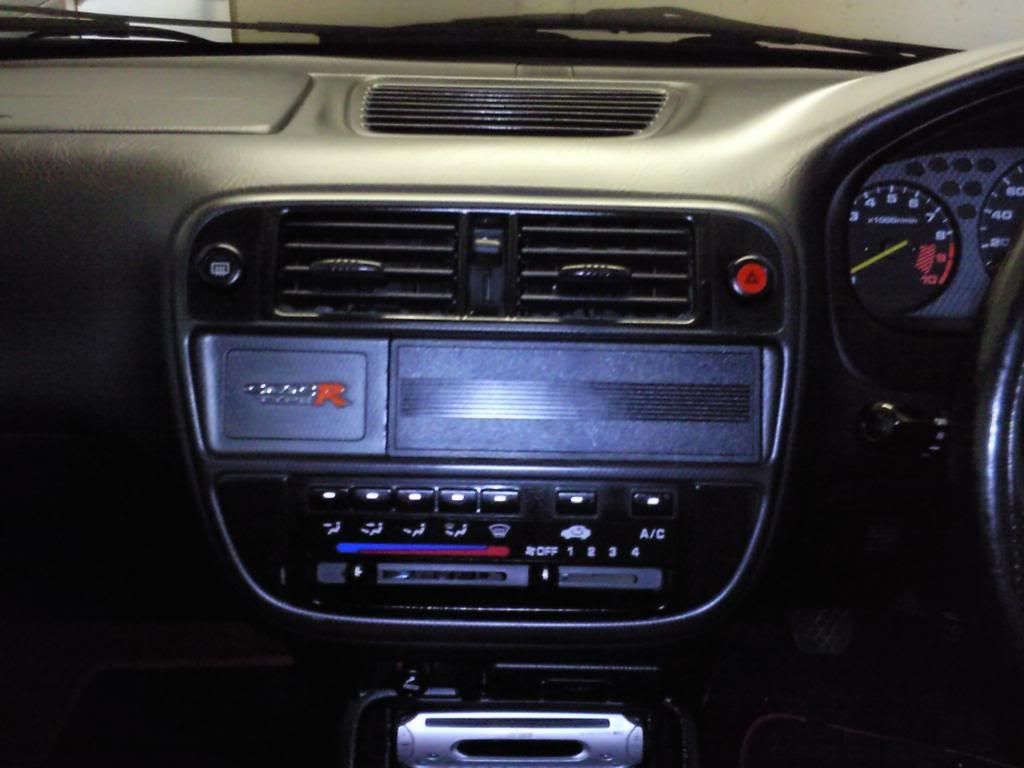
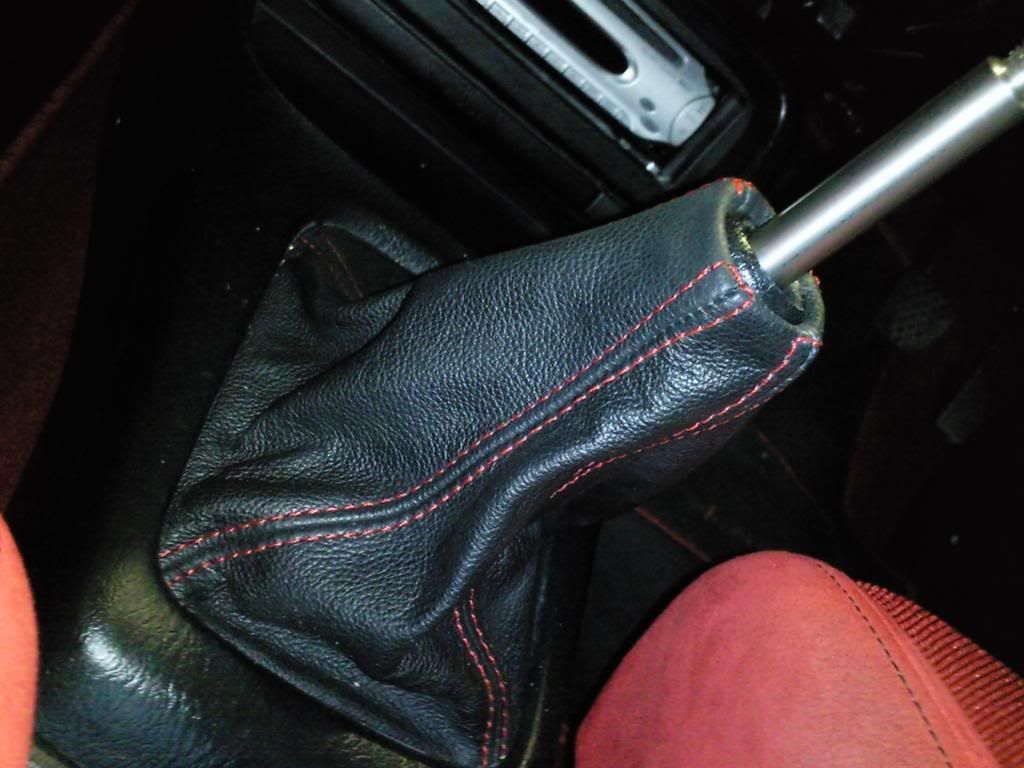
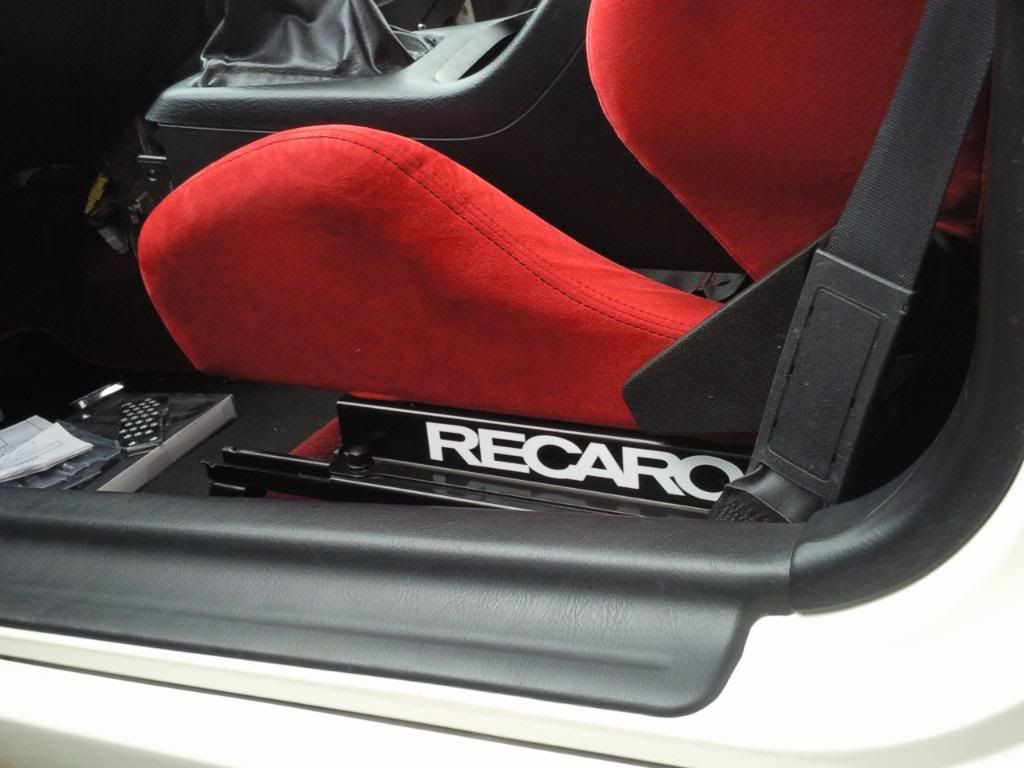
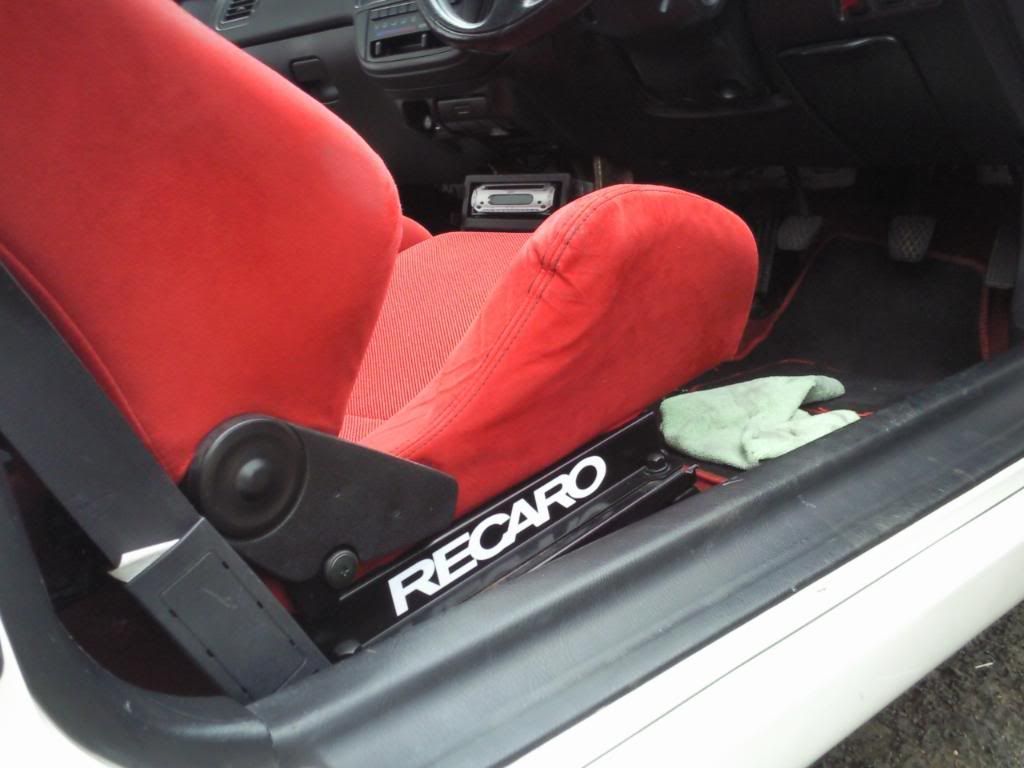
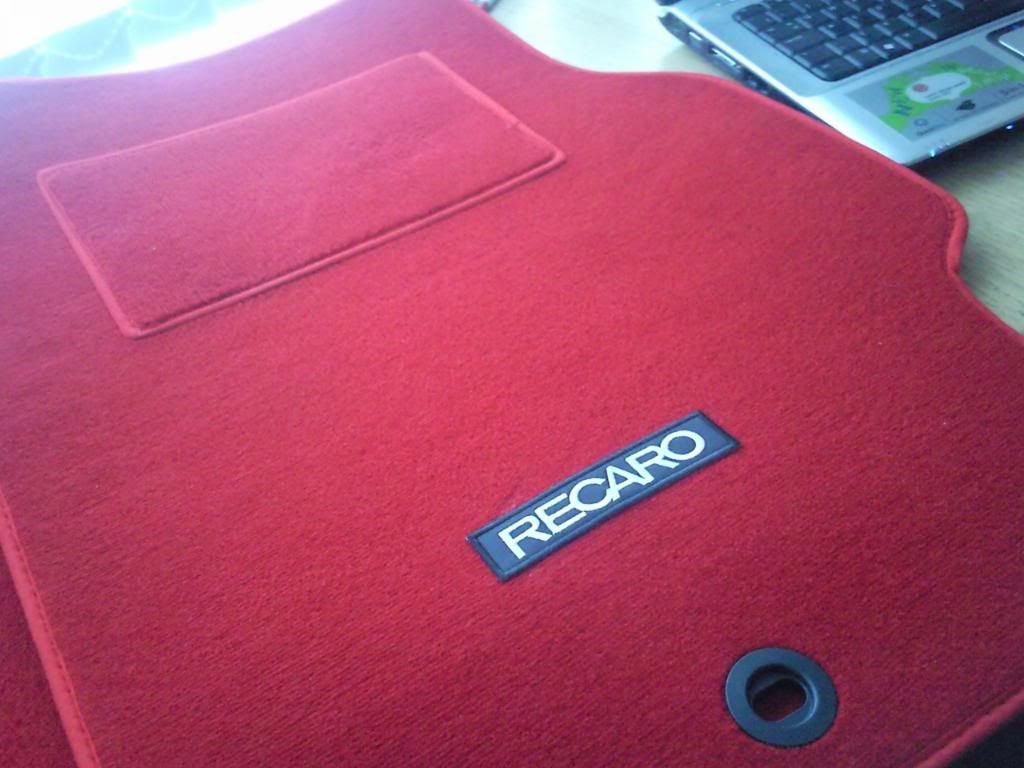
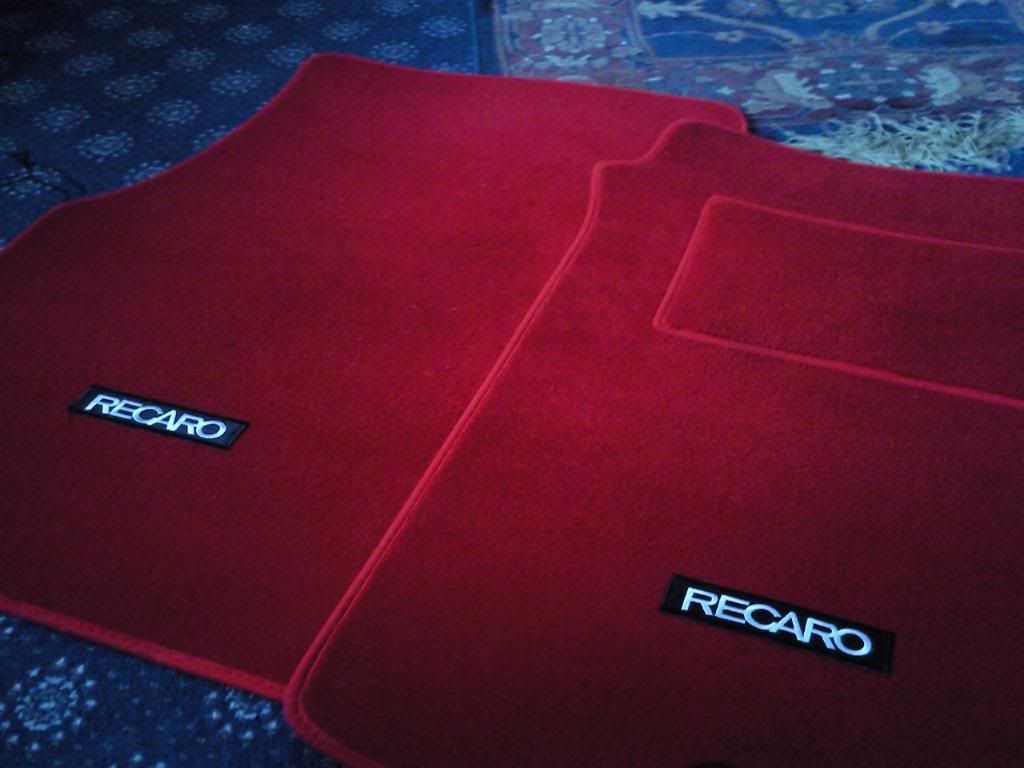
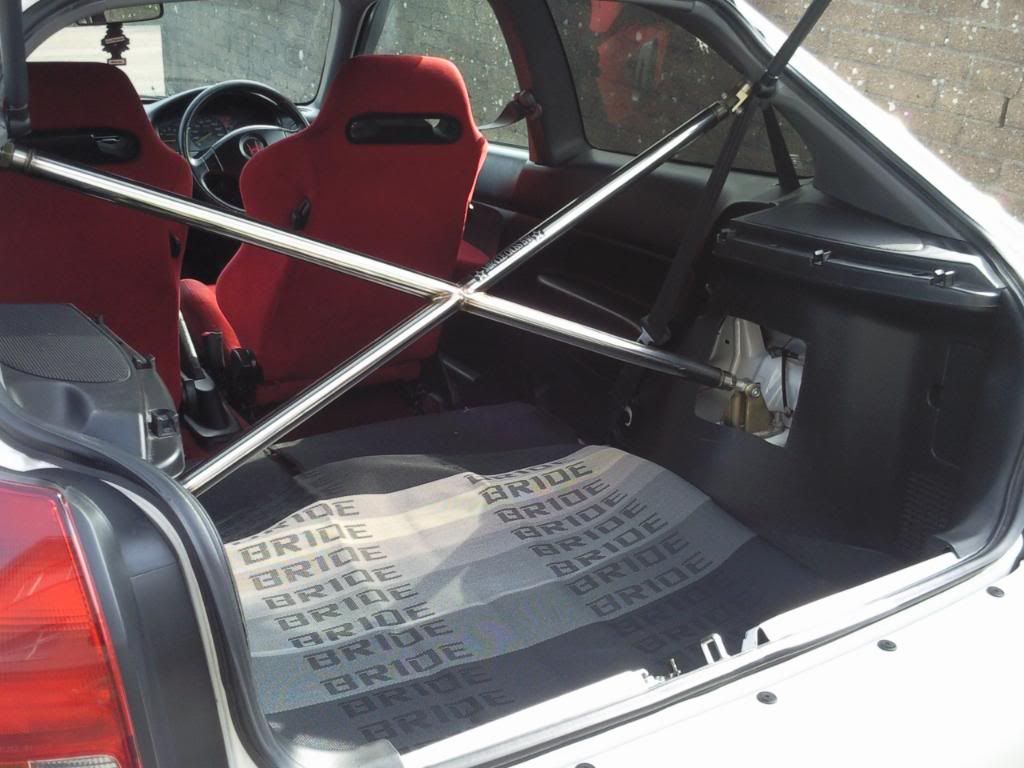
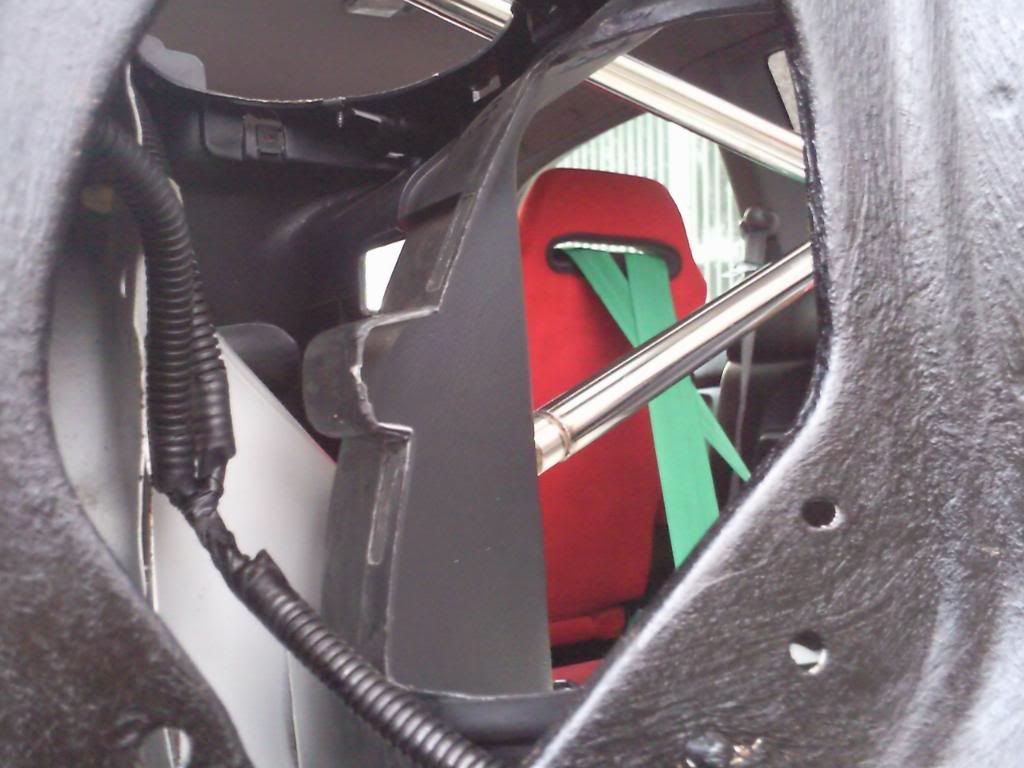
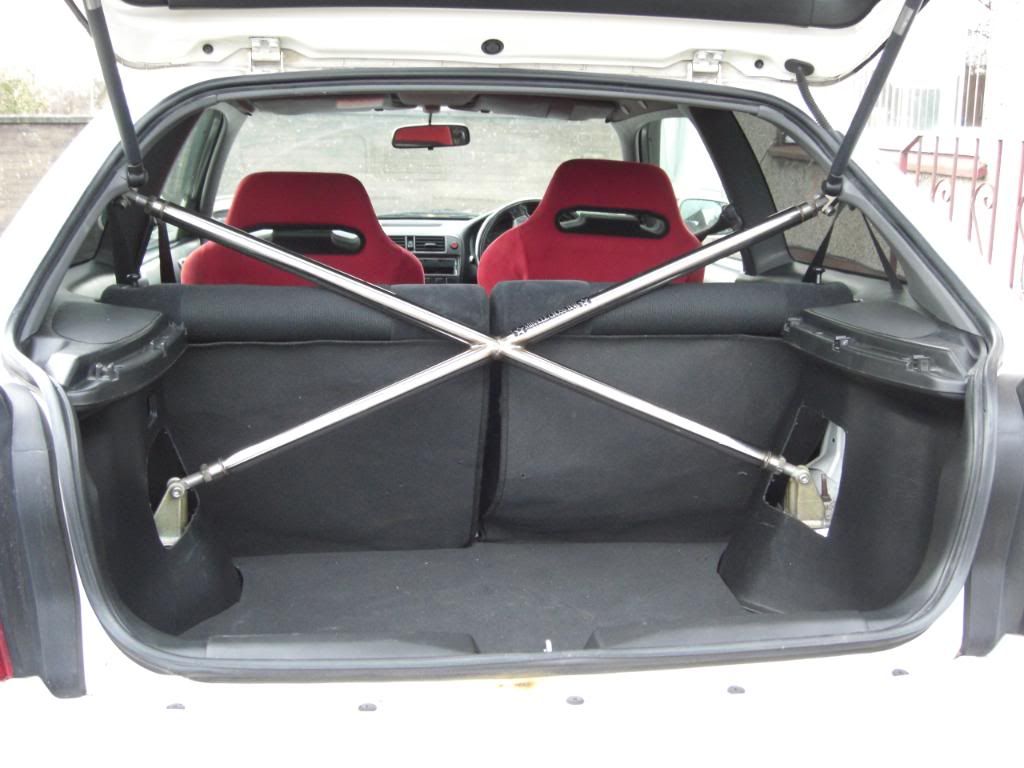
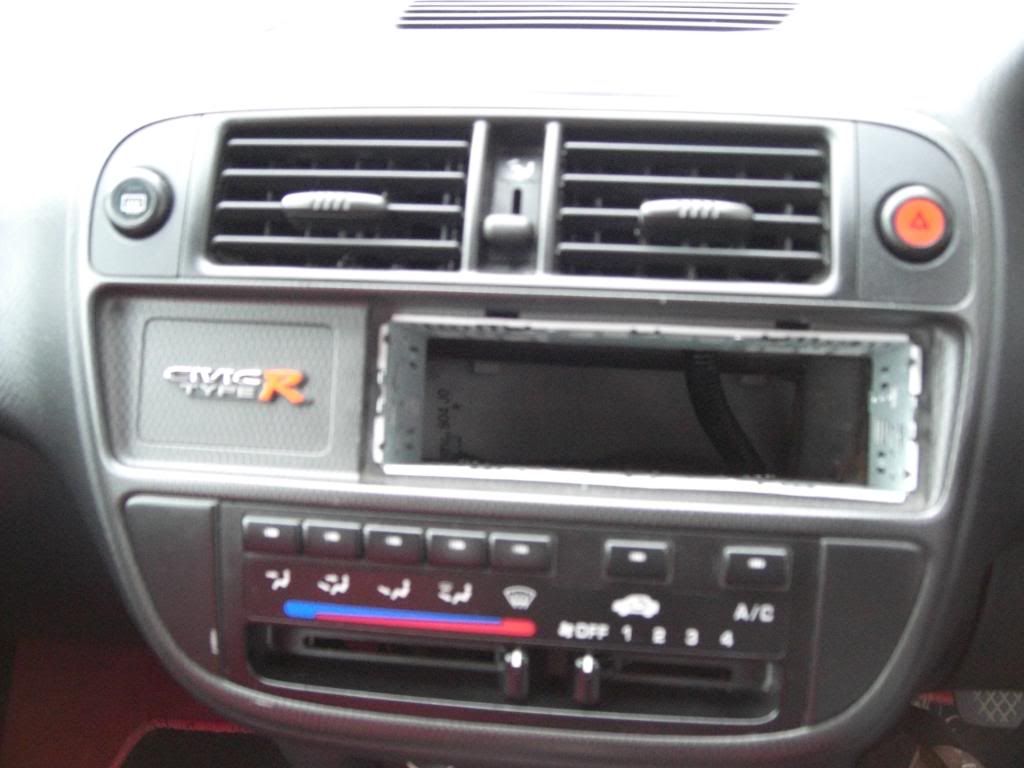
So i got in touch with him and organised to view the car in the weekend. I had never been in an ek9 before let alone a supercharged one so i was certainly looking forward to it. Anyways saturday came and after letting it warm up and getting out of town we went for what i can only describe as one of the most memorable b road blasts i have ever had. The power and torque was crazy for such a light, small car, grippin barely in 3rd gear in the dry. Also it handled like it was on rails with the limited slip differential (LSD) and the tein coilovers. Interiour wise, considering it was a 13 year old car, it was a nice place to be and the recaros were awsome in every way. The sound of the whining superchager was something else. The car was a real cracker and as soon as i stepped out of the car i was in love. I got back in the clio to go home and it just didnt feel right. It felt like a bit of me remained in the ek9 and i think it was at that point i realised that it was time to part company with the clio.
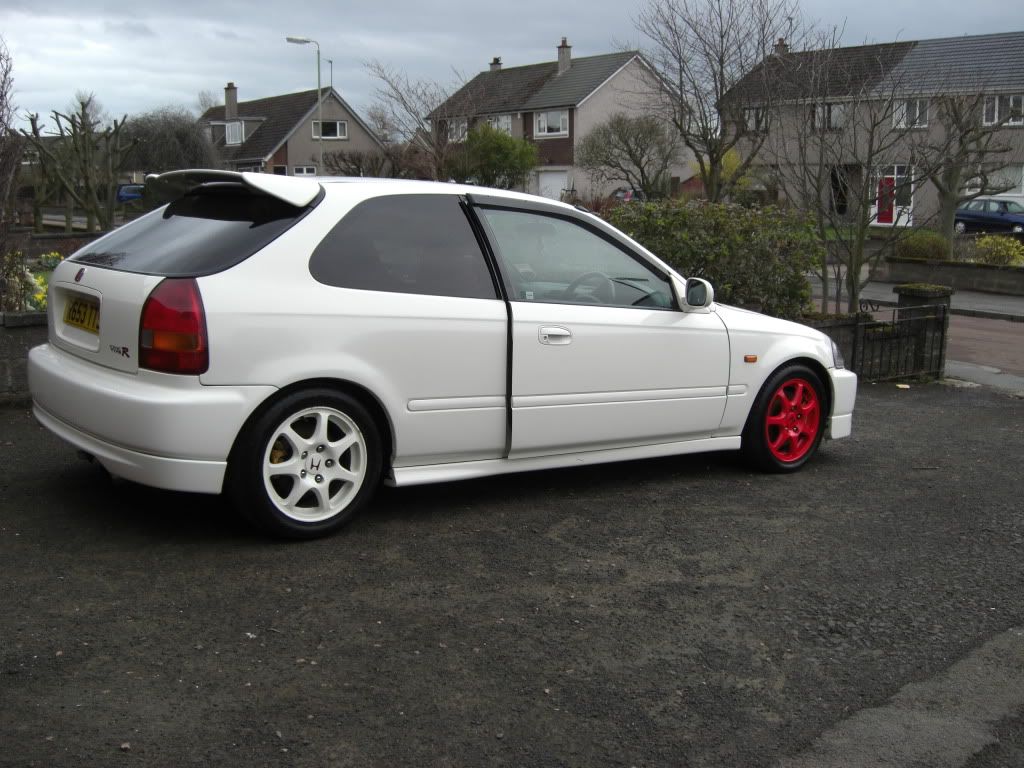
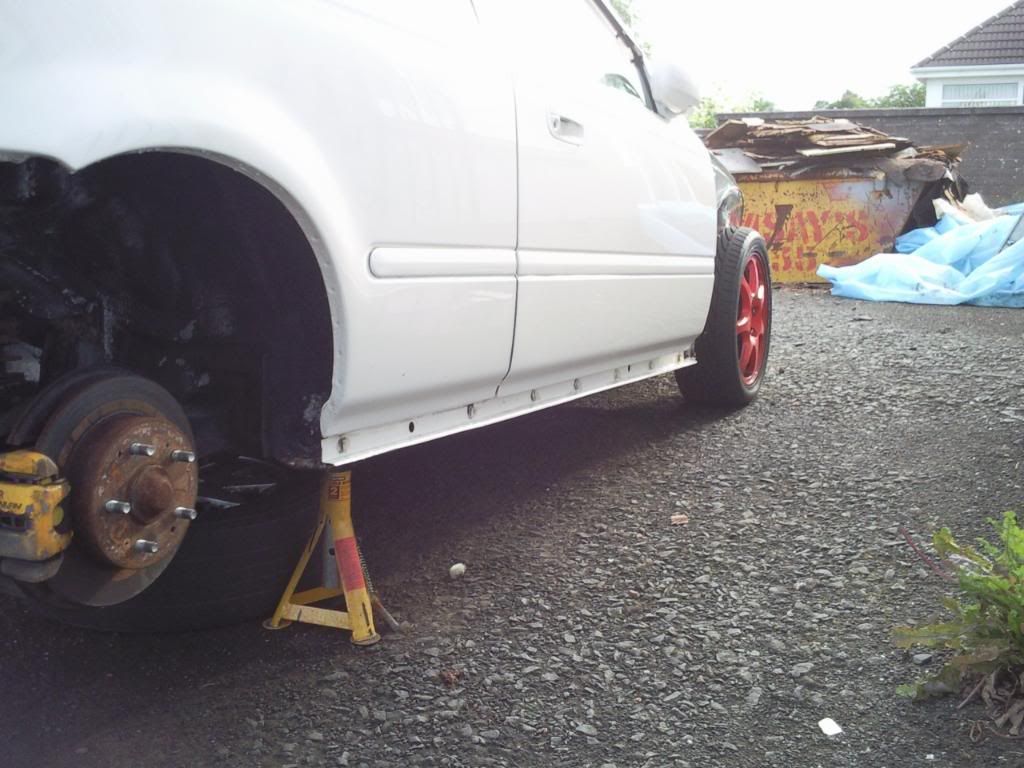
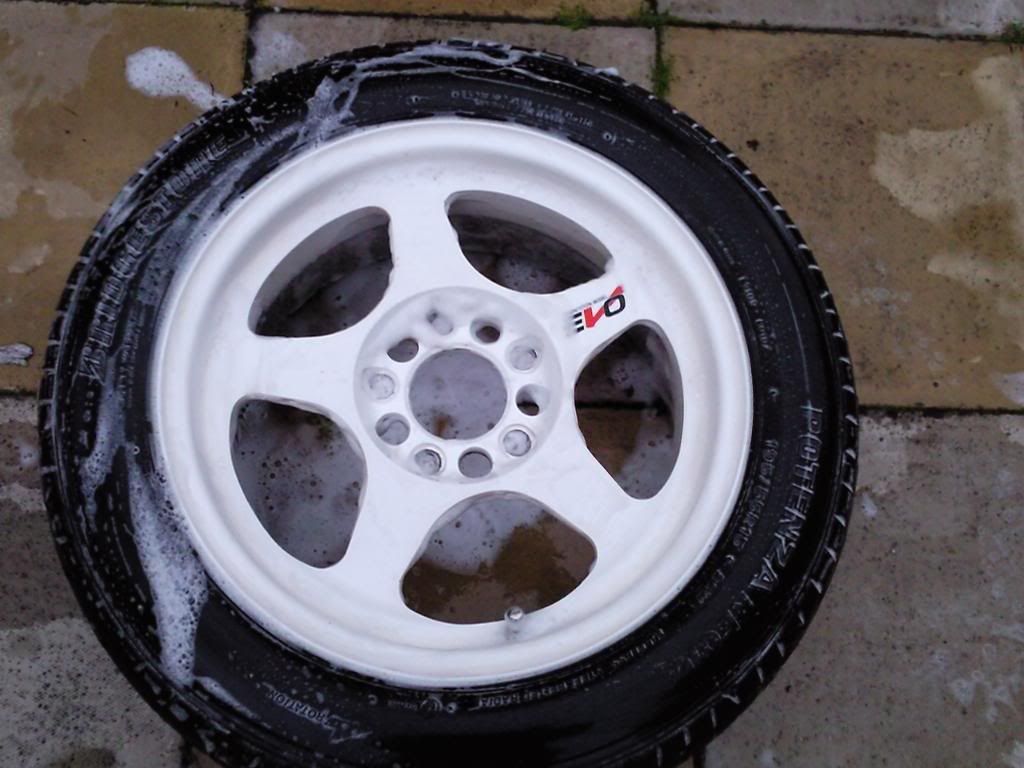
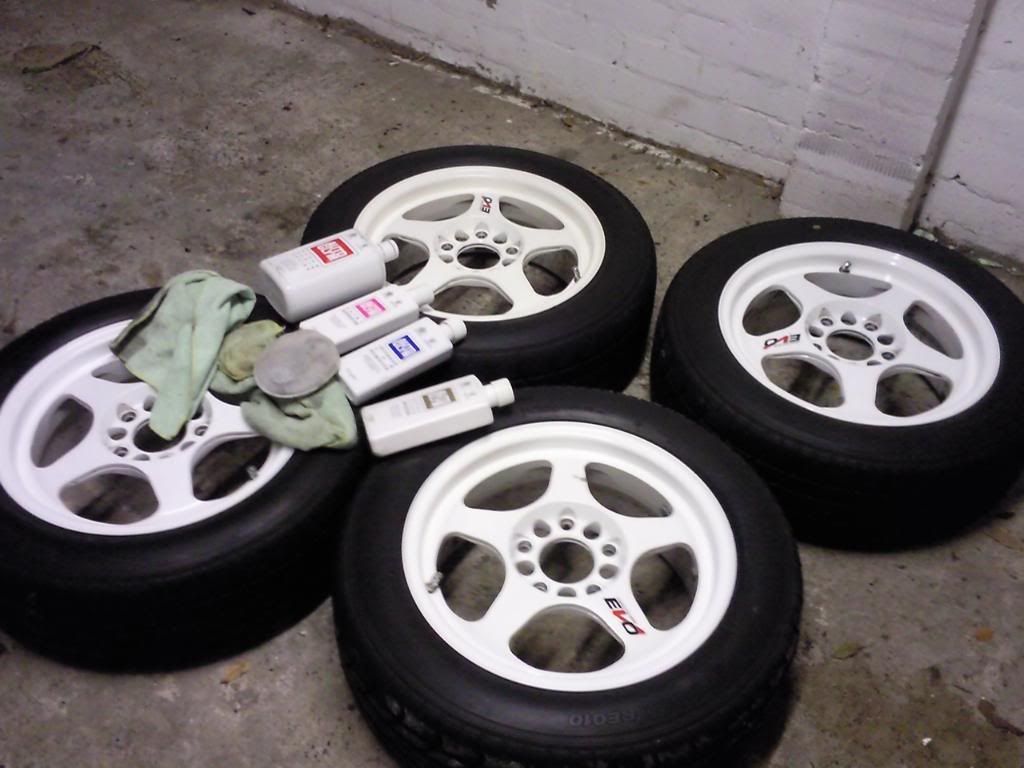
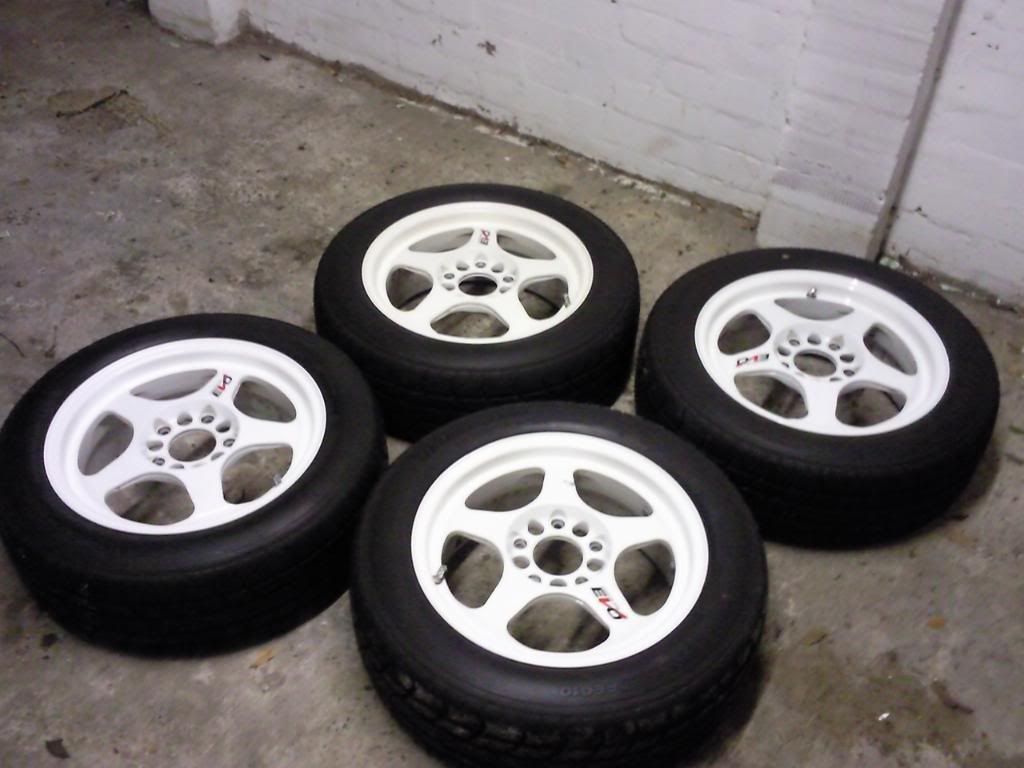
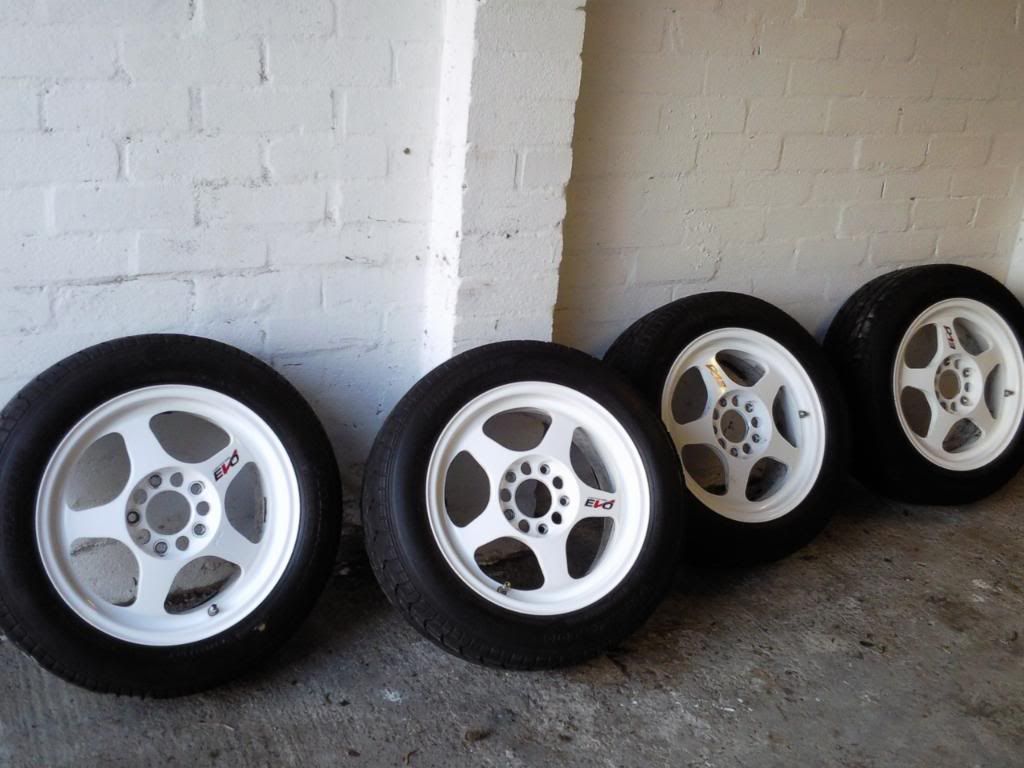
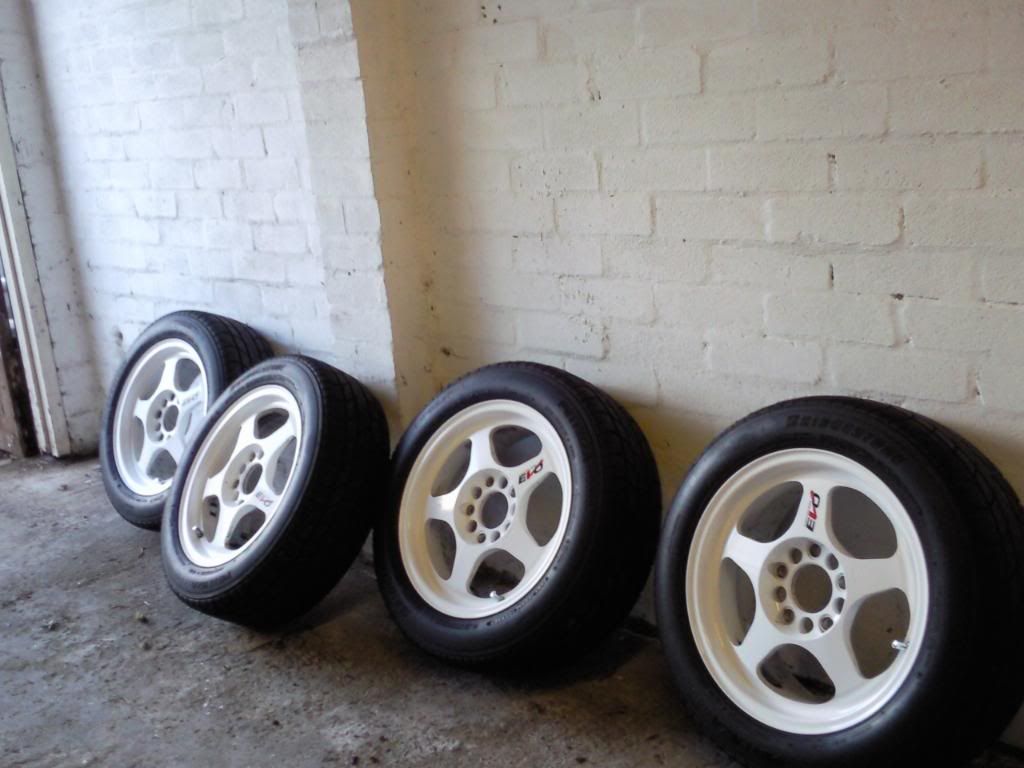
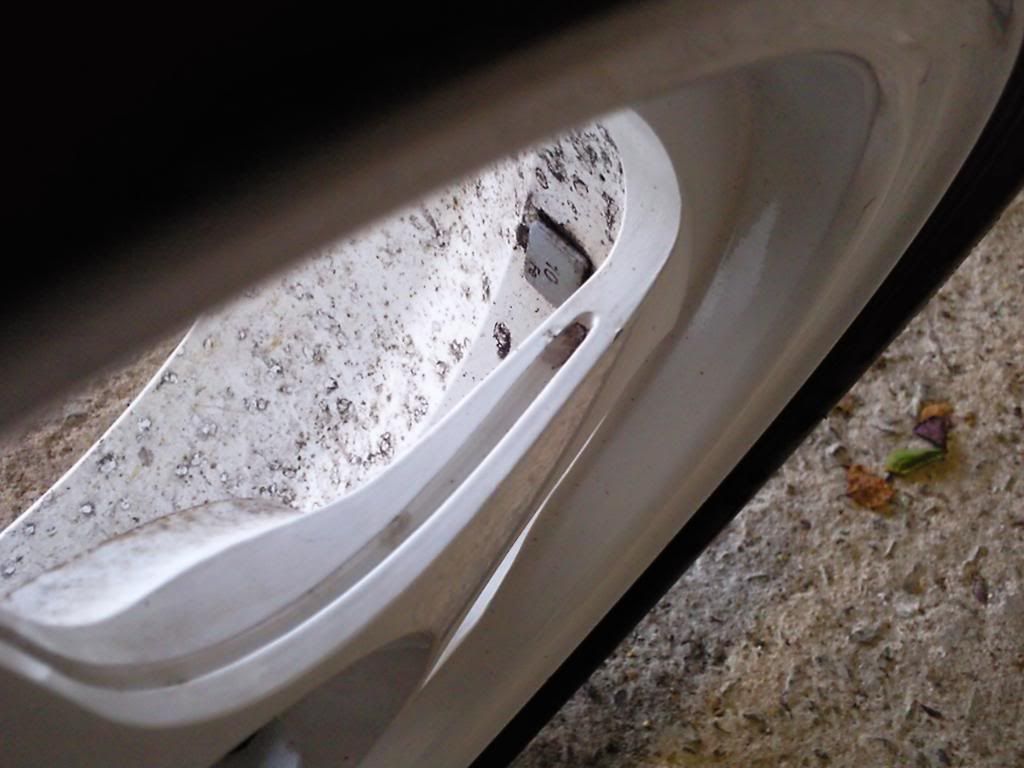
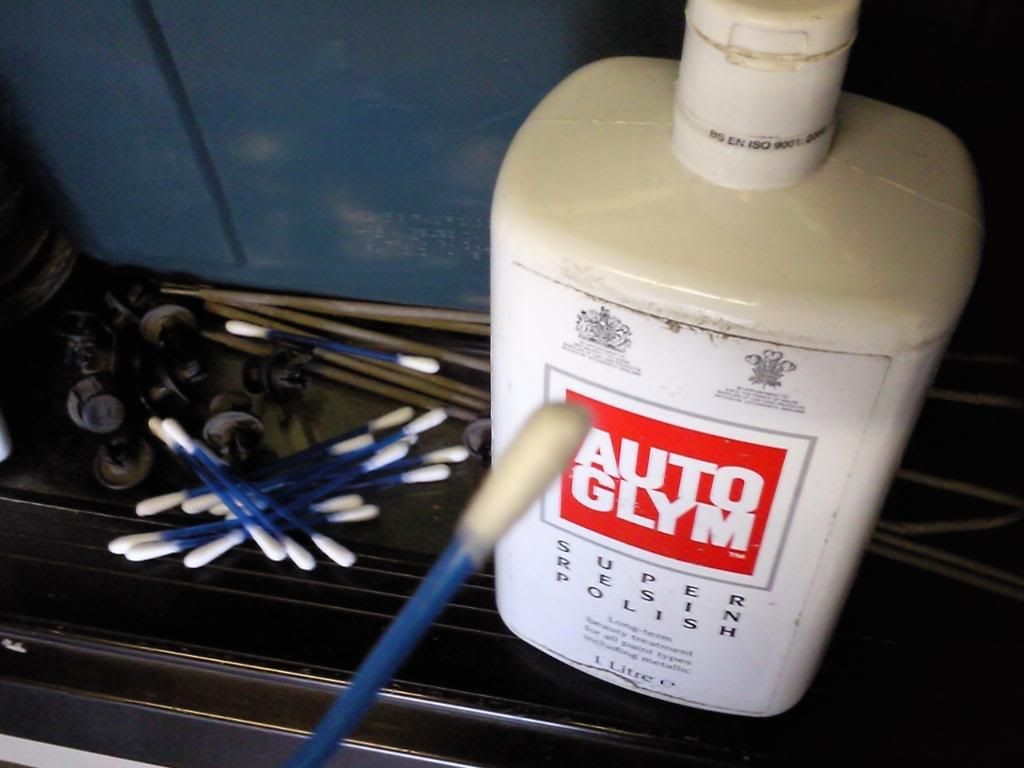
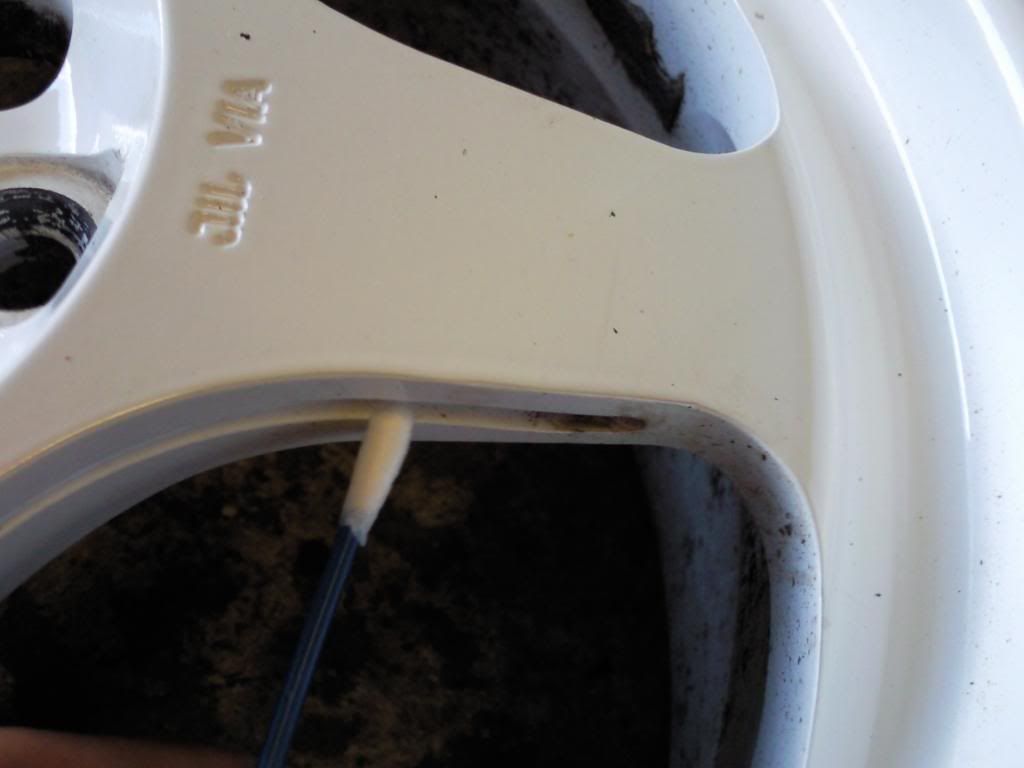
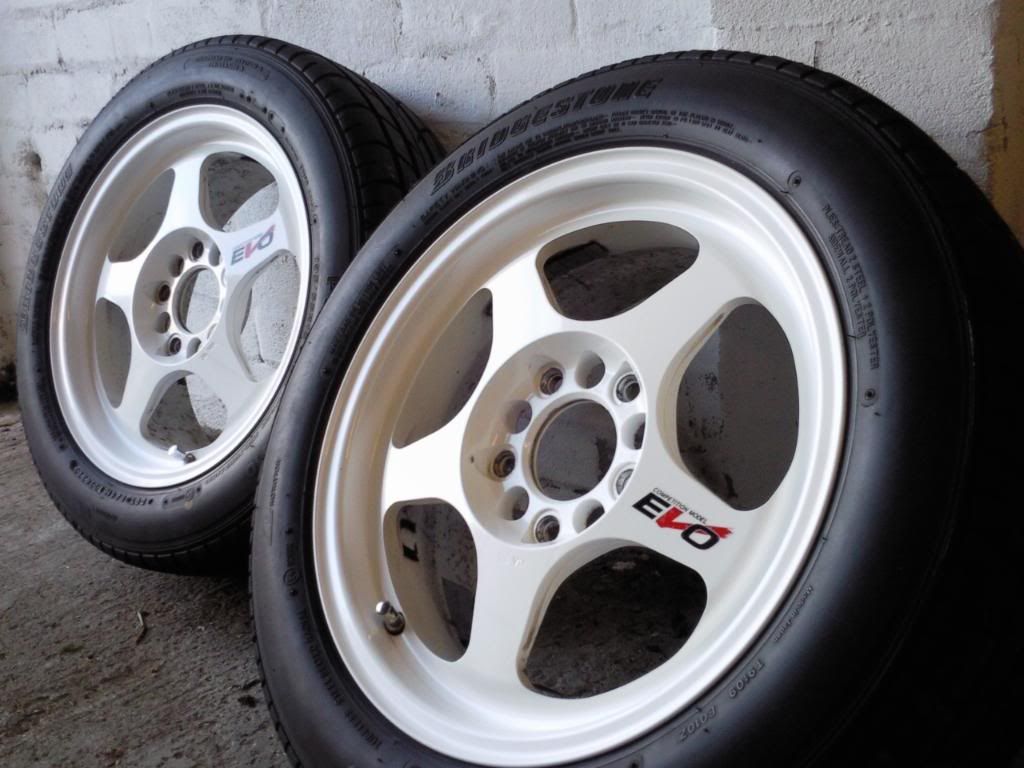
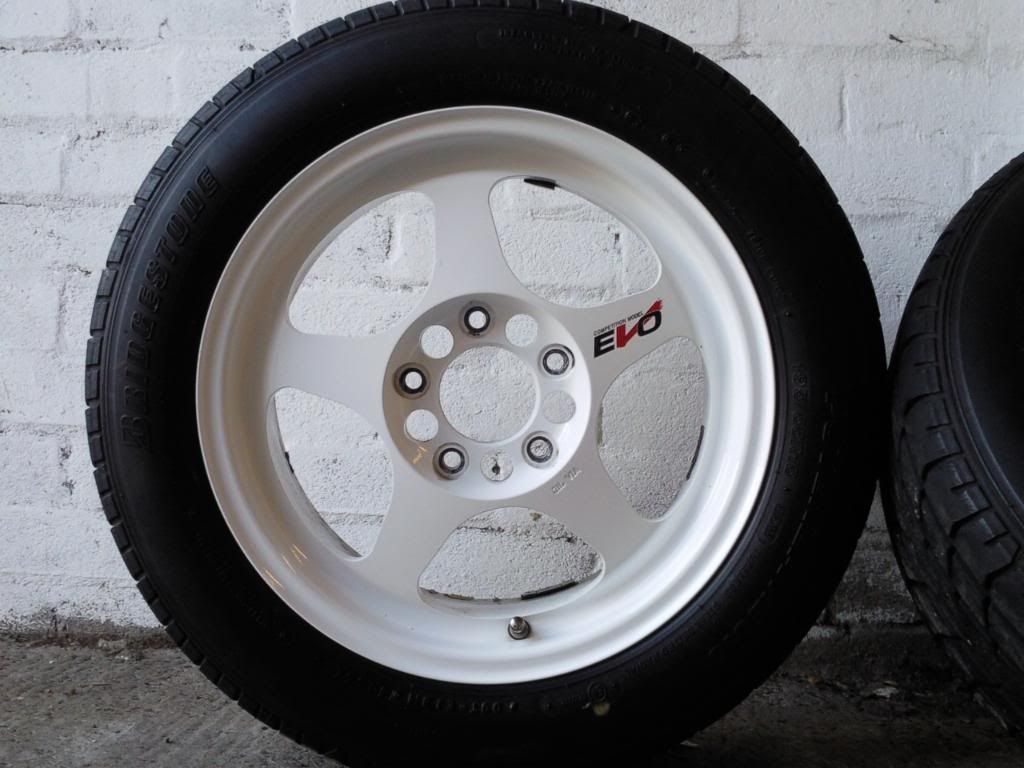
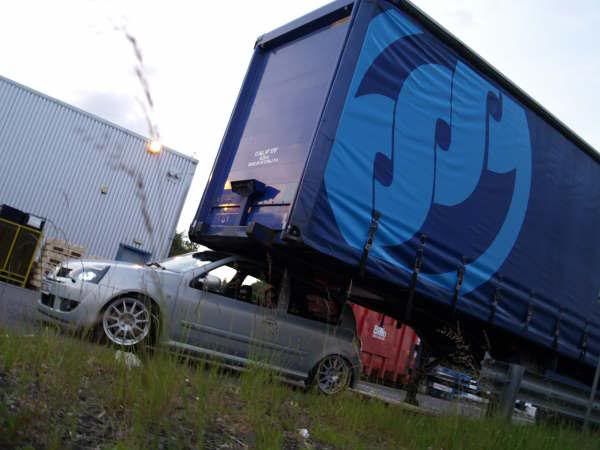
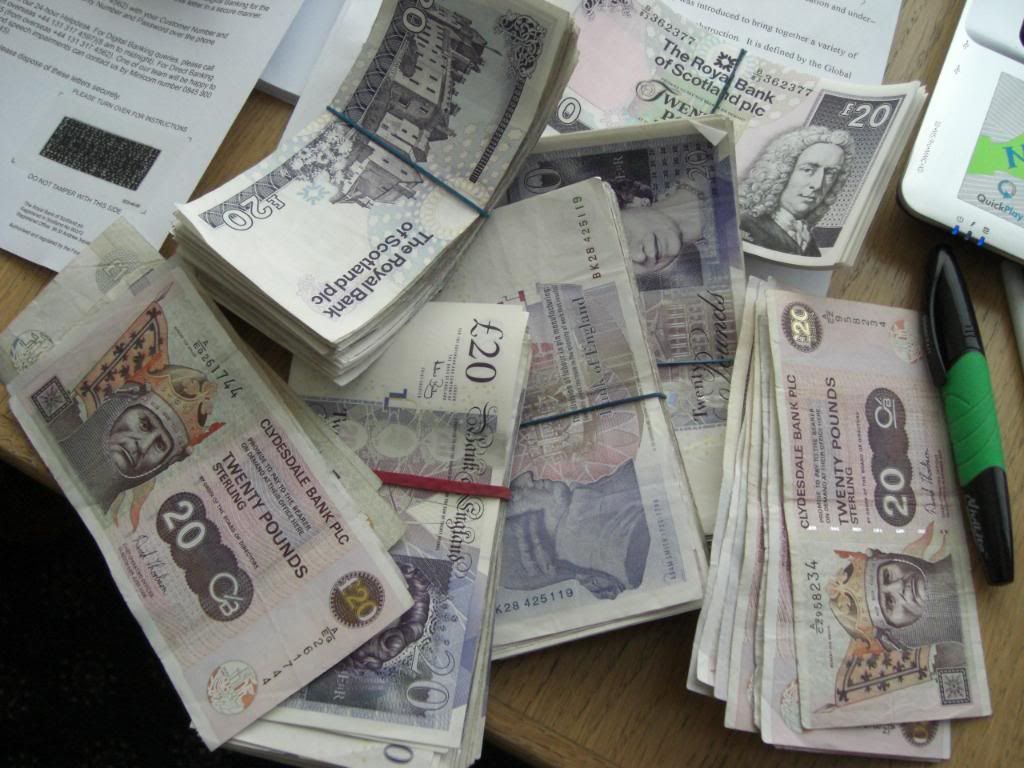
I was still very new to hondas and before i commited myself to the sale i want a friend, who has been around hondas alot longer than i have to give the car a once over. Thankfully all was well and i left the guy a £200 deposit and it was taken off pistonheads. A deal was done that would include the spoon n1 exhaust but not the volk te37's, which was something that pissed me off because the original deal was that the rays would be included at the agreed price. I would instead get a set of original enkei ek9 wheels, half of which were red and half were white. I still decided to go ahead with it and i Spoke to the bank the next day and got the money a few days later so my mate Ben took me through to pick it up. A final once over on the car, money counted, all papers sighned and it was all mines
The cash(minus deposit) i parted with:
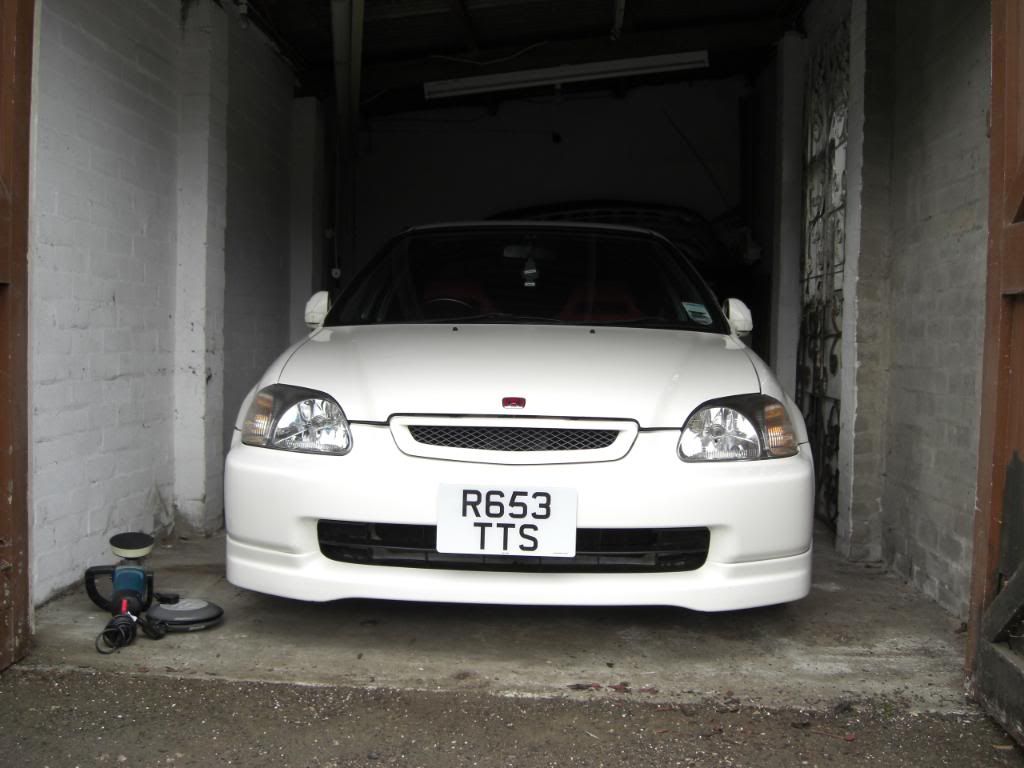
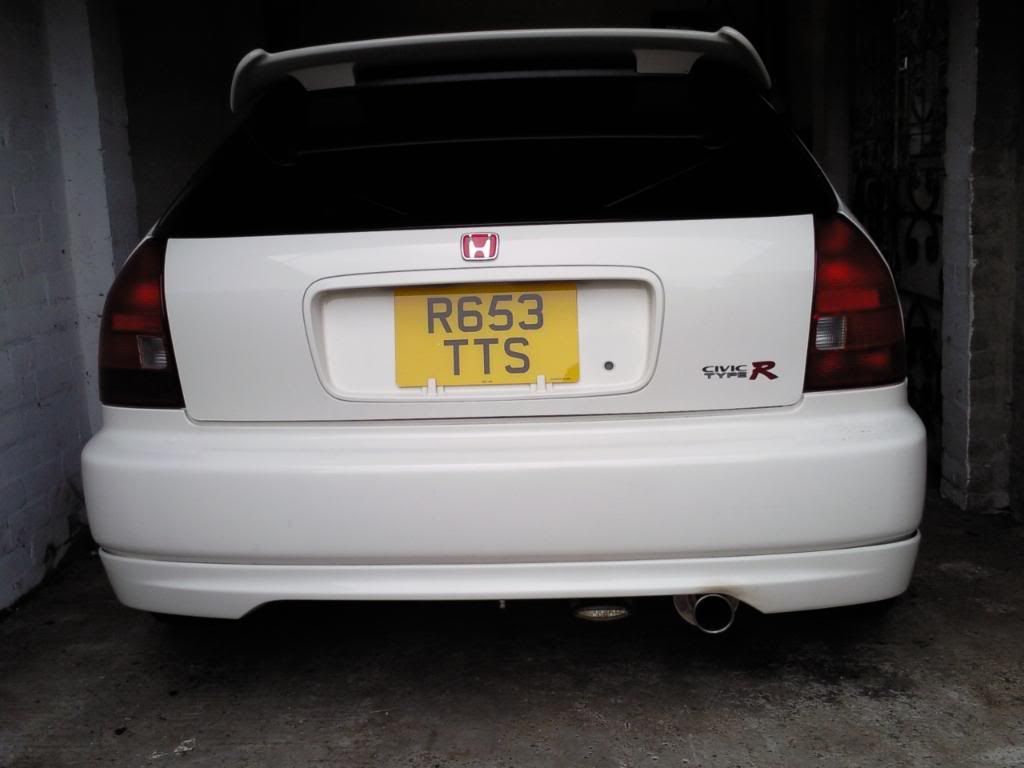
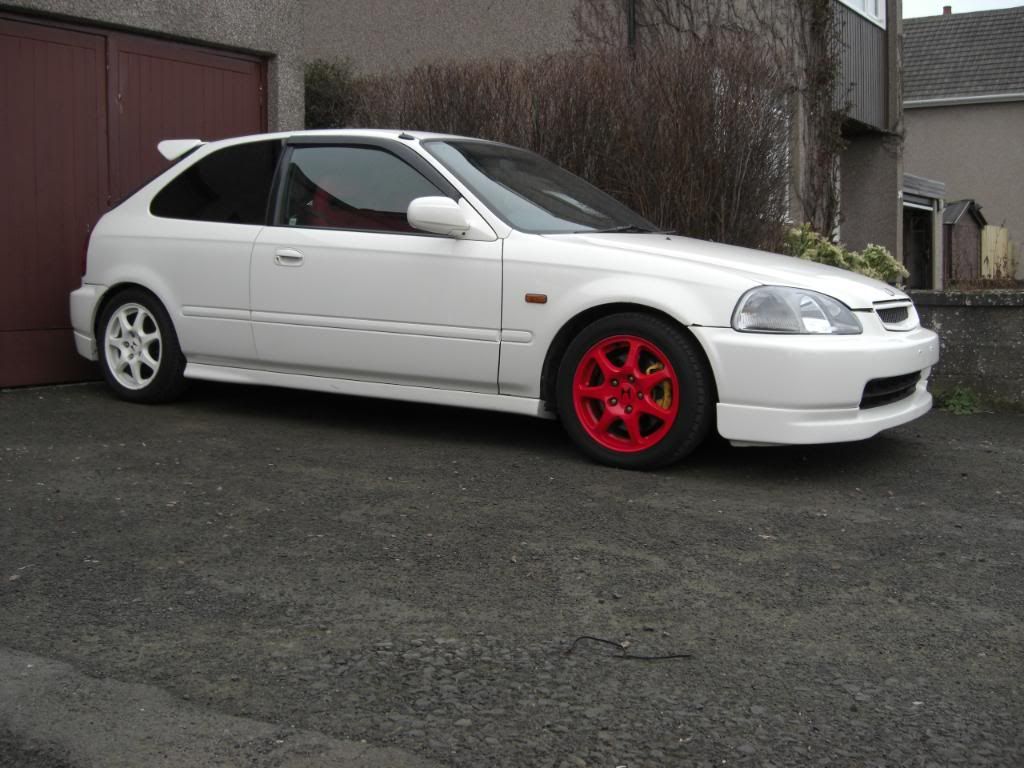
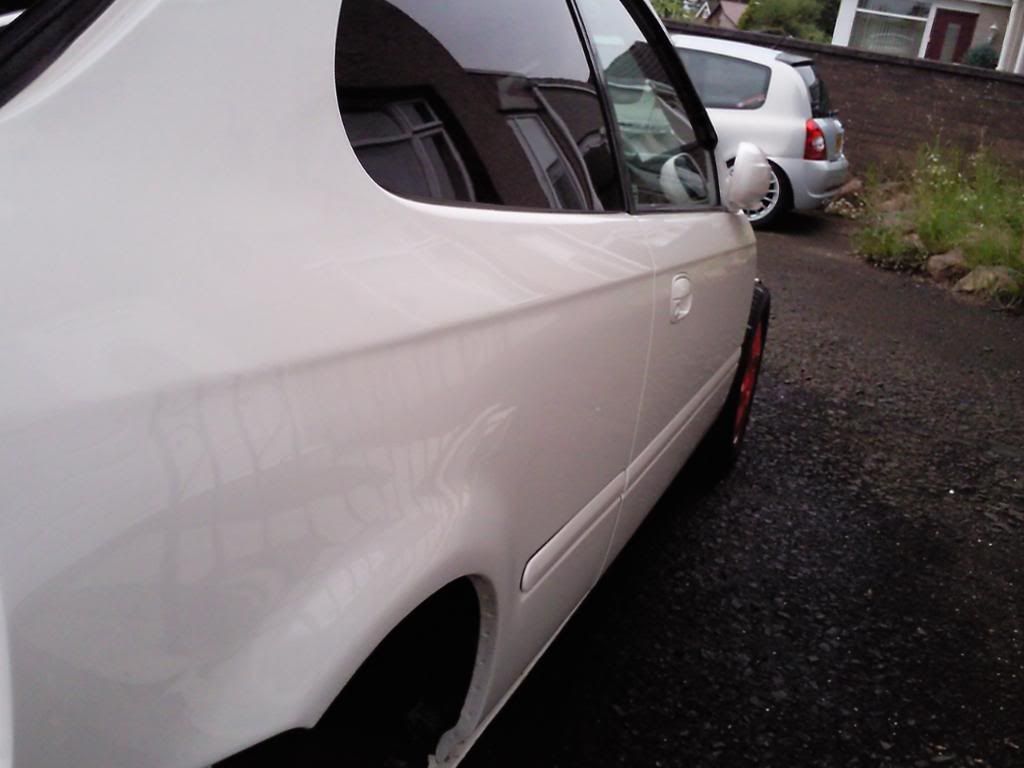
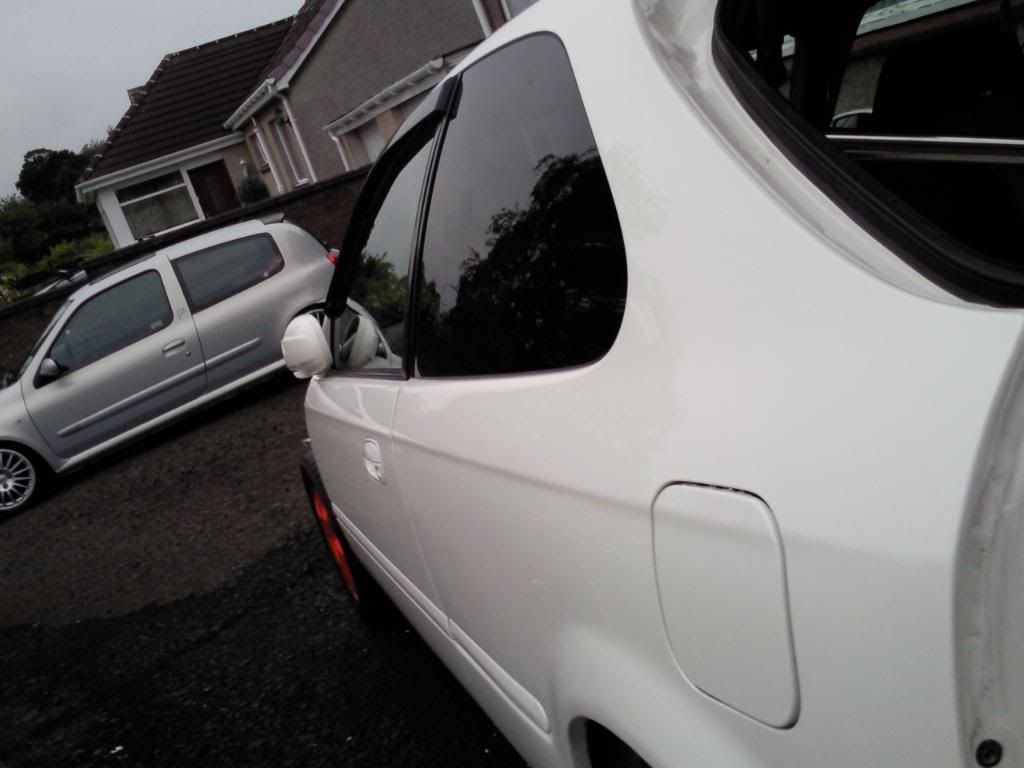
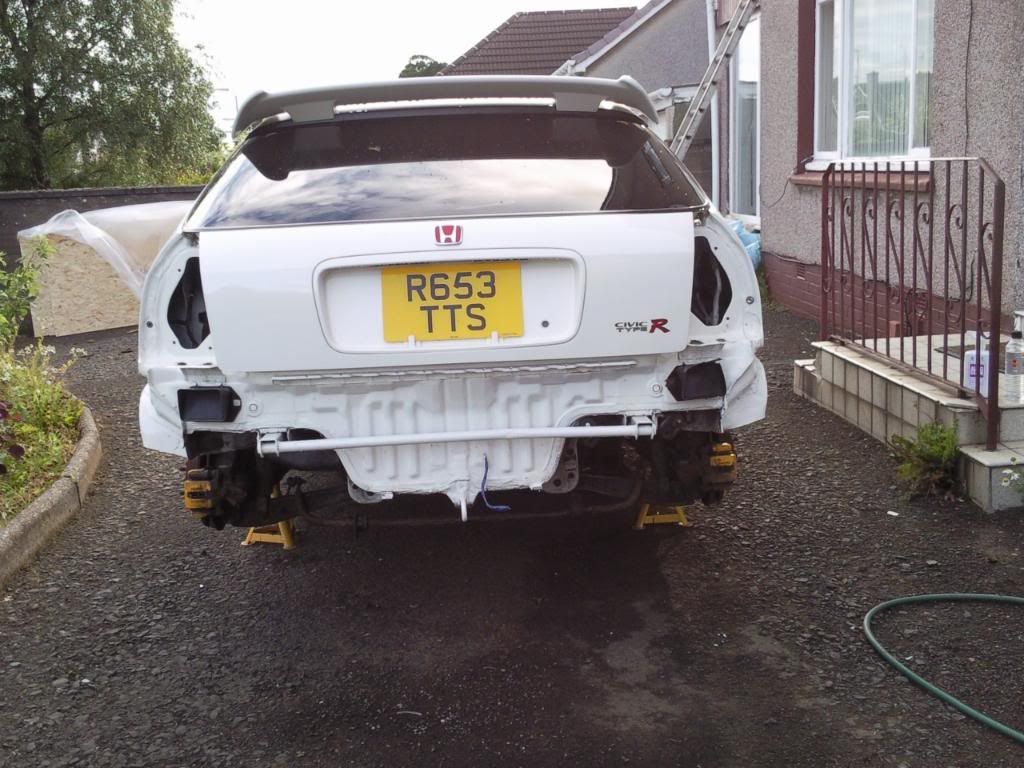
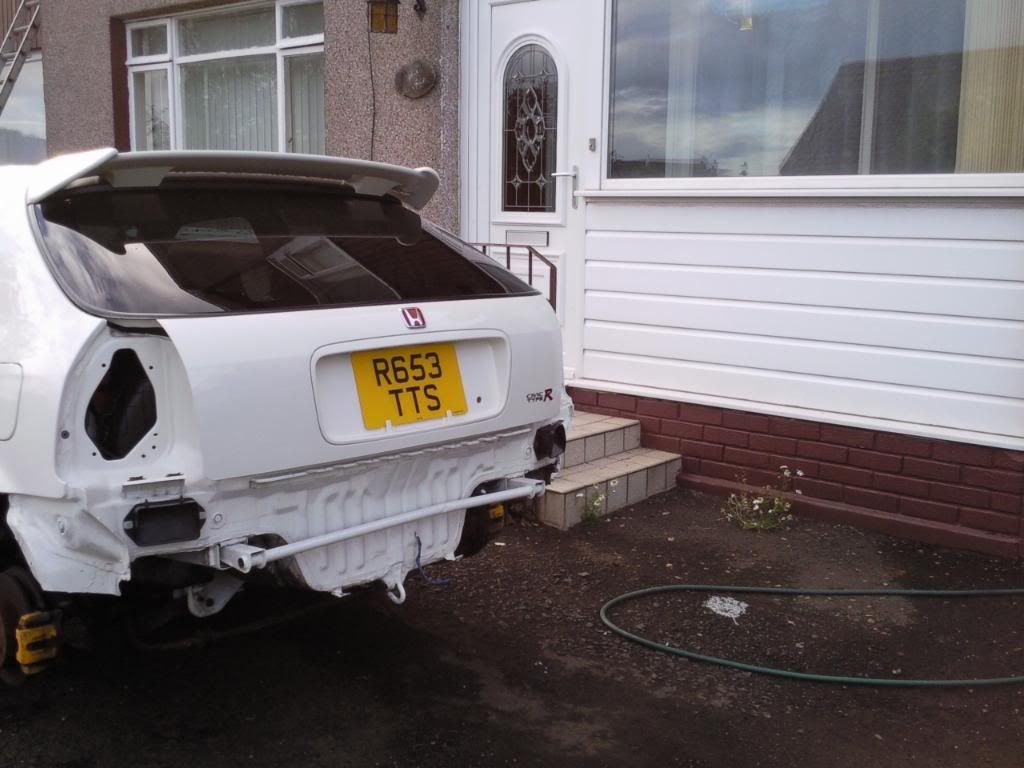
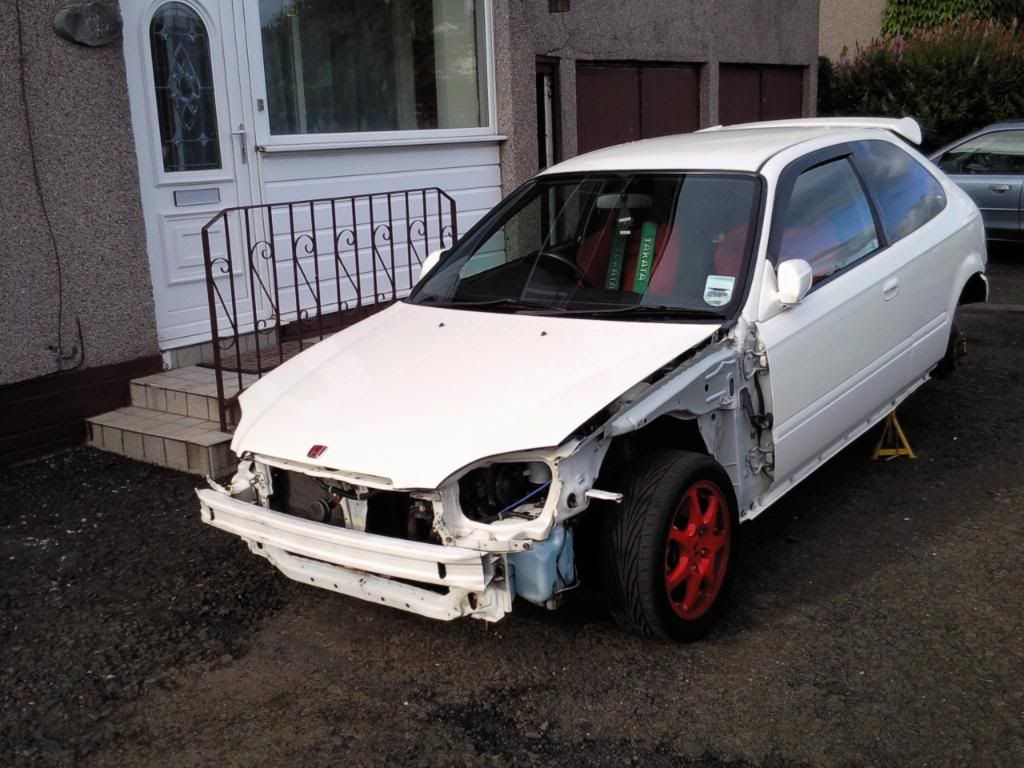
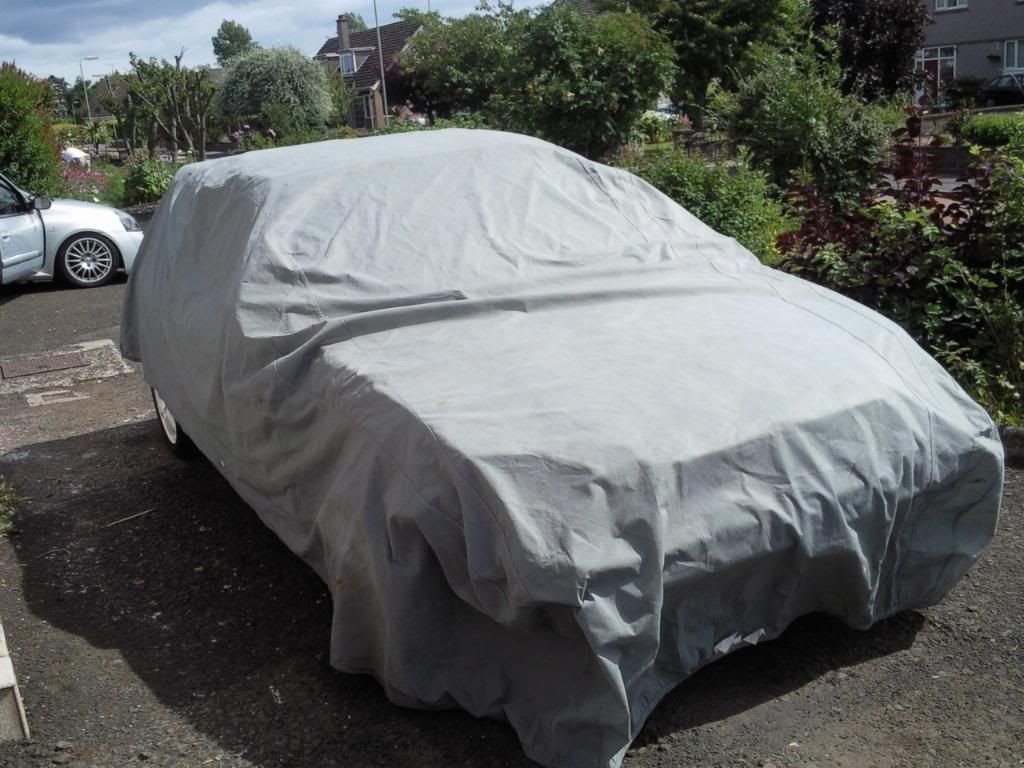
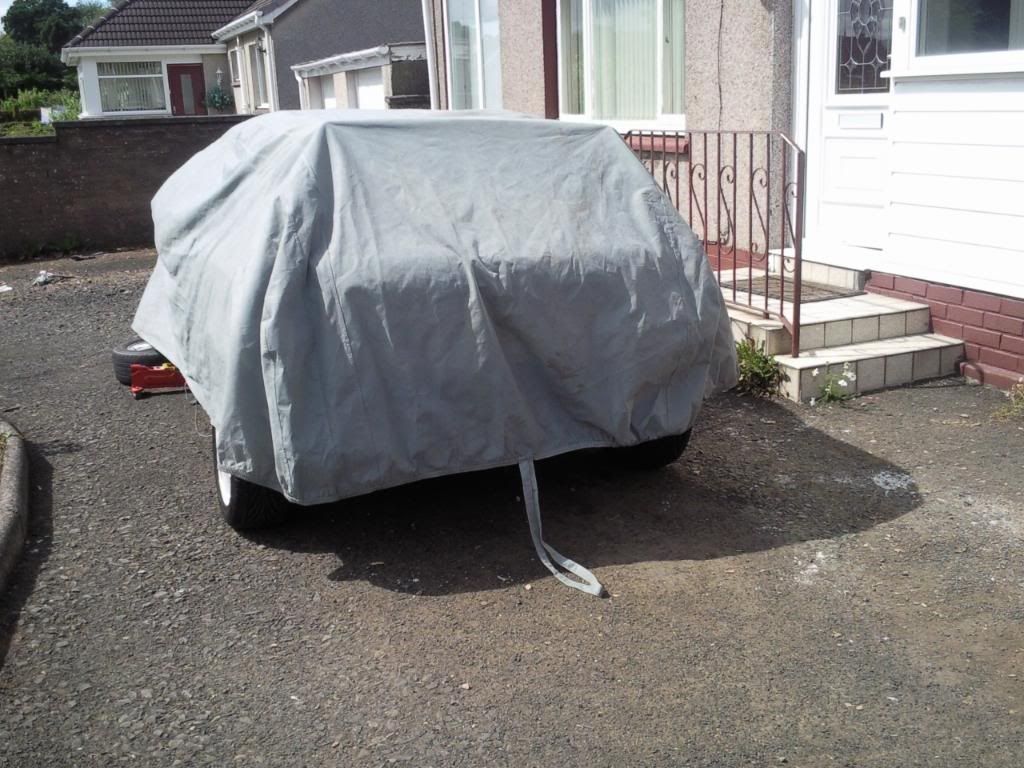
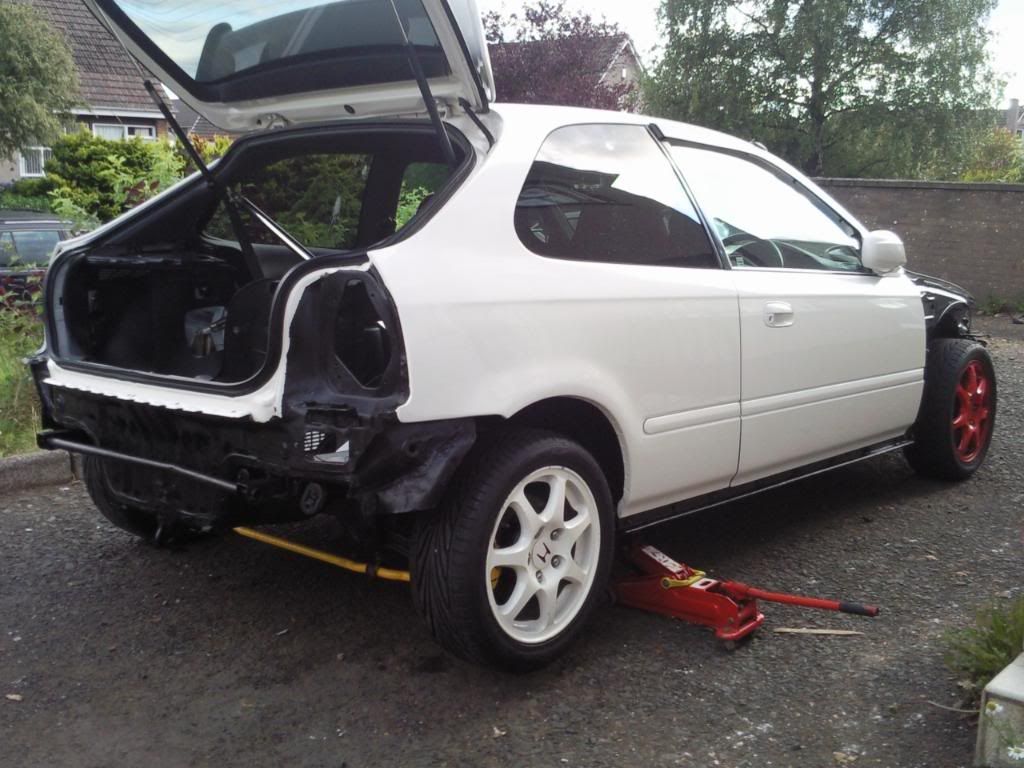
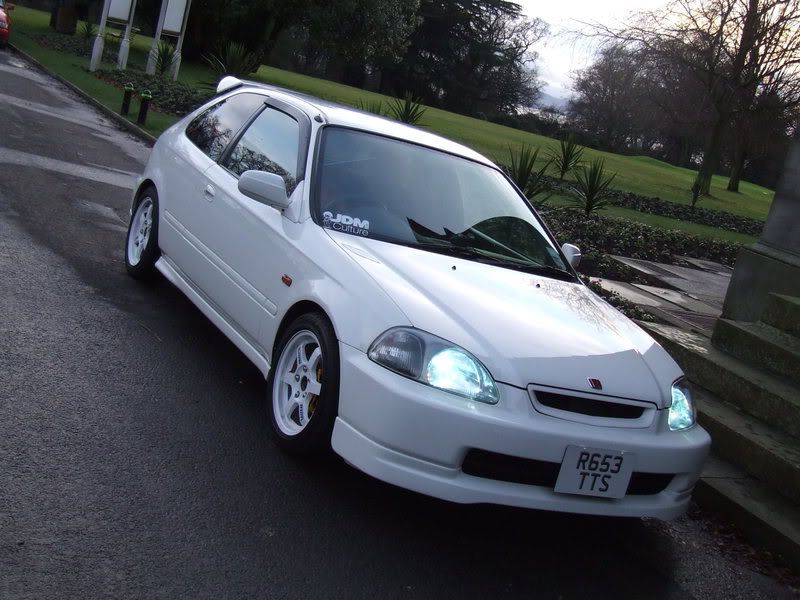
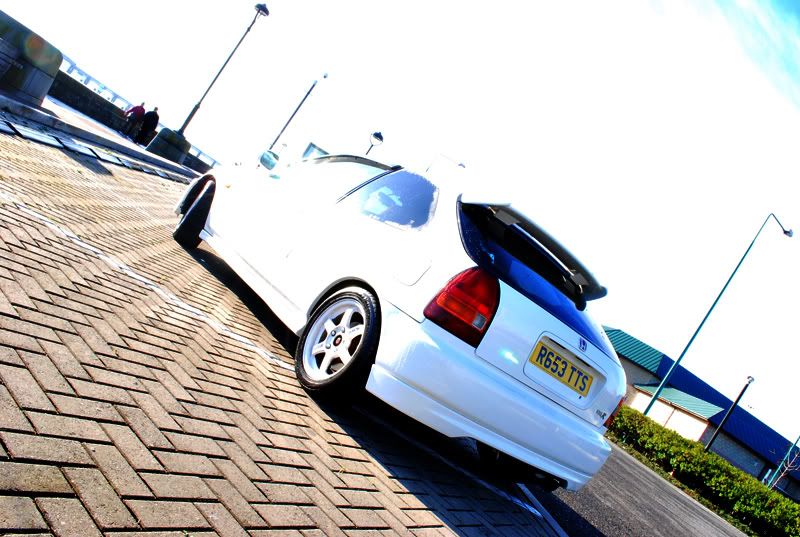
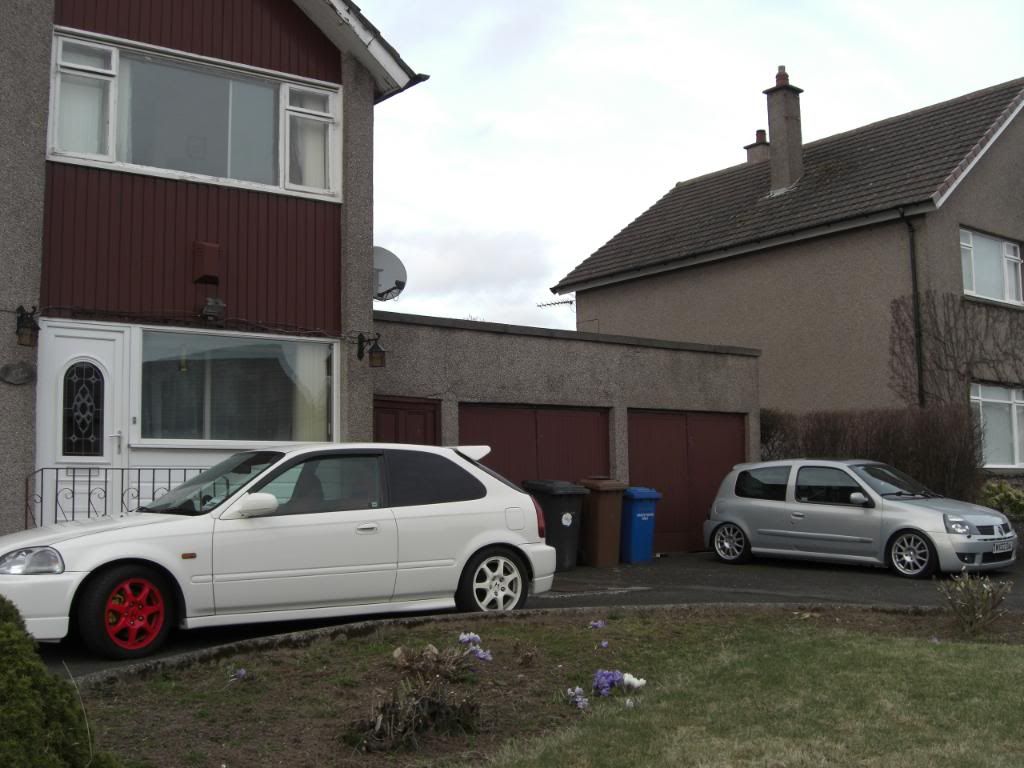
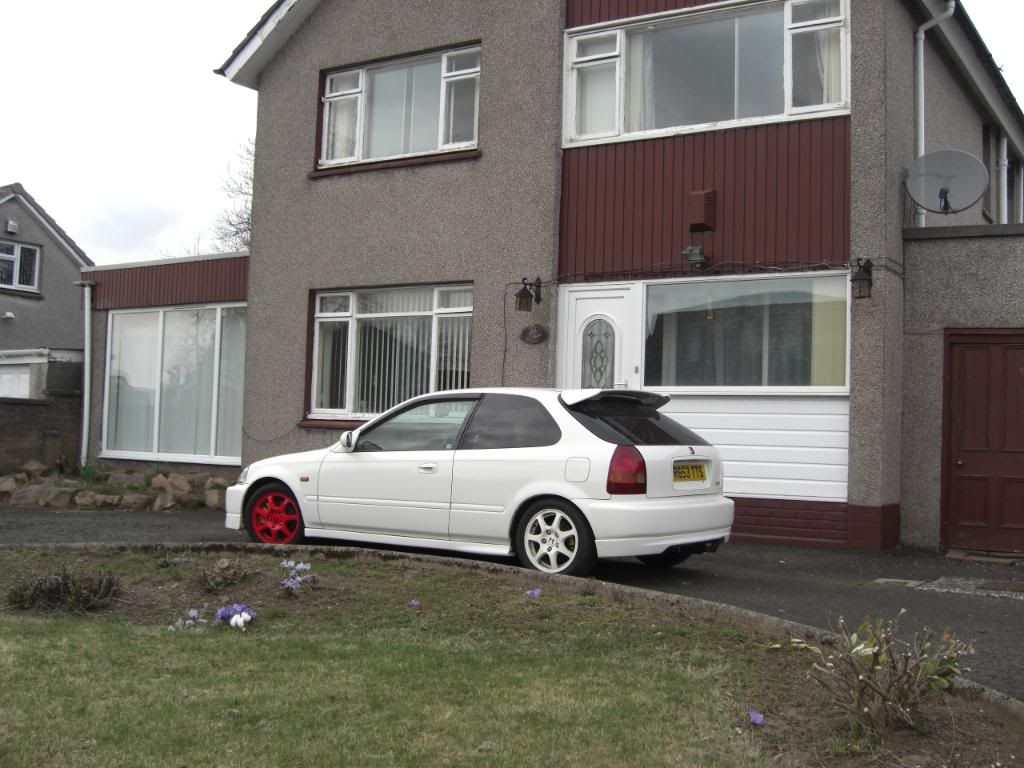
Drove it home safely and the morning after the night before it sits on my drive waiting for its first bath:
Some of you may remember my clio, which was genuinley my pride and joy for the last 3 years but i got to a stage earlier on in the year where there was nothing else i could do to it so i felt i needed a new challenge. I could never in a million years imagine selling the clio before but i just felt it was time to let go and move onto something more special with a greater potential. The faithful old clio:
I first spotted ek9 on pistonheads but the previous owner was someone that i knew before anyway and i heard that he was thinking about selling up because he needed something more practical for work. The car was on 78k miles, imported in 1997 and first registered in dundee (hense the last 3 letters on the registration, TTS). I actually managed to speak to the guy who first imported it aswell and managed to get a few extra details about it, which was handy. It also featured:
C's Compressor Roots Type superchargerCharger
c's ecu
TEIN superstreet Fully Adjustable Coilovers
Miracle Cross Bar
98 spec jdm DC2 Manifold
Spoon N1 exhaust
Buddy Club Racing Spec Condenser
Standard Ek9 Wheels
magnetic sump plug
yellow stuff brake pads
Exedy stage 2 organic racing clutch
Uprated map sensor
Thicker head gasket
stainless middle section
Fully Fitted TOAD Alarm With 2 Fob's
Fully Under-sealed
MOT'd Till May 2011
Taxed Until October 2010
Timing Belt Done 10,000Km ago
Serviced 500 Miles Ago With Silkolene Pro & HAMP Oil Filter & Gear Box Oil With Honda MTF
4 x New Toyo T1R's Covered Under 500 Mile's
New Red Honda Badge's Also Fitted As Others Were Faded
So i got in touch with him and organised to view the car in the weekend. I had never been in an ek9 before let alone a supercharged one so i was certainly looking forward to it. Anyways saturday came and after letting it warm up and getting out of town we went for what i can only describe as one of the most memorable b road blasts i have ever had. The power and torque was crazy for such a light, small car, grippin barely in 3rd gear in the dry. Also it handled like it was on rails with the limited slip differential (LSD) and the tein coilovers. Interiour wise, considering it was a 13 year old car, it was a nice place to be and the recaros were awsome in every way. The sound of the whining superchager was something else. The car was a real cracker and as soon as i stepped out of the car i was in love. I got back in the clio to go home and it just didnt feel right. It felt like a bit of me remained in the ek9 and i think it was at that point i realised that it was time to part company with the clio.
I was still very new to hondas and before i commited myself to the sale i want a friend, who has been around hondas alot longer than i have to give the car a once over. Thankfully all was well and i left the guy a £200 deposit and it was taken off pistonheads. A deal was done that would include the spoon n1 exhaust but not the volk te37's, which was something that pissed me off because the original deal was that the rays would be included at the agreed price. I would instead get a set of original enkei ek9 wheels, half of which were red and half were white. I still decided to go ahead with it and i Spoke to the bank the next day and got the money a few days later so my mate Ben took me through to pick it up. A final once over on the car, money counted, all papers sighned and it was all mines
The cash(minus deposit) i parted with:
Drove it home safely and the morning after the night before it sits on my drive waiting for its first bath: