
ali-c
96' ek4
- Joined
- Jun 5, 2009
- Messages
- 671
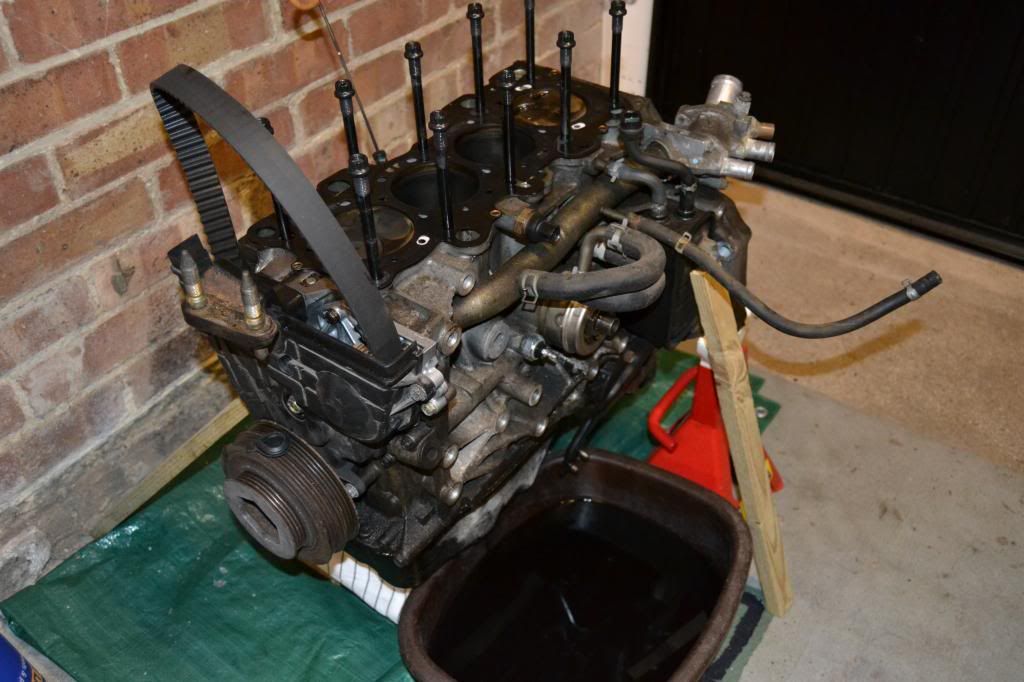
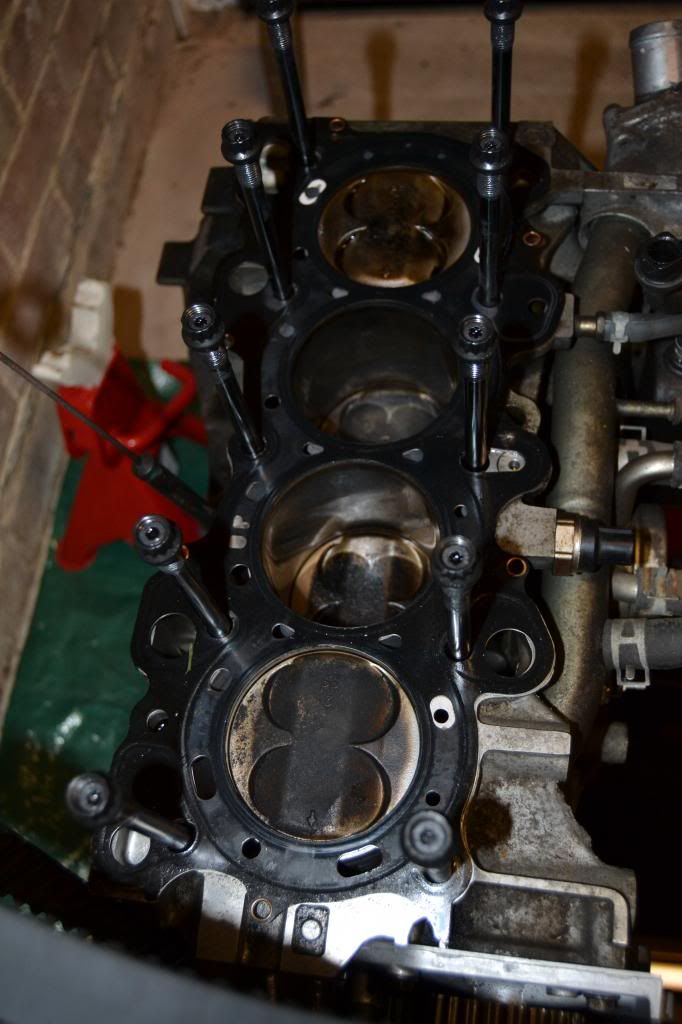
Anyway here was the engine, here with the head taken off...
Bores looked heathy...which was good to see.
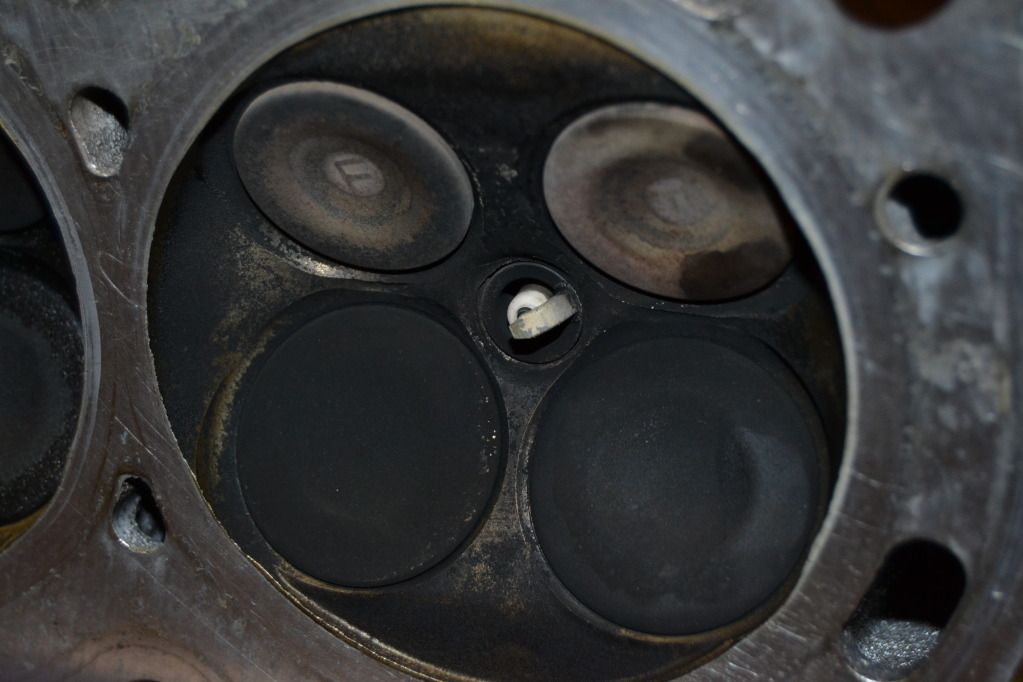
Inspected the head and it became clear why joe said it was smoking a little....looks like the Stem seals had not sealed properly..they was a fair bit of oil on cylinders 2 & 4.
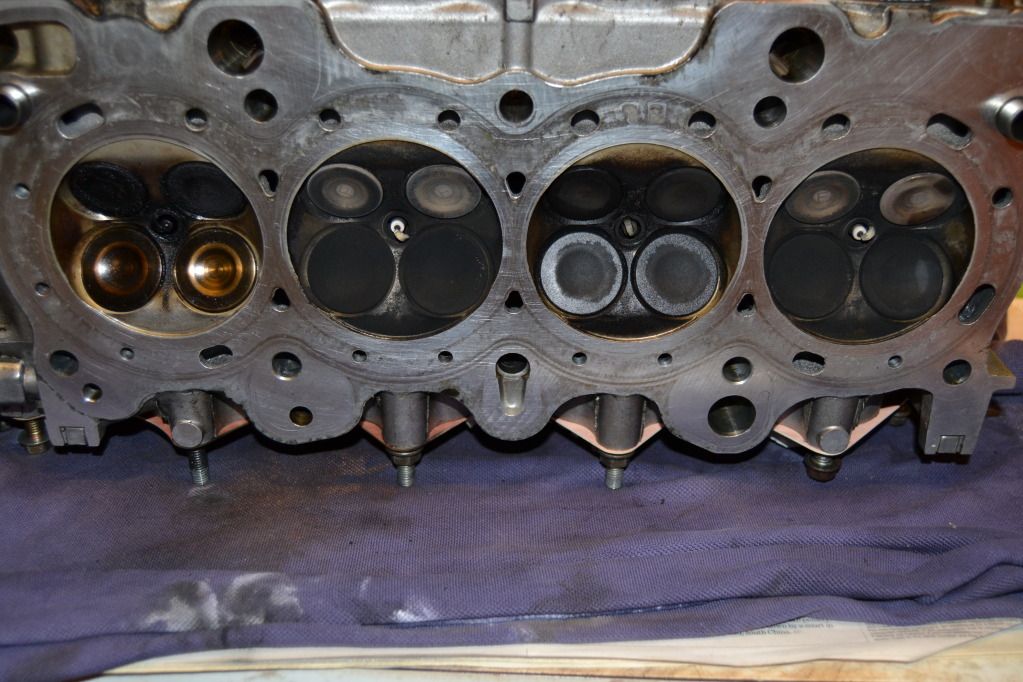
Cylinder #1
Cylinder #2
Cylinder #3
Cylinder #4
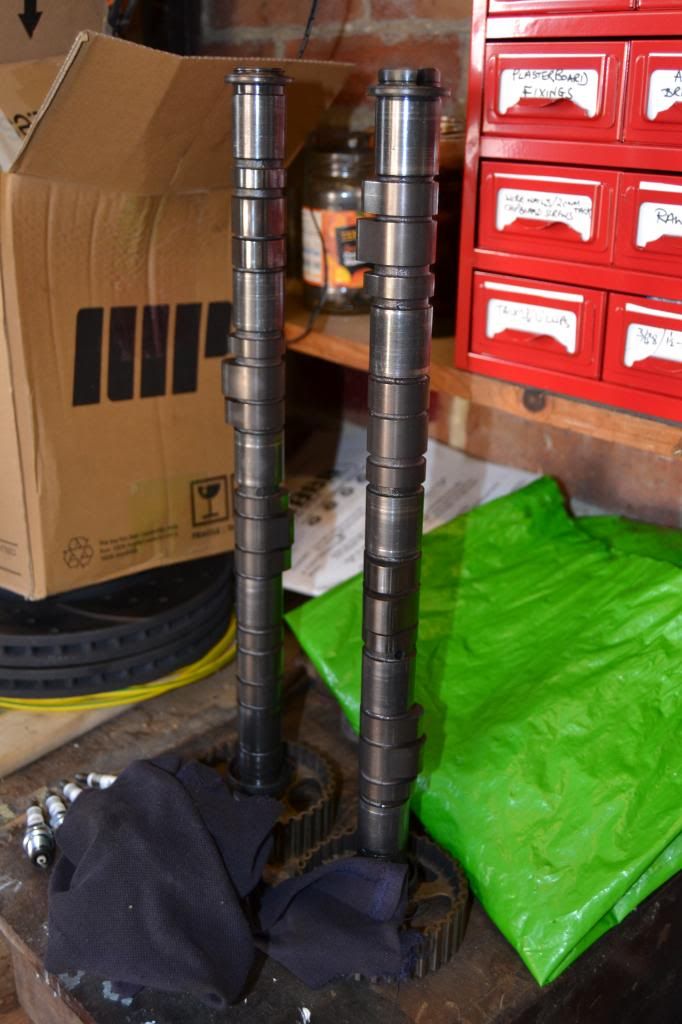
JDM ITR cams.....it was a bonus these were included in the sale. Fancied putting these in the b16 for a bit of extra power.
Joe bought these from Stevenek9 I believe who got them off Livi....so they have got around a bit.
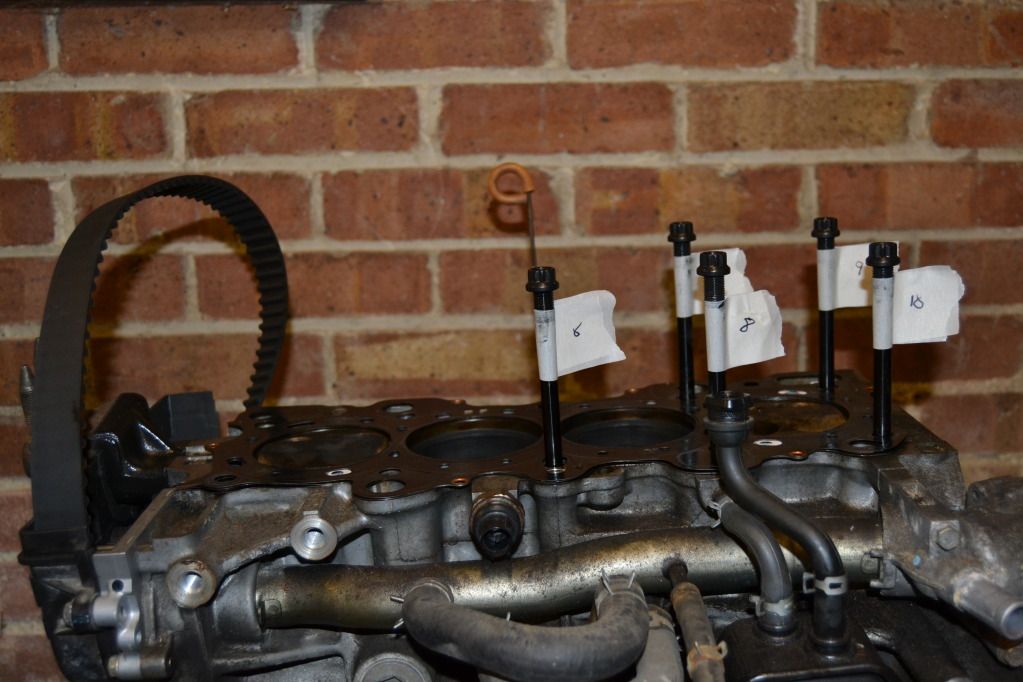
ARP headstuds already installed which again was a bonus. I did label them up so that I could re-install them in the same place.
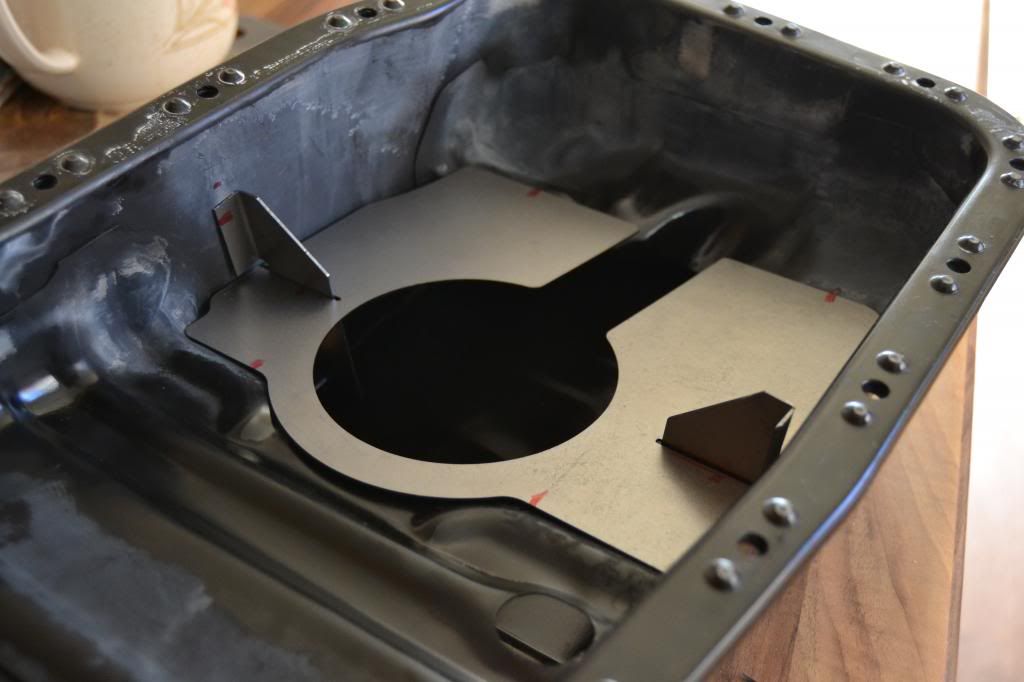
Had the Sump baffle welded in. Seemed like compulsory thing to do considering I plan on a fair bit if track time in the future.

Bores looked heathy...which was good to see.

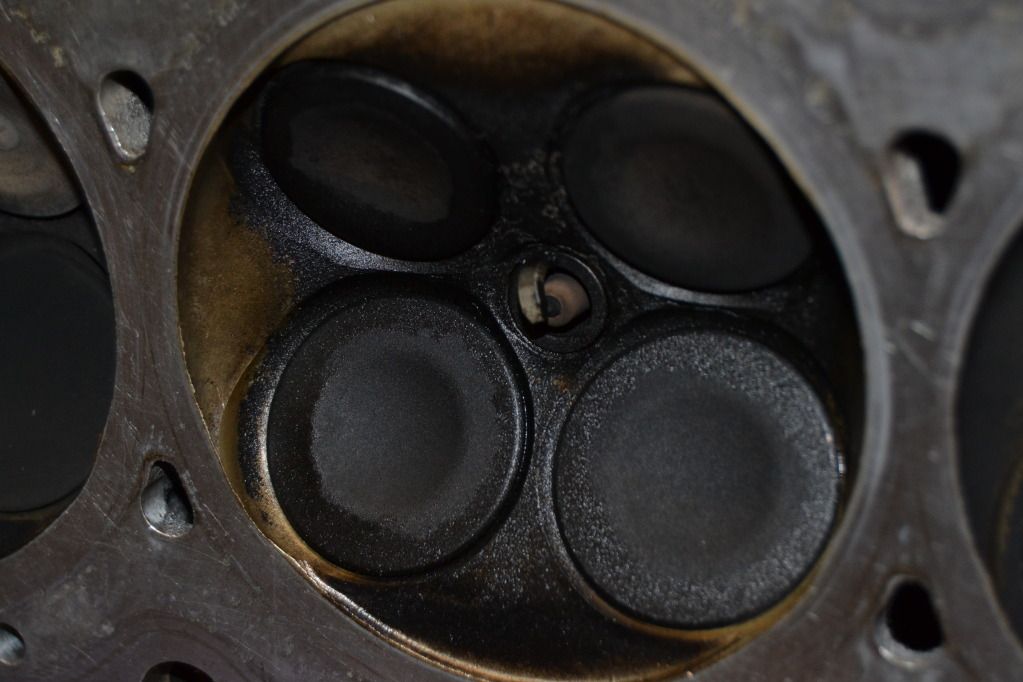
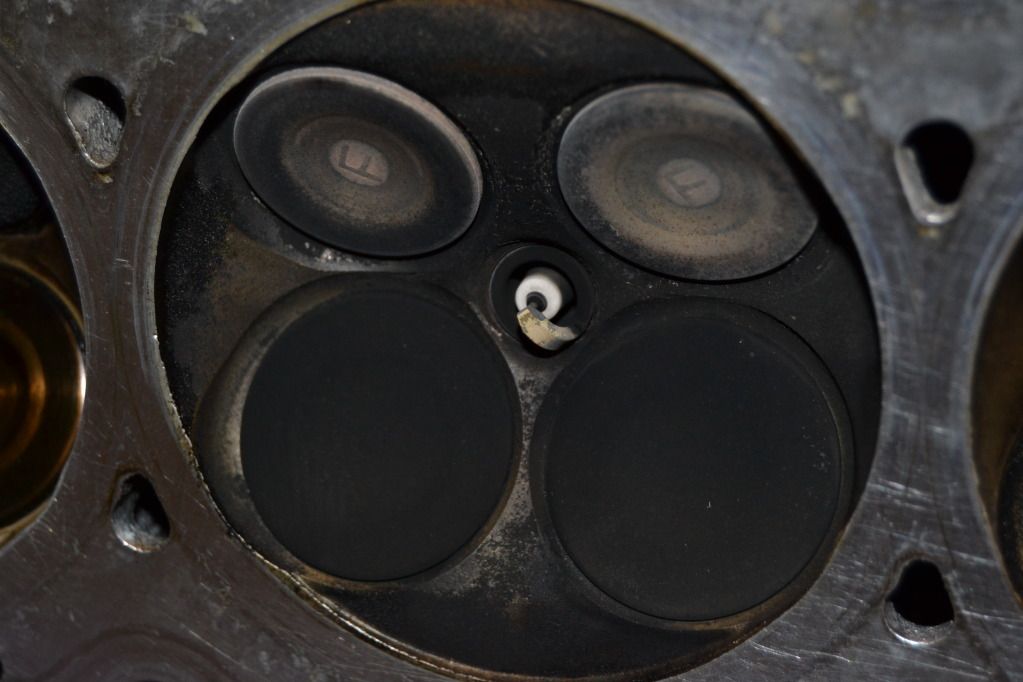
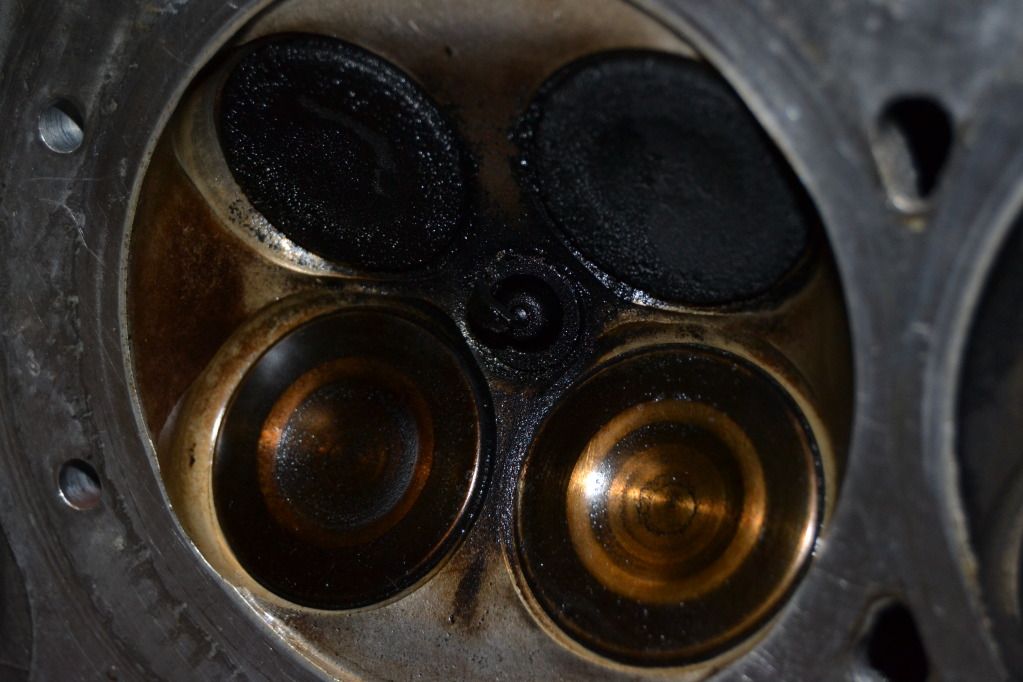
Inspected the head and it became clear why joe said it was smoking a little....looks like the Stem seals had not sealed properly..they was a fair bit of oil on cylinders 2 & 4.

Cylinder #1

Cylinder #2

Cylinder #3

Cylinder #4

JDM ITR cams.....it was a bonus these were included in the sale. Fancied putting these in the b16 for a bit of extra power.
Joe bought these from Stevenek9 I believe who got them off Livi....so they have got around a bit.

ARP headstuds already installed which again was a bonus. I did label them up so that I could re-install them in the same place.

Had the Sump baffle welded in. Seemed like compulsory thing to do considering I plan on a fair bit if track time in the future.

Last edited:


")


