
- Joined
- Apr 15, 2006
- Messages
- 10,695
- Car(s)
- EK9/Civic
Hey guys, today I was able to install a DC2 Mugen intake into my ek9. It was very difficult, but its possible! hehehe.
The only tools you need:
1. Phillips screwdriver
2. 10mm bolt remover
3. Patience
4. A piece pf a 3" silicone hose
5. A piece of a 3.5" silicone hose
6. A 3" metal pipe extension, 8 cm long, try to get a stainless steel one.
I had the ability to have the car lifted with a machine, this is very important to do the job easily.
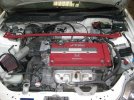
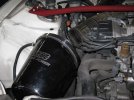
Let's start, as you may know I have a piece of s**** apexi intake:
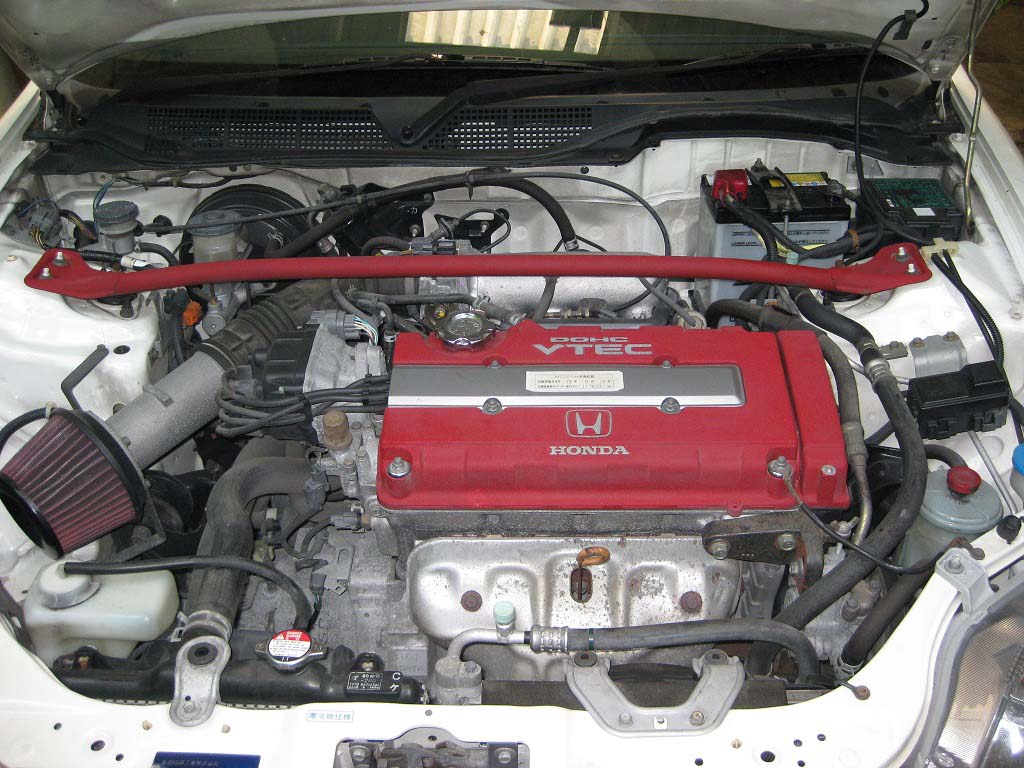
Good bye to the apexi intake:
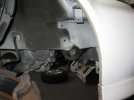
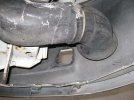
I removed the fender splash shield so I can remove the resonator and also to have some space to work with:
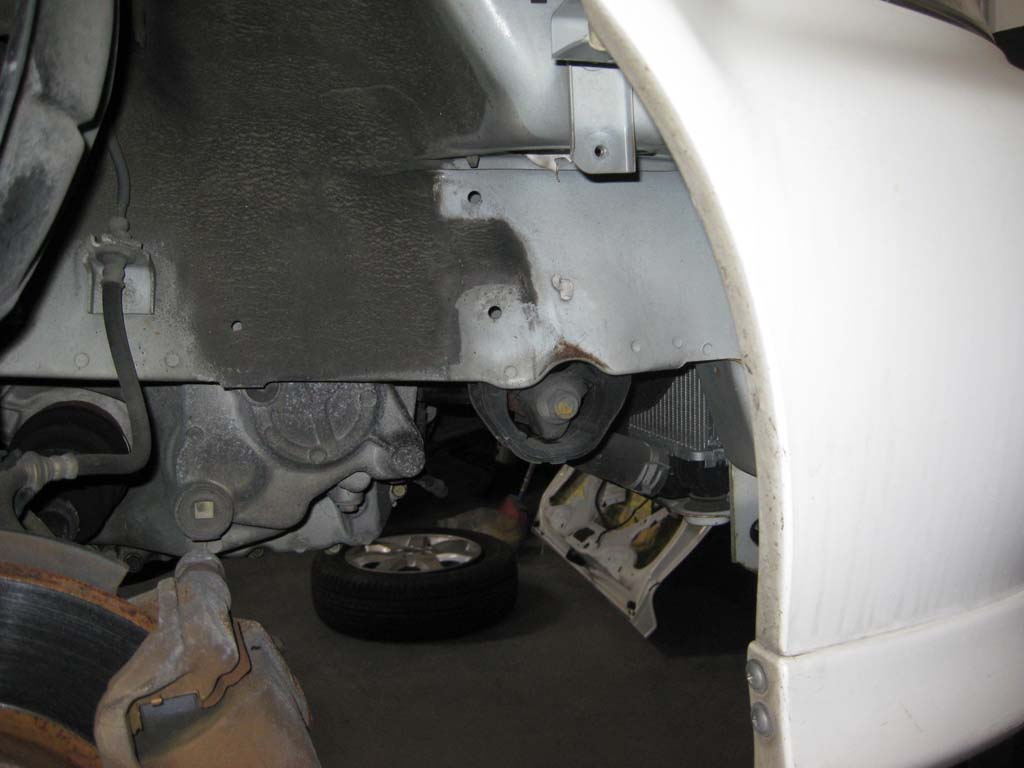
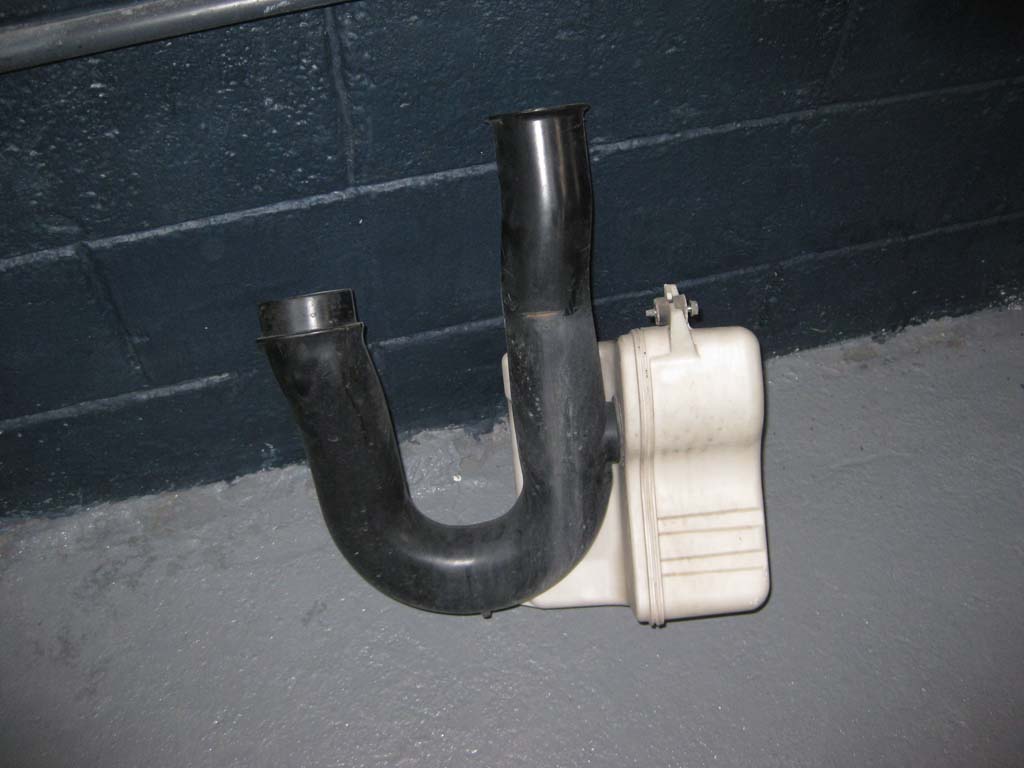
Goodbye oem resonator:
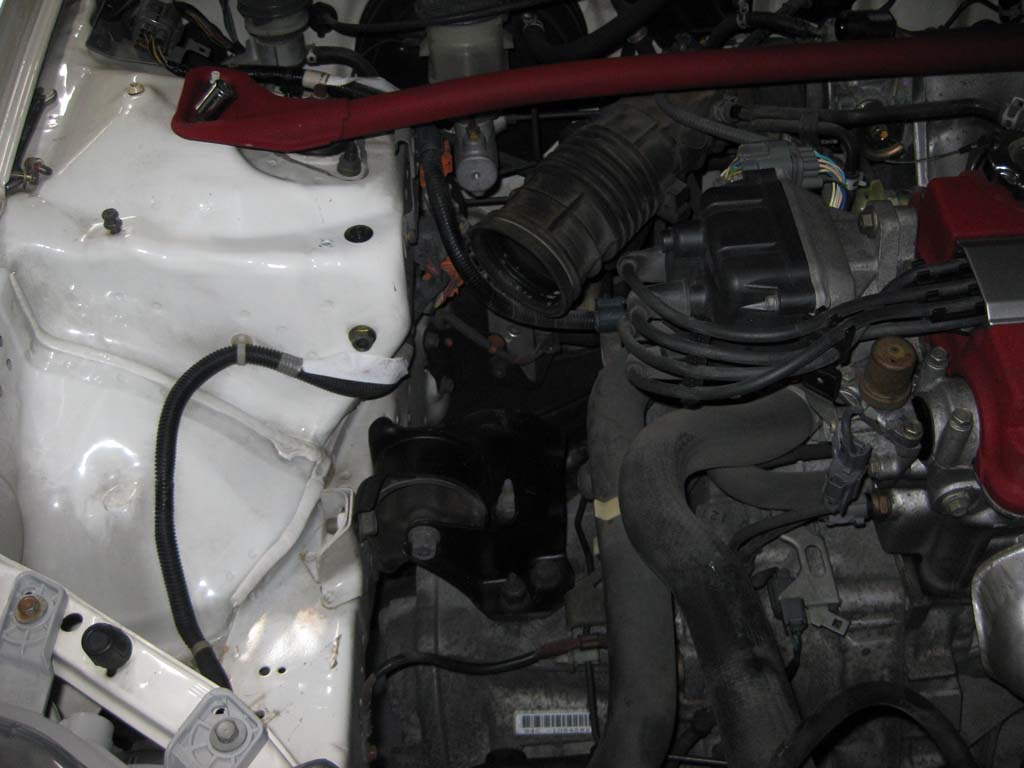
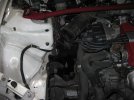
Here is how the motor looked after removing the resonator + apexi intake.
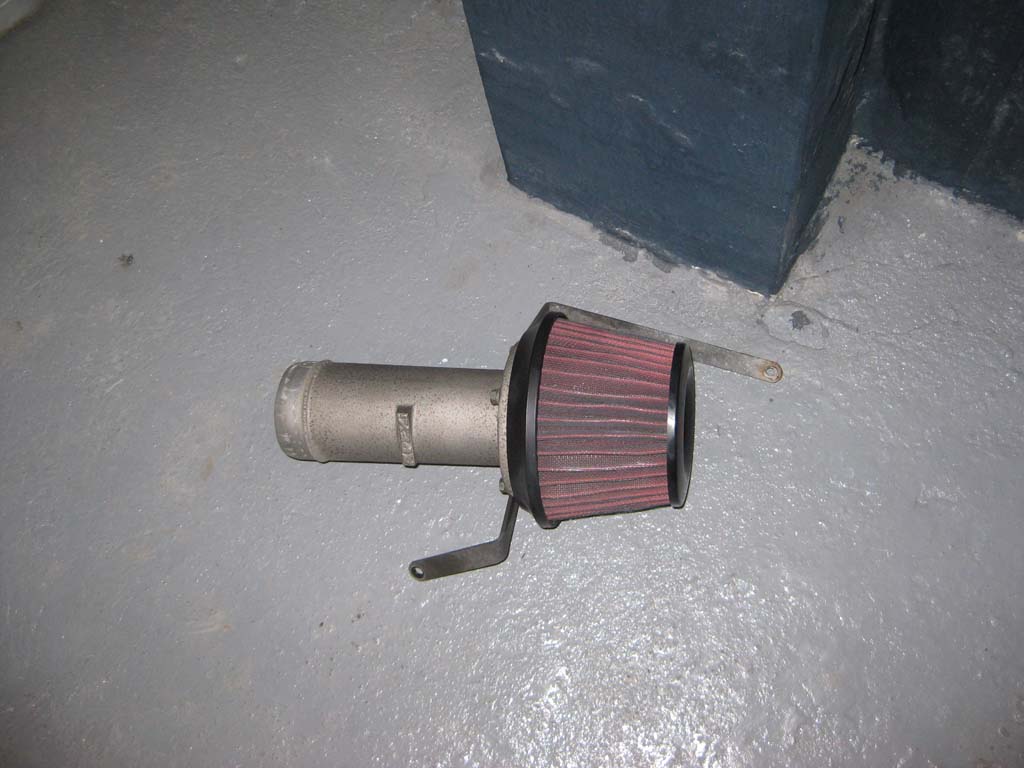
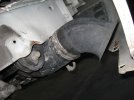
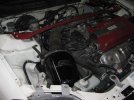
Ok, lets test how the dc2 mugen intake fits.

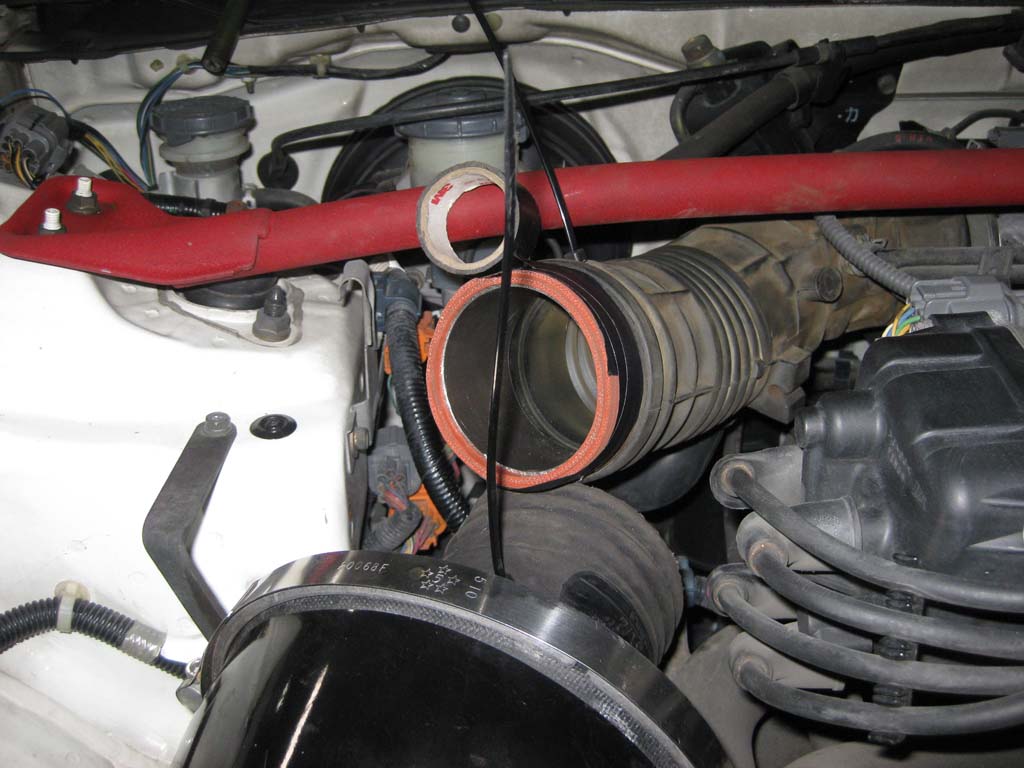
Notice the gap:

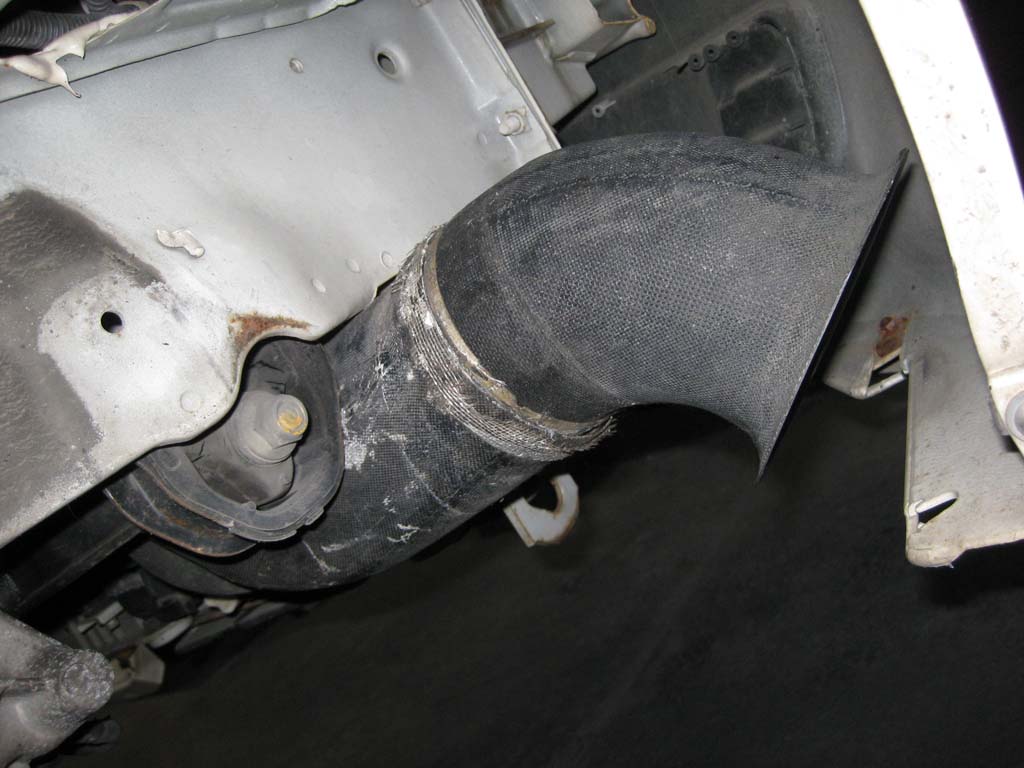
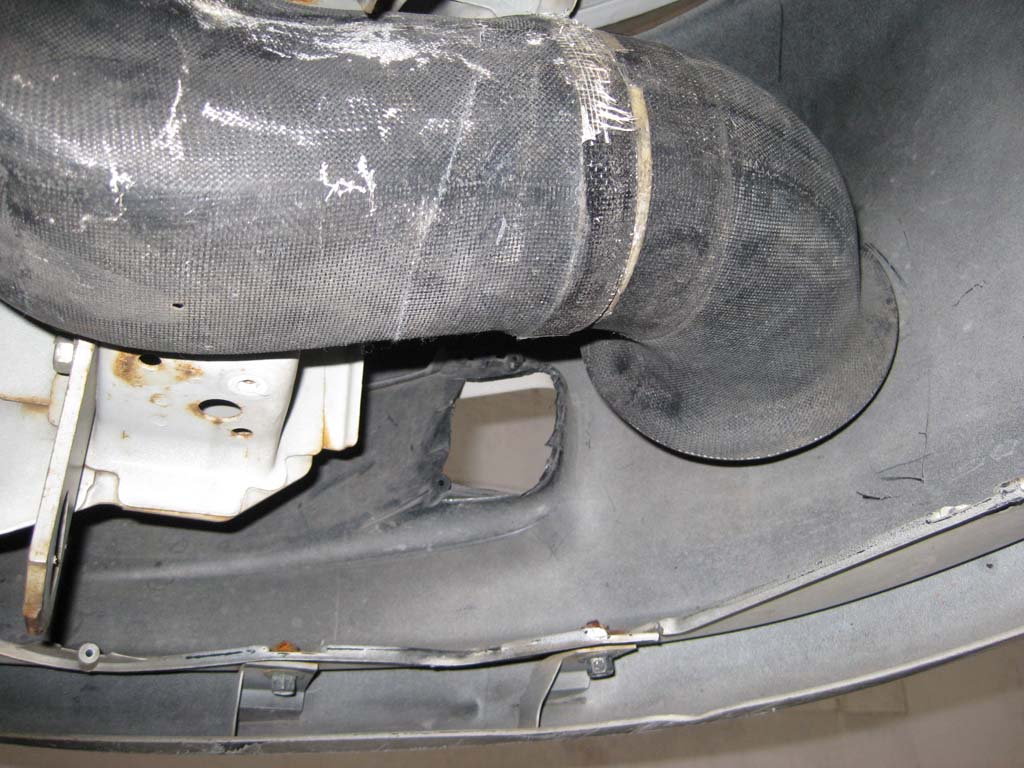
Check out how the mugen dc2 intake fits under the car, inside the front bumper:
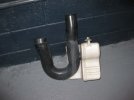
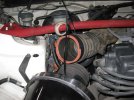
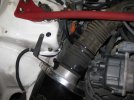
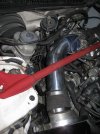
Ok, now insert the 3" metal pipe inside the oem intake plastic.
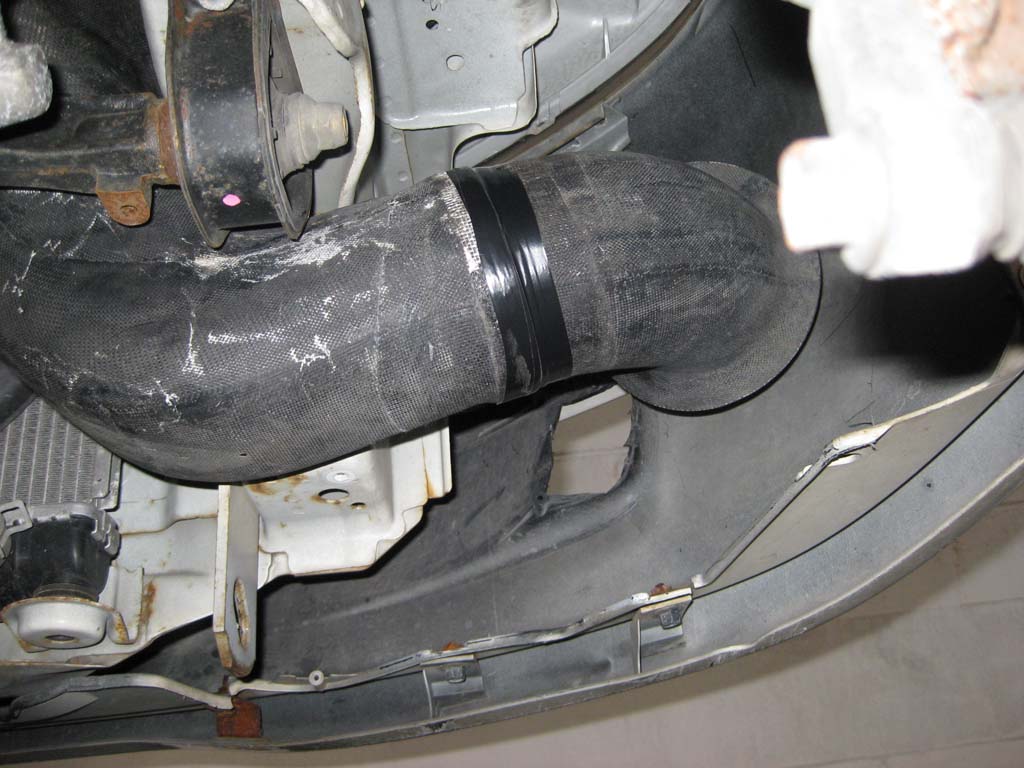
Cover the metal from the side that will go to the 3.5" with the 3" silicone hose, I double covered it with the 3" hose (you can use the black tape that is commonly used to cover electrical joins, sorry I don't know the name in english ) , to make it fit tight inside the 3.5" hose that goes to the mugen intake, check out the photo:
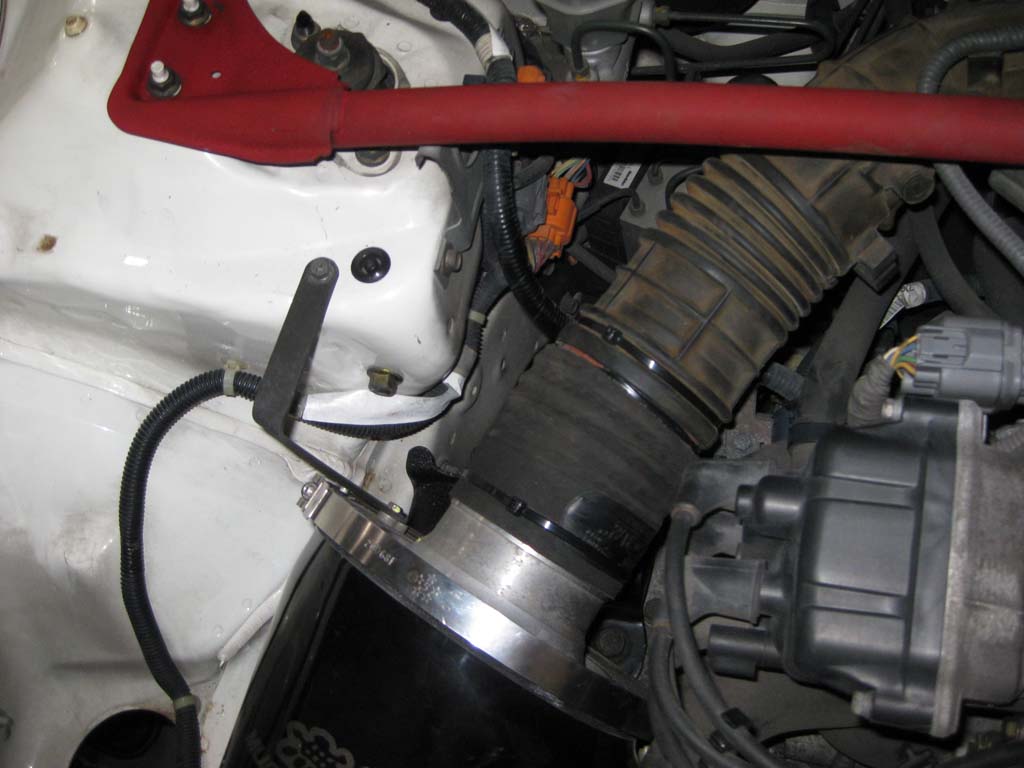
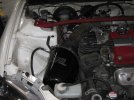
I fastened all the sides with some black plastic fasteners, also I used the piece of metal from the apexi intake to secure the mugen intake to the chassis, there is no need to make any other "hole to the chassis".
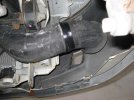
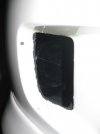
I pointed the piece of plastic that sucks cold air to the intake, to the hole I made on the front bumper, I cutted the piece of black plastic, that is removed when you install the yellow fog lights:
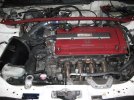
Well, that's it! installation (or maybe adaptation? ) is now completed
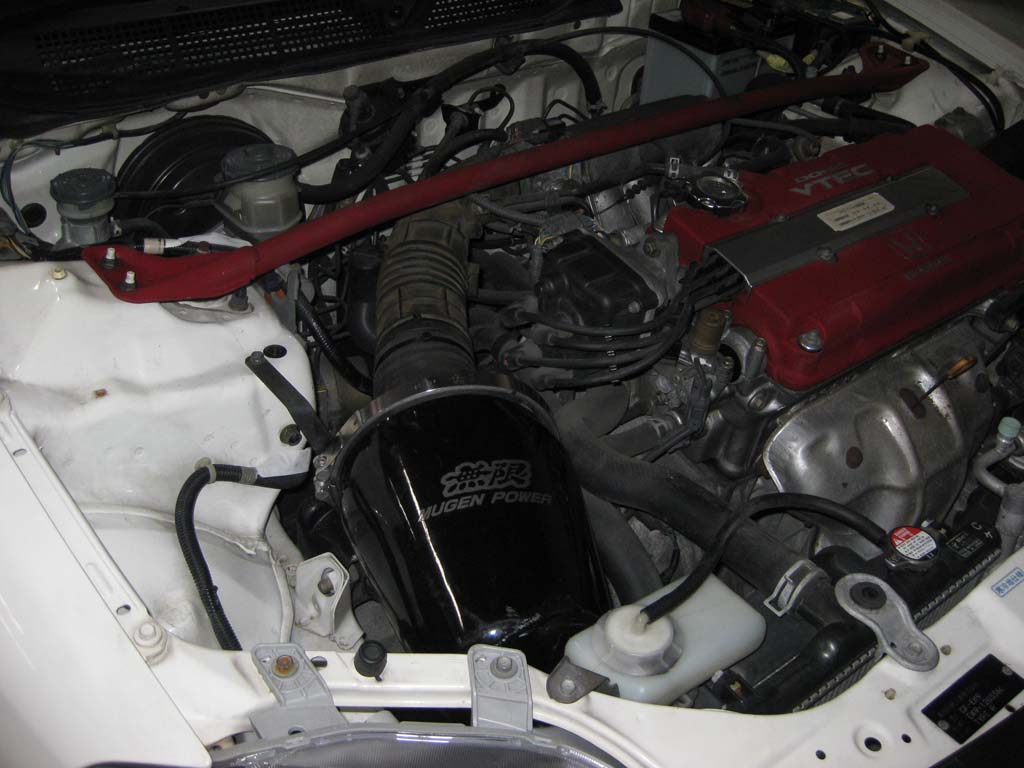
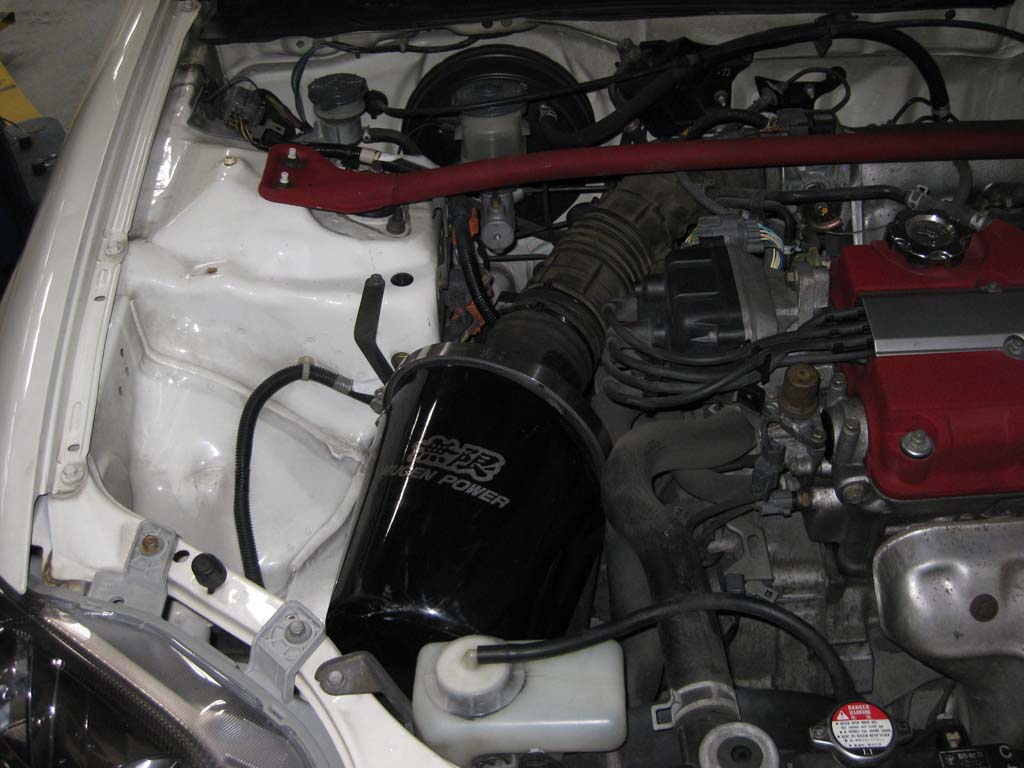
I like the "OEM" look the car has.
The dc2 mugen intake has another 2 holes to hold the intake securely to the chassis, but if you only secure one is more than enough
Maybe you can install the mugen intake easily with other tools, or with other hoses. But I created this thread just to give you an idea on how to do it.
Butt dyno says... This intake ROCKS

Please check out this post since I updated the mugen intake installation:
http://www.ek9.org/forum/air-intake...e-into-ek9-civic-installation.html#post216318
The only tools you need:
1. Phillips screwdriver
2. 10mm bolt remover
3. Patience
4. A piece pf a 3" silicone hose
5. A piece of a 3.5" silicone hose
6. A 3" metal pipe extension, 8 cm long, try to get a stainless steel one.
I had the ability to have the car lifted with a machine, this is very important to do the job easily.
Let's start, as you may know I have a piece of s**** apexi intake:
Good bye to the apexi intake:
I removed the fender splash shield so I can remove the resonator and also to have some space to work with:
Goodbye oem resonator:
Here is how the motor looked after removing the resonator + apexi intake.
Ok, lets test how the dc2 mugen intake fits.
Notice the gap:
Check out how the mugen dc2 intake fits under the car, inside the front bumper:
Ok, now insert the 3" metal pipe inside the oem intake plastic.
Cover the metal from the side that will go to the 3.5" with the 3" silicone hose, I double covered it with the 3" hose (you can use the black tape that is commonly used to cover electrical joins, sorry I don't know the name in english
) , to make it fit tight inside the 3.5" hose that goes to the mugen intake, check out the photo:I fastened all the sides with some black plastic fasteners, also I used the piece of metal from the apexi intake to secure the mugen intake to the chassis, there is no need to make any other "hole to the chassis".
I pointed the piece of plastic that sucks cold air to the intake, to the hole I made on the front bumper, I cutted the piece of black plastic, that is removed when you install the yellow fog lights:
Well, that's it! installation (or maybe adaptation? ) is now completed
I like the "OEM" look the car has
.The dc2 mugen intake has another 2 holes to hold the intake securely to the chassis, but if you only secure one is more than enough
Maybe you can install the mugen intake easily with other tools, or with other hoses. But I created this thread just to give you an idea on how to do it.
Butt dyno says... This intake ROCKS
Please check out this post since I updated the mugen intake installation:
http://www.ek9.org/forum/air-intake...e-into-ek9-civic-installation.html#post216318
Attachments
-
 $IMG_1275.JPG160.2 KB · Views: 8,245
 -
 $IMG_1327.JPG95.9 KB · Views: 4,234
 -
 $IMG_1329.JPG77.3 KB · Views: 4,385
 -
 $IMG_1328.JPG79.8 KB · Views: 5,482
 -
 $IMG_1330.JPG92.5 KB · Views: 5,101
 -
 $IMG_1331.JPG109.2 KB · Views: 4,642
 -
 $IMG_1332.JPG92.5 KB · Views: 4,751
 -
 $IMG_1333.JPG102.6 KB · Views: 8,361
 -
 $IMG_1334.JPG115.4 KB · Views: 4,326
 -
 $IMG_1340.JPG123.4 KB · Views: 5,380
 -
 $IMG_1339.JPG138.8 KB · Views: 5,587
 -
 $IMG_1341.JPG105.3 KB · Views: 3,866
 -
 $IMG_1343.JPG106.1 KB · Views: 4,023
 -
 $IMG_1335.JPG90.9 KB · Views: 4,721
Last edited:


 as you see I just used a little piece of rubber to join the pipe and the mugen intake. I also added some metal fasteners to secure it properly! (I don't know the name in english sorry)
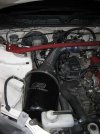

).gif ":)) :))")