Civic EK Rally Car Build


Whats the old saying.....one step forward two steps back ????
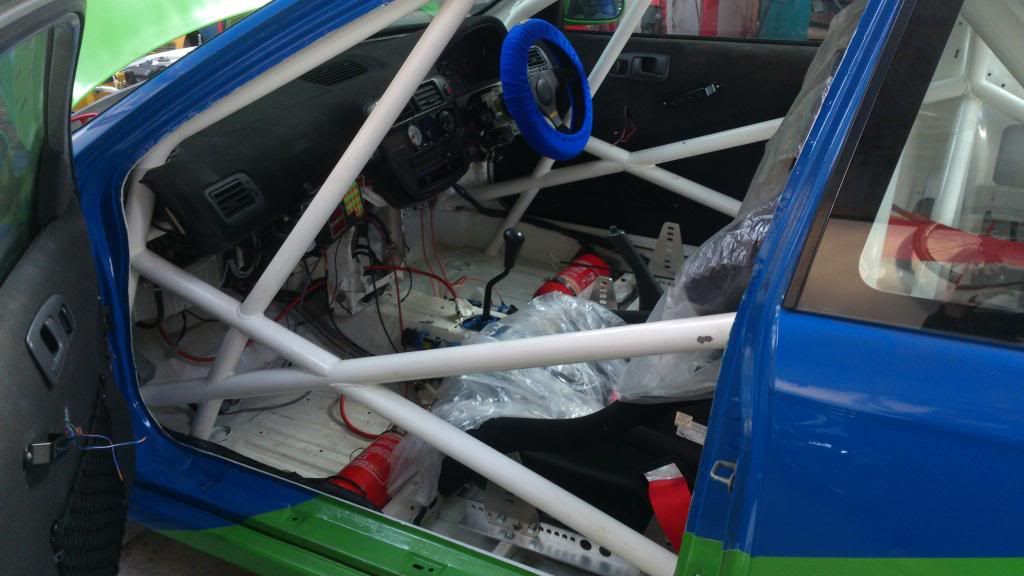
Decided to take out the central console and replace it with a fiberglass model, There is a serios amount of wiring back there so changing it primarily to reduce the risk of shorting and secondary for cosmetic reasons.
Gauges and trip meter etc have also been fitted at this stage.


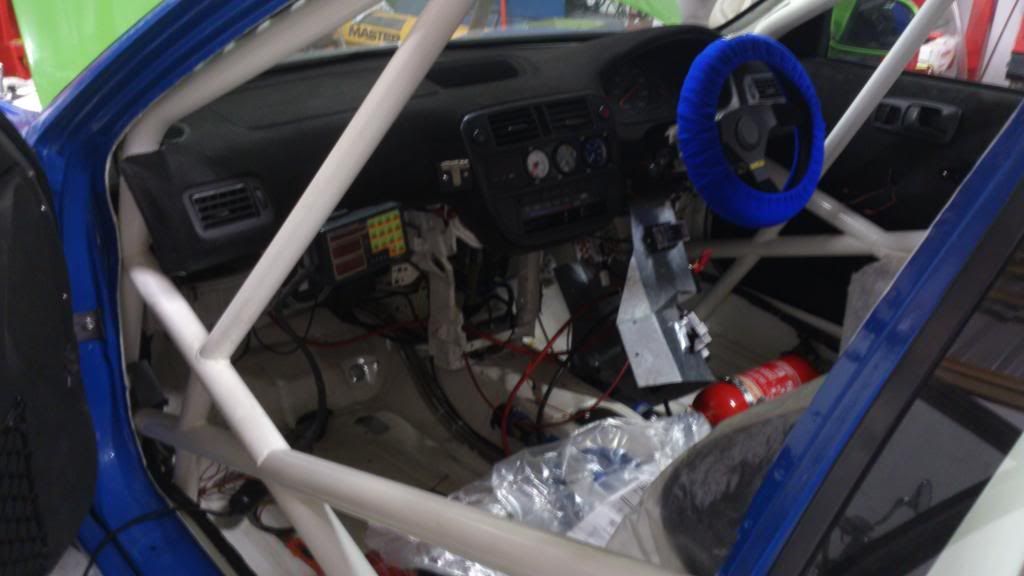
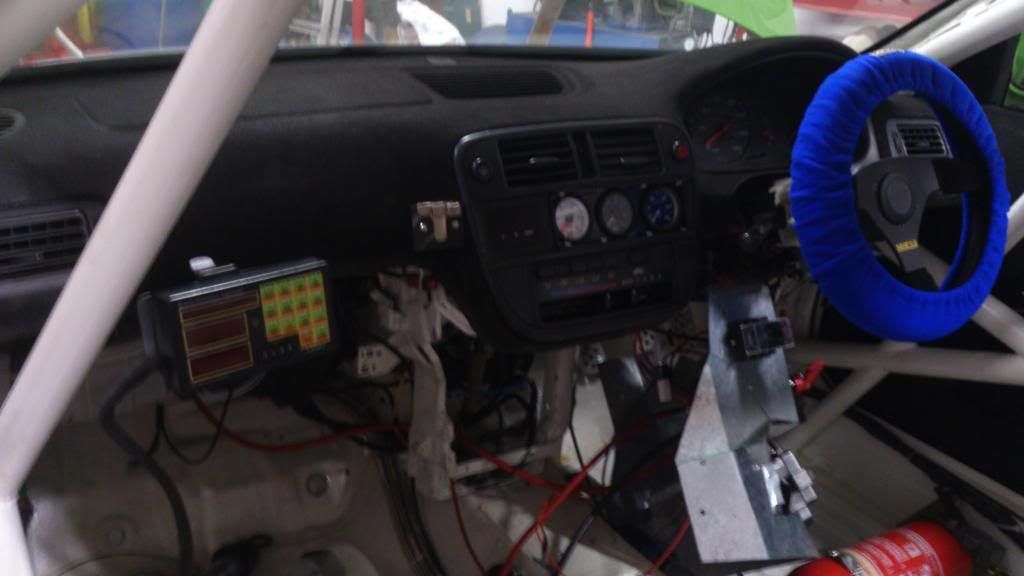
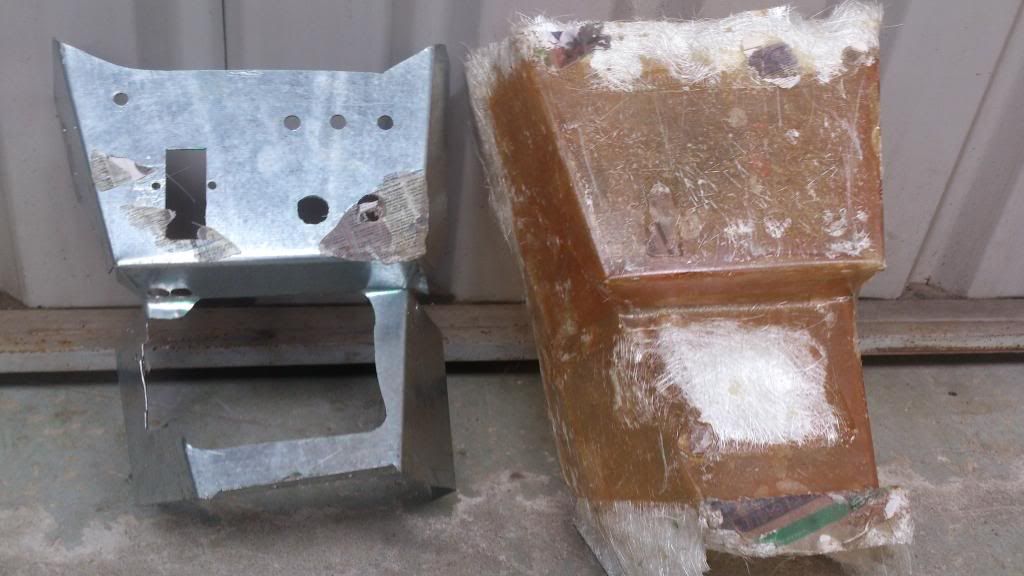
I never made anything out of fiberglass before so took a risk using the steel console as a mold but went with it anyway

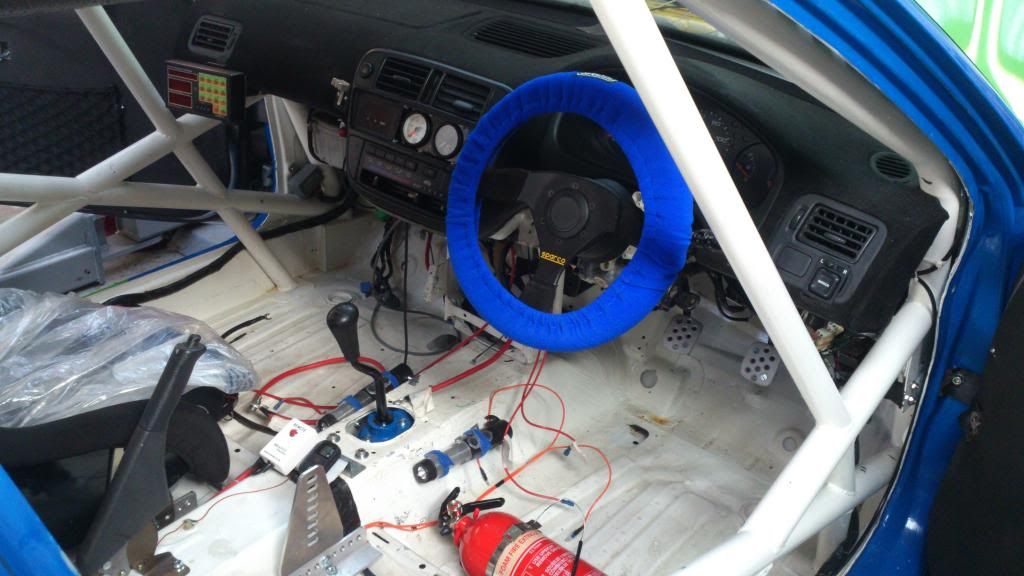
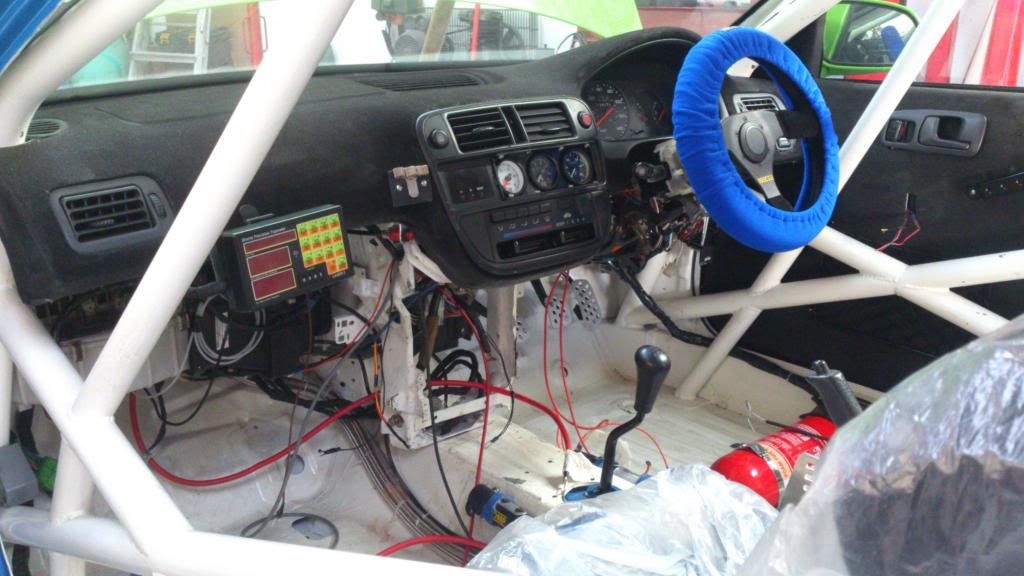
Don't have any pics between then and finished but tadaaa.

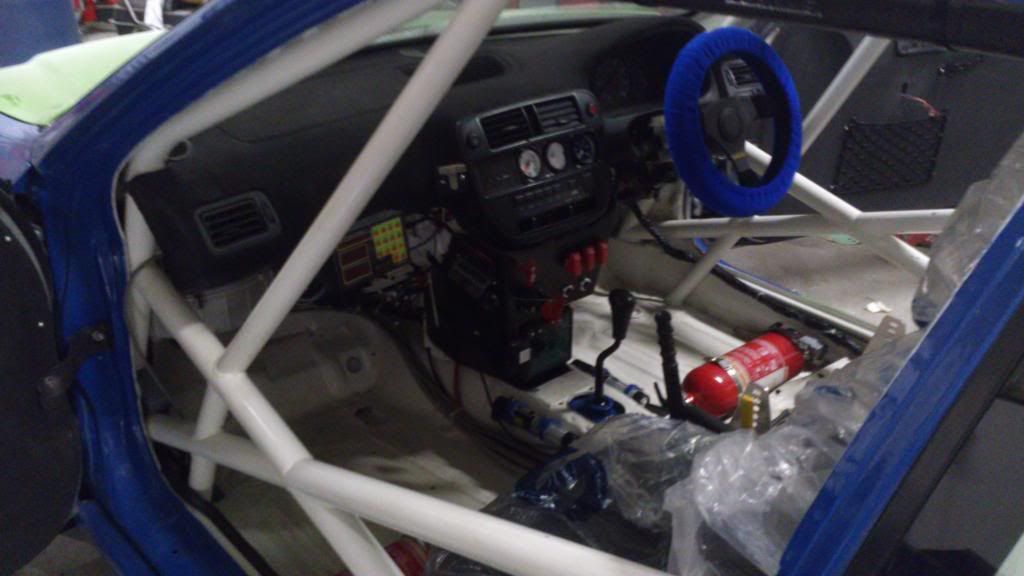
That's enough for one evening, i'll begin uploading some under the bonnet stuff next time =)
 
Interior progressing well, time to bite the bullet and put the engine in,

Jap B16A with relitivley low kms,


Although before I fitted it Idid stick in a Type R lightened Fly, Helix paddle clutch and pressure plate

And replaced the factory LSD with a Kazz diff

Not sure where this diff originated from but the CWP on it was the wrong stud pattern for my new diff so had to get a new CWP at short notice too, I looked around for a few weeks for a 4.9 but couldn't find one handy or at a reasonable cost so just trew in a 4.4 for now

Low temp Spoon fan switch and thermostat fitted

and rad

I used the original fan shroud on the new fan and modified to suit, I'll admit its not the tidiest job in the world but it works

Had to cut into the front panel stightly to give it enough room so to prevent rubbing

And its time for the operating room !!!!!!
 
Half a day later


Got an Intergra Type R intake manifold bolted on too,


Brakes, clutch, oil catch tank, fire suppression system and cooling al hooked up at this stage too
 
Final upload for now, the front end starting to take shape

I'v relocated the battery into the back quarter aswell


Starting to get to the causmetic stages now, harnesses, intercom etc all in now

The interior begining to look like the final article, hydraulic handbrake and brake bias valve plumbed into the brake system now also


On the lift here, hopefully she wont have that sort of clearance when i get the suspension fine tuned =)


It looks almost finished but I can assure you that it is unfortunately not


And that's it as it sits last week, hopefully everyone looking through this has enjoyed the pics so far. As I said in the first post I'v got to a stage now where I am around 90% complete but am having some minor issues with finishing it off and some stuff I'm just unsure off in general or know iv half assley done and will need to redo. Expect to see queries and questions from me in some other sections of the forum over the next few months. I'll update this thread with any progress as I go but for now that's me done.
Cheers for looking,
Mark
 
Nice build, very clean and good attention to detail
That cage is awesome
 
damn. this is an amazing piece of project! great build and great read! as B16 mini said; the cage of phenomenal!
 
nice build mark :nice:

One observation, you should move your battery inside the cage structure. i've see all sorts of stuff turn into missiles in a crash if that get a slap due to being outside the cage!
 
Hey, Cheers for the positive comments and queries, I had looked at a few possible locations when moving the battery, including safety, practicality, accessibility and weight distribution and ended up pitting it where it is. The previous pics don't really do justice to the way it is mounted, thus I have added some more. All comments and thoughts welcomed,
Battery from boot view, (Must admit it does look venurable, however mounts are hidden)

As you can see the battery box is mounted to two steel brackets, mounted to the chassis

The battery is then mounted down inside this with the two tie downs existing underneath the car, hopefully securely

Original location, now consumed by scaffolding and a catch tank

Alternative Location 1, consumed with fire suppression system

Alternative option 2, not sufficiently large enough to locate it, as the navigators seat has been installed quite far back for weight distribution purposes.
 
Decided to roll the arches aswell to give me an extra few mm, not critical but getting quite tight with the wider wheels on.
Before


During

After


......some extra car porn....because why not =)

 
Love how clean this is! Cracking build.

Why not go for a small oddessy battery behind the passenger?
 
Back
Top