Cam_eghatch
Member
- Joined
- Aug 18, 2021
- Messages
- 19
- Car(s)
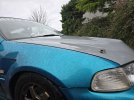
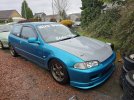
- 1994 honda civic eg
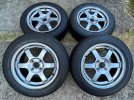
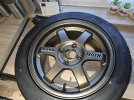
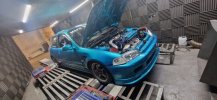
After being on airlift for a wee while i got bored and was after somthing "more" , i managed to sort a deal out with a friend which saw me swap my full airlift system for a brilliant set of BC coilovers + cash my way. Along with that i sold my Work wheels n all the money got put straight back into the EG and obviously this is how it sits today!
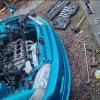
But shortly after fitting the coilovers i unfortunately done a "money shift" which resulted in me bending 8 valves
Got the head rebuilt with all 16 valves, all valve guides and new stem seals.
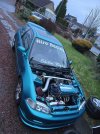
Just intime for the car to go onto the dyno at sos motorsport and to be mapped by non other than AP Performance, which has turned the b18 into a wee monster
But shortly after fitting the coilovers i unfortunately done a "money shift" which resulted in me bending 8 valves
Got the head rebuilt with all 16 valves, all valve guides and new stem seals.
Just intime for the car to go onto the dyno at sos motorsport and to be mapped by non other than AP Performance, which has turned the b18 into a wee monster
Attachments


Last edited:
")