Charlie's B18 EG (sorry it isnt an EK)


Charlie_EG

Member
Joined
Nov 11, 2008
Messages
321
After reading so many in inspiring post of members projects i thought it would be good to share mine with you all.

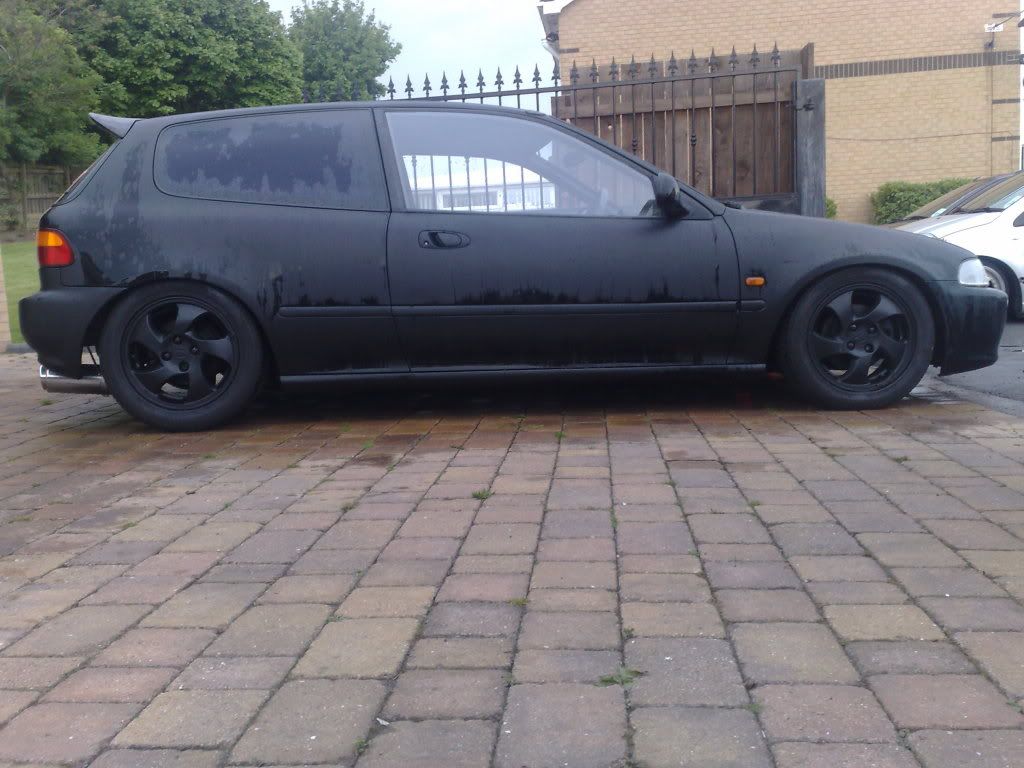
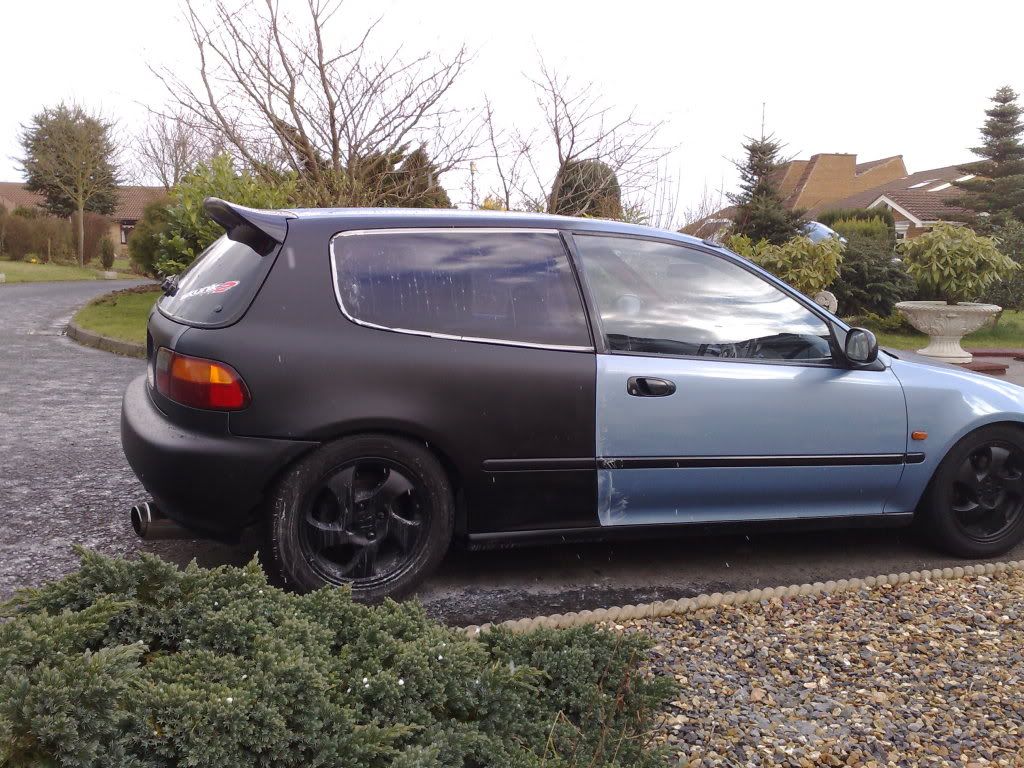
I've owned the car for almost a year now and it started as a pritty stock red eg VTI. However, you join me mid project after work has already been carried out.

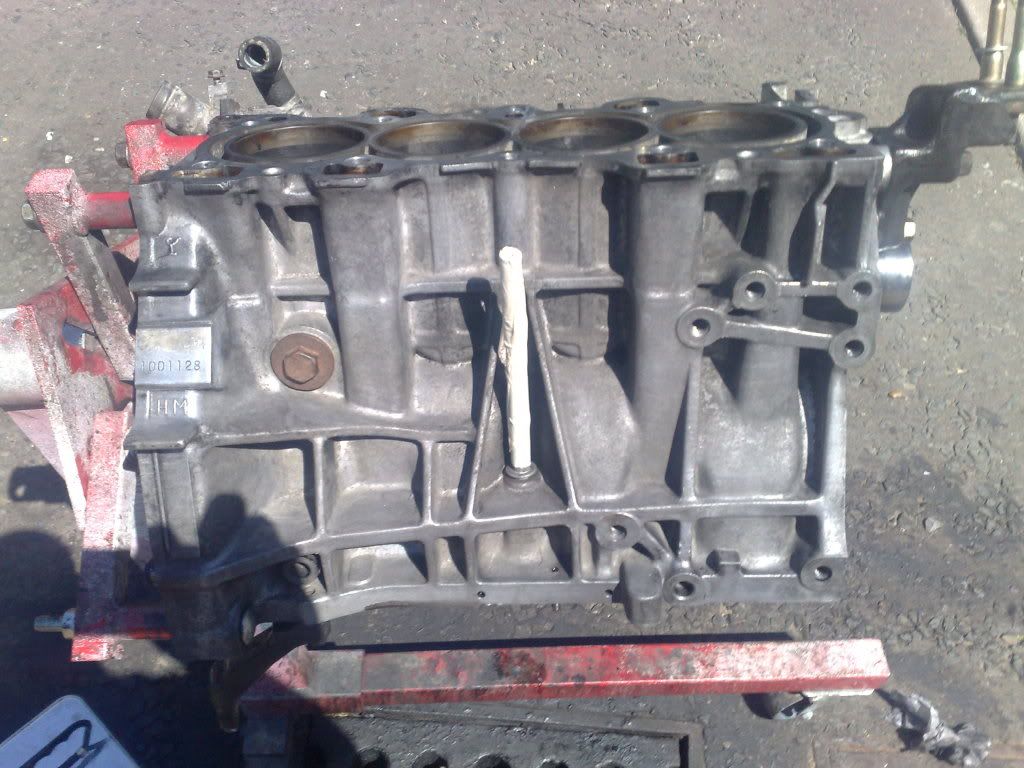
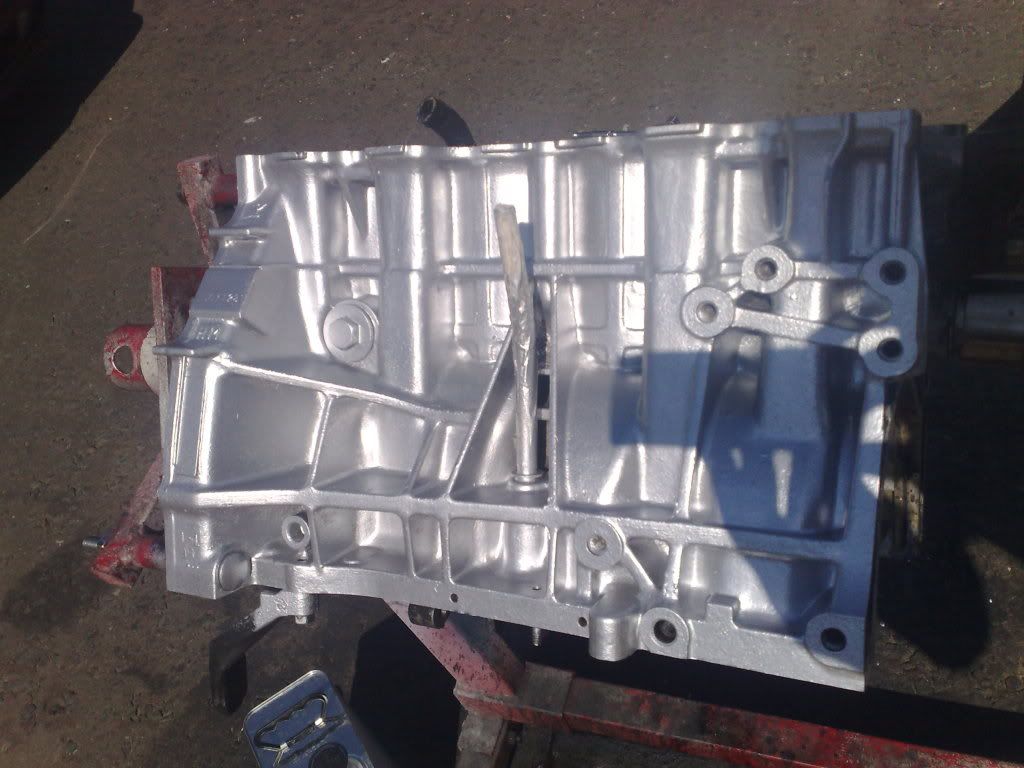
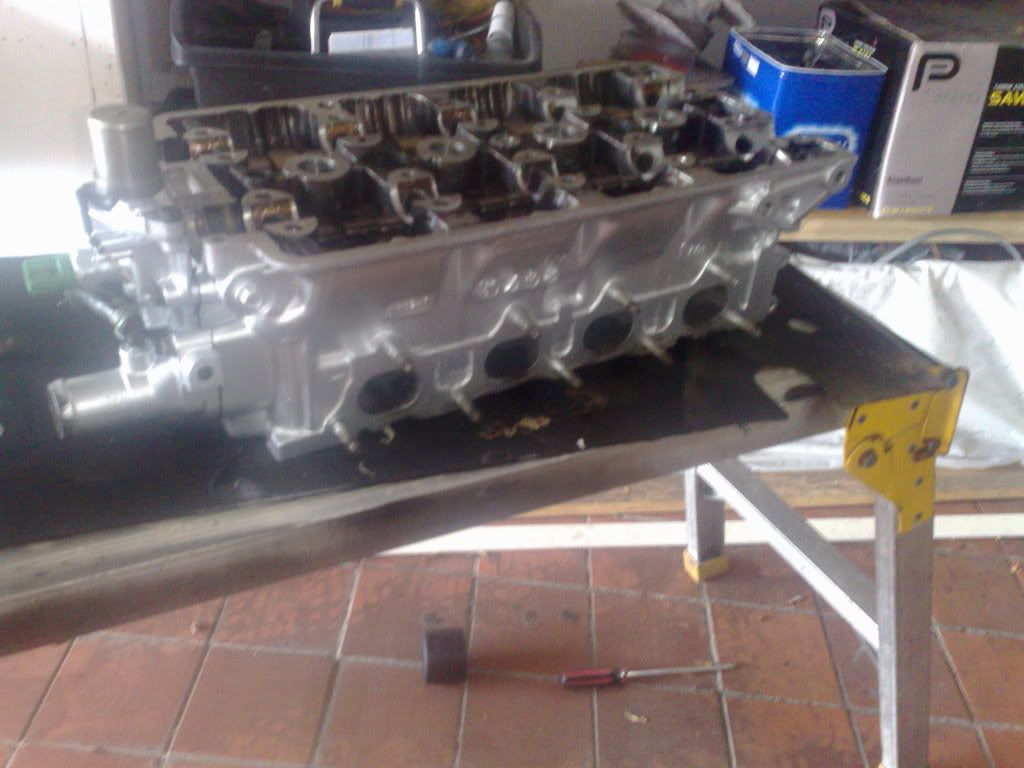
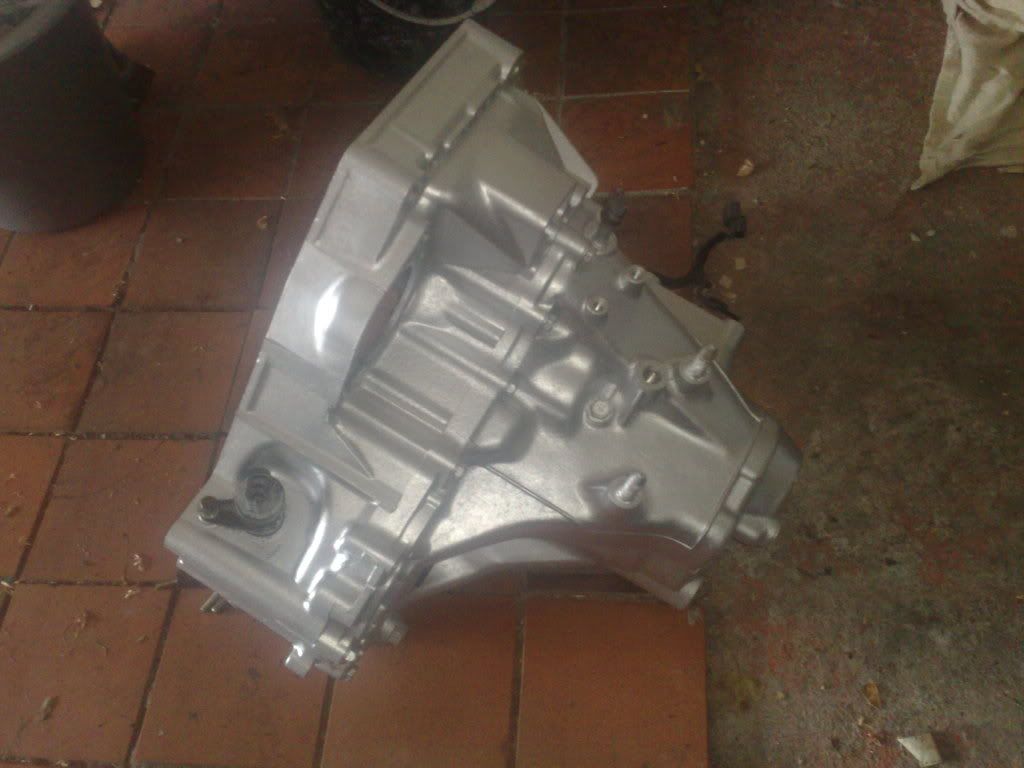
The engine has been replaced with a B18C4 now and is currently being rebuilt after the oil pump failed on it :((

I intend for the car to be used for 1/4 mile yet remain road legal for weekends and events. This may be visible in the style and touches.

"Peace yo" ha ha :nice:

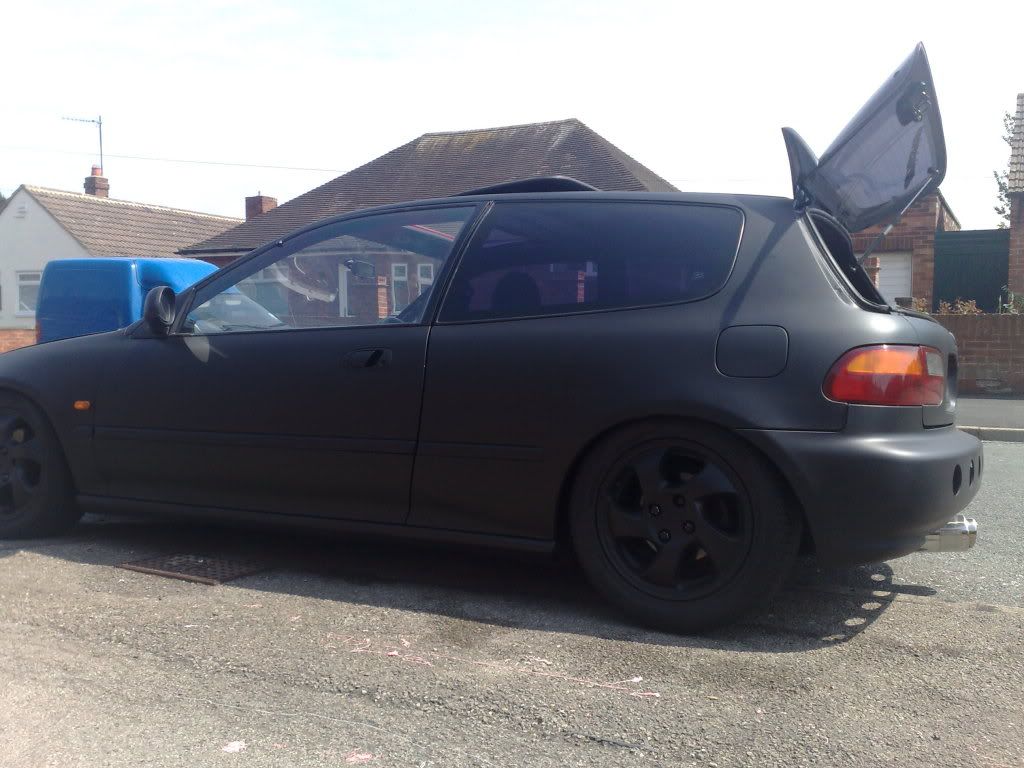
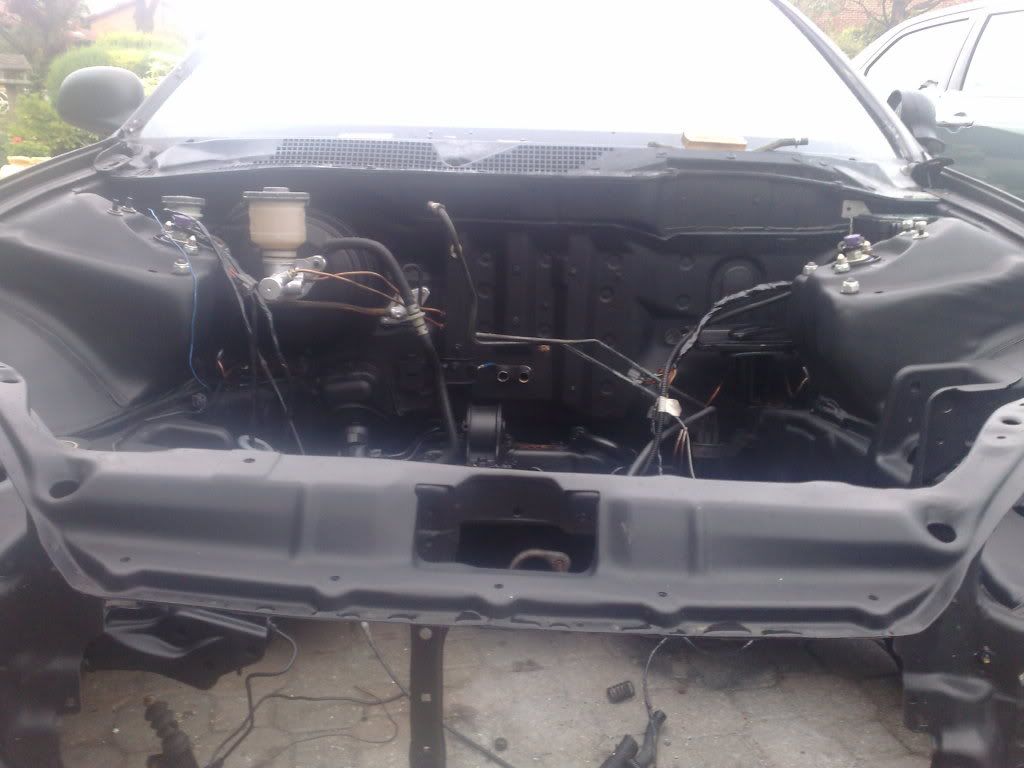
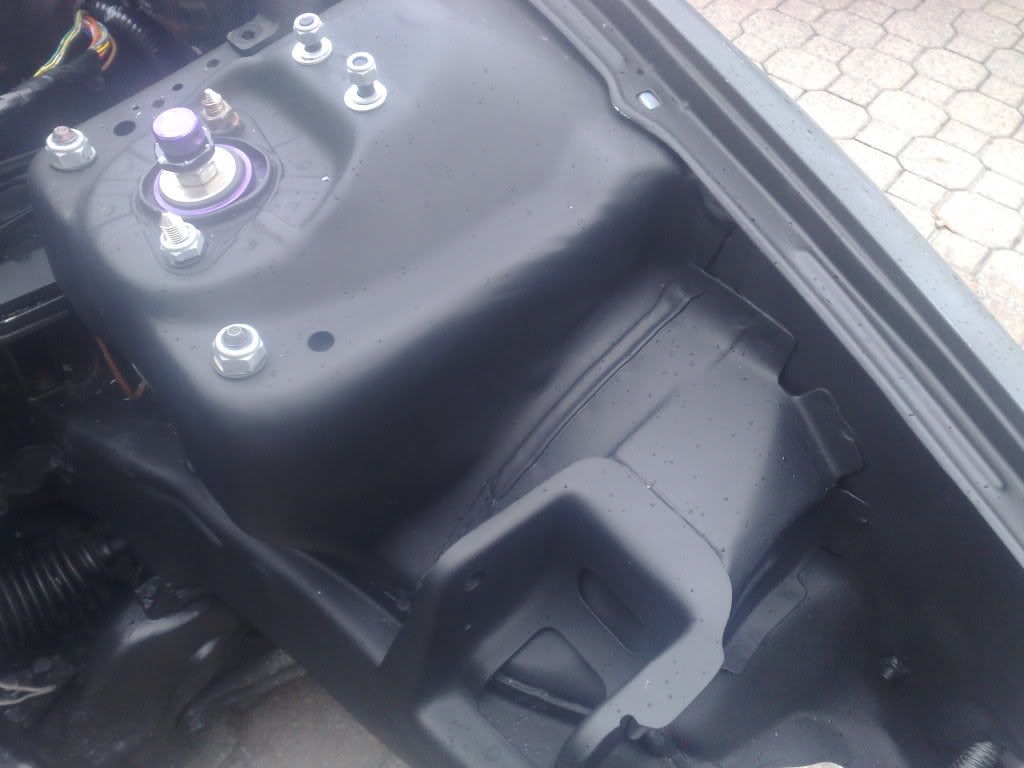
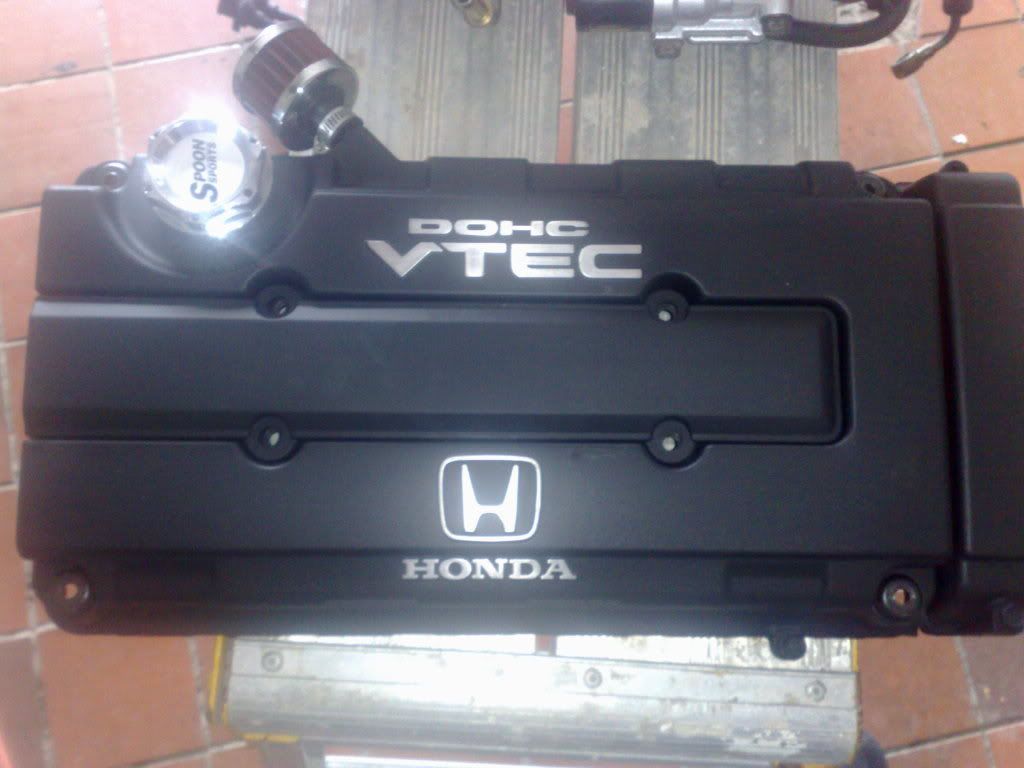
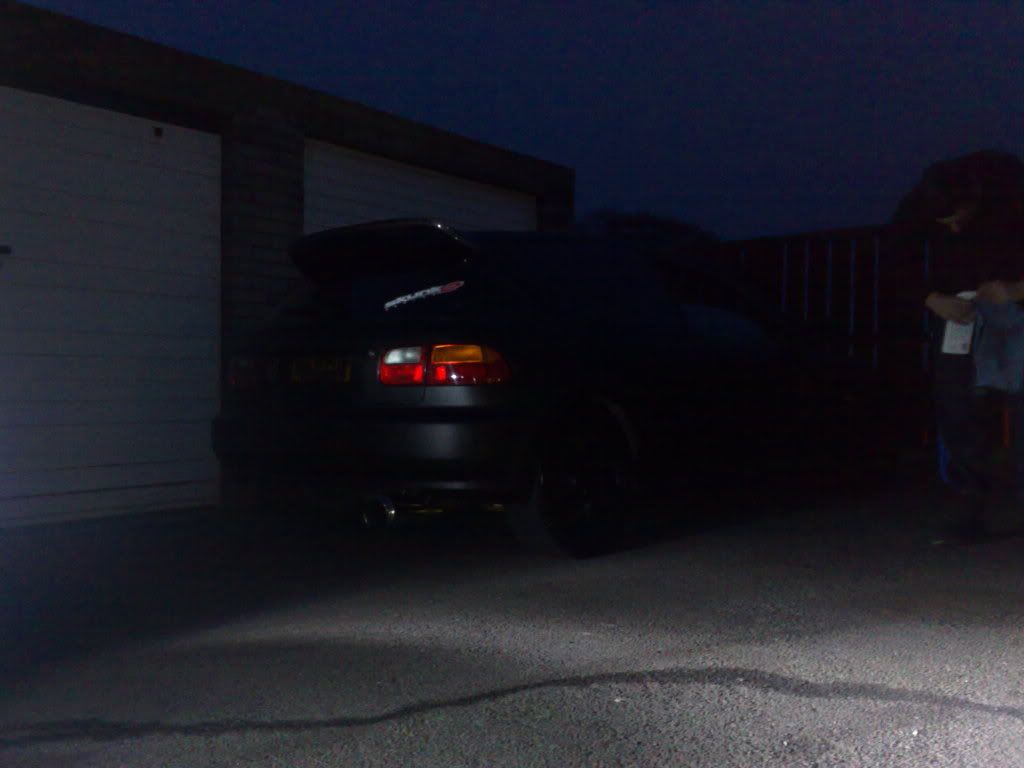
Below is the first much needed move from ricer to racer. Matt Black looks tidy and more importantly is easy to respray if damaged in track use.

111.jpg

112.jpg

114.jpg


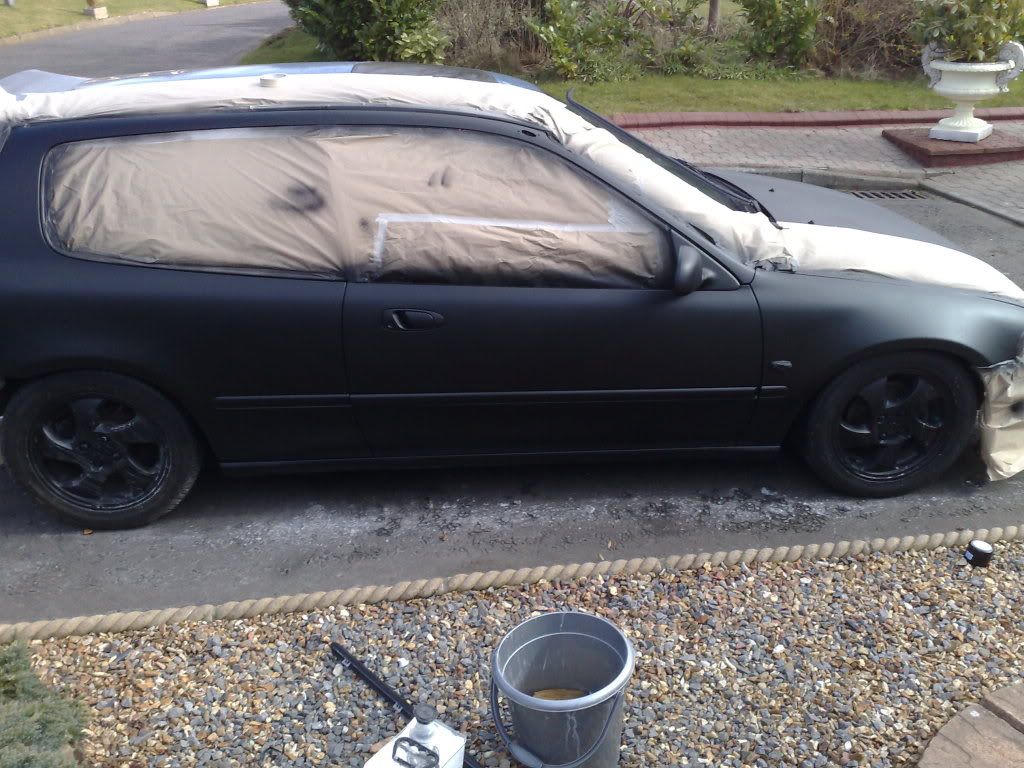
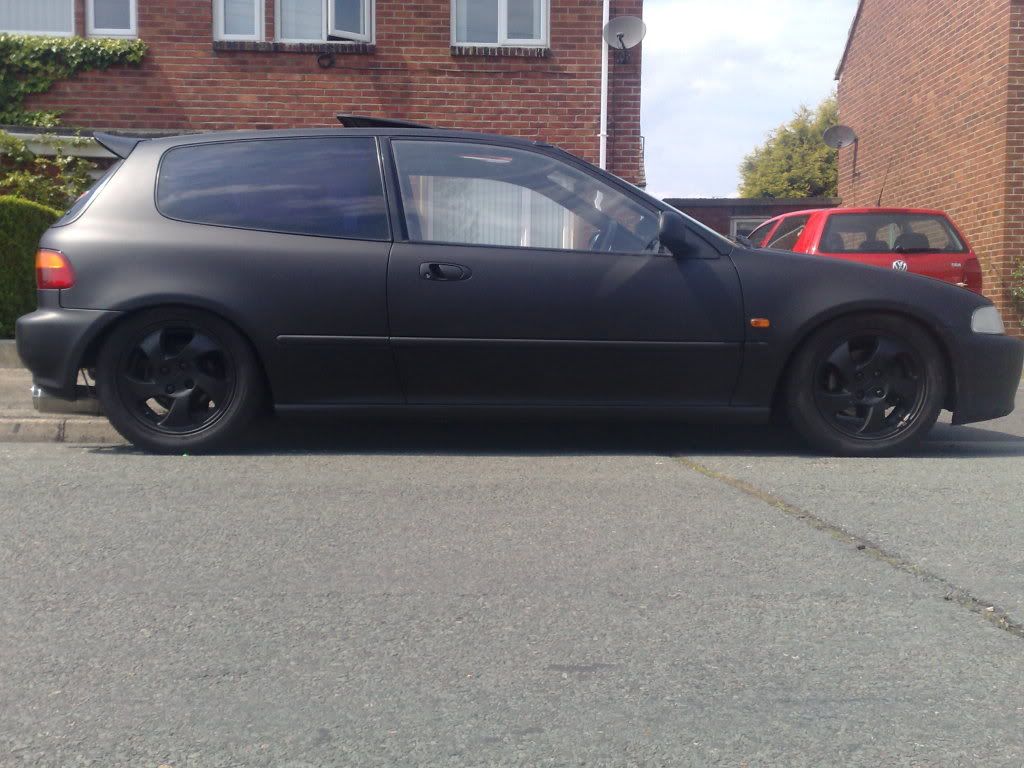
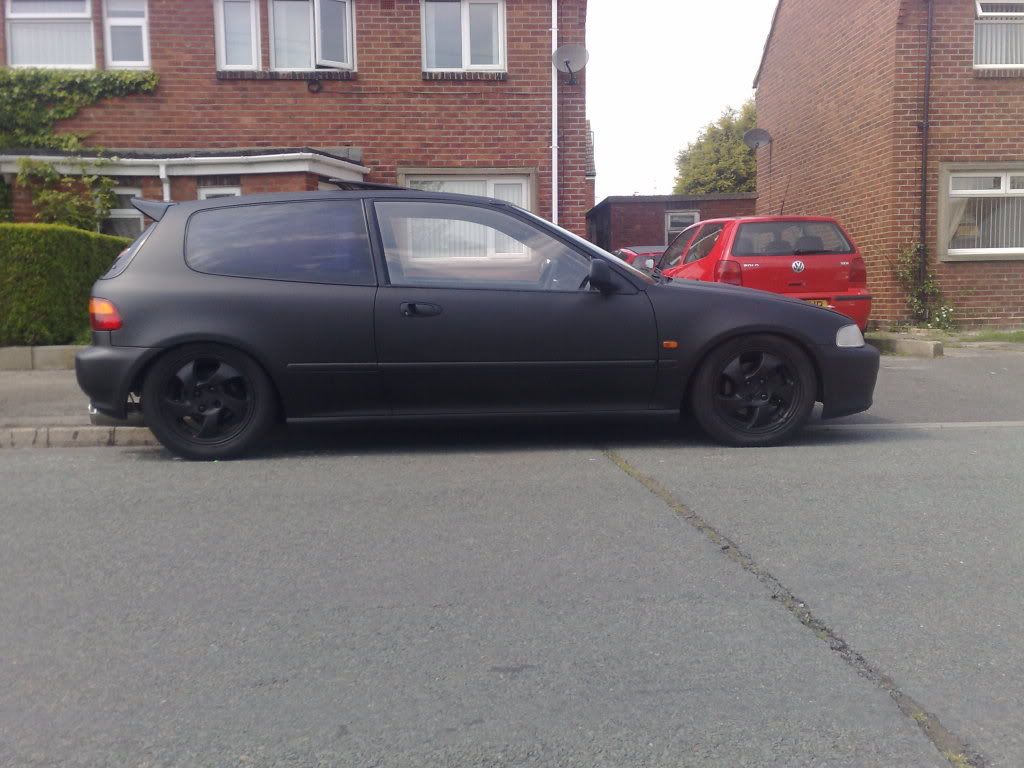
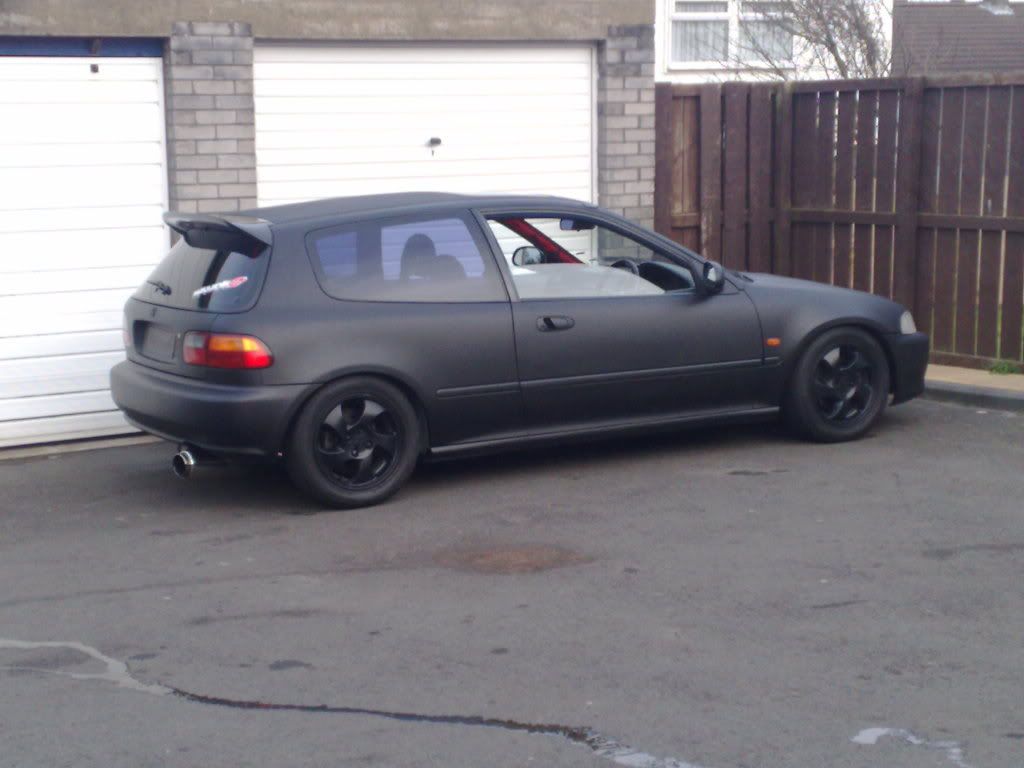
Later that day: Back out to play! Cheap, easy to do and IMO it looks much better. Comments welcome.

118.jpg

120.jpg

122.jpg


Back out with paint and paper the next day to take care of the inside...
138.jpg

143.jpg


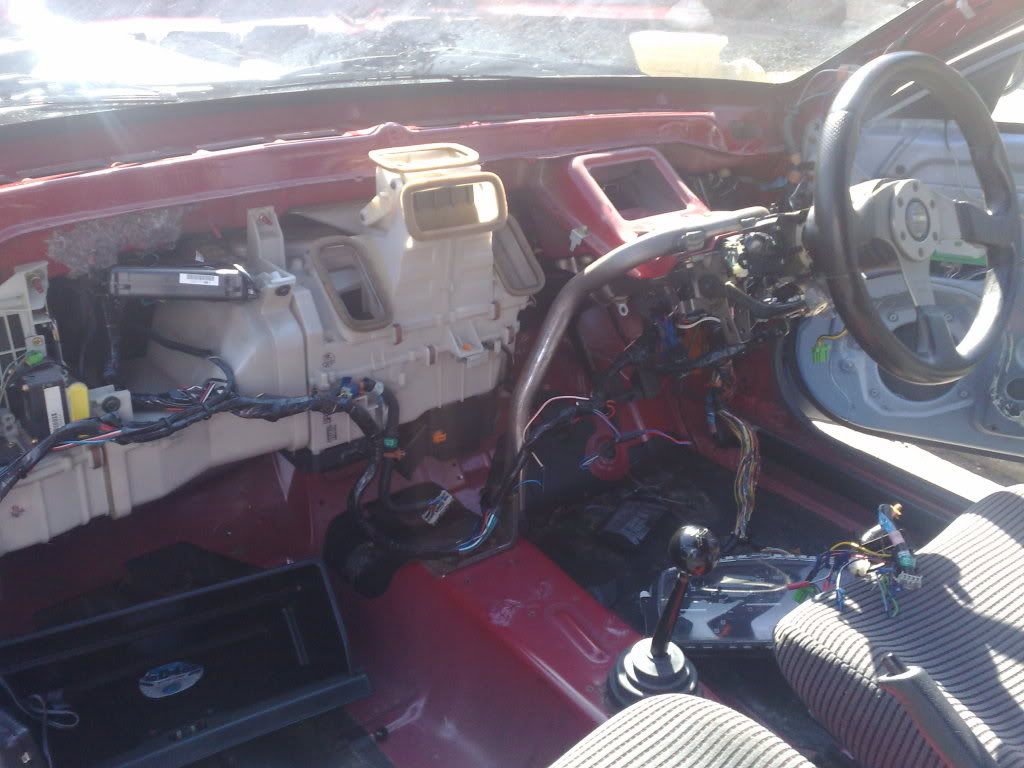
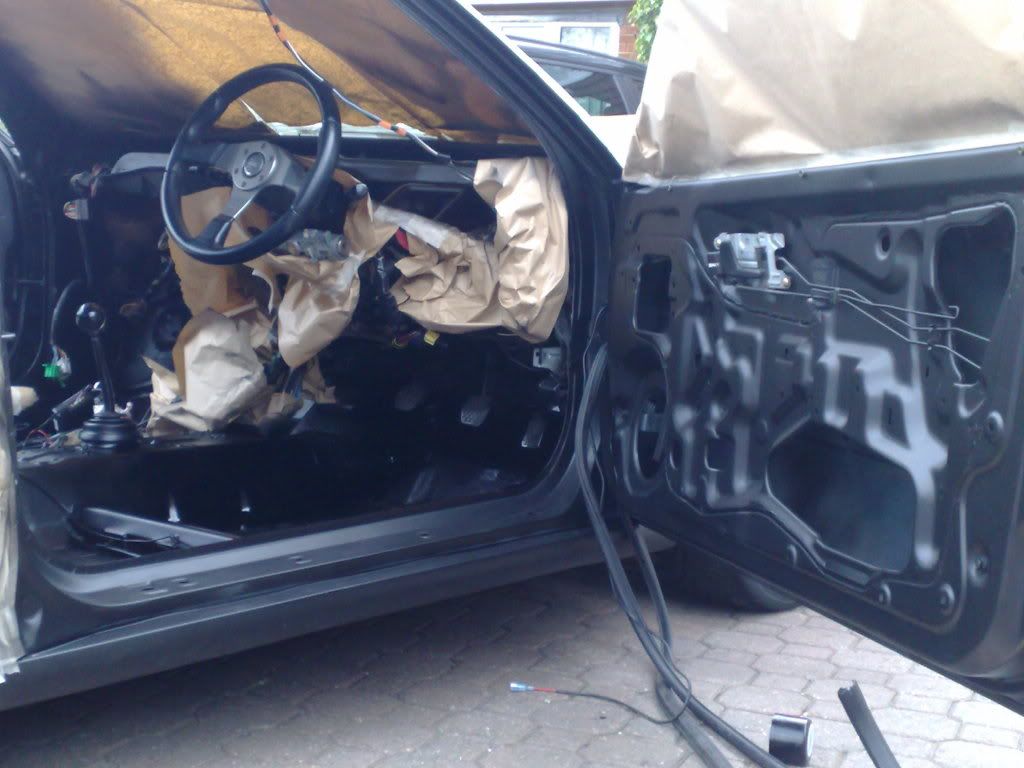
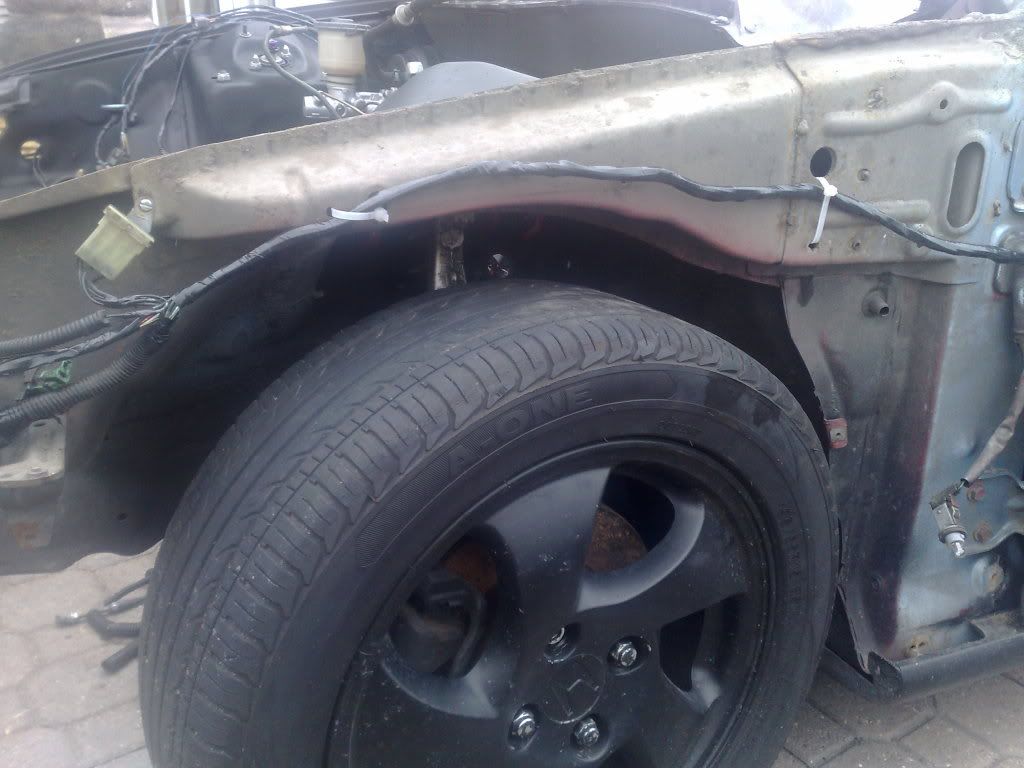
After fully stripping the interior i began looking for ways of making the car lighter still and decided to remove as much metal as possible

171.jpg


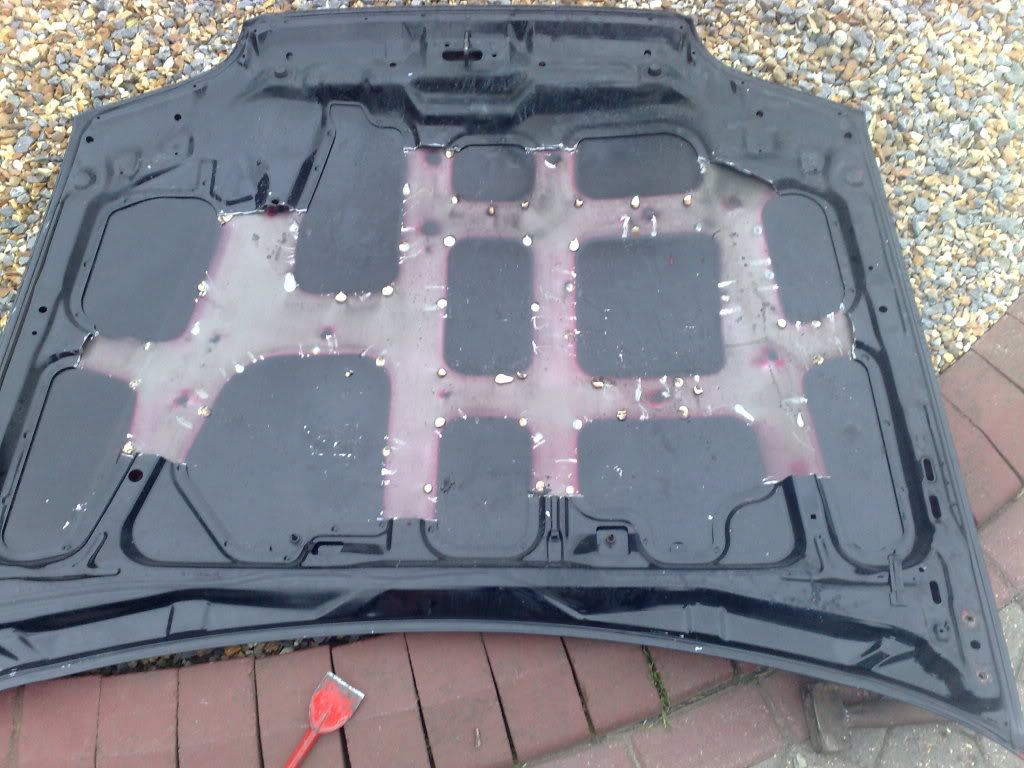
The bonnet catch, cable etc also removed and bonnet pins fitted (as tacky as they look) I also made some polly windows as the kits available were almost £300. Managed to construct my own in half a day and for a lot less.
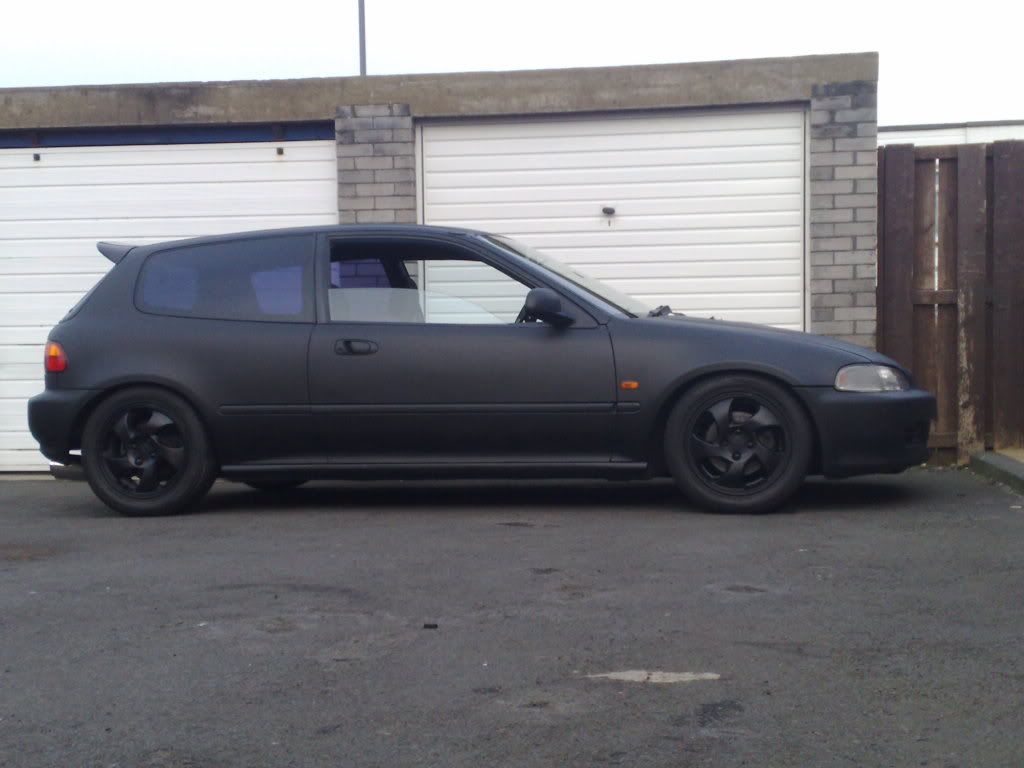
Off for a test run.
219.jpg


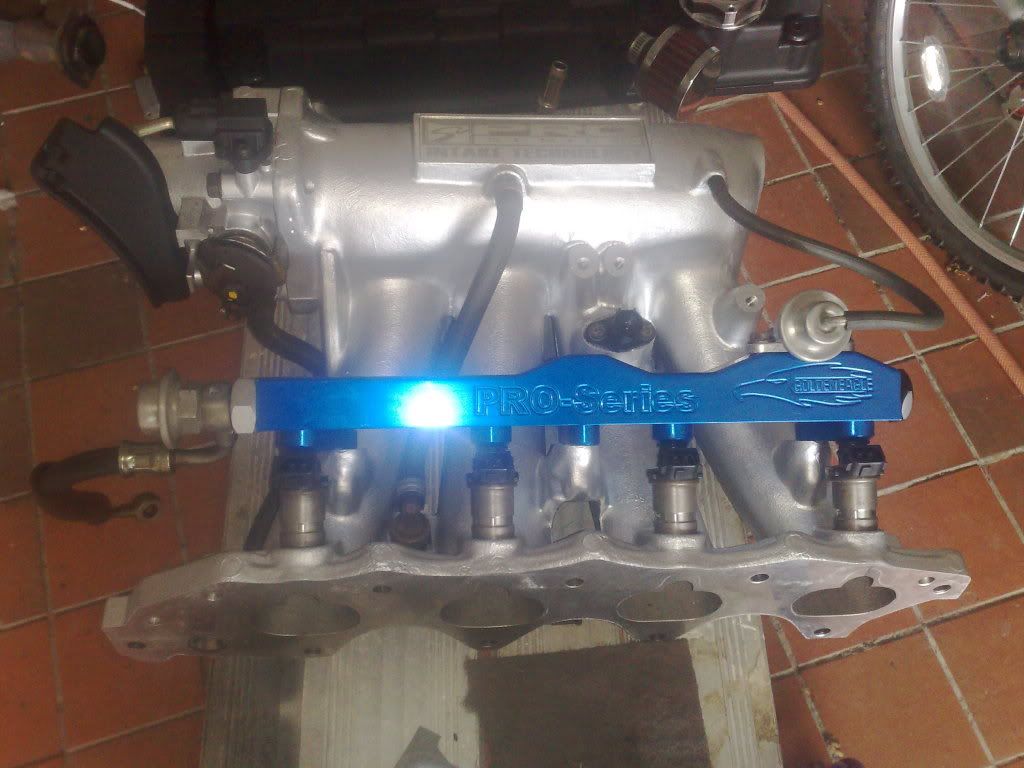
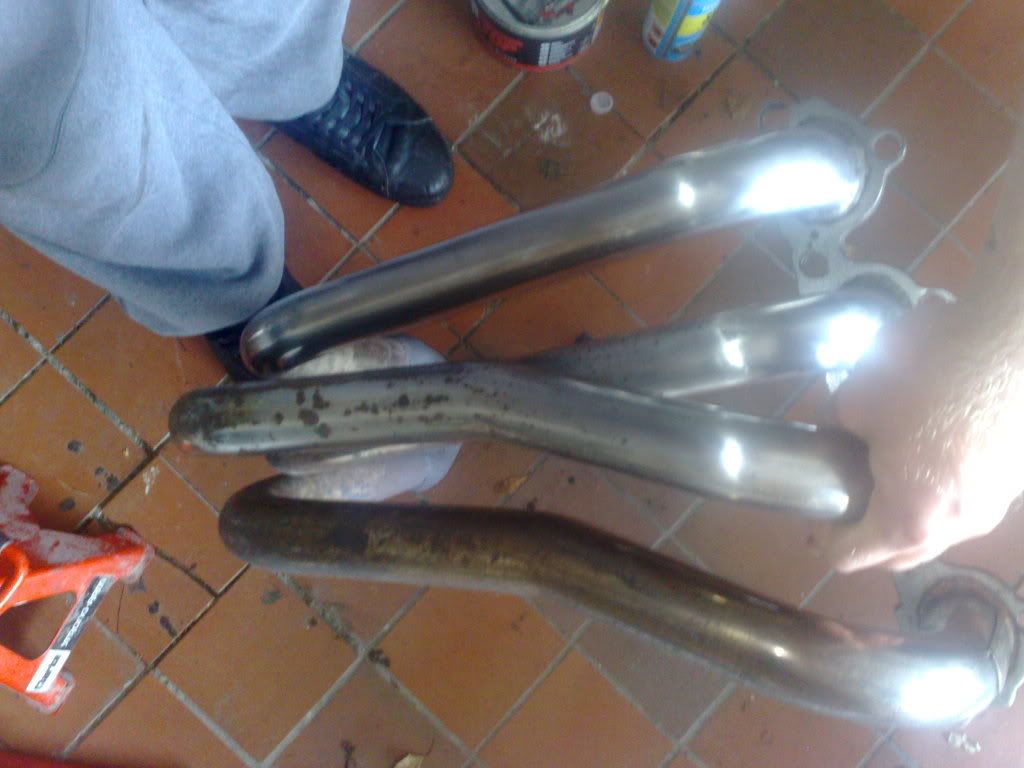
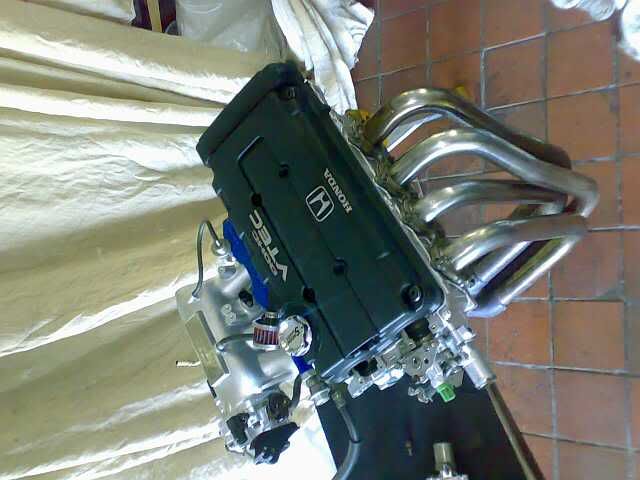
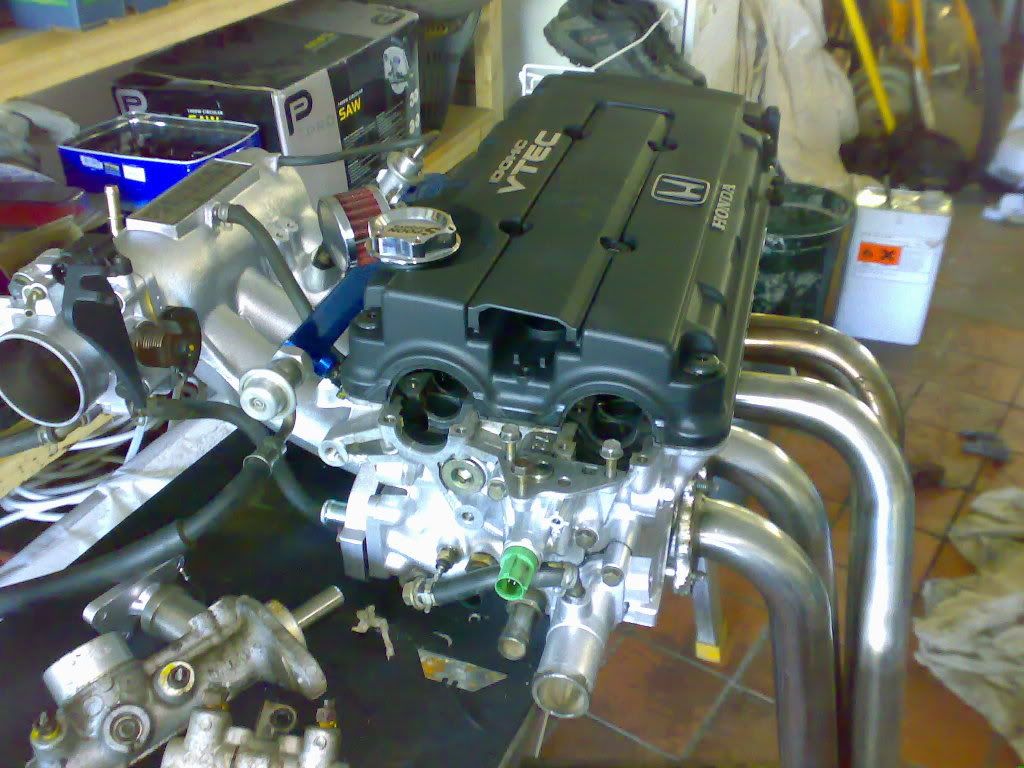
The car seemed to go through the gears with much greater ease after removing much weight. However still not happy i thought it was time for a little bit more power

073.jpg

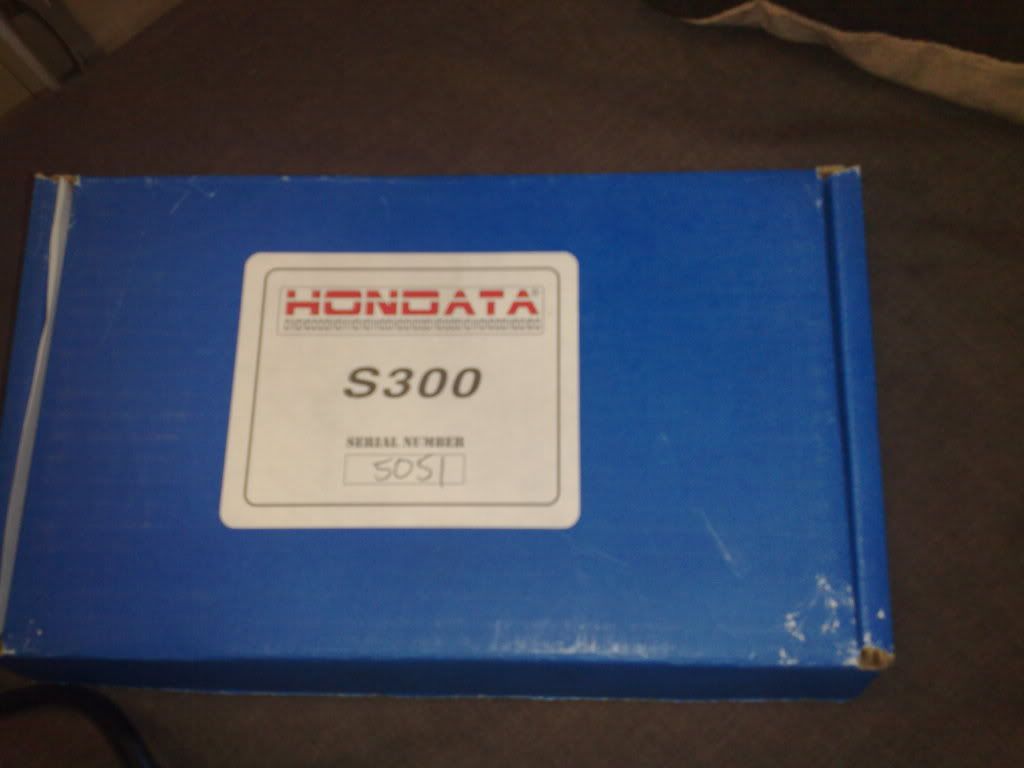
(Yet to be fitted) hopefully Will, will be mapping it up when the time comes.

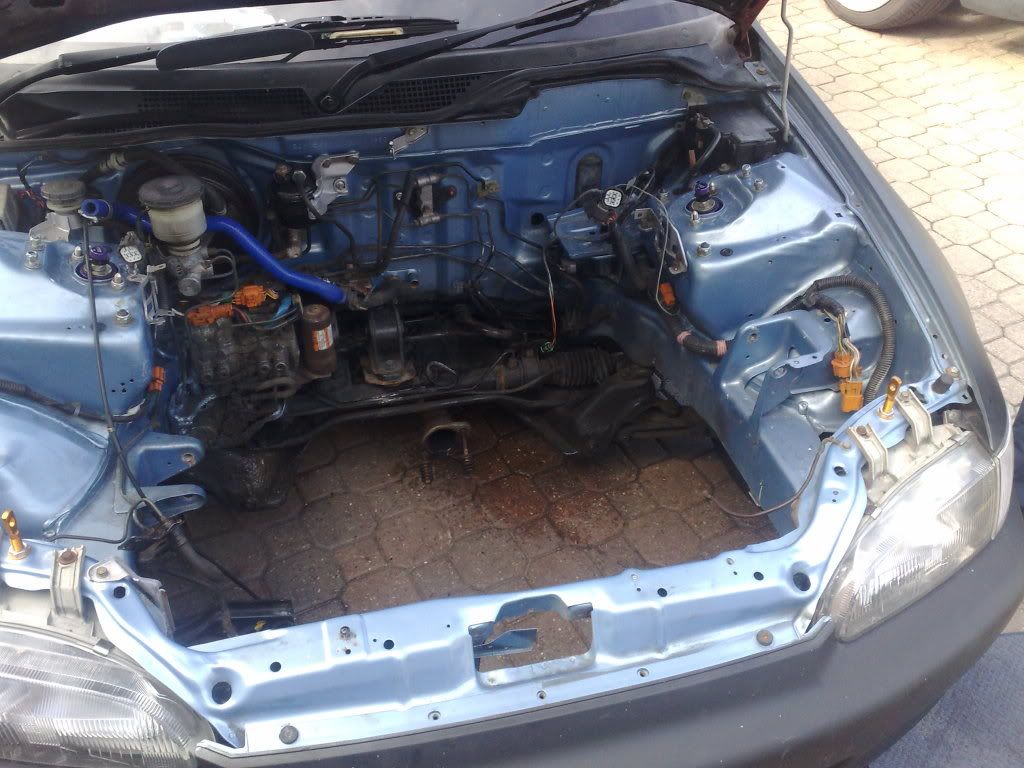
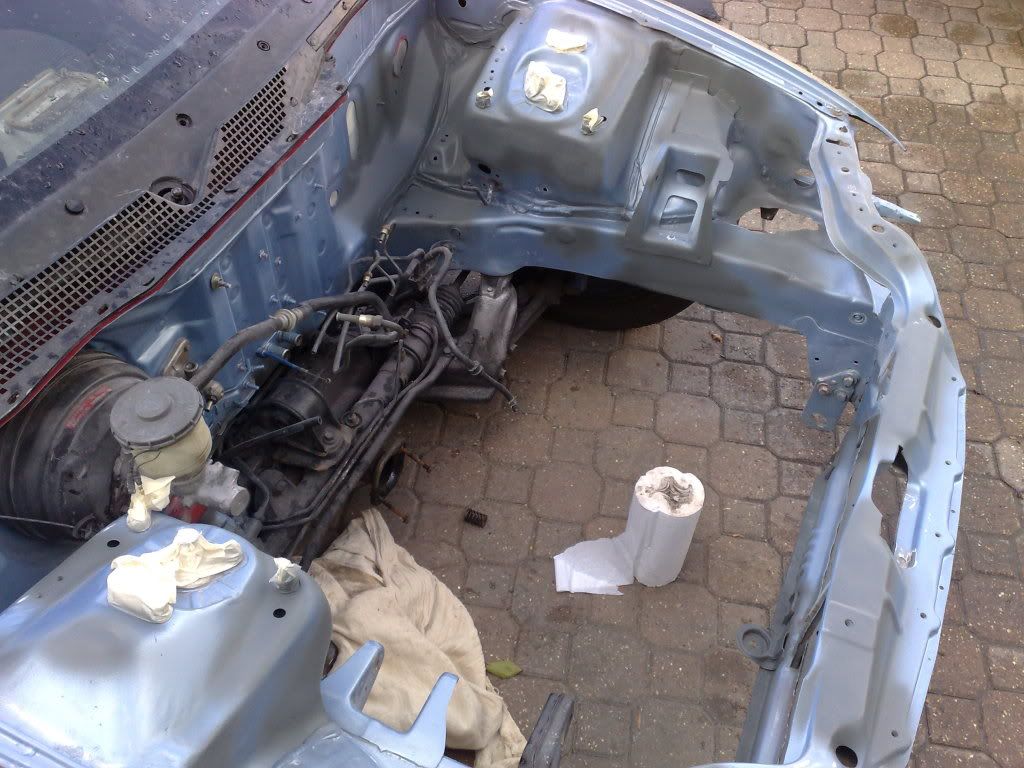
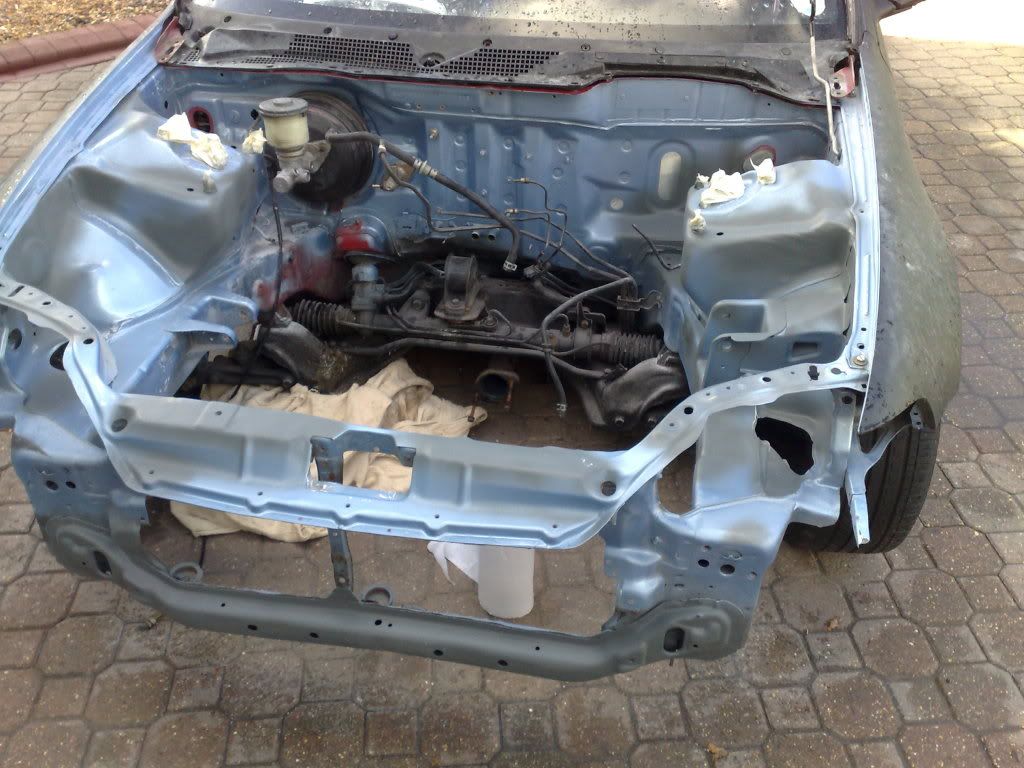
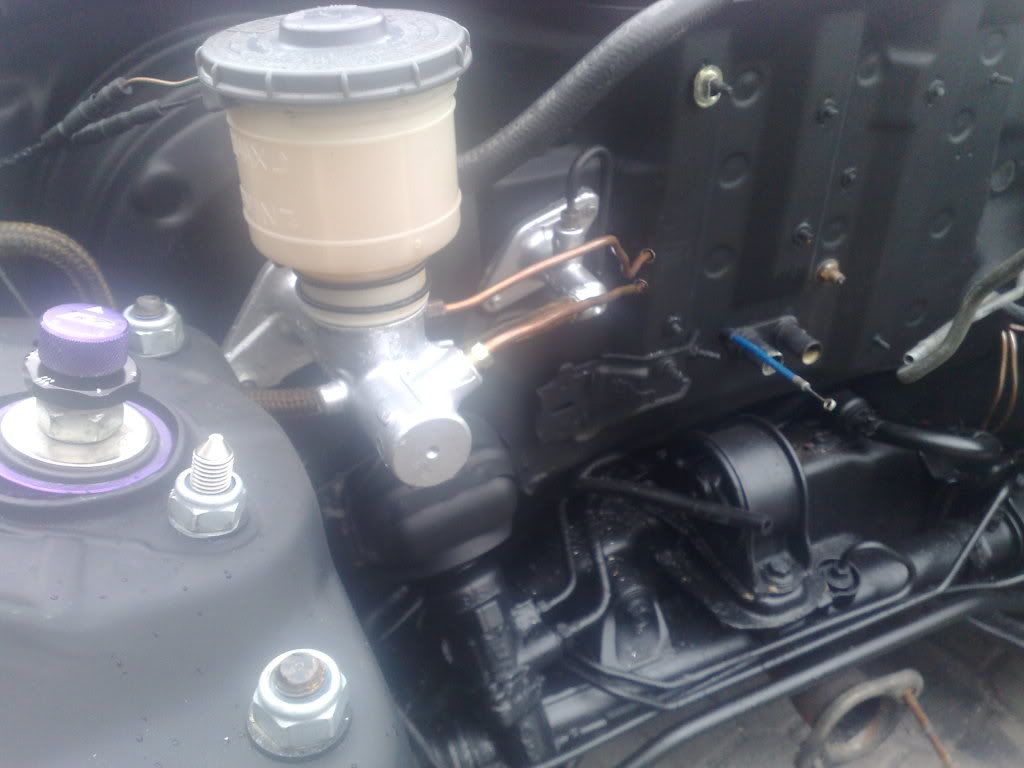
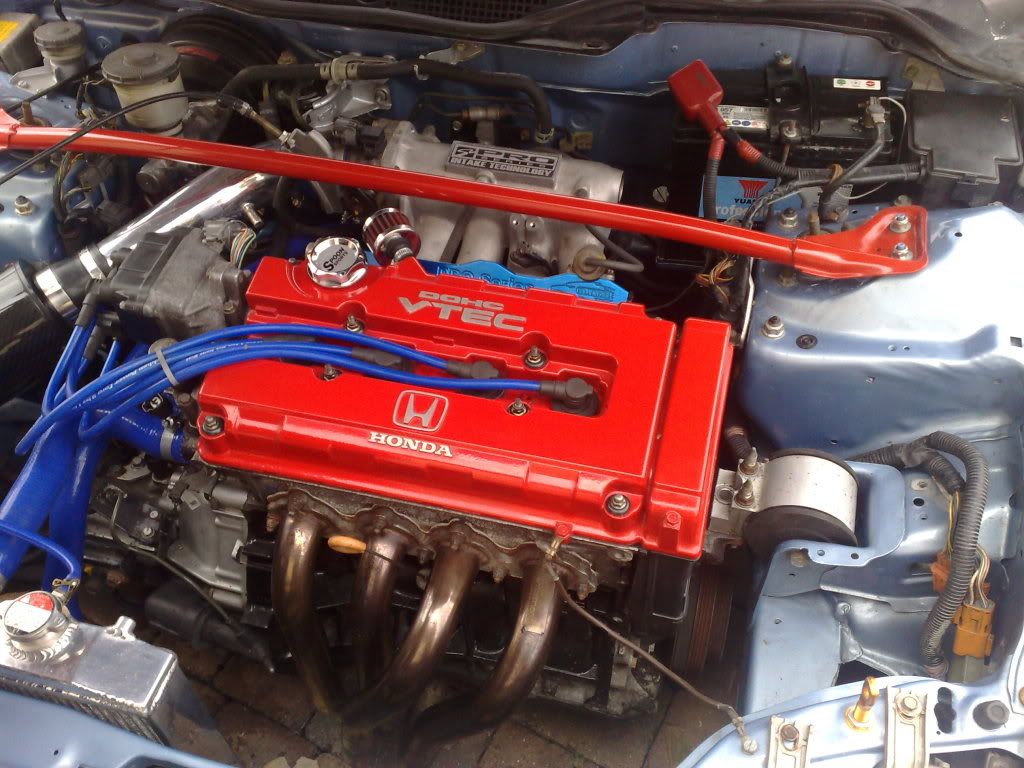
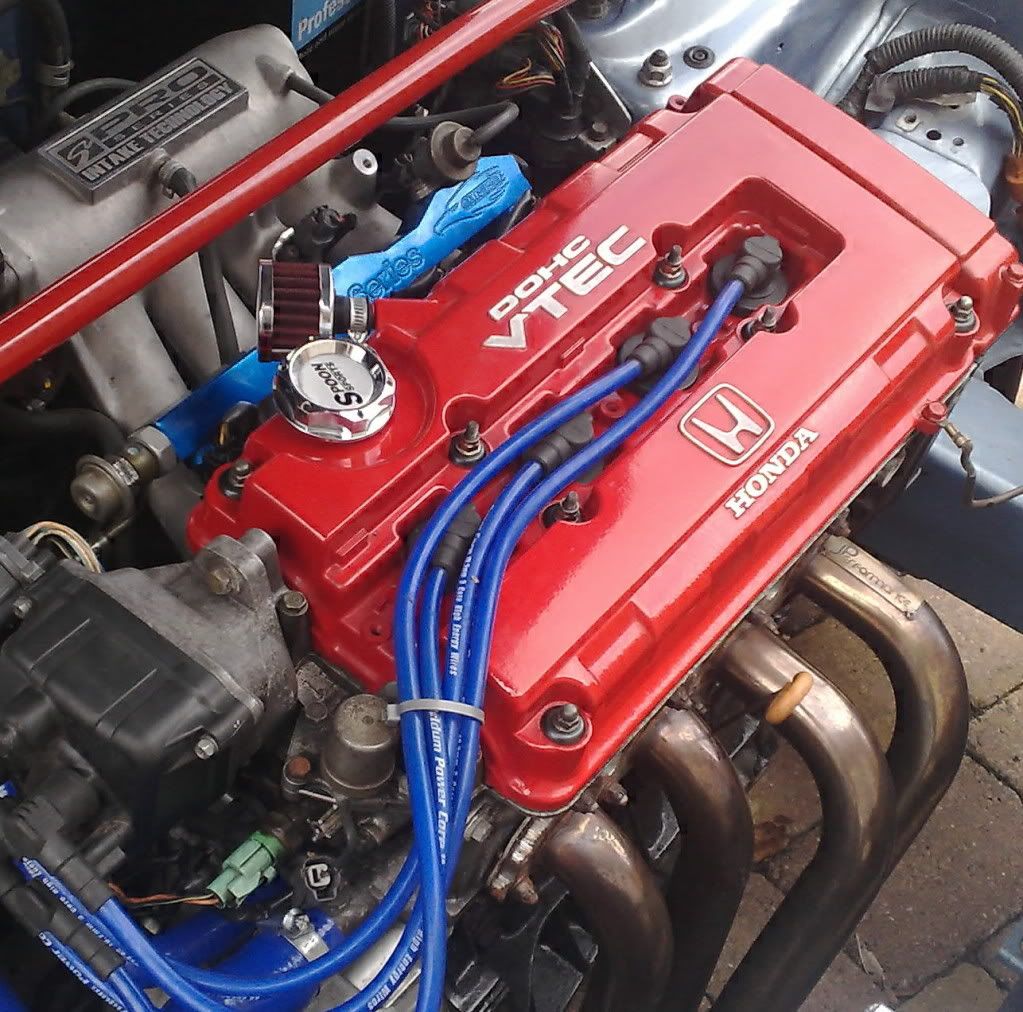
Some pics of the old engine bay style. I feel it is to busy to many colour etc so i am going to change it when the engine goes back in. However the oil pump failed and ended up scoring the crank so the engine is out for a tidy and mini rebuild atm

238.jpg

243.jpg
 
Last edited:
hope the paint turns out perfect , have heard many horror stories about matt paint
guy on here did a matt black ek and it looked sweet
 
thanks guys appreciate the good feed back. Yer the paint doesnt look to bad, I worked as a painter for 6 years before uni so thats a good help. Most of the effort is really in the prep work. However i wouldnt class this as a good job just a quick one to tidy it up a touch...

Next on the cards was to get rid of the knocks and rattles. I managed to find some D2 coils cheap so fitted them and replaced the drop links, bushes etc which seems to have done the trick. I couldn't resist winding them down just a little more.

254.jpg

247.jpg

248.jpg

250.jpg


This is the car about 2 weeks ago. Iv removed the engine so that i can do a mini rebuild on it and check it over. I have also used the chance to shave the bay of unneeded holes, abs, wiring and brake lines.

267.jpg


Later that day
284.jpg

285.jpg


The bay is now into black. A few pics of it and a couple of close ups where some of the holes where.

292.jpg

296.jpg


Wiring extended and moved into inner wings to keep the bay tidy.
291.jpg


Good old cable ties ;-)

295.jpg


Similar idea with the brakes. After removing the ABS components the lines have been ran into the car. Rears in the lower right of pic sorry for the bad pic...

293.jpg


I think it's about time to go and do some work on it now the rain has stopped. It will never get finished sitting on here lol
 
Last edited:
thanks man. It's just about function really. The engine to me should be the centre of the car and the heart of the car. Going fast will never go out of style and i think driving is the most fun part. The sense you get when you beat someone is the ultimate satisfaction knowing all the late nights have payed off...:nice:
 
This looks like a sweet project.

Anymore infor on the wire tucking would be great i know alot of people on here want to DIY it to.

Keep up the good work !
 
It's really not that hard to do. The most time consuming part is taking the dash out to get at the wiring. Once you have access to the wiring its a case of lengthening the needed wires but you can see which ones need doing simply by which ones stop you from reaching. I will try and take some pictures of the wiring inside the car where i extended it at the weekend.
 
Some pics of the motor.

Old boring black block.
272.jpg


Stripped back
273.jpg


New clean and tidy look
274.jpg


Head skimmed, pressure tested, cleaned and painted.
298.jpg


Skunk2 mani to go with it.
300.jpg


Rocker cover now body colour
299.jpg


Short box cleaned checked and painted (stage 3 clutch and lightened flywheel to be fitted)
301.jpg


Can you tell which part i have cleaned so far?
302.jpg


And just a few pics so you may get some idea of what it may look like when it goes back together after many hours of cleaning, building and painting.

314.jpg

318.jpg
 
GOD DAMN!!! sheer s3x! wot prep went in2 painting the actual car? do you sand it down at all? prime it? love the matt black look but does it make dents stand out more? and bad points about going down this road? honestly dont have a clue about painting a car but would be tempted to go for the matt black cos its only a ej9... and it would be something new to look at...
 
When i first saw this i thought oh great "rice" i was expecting big body kit and huge wheels.

In actual fact i'm VERY impressed. You have done and excellent job it looks sooooo clean and tidy and very stealthy!!!

I like it a lot keep it up!!!!
 
Cool project man im well impressed:nice:

looks like a real track slag:drive:
 
hope the paint turns out perfect , have heard many horror stories about matt paint
guy on here did a matt black ek and it looked sweet

can u pm me the link to the matt black ek? if u can find it...
 
GOD DAMN!!! sheer s3x! wot prep went in2 painting the actual car? do you sand it down at all? prime it? love the matt black look but does it make dents stand out more? and bad points about going down this road? honestly dont have a clue about painting a car but would be tempted to go for the matt black cos its only a ej9... and it would be something new to look at...

Thanks... Yes you must sand it down that is imperative! When you sand the paint you are actually removing the imperfections but the main reason is to allow the fresh paint to 'stick' it is know as 'keying the paint', in the trade. To allow the paint the best possible chance to stick you must aim to remove ALL gloss from the old paint before you begin painting this is the same with all paints, regardless... Applying the paint isnt that hard as you are not trying to get a good finish with a high gloss this means you can just 'dust' the paint on lightly for a few coats and slowly build it up. I painted that in the street with rattle cans and it doesn't look too shabby imo. You should use 800 wet and dry paper with plenty of water to stop the paper clogging....

Primer- is only needed on areas that you have repaired or where metal is exposed as the paint will not stick to metal only primer will. If you are going to use rattle can i would advise you to use zinc primer as i have found this the best to use. If you can use a spray gun i would say to use 2K primer (read up on this as it isnt too good for your health)

Dents- I would say if anything you can see dents less on matt black (Not so true for satin black) as the light is absorbed into the paint rather than reflecting the imperfections back at you. However if you are going to paint your car you may as well repair these while you are on.

Downside- I would say the only negative thing about the paint is it is hard to keep clean. However i think this isnt to bad as the car is so easy to clean and i only shammy my windows the paint never seems to show water marks like gloss does. On a cheap car that is made to drive i would not change it. It has been ideal for me, no good for show cars etc but perfect for function.

I hope this helps you. Any more questions just ask.

Also thanks for all the comments from everyone else they are a great encouragement! More pics later after todays work:nice:
 
Back
Top