First things first, appologies for the epicly long first post on here!
Itâs all copy & pasted from another forum (Track-Ninjas - Build It, Race It, Break It, Repeat) so sorry if it jumps around a bit! And as much as I love taking pictures, itâs generally the last thing I think of when doing anything to my car so thereâs not a lot of âin progressâ shots, but youâll get the general idea!
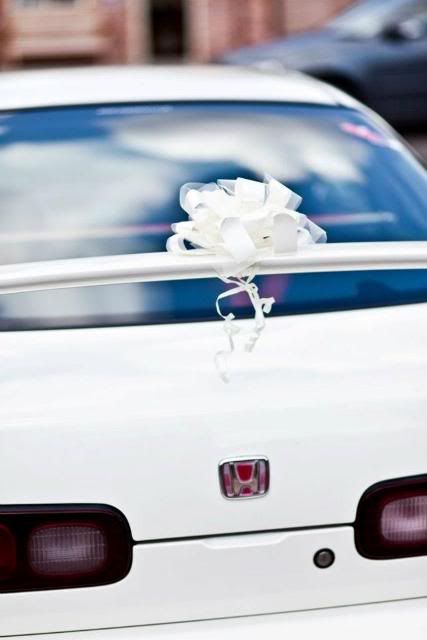
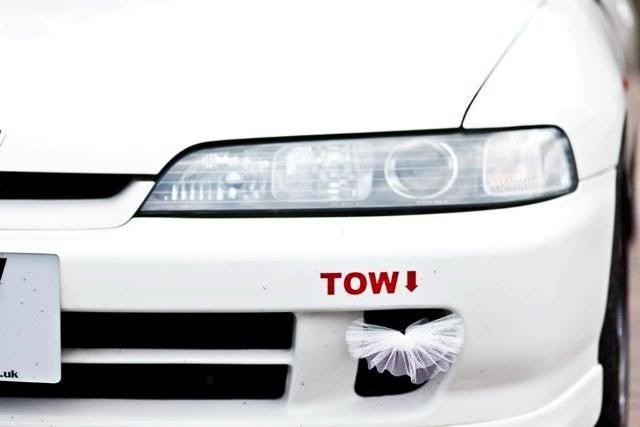
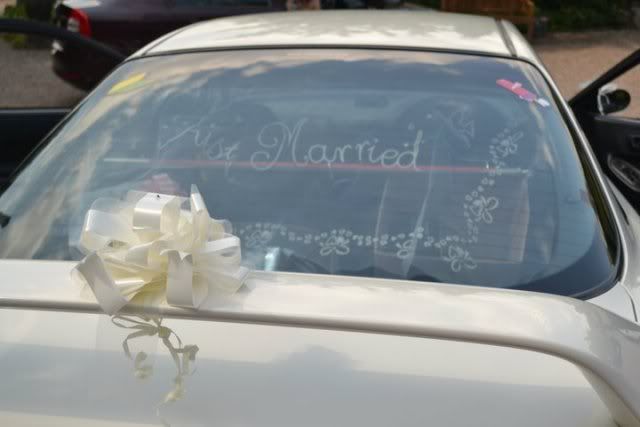
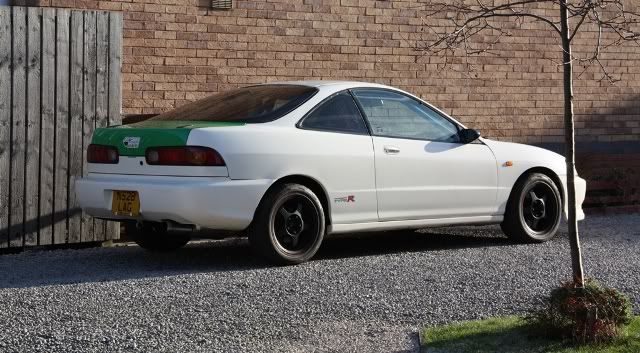
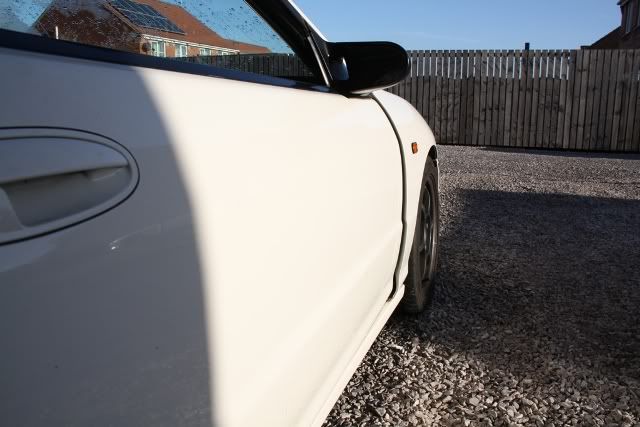
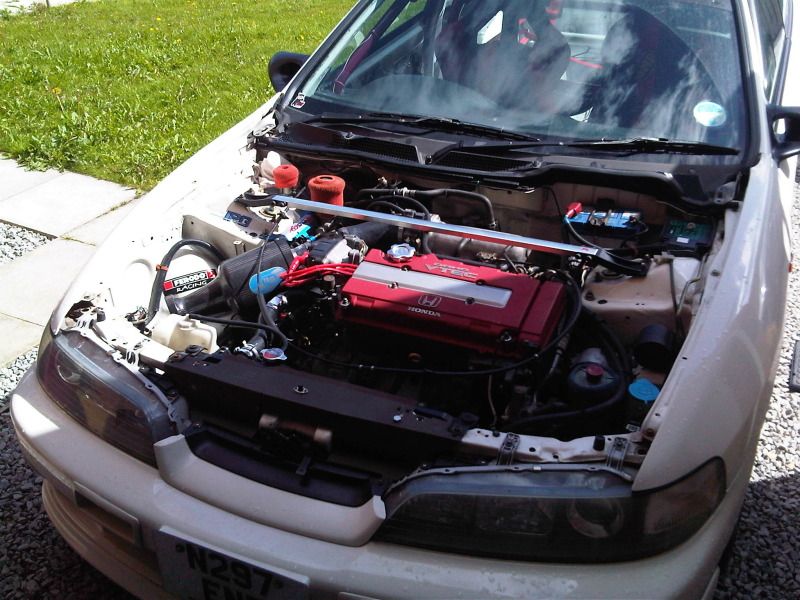
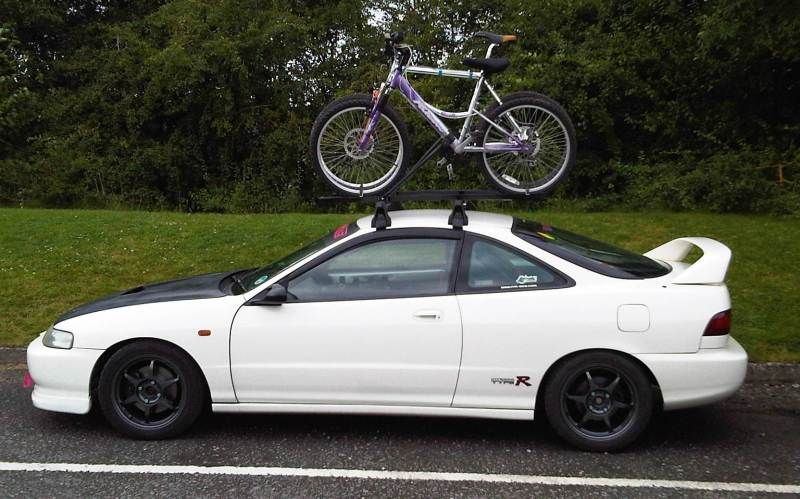
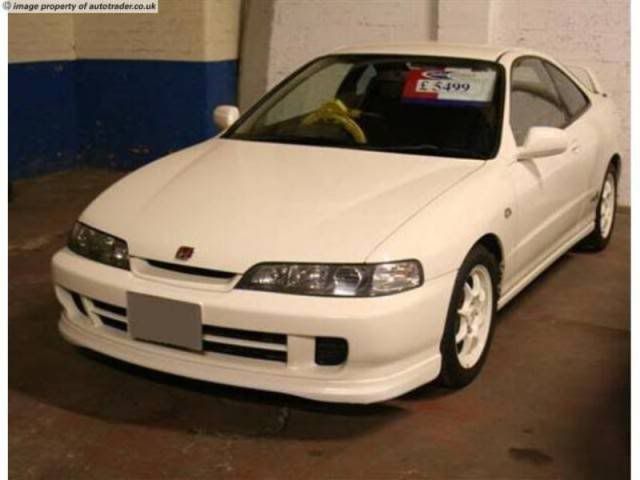
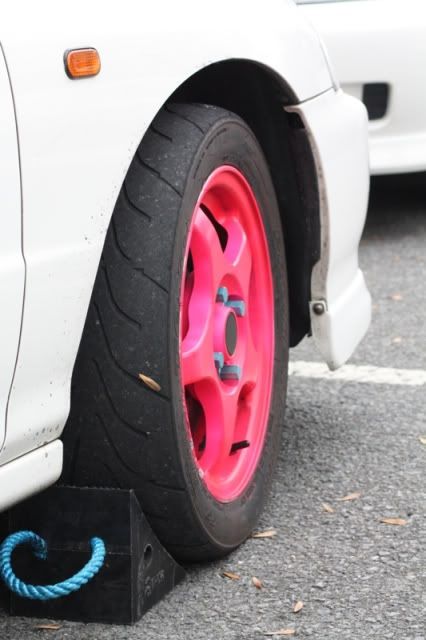
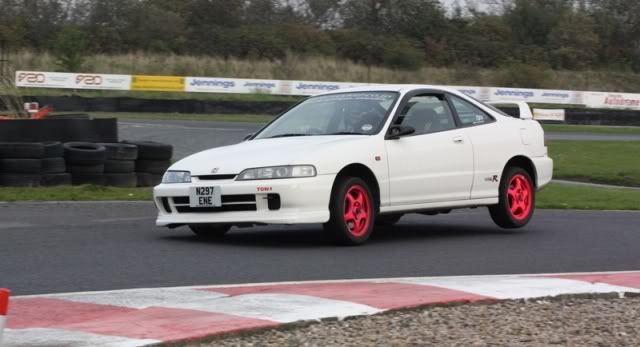
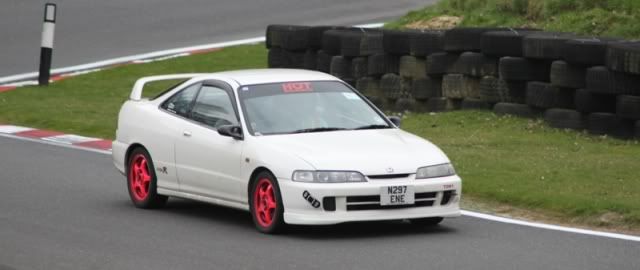
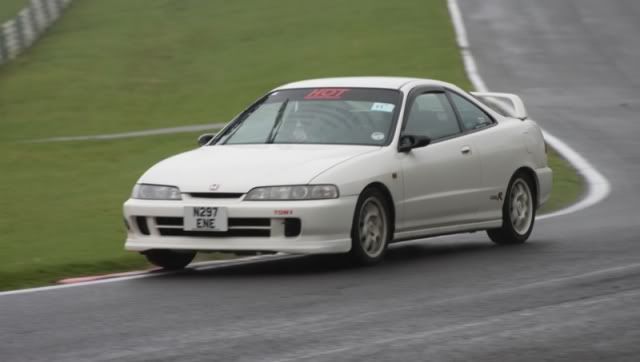
I bought the car looking like this as a fresh import about 4 years ago:
Spec:
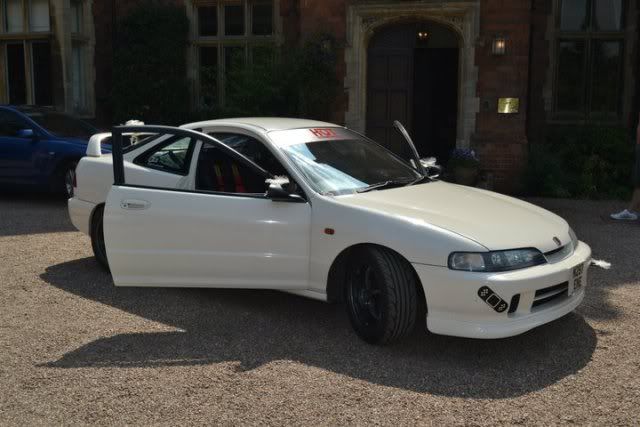
â96 Spec JDM Honda Integra Type-R (DC2)
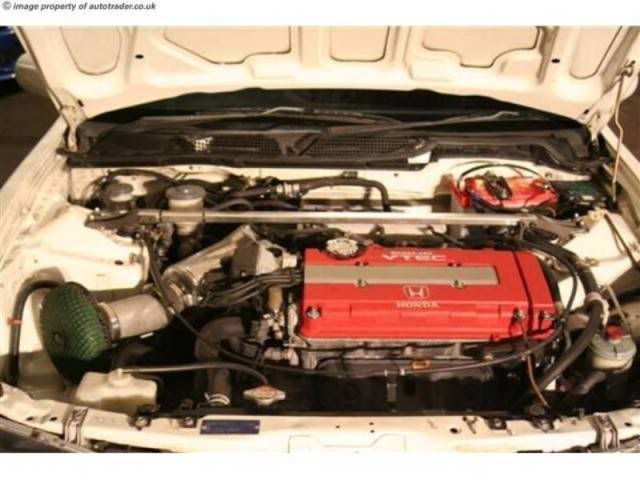
Pretty much stock other than:
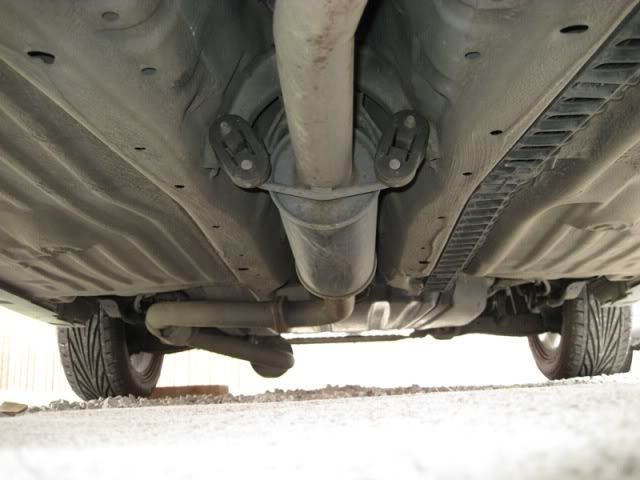
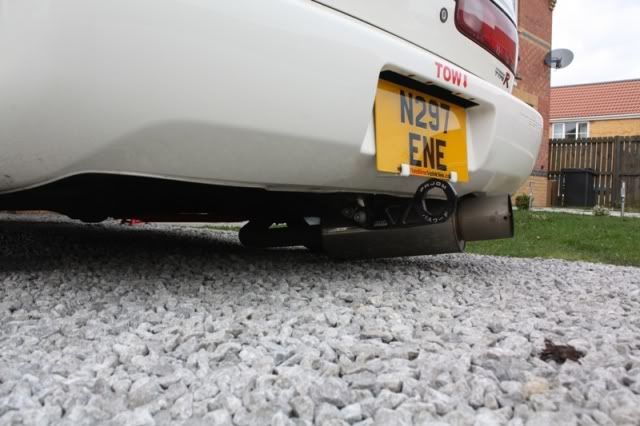
HKS Hi-Power exhaust
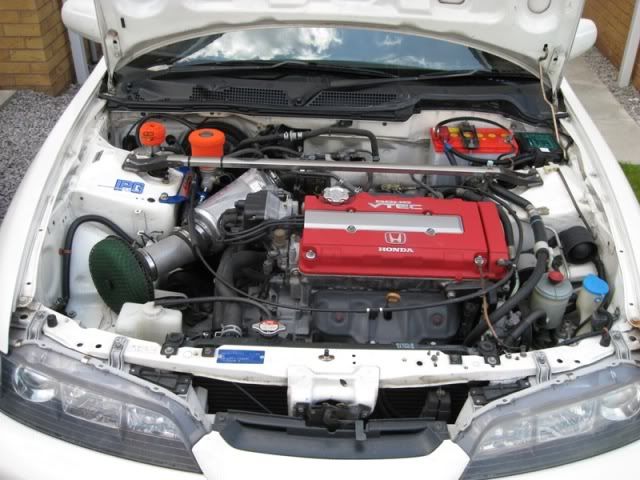
HKS mushroom air filter
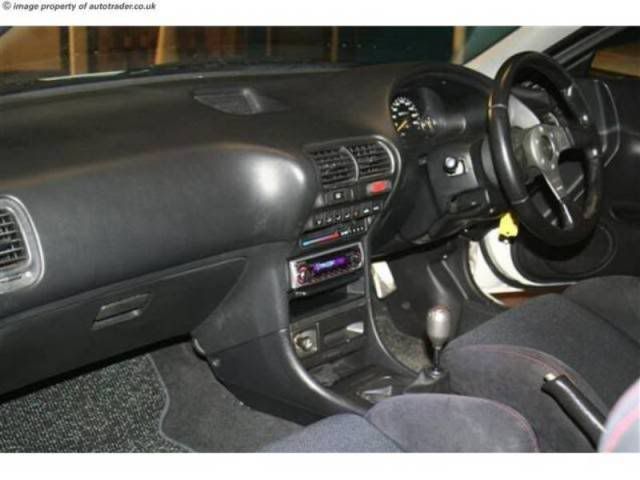
Momo Race steering wheel
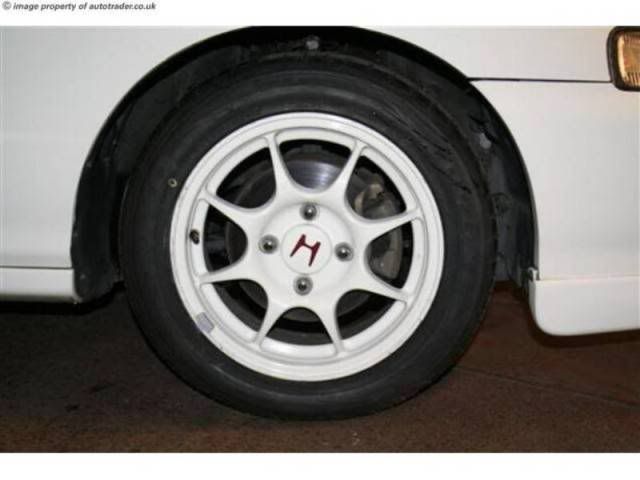
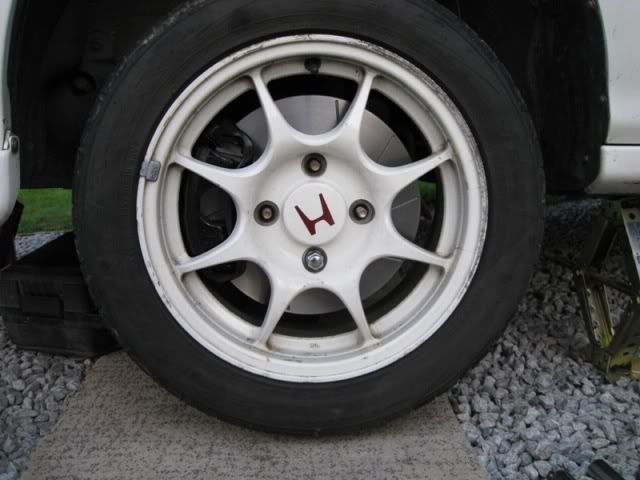
Toyo T1-R tyres
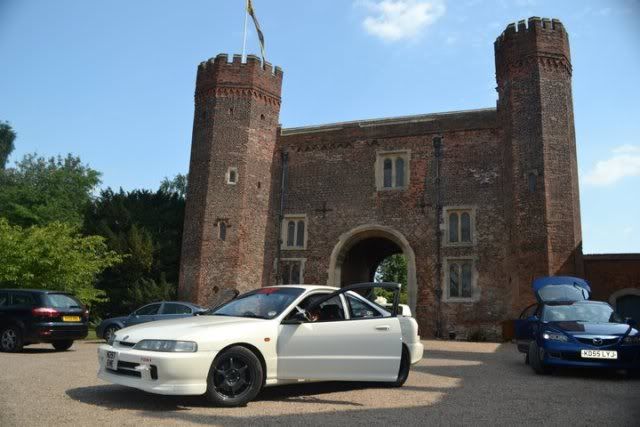
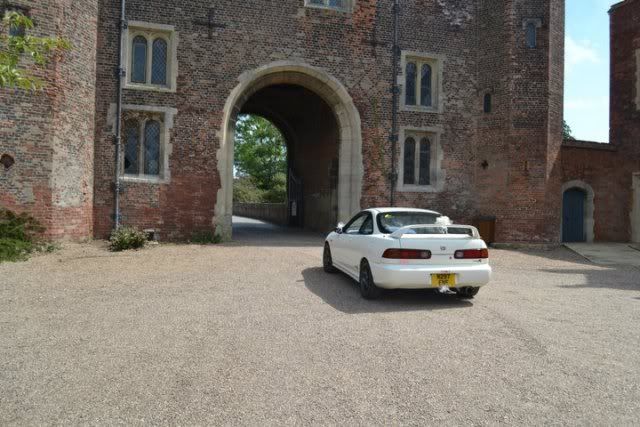
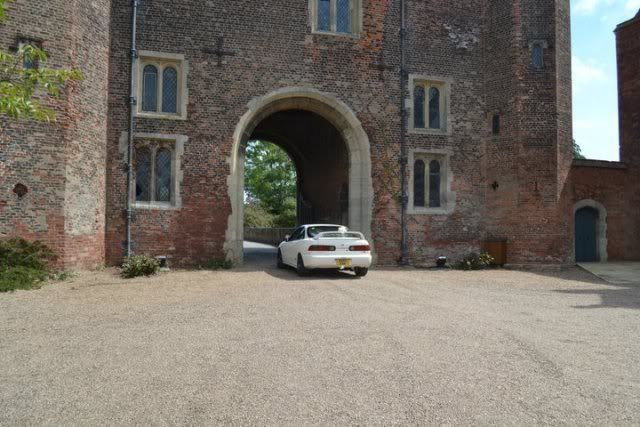
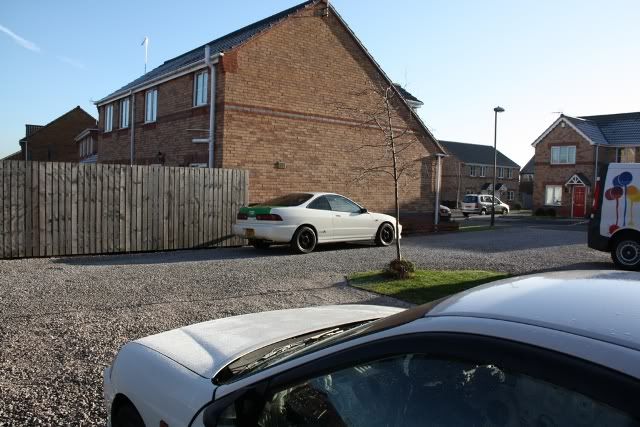
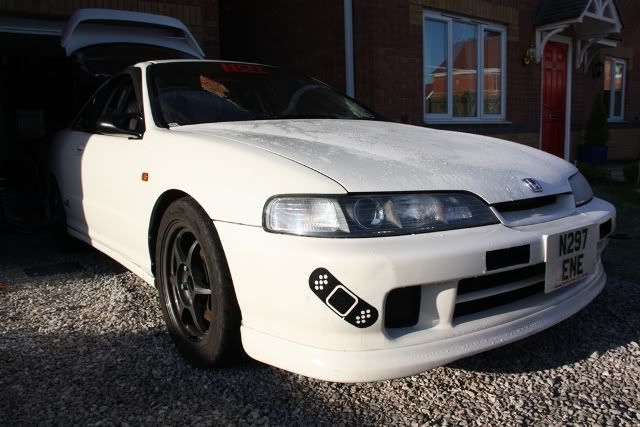
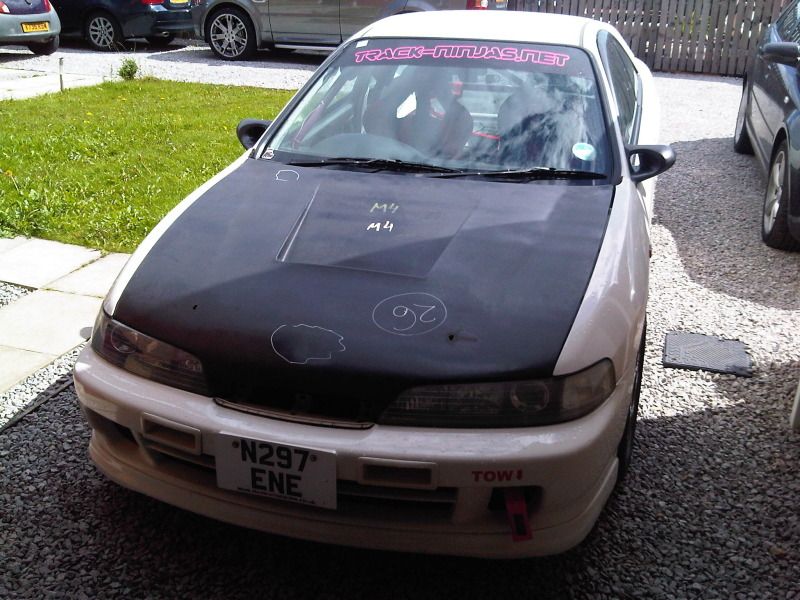
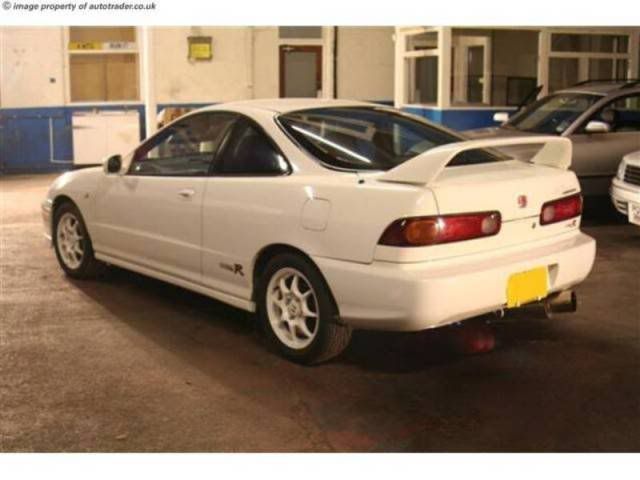
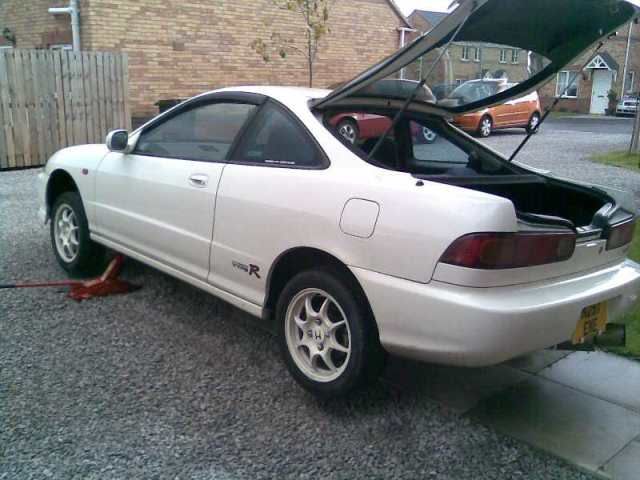
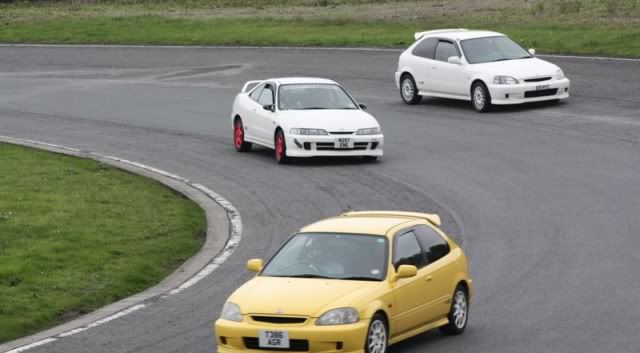
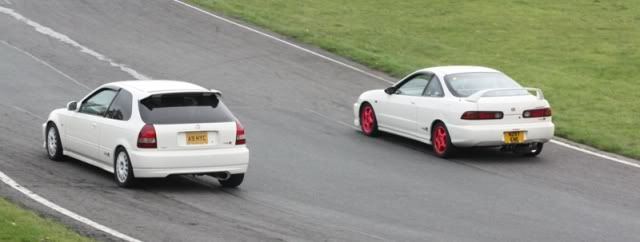
A few more shots of her when I first bought her:
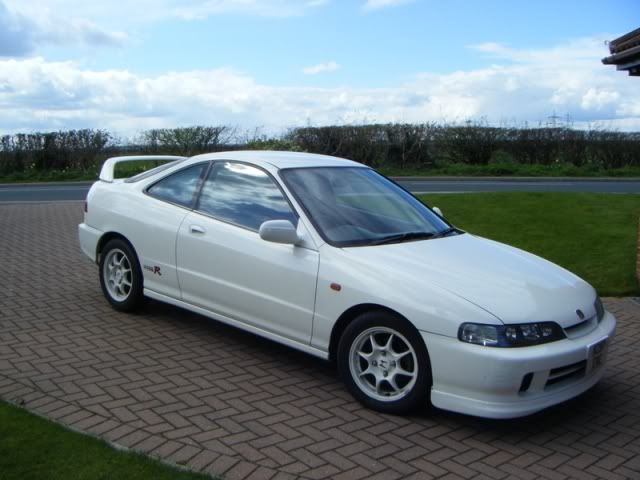
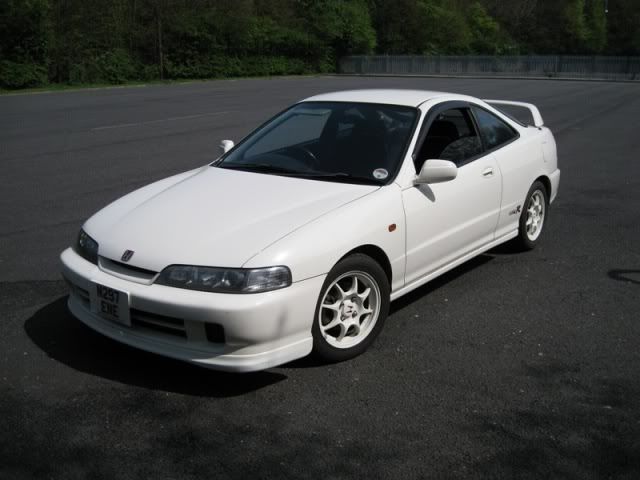
Bodywork wasnât perfect, but mechanically it seemed pretty mint and no obvious rust.
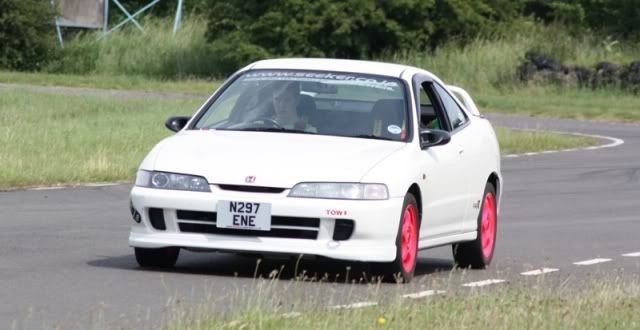
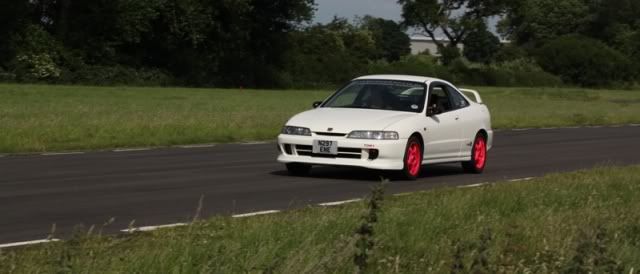
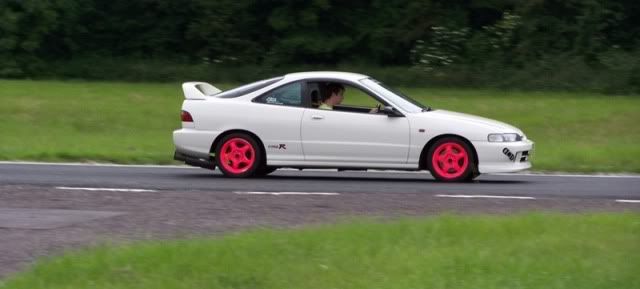
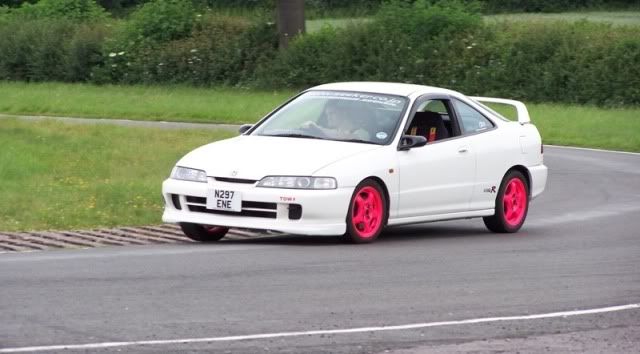
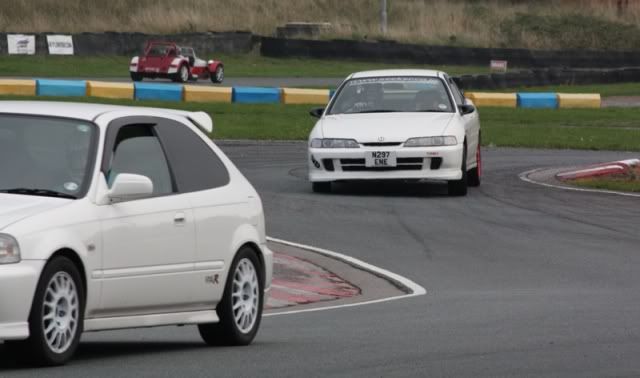
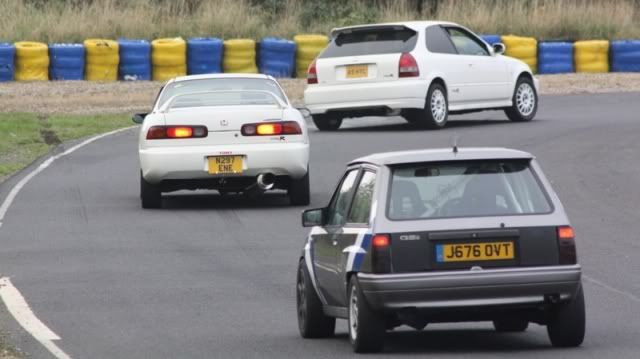
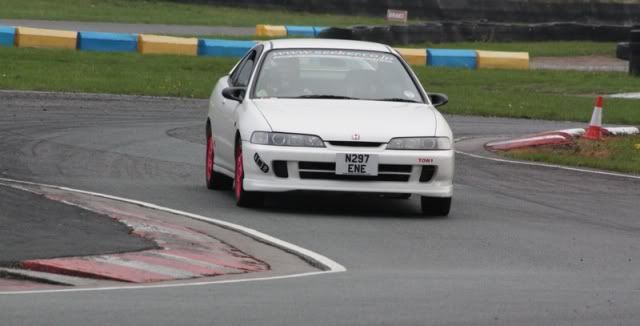
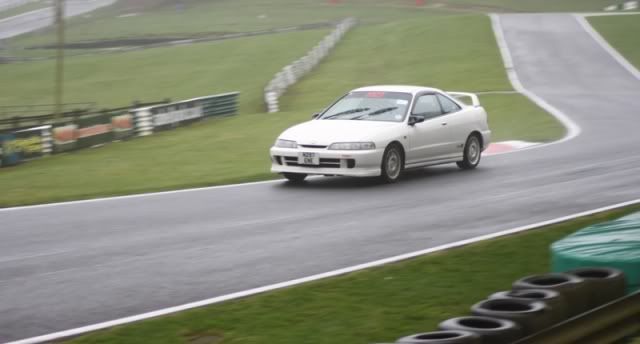
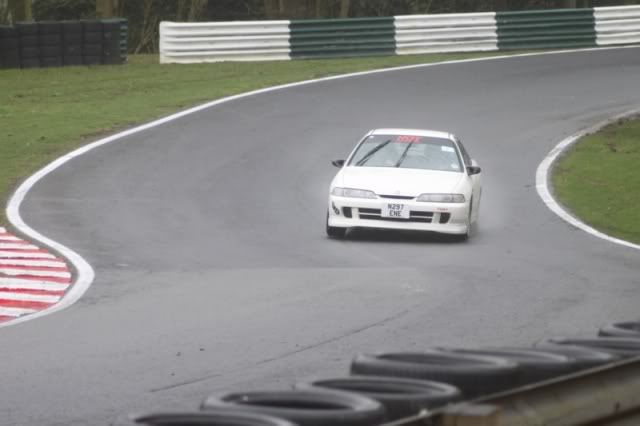
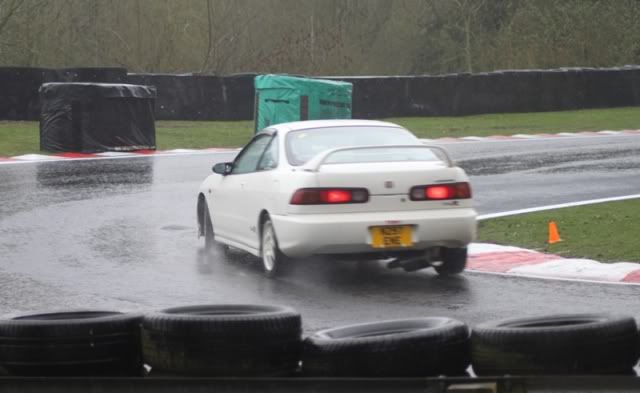
My long term plan with the car was to keep it pretty much as-is, and enjoy it as one of the best handling FWD cars of all timeâ¦but it doesnât take long before you want more!
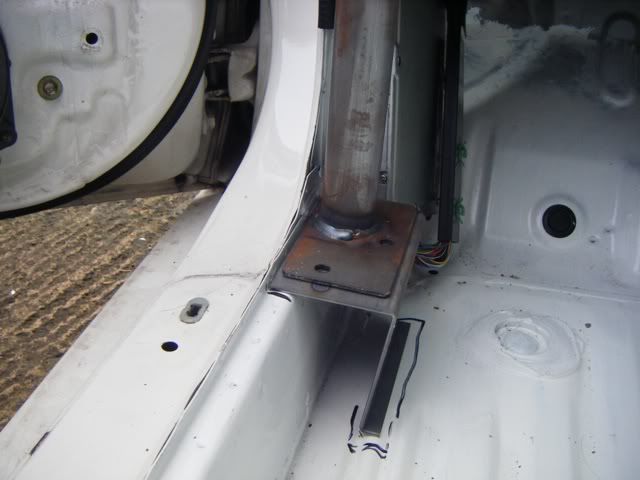
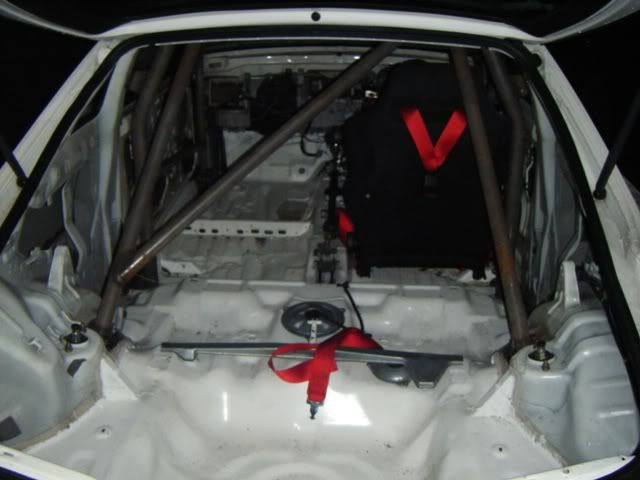
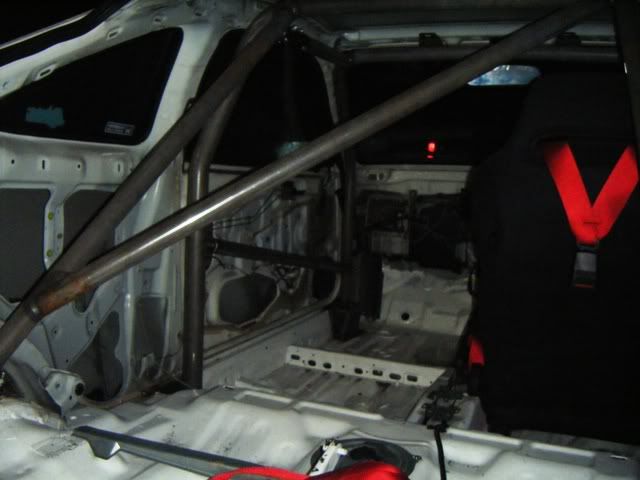
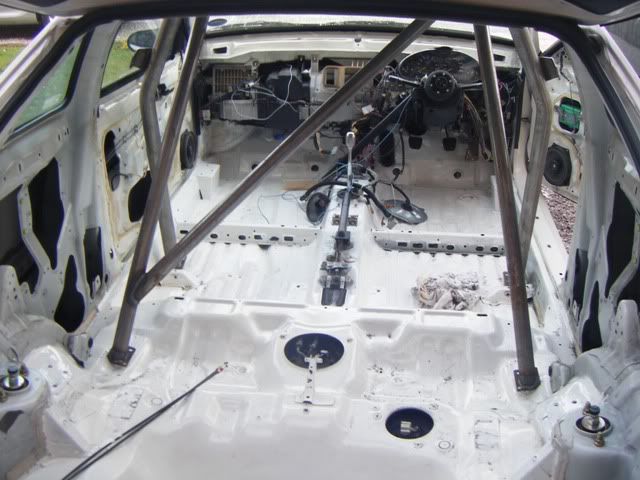
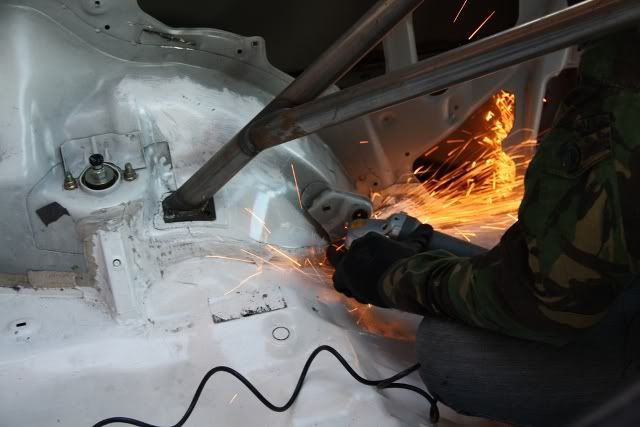
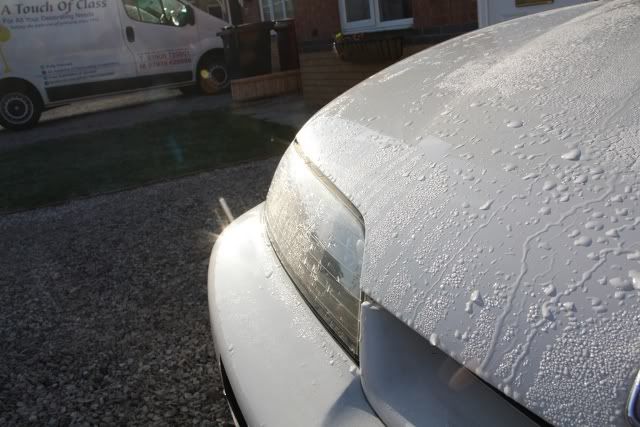
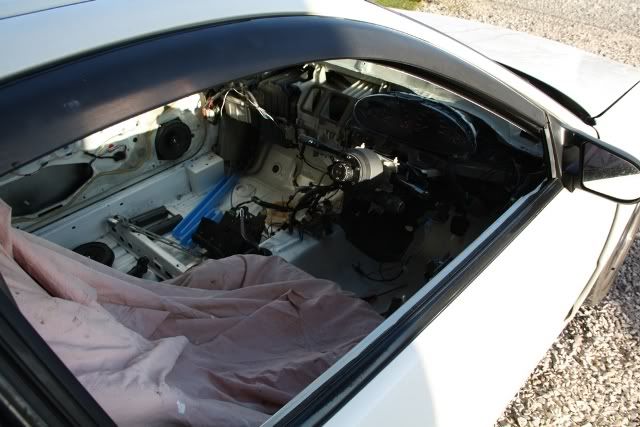
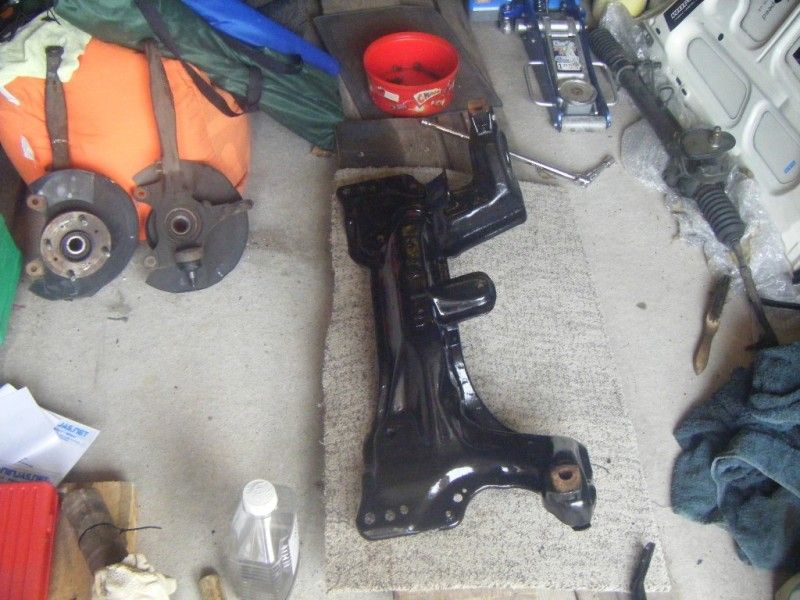
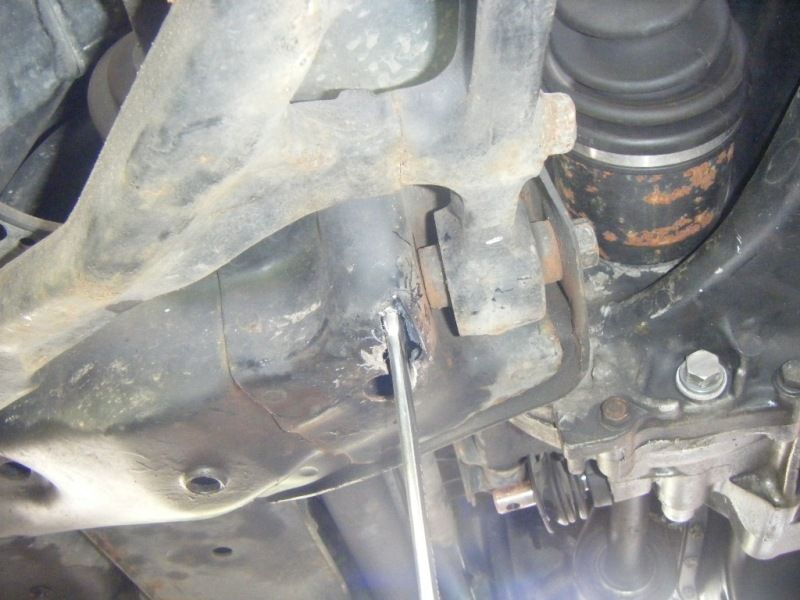
Although mechanically minded, Iâve never really had a car Iâve needed to do any major work on, so the first year of ownership was spent mostly racking up the miles and tidying bits up:
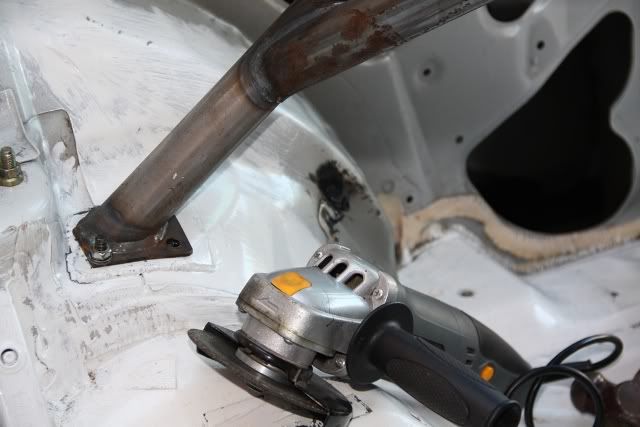
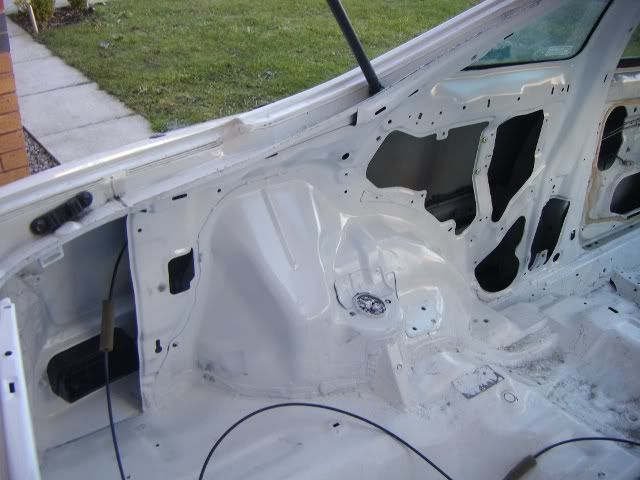
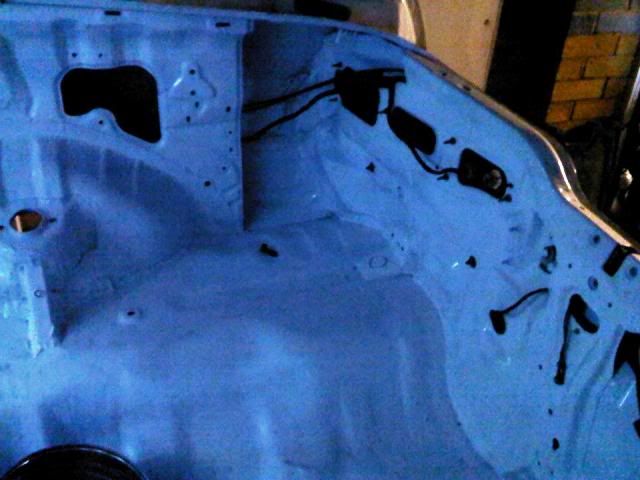
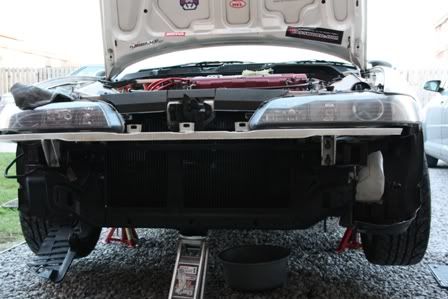
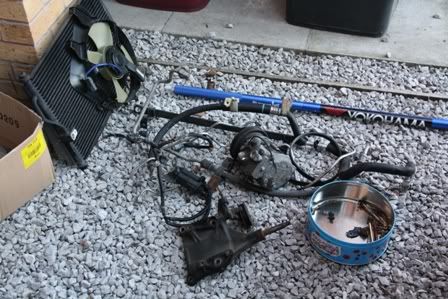
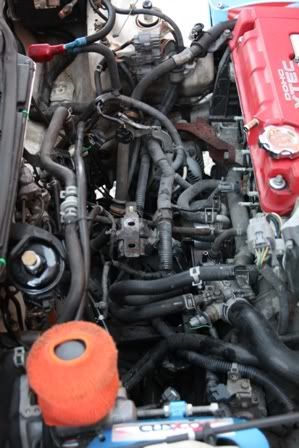
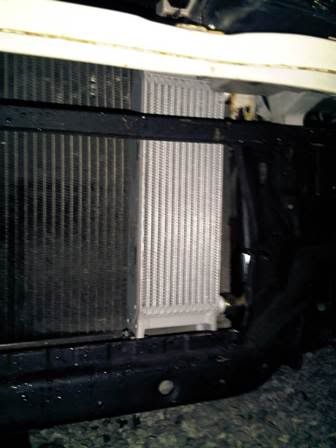
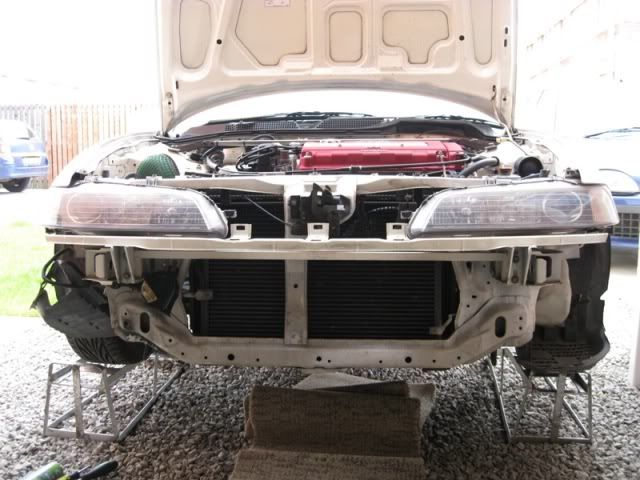
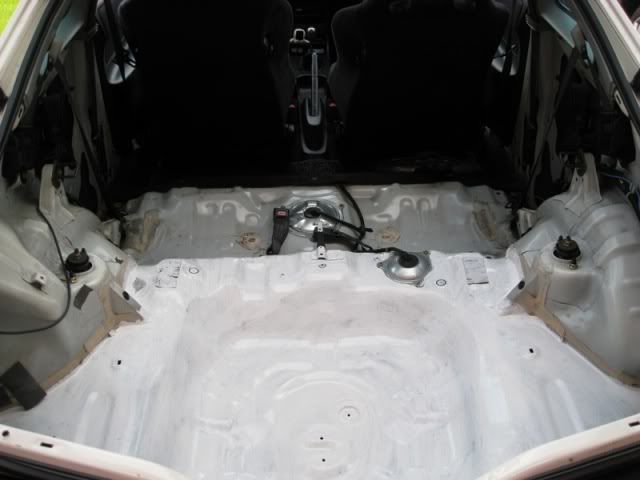
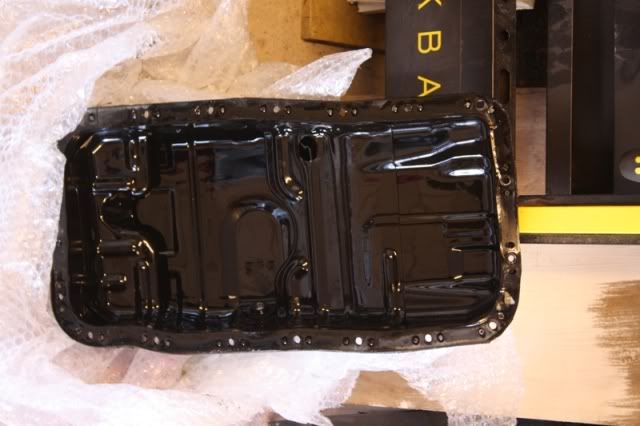
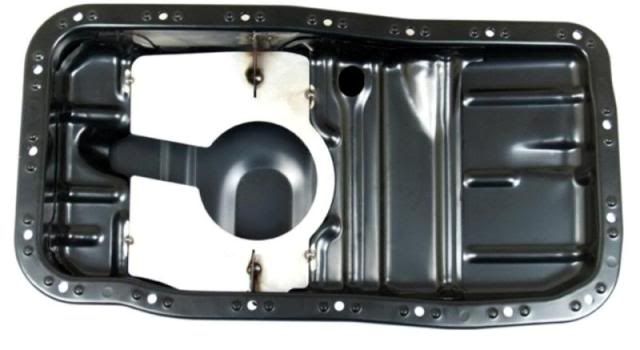
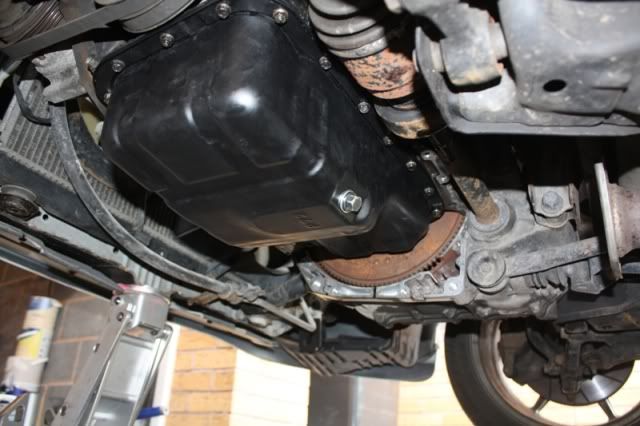
All stripped down for a check over and a bit of underseal. Still amazed me how clean it was for its age:
Mugen reservoir covers and Cusco brake master cylinder stopper added:
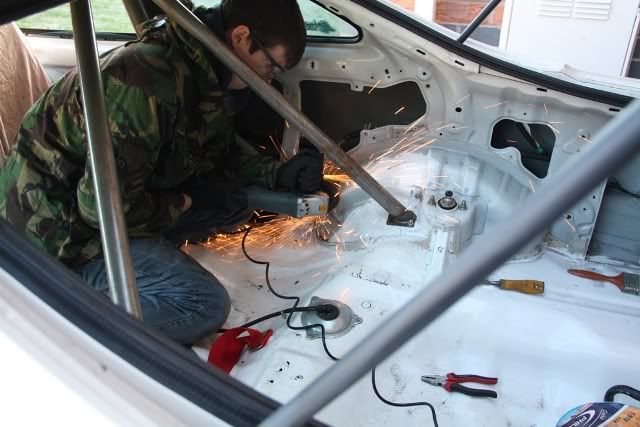
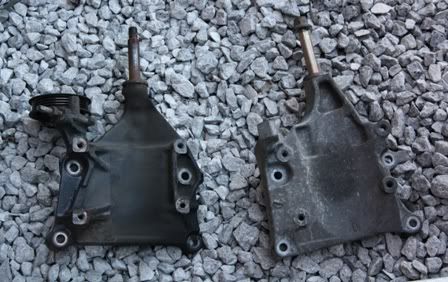
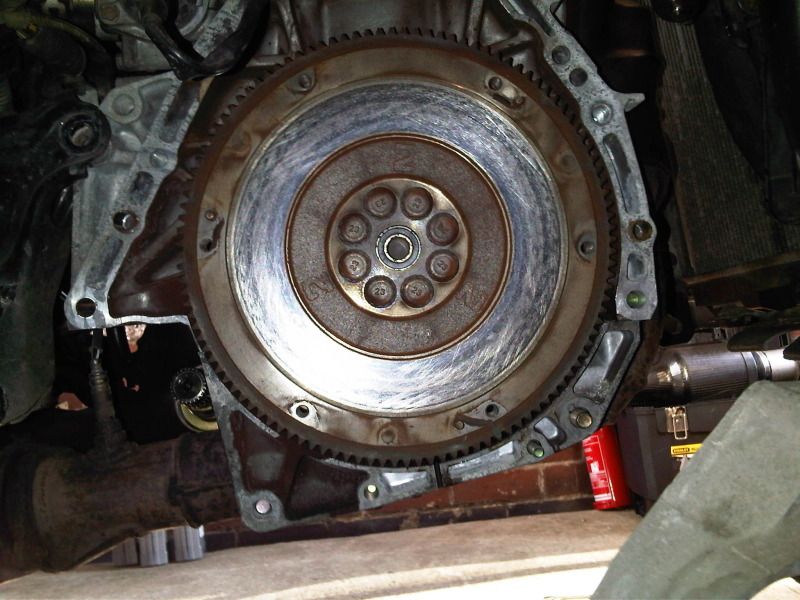
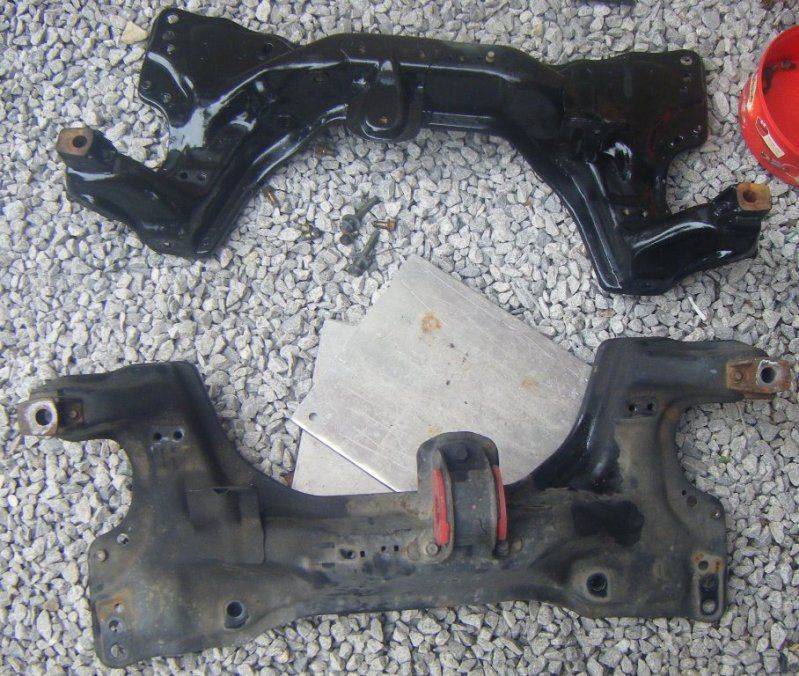
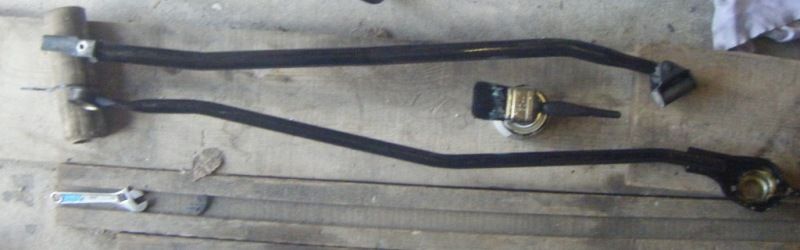
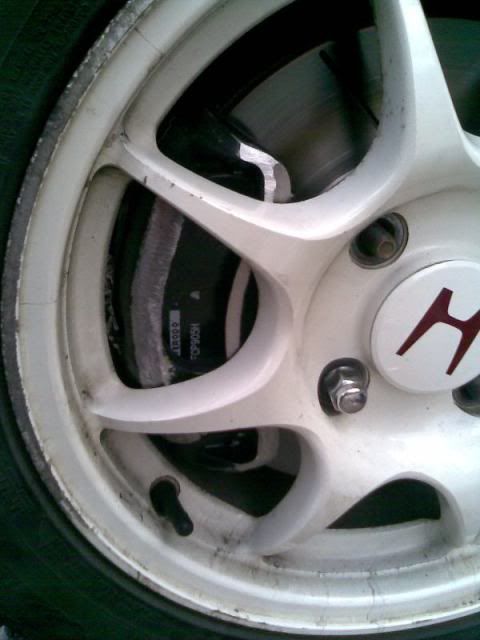
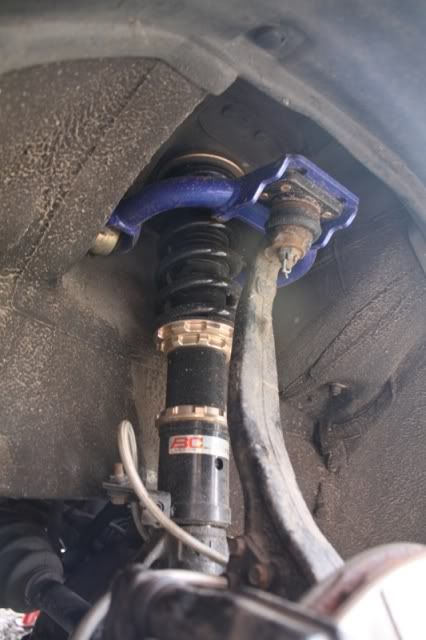
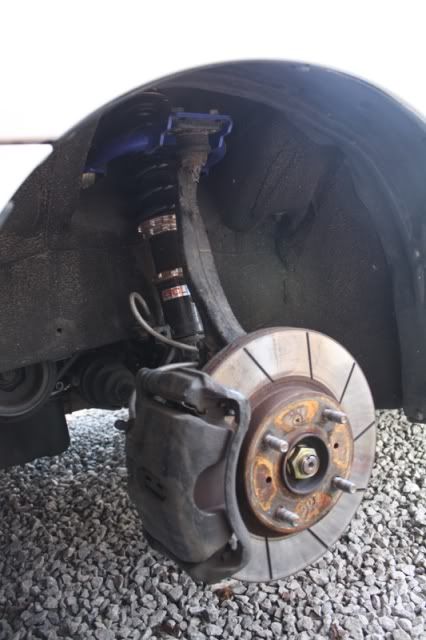
Then it started to develop a hellish knock when setting off/changing gear. Engine mounts inspected and found to be less then perfect so replaced with some firmer billet jobbies:
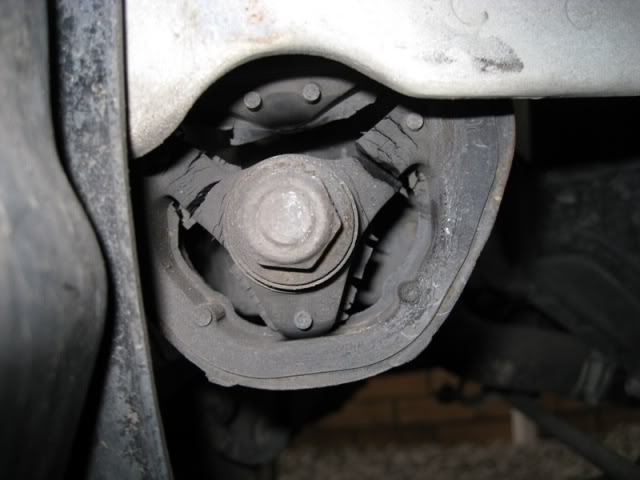
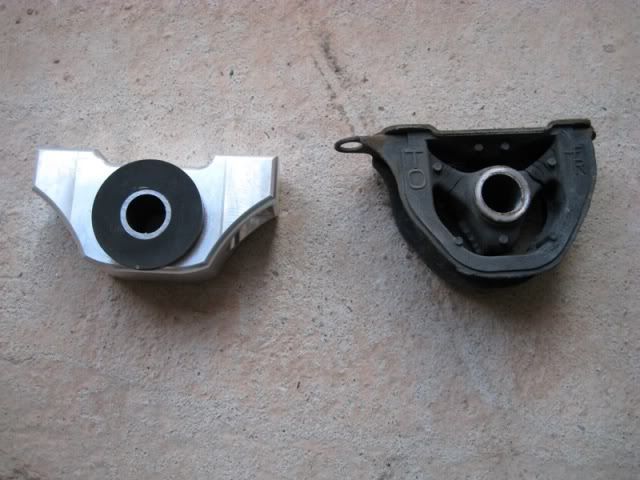
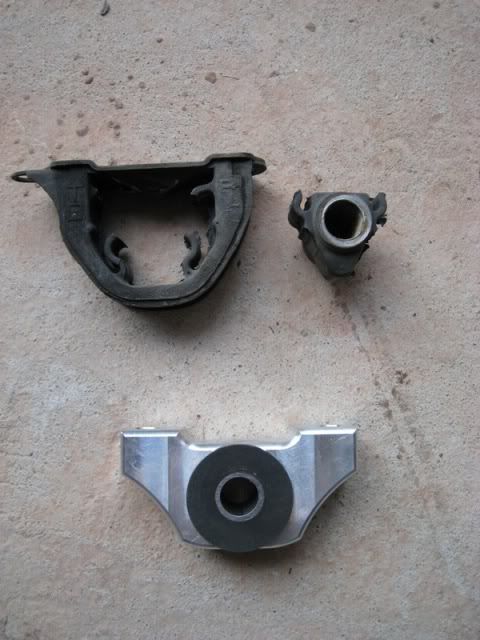
(these were on for about a year until Iâd had enough of the constant cabin vibration so replaced them with OEM with poly inserts)
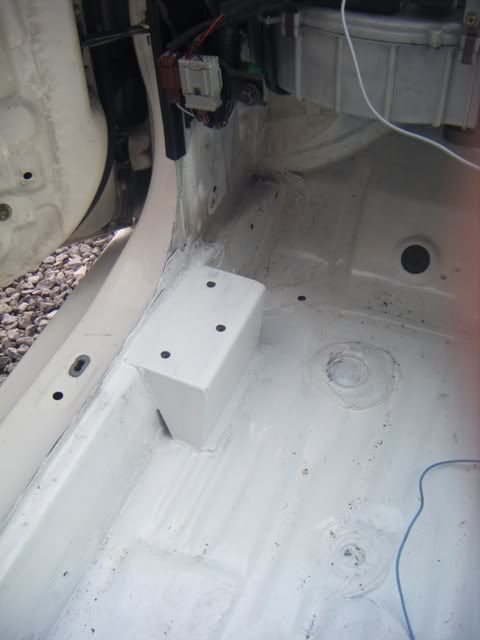
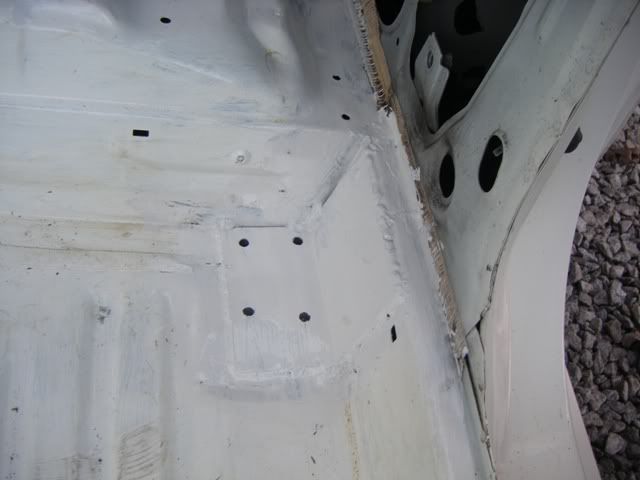
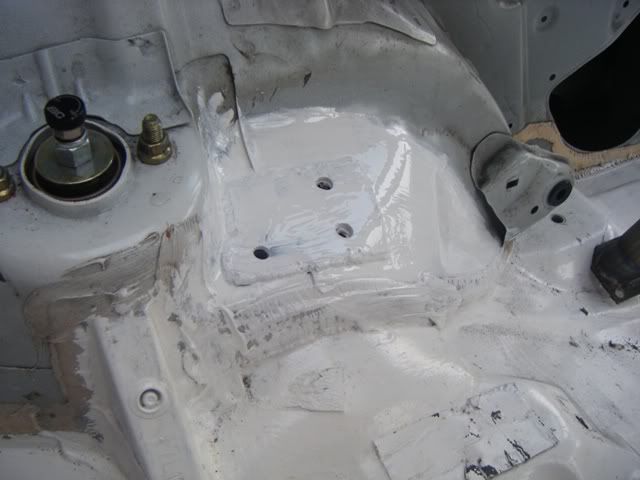
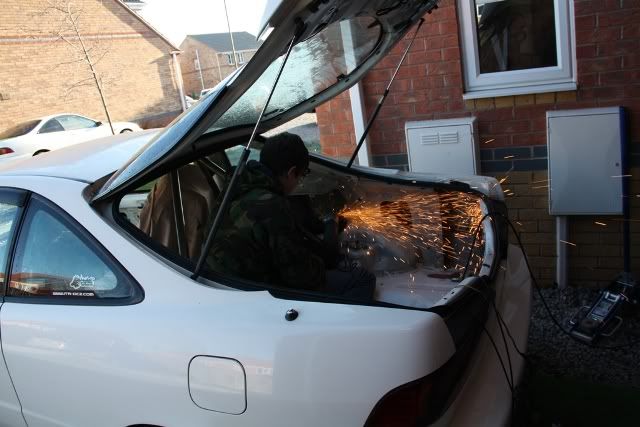
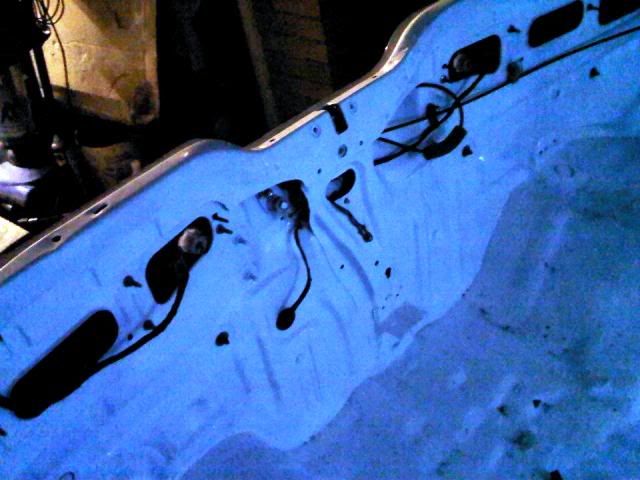
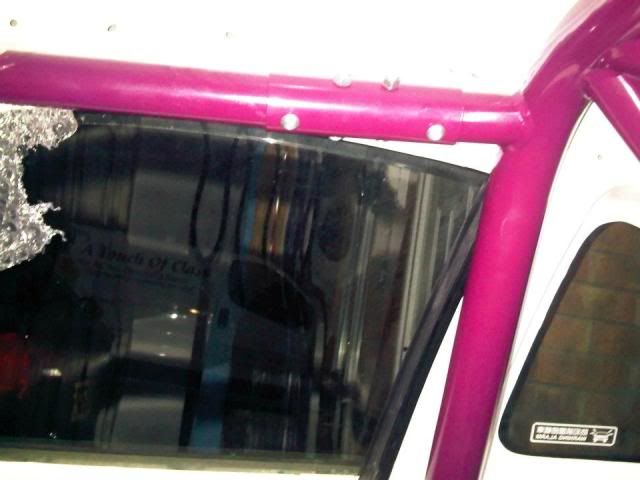
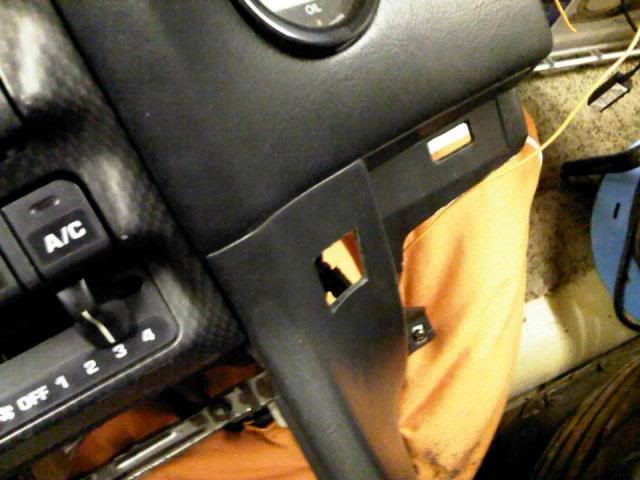
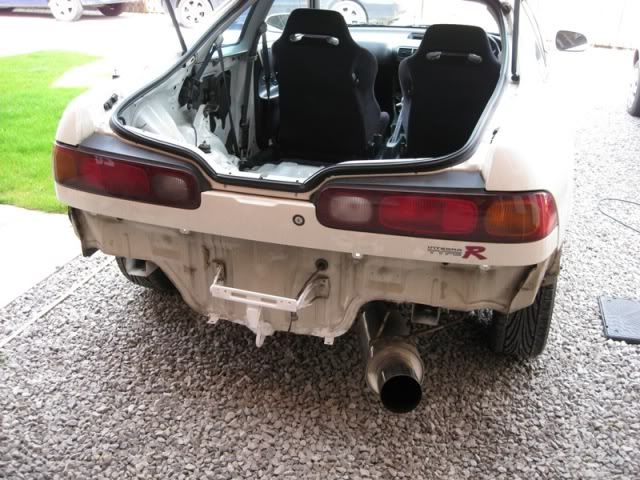
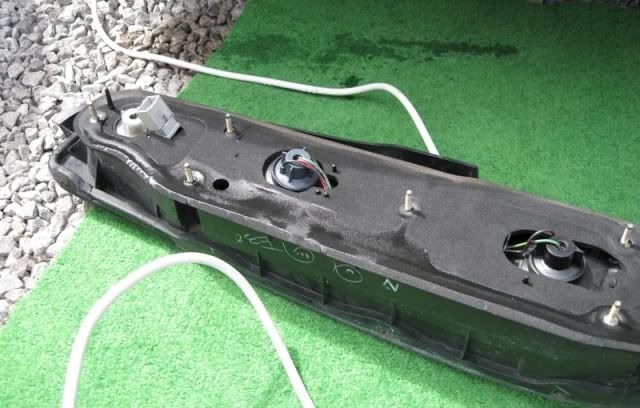
Also sorted out the classic DC2 leak from the rear light seals â new seals and a lick of paint in the boot area to tidy up the small amount of surface rust that had developed:
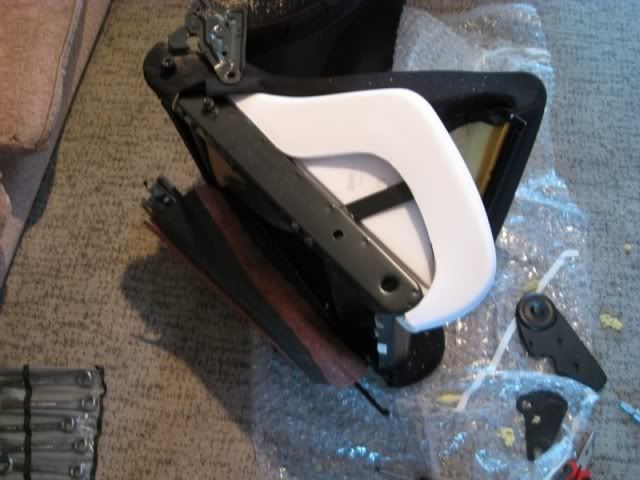
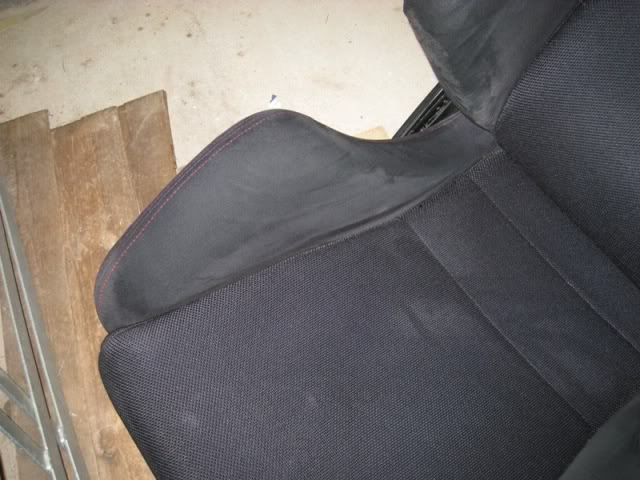
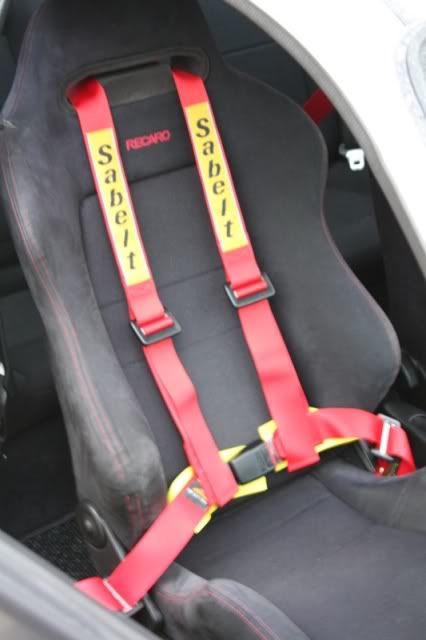
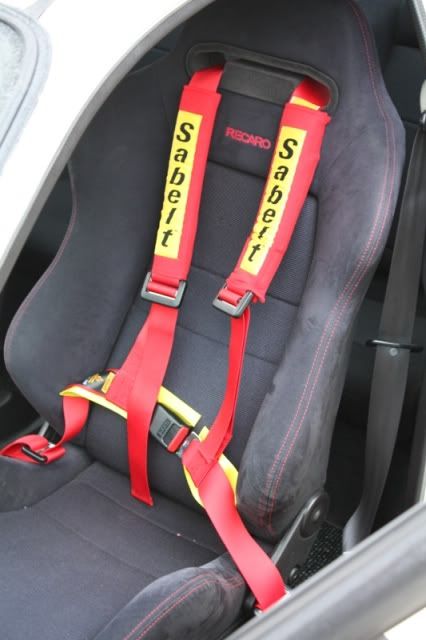
Seat bolster on the OEM Recaros are also prone to a bit of sagging after a few years so I bought a replacement bolster from Capital Seating and set about replacing it:
Before (doesnât look as bad as it felt):

During:
After:
Itâs all copy & pasted from another forum (Track-Ninjas - Build It, Race It, Break It, Repeat) so sorry if it jumps around a bit! And as much as I love taking pictures, itâs generally the last thing I think of when doing anything to my car so thereâs not a lot of âin progressâ shots, but youâll get the general idea!
I bought the car looking like this as a fresh import about 4 years ago:
Spec:
â96 Spec JDM Honda Integra Type-R (DC2)
Pretty much stock other than:
HKS Hi-Power exhaust
HKS mushroom air filter
Momo Race steering wheel
Toyo T1-R tyres
A few more shots of her when I first bought her:
Bodywork wasnât perfect, but mechanically it seemed pretty mint and no obvious rust.
My long term plan with the car was to keep it pretty much as-is, and enjoy it as one of the best handling FWD cars of all timeâ¦but it doesnât take long before you want more!
Although mechanically minded, Iâve never really had a car Iâve needed to do any major work on, so the first year of ownership was spent mostly racking up the miles and tidying bits up:
All stripped down for a check over and a bit of underseal. Still amazed me how clean it was for its age:
Mugen reservoir covers and Cusco brake master cylinder stopper added:
Then it started to develop a hellish knock when setting off/changing gear. Engine mounts inspected and found to be less then perfect so replaced with some firmer billet jobbies:
(these were on for about a year until Iâd had enough of the constant cabin vibration so replaced them with OEM with poly inserts)
Also sorted out the classic DC2 leak from the rear light seals â new seals and a lick of paint in the boot area to tidy up the small amount of surface rust that had developed:
Seat bolster on the OEM Recaros are also prone to a bit of sagging after a few years so I bought a replacement bolster from Capital Seating and set about replacing it:
Before (doesnât look as bad as it felt):
During:
After:

 )
)