Nunos turbo ek take 2


Nuno@Camtec

New Member
Vendor
Joined
Nov 8, 2011
Messages
465
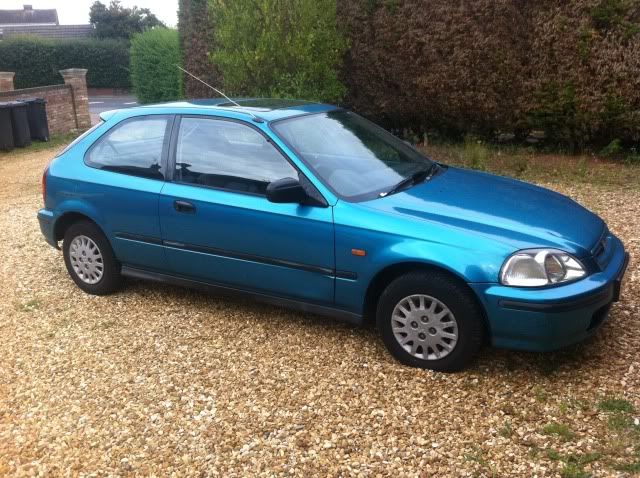
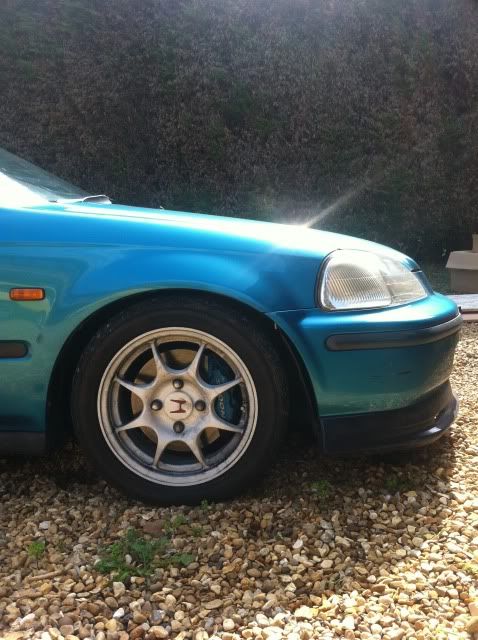
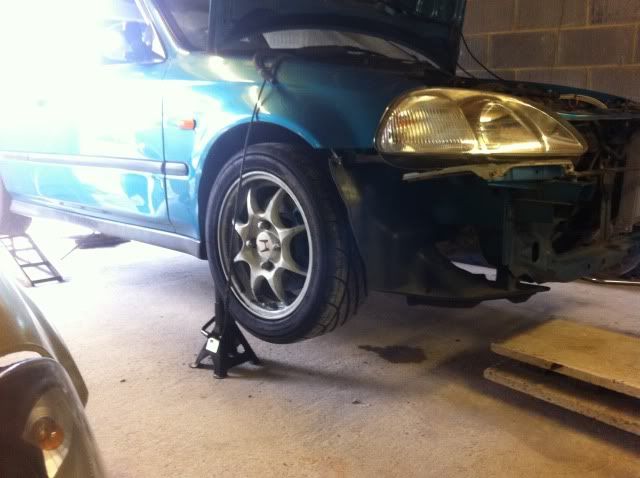
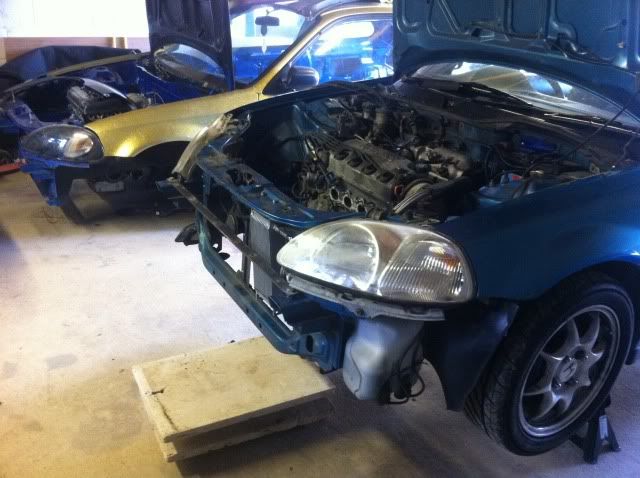
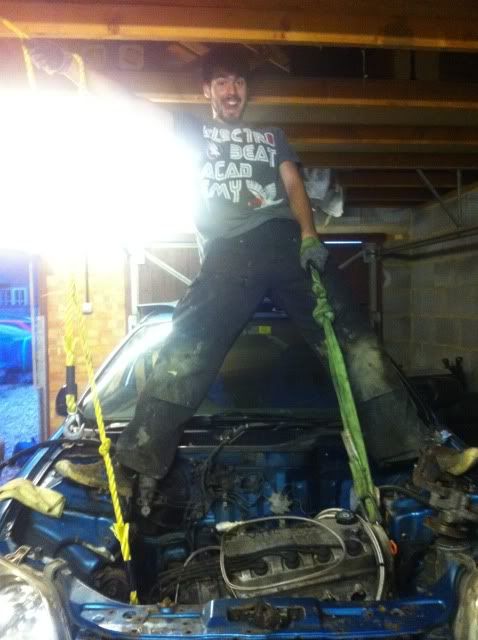
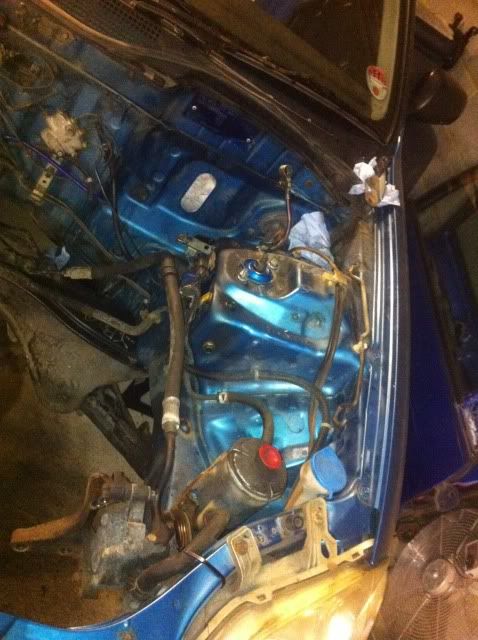
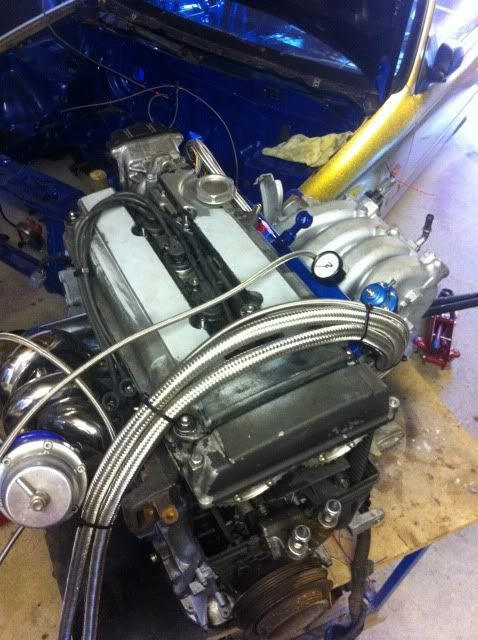
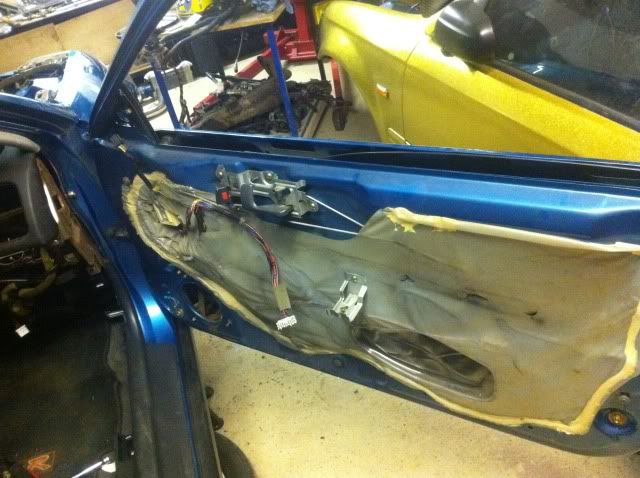
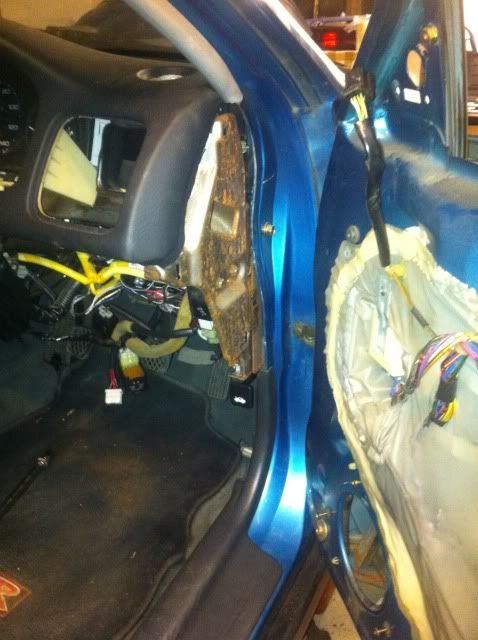
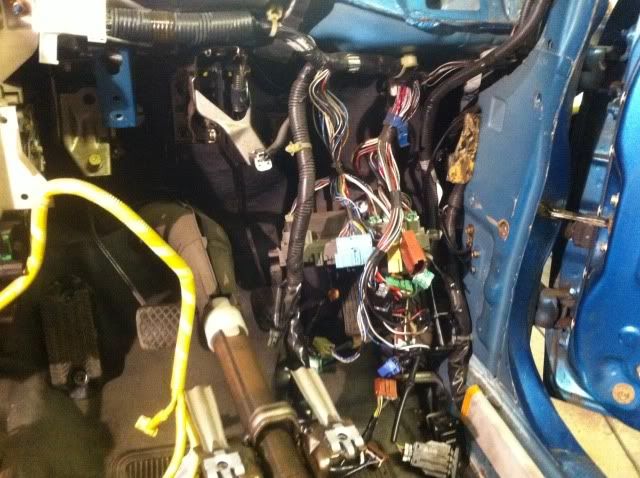
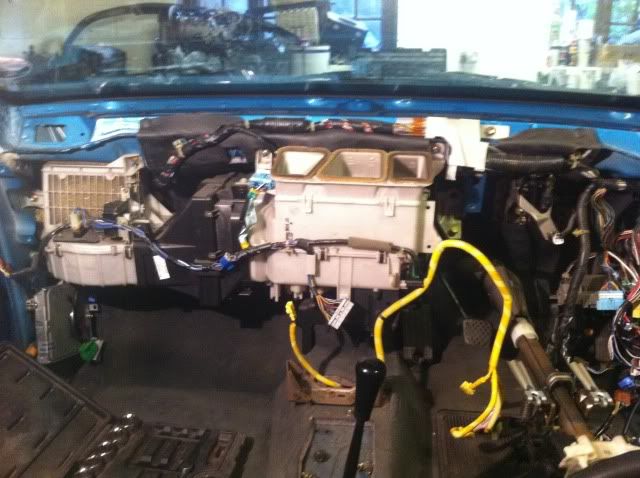
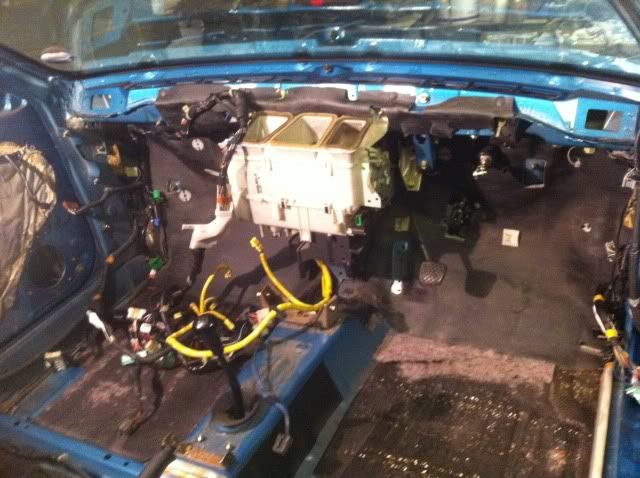
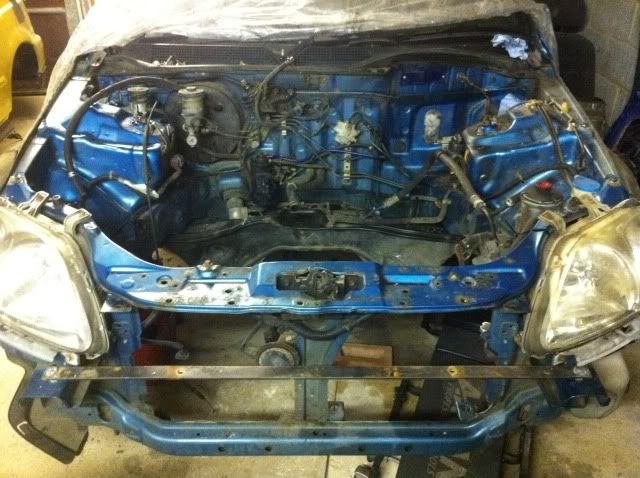
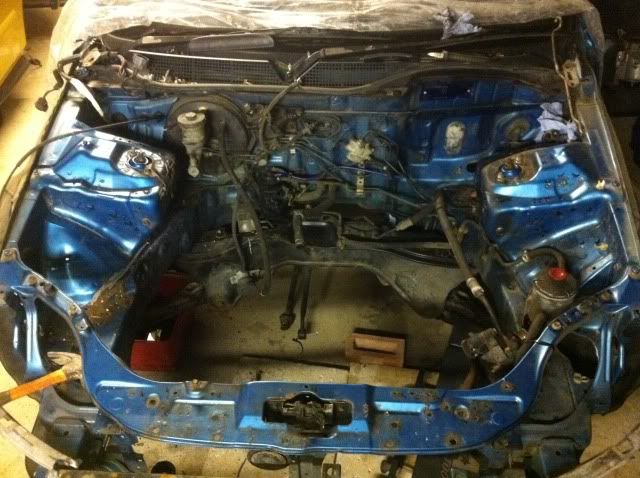
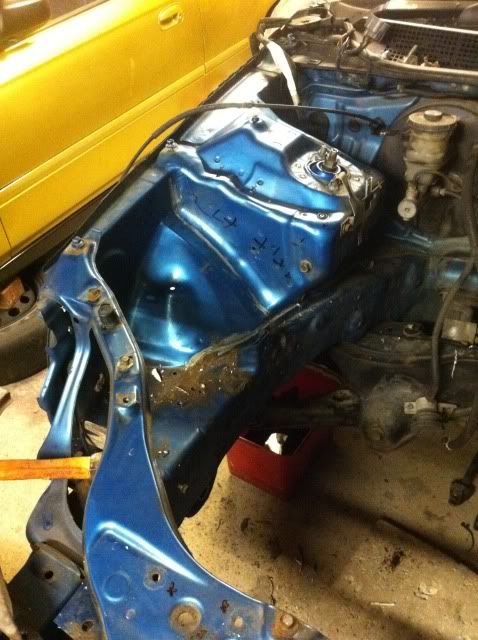
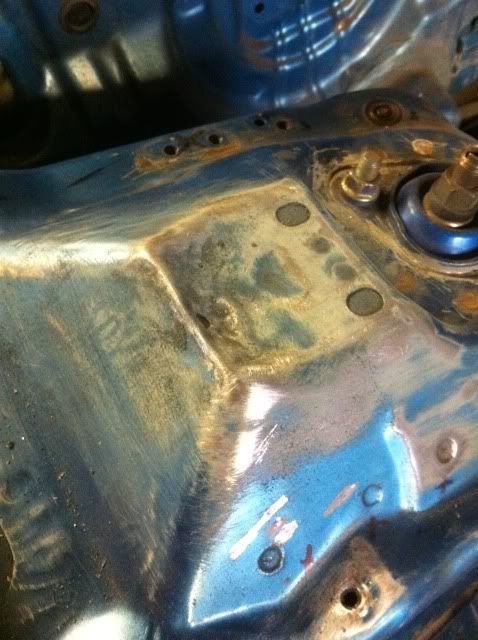
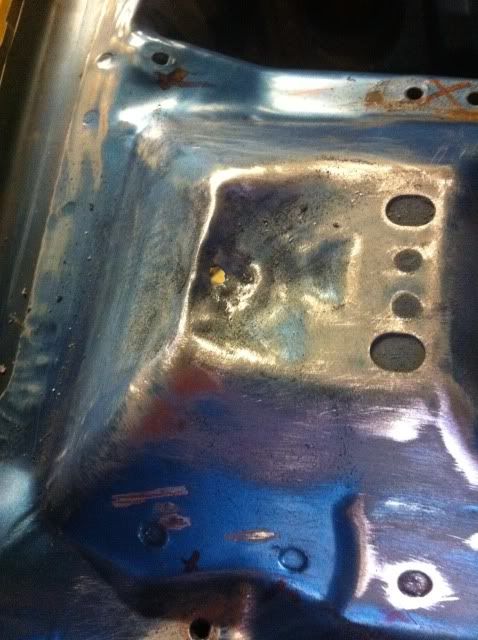
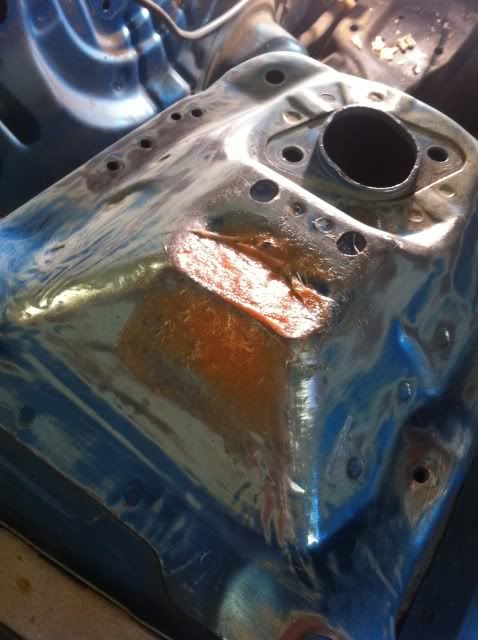
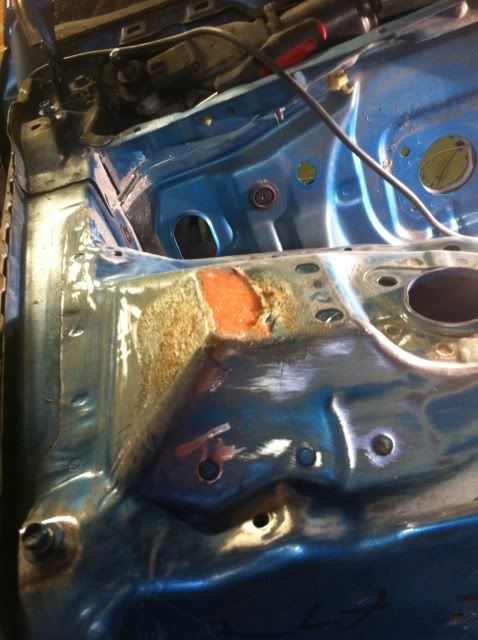
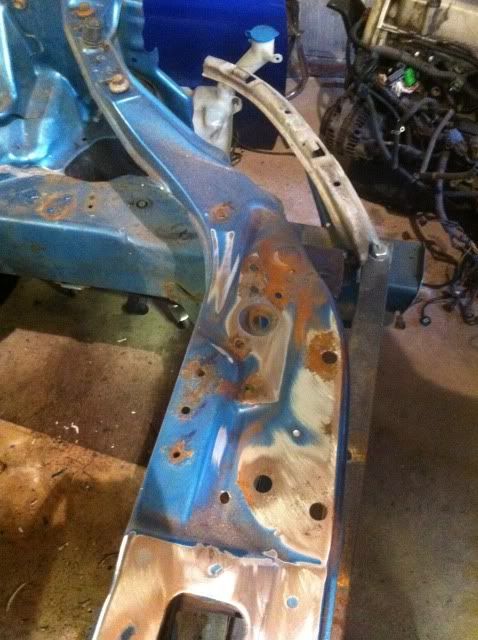
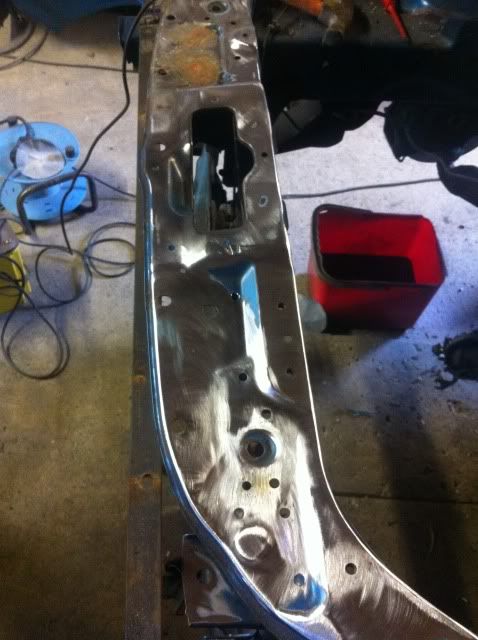
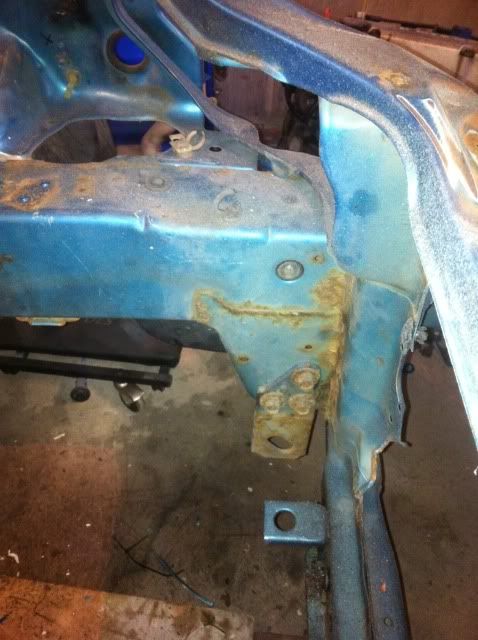
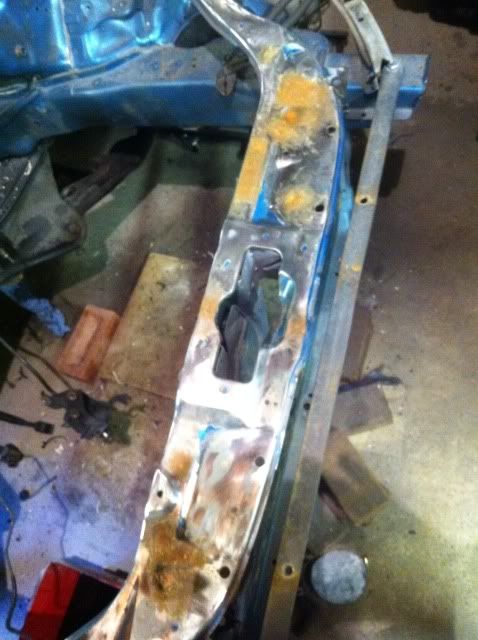
Hey guys, some of you have probably seen my previous build or even know me personally.

my last build was a gold turbo ek that i drove around for 120miles and put away because i got scared lol

i am now no longer looking for a mental stripped out ek, in fact im trying to make it as heavy as possible to keep it on the road haha

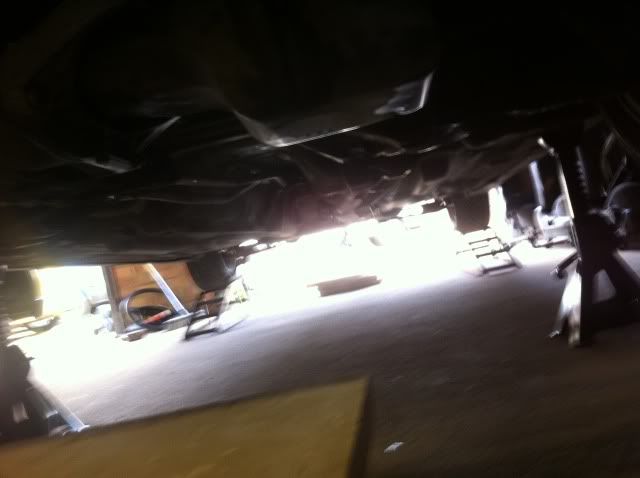
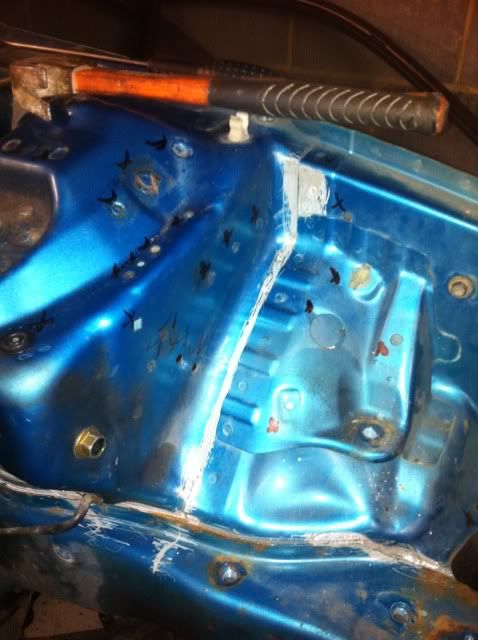
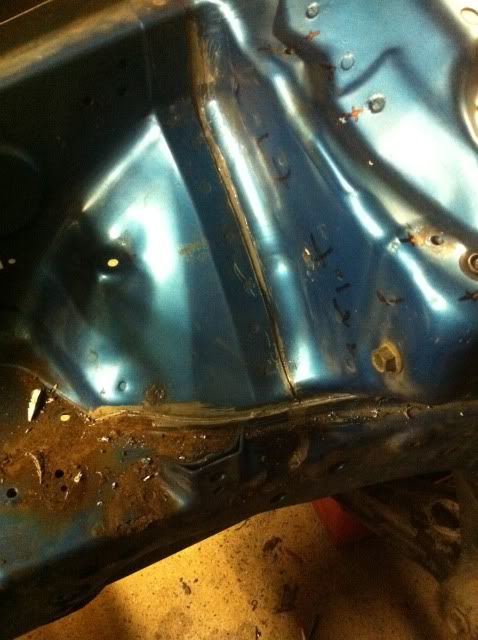
i will update more later on whats been popping.

Thanks all

Nuno.
 
Last edited:
looking forward for the photos, good luck mate :D
 
quick update on this

just so that you guys get a rough feel for the project il put up a rough spec list of the plans.

- looking for around 350bhp low boost, 450 highish boost
- a full re-spray
- face lift conversion (ive had 4 pre face before this one so gona change a little)
- fully bushed
- as much suspension/chasis enhancements as i can afford and make sense
- wire tucked and shaved bay
- full flocked interior (for a newish nice feel)
- bomex spoiler
- the rear quarters will be filled with expanding foam once lined with dynomat
- wings and doors inner lined with dynomat
- full under seal to prevent rust as much as possible
- a few custom carbon bits like handbrake surround (little like lambos)
- lots of little goodies like gear knob, pedals, guages, steering wheel etc etc.

so there you have it a rough idea of the task in hand.

Basically a ground up built of my idea of how an EK should have left the factory lol

Nuno.
 
Last edited:
So, got a few pics uploaded so though i would properly kick start this major build up, of which i hope will become a famous EK and show that we can build kick ass hondas in the UK.

Im not a stance, hellaflush, sicko, bbs etc etc guy. im all about function > form. and i hope this will reflect on the build up.

So to start the fresh build i went out on the look for a cheap ek civic.

found this on auto trader for £400, a tax'd and MOT'd EJ9 2 previous ownes, every MOT certificate since new and serious service history.

photo39.jpg


photo25-1.jpg


Drove it around stock for about 4 days before i had to mod it.

so my ohlins, hubs, and brakes went on it as well as my seats.

photo45.jpg


photo32.jpg


photo41.jpg


this is how it sat, and terrorised Milton keynes for a few months lol i loved the look on peoples faces everytime i said it was only a gutless 1.4 lol braking and suspension go a long way.

photo60.jpg


Eventually i got really bored of driving a slow ass d14 lol so got her in the garage for the work to start.

Here she is on stands.

IMG_0069.jpg


Next to the old beast.

IMG_0071.jpg


IMG_0072.jpg


Took no time is removing the engine, problem was i didnt have a engine crane at hand.... no problem we got it out the portuguese way.

IMG_0074.jpg


So now we had a engine bay with no engine, could properly look at how much rust/work i had ahead of me.

IMG_0112.jpg


IMG_0113.jpg


IMG_0114.jpg


IMG_0115.jpg


More later.

Nuno.
 
Last edited:
cool build mate looking forward to the rest .. seats look class ..
 
cool build mate looking forward to the rest .. seats look class ..

Cheers buddy.

Just waiting on photo bucket, i have over 350images so far of the past few months progress so having to select decent ones then uploading is taking a while.

Nuno.
 
Right got a few more photos uploaded now.

Next step was to remove the Forged engine from the other civic and start adding bits and bobs to it.

IMG_0079.jpg


IMG_0077.jpg


got the plugs back in her

IMG_0082.jpg


manifold (cheap one for now has been re-enforced) and wastegate.

IMG_0083.jpg


Injectors, fuel rail and fuel line.

IMG_0084.jpg


IMG_0085.jpg


Done some oil plumbing behind the block.

IMG_0088.jpg


IMG_0090.jpg


IMG_0089.jpg


Once this was done the engine was pushed to a corner and covered up so work could carry on in the bay.

The attention was turned into getting the interior stripped so i could get accurate pricing on all of the flocking.

IMG_0102.jpg


IMG_0103.jpg


IMG_0105.jpg


IMG_0104.jpg


IMG_0106.jpg


IMG_0108.jpg


IMG_0149.jpg


IMG_0237.jpg


IMG_0235.jpg


IMG_0234.jpg


IMG_0238.jpg


Nuno.
 
Last edited:
boosted ek with a full interior is a good idea man. less likely to get fed up of it
 
boosted ek with a full interior is a good idea man. less likely to get fed up of it

You are very right, dont get me wrong theres no other sound and feeling like it, but the fact you have to select when to go out in it, who to take with ya, and make sure its no longer than 20 minutes or your ears will bleed lol

Thanks everyone else for the comments, the updates currently 2 months behind so will try and get them up time permitting.

Nuno.
 
Hey bud, their on the newbie section.

i wana keep this thread as clean as possible from my old build ups.

Nuno.

Just seen them, cant wait to see what you do with this civic then after the last one now ;)
 
Update time

Right guys getting a few more photos updated today.

The next pictures will all be mainly about the progress of the engine bay and front end of the car.

Once the engine was out, i was left with this lol its always hard to find motivation for a wire tuck and bay shave when this stares at you.

IMG_0224.jpg


removed the headlights and analysed the task ahead.

IMG_0227.jpg


started removing a few bits and bobs, then started on the seam sealer.

IMG_0228.jpg


IMG_0242.jpg


IMG_0229.jpg


As you guys can also see, serious amount of surface rust to sort out too.

Once the bay was bare, i started on the drivers side strut.

Slightly hammered it down, so i could achieve a flat top in the end.

IMG_0284.jpg


IMG_0285.jpg


IMG_0286.jpg


IMG_0288.jpg


IMG_0290.jpg


IMG_0294.jpg


IMG_0297.jpg


IMG_0298.jpg


The front panel was totally rusted so sanded that all down to bare metal again.

IMG_0324.jpg


IMG_0325.jpg


IMG_0334.jpg


IMG_0335.jpg


More rust lol

IMG_0327.jpg


Started to glass everything over (dont have access to a welder, finish and outcome will be the same)

IMG_0338.jpg


IMG_0341.jpg


IMG_0337.jpg


then started giving the passenger side some nitro moors to get things back to bare metal.

IMG_0396.jpg


and marked up all that needed smoothing/covering.

IMG_0289.jpg


more soon.
 
Last edited:
Back
Top